Rubi - Step by step WITHOUT GRAPHIC TABLET
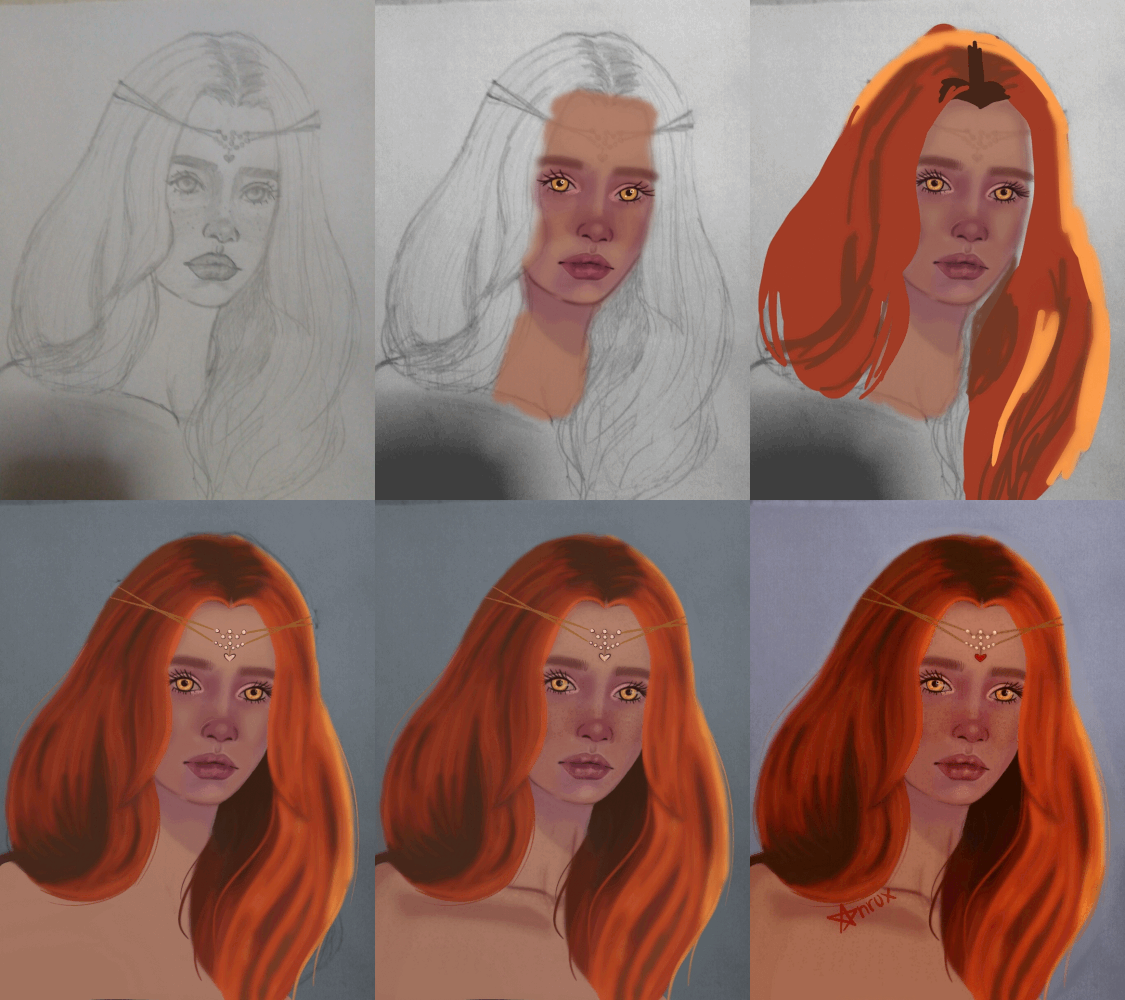
Hello! As I had promised, here is the step by step illustration that I uploaded on Monday. First of all, I would like to tell you what I was inspired into to do this work. At first I thought I wanted to make a series of portraits of women, I wanted them to look like Mahō Shōjo (magical girl), it immediately occurred to me it would be a good idea that the girls were related to precious stones and that each girl had an specific stone. I started my portraits choosing the ruby as the first precious stone, since it is my favorite. And of course, the color palette chosen is related to this gem, which is why warm and intense colors stand out a lot.
Now, let's start with the step by step:
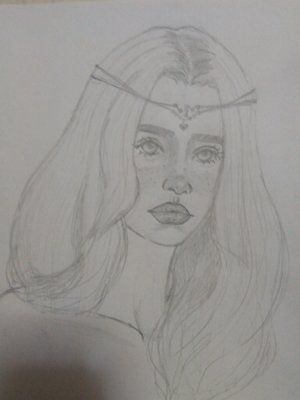
1. First I made a sketch of the portrait in pencil, I did this with the support of an image that served me as a reference to achieve the angle of the face I wanted (I usually find good references on Pinterest).
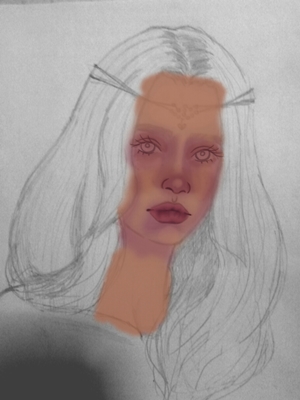
2. Then I took a photo of the sketch to be able to work with it digitally. For digital drawing I use an ordinary tablet (because I don't have a graphic or drawing tablet) and the MediBang Paint app. After opening the photo in the drawing application, I applied the base color of the skin and using other layers I made the shadows and blush on the skin, I also made the outline of eyes, nose and mouth and applied the base color of the lips.
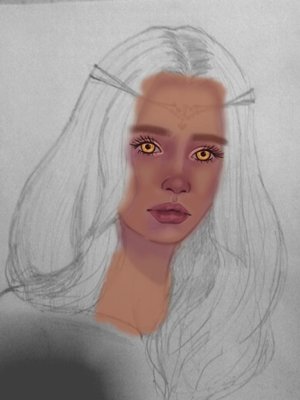
3. Then I concentrated on the eyes, I made many details such as upper and lower eyelashes, shine and makeup. I also painted the eyebrows, to make them look as real as possible I drew each hair separately. At this point I also added shine to the lips and other shadows on the face to make it look more real.
4. Time to make the hair. First I used a base color for the hair, then I applied shadows and lights on it; in principle I applied the colors in form of stains. Little by little and with a lot of patience, I made the details trying to make it look like real hair. (This part was the hardest).
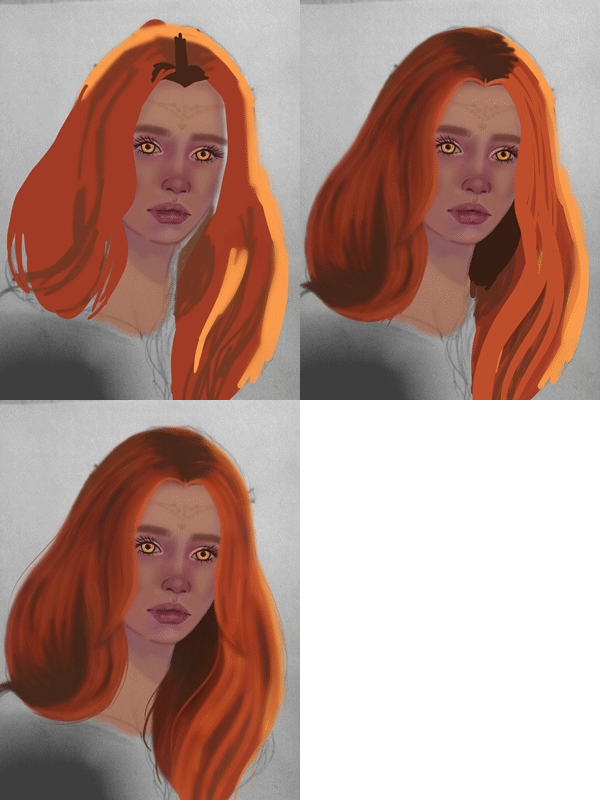.gif)
5. Then I took care of the background, the chest and the diadem. I painted the entire background with a single color and focused on the neck, shoulders and chest area, adding base color, shadows and highlights. I also made the outline of the diadem, I colored it and made some details. I also added more lights and shine to the face and I drew freckles all over the skin.
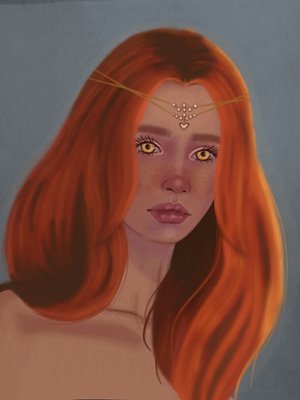
6. Finally I adjusted the colors saturating them a little. I intensified the colors to achieve the tone I wanted, I also adjusted the contrast so that the tones could be seen better. I added the ruby to the diadem and my signature.
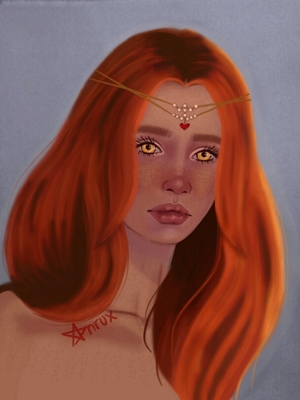
I hope you liked my post. With it I want to show you don't need to have a drawing tablet to get good results making drawings or digital illustrations. You can support me by voting for the post and leaving me comments :3

Dear friend! Next time also use #artzone and follow @artzone to get an upvote on your quality posts!
Really nice work! I love your digital painting! Do you you like other technics too? or just digital? :3
Oh thank you! x3 I also like to use watercolors @sadlittlecloud ❤
@drlove loves your drawing and has given you and up-vote.
Share the love by up-voting this comment to help others on the steemit platform.