Master class on making felt toys made of wool.
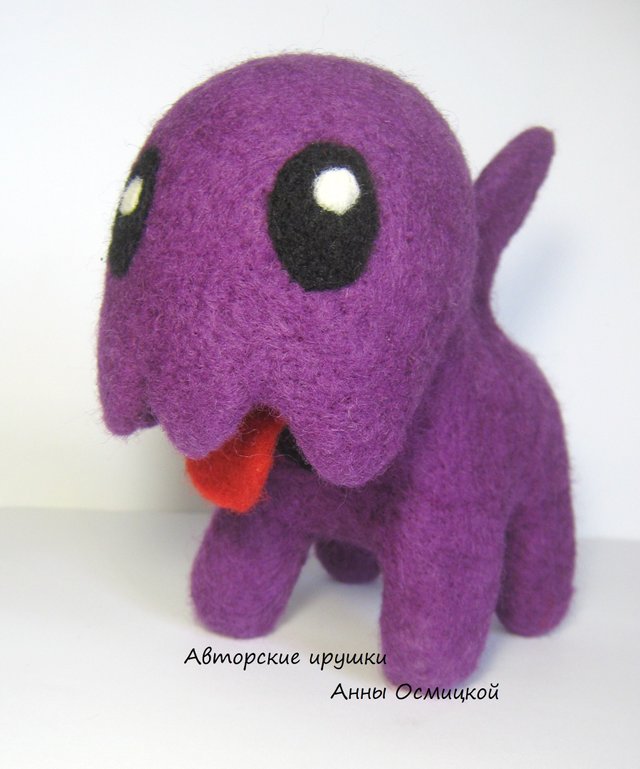
The toy is made of wool — the Zerg from StarCraft in explanation funny starcrafts, zergling.
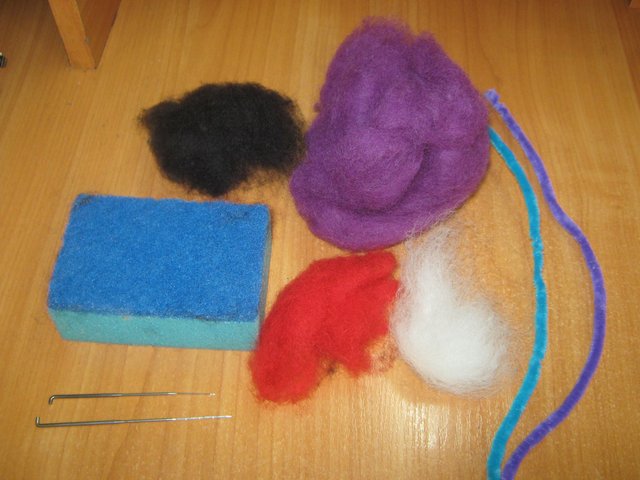
Tools and materials:
foam sponge;
special belt wool for felting or wool-cardoons (I take cardoons);
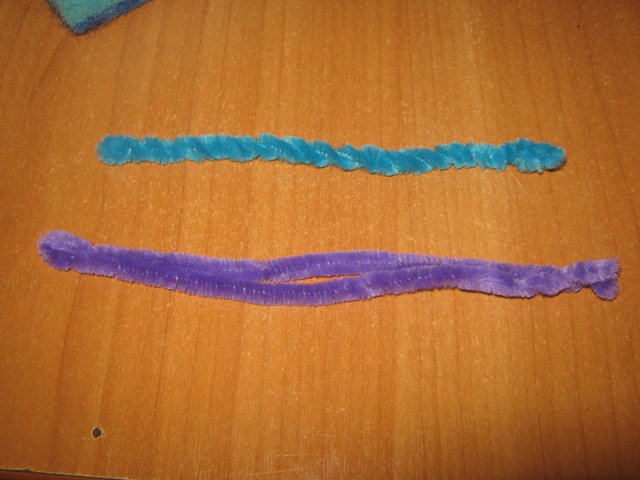
cinelive sticks;
thick needle (№ 36 triangular, long);
needle thin (No. 38 triangular).
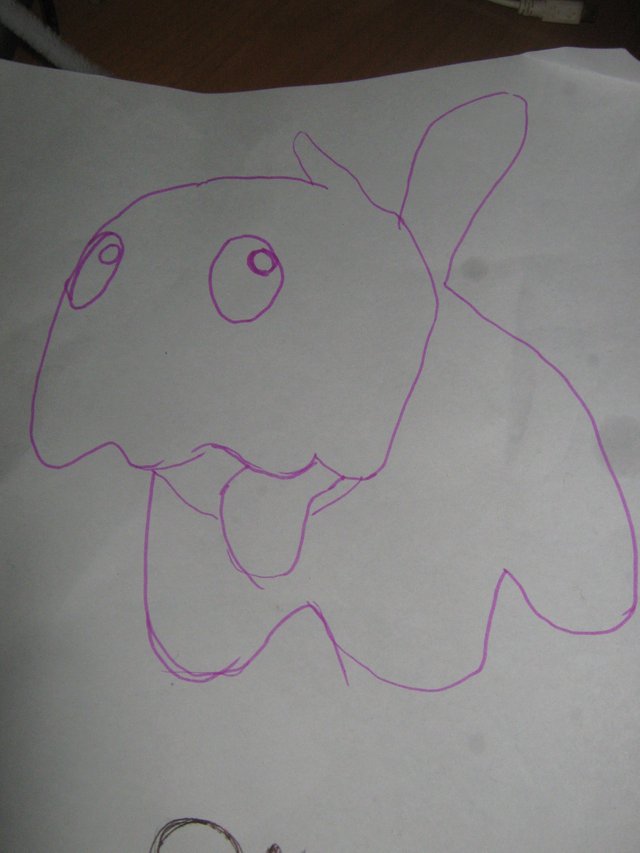
In order to begin to play the toy, you need to sketch, draw for yourself on paper.
Initially playing a larger part, going after them to smaller. Likewise with the eagle at the beginning are thicker, and after the main seal take finer tools to create a more subtle, delicate details.
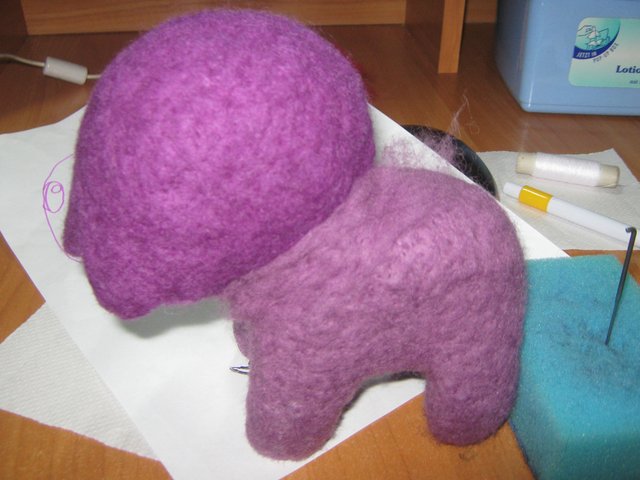
Before starting work it is important to prepare the balls of wool for all parts of the product.
It is important to remember that the volume of the finished product in 3-4 times less than a ball of wool, with which we are starting to work!
For this otsimisel of the total roll a small piece and resposive, share of long fiber to short. For this you need to gently pull them in different directions. You need to create a homogeneous mass for each individual part.
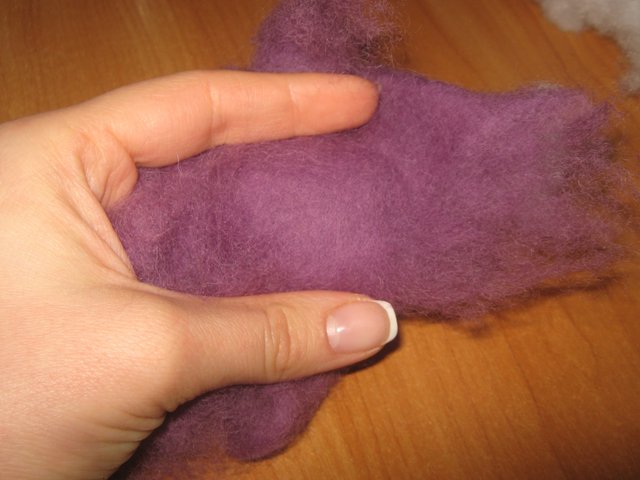
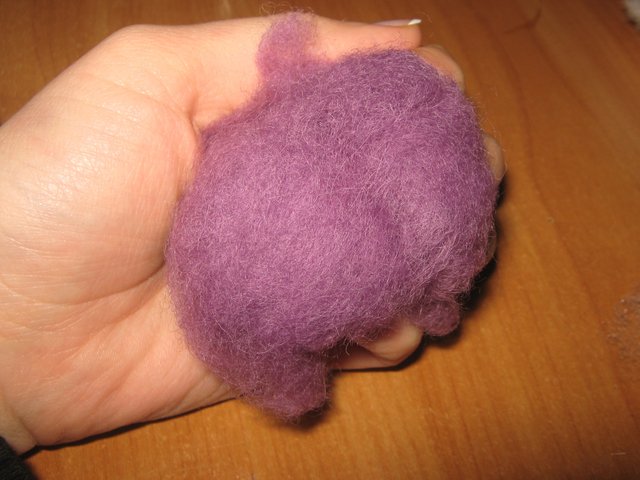
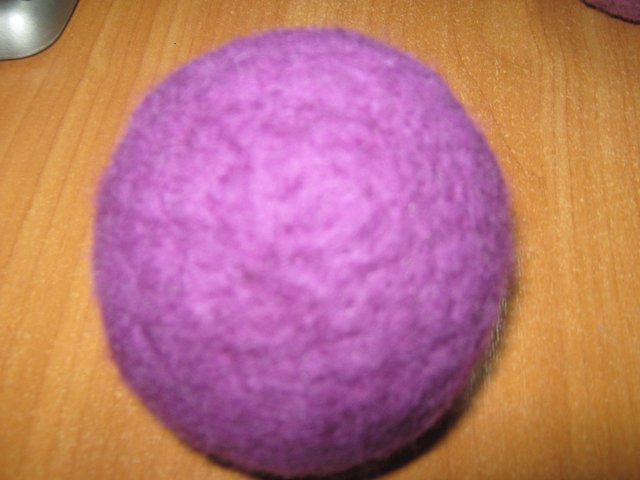
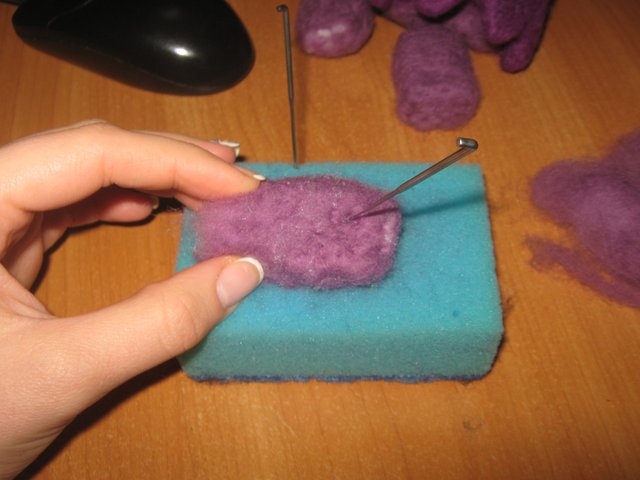
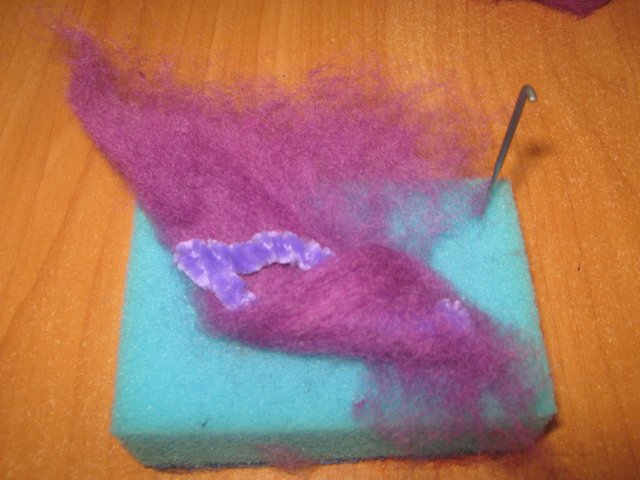
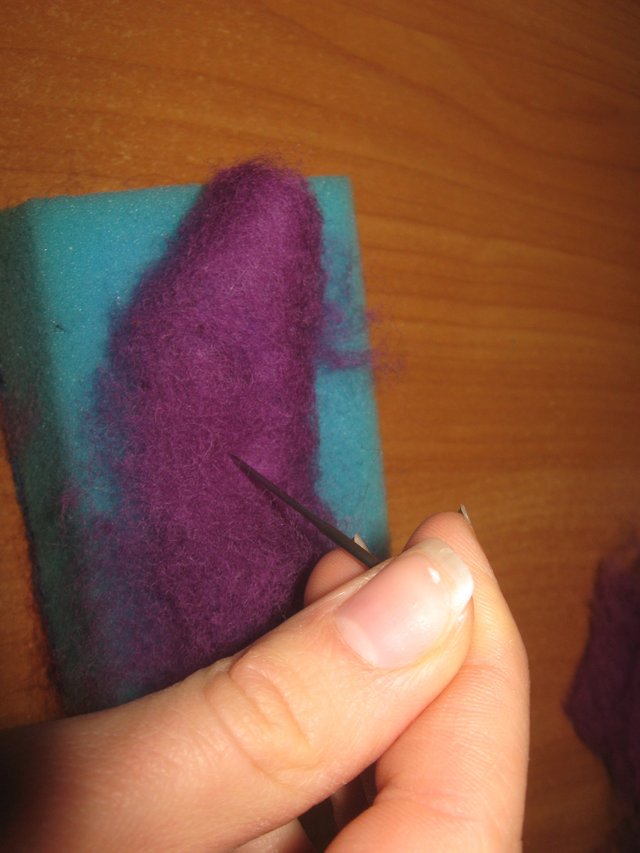
Stick the needle into the wool at the right angle, and take out the needle. Repeat, trying to observe this angle further. Stick with quick movements and gradually you will notice how the ball starts to get thicker. Help the process and if necessary give the desired part shape.
Initially, you need to wikivet a needle as deep as possible, pulling middle to the top surface remains soft and the core is compacted. Leaving the joints loose strands to pivalate them to the main part.
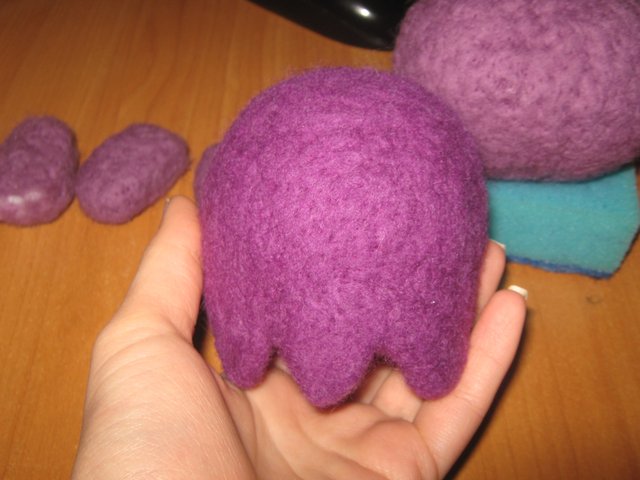
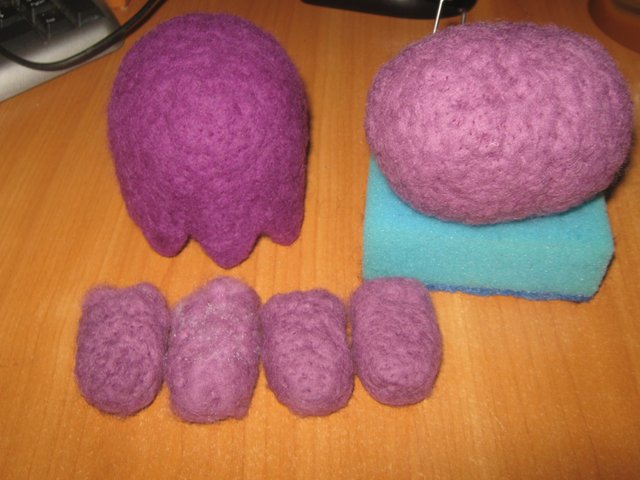
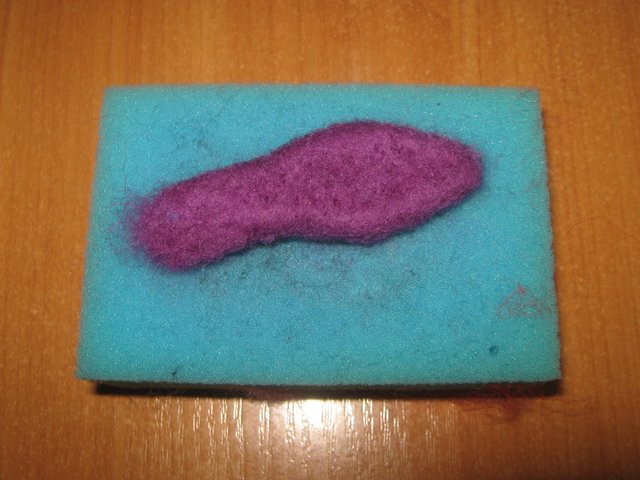
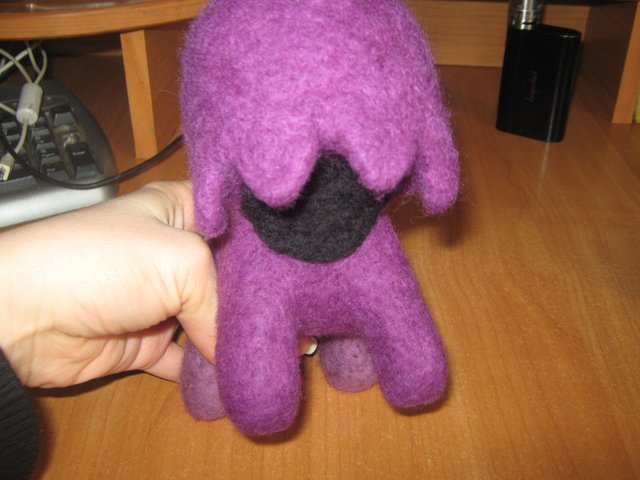
Then the trunk, and other small parts
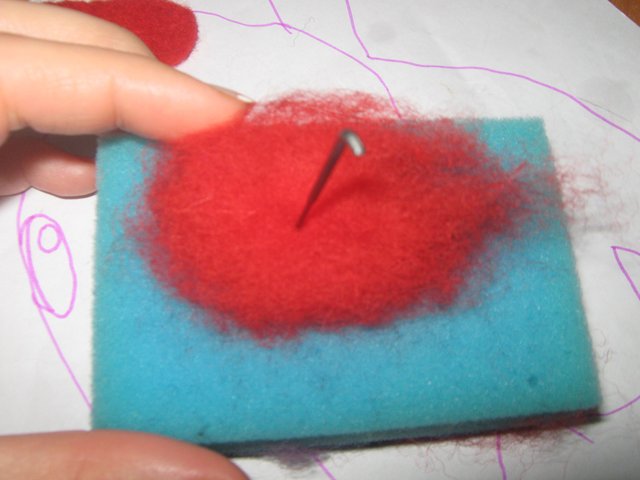
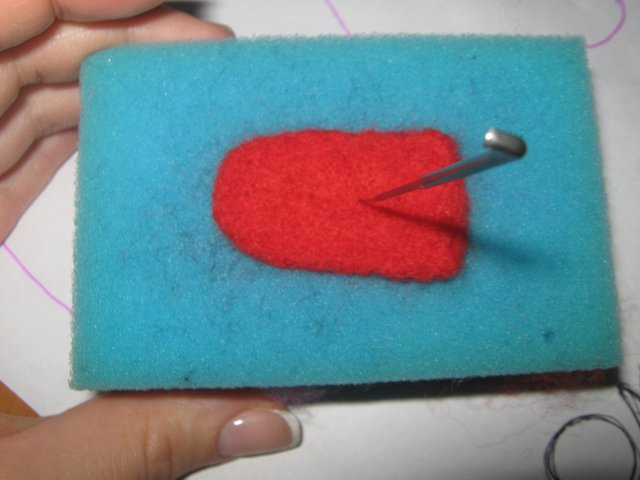
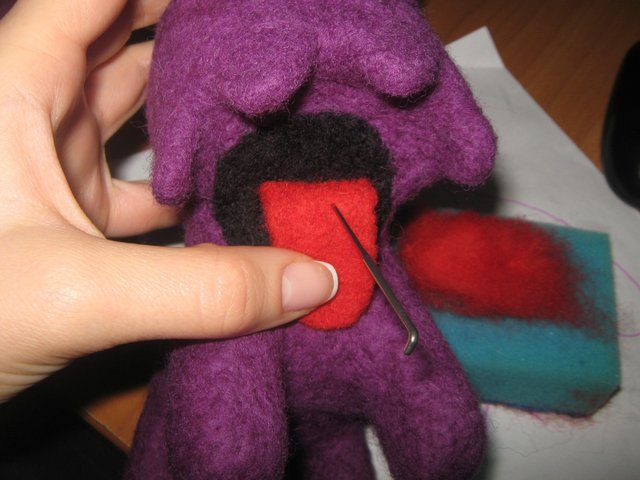
Then take a lump of red wool and on the same principle of making language.
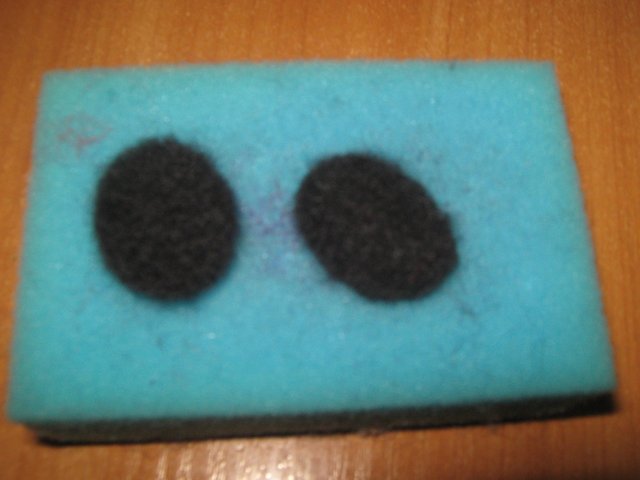
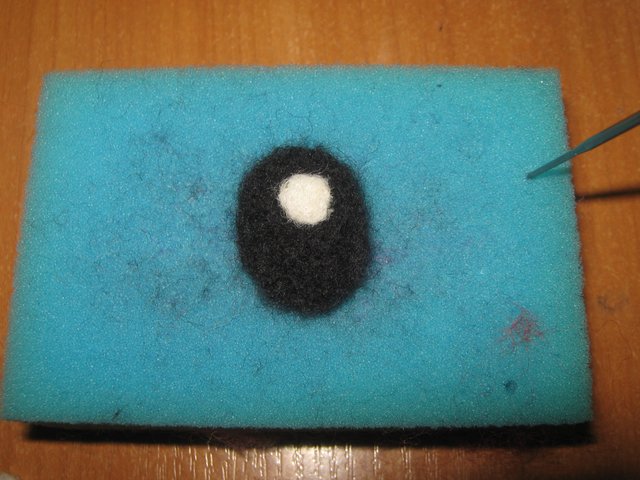
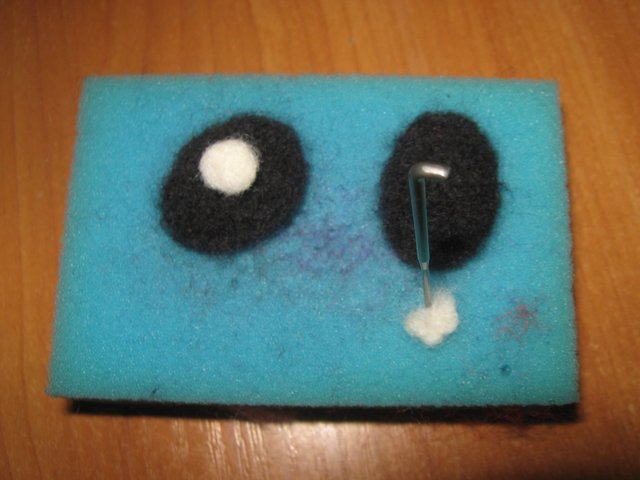
Black and white wool formed the eye.
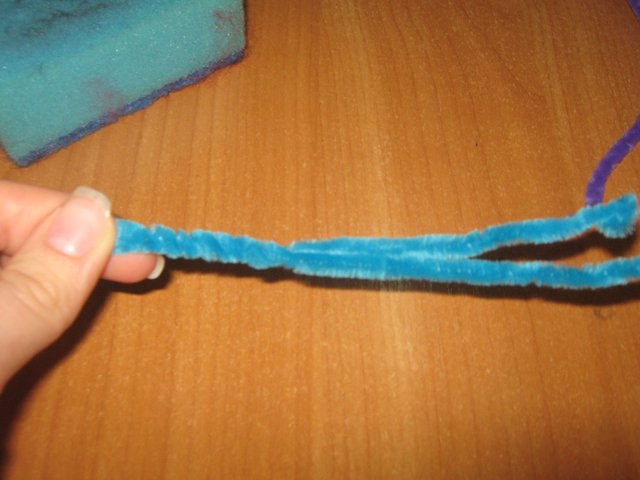
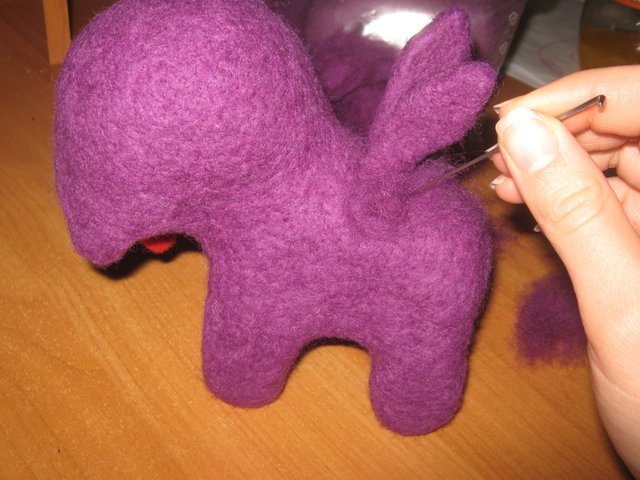
Take cinelive sticks, folded in half folded for greater rigidity. Shape the wing. Then take the wool and wrap the formed wing in the coat and "stick" to the seals.
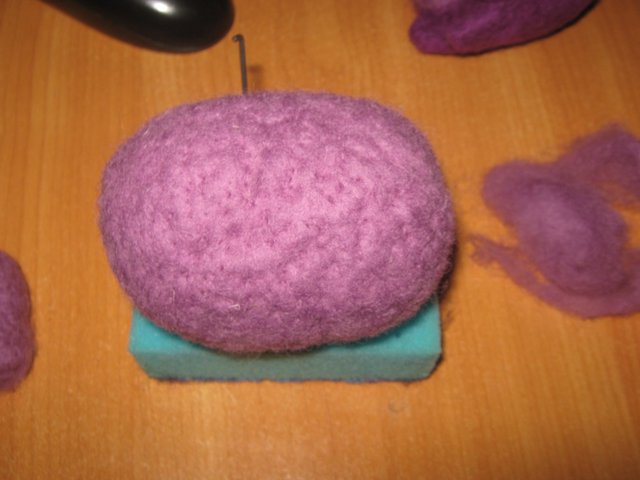
Then join all parts using a needle No. 36 .It happens exactly the same way as the whole process blend the strands of the joining parts to the base and with quick movements put over and over again wool inside. It is very well penetrates behind the needle in deep, so don't worry that the details will be poorly kept. It is only necessary to leave a sufficient number of protruding "tail". (For more confidence you can first sew the item, and then pivalate)
Then privlevel remaining parts. ( tongue, eyes, wings and lower jaw)
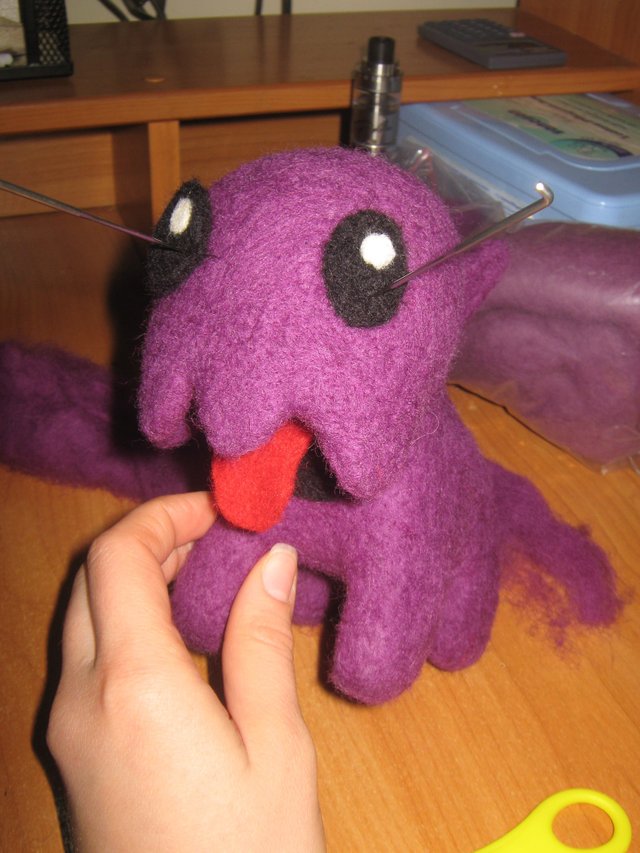
When the figure has acquired a finished look, then left her to Polish up. Carefully tear off small pieces of wool , use a very thin needle (needle No. 38 or No. 40) and put the resulting "cloud" on the figure, privlevel it to the surface.
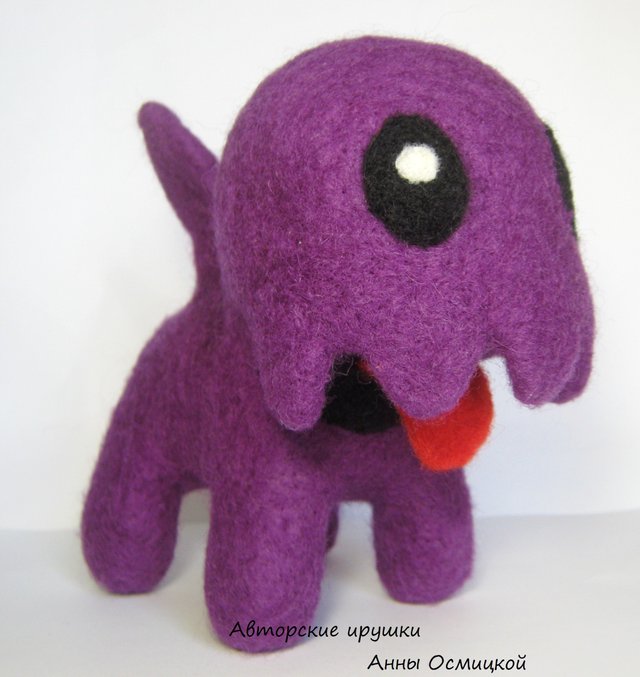
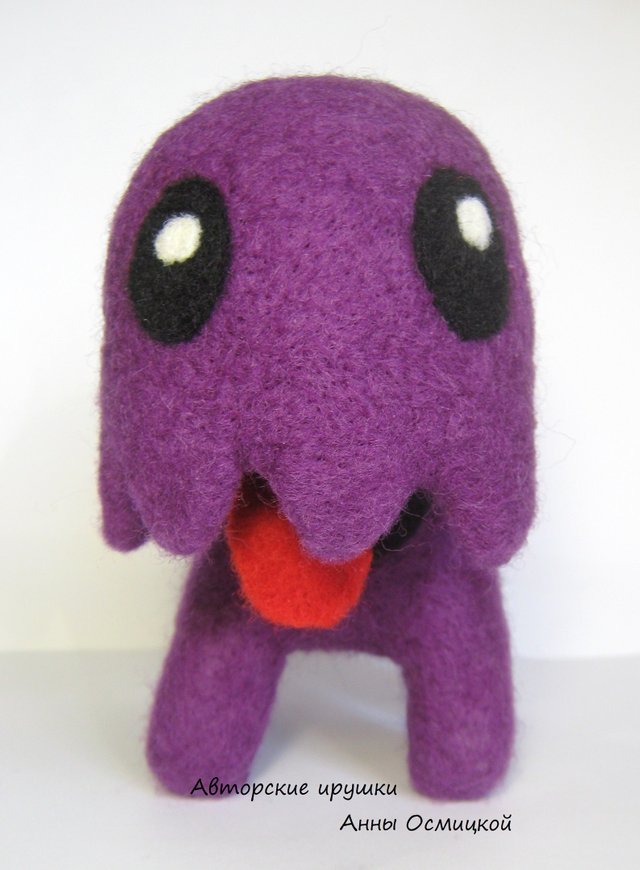
So our toy is ready. That's what happened.
This post has been ranked within the top 50 most undervalued posts in the first half of Jan 30. We estimate that this post is undervalued by $9.21 as compared to a scenario in which every voter had an equal say.
See the full rankings and details in The Daily Tribune: Jan 30 - Part I. You can also read about some of our methodology, data analysis and technical details in our initial post.
If you are the author and would prefer not to receive these comments, simply reply "Stop" to this comment.