3D Smudge Full Tutorial

Here's my most recent artwork fresh from Autodesk Sketchbook.
I have posted quite a lot of my 3D smudge artwork here on steemit but I haven't posted any tutorial yet so here I've decided to make one so that I can share my techniques on how I do it to my fellow steemians who wants to learn this kind of art.
Smudge art is a kind of digital art. Basically, from the name suggests, this art is entirely smudging the reference using a smudge tool that can be found in the app. Through the brilliant minds of the artists, they were able to develop another kind of art whice they call 3D smudge. The difference between the two is that, in 3D smudge, the skin is the only part that is maintained in the output. The rest will be rejected and will be made by the artist.
Please bear with me as we move on to the step by step process.
First, you need to find a high definition reference. It is required to be HD so that the details of the face is clear. So for this time, I have this as my reference.

Now, you need to have an application called Autodesk Sketchbook which you can install from the play store or app store.

Some smudge artists use other applications like snapseed or picsay to adjust their reference in terms of brightness, saturation, structure and to sharpen it. They also use this to adjust the size of the picture so that thay can have more layers on the SB later on.
in my artwork, I directly imported the picture in the canvass of the app since I find it perfect for the details are already very clear.
Let's Start!
I want to start this tutorial by making the hair. In my artwork, it has more than one steps so let us break these down into 4 layers.
1. First, let us draw the base ofthe hair. The color will depend on the hair palette you want to use or you can just have your own. Below is the hair palette that I used.

- Start it by adding a layer above the reference then draw the outer part of the hair. Make the strands using the pencil that you can find in the tools section.
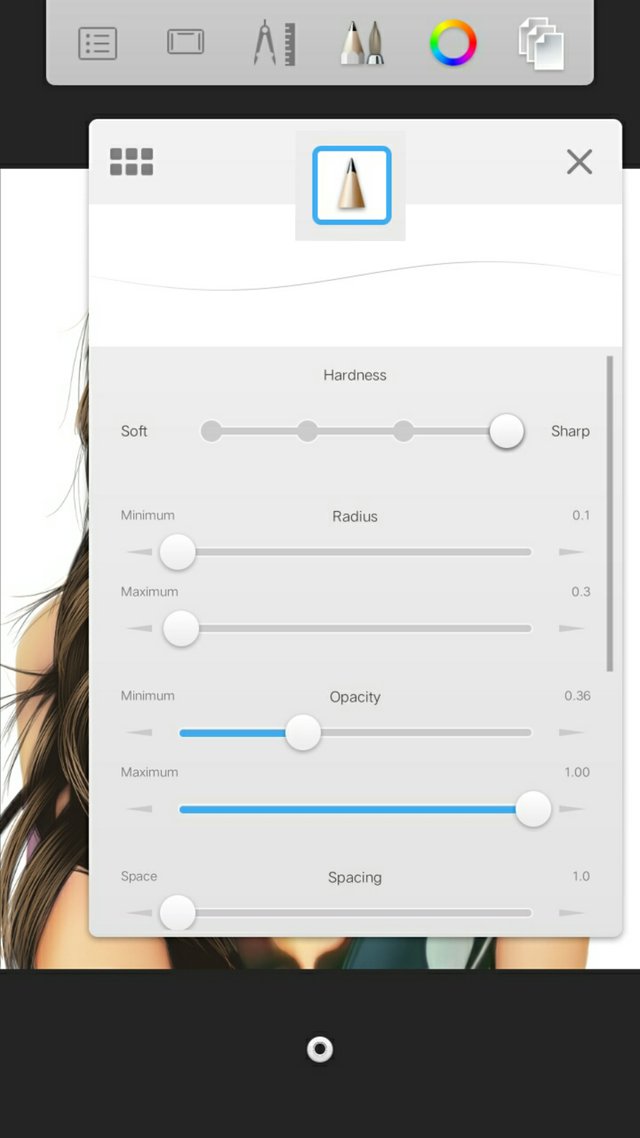

The settings are fixed exept for the max of the radius.

- Darken the strands using another tool. Do this in the same layer with the strands that you made earlier with the pencil.
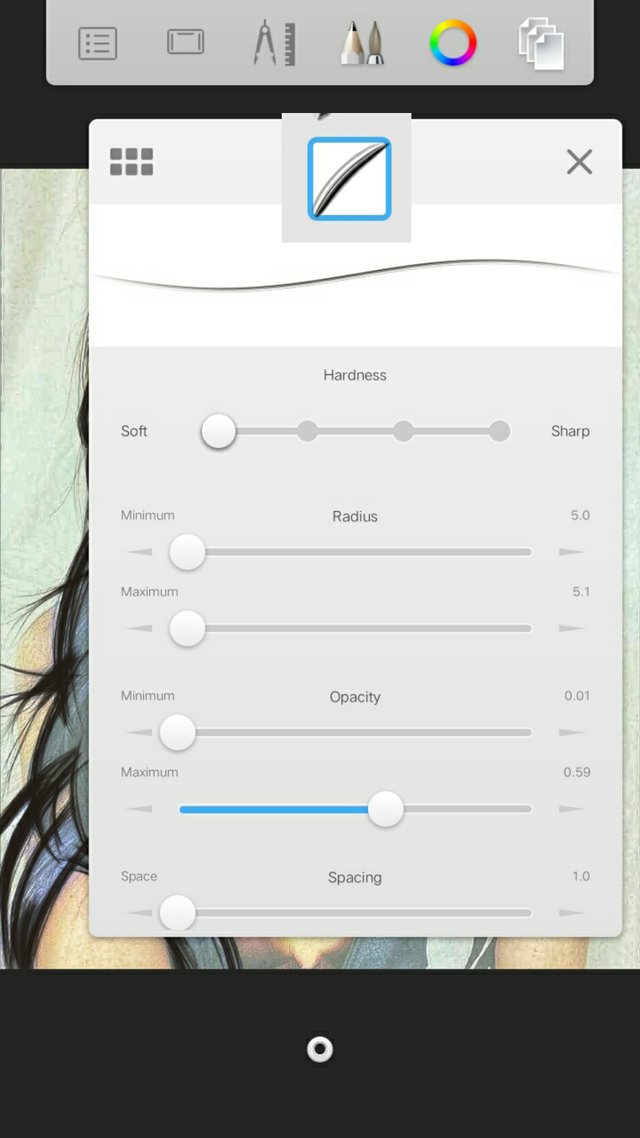

The settings are fixed exept for the max of the radius.

- Then fill the hair using the airbrush tool. Do not fill too much on the part of the strands so that it is still visible.
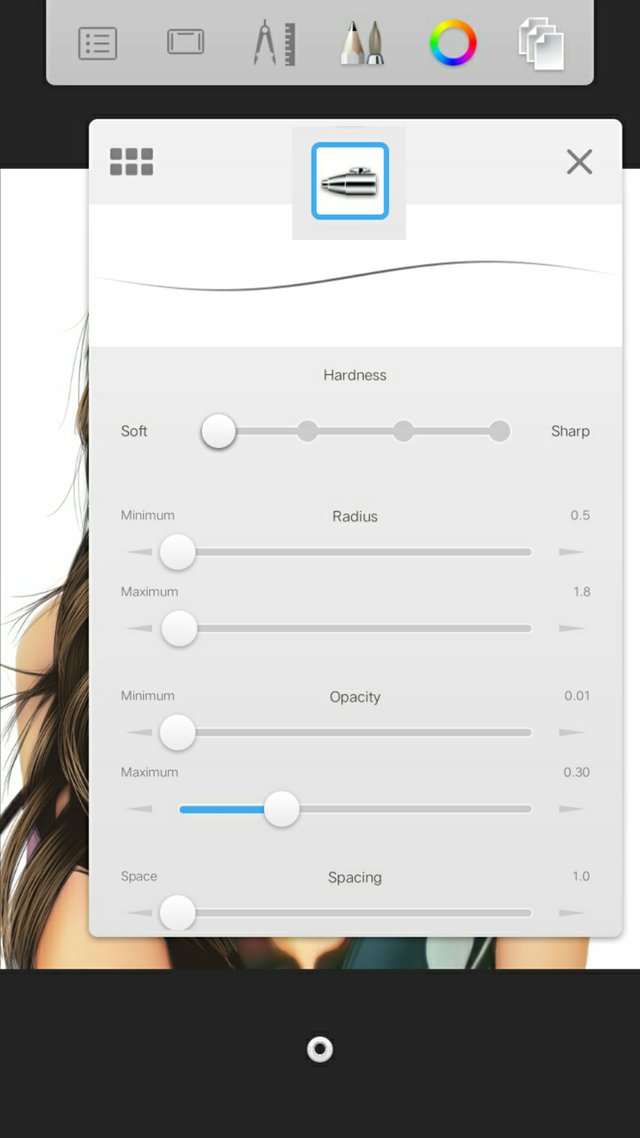

The settings are fixed exept for the max of the radius.
2. Add another layer above the base of the hair. Pick the 2nd color next to the base then use the pencil to draw hair strands.

In making it, you can choose to have either thick or thin strands. It'll depend on how close the person was in the camera while capturing the photo. The closer, the thicker the strands. Follow the flow of the hair strands on your reference. Draw it quickly to avoid the line from shaking.

Pick the soft eraser then erase the ends of the strands to make it smooth and not pointed.

The settings are fixed exept for the max of the radius.

3. Add another layer above the 1st layer of strands. This time, draw only on the parts that looks elevated. Use the same pencil then soft erase the ends of the strands. Make lesser strands here.


4. Repeat the process but this time, draw only those highlighted parts. Lesser strands this time. Do not forget to soft erase.


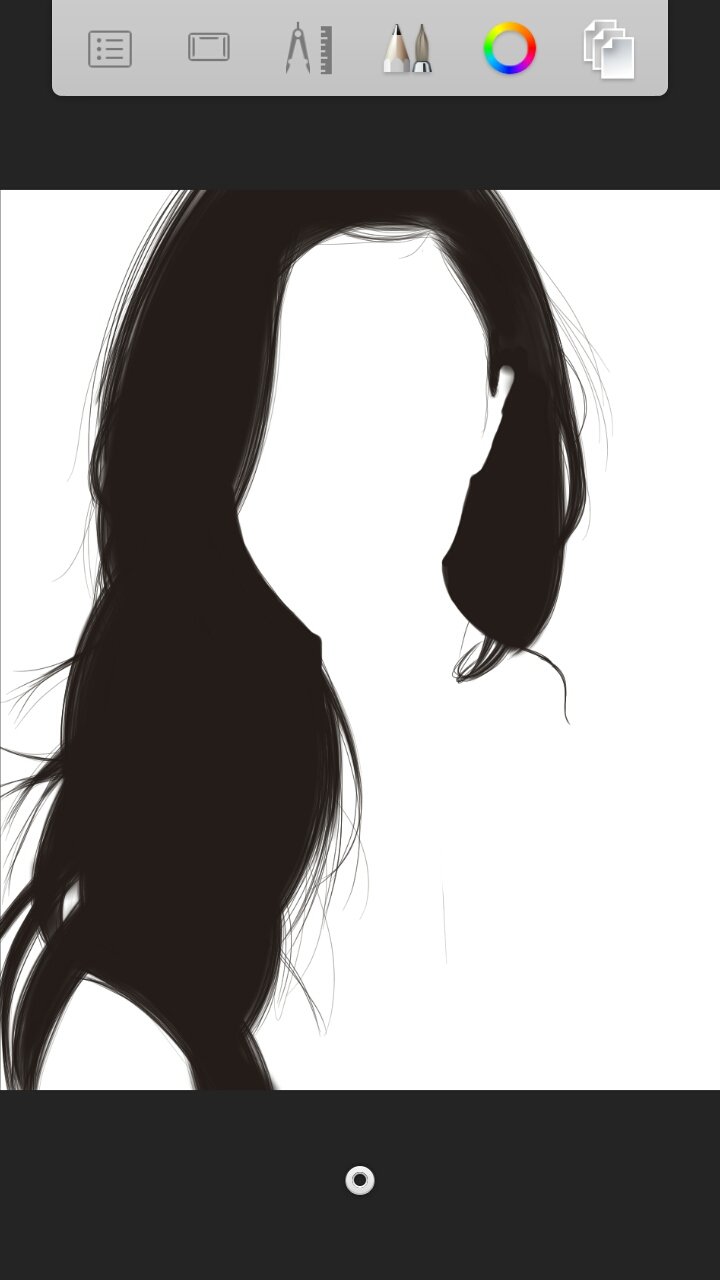
We now have the hair! Merge all the layers of the hair. ### Do not include the reference!
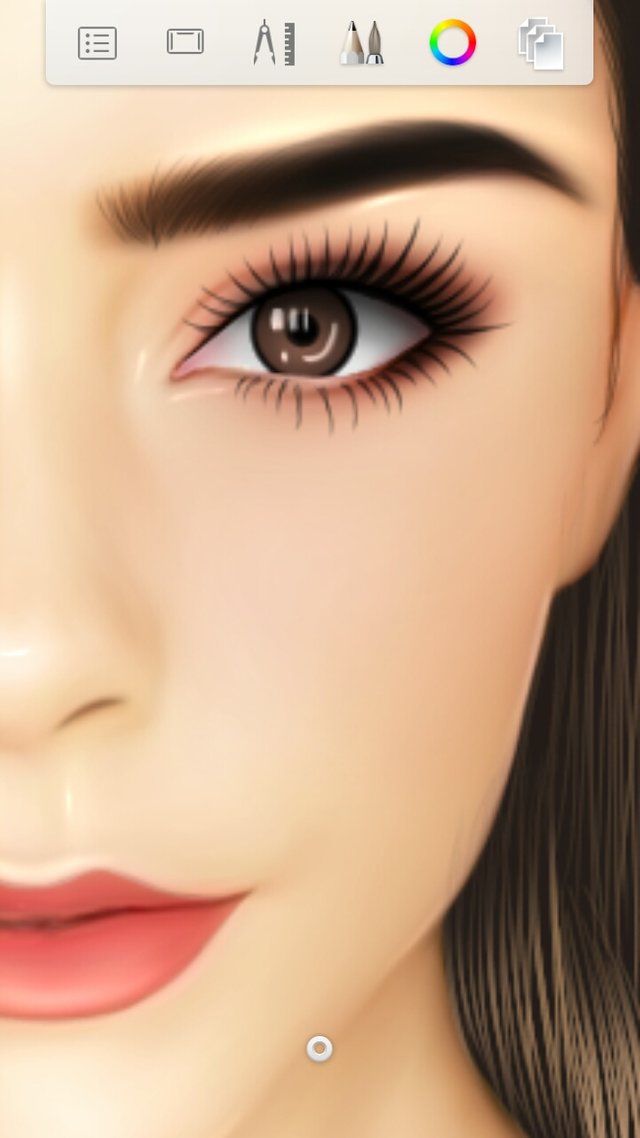
Let us now proceed to the EYES!
So in the eyes, I had multiple layers too so let us break those down.
1. Add layer above the reference then fill the eyes with color white using any brush in the tools section.

2. Using the circle tool found in the tools, make the sclera of the eyes.

3. Then add another layer and add another color to your sclera then soft eraser the outer part.


4. Add layer then add the iris! All you need to do is put a black circle at the middle of the sclera. Use the same tool you used in making the sclera.

5. Add layer then set the blending of the layer into multiply. Use the airbrush and color black then put color black at the upper part of the eye. Then use smudge tool and smudge it until the black will just right for the eyes not to look so flat.

6. Add layer then put something red at the edges of the eyes. Don't put too much so that your reference wont look having sore eyes hahaha

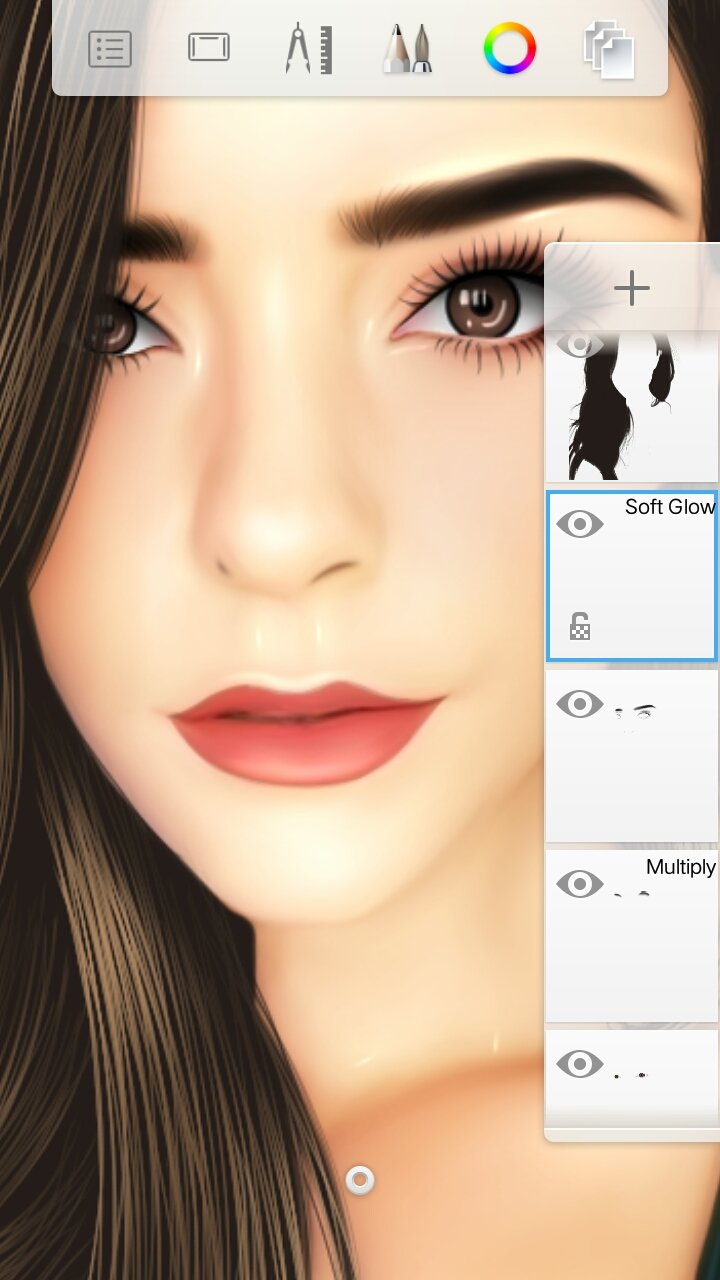
7. Lastly, add layer again then set the blending of the layer into soft glow. Add glow into the eyes as light reflections.

We now have the eyes! Merge all the layers of the eyes. ### Do not include the reference and the hair!
Let us now proceed to the SKIN!
So for the skin, we have to smudge it entirely using this smudge tool.

The settings are fixed exept for the size.
Watch the video below.
After smudging, add layer above the reference then cover all the skin of the reference. Do not include the clothes, lips and eyes. Click the layer and duplicate it. You should have atleast 3 layers of it.

Then set layers into soft glow, color, and soft light. Adjust the opacity until you are satisfied with the skin. These are the basic layering for the skin. You may add other layer when you are already fimiliar with those.
Colors I used


Let's make the EYE LASHES AND EYEBROWS!
It is very simple!
1. For the eyebrows, add layer then draw the strands of the eyebrows using a pencil. After that, use airbrush to fill it to thicken. Just follow the shape of the eyebrows or your reference.

2. For the lashes, add layer then just draw the lashes using the pencil. Then there! Just that simple. haha

Let's add more details!
1. Add layer then set the blending to multiply then pick a color. Below is the color that I used to my reference for her lips.

- On the same layer, pick a red shade then use airbrush to put blush on the cheeks. Then use the smudge tool then smudge the area. If it looks too red, use soft eraser to erase it a litltle bit.

2. Add layer then set it to soft glow then using a pencil and color white, add highlight to the skin just like in the picture below.
3. Erase the background. You may erase the hair but not the skin.

4. Add layer below the reference then make your background. You may use other tools that you can find in the tools section.

DO NOT FORGET YOUR SIGNATURE OR WATERMARK!
There you have it! The full tutorial for 3D Smudge is done! I hope you learned something from it and I hope you will make your own art too!
Some quotes to reflect
"Every artist was first an amateur." -R.W. Emerson
"There is no right or wrong when it comes to making art making sure that you have fun is the most important part. Splash a little paint, draw a little line just make sure that you have fun each and everytime." - Mickey Mouse
Thank you everyone for dropping by!
You are very good at it... 👍👏
Nice art work
Thank you so much @cinderz! :)
wow that looks really good..and you made the tutorial very easy to understand.. im bookmarking it for future reference!
For my aim is to help and encourage others to try this kind of art. I am glad that you find it helpful. Thank you so much!
Welcome sis
Nice piece of art. The outcome looks perfect.
Aww thank you so much @rave1086!
I thought the Autodesk sketchbook is a photo editor app. So I have to be very good at drawing before I can use this app. Disappointed a little but thanks @allerie00 I will recommend it for my friends
Practice makes perfect. Hehe you should try. It doesn't need to be really perfect at first but sooner or later for sure it'll be jaw drop artwork!
Thanks
You have been scouted by @promo-mentors. We are a community of new and veteran Steemians and we are always on the look out for promising authors.
I would like to invite you to our discord group https://discord.gg/vDPAFqb.
When you are there send me a message if you get lost! (My Discord name is the same as here on Steemit)
Im am so glad that you've scouted me here. :) thank you!
Hey there! You were featured on the #56th Edition of @steemitfamilyph's featured posts. Congratulations!
Aww thank you @steemitfamilyph!
OMG. This is amazing. You are very talented in this. And thank you for providing a tutorial. I am really curious about how to make this digiart. And if you don't mind, I just want to ask. are you using something while doing this? I mean a pen/stylus or just your fingers?
considering you are using a phone too.
Thanks again!
Hello thank you for dropping by! I am using my fingers. Stylus is somehow expensive for me hehe.
Thank you. It was so hard to do the strokes. haha I tried it earlier today, I am really bad with arts. I even sucks on proportion, cant do the eyes. Anyway, I love your arts so please continue posting more of it. 😊
Congratulations! This post has been upvoted from the communal account, @minnowsupport, by allerie00 from the Minnow Support Project. It's a witness project run by aggroed, ausbitbank, teamsteem, theprophet0, someguy123, neoxian, followbtcnews, and netuoso. The goal is to help Steemit grow by supporting Minnows. Please find us at the Peace, Abundance, and Liberty Network (PALnet) Discord Channel. It's a completely public and open space to all members of the Steemit community who voluntarily choose to be there.
If you would like to delegate to the Minnow Support Project you can do so by clicking on the following links: 50SP, 100SP, 250SP, 500SP, 1000SP, 5000SP.
Be sure to leave at least 50SP undelegated on your account.