Build the model Pagani Huayra.
Hello my dear friends! It is time to tell a little about your hobby. I have long wanted to build a model of a hypercar, a serious model with a lot of details. And for a long time hesitated between LaFerrari from Tamiya and Pagani Huayra from Aoshima. Both sets have a large number of parts and a fairly high price. As a result, the choice fell on a recent novelty from Aoshima and before the New Year a set was purchased for the construction of Pagani. I didn’t really like this car, I was much more attracted to Pagani Zonda, but I don’t have to choose, and Ferrari in my collection is quite a lot. Again, I’ll make a reservation that there’s really nothing to choose from which LaFerrari in Tamiya is and Huayra in Aoshima. If you have a large enough budget, you can purchase a resin kit for the construction of Bugatti Chiron from Alpha Model. And that's all.
But go to the very history of the assembly, as I builded this
from this.
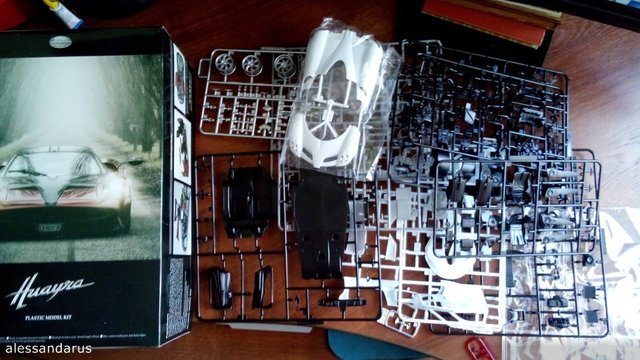
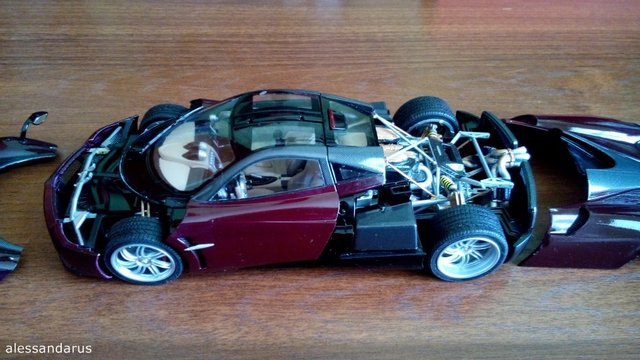
I will build Huayra without any additions only from what is given in the box with small digressions in the direction of the original car. And given us over 300 parts of which should be a very detailed model of the Italian supercar. The assembly option involves either open the hood and trunk, or closed, while the doors can open. I will probably choose the second option, even if all the painstaking work on the detailing of the undercarriage will remain closed, but somehow I want to see a car on the shelf, and not its transformer. By the way, in the set are given transparent hood and trunk, which in theory should combine so to speak pleasant with useful. Let's see in the end whether they will be used.
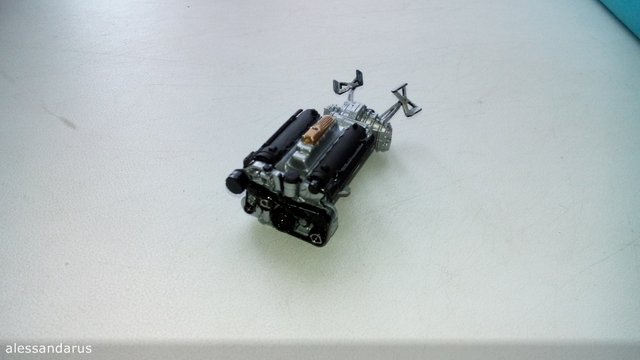
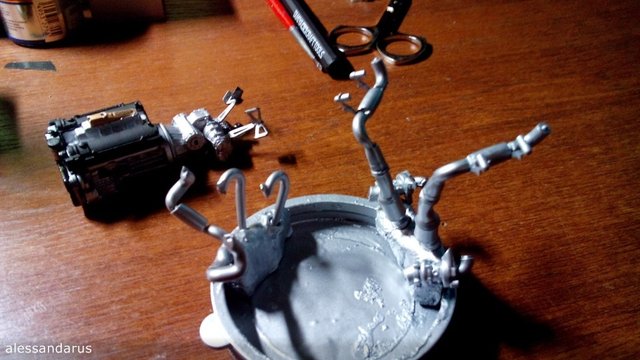
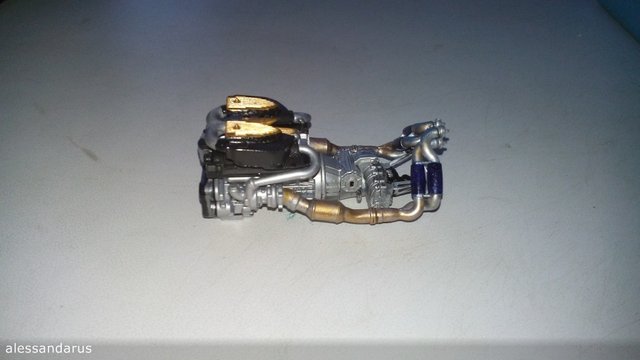
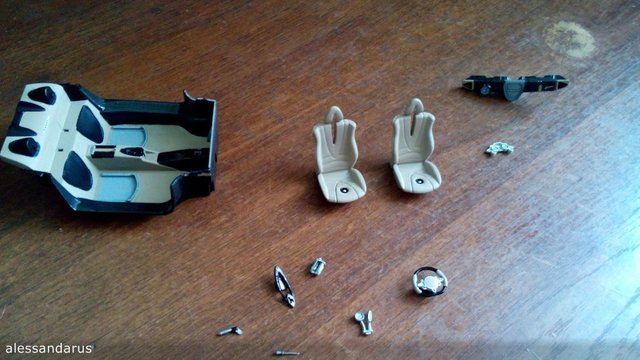
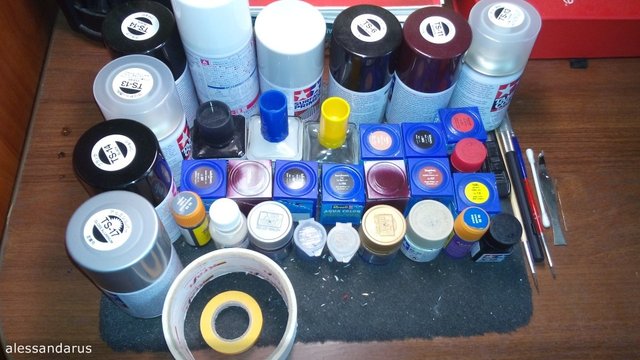
As a prototype, I will use the car that is shown on the box. I found several of his options on the Internet and this should help me to build. So let's go. As I said, the quality of parts of the kit is quite high, but still need additional processing of parts and their fitting. I start the assembly as usual with the engine, in parallel, while the parts are dry, I will deal with the interior. I will not analyze everything here in detail, you can see everything in the photo.
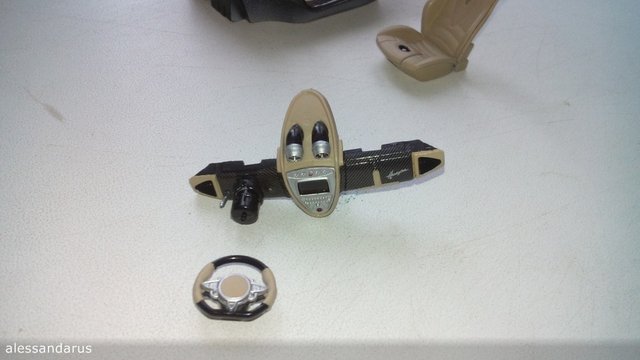
In the original, most of the parts are made of carbon fiber, so I decided to use carbon decals, which I still have from past models. Thresholds and dashboard, I also decided to glue carbon as on the original, as well as varnish them to give shine. And after a few days everything was ready for the assembly of the cabin.
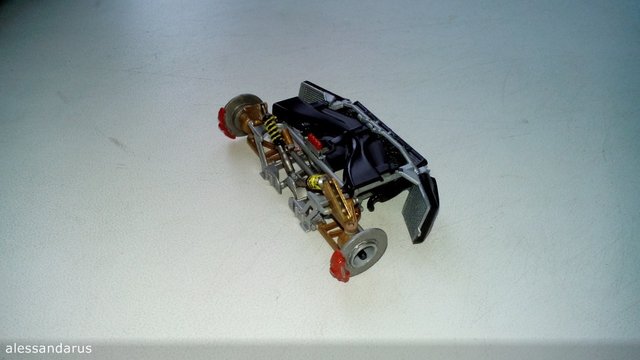
Since the cabin was almost ready, it's time to get down to the front of the chassis. It was also not so simple. At first, everything went well, but in the process of fitting the parts there were problems with their joining. Some of them had to be postponed until their final connection with the body parts.

Meanwhile, the salon was finally assembled and prepared for planting in its place.
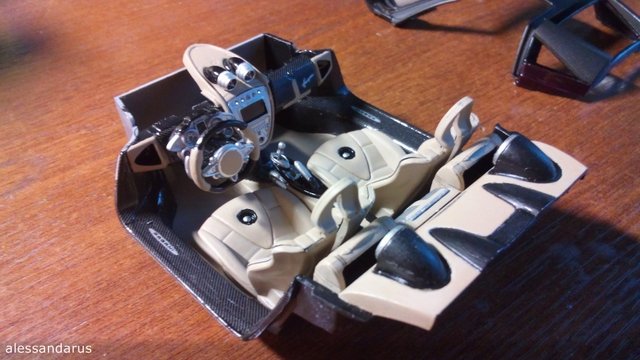
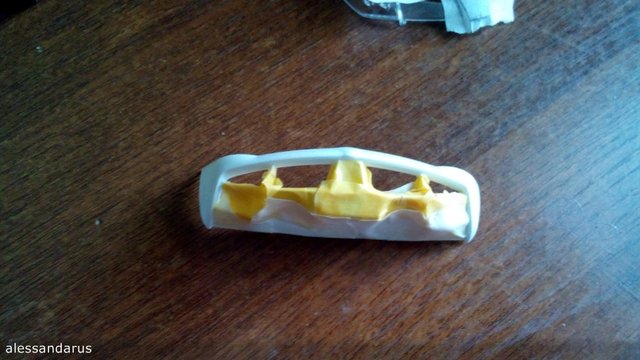
So, three parts of the interior are ready.

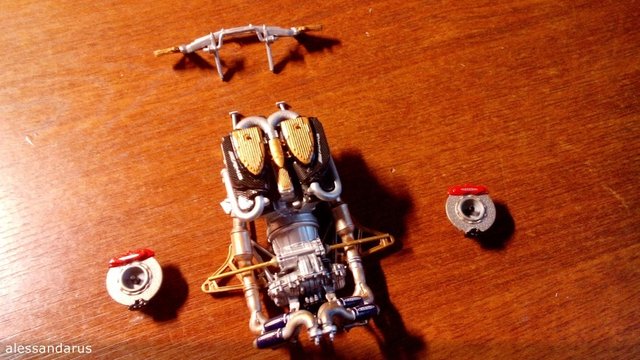
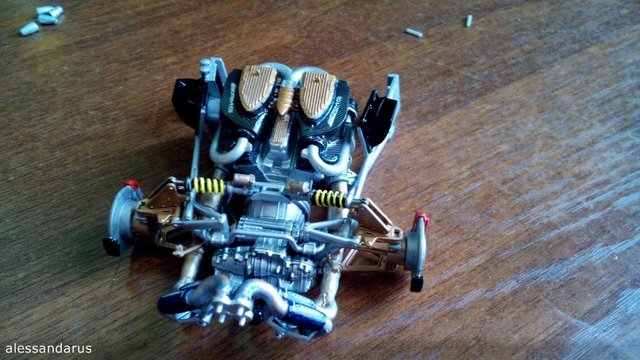
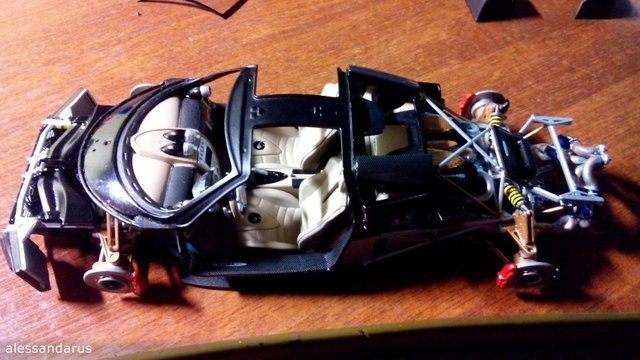
Running gear and cabin.
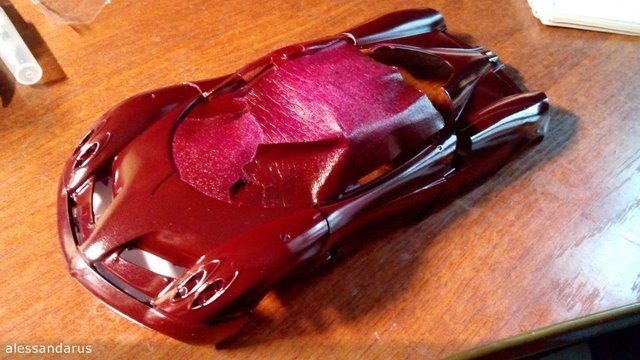
It is time to proceed to the details of the body, their fitting, processing and painting. In addition, it will be necessary to make carbon decal patterns, and this will help me with the very transparent hood and trunk that were in the set. According to them, I will try to make patterns decals that will be applied to the body after painting.
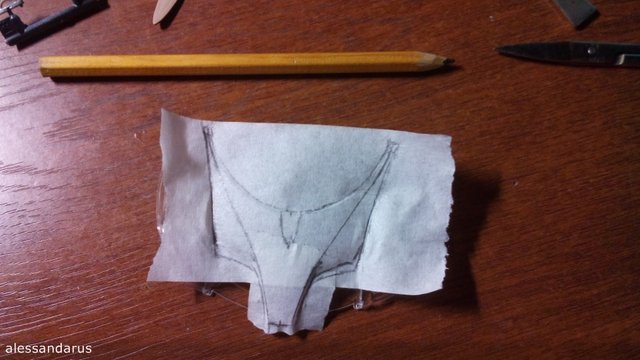
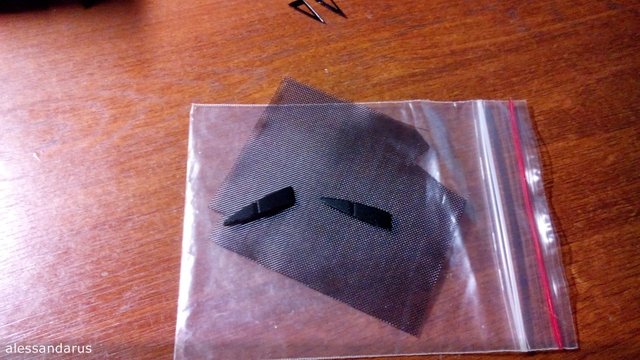
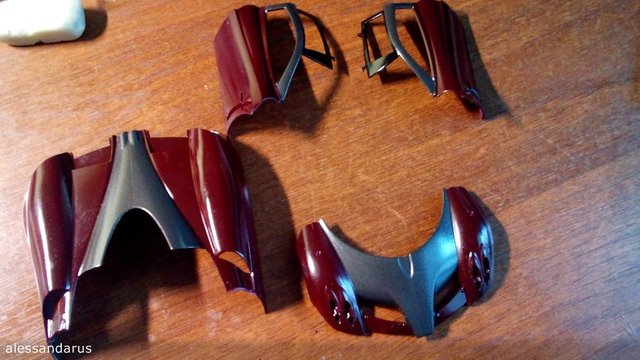
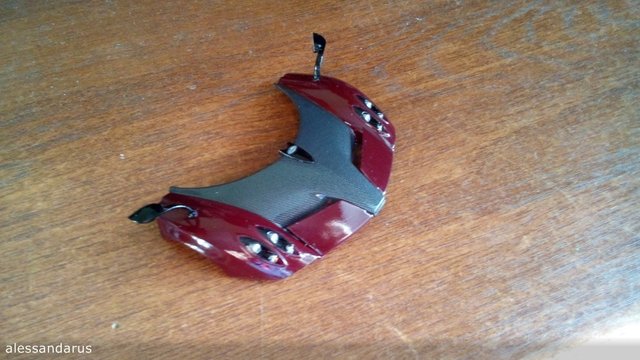
And after several hours of measurements and cut-outs everything was ready. A separate day, I decided to choose for gluing decals on body parts. And in the process of gluing, it was found that the decals of the hood were not exactly measured and had to be edited. It all took about two days, but in the end I was pleased with the result. And now, when the most difficult part in my opinion has come to an end, it is necessary to prepare the parts for the final assembly of all the parts together. I still have side skirts, luggage compartment details, fenders, glazing, headlights and something else on the little things. All this is necessary to paint and adjust to the main body.
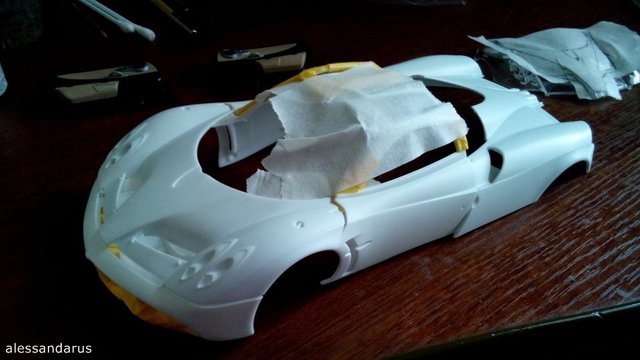
And then came the moment when it is necessary to put everything together. To begin with, I drive all three parts of the car. All in their places. And I can slowly glue.

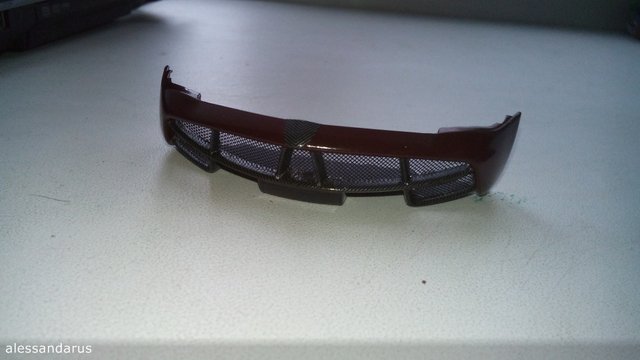
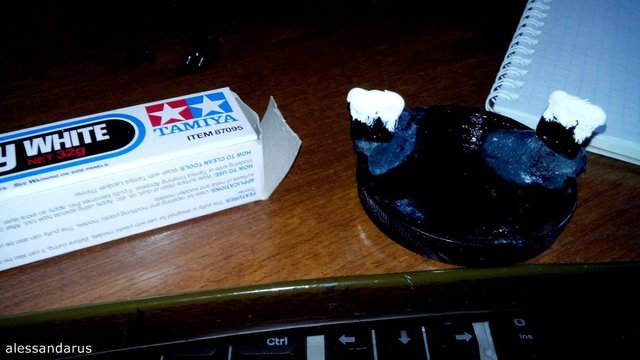
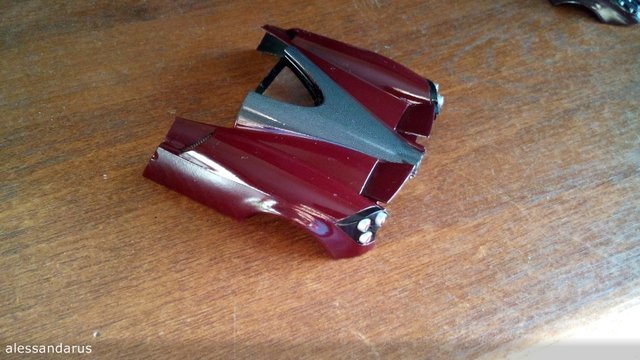
However, everything went well for the time being. When I installed the rear bumper in its place and the hood found a huge gap between them. Apparently Aoshima’s engineers decided that I would assemble a version with open parts, since this gap is not visible in the open. And this is not my joint, because the original detail of the rear bumper is lower than it should be and it immediately catches the eye. Leave the hood open is not very desirable, so we go to radical measures with putty. I will try to increase the missing millimeters of detail.
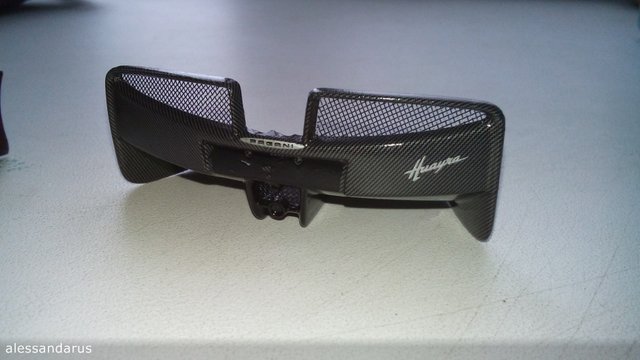
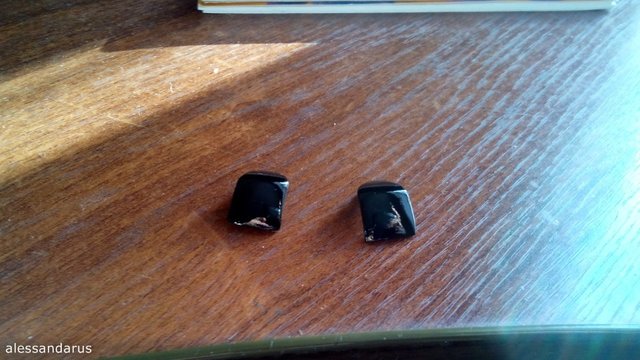
All this will take a lot of time, but for the time being I will prepare the remaining details. And now, after a week, the details of the rear bumper were ready and installed into place. During this time it was installed glazing, doors, lights and more.
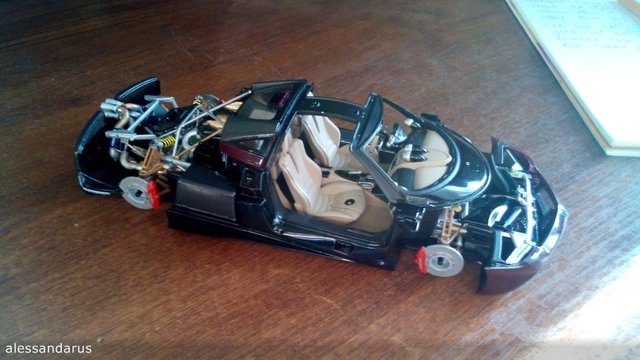
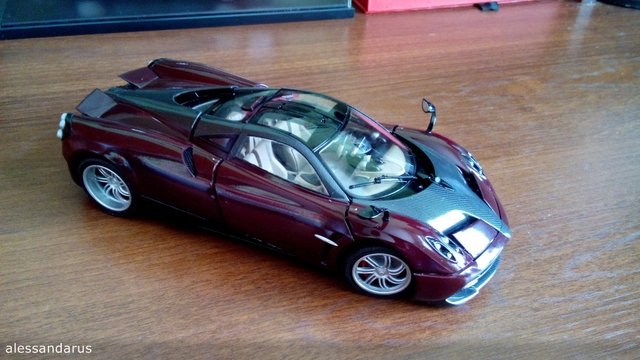
And that's what happened in the end.
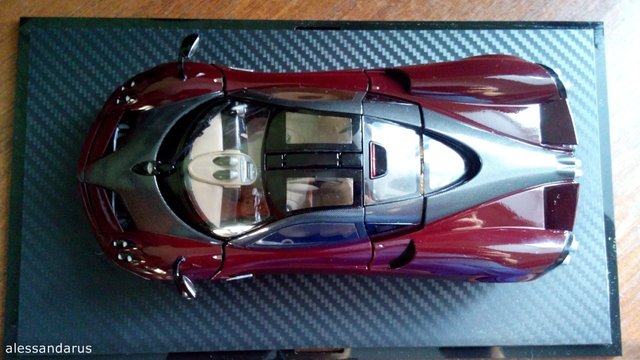
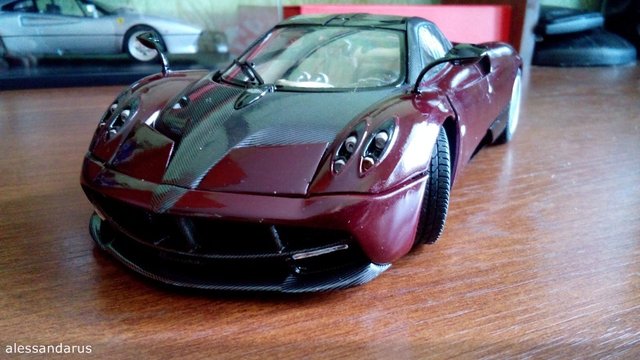
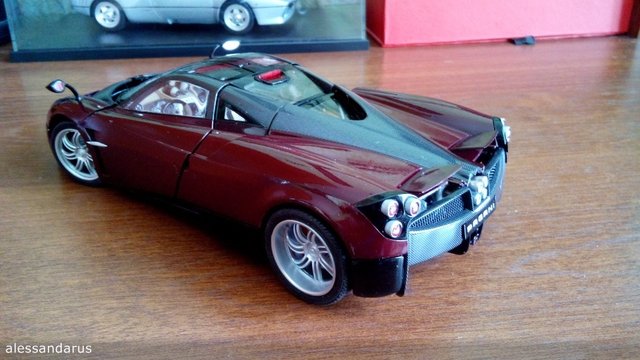

So let's summarize. This model cannot be called ideal, although I was very keen on this. Due to the fact that all the details of the car open in it a lot of large slots, which can be reduced only by gluing these parts, but I do not want to do that. Nevertheless, I am satisfied with the result, the assembly process is very fascinating. For the construction took a huge amount of paint, half a sheet of decal carbon and about one and a half months of work.
Thanks for watching! I hope it was interesting.
My previous work:
Great job bro!!!
Ich finde das richtig gut! Leider habe ich kein Händchen für solche Arbeiten.
отличное хобби. мой 1 цент с тобой)
Благодарю!
Congratulations! This post has been upvoted from the communal account, @minnowsupport, by alessandarus from the Minnow Support Project. It's a witness project run by aggroed, ausbitbank, teamsteem, someguy123, neoxian, followbtcnews, and netuoso. The goal is to help Steemit grow by supporting Minnows. Please find us at the Peace, Abundance, and Liberty Network (PALnet) Discord Channel. It's a completely public and open space to all members of the Steemit community who voluntarily choose to be there.
If you would like to delegate to the Minnow Support Project you can do so by clicking on the following links: 50SP, 100SP, 250SP, 500SP, 1000SP, 5000SP.
Be sure to leave at least 50SP undelegated on your account.
Sup Dork! Enjoy the upvote!!!