How to Create Beautiful Henna Tattoos
Henna is a lovely and refreshing natural herbal dye. It has a cheerful and refreshing reddish colour, and has a distinct lovely uplifting fragrance. The colour of hanna lasts on hair for months; on skin it lasts for only two to three weeks.
It is very popular with women in Middle-eastern, Arabic and Indian cultures. Arabic, Turkish, Persian, Afghani and Pakistani women use henna to dye hair and make beautiful tattoos on skin.
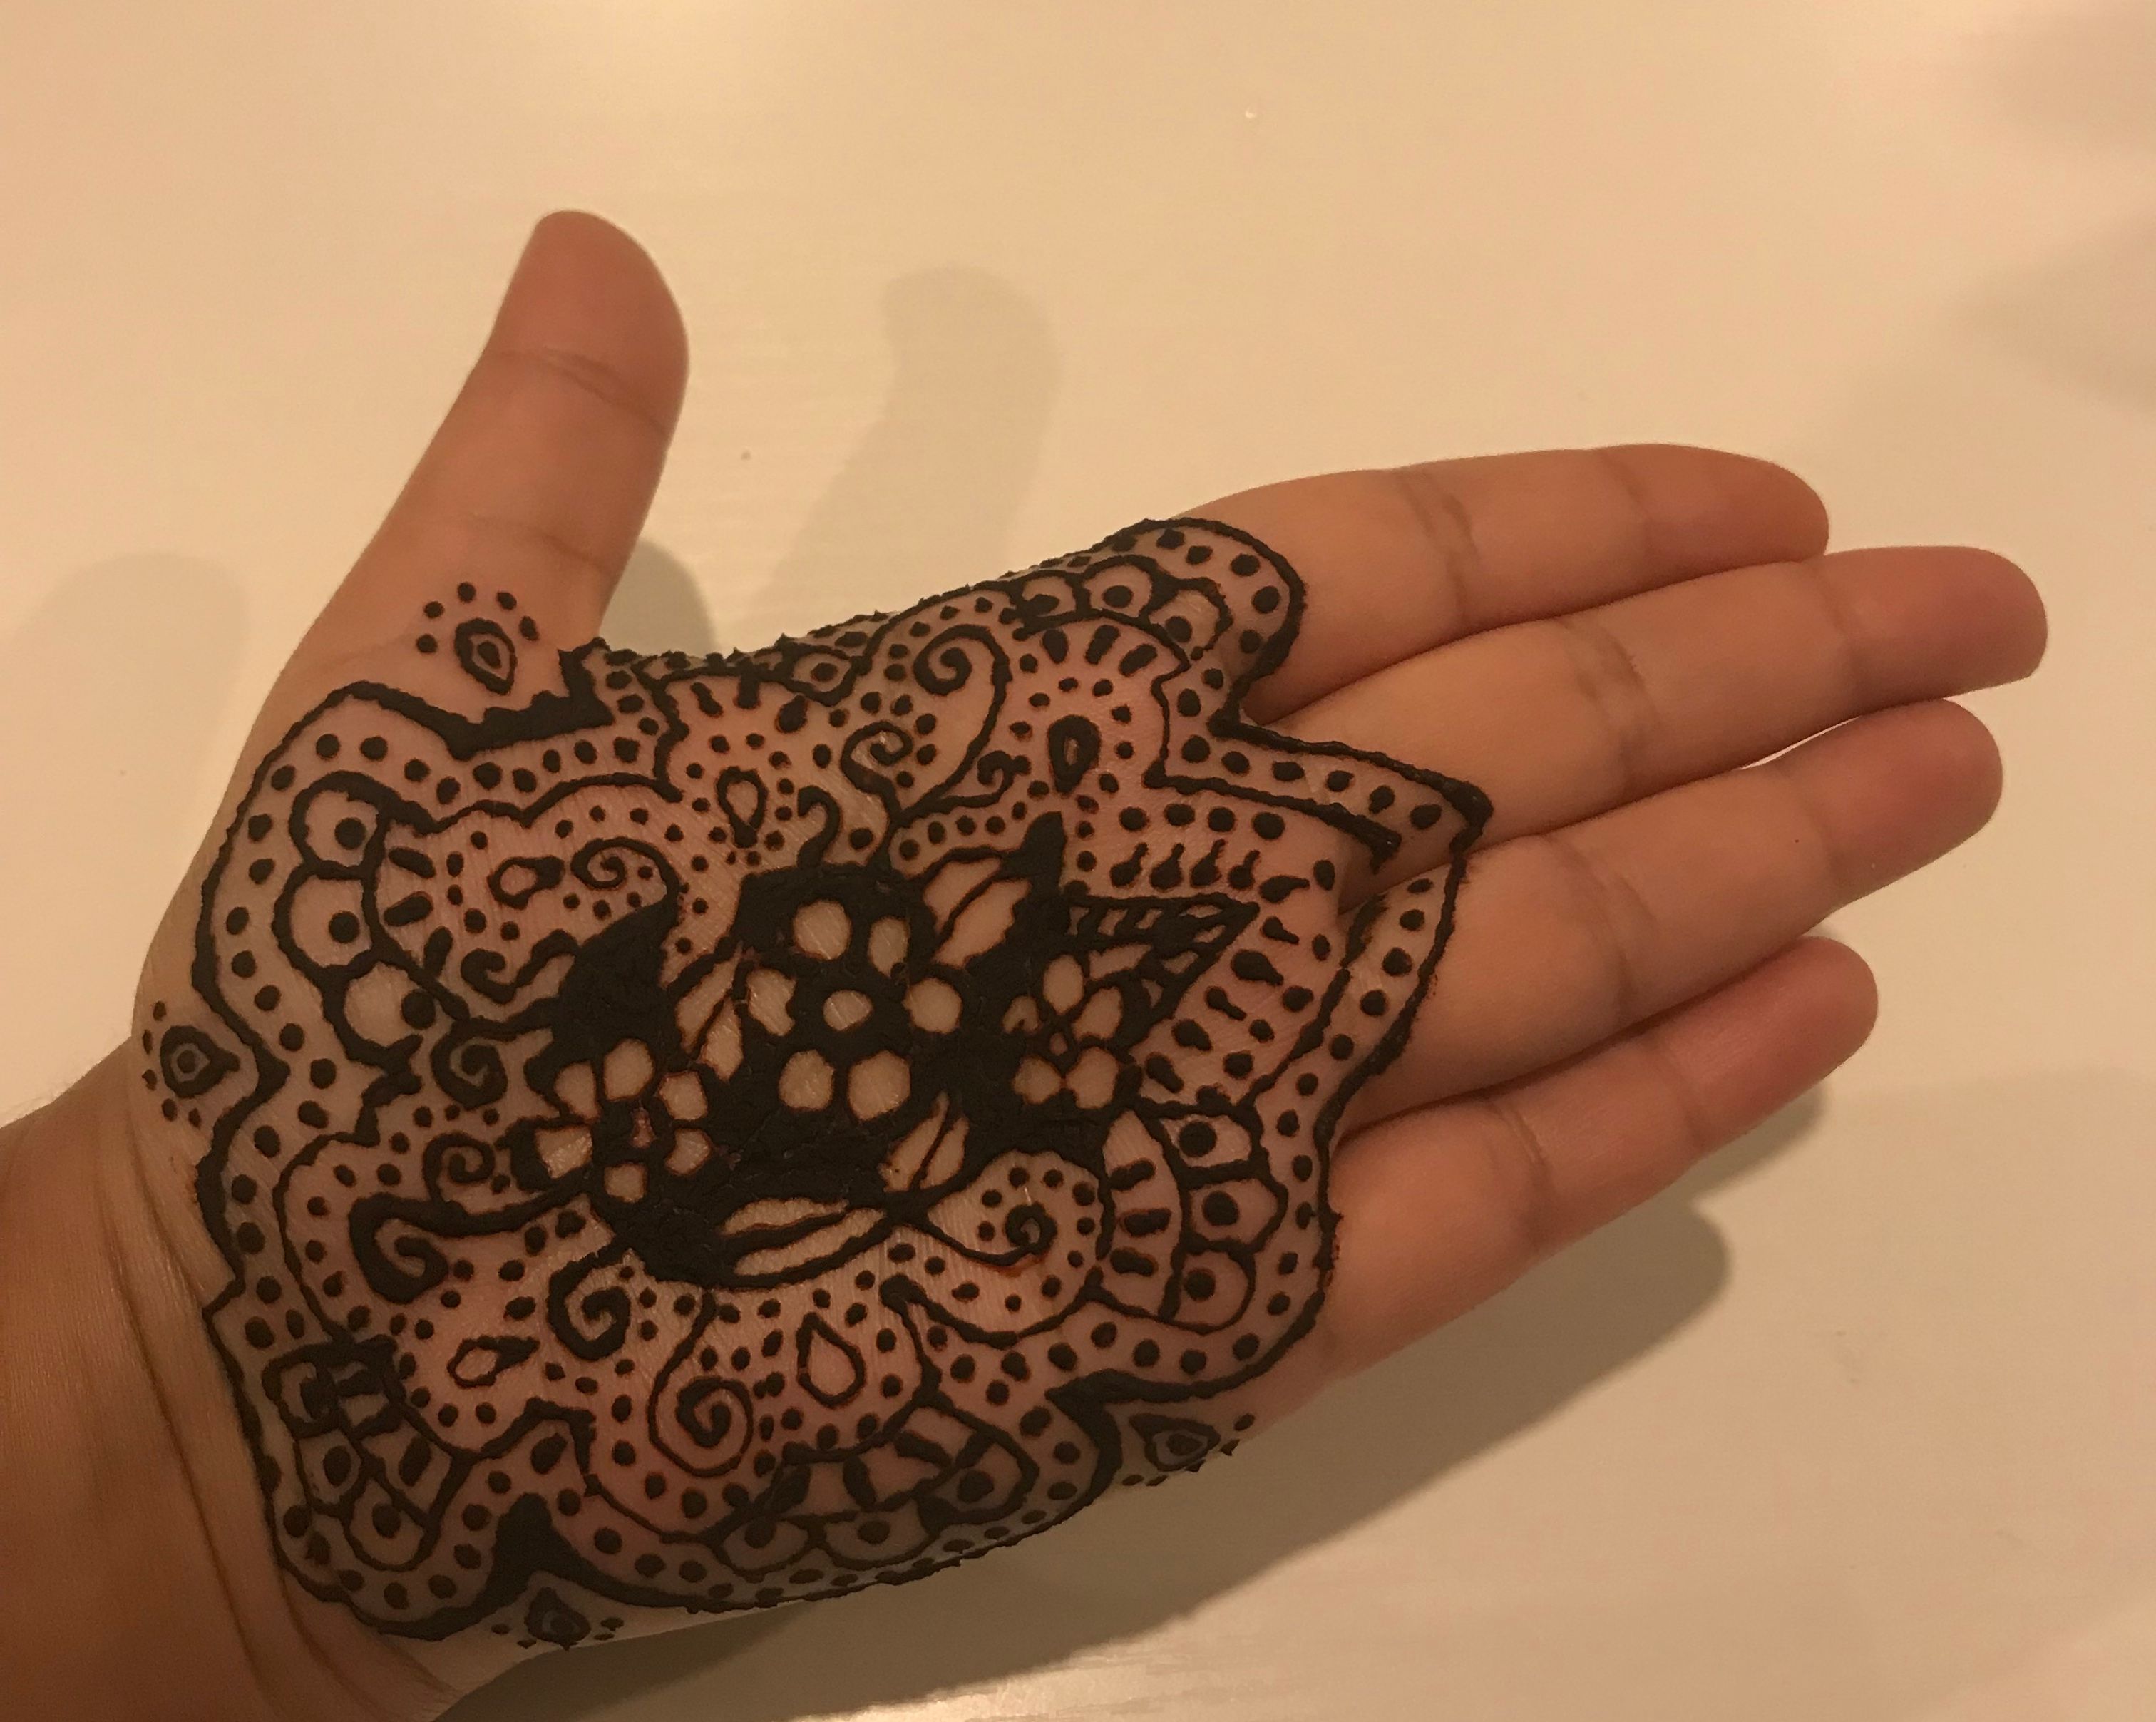
I made this lovely henna tattoo on my hand.
Now I am going to explain how you can create a lovely tattoo, like this on your own hand by yourself :)
Step 1:
First you need to purchase a pre-mixed hanna cone. You can purchase it from an Arabic, Pakistani or Indian grocery store in your area. If you don't have any such store around your area, you can purchase it from eBay. It will cost you $1 or $2 , depending on the size of cone , and the place where you purchase it from.
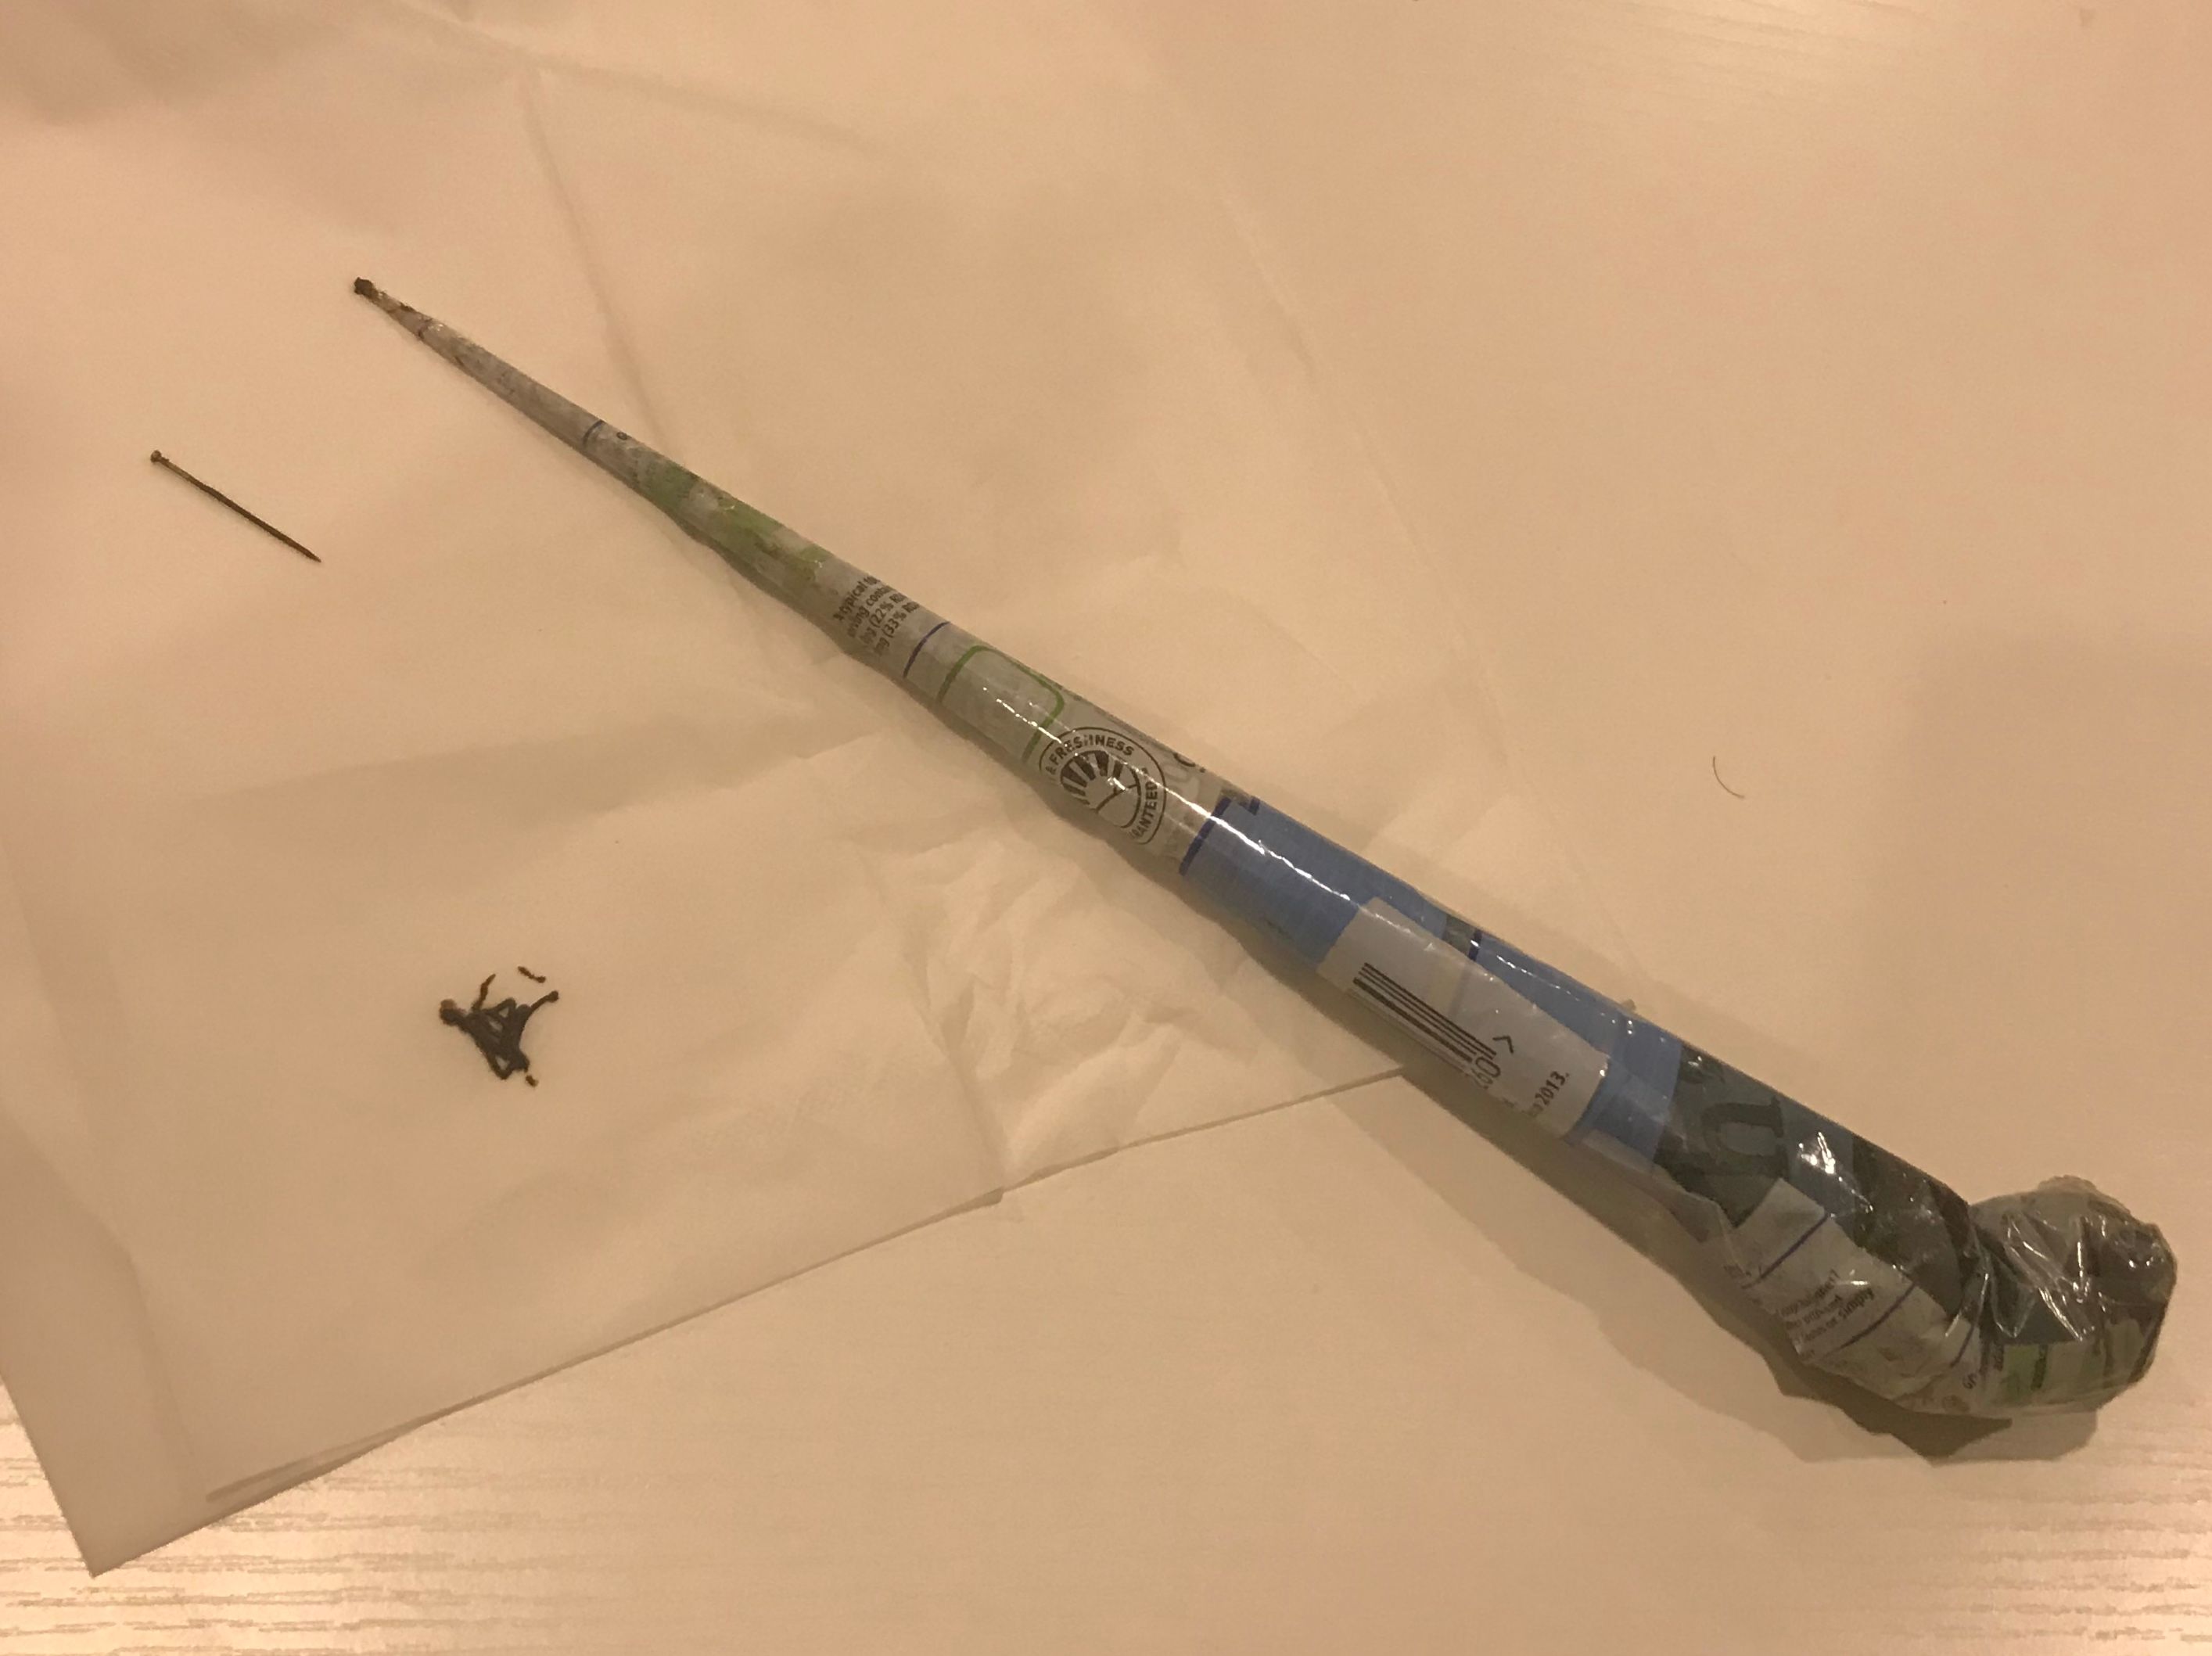
Step 2:
Sit on a nice and comfortable sofa. Place two tissue papers on table in front of you, to protect the table from Henna colour. Now take the pin out of the tip of henna cone. Get some henna out of the tip by pressing the cone, to make sure a nice and even flow of henna, before applying it on your hand.
Clean the tip of the cone before applying it on hand.
Step 3:
Start Making a design on your hand.
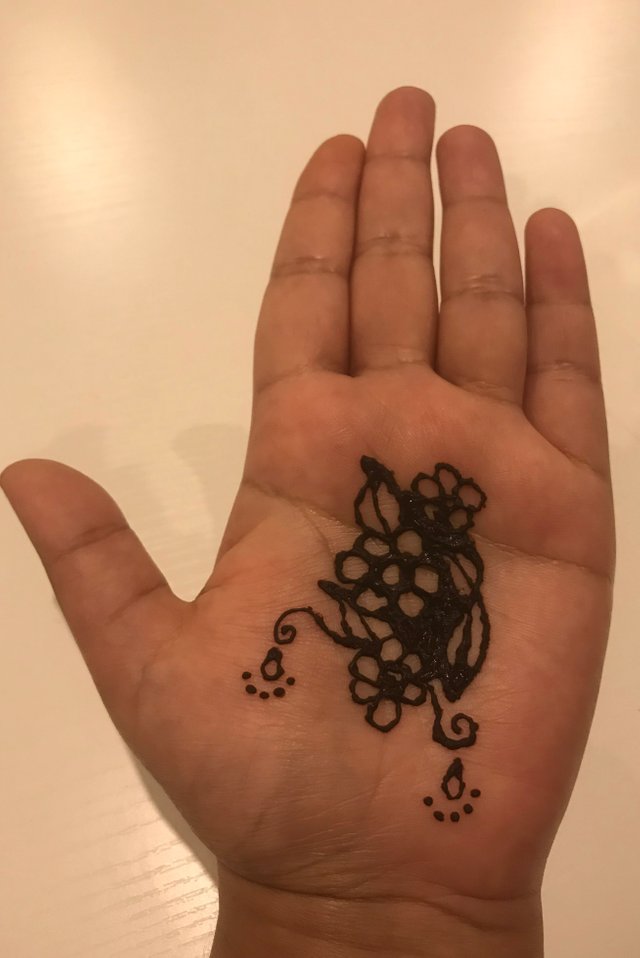
You can make whatever you wish to make, or whatever idea comes to your mind. You can start making flowers like I did, or you can start making geometrical shapes and patterns.
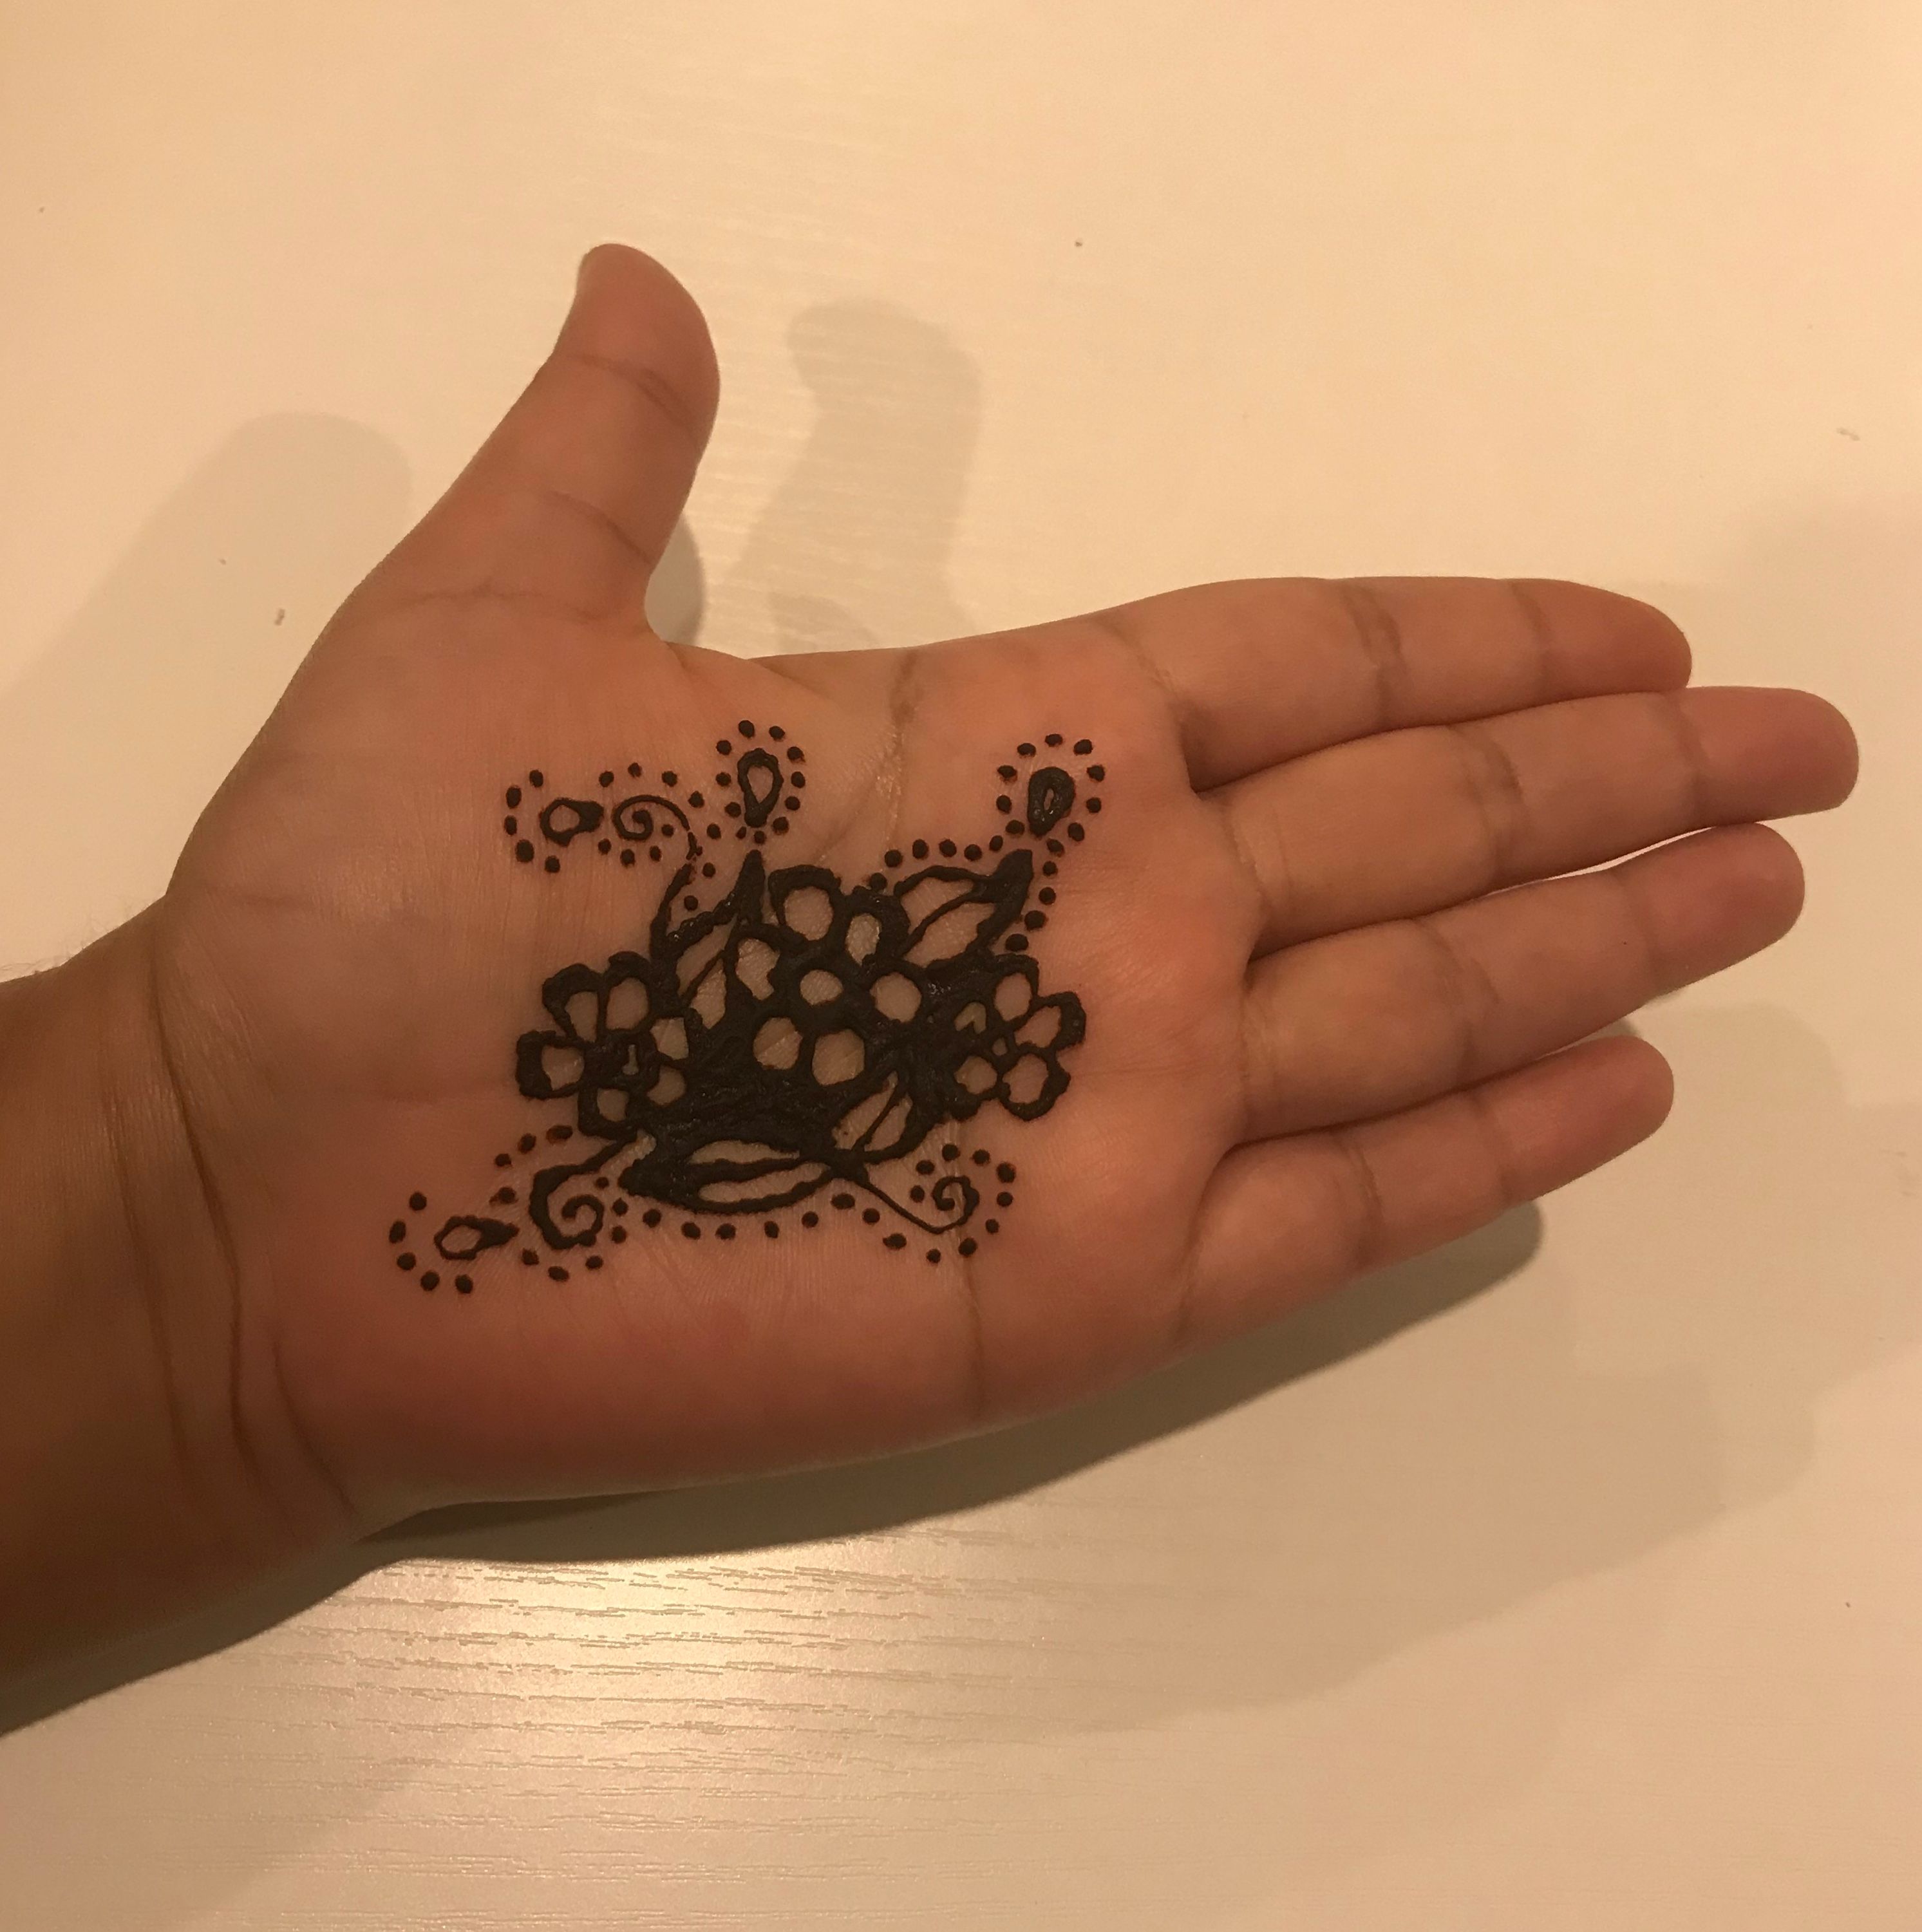
You can keep making the tattoo by repeating the design/pattern you initially made, or you can make variations in the design by making different varieties of the same thing.
For example: if you started by making a flower, you can proceed by making different kinds of flowers, leaves or petals around first one , or you can proceed by making same kind of flowers. It is up to your own choice and mood.
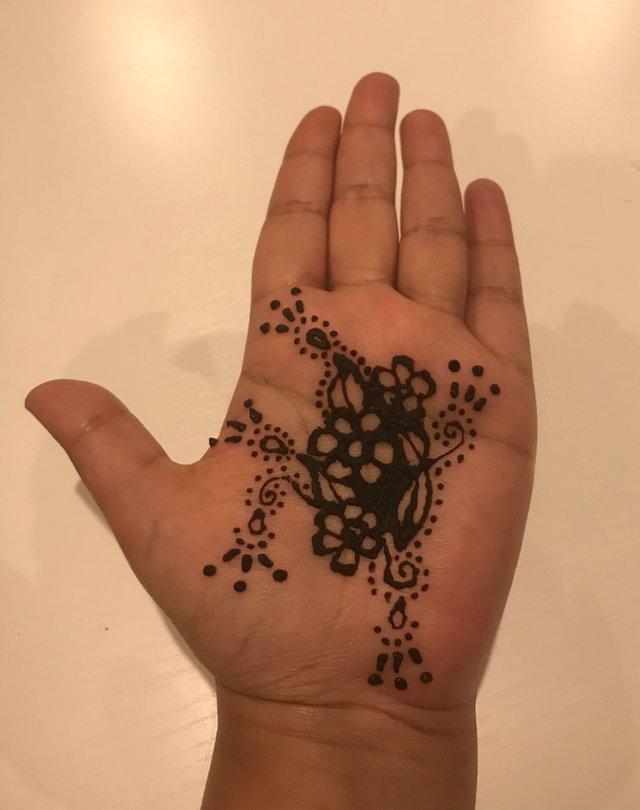
The sweet and simple, small dots look really pretty in any henna tattoo.
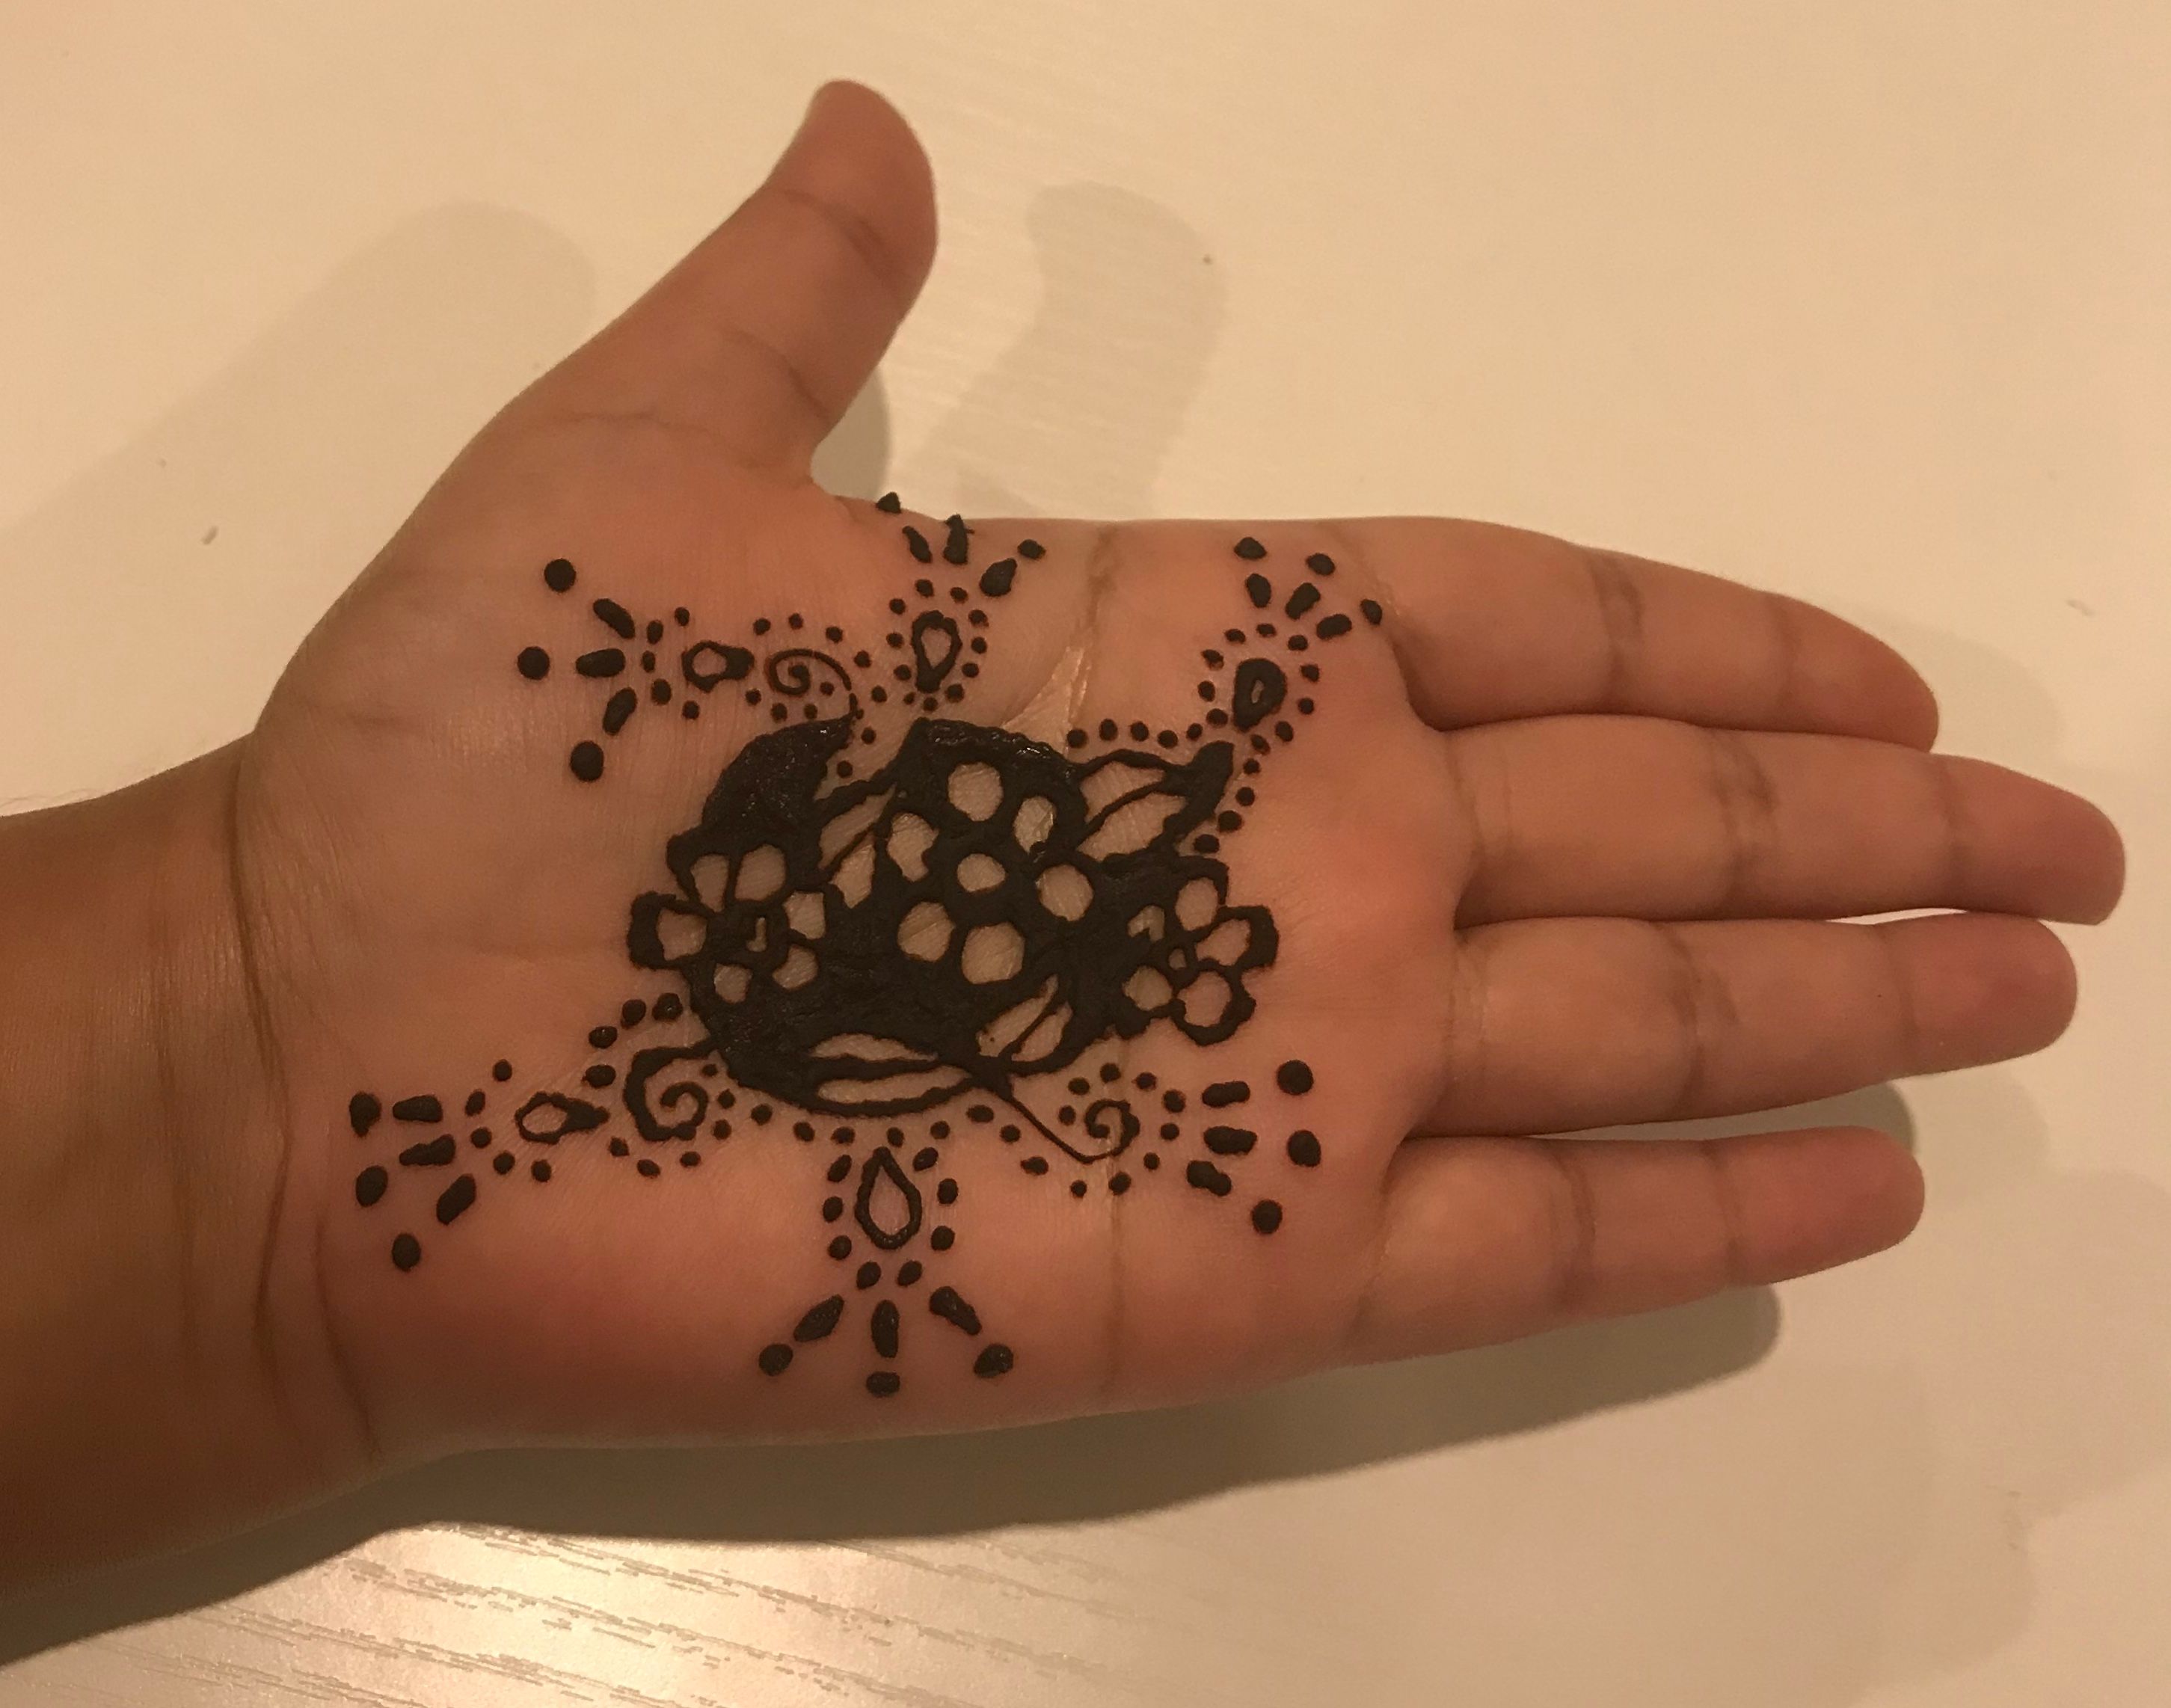
A great way to extent a henna design, is to make dots around the initial design.
An other great way of extending the design is to draw an outline.
Combining the dotting and the outlining does the best trick.
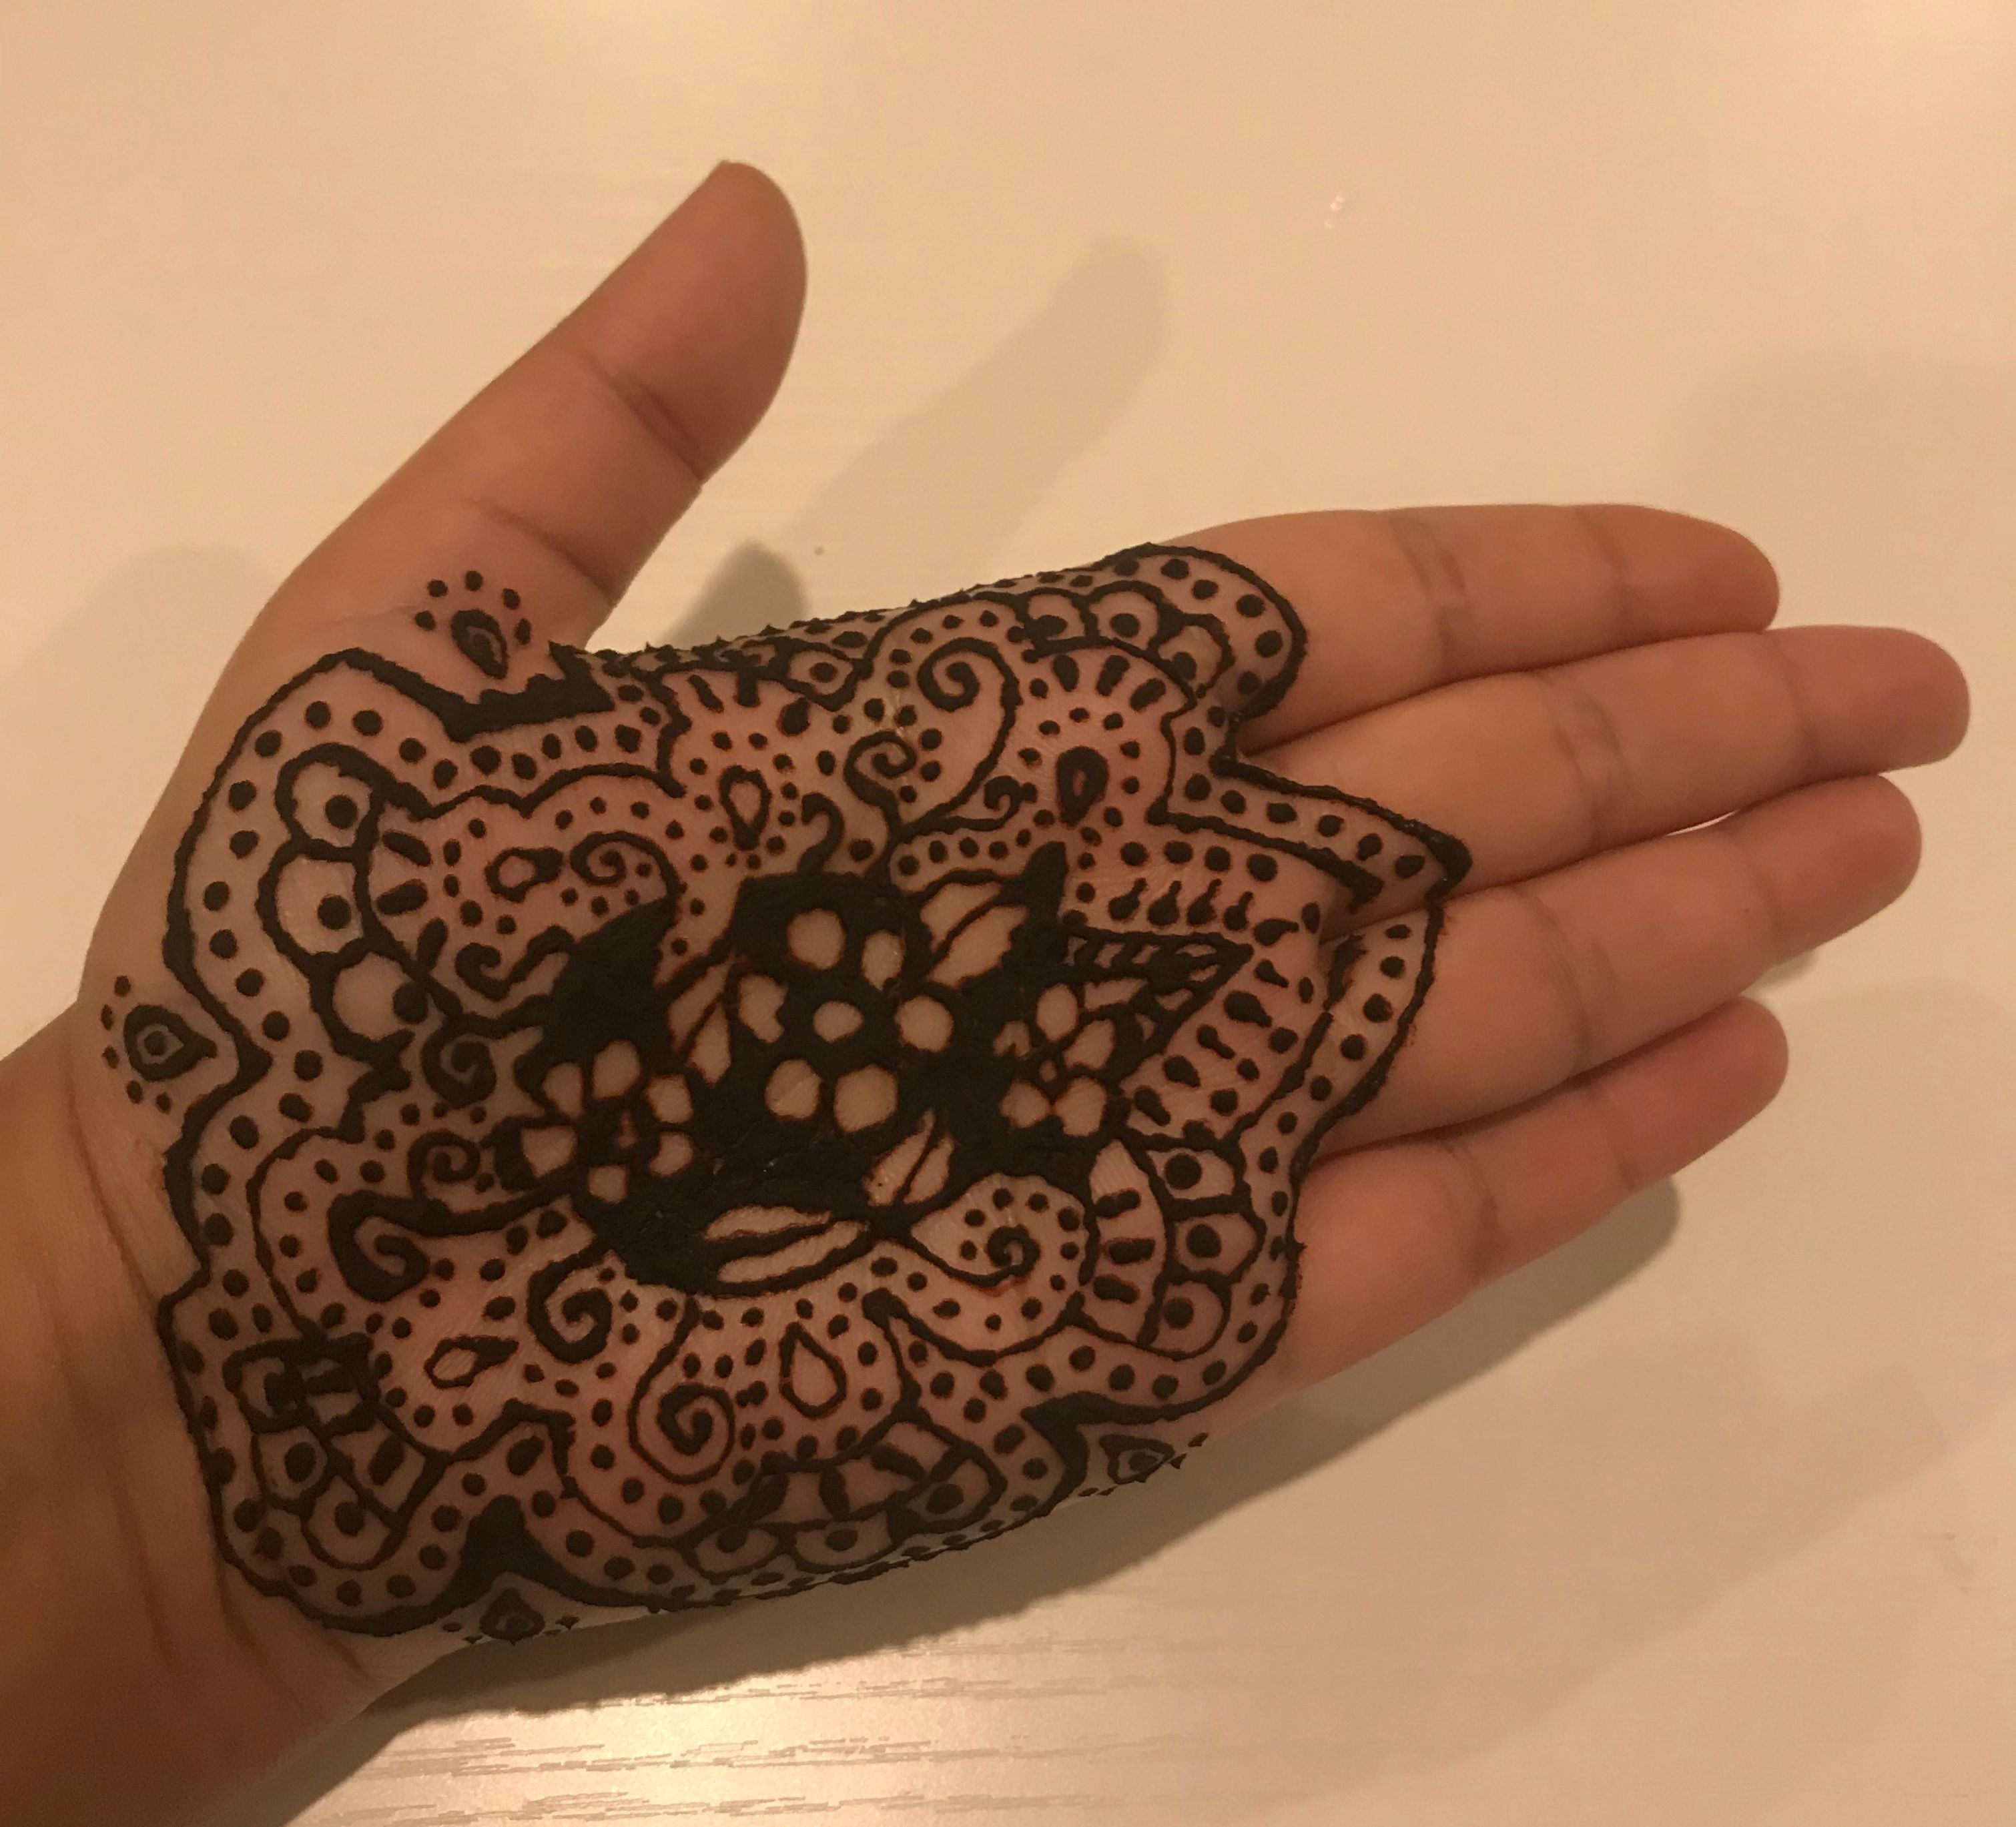
In this henna design, I made dots around the initial design and then I made the outline. Its looking really beautiful.
The tattoo can be further extended by adding another layer of dots and another outline. Its totally up to you, you can finish your design whenever you want, depending on how large or small you want your henna tattoo.
Step 4:
After finishing the henna design, leave it on your skin, to dry, for two to three hours.
The longer, you keep it on your hand, the stronger its colour will be.
Step 5:
Wash your hand with water.
Now you have a beautiful and vibrant tattoo on your hand.
Enjoy looking at the vibrant colour and the the beautiful art on your hand , that you have created by yourself.
If you liked this post, please remember to upvote, comment and resteem.
really nice work.
Thank you.
sister it is looking awesome on your hands
Thanks brother.
:)
Lovely design, its great to be inspried with such a beautiful design and that nice instructions works like icing on cake!
thanks
Keep it up, u r good with the upvotes
thanks.