#AgmalArt - Step by step my GoldCrast Bird with a colours
Step 1 - The "Planning step"
So i thought i'd show you guys a little painting stage by stage and explain each step and thinking behind it as i go over the course of a few days. Bear in mind that this is by no means the only way to use watercolours, its just one of many, but it is a method that i have found works well for me, and i'll be sharing a few tips and tricks along the way... So here is step 1 !! The "Planning Stage"
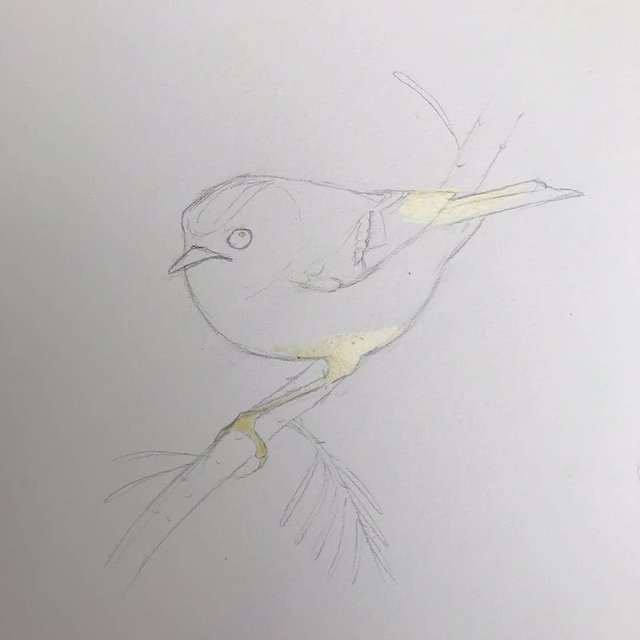
This is the point where you start thinking about your subject. Before you event put pencil to paper, you consider not only what animal you want to paint, but also where it is likely to be found, what kind of characteristics it display, what it's natural behaviour is etc. This helps you to capture your subject in a realistic manner and environment (if realism is what you're going for of course). Once i have familiarised my self with my subject, the. I start laying down a few light pencil guidelines, i also put masking flyid on any areas i want to keep white for the time being. Then i'm ready to start painting !!
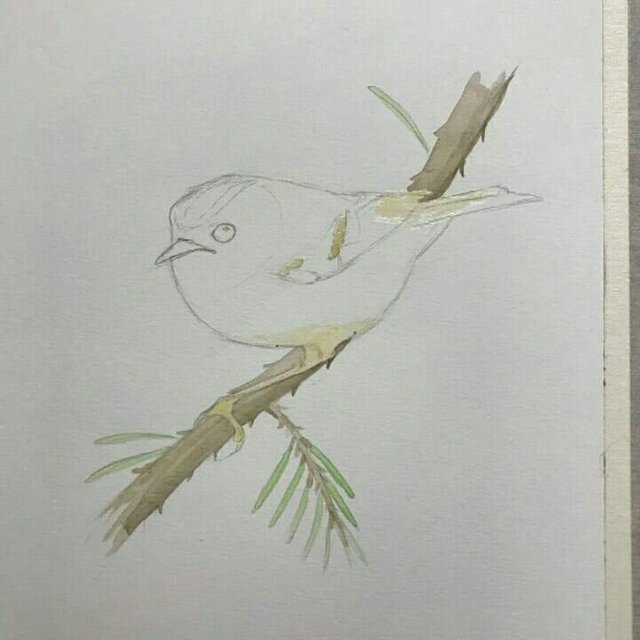
Step 2 - The "Wash step"
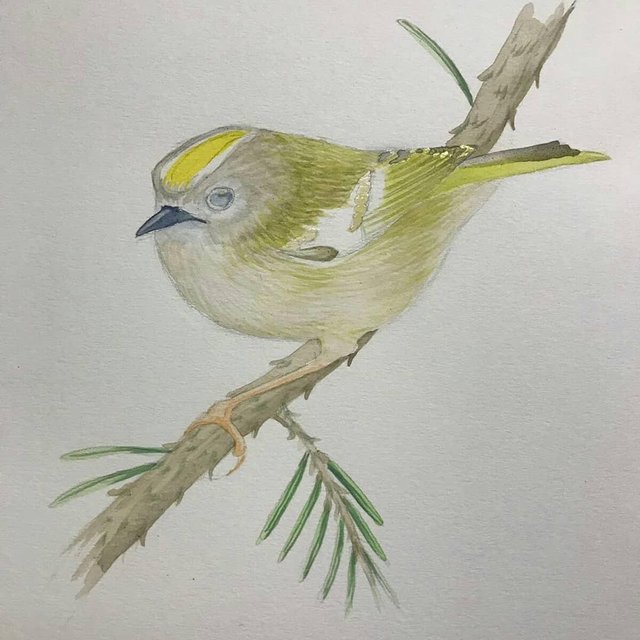
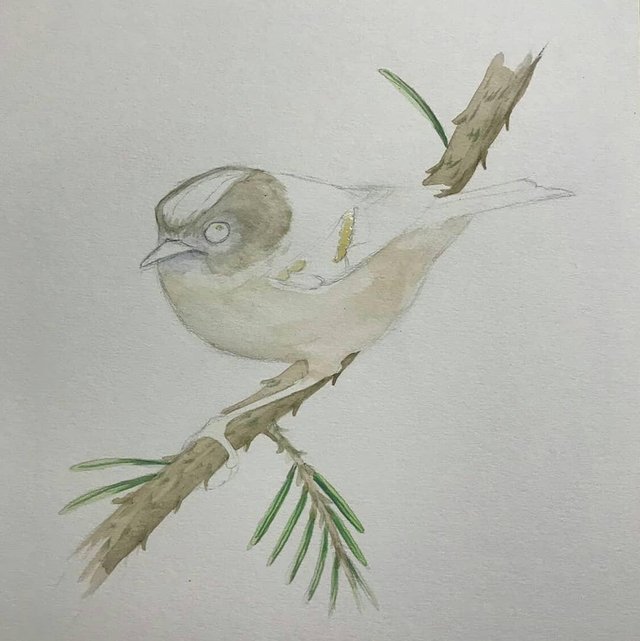 Once i have my pencil guidelines and masking fluid where i went them, i start laying down some washes of colour, starting with the palets gue first. I always work from light to dark when using watercolours, i usually do a bit work on the branch (or whatever else the bird might be perched on) before moving on the bird itself.
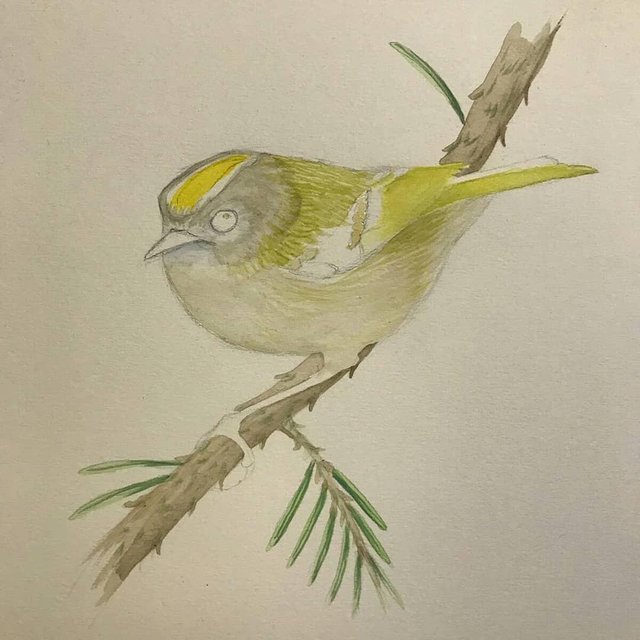 At this point, i sometimes lay down some additional masking fluid, or remove some that i already laid down to keep the lines clean while i put down an additional layer of paint onto the branch. I'm not too picky about details at this stage, it's just a case of getting the base colours how i want them.
Step 3. Layering
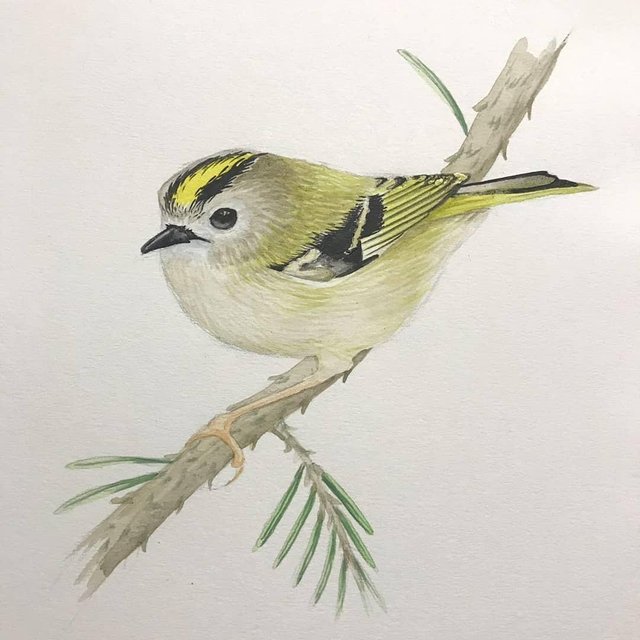
Onions have layers, ogres have layers, paintings have layers too. Again, starting with the lightest layer first, i begin building up the colours, working in more detail at this stage to add texture and depth. It's important to let each layer dry completely before adding another on top, this is often where the need for patience comes in. But a hairdryer works too, this picture shows some of the light layers and see a few darker layers beginning to added above.
Step 4. Darkest shades
This is one of the bits i enjoy the most. Until you put the darker hues in, the painting tends to have a subdued, sometimes pastel - like feel, (colours-wish) but when you start to add the darker shades, the colours really start to pop.
You might thing that this is the last stage, but it actually isn't for me putting the "darks" down only heralds the beginning of the end.
And one more step to go ... yeaaaaa !!
Step 5. Refining and finishing touches
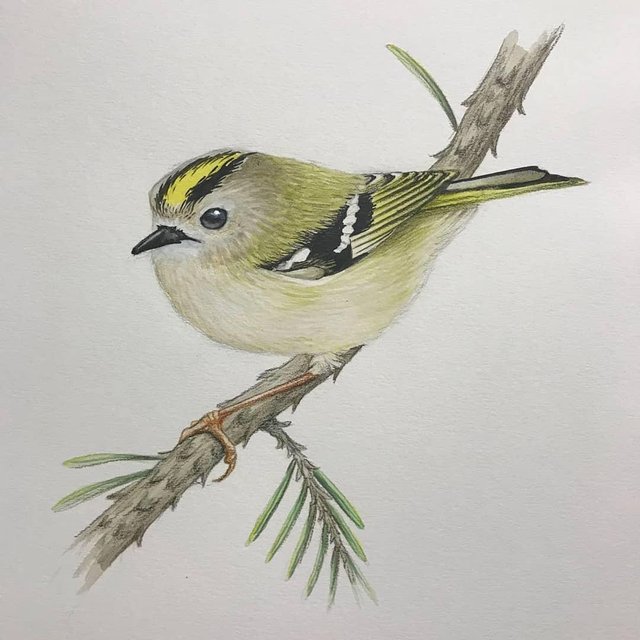
Once i have finished putting all of the layers down, i remove the remaining masking fluid, touch up some of the colours, and finally i like to add just a little bit of prismacolour pencil here and there, usually not on the bird itself, but i find it gives a nice, grainy texture to the branch (if that is what the bird is perched on) and adds a couple of nice, sharp, clean lines in places. I try not to play arround with it too much though, as i can easly overdo it at this point, and spoil the whole thing !!
Once i am happy with the result, that's pretty much it..
Aaaaand prestooo !!! My goldcrest is finished !!
Thank you for giving me comments all of you is an input and motivation for myself. Stay tuned for my next post. And do not forget to follow me @agmalirsadi
bright!
Thanks