GRAPHICS DESIGN - HOW TO CREATE AN OPENED HEAD
The title sounds weird right? Well, I thought of a better theme, I just had to settle for this, "an opened head".
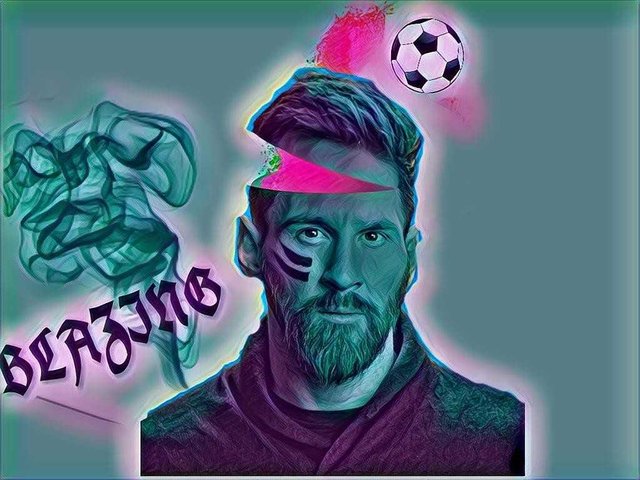
If you haven't discovered who is on the image, I'm saving you the stress, that's Lionel Messi. I've always wondered what goes on in his brain. His talent is simply inescapable. Football requires thinking and calculations, and how fast he does it amazes me.
Then, I thought of something, when opening that brain of his, football will surely be the first thing popping out. Then, I designed my thoughts.
I will be explaining how I did it.
The real image

Source
Tools Needed:
- A mobile phone or a Laptop
- PicsArt App. It's available on every OS
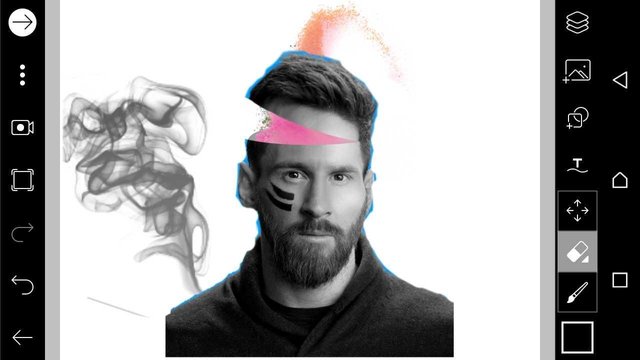
First, we need to remove the image from that background. It doesn't look cool that way. It's just like a passport.
To do this, launch the App, find the image and click on edit. Click on "crop out" and crop out the image.
It might not be perfect, but it should be at least 60% perfect. You crop it out by shading it as shown below:
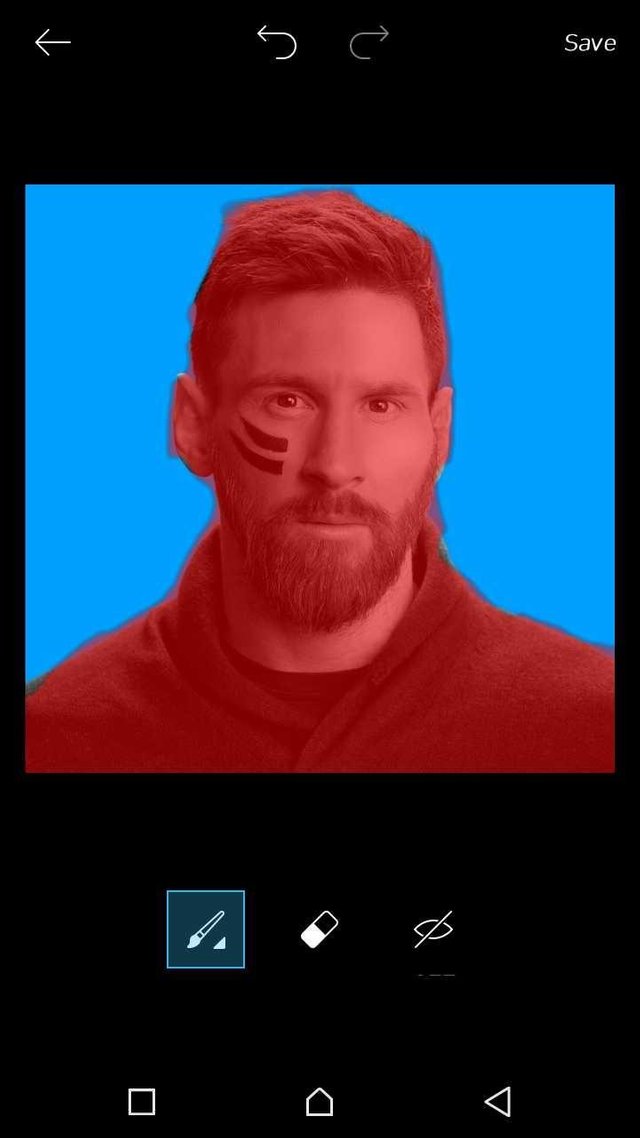
Crop by shading
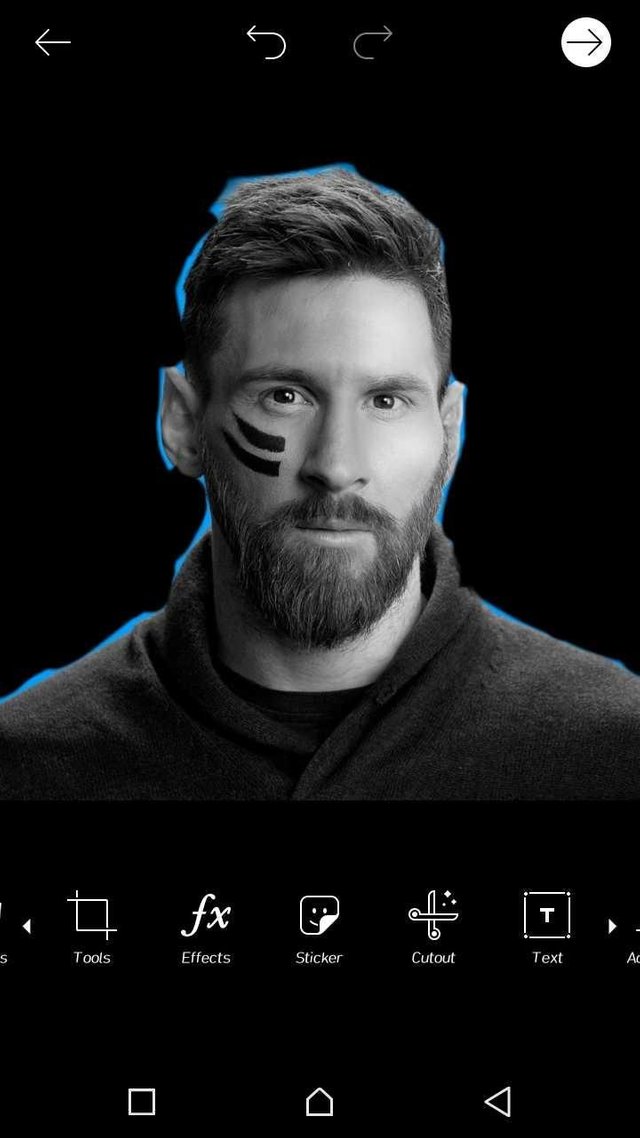
Result from cropping
Now, we have our image. It's like a clip art now. PicsArt calls them stickers.
Next, Go to the homepage, click on draw.
Choose a background size, and continue.
Let me walk you through the process.

Step one
Step two
Step three
Step four
Step five
Step six

Step seven

Step eight
Step nine
Step ten
Step eleven

Step twelve
Step thirteen
Step fourteen
STEPS
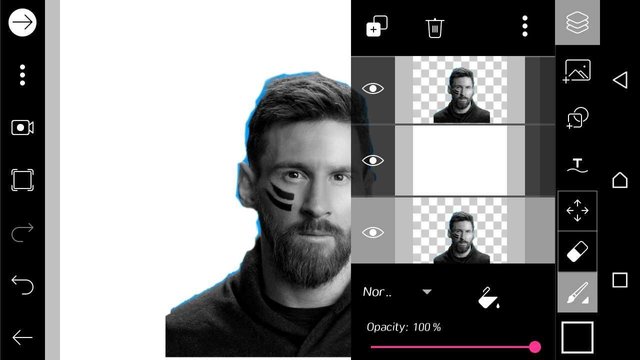
Step 1: Select the image and place it on your white background.
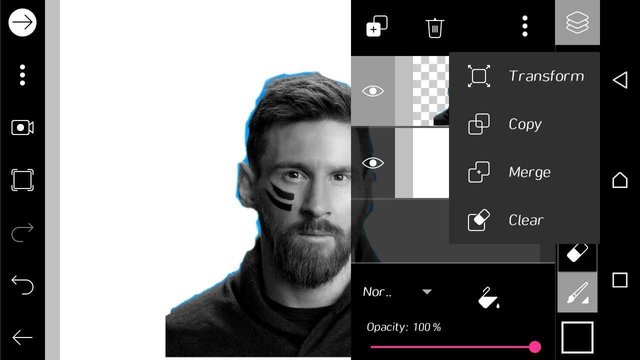
Step 2: Click on copy, your image will be replicated. The new image will be on top.
Step 3: Drag the new image down and lock it. The eye symbol at the edge is what you should click.
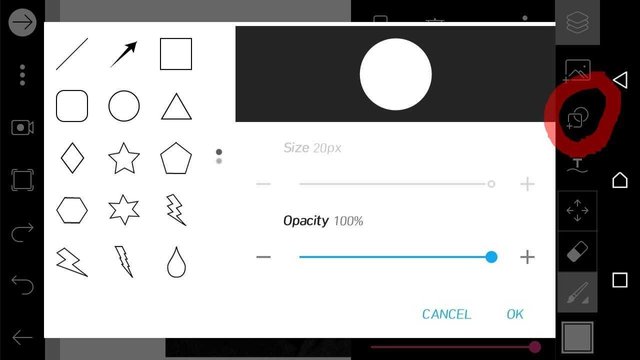
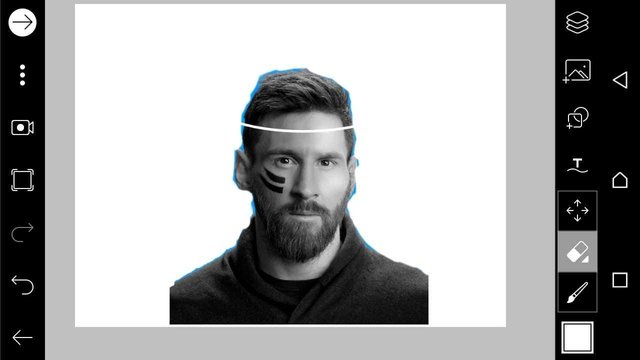
Step 4: Click the circled icon and select a shape. You need a circle.
Step 5: Place the circle on the head, the part to be opened.
Step 6: Click on "Merge" and merge the two images together. Reduce the opacity to 60% at least. You need to see the part where the circle is placed.
Step 7: Choose a rectangle and place it on the other part of the image. This way, both parts are divided.
Step 8: Select a circle and click on stroke, the circle in the image above will be displayed. Place it on the head you want to open.
Step 9: Click the cleaner icon and erase irrelevant marks made by the circle. The line on the head is the only mark needed.
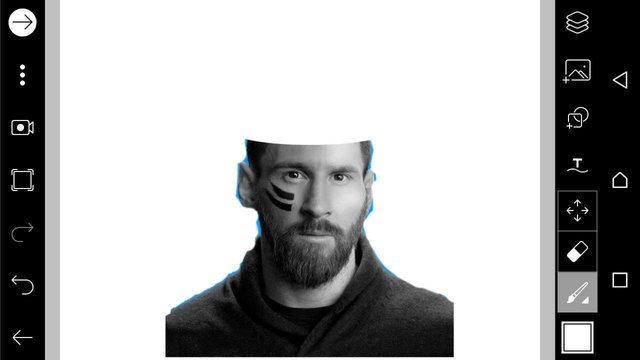
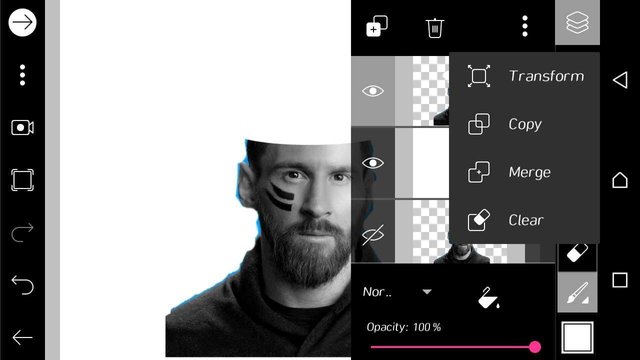
Step 10: Click on "transform" on the menu, you will be able to move the uppert part of your division.
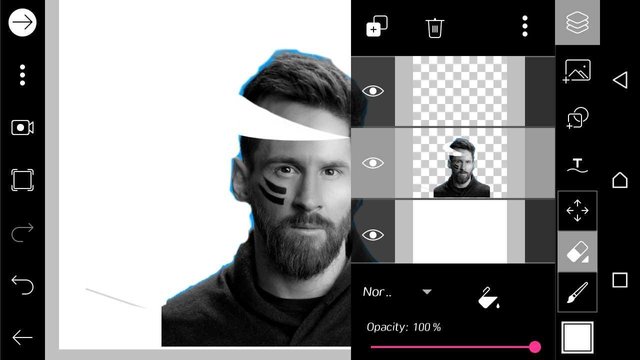
Note: Both parts need to be in different layers. To create an empty layer, click on the "+"/symbol at the top of your menu.
Same image is reproduce on every layer. But, you can perform different functions on each layer.
The transform should be clicked on the layer you placed the opened head. With this, you can move the head.
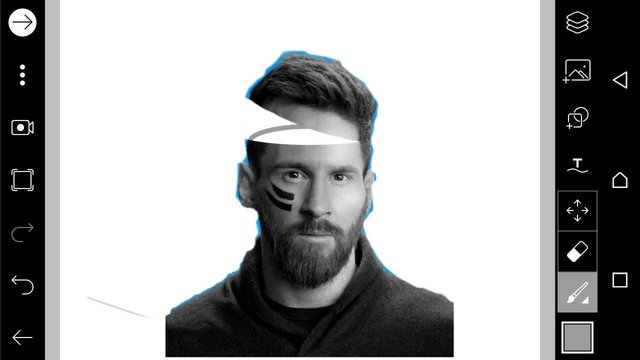
Step 11: Select a "stroke circle" again and place it on the head region. Try to make it rhyme with the image.
Step 12: Place a filled circle in that space.
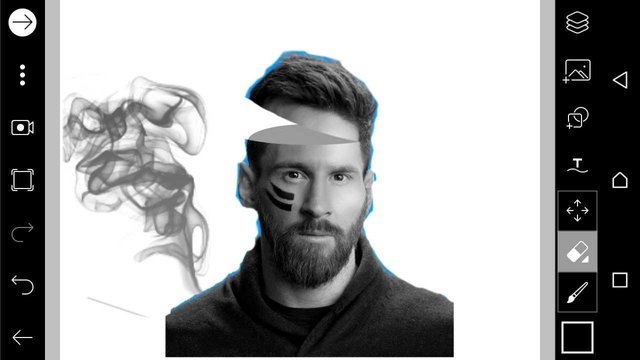
Step 13: Download a smoke clip art if you don't have one. Go to your menu, click on insert picture and select your clip art.
Step 14: Select a sticker, there are loads of them on PicsArt. Select a colourful smoke and place it same way it is done on the image. You can find the "select sticker" on the menu.
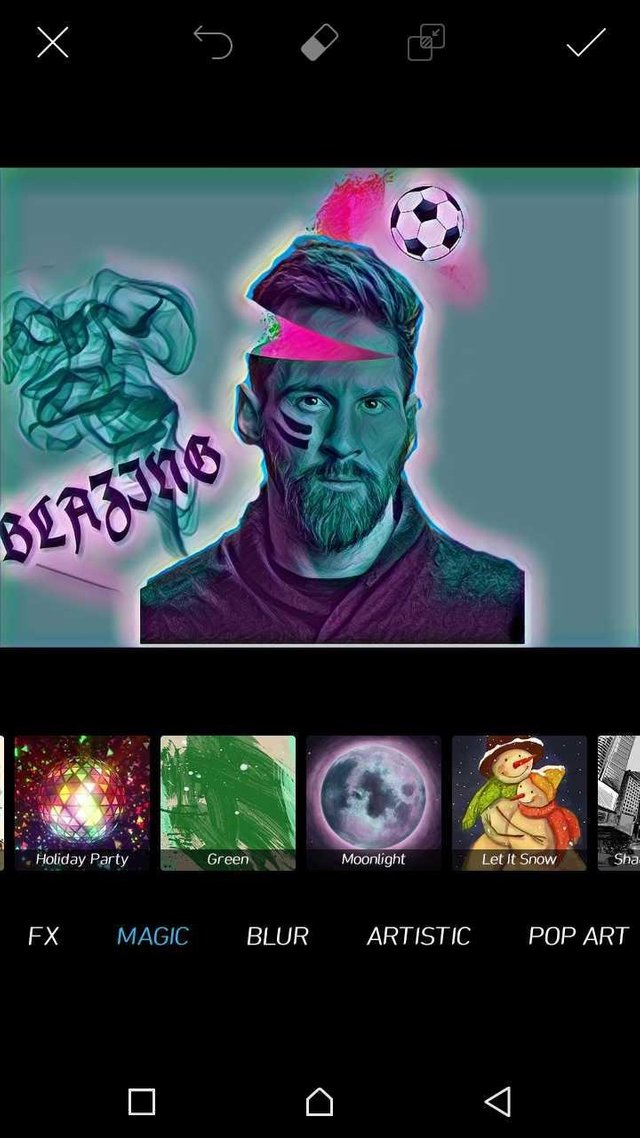
To get the final image, click the forward arrow symbol and click on " save and edit".
You can play with it, write a text, change the effects.
I chose "moonlight" effect and arrived at that final image.
If you encounter any difficulties when trying to make this, you can let me know on the comment section.
Till next time..
Your post has been upvoted by the @steemainsarena community trail. Our goal is to support minnows on steemit to help them grow. You can join our discord server here; https://discord.gg/zpm2sdd
You can support us by donating steem/sbd or delegating sp to steemainsarena trail to acknowledge our mission.
Awesome
Thank you.
I'll certainly try this one day with my mobile..... ....
Did a great job but your arrangement was not all that perfect.... The images and the steps are not well arranged...each step should be with its image to enhance easy comprehension
Yes, I tried doing that, but, I thought it will be quite lengthy. I arranged it this way just to make readers read it faster.
And, Yes you are right! Each image with each step is definitely a better way.
Thanks.