Gundam Feature 6 - HG 1/144 Gundam Kyrios
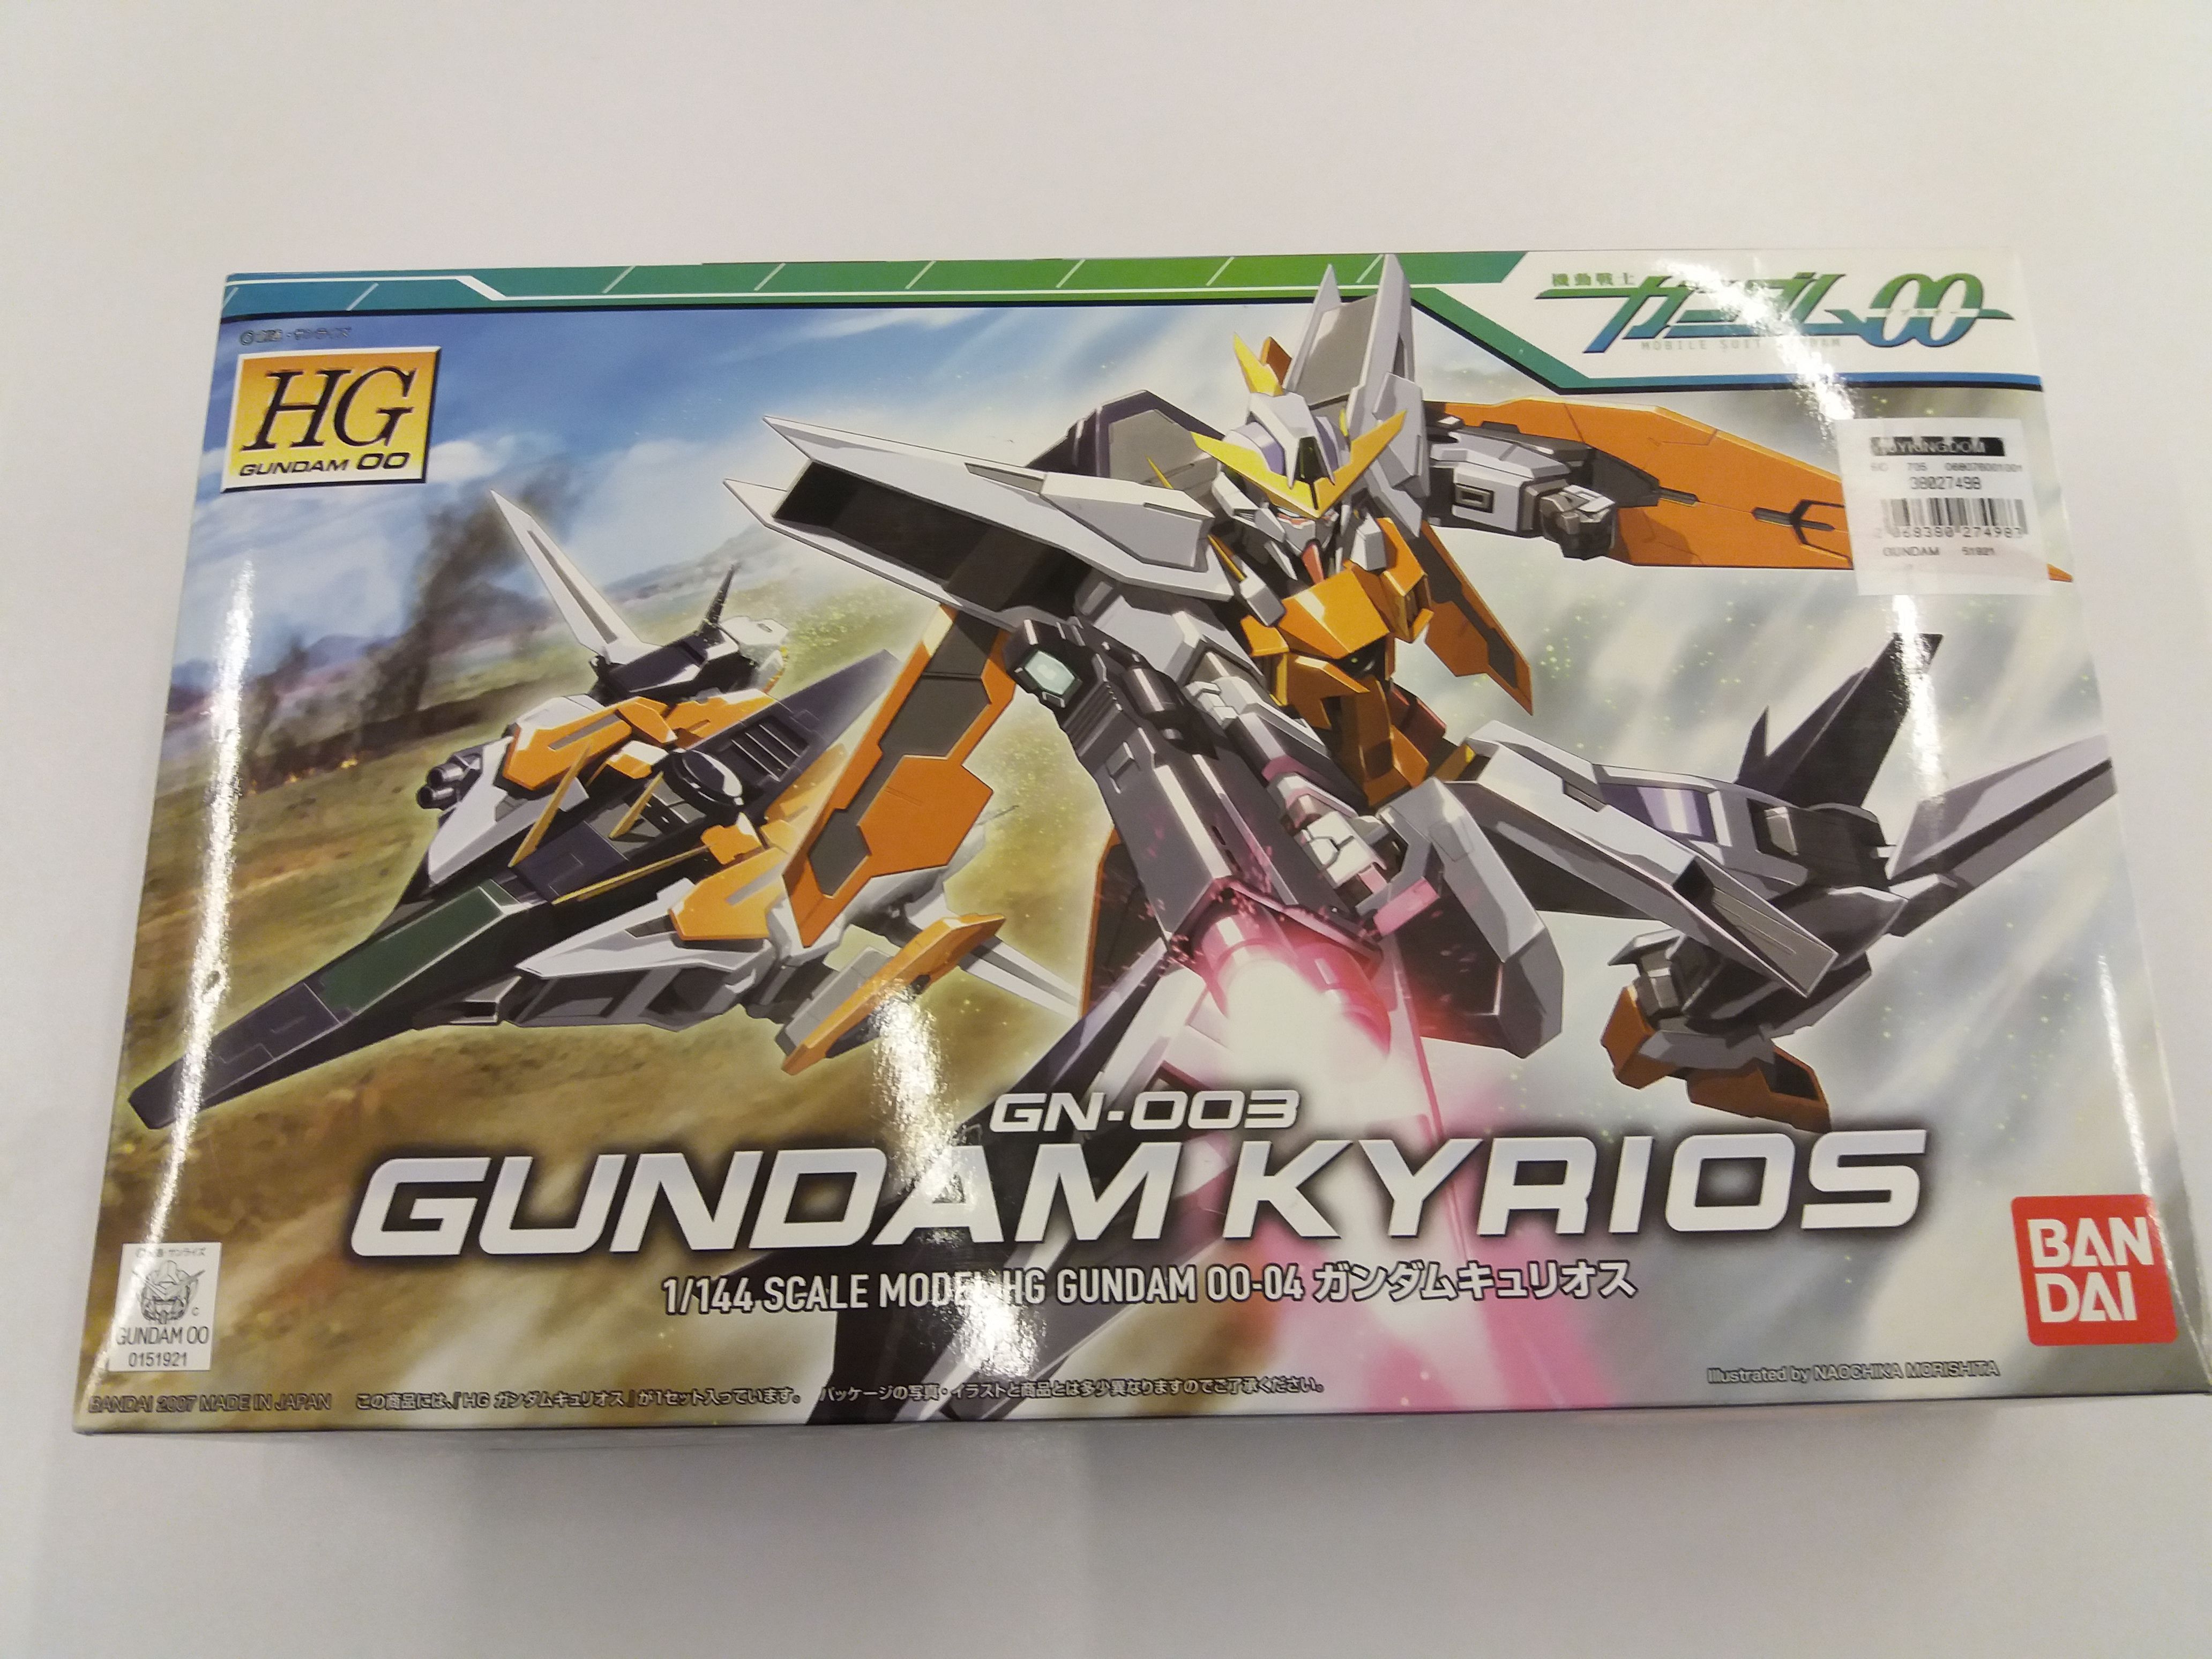
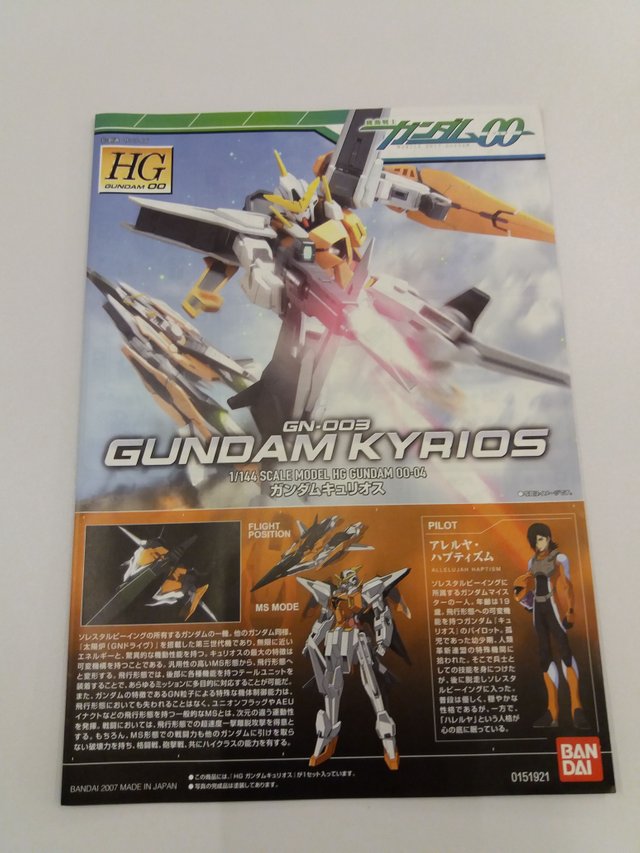
Hey guys it's time for another Gundam feature and this time I will be talking about my HG 1/144 Gundam Kyrios. This one really got me excited since it was the last Gundam that I was missing from the 4 team Celestial Being. If you don't know who they are, they are the Gundam team from the Gundam series Gundam 0. This orange Gundam is best know for being fast due to it's ability to transform into a fighter plane mode. What made this Gunpla extra special is that it was given by my girlfriend! Thank you!
She was able to get this kit at 1200 Pesos. This is actually mall price so I would say that this kit is on the expensive side. If I would have bought it, I could have gotten it for at least 600-800 Pesos. Still it was a gift and those kits are the best. What got me into Gunpla was not just my appreciation for robots but the stories that Gundam anime gives. Themes for the anime are usually about war and the goal of finding common ground and peace between humans.
I think this should be a goal for everyone and which is why I would highly recommend people to start watching Gundam! Another cool thing about Gundam is how the anime is well done. Good art and excellent animation skills!
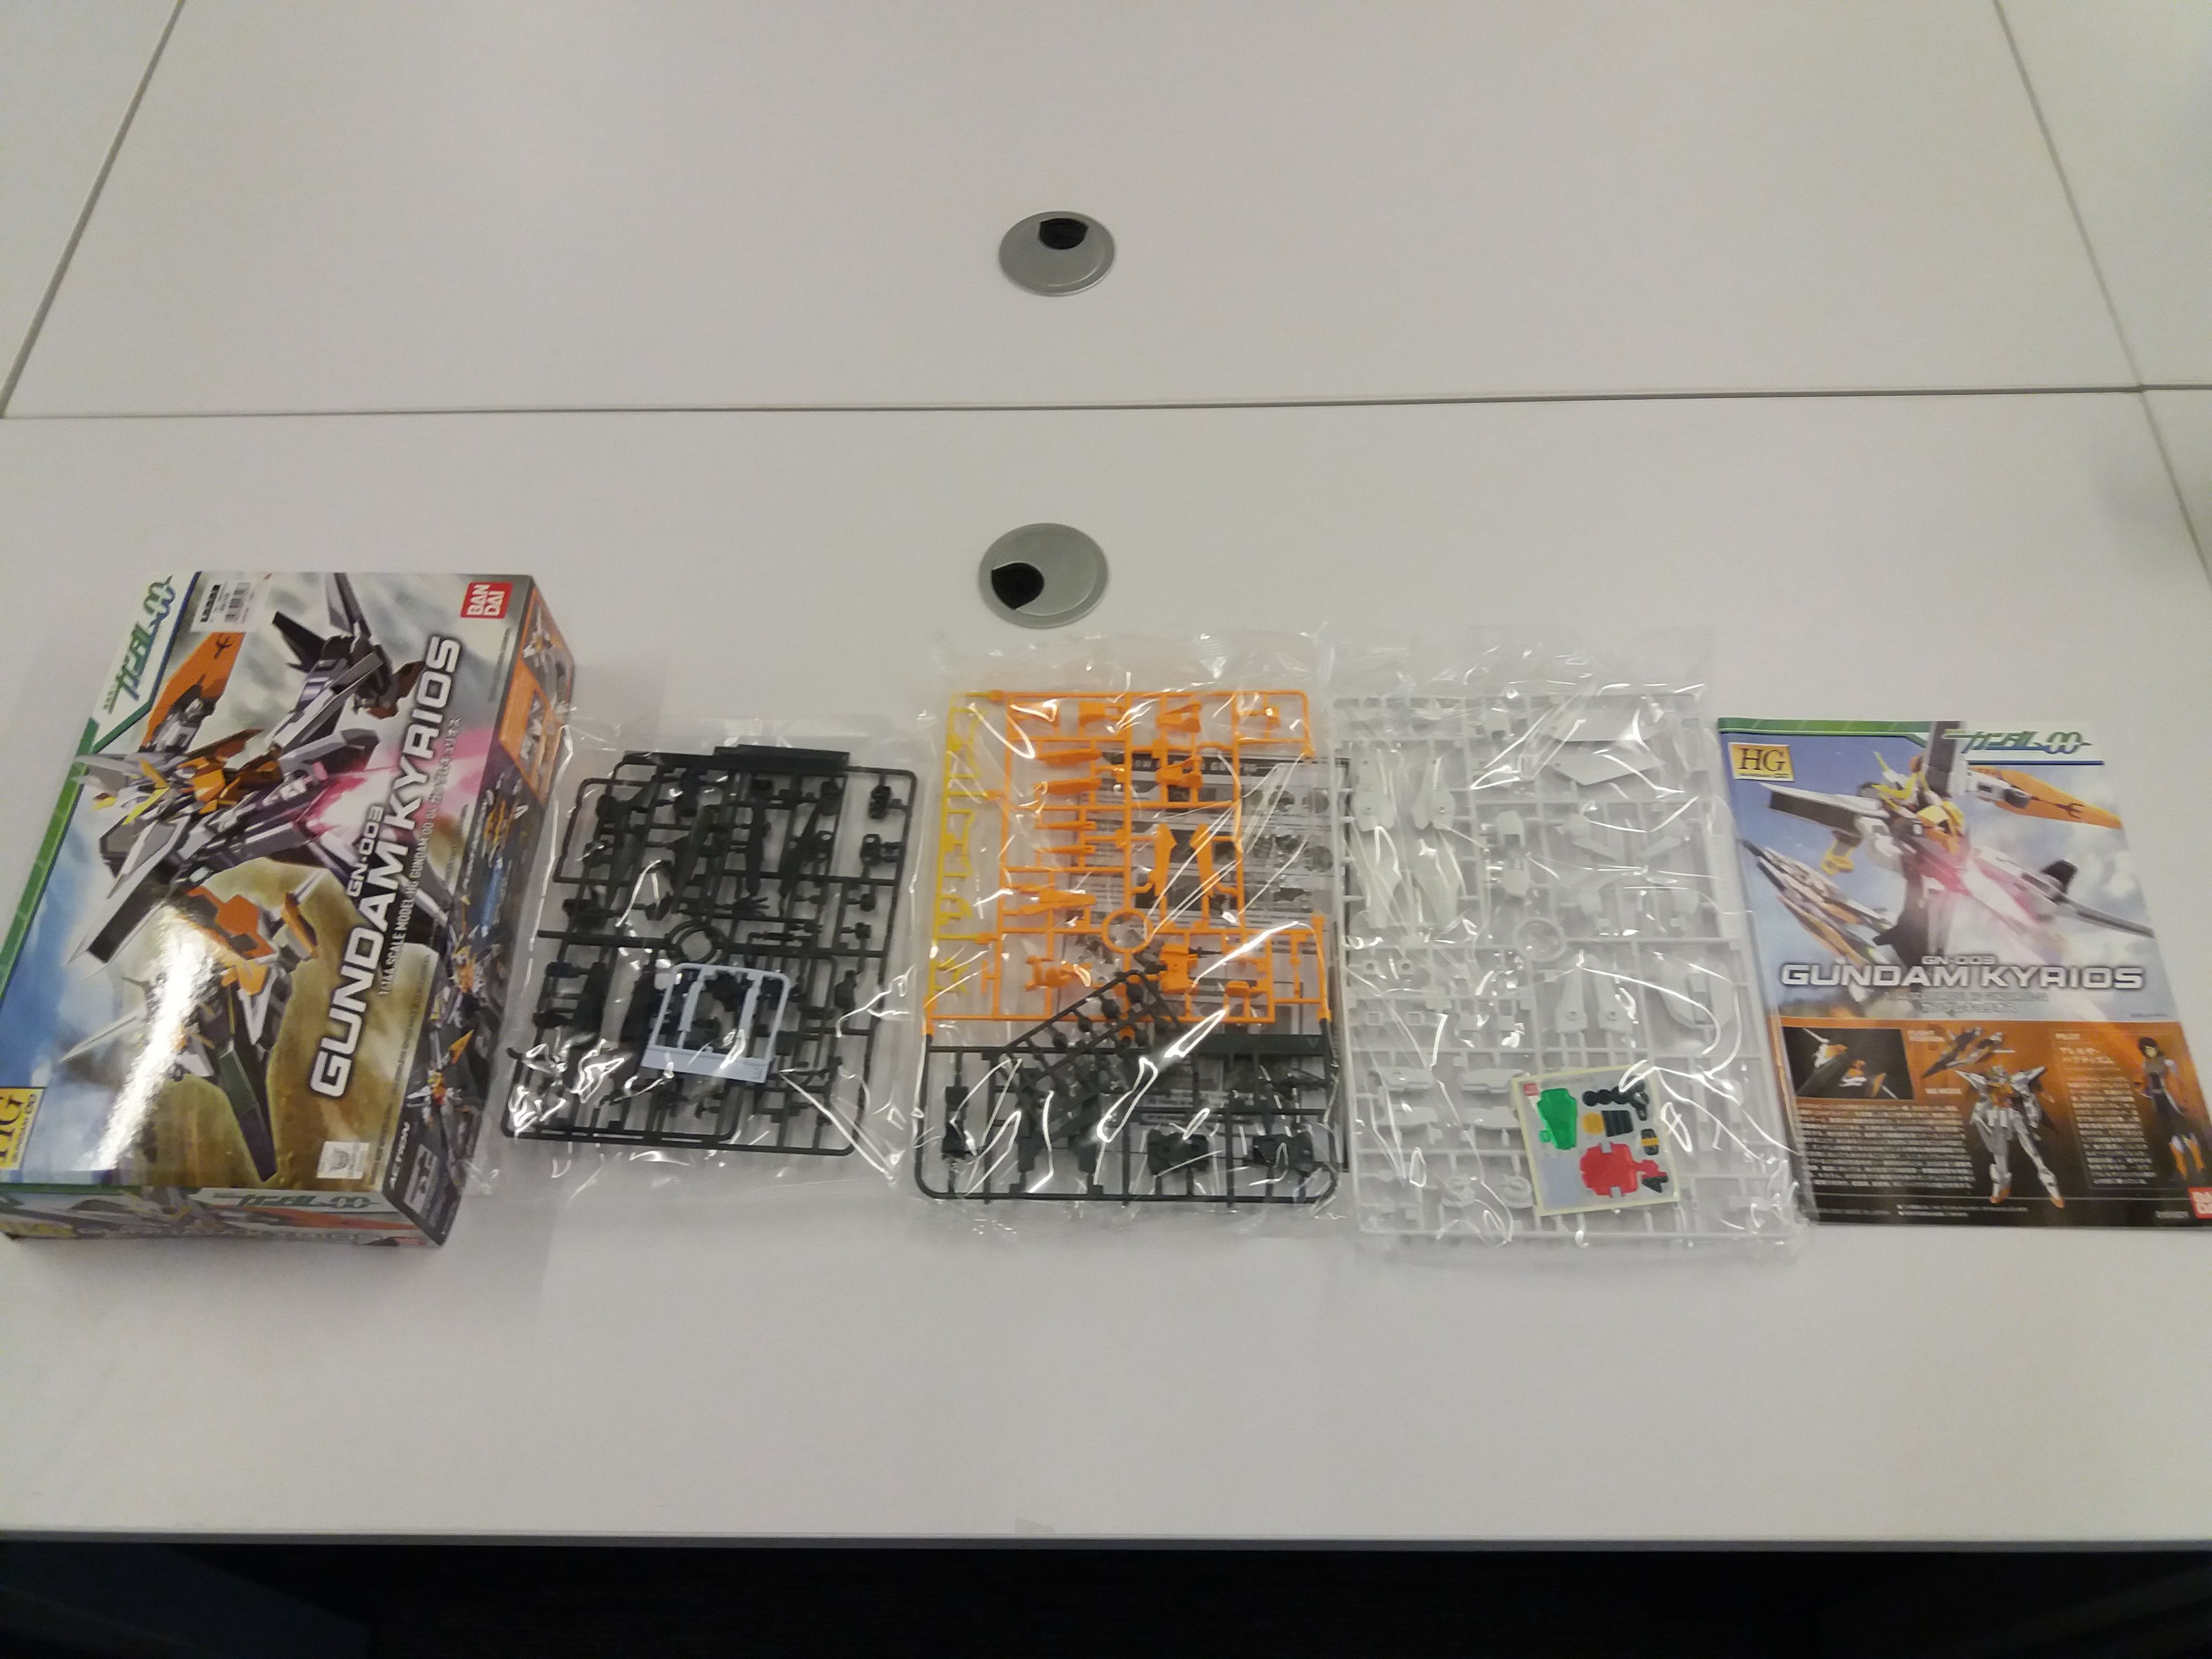
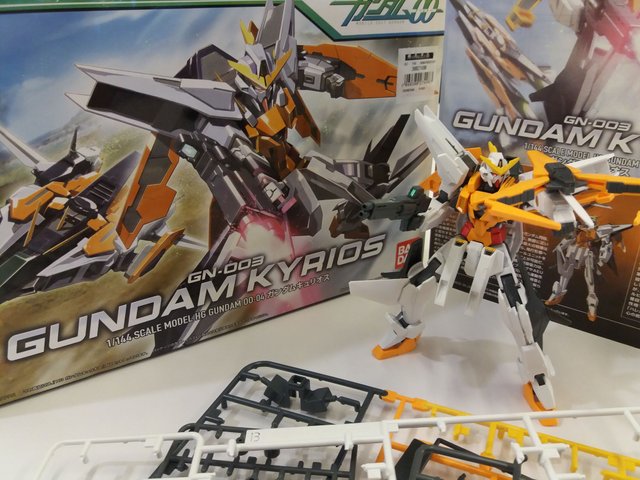
As we talk on and on about the anime series lets open this box!'
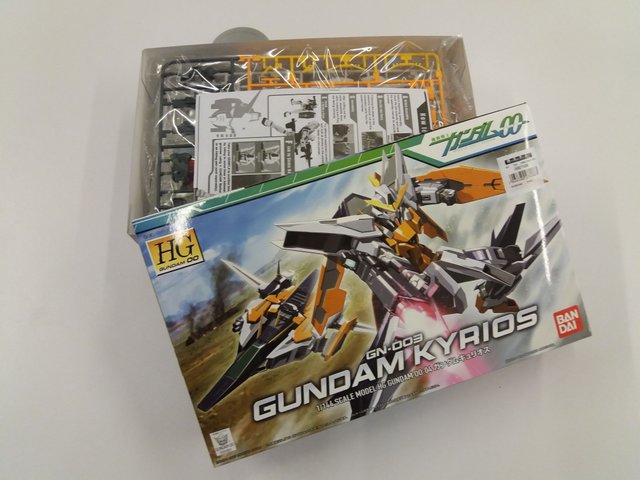
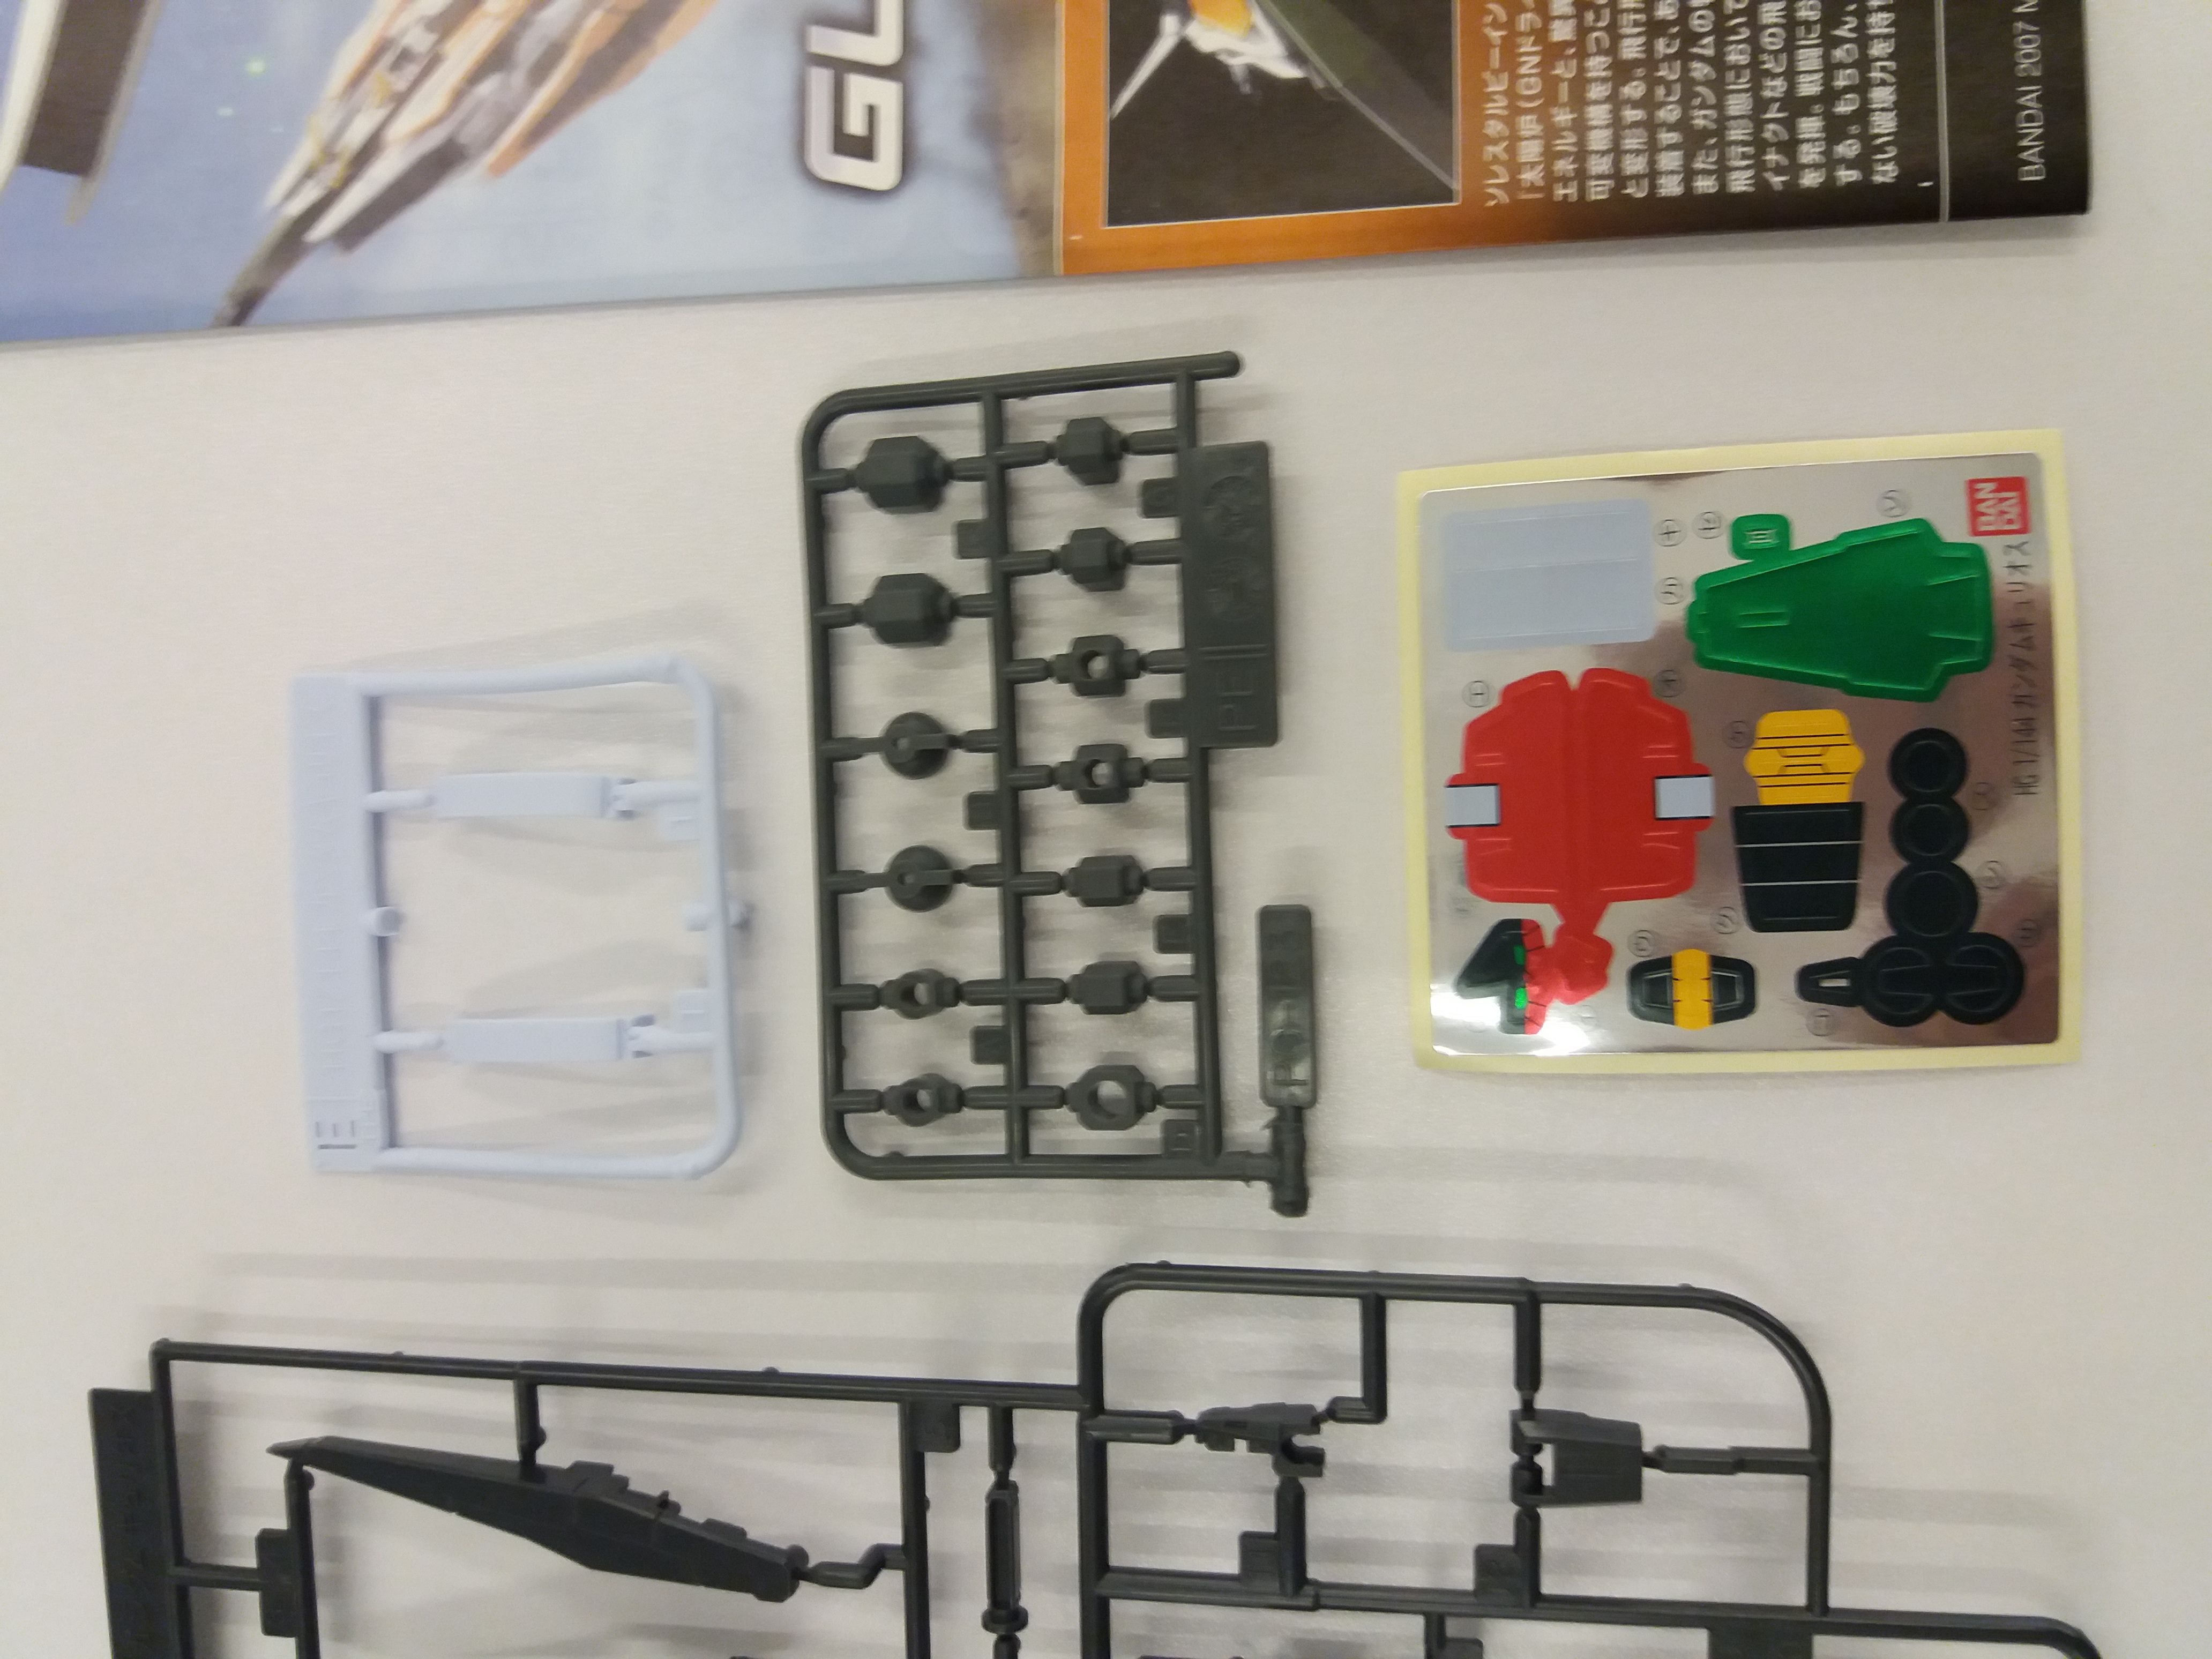
As with all Gundam kits, it comes with parts to put it all together. The parts come in runners and the runners are neatly arranged in plastic. This keeps the kits safe and sound when travelling from the manufacturer to the sellers like malls, private sellers and more.
Here are the runners out side of their plastic
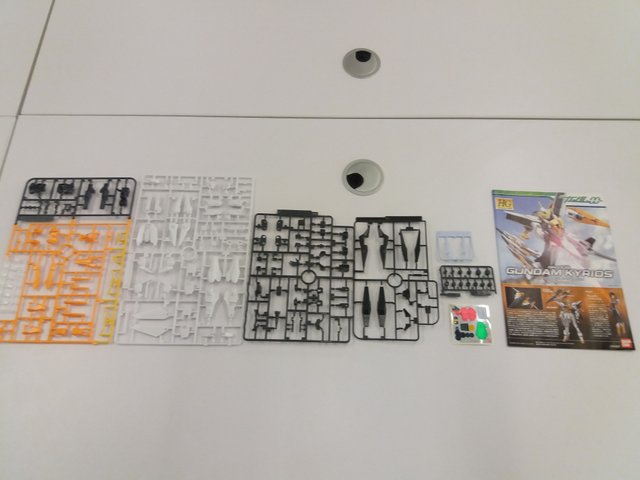
As mentioned in a different blog. A Gunpla kit's price really depends on the amount of plastic used to create the kit. For most HG or High Grade kits it can range from as low as 500 Pesos ($10) to as high as 2000 to 3000 pesos ($50-70). With that being said there is a good amount of plastic materials used for this kit and I can already see from here that it will look really good with the finished product.
Here are the runners. Please note that runner are grouped by letters to make assembly easier
Runner A

Ruuner B
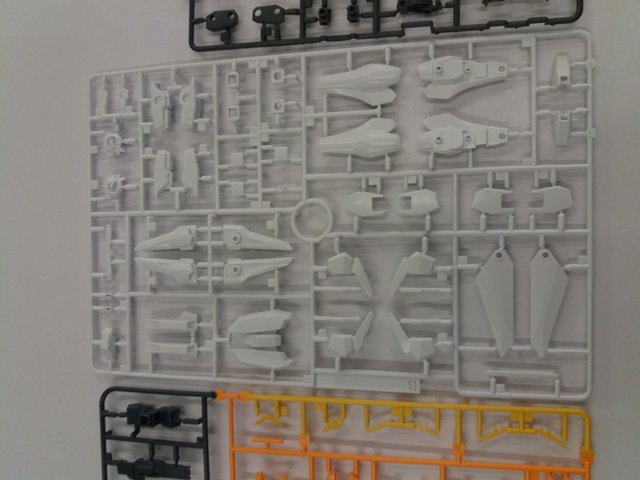
Runner C

Runner D
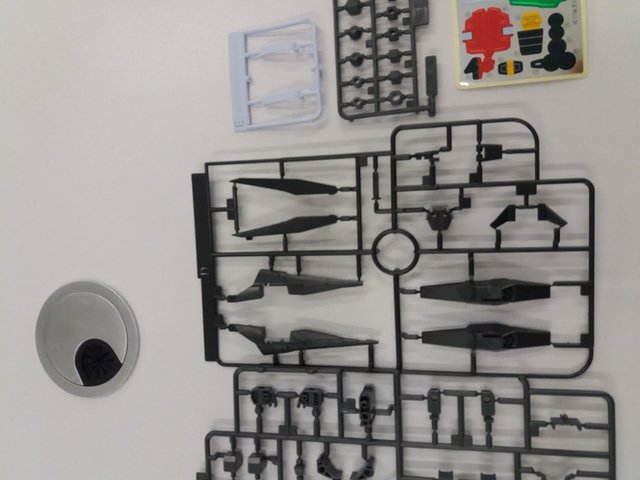
Special Runners and sticker:
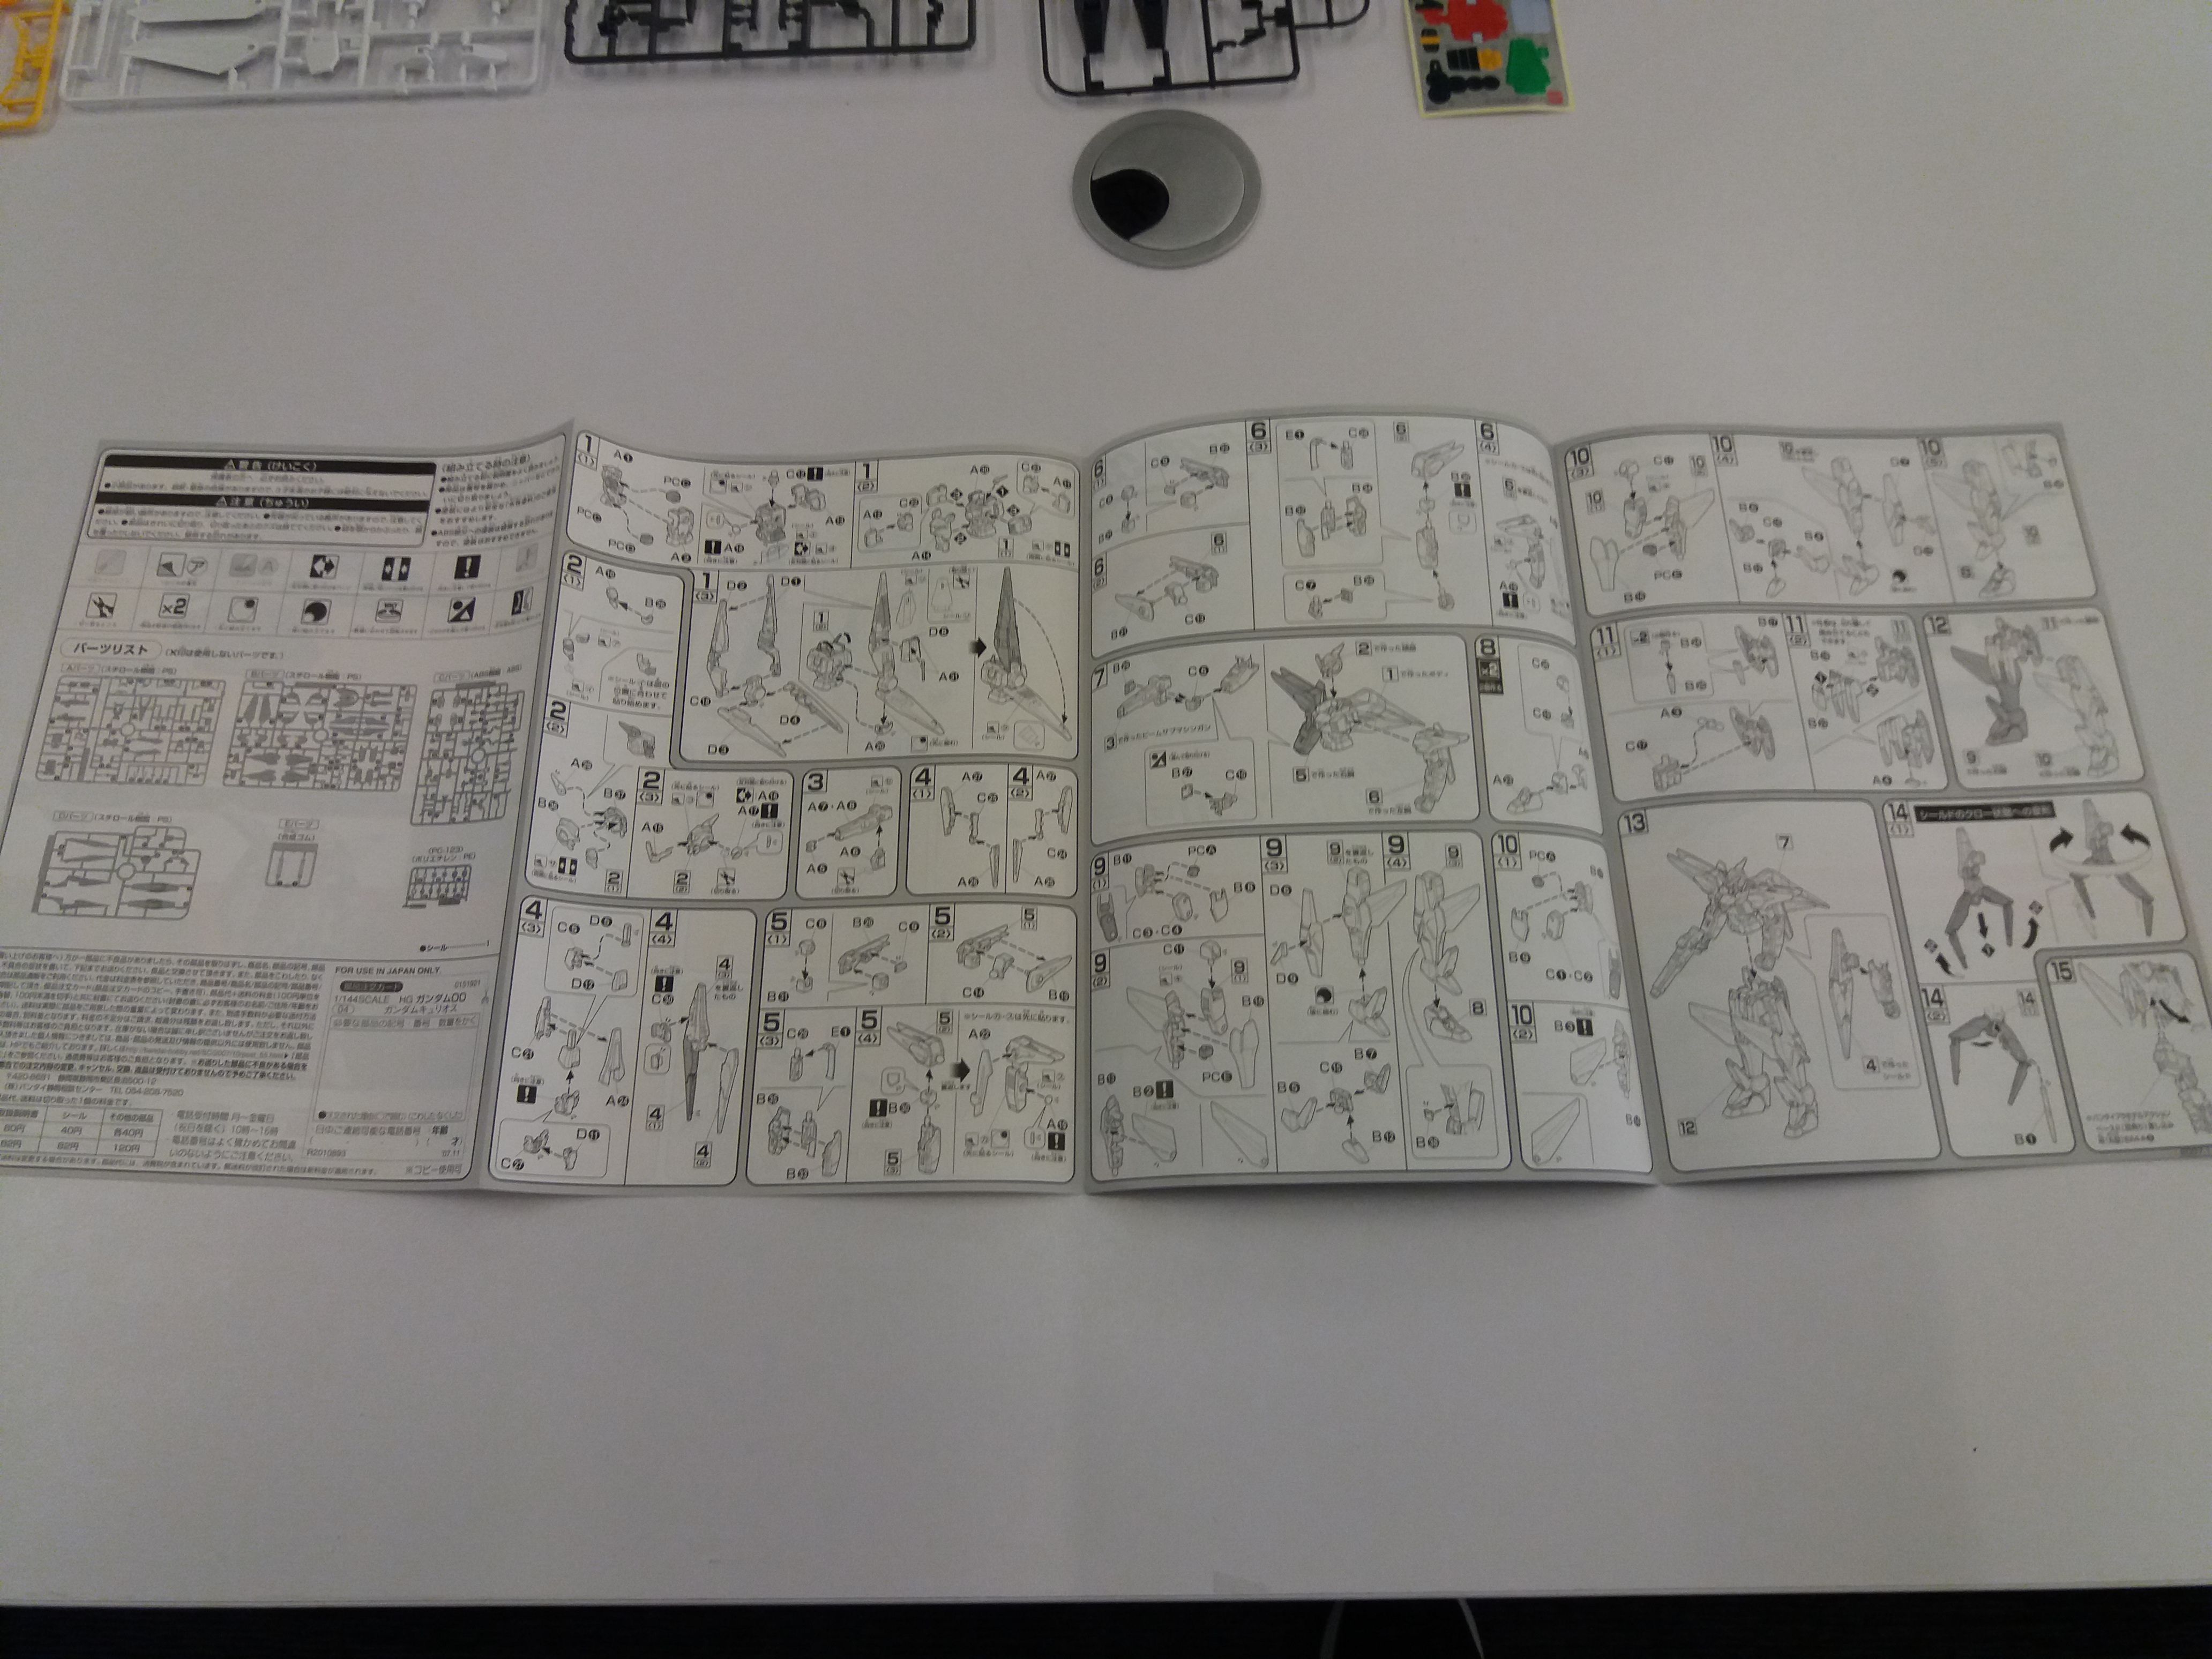
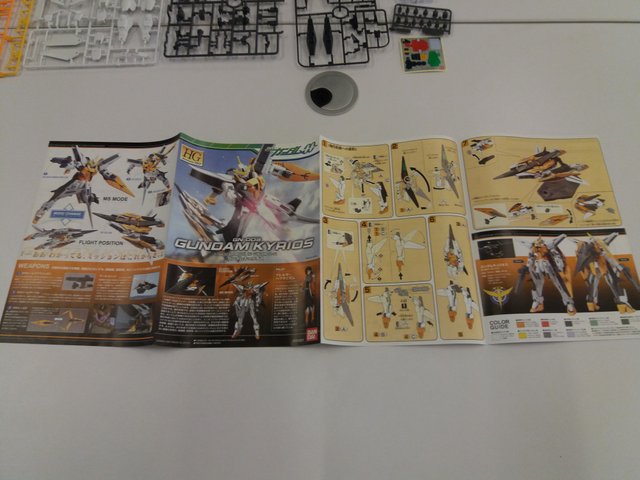
The kit also comes with a good looking assembly manual!
Without delay I immediately started working on the Gunpla. I actually put this one together in the office and all I can say is just make sure you are in a room with enough space and where parts if they fall can easily be found (based on personal experience it hurts to loose parts).
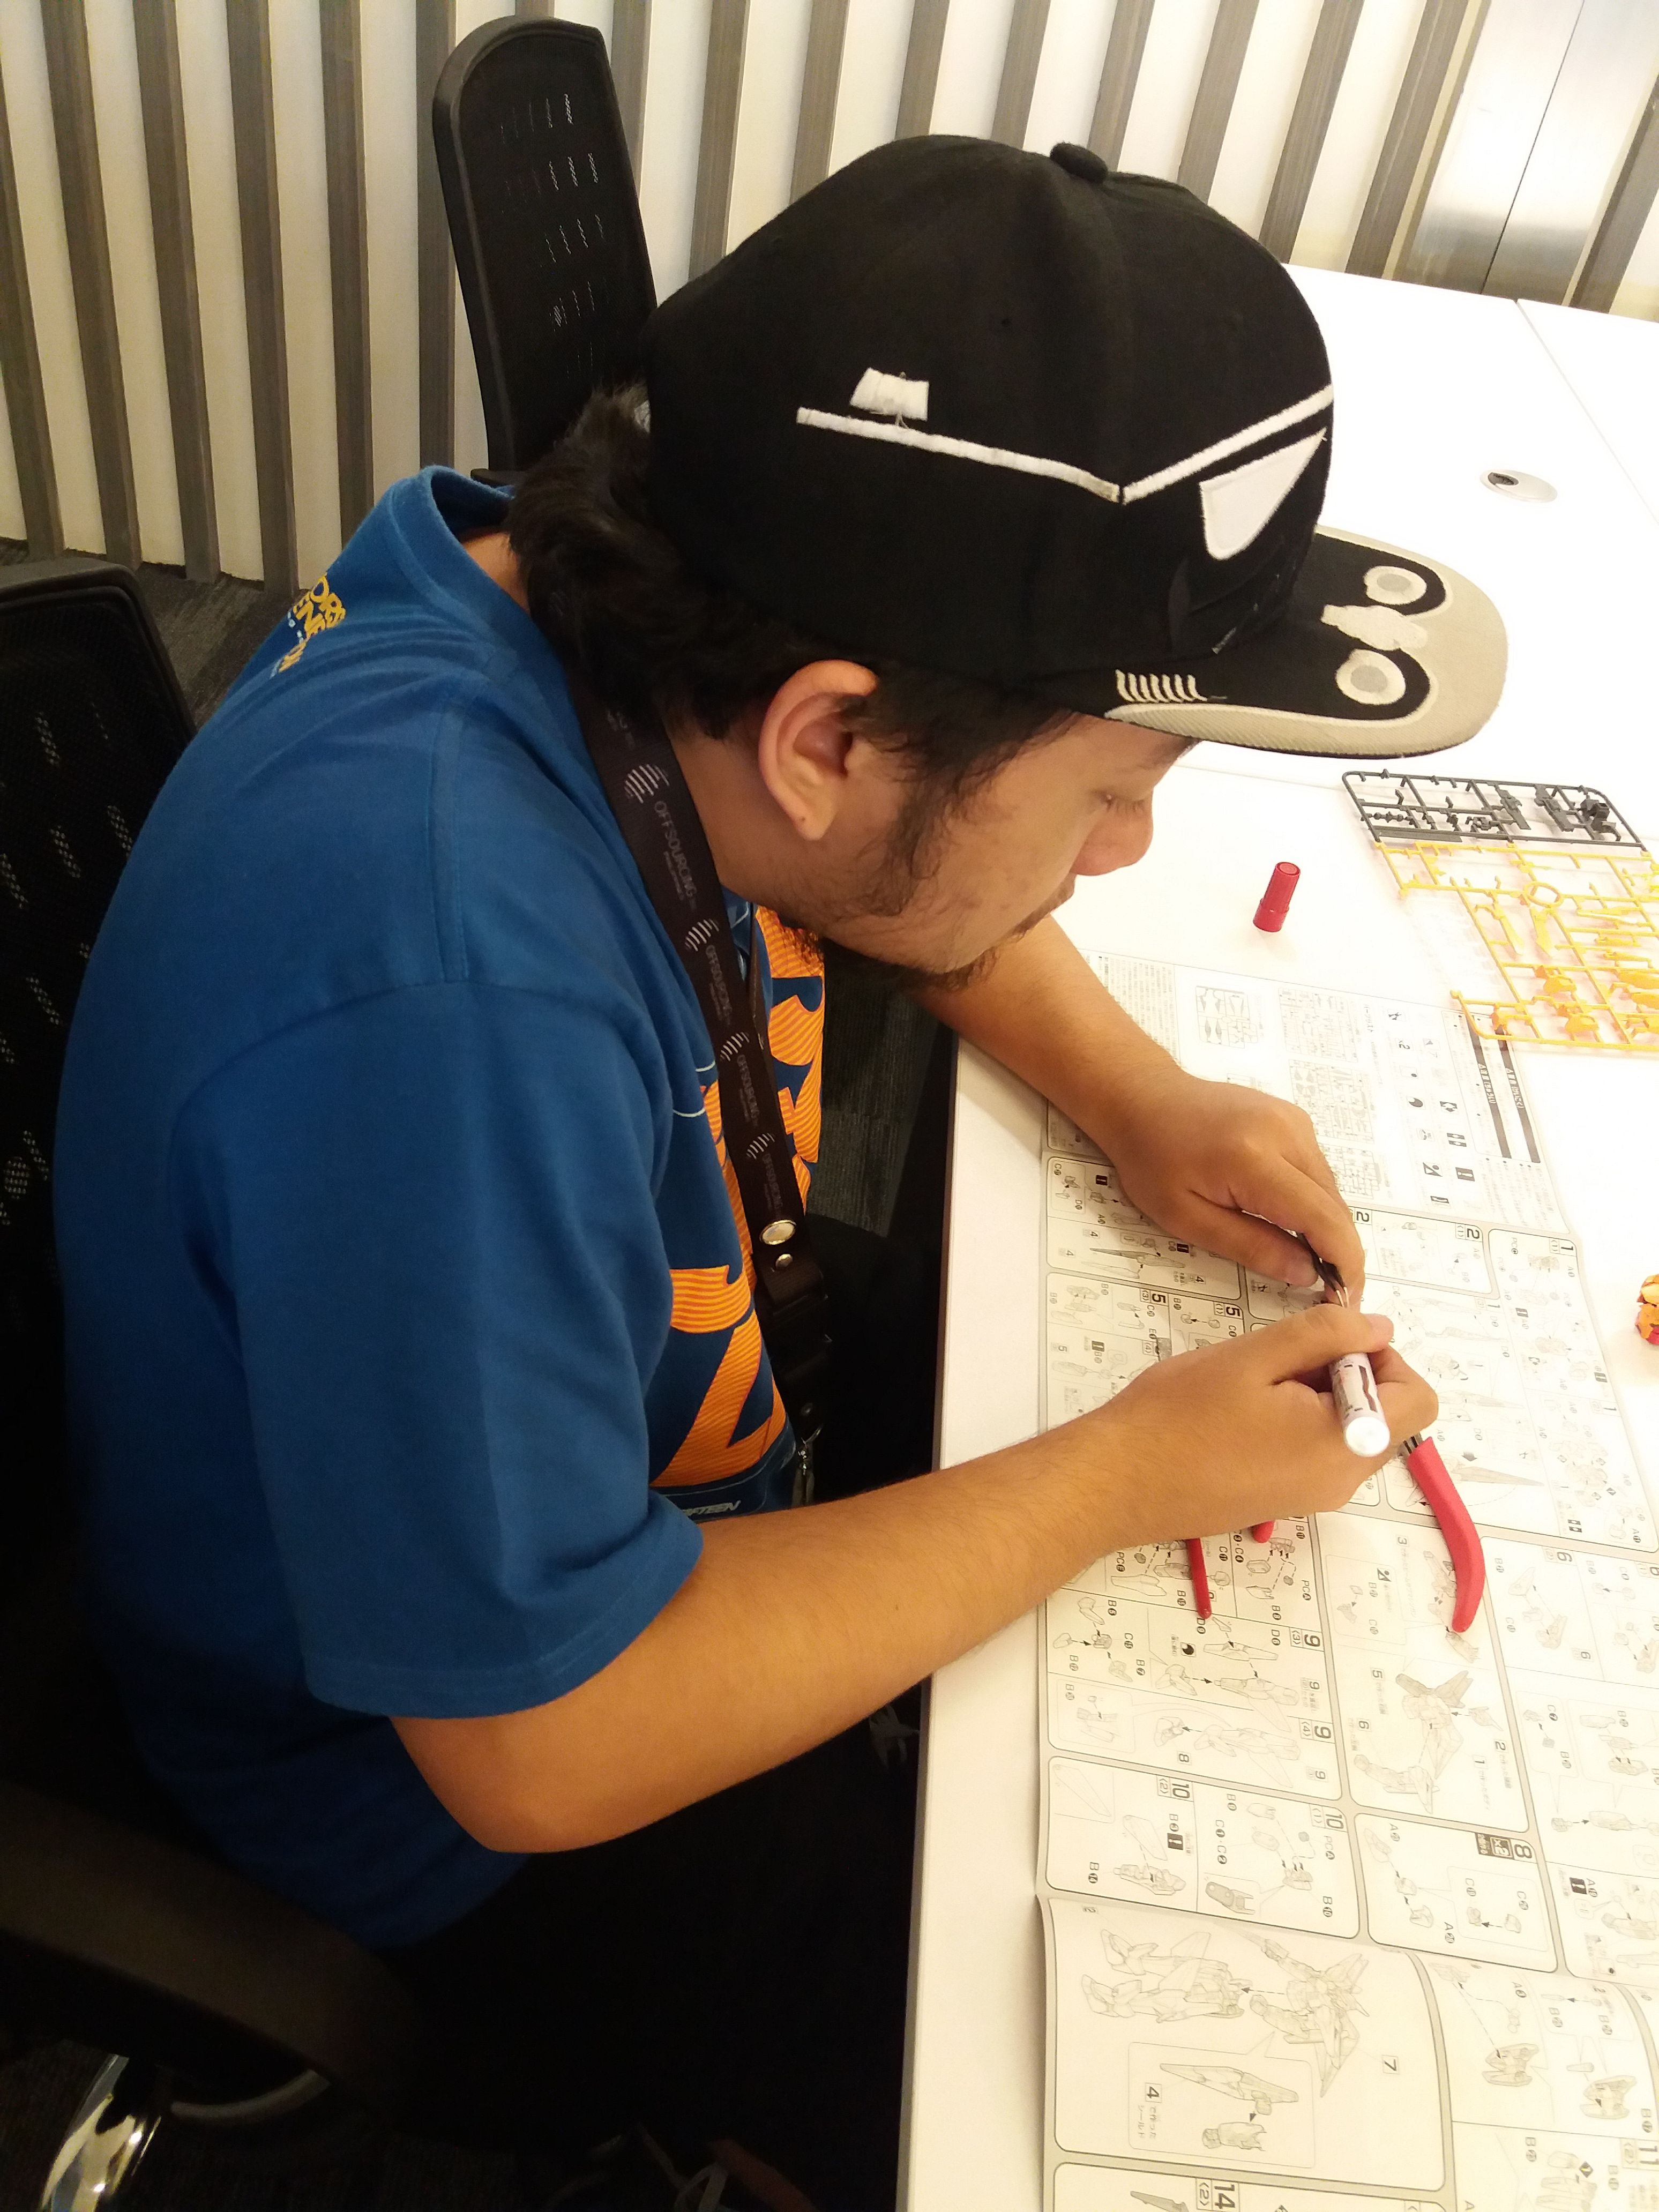
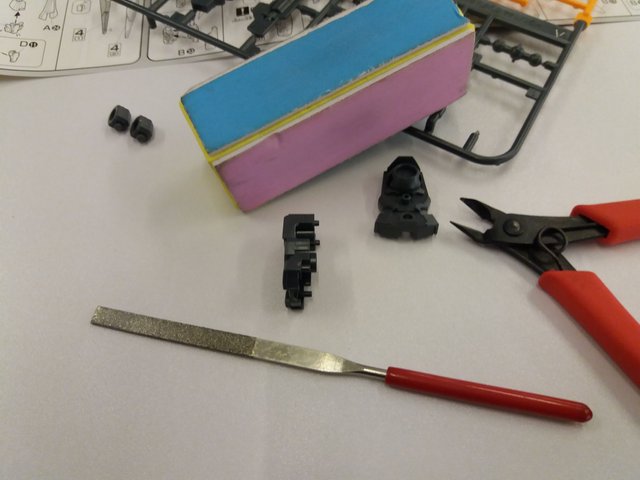
I originally started to assemble gunpla without formal tools and thankfully I have them now. For this gunpla my main tools were nippers, metal files, sponge buffers, cutters, and markers (for color accuracy). Again I will be writing a blog about that soon which will help anyone interested in the hobby to start investing in the right tools to come up with the most awesome looking gunpla!
I would like to share the bane of every builder when it comes to gunpla and perhaps other plamo (Plastic Model) kits. NUB MARKS!!!! They are annoying as they will dirty up your build. Here is what they look like:
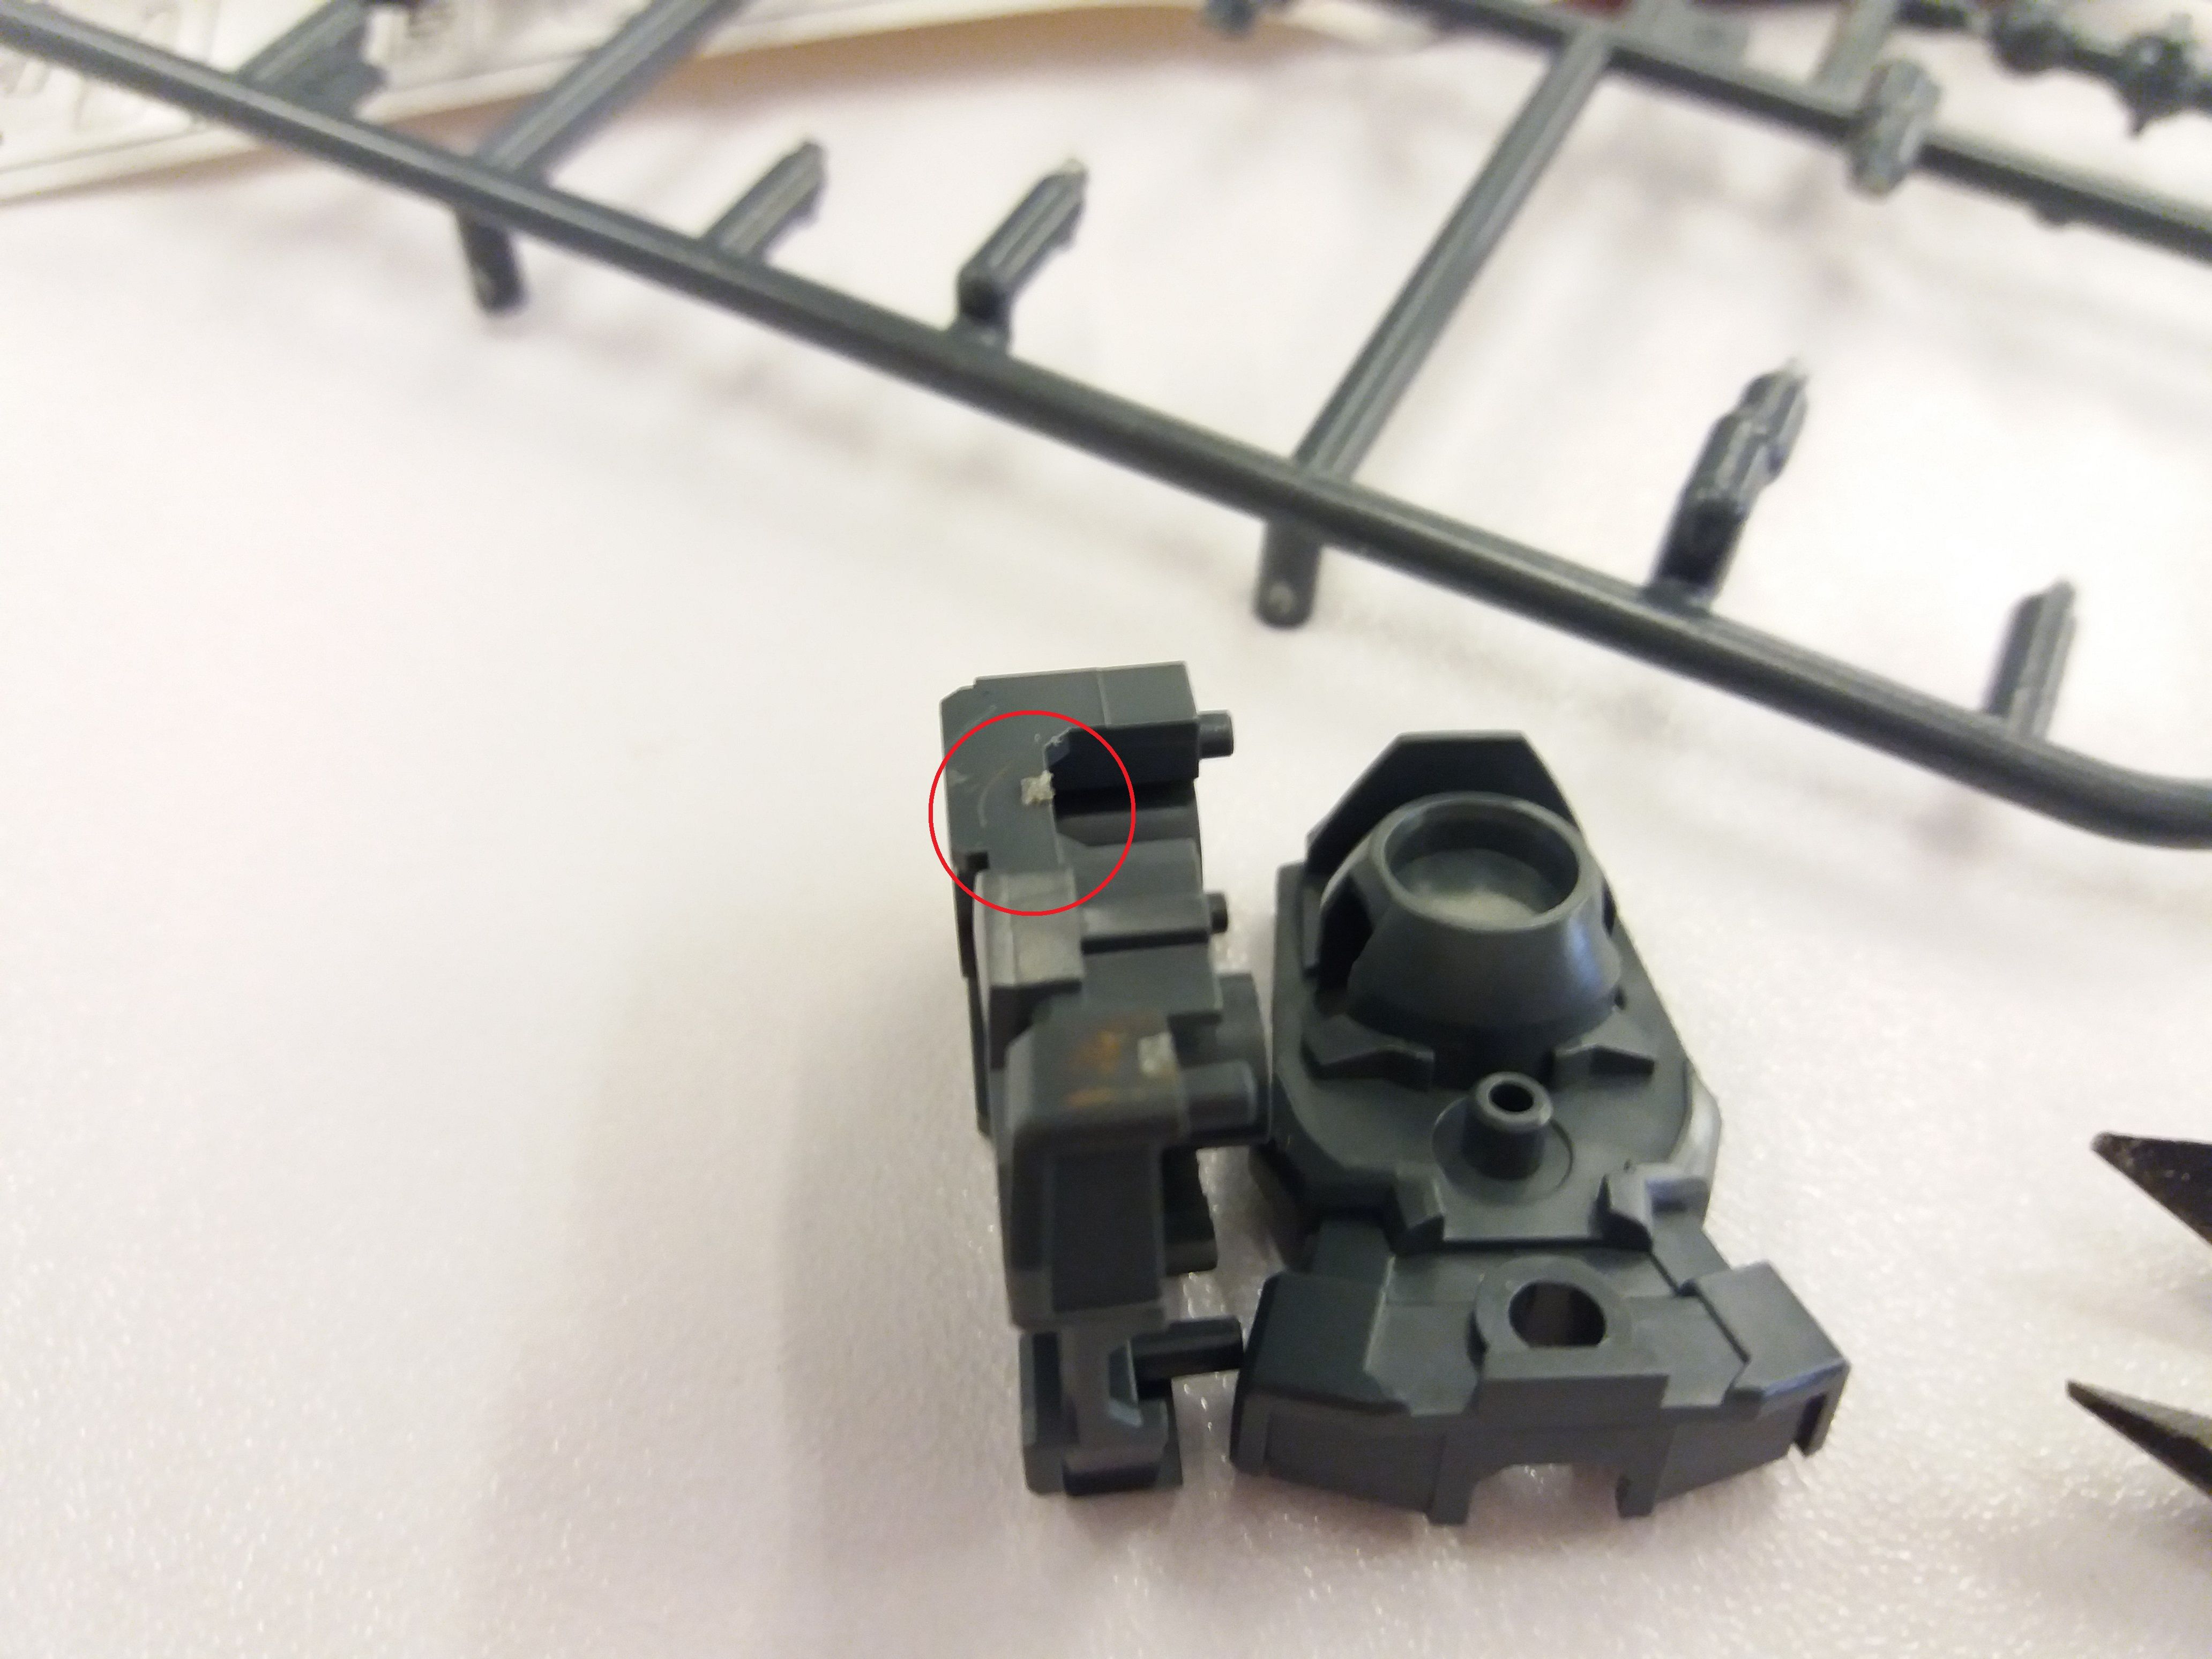
Encircled in red will really leave a mark on your plastic model and will make it less aesthetic. This is where proper handling of the runner comes in! One must be vigilant on how to cut the plastic parts from the runner using a nipper. The best way is to cut away from the plastic part itself. leaving part of the residue plastic, start to clean it up using your nail file and buffer to smoothen it up.
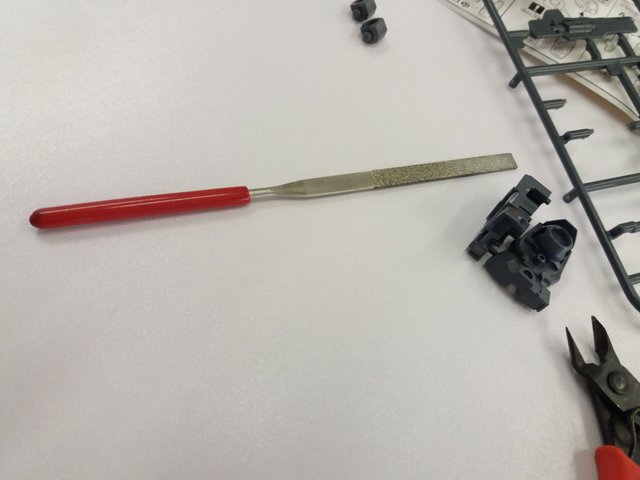
While this is not the cleanest work, I have been working hard to perfect my craft in building gunpla and I am happy with this. I will however continue to improve everyday!
I also want to give a mad props to the clear parts in this gunpla! It is actually very common for Gundams in the Gundam 0 series to have clear parts and they are much appreciated!
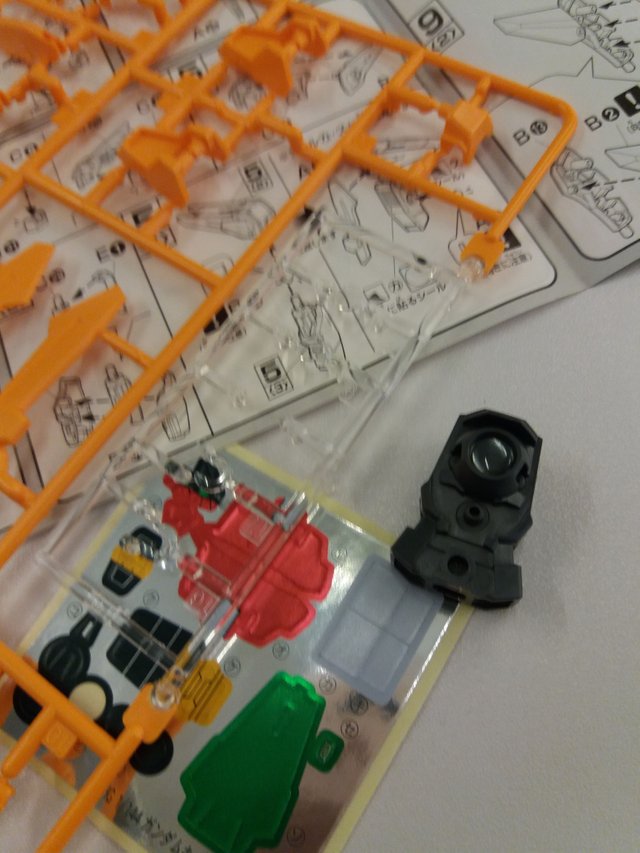
They add so much shine and character to the Gundam. This is also why I am currently in the habit of getting kits from the Gundam 0 series specifically.
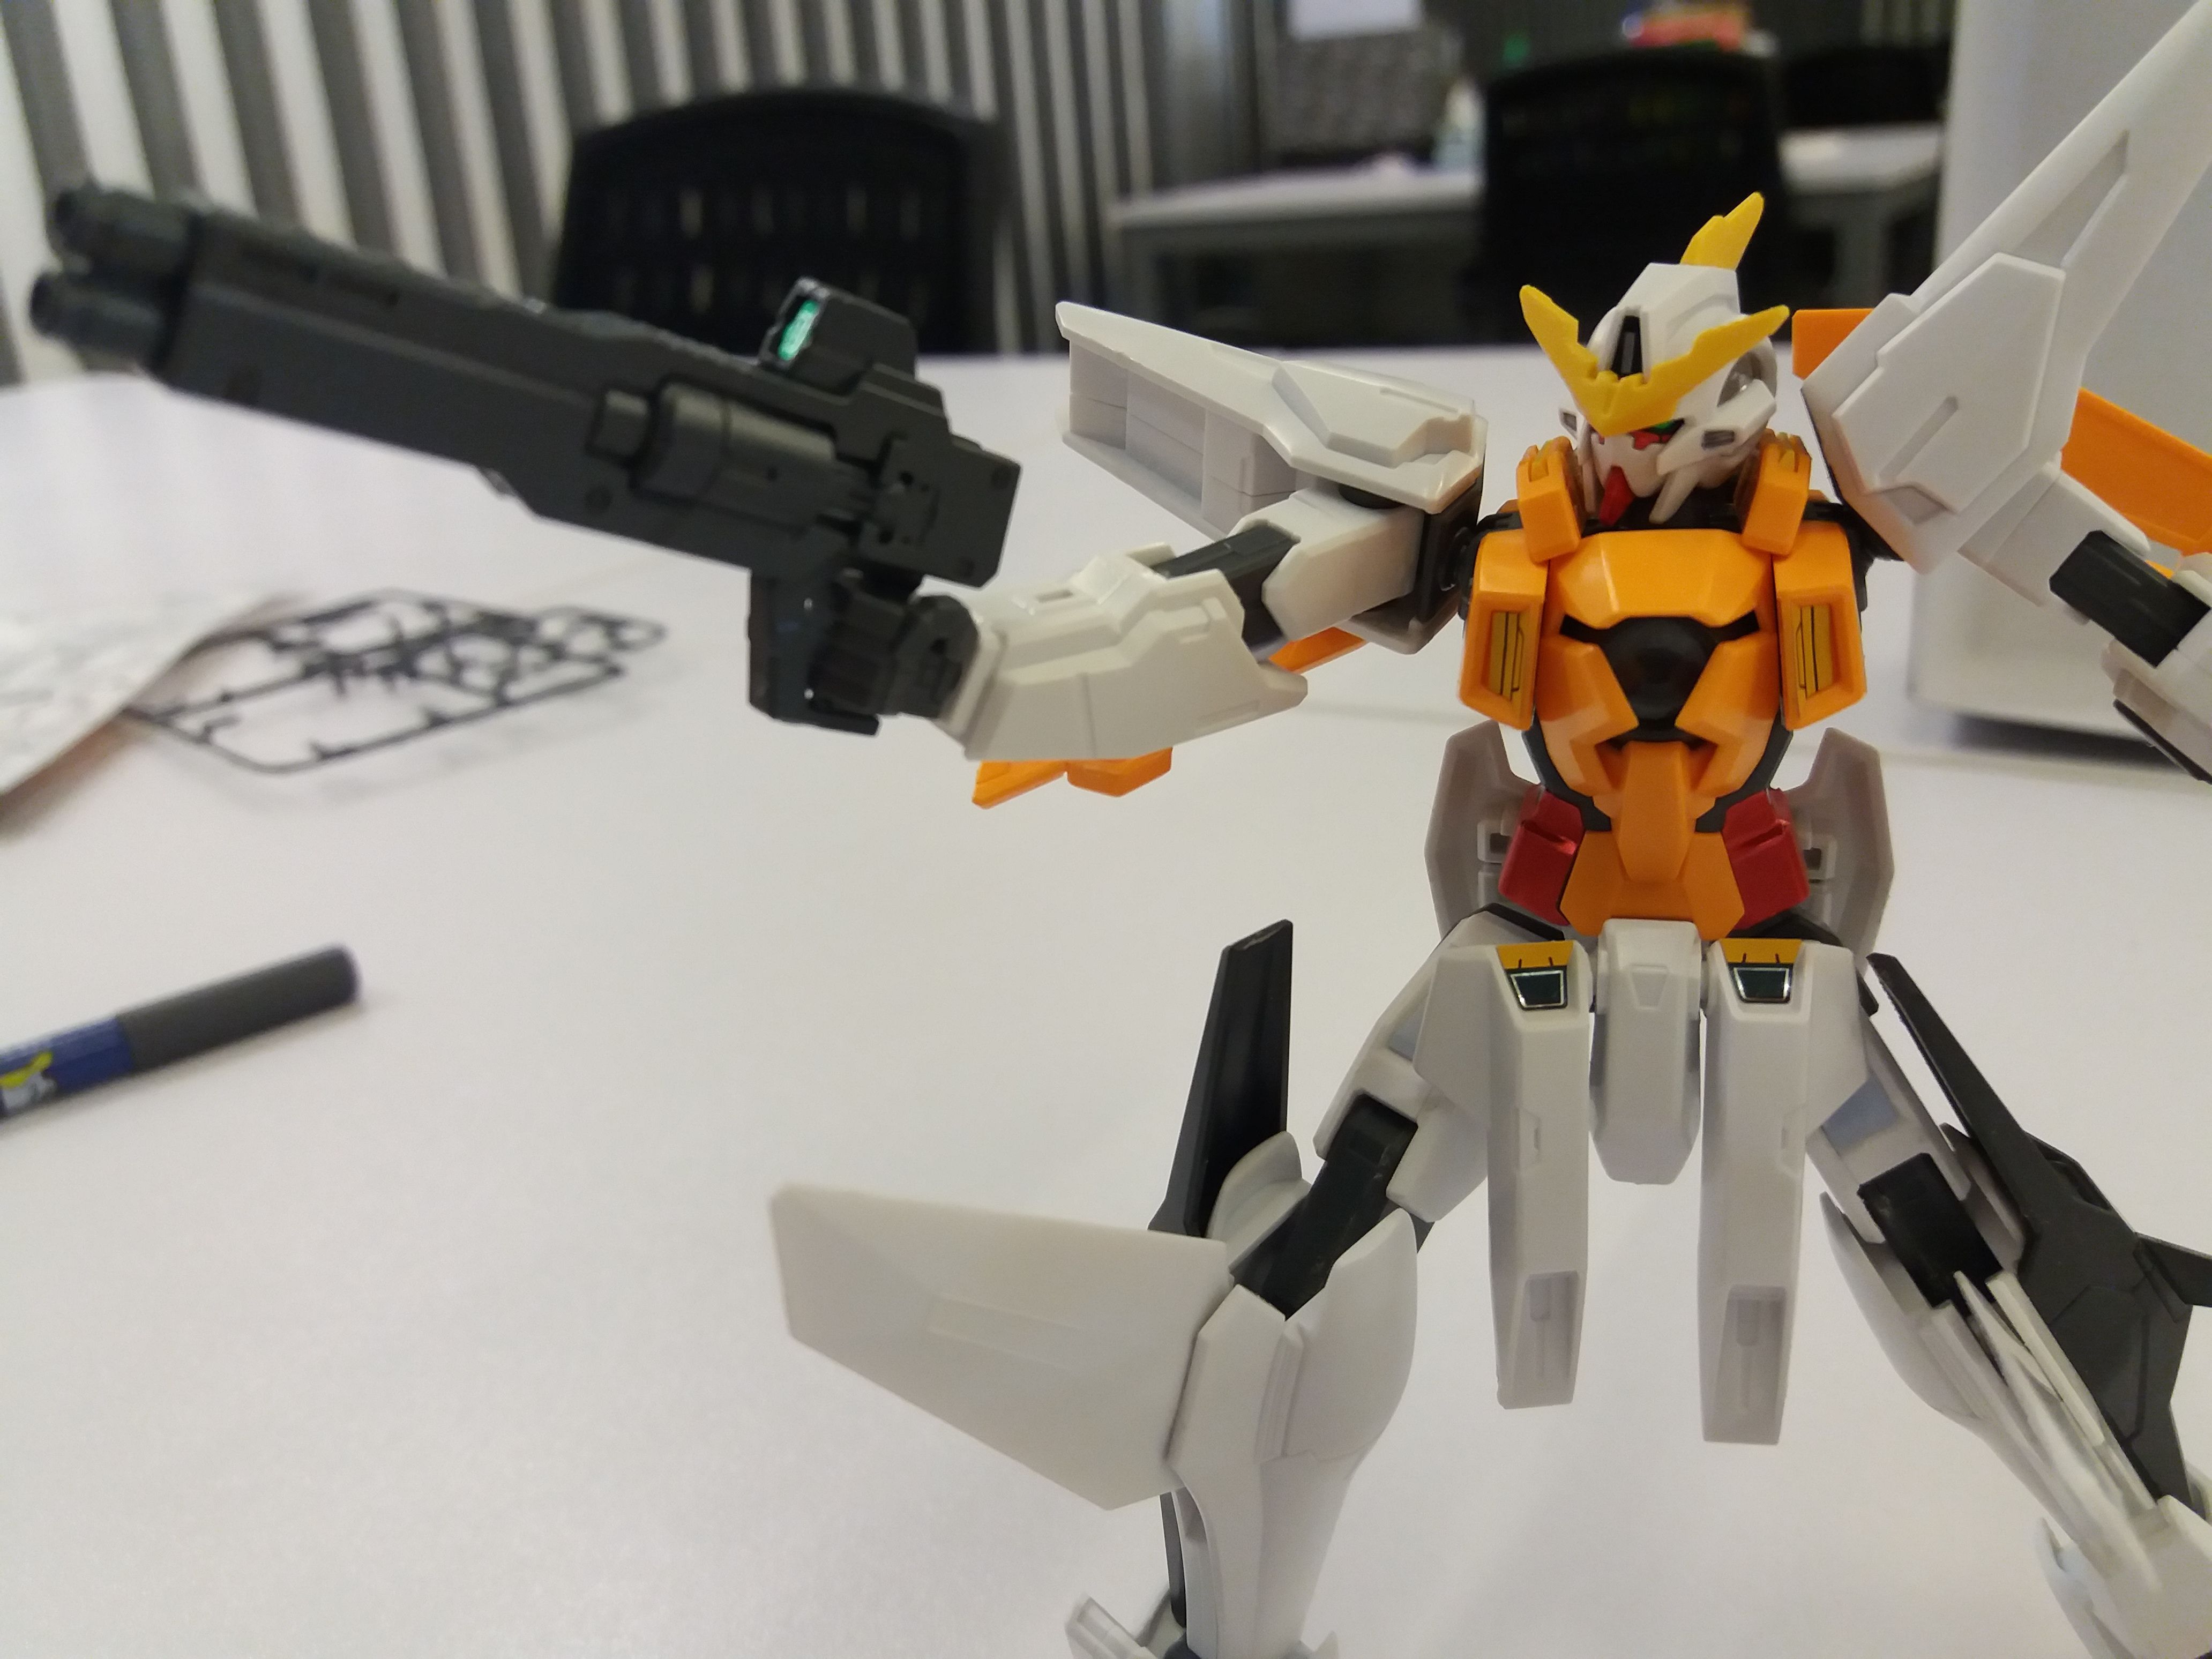
Now where did I use the markers? Some Gundam parts dont come in the colors they are supposed to. This is where painting skills also come along. For now since I am not that proficient with paint and I don't have a place to paint my kits, I will go for the easy to use markers. What's great about them is I can use them virtually anywhere.
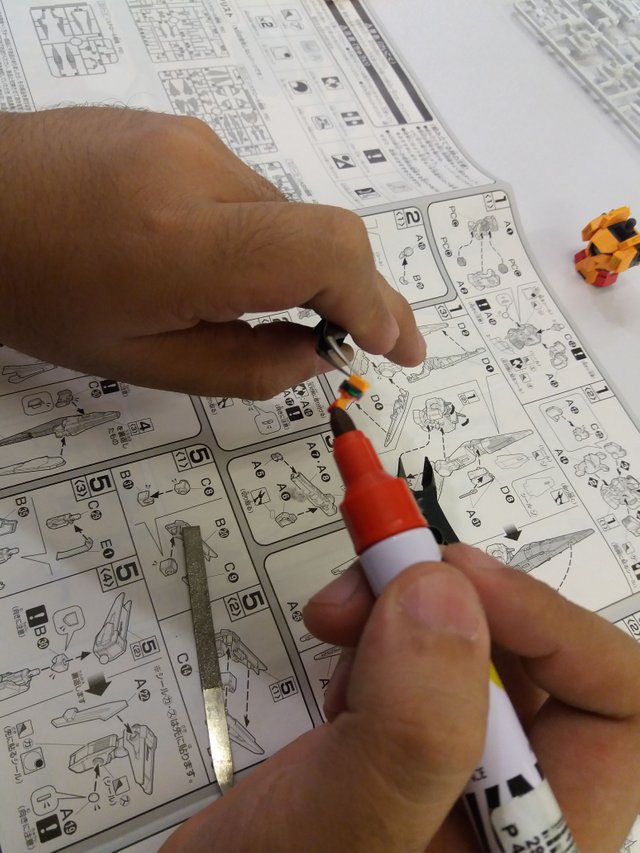
Using markers is also great when you don't want to use the stickers for a specific part. In the picture above I actually used it for the Gundams signature chin which is usually red. I didn't want to use the stickers provided for this part since I had a bad experience with red chin stickers falling off over time.
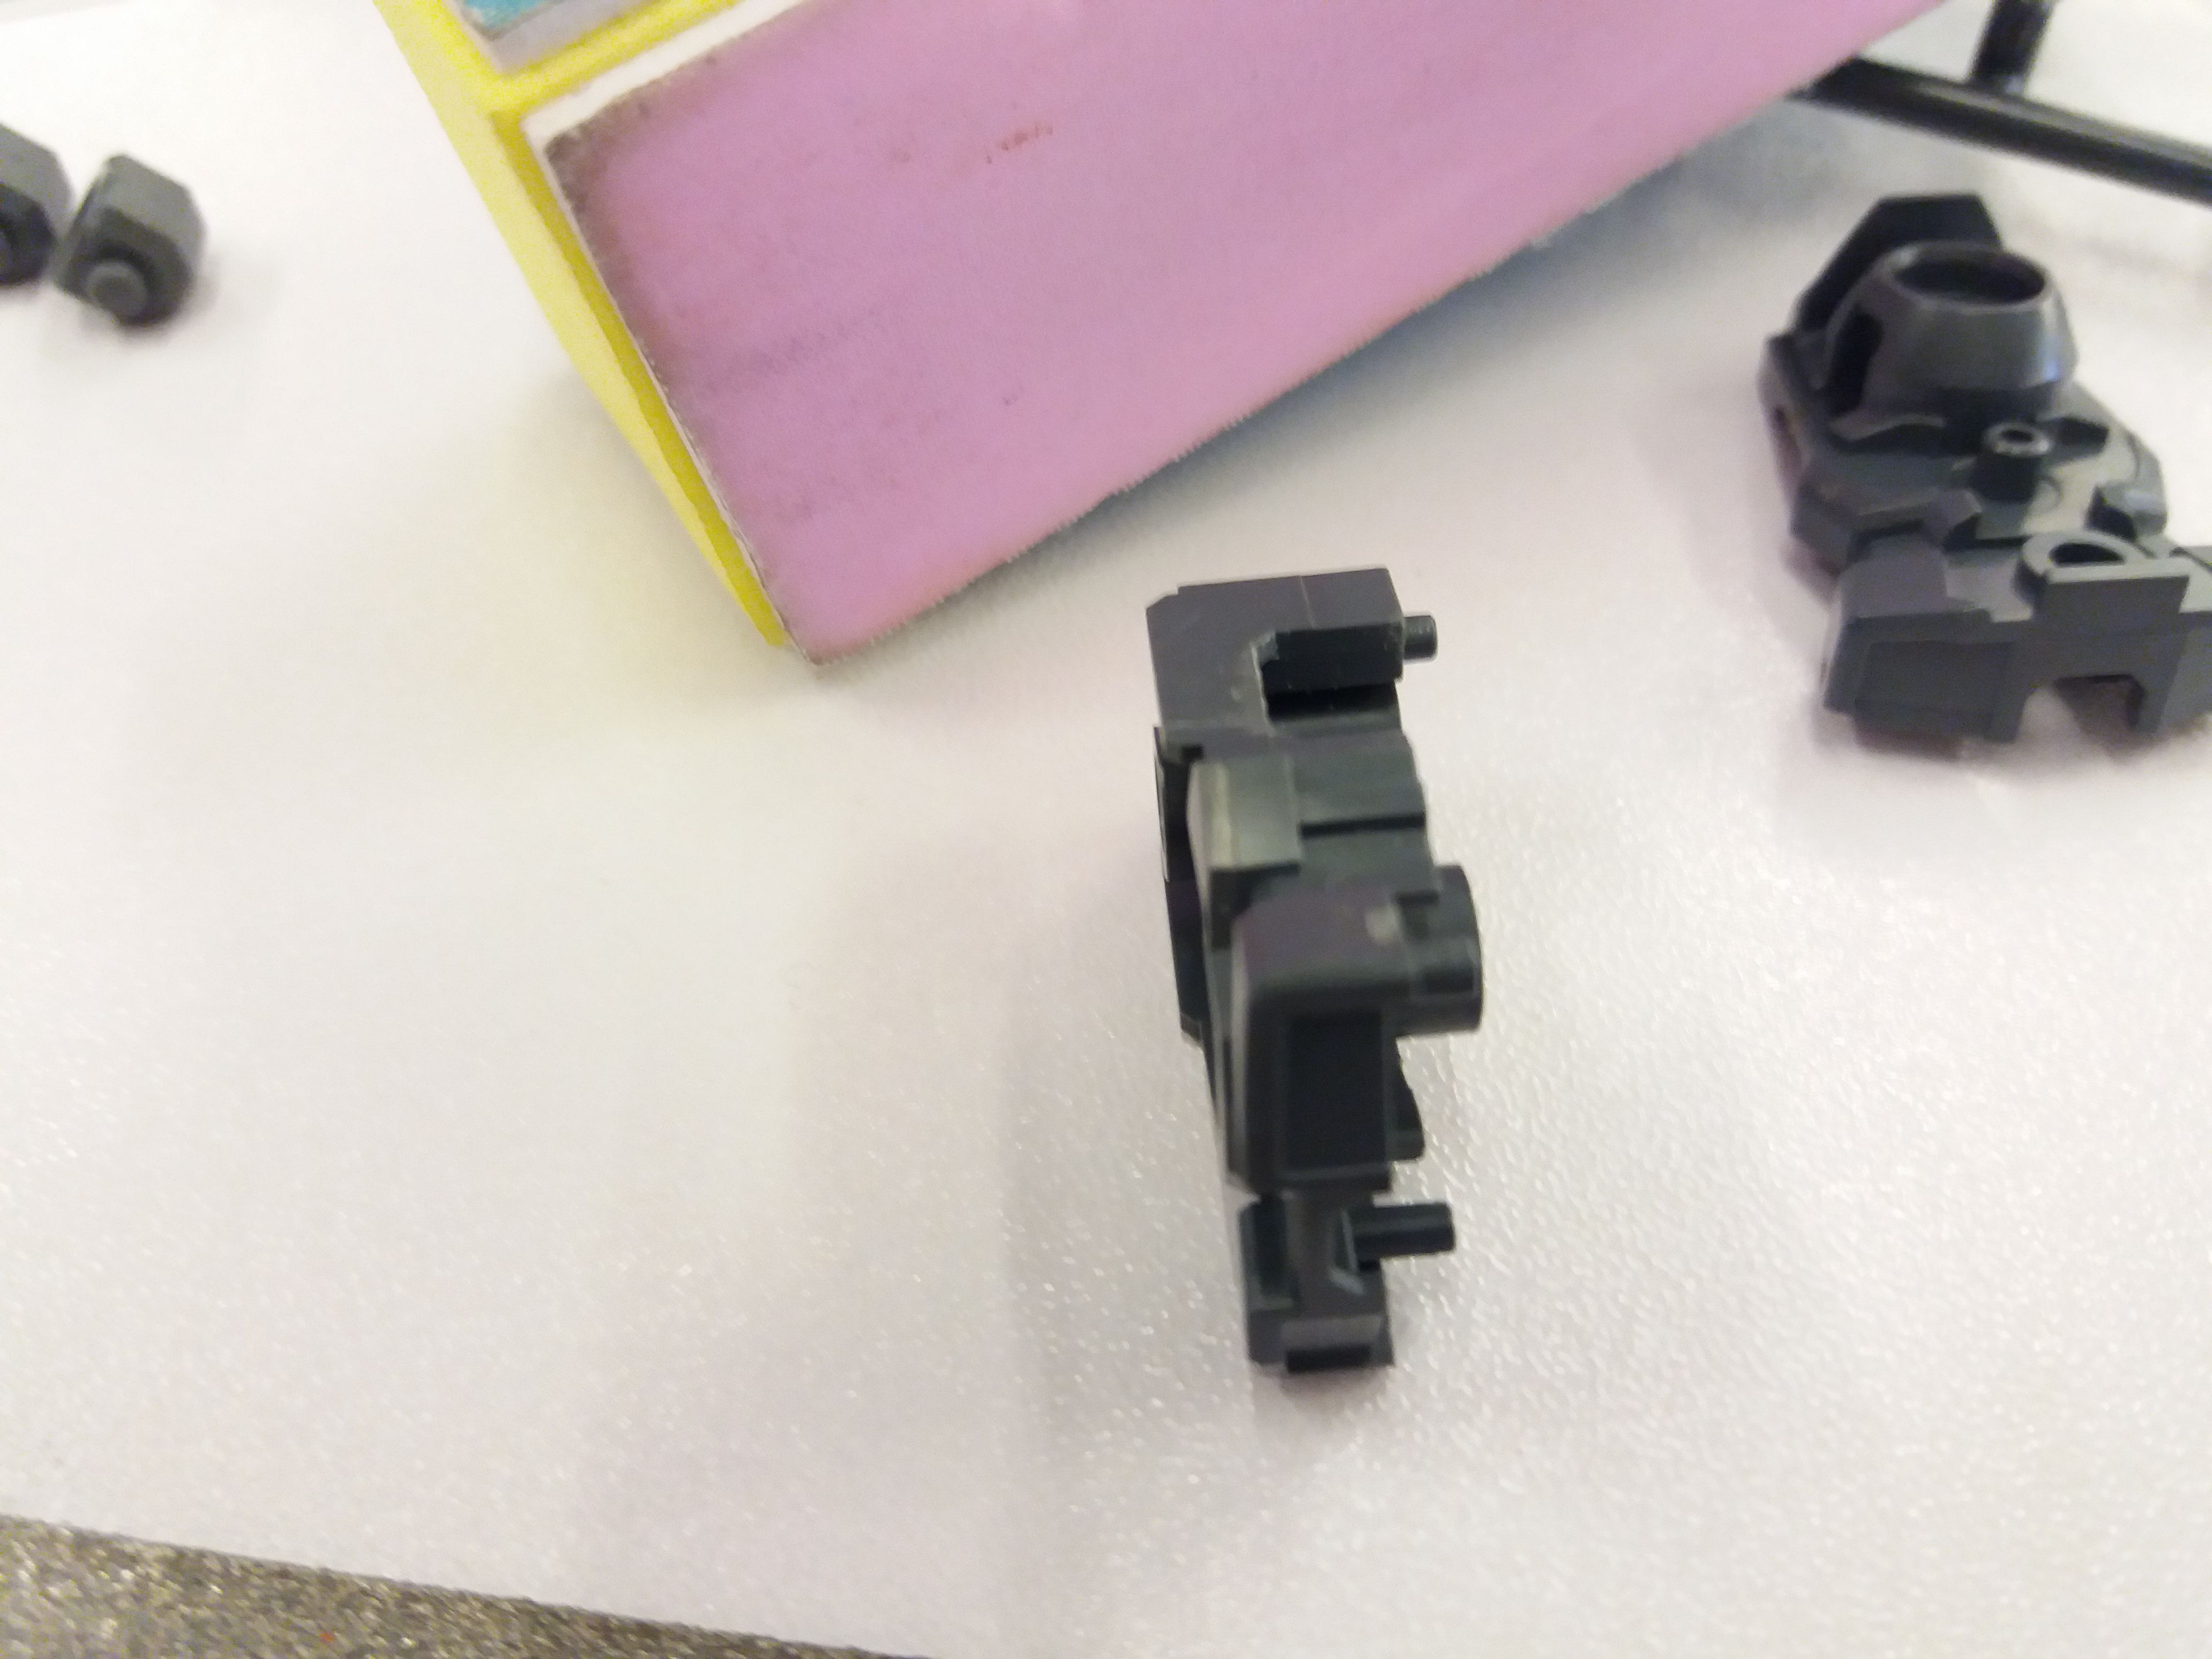
One by one I made sure each piece was clean and ready to be moved properly. I also invested time in making sure there weren't any rough parts and they looked exceptionally well. There is just that tingling sensation that you get when the kits comes in together and start forming the gunpla. I think that is what gives it excitement and what we builders call the "joy of building".
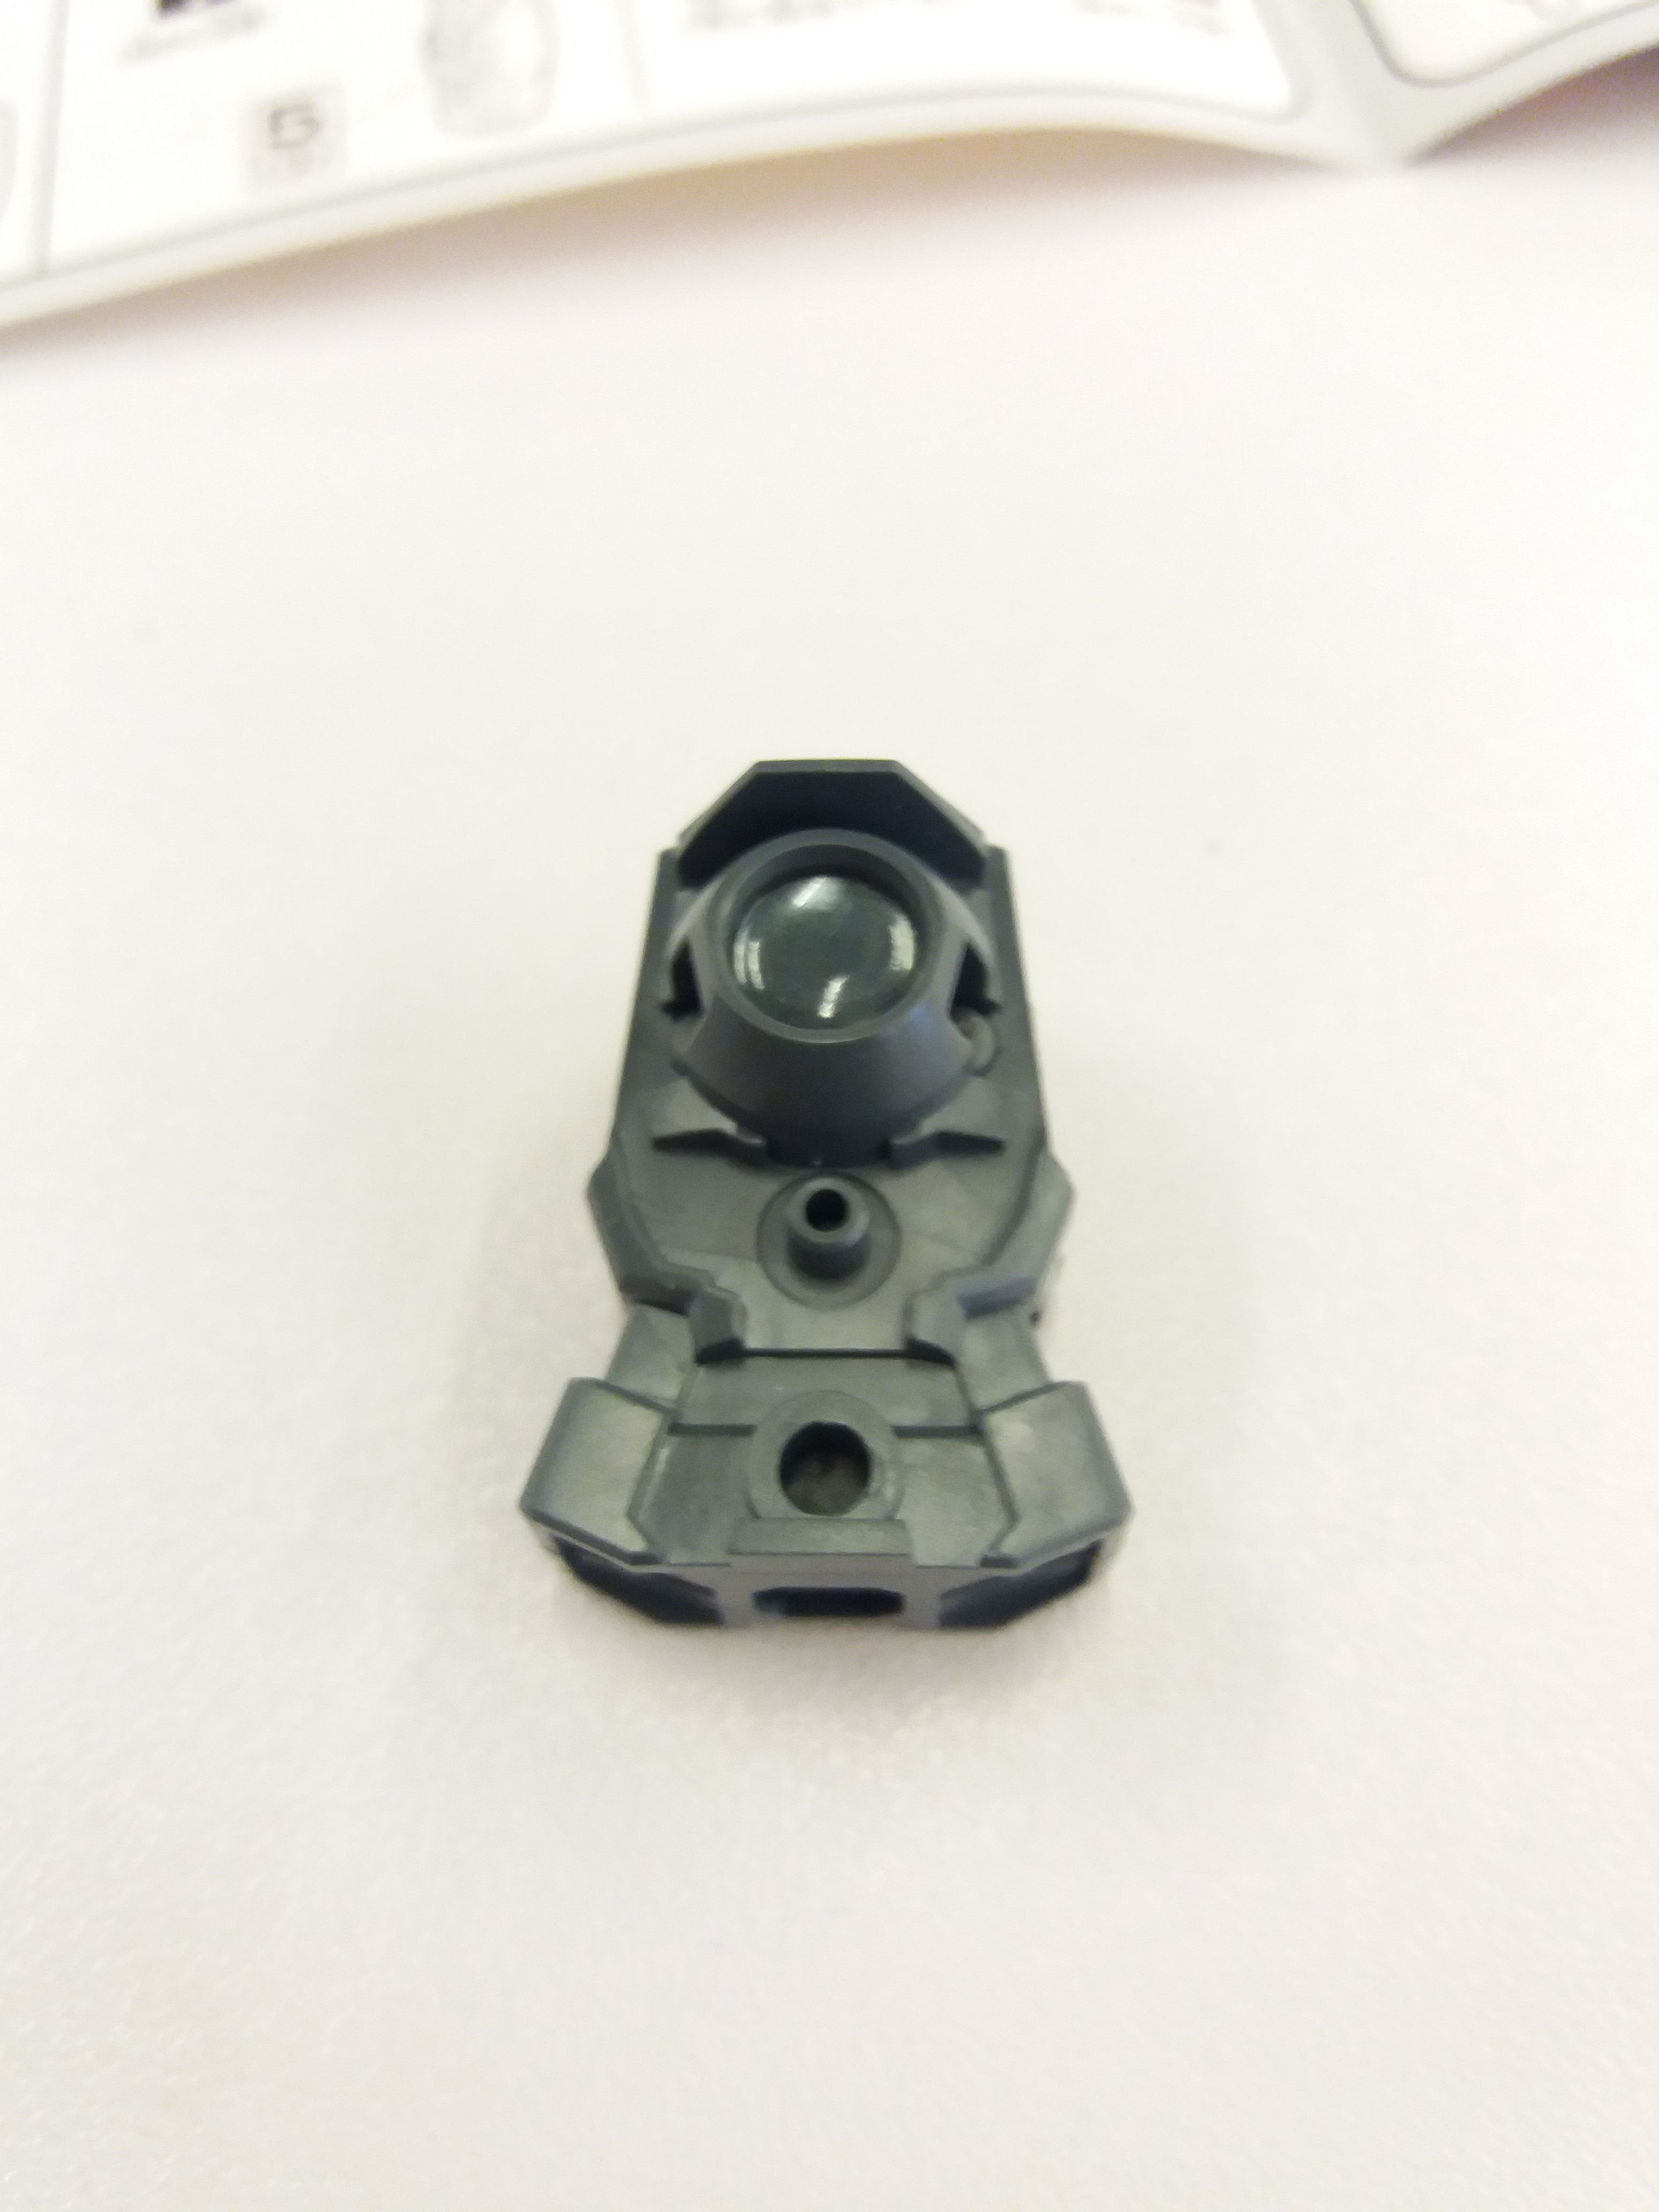
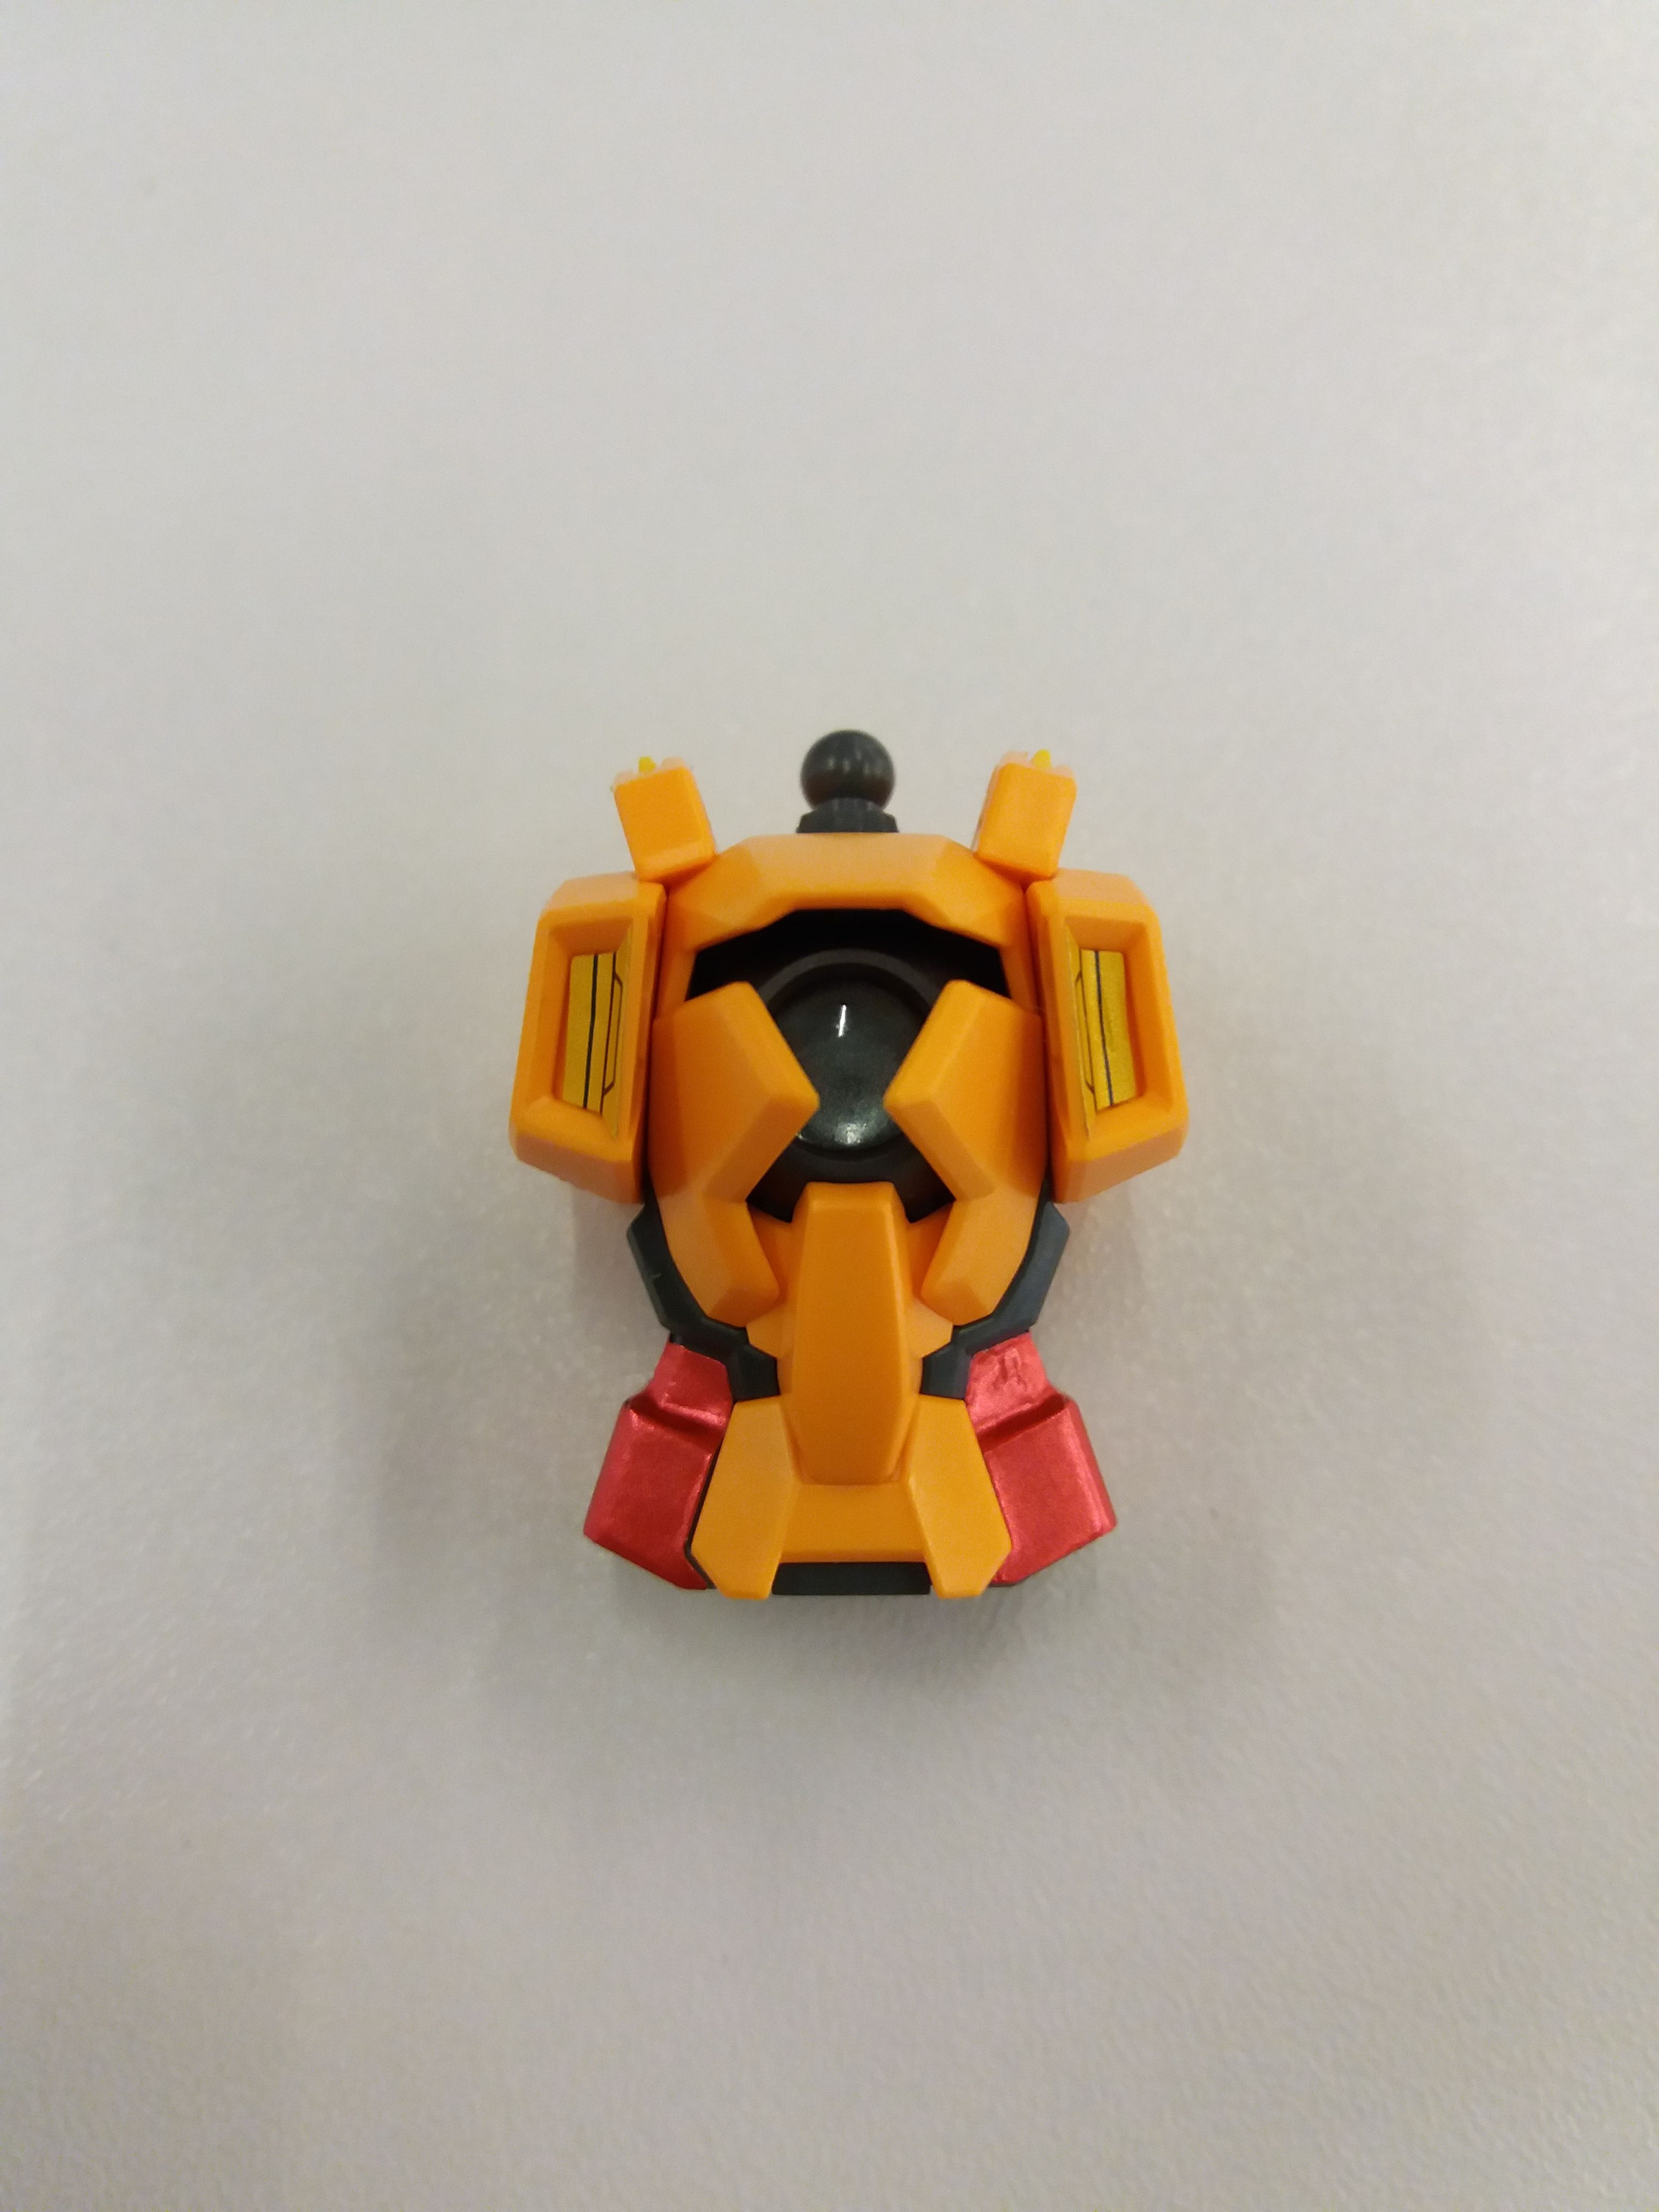
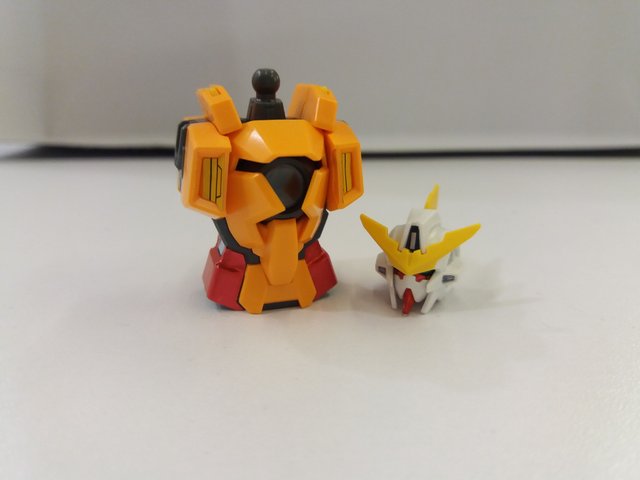
Torso
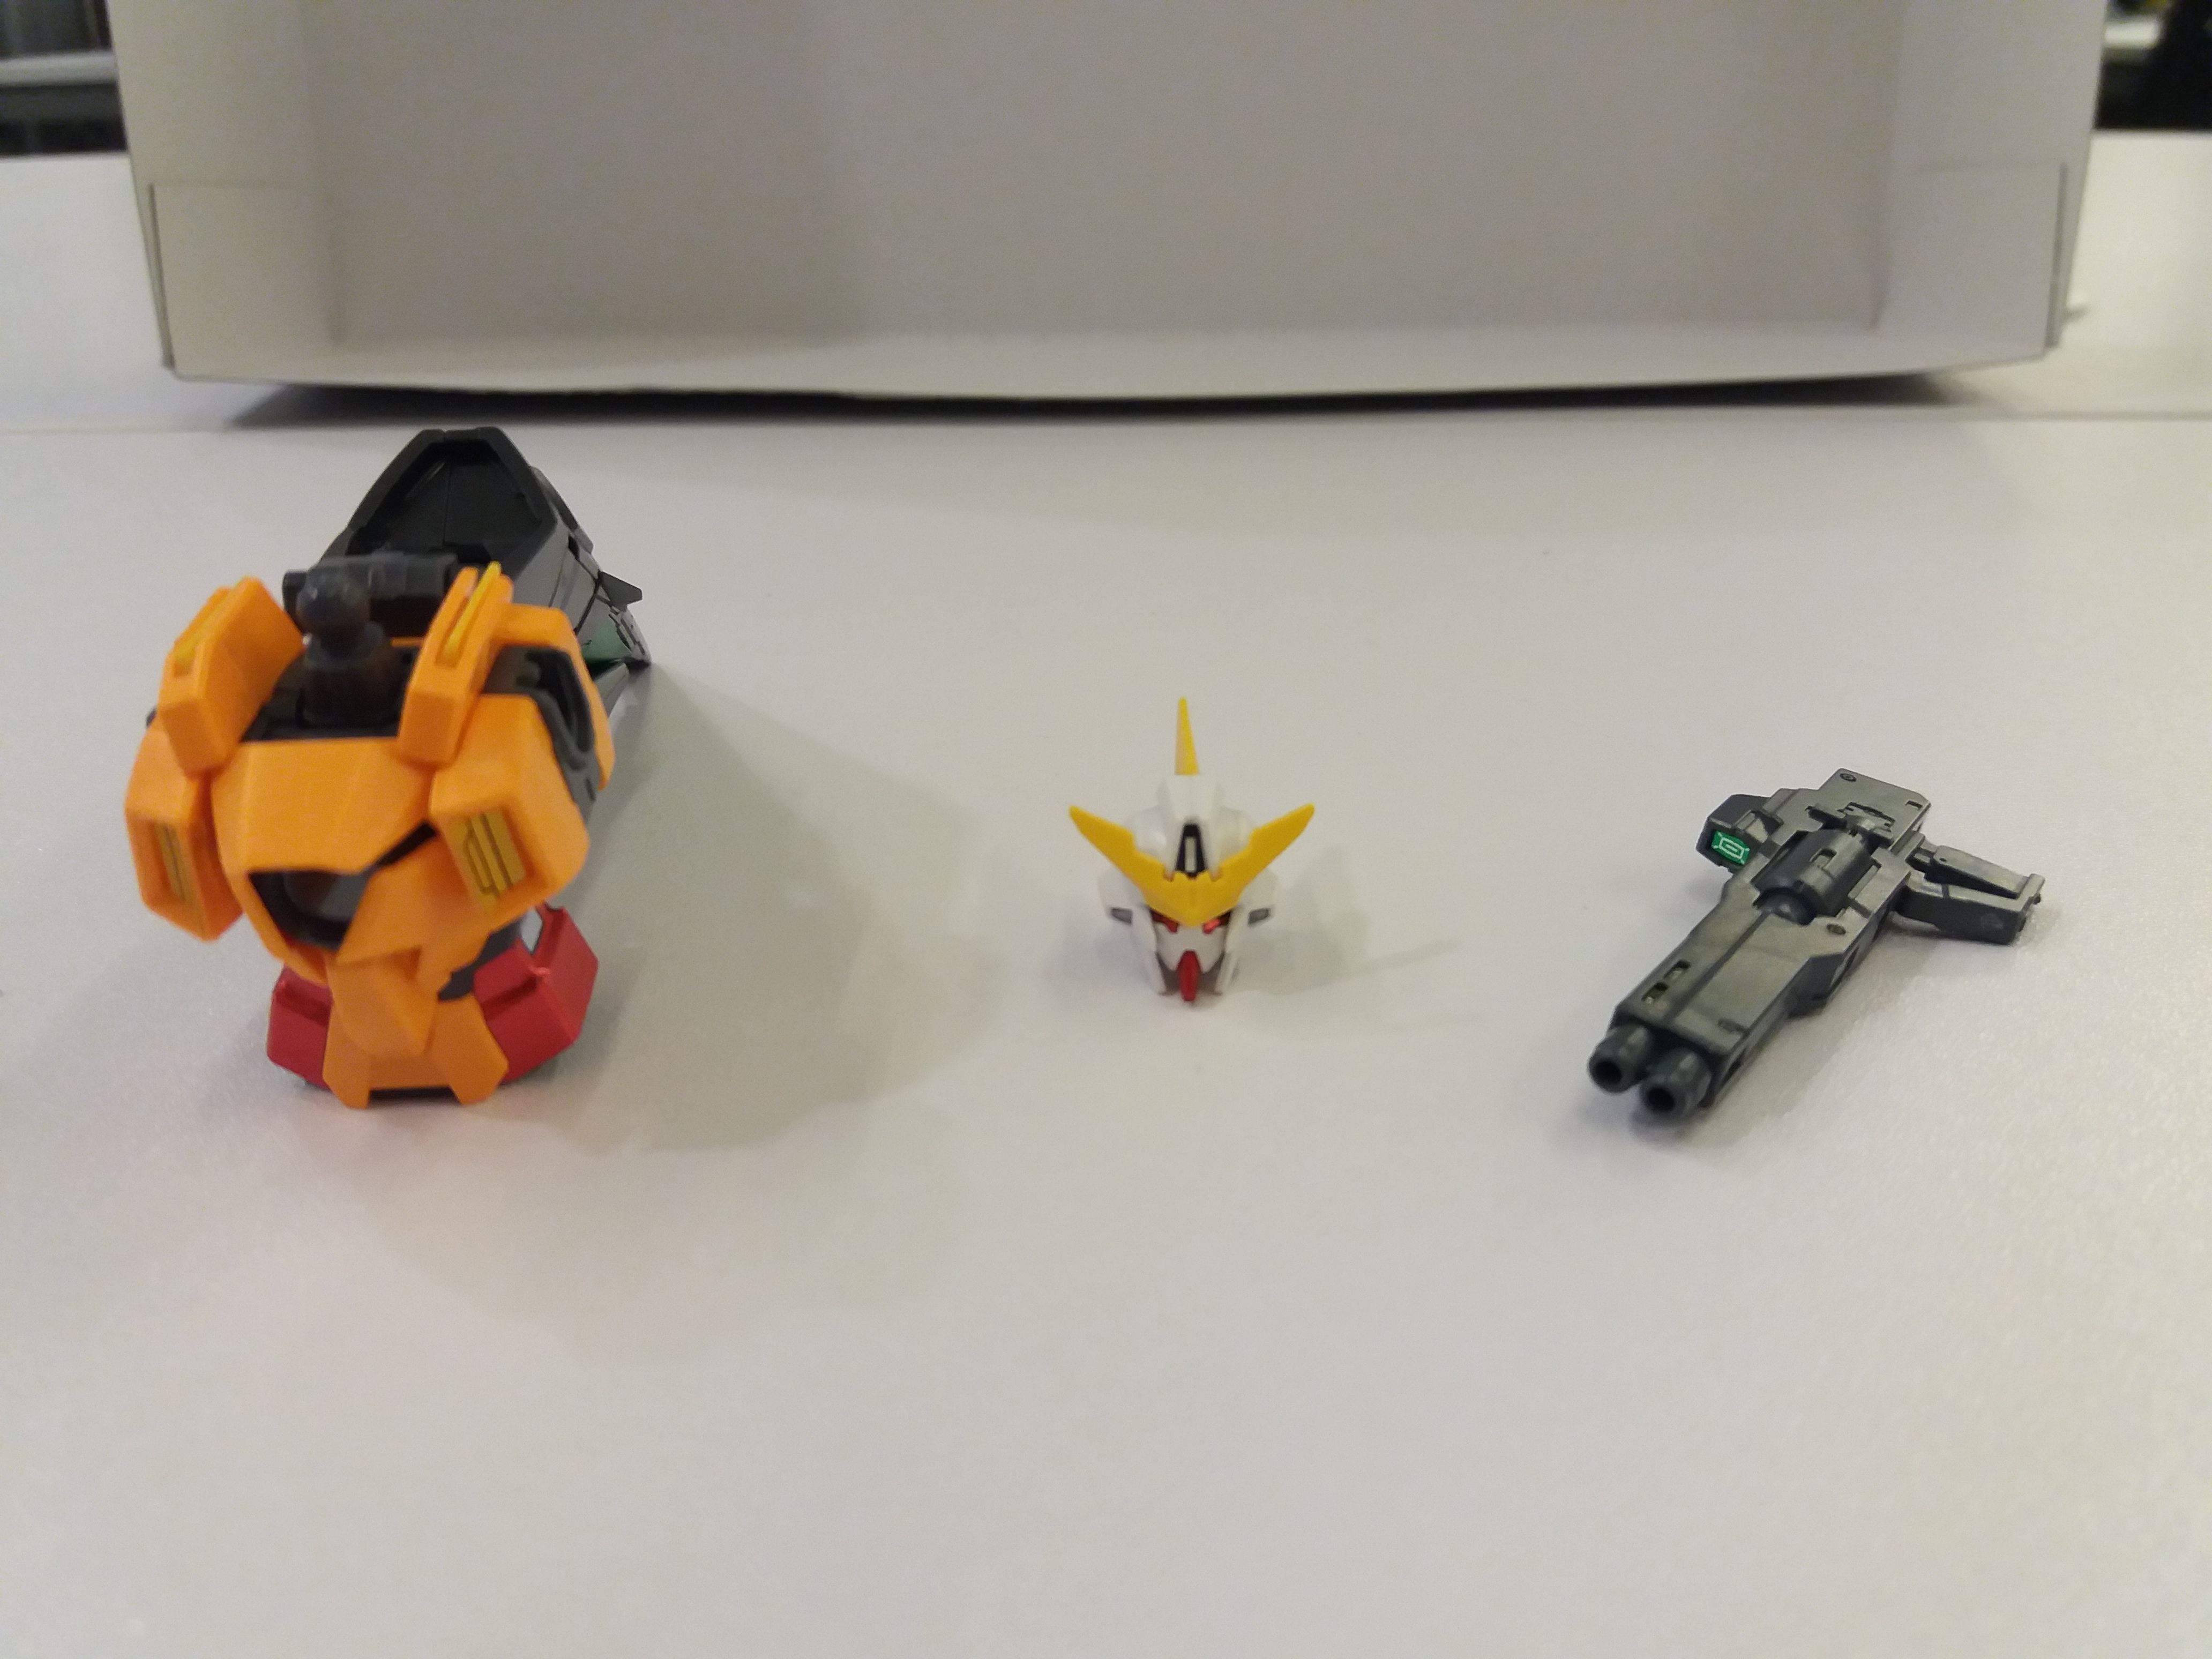
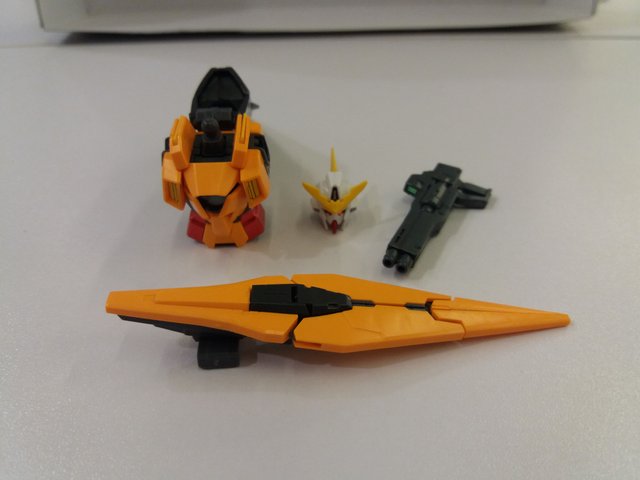
Head
Gun/Riffle
Sheild/Claw
Arms
Legs
Hips
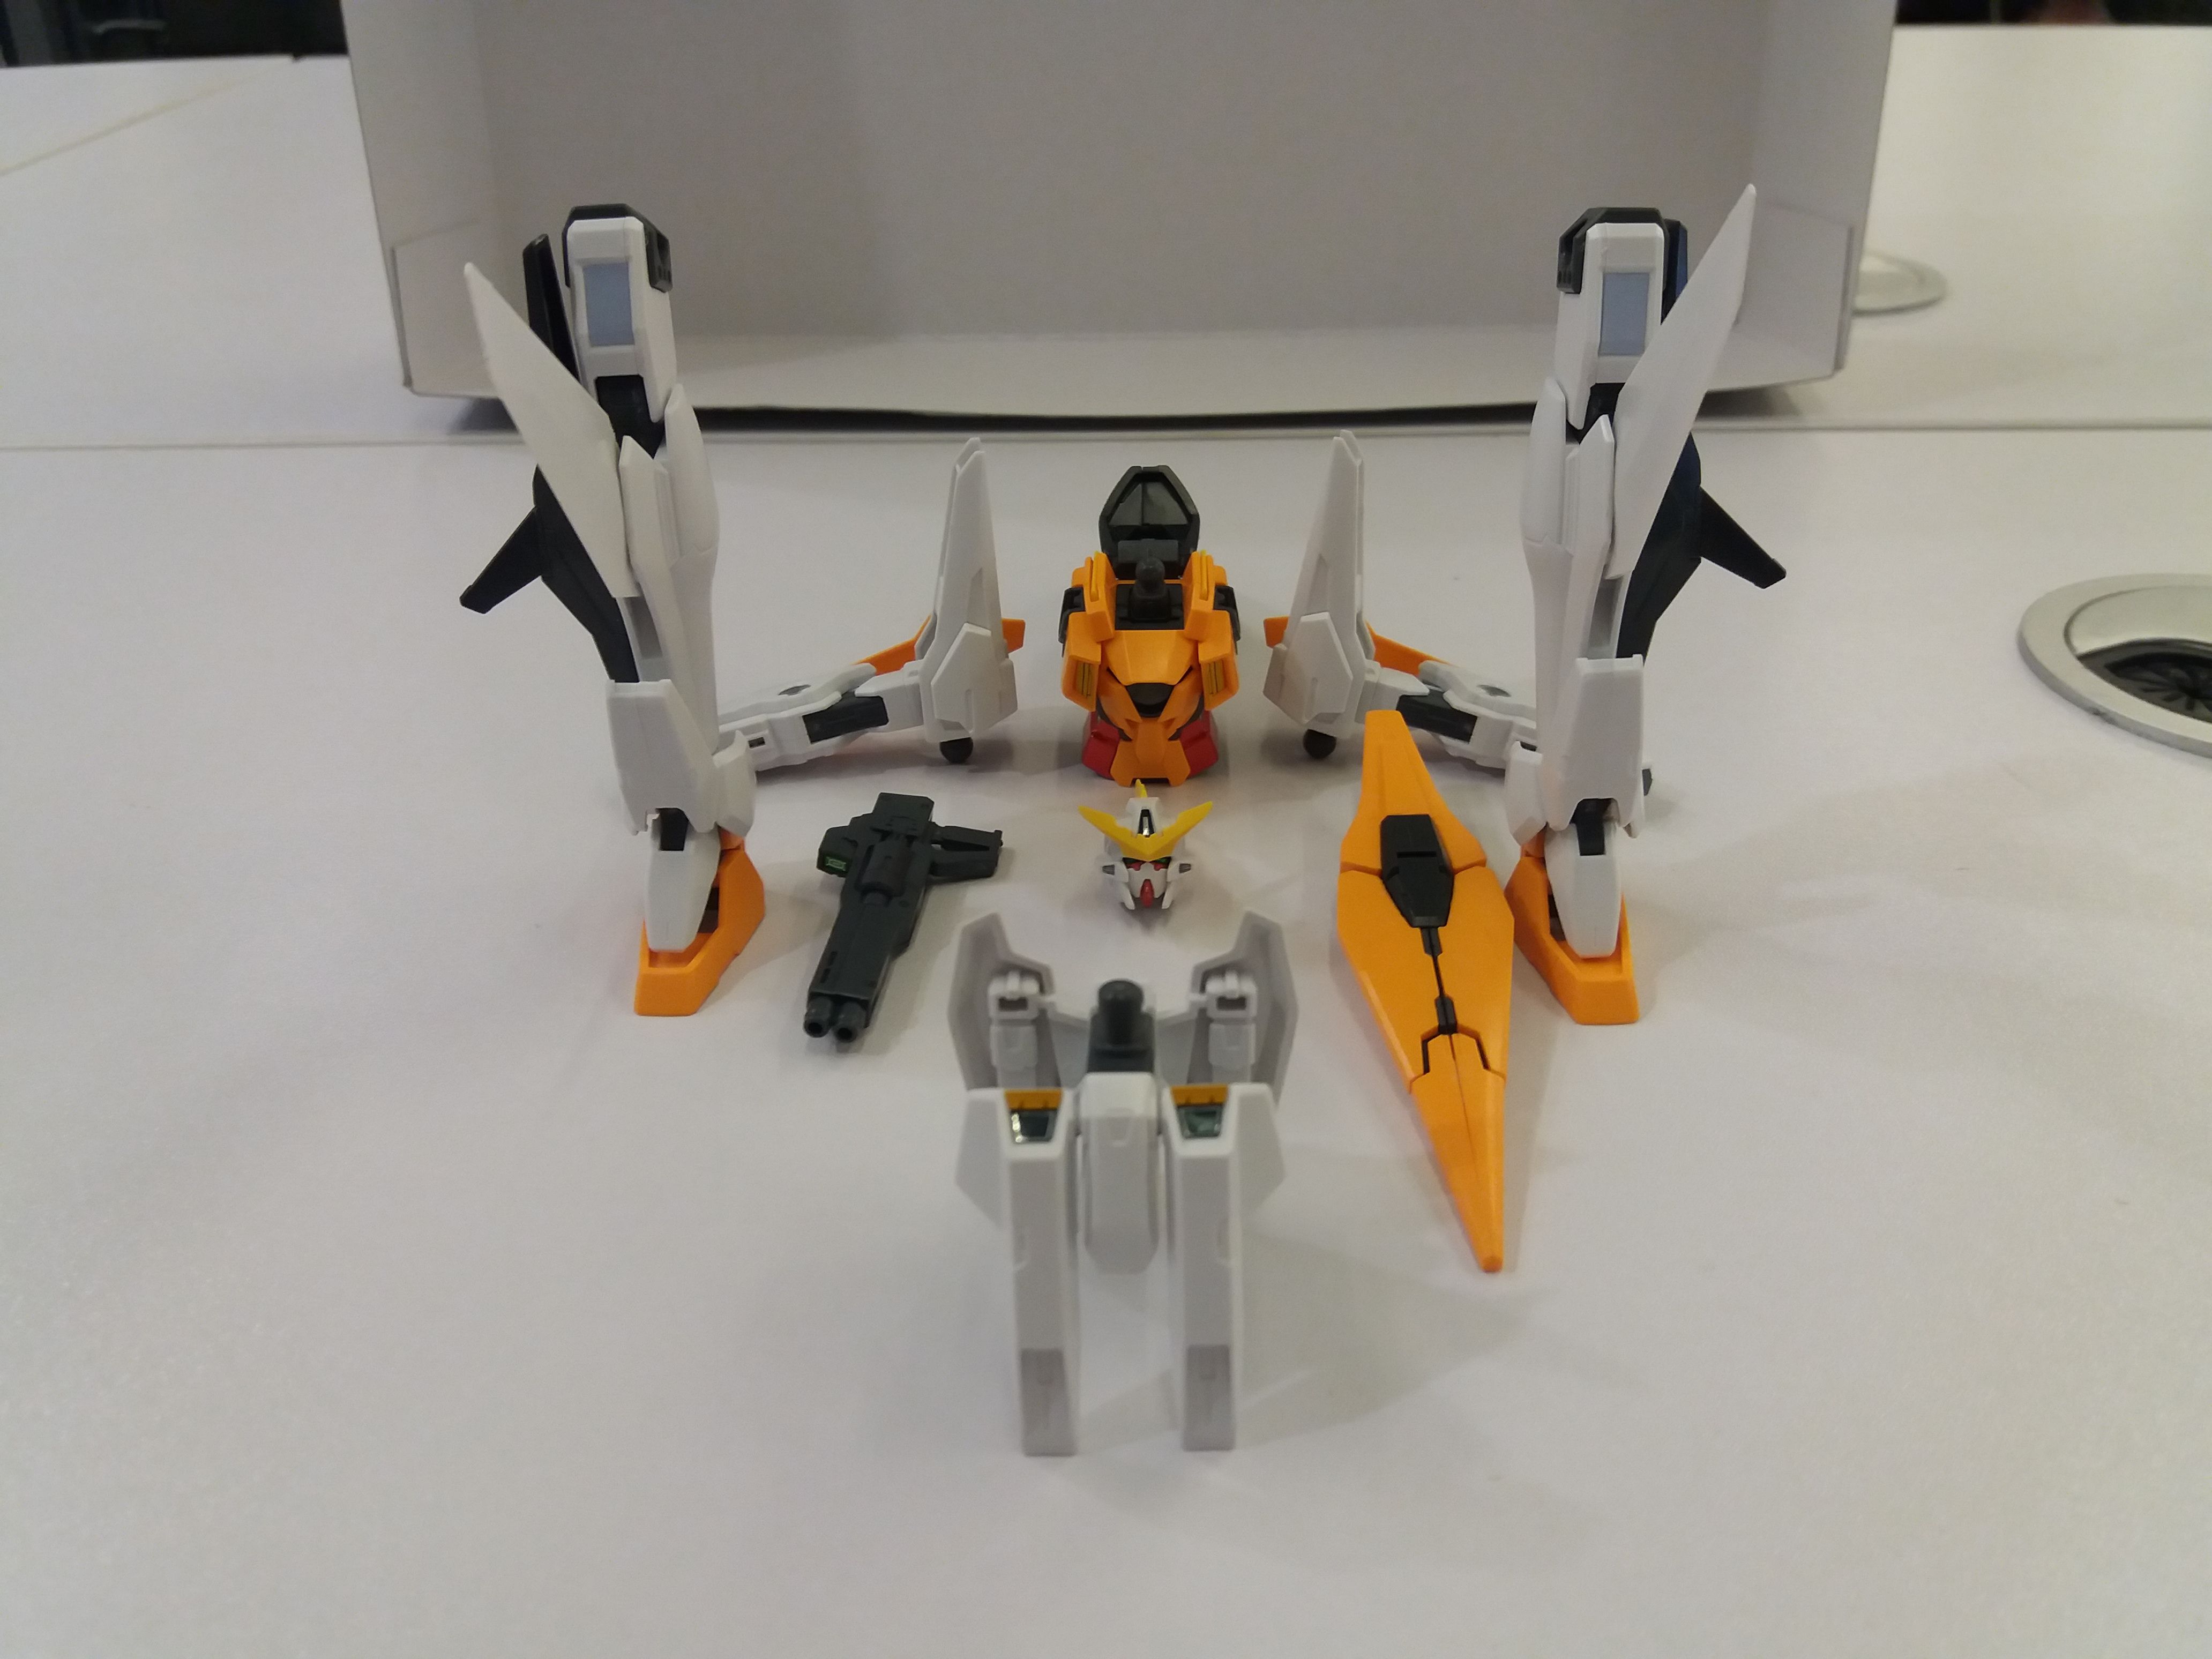
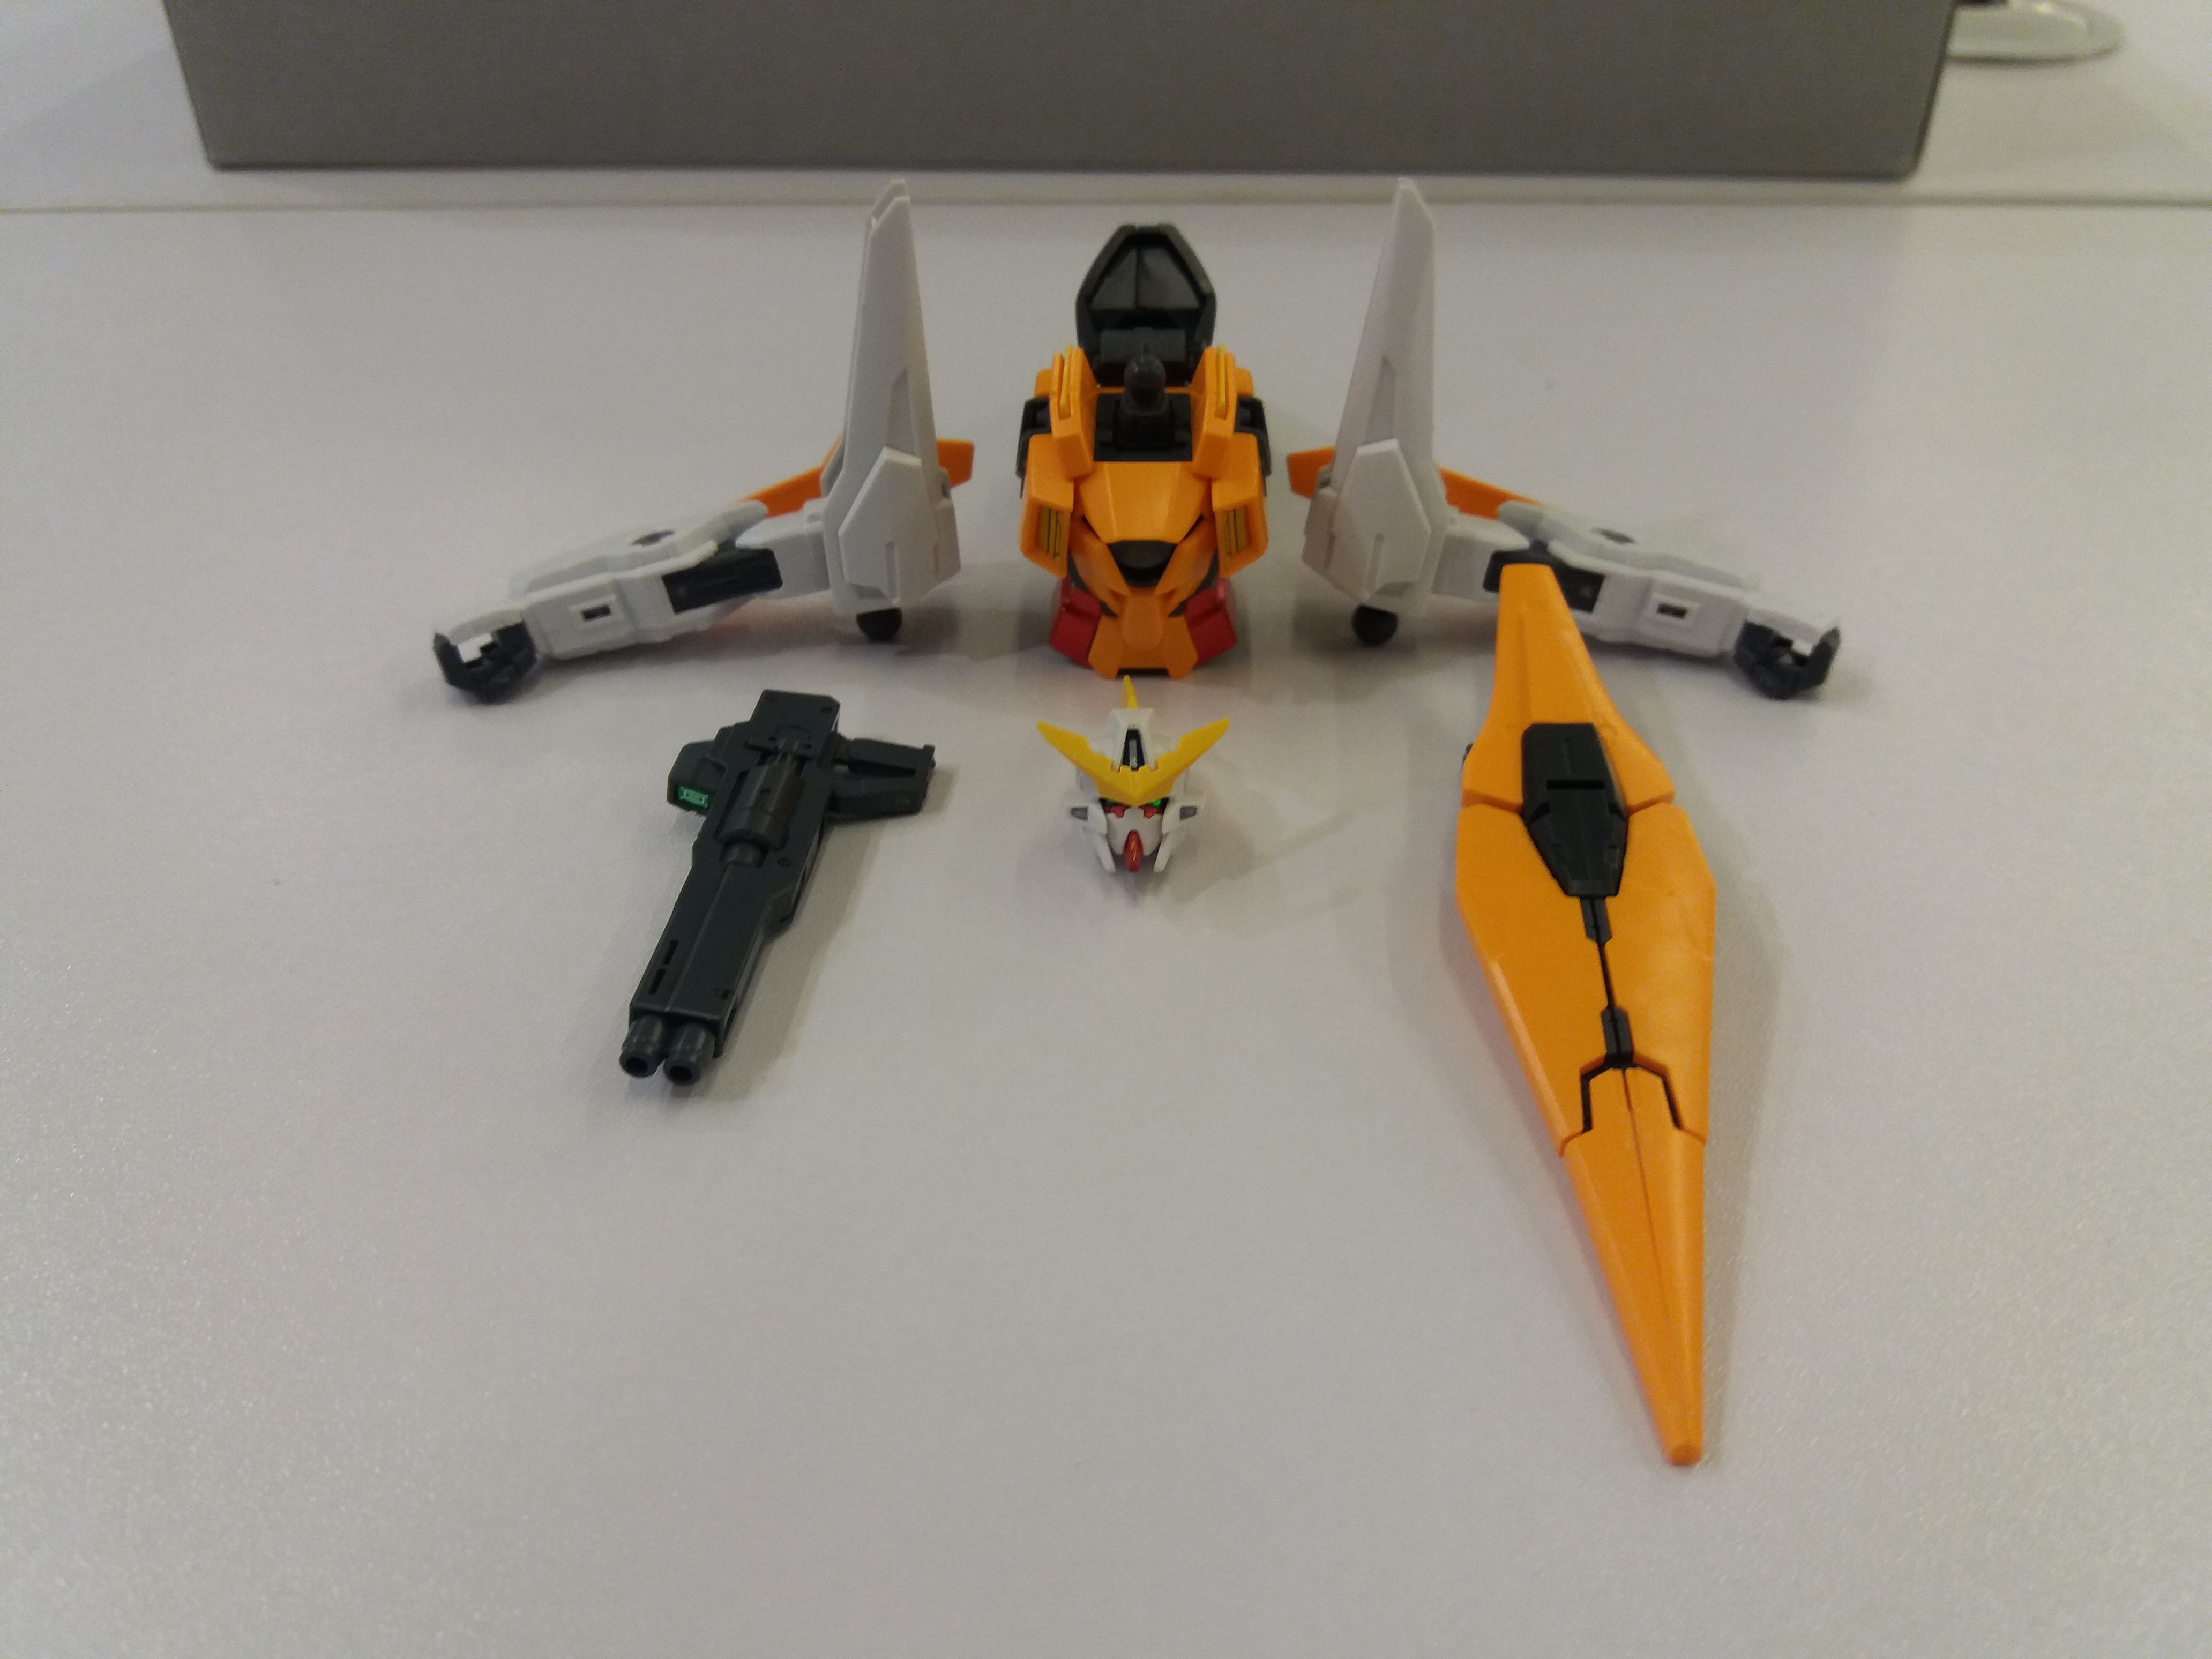
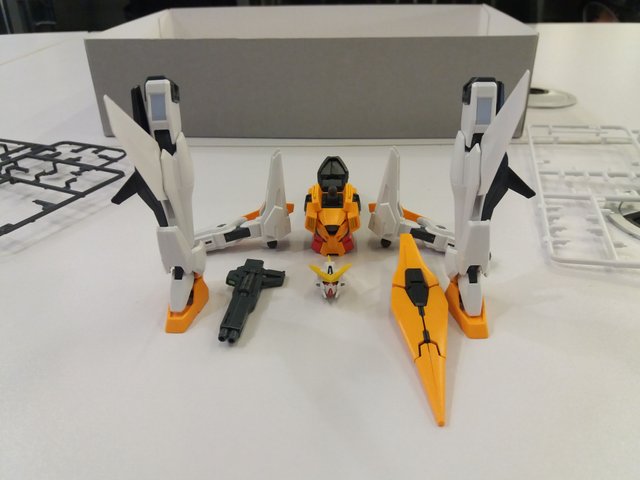
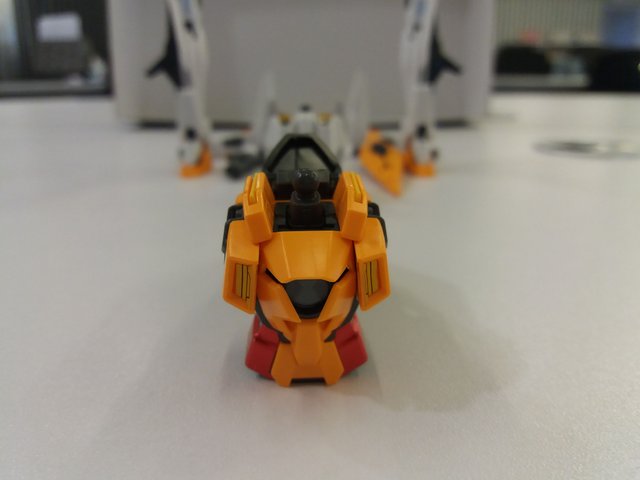
Here are now the series of pictures of putting the Gunpla together, piece by piece:
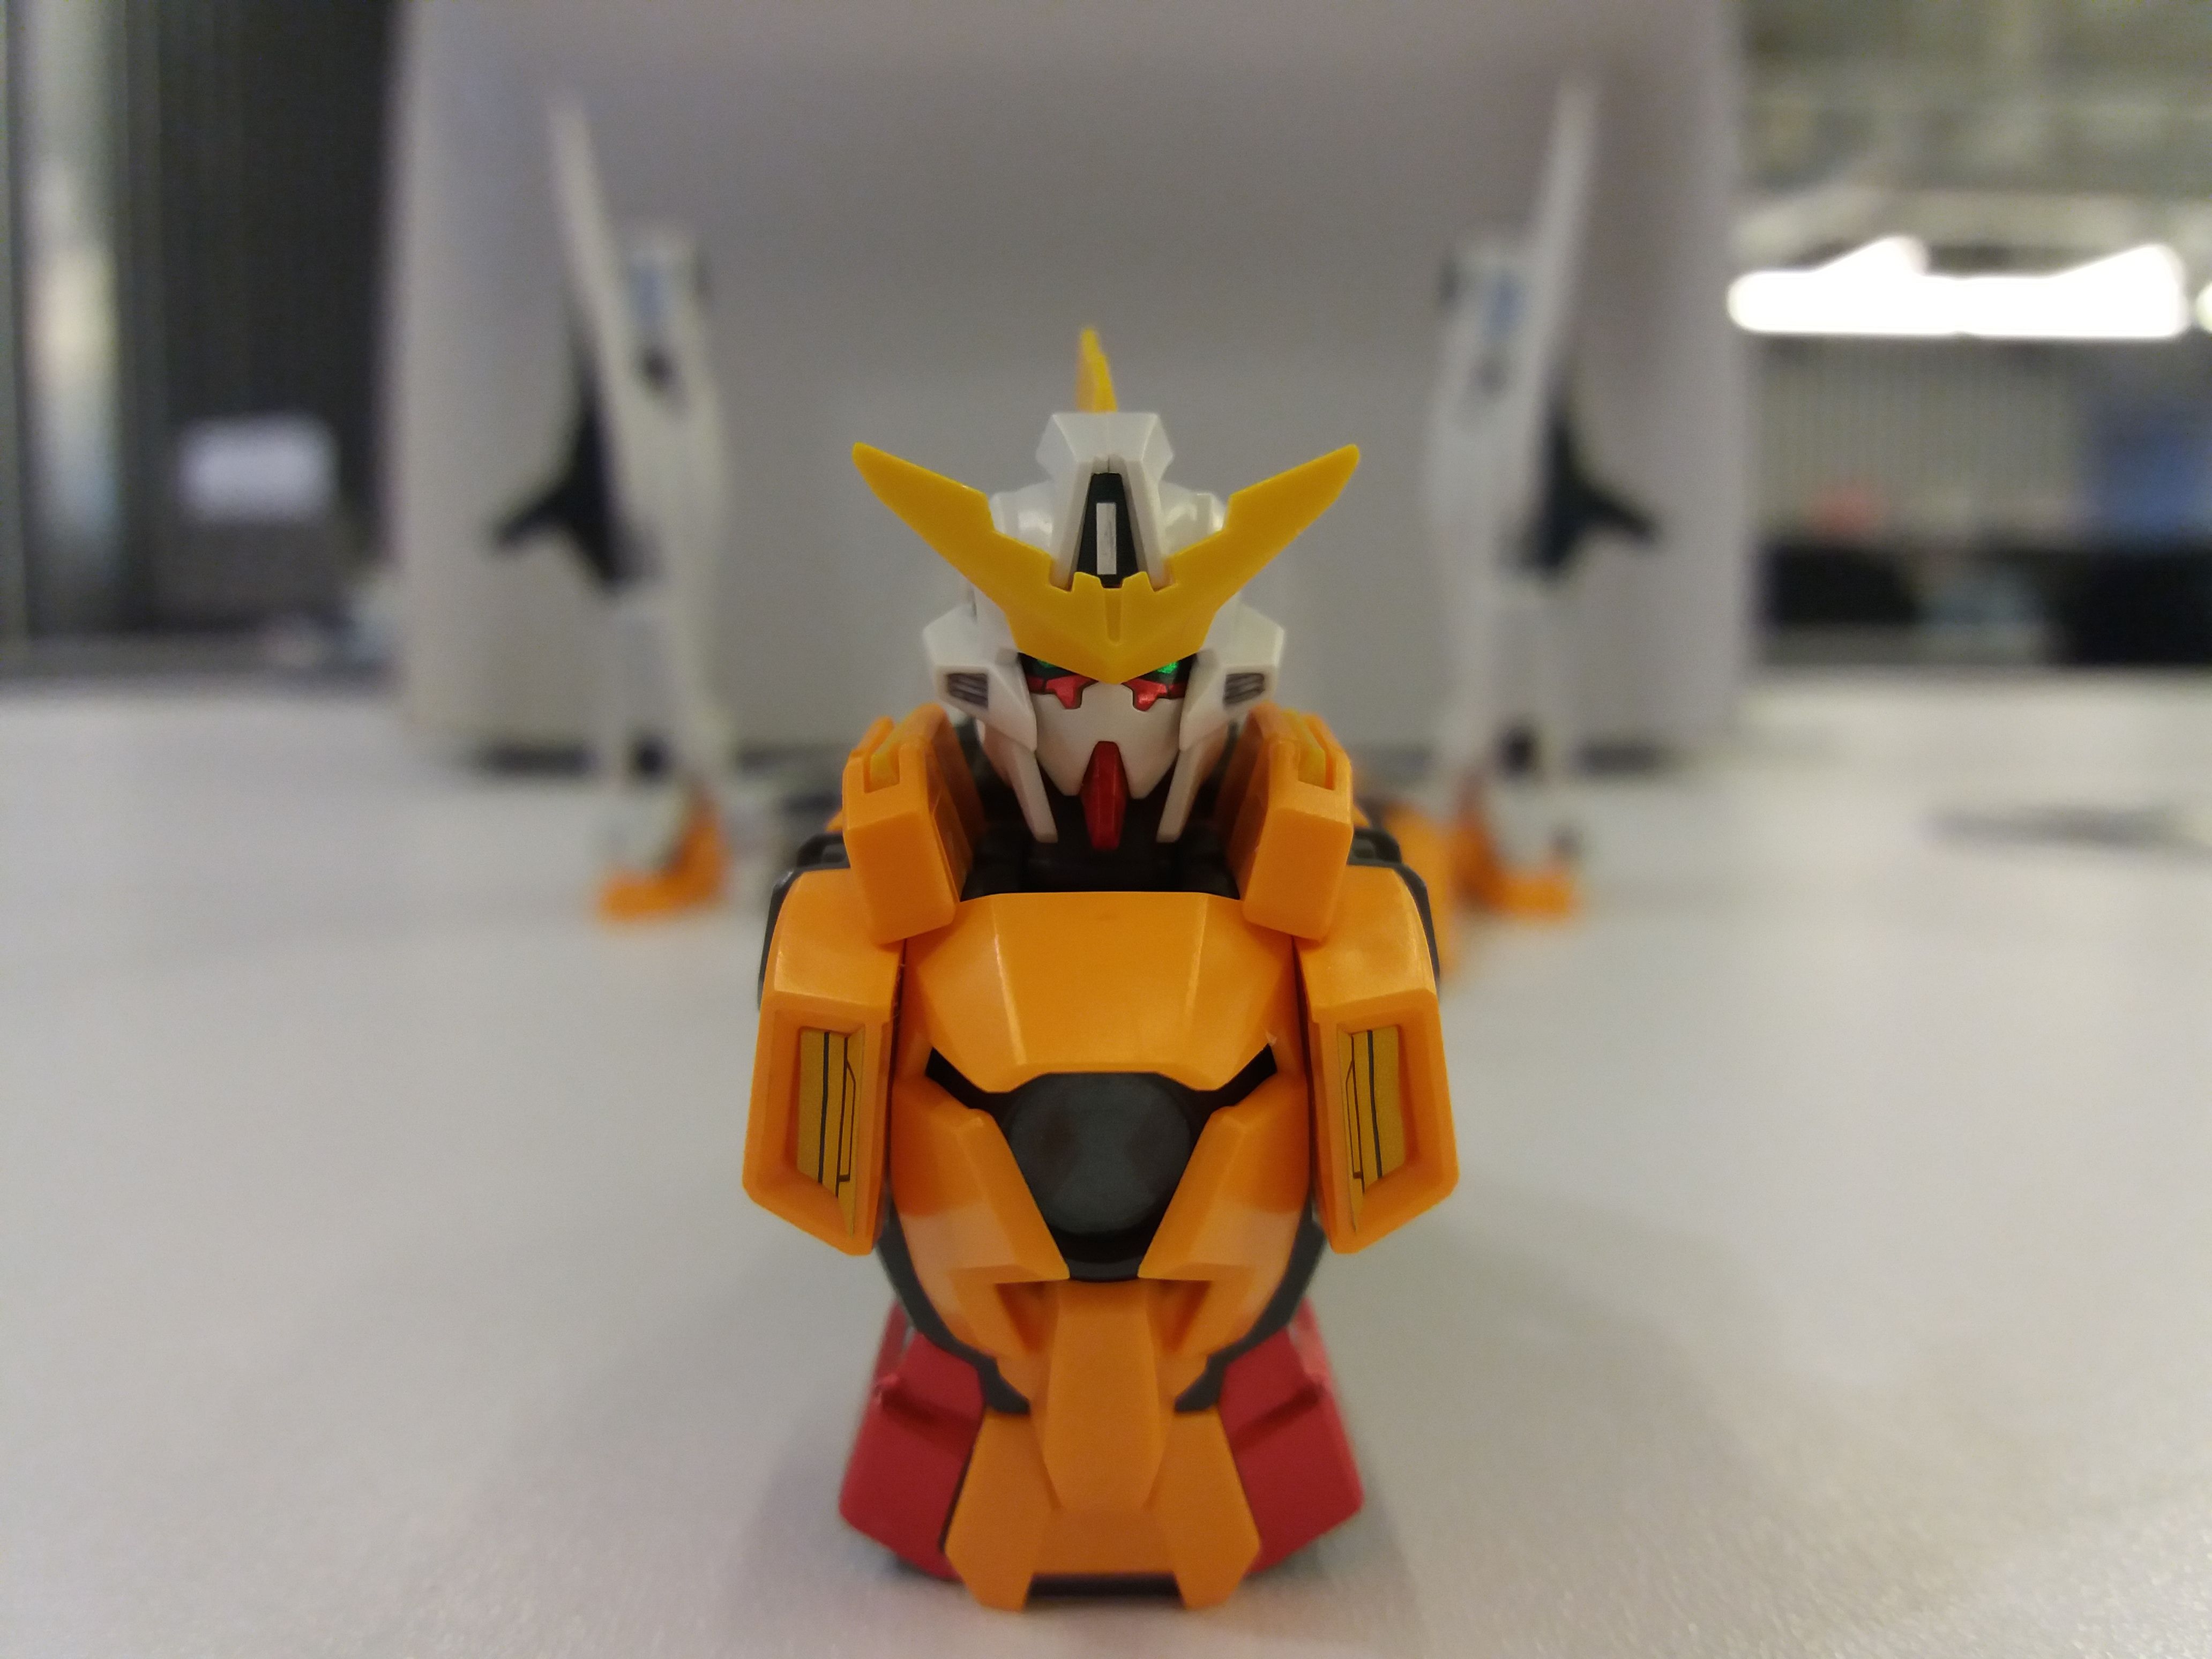
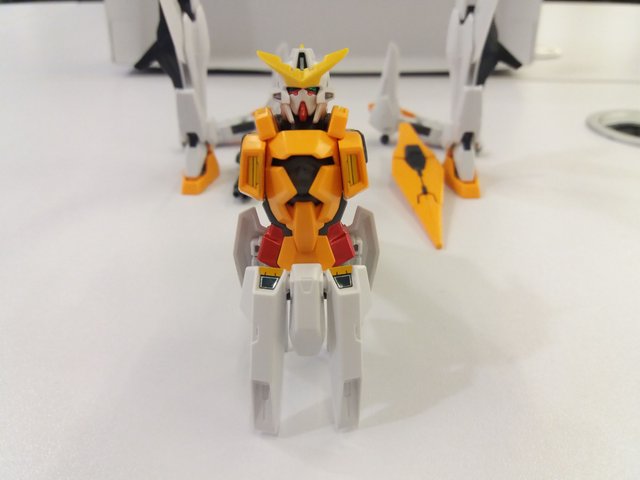

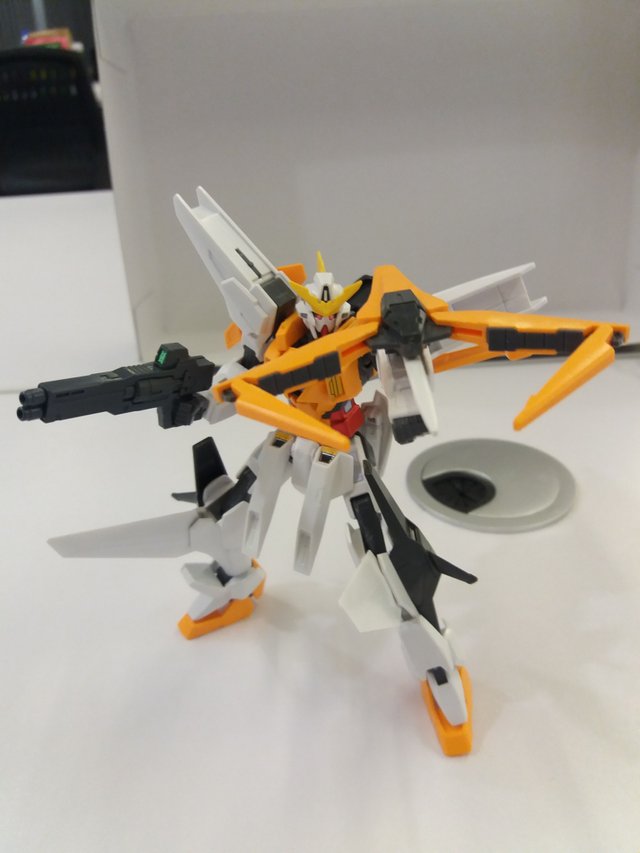
There you have it ladies and gentlemen! My beloved STEEMIANS! The HG 1/144 Gundam Kyrios! Ready to take flight and be part of the cause to unify humanity! This is actually the central theme of the gundams in gundam 0. What I can say about this kit is that it was very dynamic and really an out of the box experience compared to me assembling other kits. This gave me a sense of renewal for putting together Gunpla and got me excited for more!
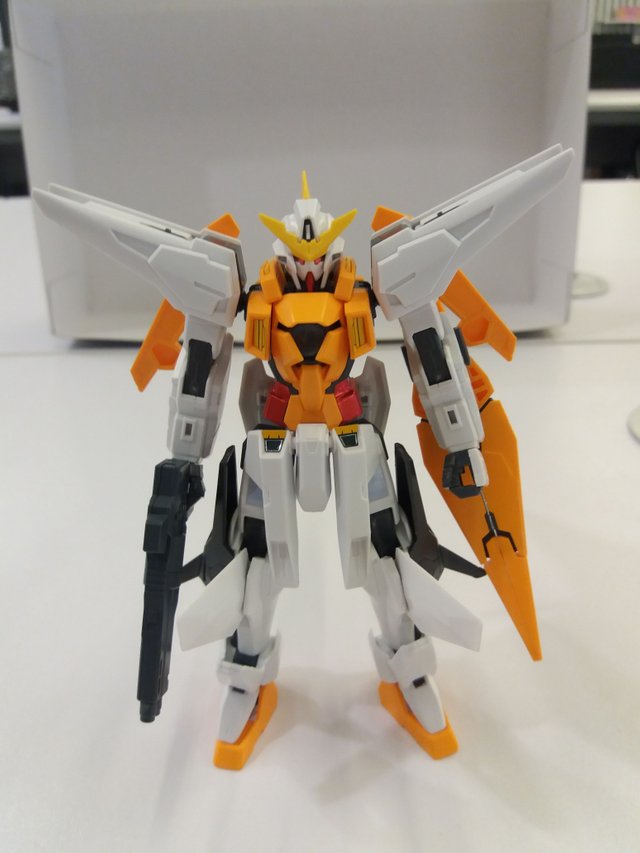
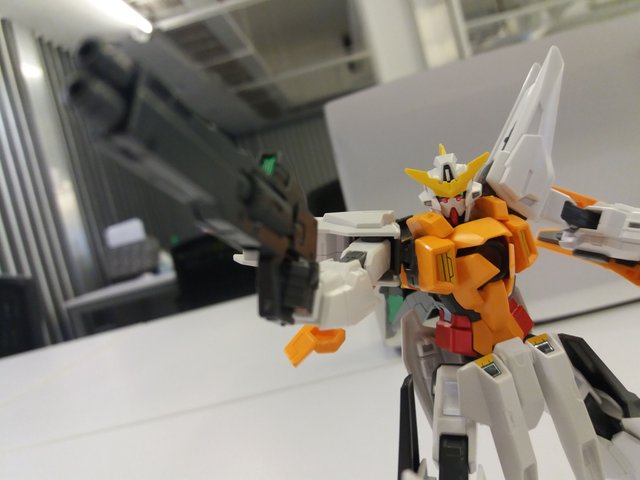
Of course one must not leave out the part of actually possing the Gundam! Here is Gundam Kyrios with awesome poses!

I must admit that this kit would have actually looked even better if it had a display stand since it's supposed to be an aerial gundam, but I find that if you can pose your gunpla standing up, that is where the real success comes from. Some kit's just weigh too much and can't stand on their own.
Here it is using it's claw like shield used to grab and stab opponents.

I hope you guys enjoyed this Gundam feature as much as I loved putting it together and writing about it! I also want to point out that I hope to see more unique content here on steemit. I have yet to find anyone else who post's about specific parts about their hobby and if you are reading this and you happen to be one, feel free to comment and I will gladly follow your blog!
Let's all promote unique and quality content here on steemit! I will gladly share all my experiences with Gunpla here! Feel free to upvote, comment, resteem and follow! I will be more than happy to do the same!
@aace234 got you a $0.89 @minnowbooster upgoat, nice! (Image: pixabay.com)
Want a boost? Click here to read more!
Thank you Minnowbooster!
meep
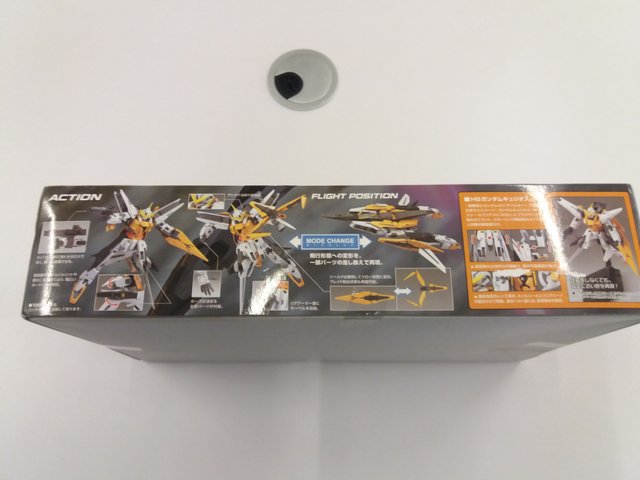
What's better than a Gundam? A transformable Gundam!
(can the model transform btw?)