Launch your own blockchain with Hyperledger Composer

In this post I'll show you how to install Hyperledger Composer and create your own blockchain (business network in terms of Hyperledger). Hyperledger Composer greatly simplifies work with Hyperledger Fabric - a permissioned blockchain. Hyperledger Composer facilitates building your own blockchains via:
- Modeling Language
- Reusable POCs
- Data Integration
Setup Server
Refer to "Cloud Server Setup" section here
Install Hyperledger Composer
Create and switch to a not root user:
adduser ark
usermod -a -G sudo ark
su - ark
Install prerequisites:
curl -O https://hyperledger.github.io/composer/latest/prereqs-ubuntu.sh
chmod u+x prereqs-ubuntu.sh
./prereqs-ubuntu.sh
source .bashrc
Install dev tools:
npm install -g [email protected]
npm install -g [email protected]
npm install -g [email protected]
npm install -g yo
npm install -g [email protected]
Install Hyperledger Fabric:
mkdir ~/fabric-dev-servers && cd ~/fabric-dev-servers
curl -O https://raw.githubusercontent.com/hyperledger/composer-tools/master/packages/fabric-dev-servers/fabric-dev-servers.tar.gz
tar -xvf fabric-dev-servers.tar.gz
cd ~/fabric-dev-servers
export FABRIC_VERSION=hlfv12
./downloadFabric.sh
Start fabric:
cd ~/fabric-dev-servers
export FABRIC_VERSION=hlfv12
./startFabric.sh
./createPeerAdminCard.sh
Open 8080 port:
sudo ufw allow 8080
Create Your Blockchain
Start Composer Playground:
composer-playground
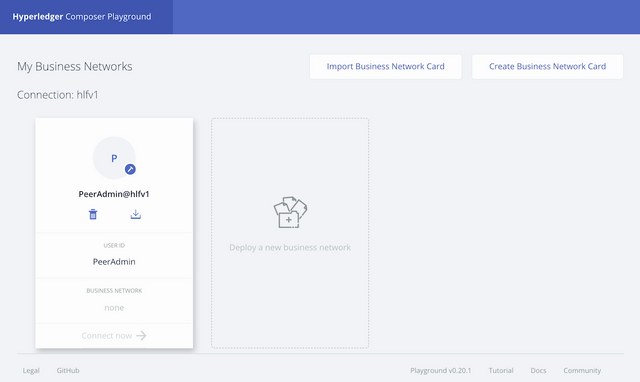
Access playground in your browser at http://your-ip:8080 and click "Deploy a new business network":
Hyperledger Composer provides a nice selection of business network templates which you can start with and build on top of. We are going to build a simple insurance network from an empty template. Enter "ark-insurance-network" as your network name:

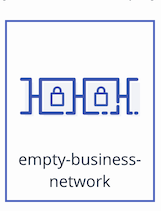
Select empty business network:
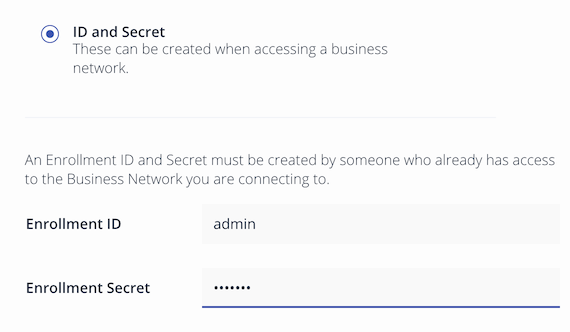
Enter ID and Secret:
And click "Deploy":
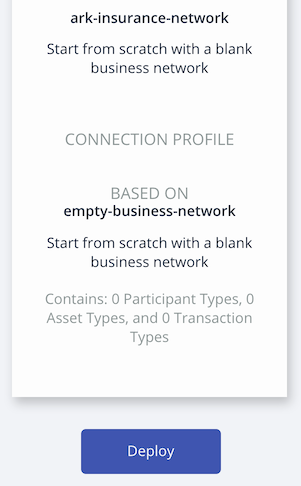
Behind the scenes, Composer launches a new docker image to server your newly created network:

Once deployed, you will see a new connection card with the name of your network. Click "Connect now"
models/model.cto file descibes busineness model of your network. For the purpose of our Insurance Network, we'll have Subscriber, InsurancePolicy, PolicyPaymentTransaction, and PolicyPaymentEvent. Open models/model.cto in the left nav and then copy paste the below code into the editor window:
namespace io.arklabs

participant Subscriber identified by subscriberId {
  o String subscriberId
  o String firstName
  o String lastName
  o String email
}

asset InsurancePolicy identified by policyId {
  o String policyId
  --> Subscriber subscriber
  o String amountPaid
  o String arkTransaction
}

transaction PolicyPaymentTransaction {
  --> InsurancePolicy policy
  o String amountPaid
  o String arkTransaction
}

event PolicyPaymentEvent {
  --> InsurancePolicy policy
  o String amountPaid
  o String arkTransaction
}
Once that is done, lets add logic which will be operating with the above defined model. Select "Add a file":

and choose "Script File (.js)":
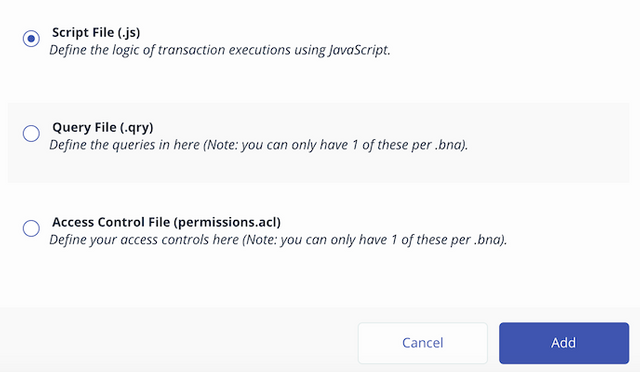
Then copy and paste the below code:
'use strict';

/**
 * Sample insurance payment transaction
 * @param {io.arklabs.PolicyPaymentTransaction} policyPaymentTransaction
 * @transaction
 */
async function policyPayment(tx) {
    tx.policy.amountPaid = tx.amountPaid;
    tx.policy.arkTransaction = tx.arkTransaction;

    const policyRegistry = await getAssetRegistry('io.arklabs.InsurancePolicy');
    await policyRegistry.update(tx.policy);

    // Emit an event for the modified asset.
    let event = getFactory().newEvent('io.arklabs', 'PolicyPaymentEvent');
    event.policy = tx.policy;
    event.amountPaid = tx.amountPaid;
    event.arkTransaction = tx.arkTransaction;
    emit(event);
}
We are almost set. As the last step before we can play with our new blockchain we need to set permissions. Open permissions.acl and copy paste the below code:
rule EverybodyCanReadEverything {
    description: "Allow all participants read access to all resources"
    participant: "io.arklabs.Subscriber"
    operation: READ
    resource: "io.arklabs.*"
    action: ALLOW
}

rule EverybodyCanSubmitTransactions {
    description: "Allow all participants to submit transactions"
    participant: "io.arklabs.Subscriber"
    operation: CREATE
    resource: "io.arklabs.PolicyPaymentTransaction"
    action: ALLOW
}

rule OwnerHasFullAccessToTheirAssets {
    description: "Allow all participants full access to their assets"
    participant(p): "io.arklabs.Subscriber"
    operation: ALL
    resource(r): "io.arklabs.InsurancePolicy"
    condition: (r.owner.getIdentifier() === p.getIdentifier())
    action: ALLOW
}

rule SystemACL {
  description:  "System ACL to permit all access"
  participant: "org.hyperledger.composer.system.Participant"
  operation: ALL
  resource: "org.hyperledger.composer.system.**"
  action: ALLOW
}

rule NetworkAdminUser {
    description: "Grant business network administrators full access to user resources"
    participant: "org.hyperledger.composer.system.NetworkAdmin"
    operation: ALL
    resource: "**"
    action: ALLOW
}

rule NetworkAdminSystem {
    description: "Grant business network administrators full access to system resources"
    participant: "org.hyperledger.composer.system.NetworkAdmin"
    operation: ALL
    resource: "org.hyperledger.composer.system.**"
    action: ALLOW
}
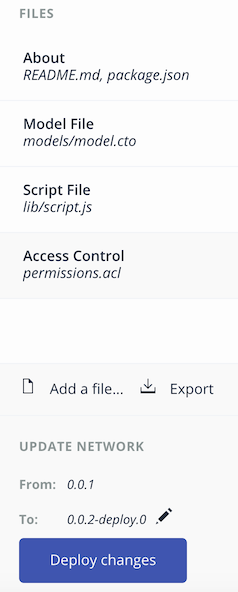
Click "Deploy changes":
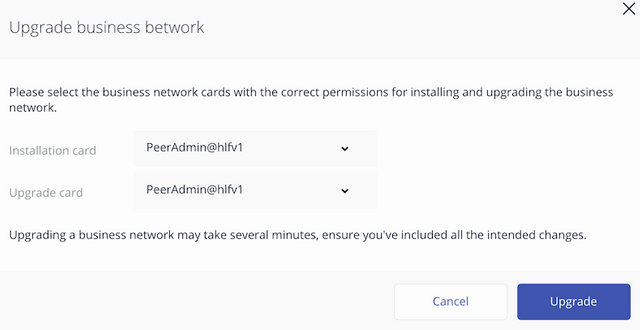
Leave defaults and click "Upgrade":
Try Your Blockchain in Action!
Select "Test" tab in the top panel:
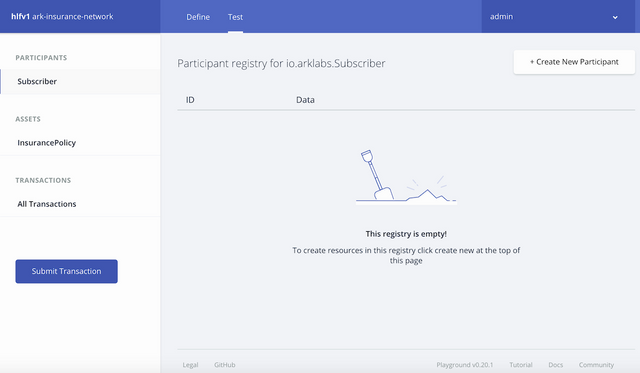
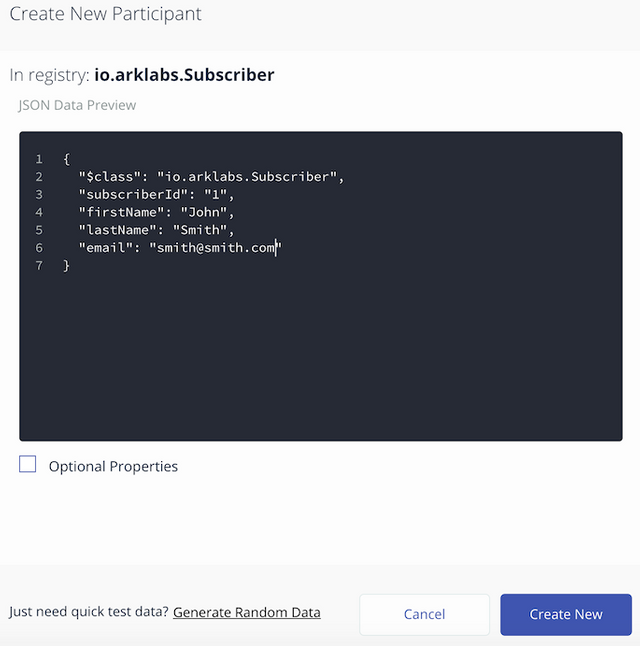
First, let's create a Subscriber participant. Make sure "Subscriber" is selected on the left menu, and then click "Create New Participant". Fill in the data and click "Create New":
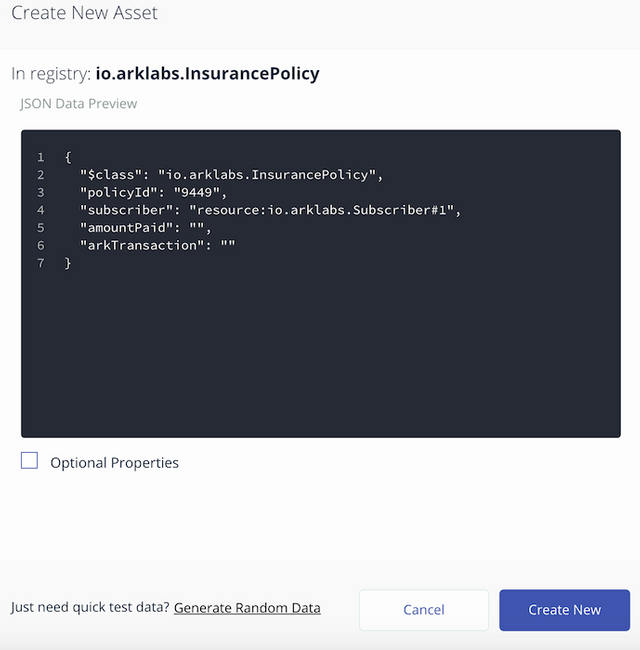
Then, we need to create an InsurancePolicy asset. Select "InsurancePolicy" on the left menu, and then click "Create New Asset". Fill in the form and hit "Create New":
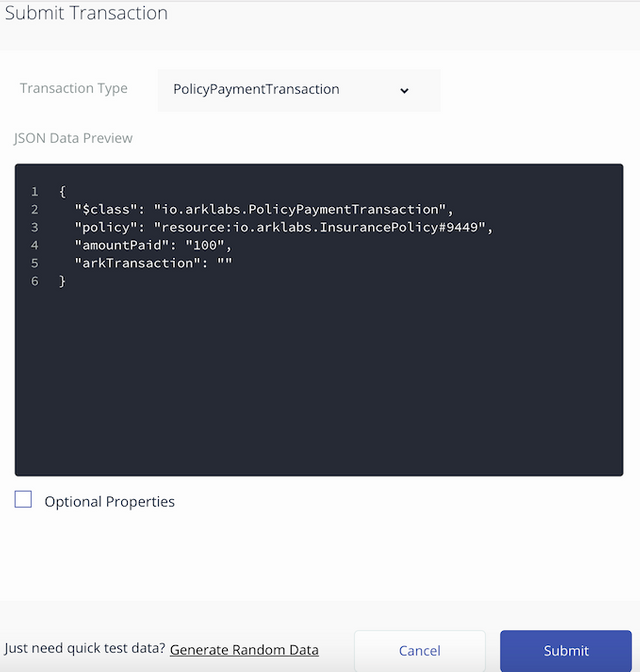
Finally, let the subscriber pay for his insurance policy. Click "Submit Transaction", fill in payment details, and click "Submit":
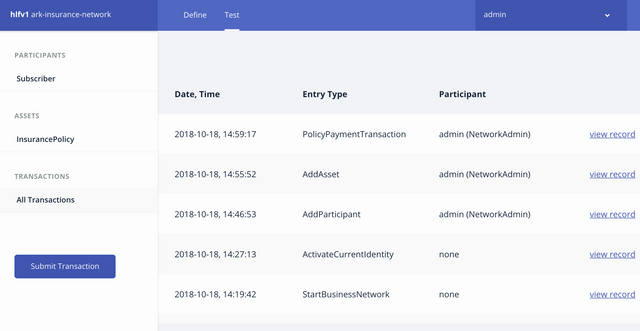
Once transaction goes through, you'll see it in the list of "All Transactions":
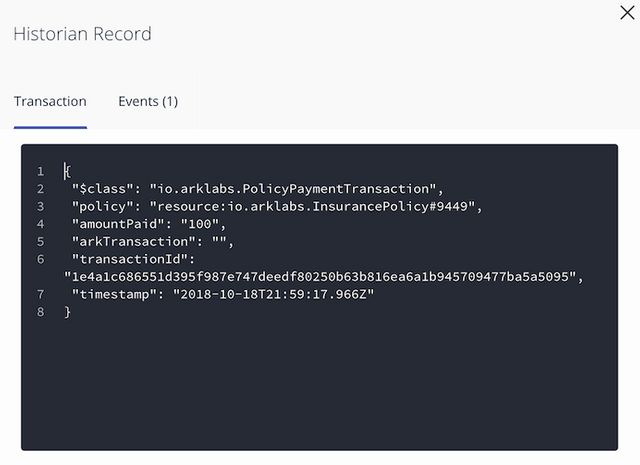
Transaction details can be seen via "view record" link next to transaction:
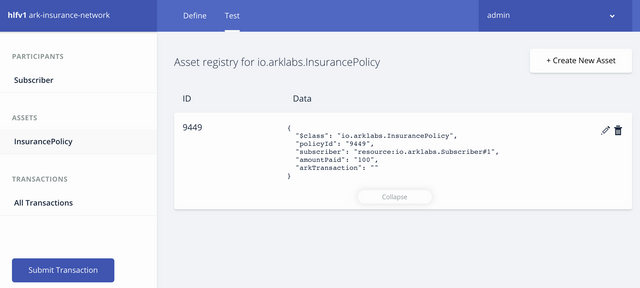
You can see how this payment transaction has updated our insurance policy asset with amount paid:
And that's how you submit a transaction on your own blockchain! Now, most likely you'll need to access your blockchain programmatically. And, Hyperledger Composer really simplifies your life by providing out of the box REST API server.
Launch REST API Server for your Blockchain
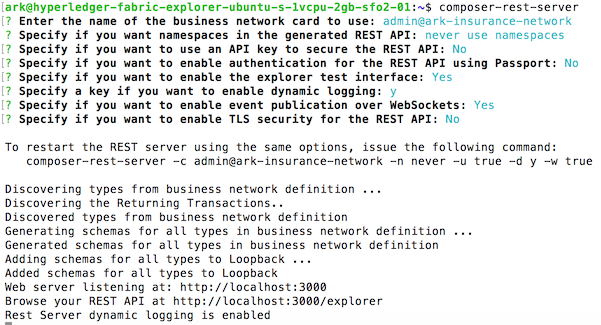
In terminal run "composer-rest-server" and specify connection details:
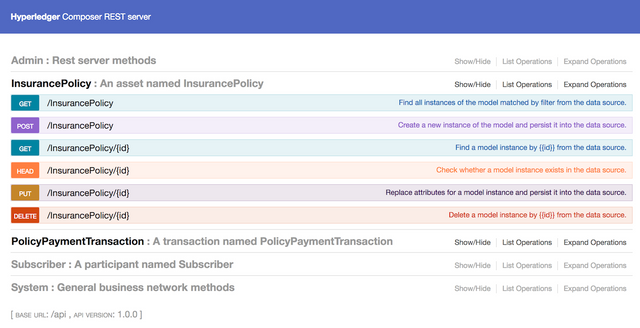
Now you can access Swagger's interface exposing RESTful API methods for your blockchain:
In summary,
as you have seen, Hyperledger Composer makes launching your own private blockchain really straightforward. We have launched a sample insurance blockchain, created participant, asset and submitted a transaction. In addition, we launched RESTful API server. And all that was with little to no coding!
Resources
Hyperledger Fabric: https://www.hyperledger.org/projects/fabric
Hyperledger Composer: https://hyperledger.github.io/composer/latest/
Swagger: https://swagger.io/
Congratulations @vadymus! You have completed the following achievement on the Steem blockchain and have been rewarded with new badge(s) :
Click on the badge to view your Board of Honor.
If you no longer want to receive notifications, reply to this comment with the word
STOP