Arduino Remote Home #5
Today I would like to talk code. I must start by saying, when it comes to writing clean, efficient code, I’m probably not the best person to be posting, as I put myself just above noob. But my code works.
My project started out as an imaginary model. That is, I knew what I wanted it to look like and how it should behave. I found an app called “Textastic”. In it you can experiment with a bunch of different languages. Once you have the code written, you can “run” your code in the app, to see how it works. Not uploading to a web host service makes it really fast to make changes in your code. I was more interested HTML, and as many of you know, once you start down that road you end up learning CSS, Javascript and others. There are many great free web sites out there, https://www.w3schools.com/ is the one I visited most often. Obviously there are other sources too. I focused on the look and feel of the web page because it was more fun learning. Remember this was when I thought I was going to have a bunch of different web pages hosted on a linux server. After countless revisions I got the code to produce the look and feel I originally imagined. I was going to include an image of it here, but after reading the Steemit FAQ’s, I have decided to do the right thing and not post it. The reason is I copied and pasted other creators images from the web, into my “Home Page”. When I started I had never considered blogging, so the images were for my eyes only. In past posts I have used images from the web and simply acknowledged thats where the were from. I now realize thats not good enough, and will not do it again. I know these are out of place, talking about code, but I forgot to post them earlier.
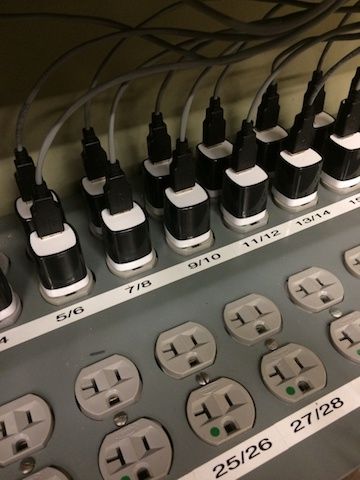 Using USB for 5v input.
Learning to write code in the Arduino IDE, was much more difficult. My particular hang up was with data types, and how to choose/use the best one. That made it difficult for me to figure out how to send and receive information serially. Another reason was that after writing or changing the sketch, you have to physically be right next to the Arduino to download to it. That was not always my case and sometimes a few days may pass before I could get around to doing it.
Now some sudo code. Starting off with the sketch for the Input Mega.
a)do all the typical #include statements
b)set up global variables
c)start serial communication
d)read all pin states
e)store conditions in an array
f)send the array data via serial to Output Mega
Wow that seams simple now. I believe that poor little Arduino is bored.
Now for the Output Mega.
a)do all the typical #include statements
b)set up global variables
c)start serial communication
d)start ethernet and SD card
e)serial read data from Input Mega and store in an array
f)store the condition of the output pins in an array
g)check to see if “ fence plug” should be On or Off
h)check to see if “fence spot lights” should be On or Off
i)check to see if “ gate lights” should be On or Off
j)take appropriate action on the above
k)IF
web client connects
take appropriate action (ie: control an output pin)
l)ELSE IF
send data to web browser
m)ELSE
IF web page has not been sent, send it
n)ELSE if web page had been sent, break
Effectively what I do is, type or use bookmark, to enter IP which uses a GET request for the index.htm file. Arduino compares that request and when it does NOT find a match, it defaults to sending the web page from the SD card. The browser then, using the “onload( )”, sets up which part of the page to display. Then, through a Javascript interval timer function, sends an Ajax request for data, in fact once every second. Arduino finds a match for this request, and sends the data back, using clientprintln( ), as the response text. Those four arrays I spoke of previously, the data held in them is what I send. In the browser Javascript first sets a variable equal to the response text. Then parses the variable into other variables using substring( ). Finally those variables are used in a sequence of if/elseif statements which then displays the data in the correct spot on the page. In an effort to make those data transfers as quickly as I could figure, I reduce the amount of information being sent. It works like this. In the HTML, I set each
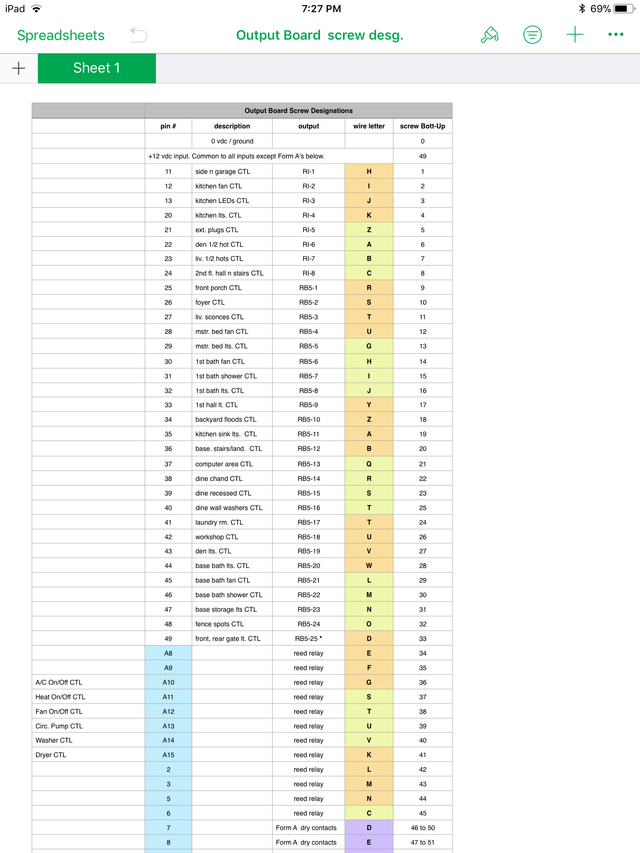
The easiest part was keeping track of all the variables. My job has forced me to be detail orientated. As I started planning, I first made these templates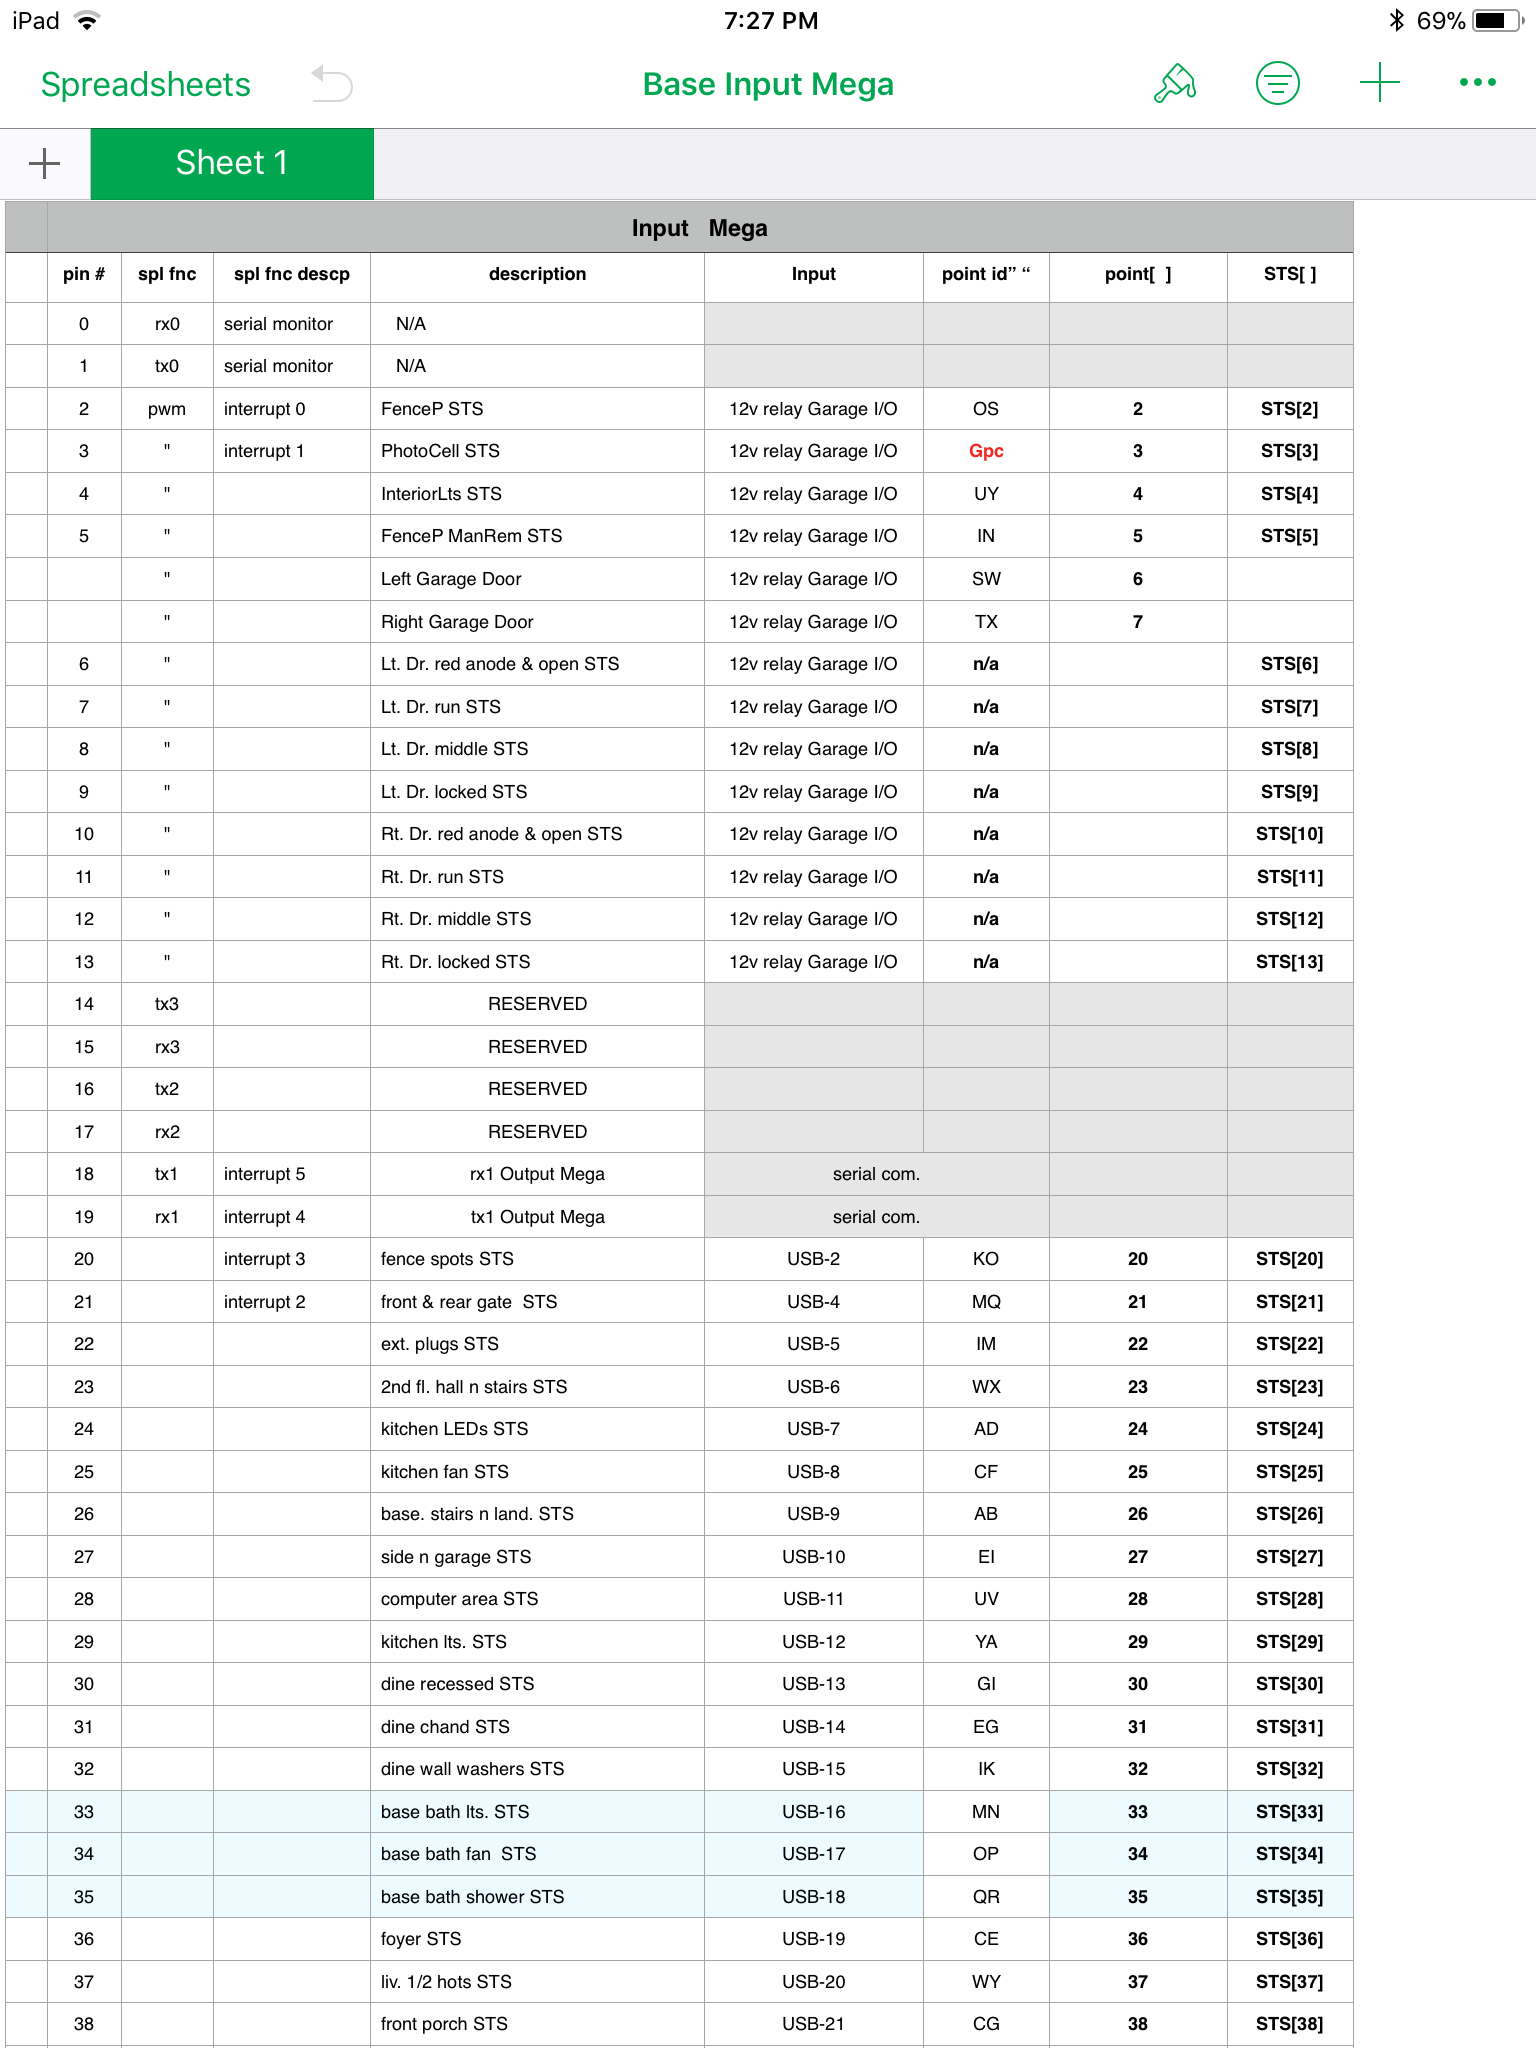
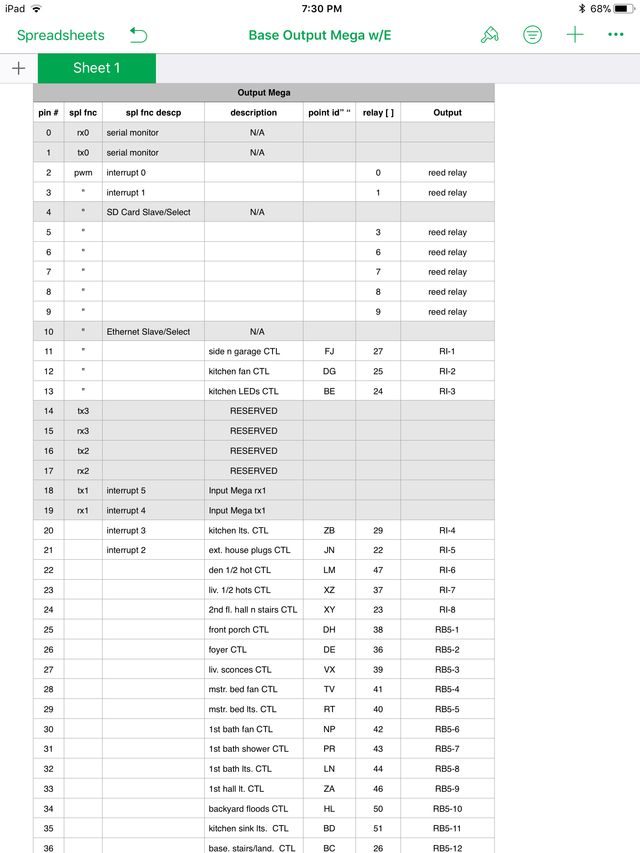
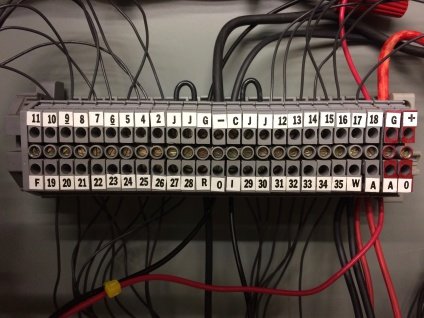
then used them to track which input or output pin corresponded to which item. I also made these to track the Output Board, Input Board and the Garage I/O Board.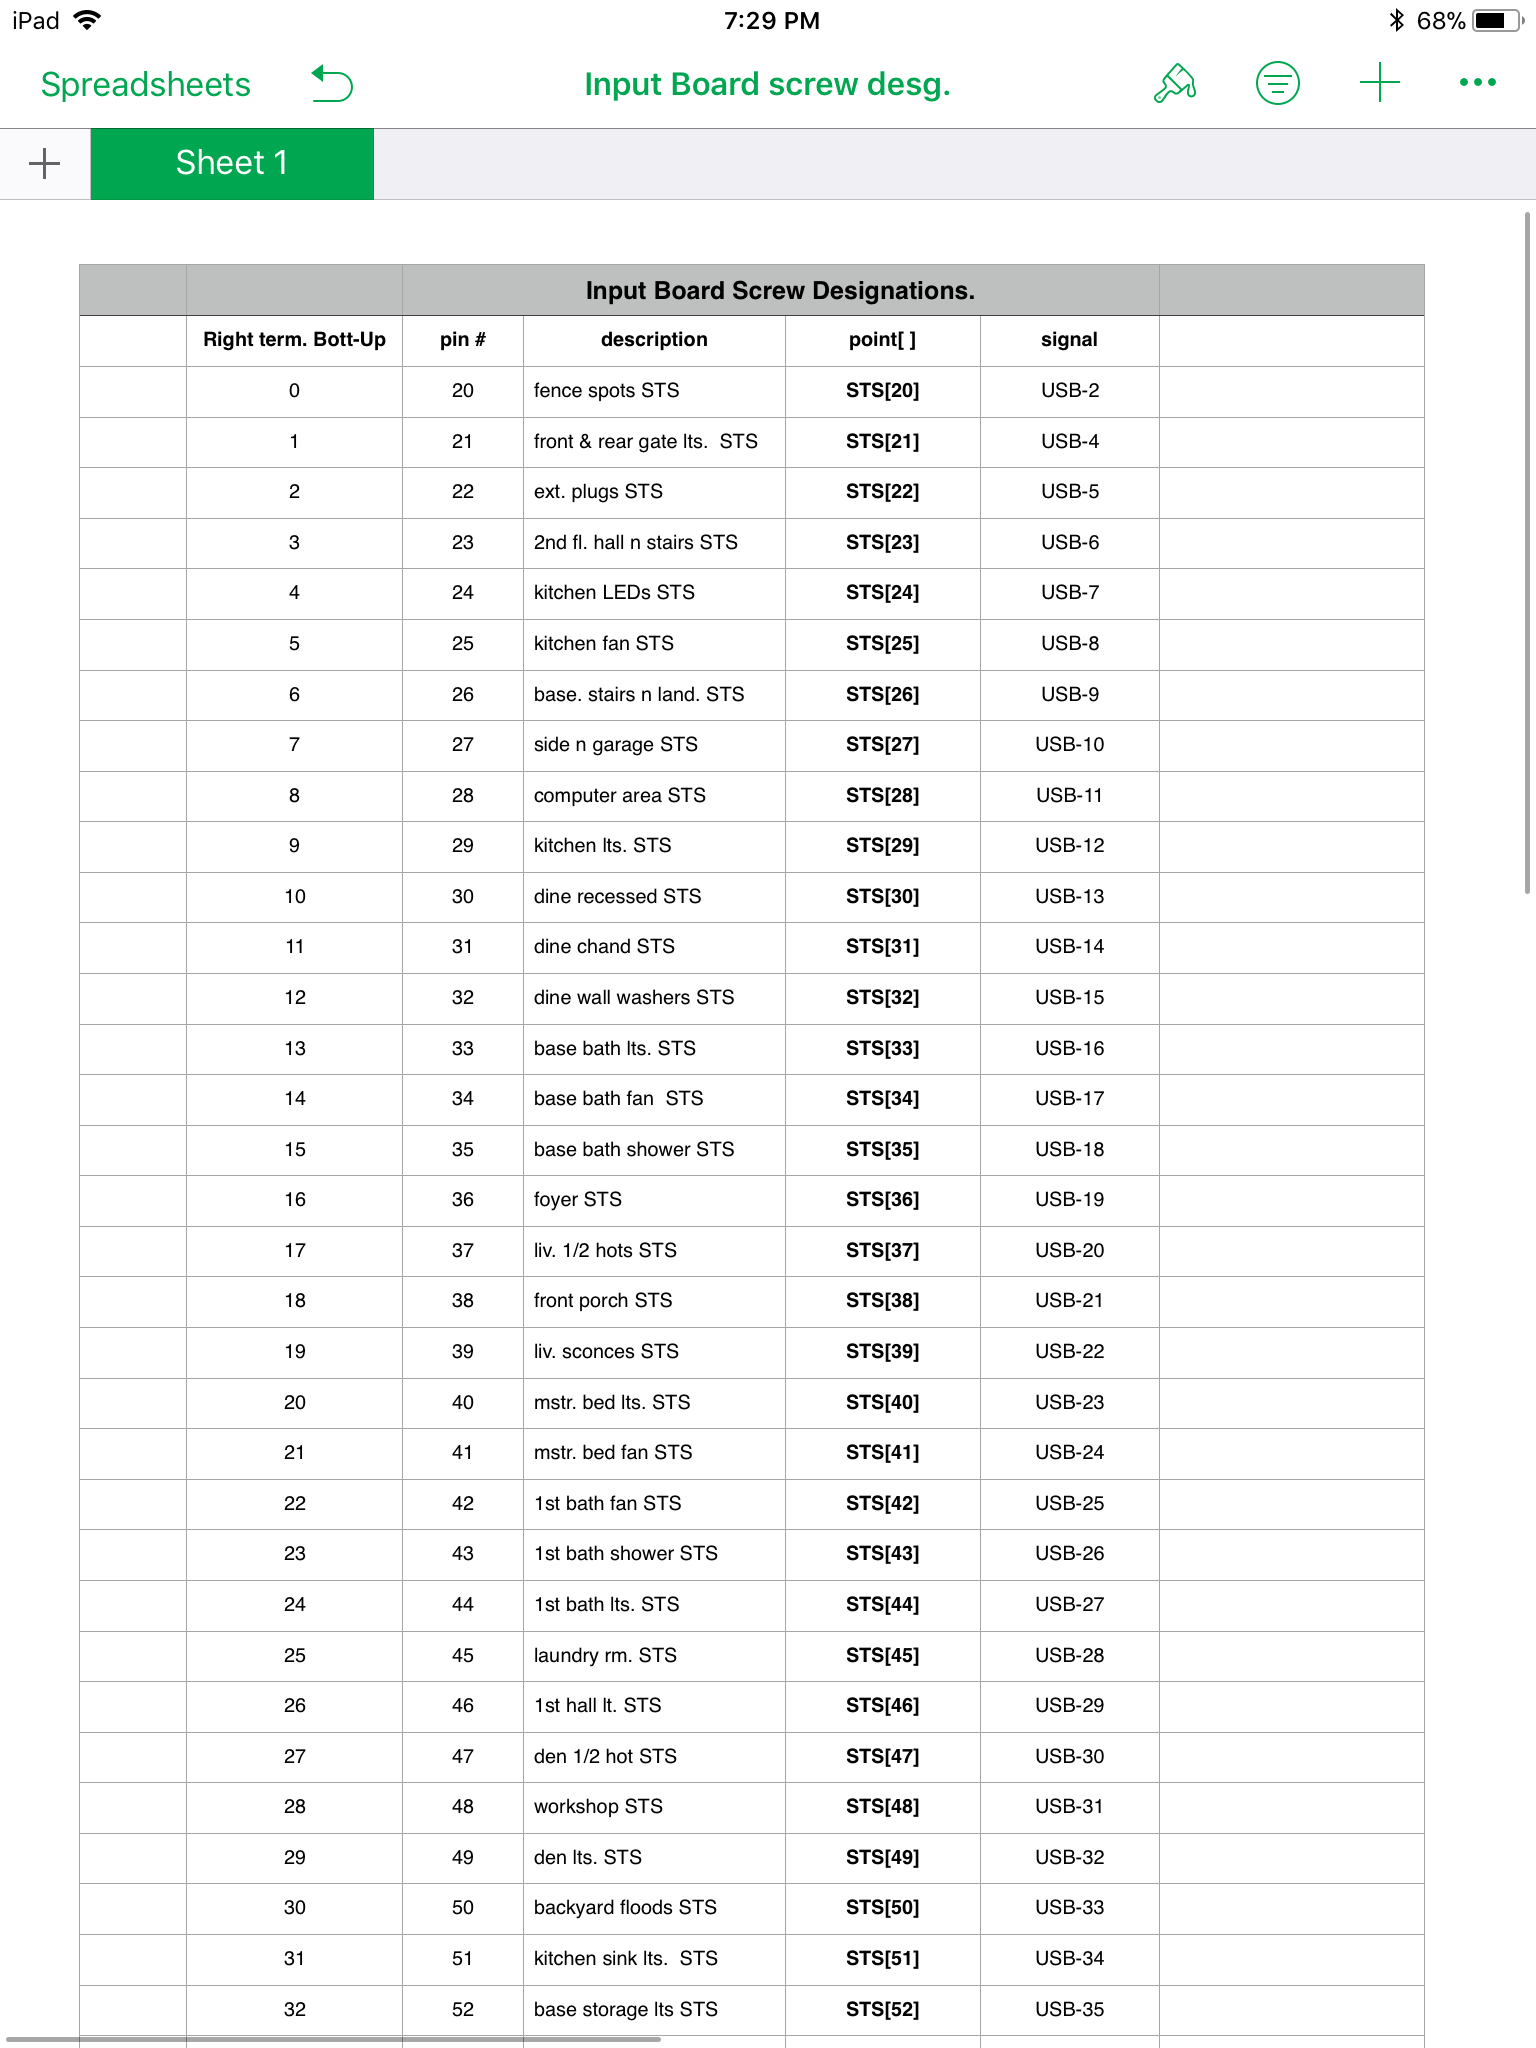
I hope you got something out of that. If not, let me know what you would like more on, and I’ll try to help. Next post I’ll go through the Arduino sketch.
Join our Discord Channel to connect with us and nominate your own or somebody else's posts in our review channel.
Help us to reward you for making it ! Join our voting trail or delegate steem power to the community account.
Your post is also presented on the community website www.steemmakers.com where you can find other selected content.
If you like our work, please consider upvoting this comment to support the growth of our community. Thank you.