How to Create RGB Split Glitch Effects in Adobe After Effects
This is a really easy effect you can achieve using Adobe After Effects. You can use it for still images or animations.
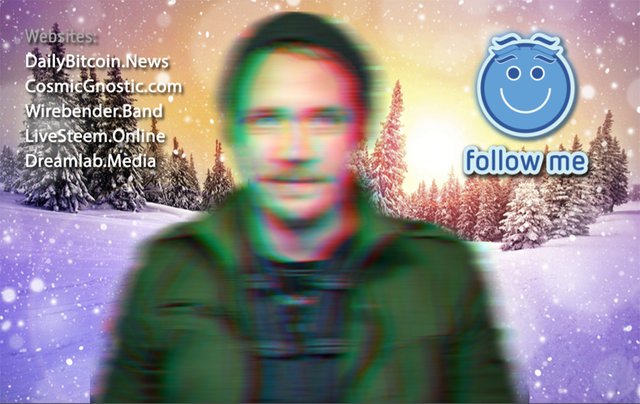
For this tutorial I'll be showing you how to achieve the effect for my new signature image you will begin seeing after this post for awhile.
First, I'm using Adobe After Effects CS6, but I don't think it's much different than CC as we'll be using a third party plugin for the effect.
The main plugin is called "Twitch" by Video Co-Pilot. Video Co-Pilot is an excellent plugin company with many plugins I highly recommend. You'll need this plugin in order to achieve these effects using this method.
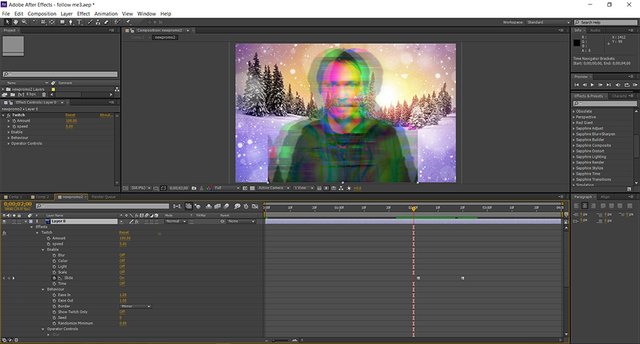
The project I'm using has already part built within it. I want the cropped photo of me to have the effect, so it's this layer we are going to focus on.
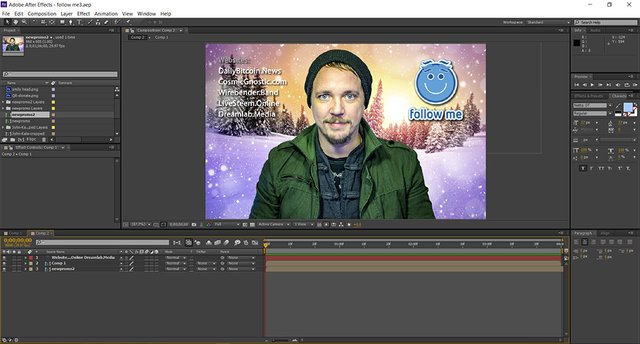
The main comp. I'm working on is "newpromo2", so we'll go into that area by double clicking on it.
Within this comp. I have two layers. One is my cropped photo, and the other is the background. We will be applying Twitch to "Layer 0" which is my cropped image.

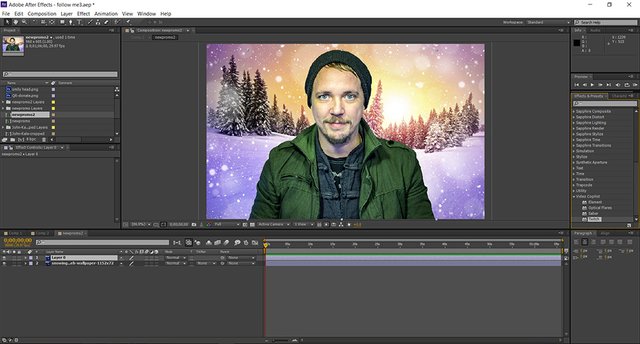
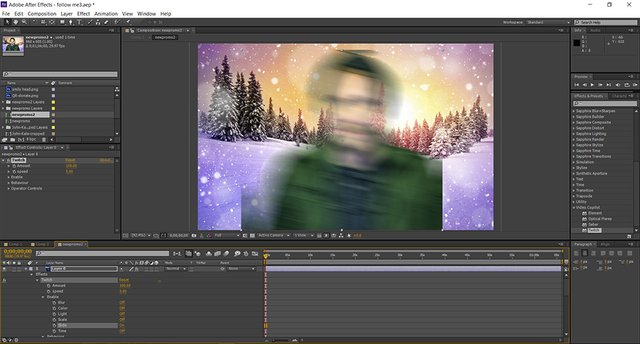
So, if you have Twitch in your effects you should see it in your effects list on the far right hand side. Drag and drop that effect onto the layer you want to apply the effect to.
By the way, if I wanted to I could of applied the entire effect to the entire comp. but in this case I want to just have it on my photo - to kind of make me Twitch.
Once you have the effect applied to your layer, you can now edit it, and add to your timeline when you want it, and when you don't.
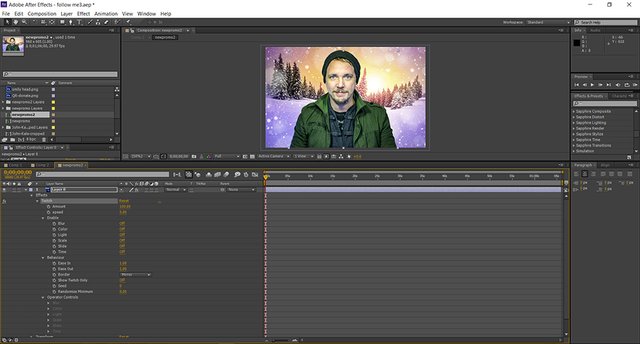
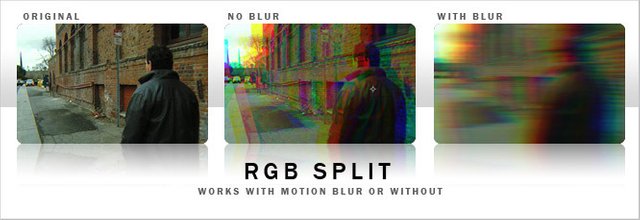
There are all kinds of effects you can play with in this plugin. For this I'm just going to utilize the RGB split effect. So we will just be enabling the slide option.
At this point you'll see all the effects are turned off.
When I turn the slide on you'll see it has preset effects activated. We will simply adjust these paremeters to our liking.
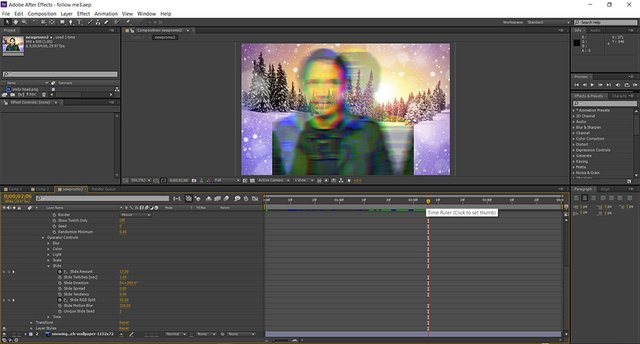
Scroll down in the effects and see "Operator Controls". This is the main area to adjust for this specific effect. As you can see here are my settings.
When we turn on the effect in the timeline these settings will activate, and when we turn off the effect it will stop.
That's basically it. You can go really far with this plugin, this is just a basic simple effect using it. You can adjust all sorts of things too.
Here's a quick video on how much you can do with Twitch
I hope you have learned something new with my tutorial. Thanks.

I like the glitch effect. It's definitely cool for some projects - especially horror - but it freaks out my eyes a bit.
This post has been ranked within the top 50 most undervalued posts in the first half of Dec 17. We estimate that this post is undervalued by $7.40 as compared to a scenario in which every voter had an equal say.
See the full rankings and details in The Daily Tribune: Dec 17 - Part I. You can also read about some of our methodology, data analysis and technical details in our initial post.
If you are the author and would prefer not to receive these comments, simply reply "Stop" to this comment.