Infested with Roaches!!!
But that didn't stop me, I saw a table sitting on the road and I wanted it in my house.
When I stopped to check it out I noticed it was pretty worn out and needed some love and care. It also had roaches crawling all over it.
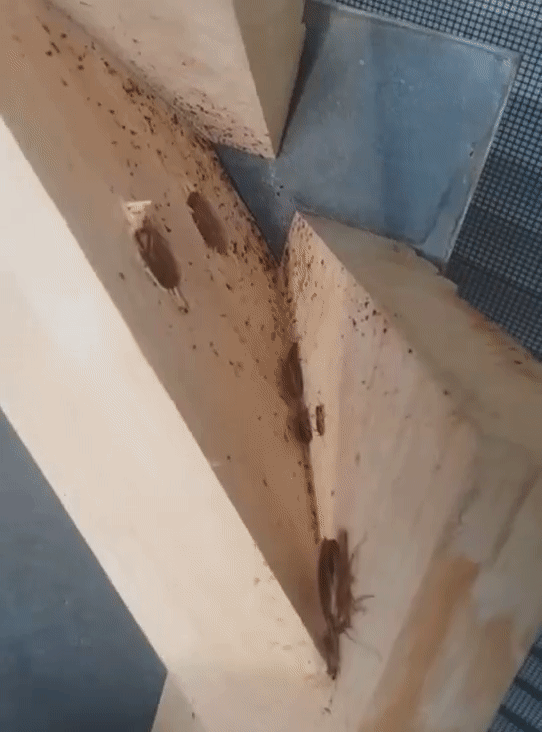
The roaches were hiding under the legs of the table.
I removed the legs and cleared out the roaches, now it was time to sand down the top of the table!
Sanded the top of the table, and cleaned it up a little to help with the restoration process.
I used a belt sander to help with the sanding as it made things go a little faster and smoothed out the wood as well.
The belt sander I used.
With the sanding done, it was time to apply some wood stain.
It would take a few coats of stain to get the tone I wanted, but over all it isn't that hard to apply. Just use an old towel, or rag. Dip it in the stain and lightly rub it into the wood.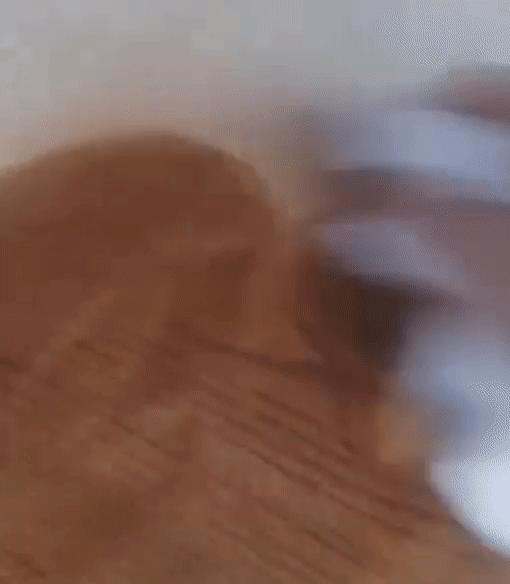
Half way done with the staining process, the table was already starting to come to life.
Here you can see the drastic difference in the stained half and the unstained half. Side note, is that the can of stain, paint brush, and lid are on a dry portion of the table. If it was still wet you don't want to rest anything on it or it will leave marks.
After the stain is dry, I applied the first layer of polyurethane.
This will help protect the wood and give it a nice glossy finish once it is dry. It also makes the table very easy to clean and keep from damage of water, drinks, spills, and food. It is also safe to eat off of once dry. As well as durable and is difficult to scratch or chip.
Now the 2nd coat is applied and ready for drying.
The coats only take a few hours to dry so if you time it right you can complete multiple coats in a single day.
Here is starting the 3rd and final coat.
I like to start with a thin layer that I will work in until it is almost clear. By drizzling the polyurethane around it makes it easier to get an even coat.
After the thin coat is applied, a thick coat is applied and left to dry for the final stage.
This coat is 3 times thicker than the other 2 coats and will be the longest part of the drying process. To keep it clean, and clear from things getting stuck in it while drying. I moved it inside to make sure it turns out the way I wanted it.
About an hour into the drying process, it is starting to look really good and like the work will pay off.
After about 3 hours of drying (With a high powered fan blowing on it) it is finally okay to lightly touch.
As I run my hand along the top I check for anything stuck in the coat, bumps, cracks, or anything else that I want to fix. I didn't find anything this time which is awesome, but if I had of I could fix it a lot easier than if I tried to fix it after it was completely dry.
Now it sits in my kitchen ready for breakfast in the morning!
I hope you enjoyed this table restoration journey with me. My hope is that one day I have the space, time, and money to be able to do a lot of wood working projects as I do love them.