Vintage Airstream Travel Trailer Renovation: Post 3 - Removing the Shell, insulating and Putting Back Together
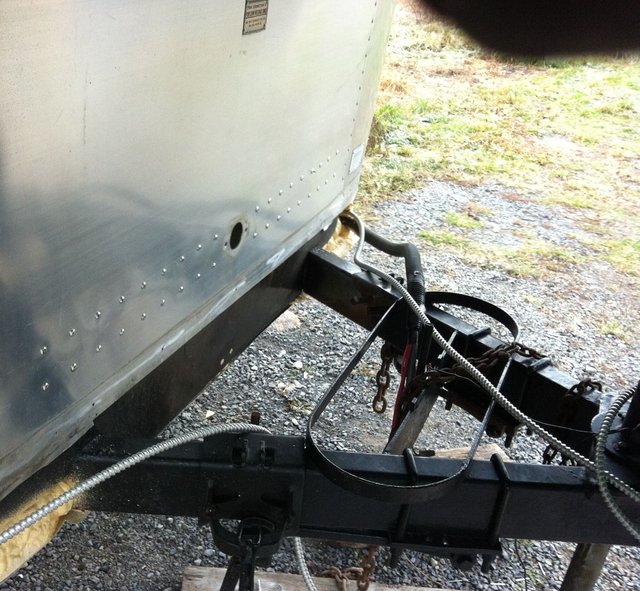
Removing the shell requires some preliminary work: You will first need to remove the windows and you will need somewhere to suspend the entire structure. Fortunately we had a pre-existing shelter to hang from, however I have seen some other people have created a frame out of 2x4's. Its also a good idea to stabilize it with some cinder blocks or lumber so the entire shell does not sway while suspended. You will also need to remove the decorative strip around the base where the shell meets the chassis and then remove all the exterior rivets. There is a metal plate at the front behind the propane tanks that will need to have all of the rivets removed to release the shell.
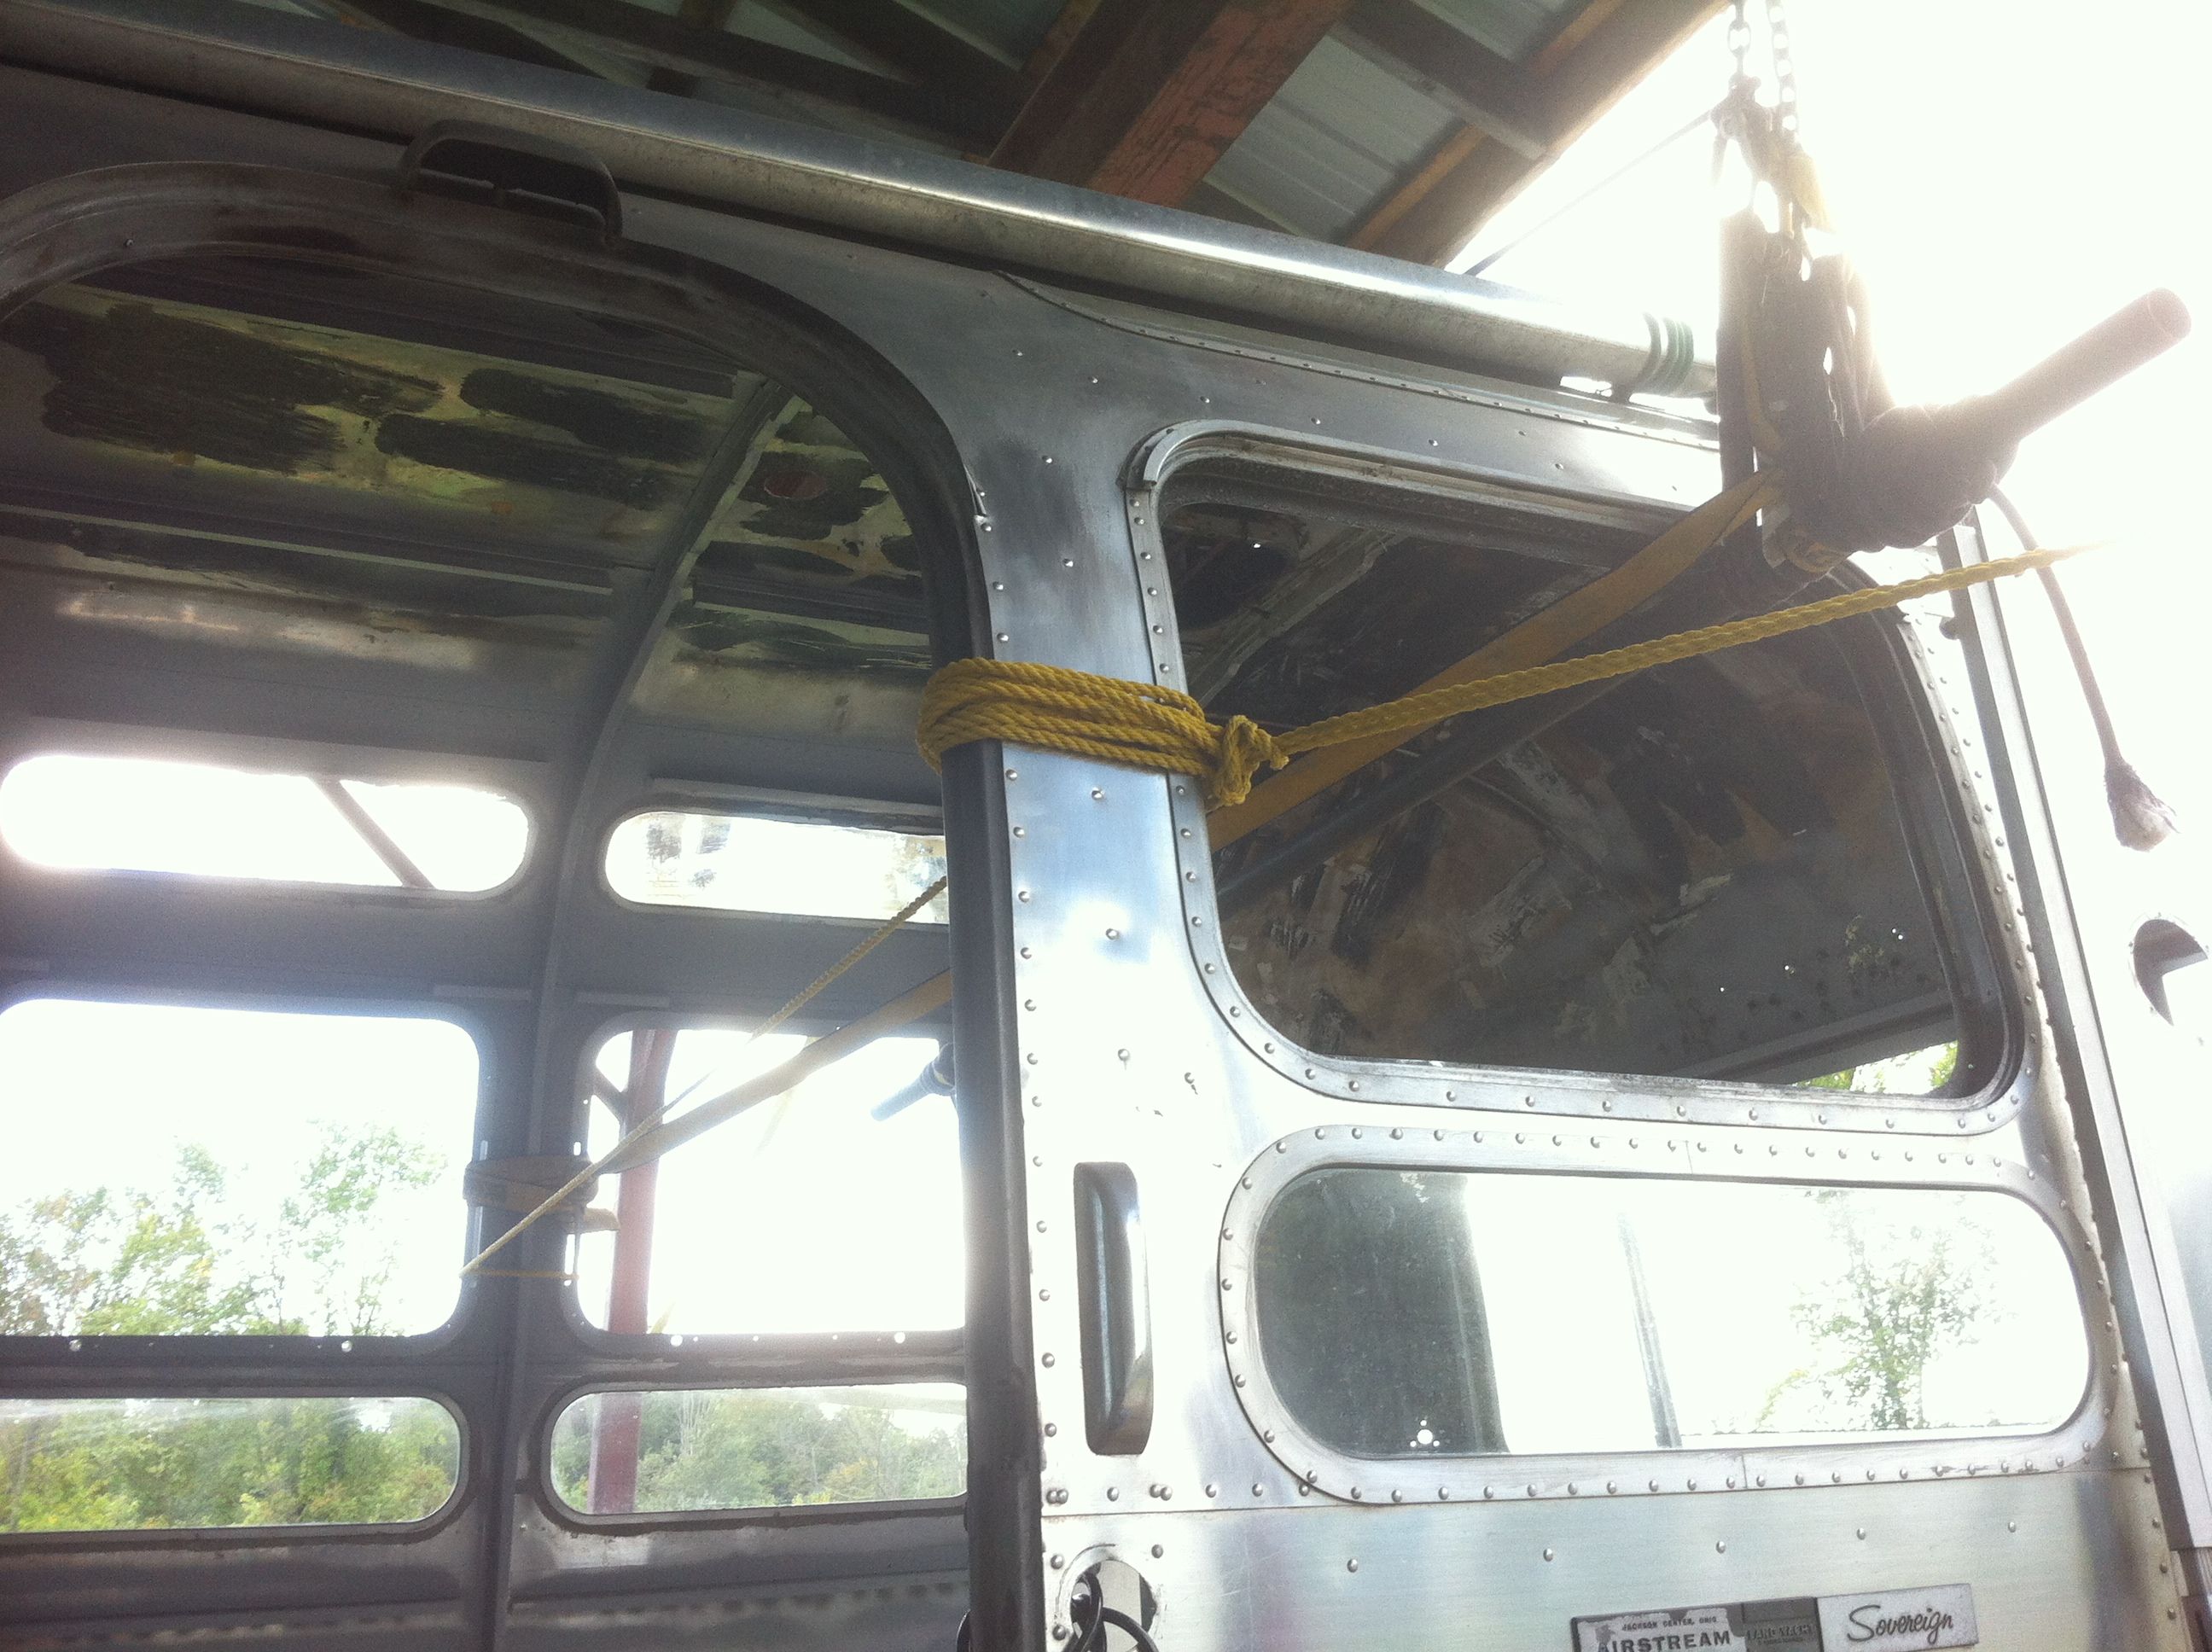
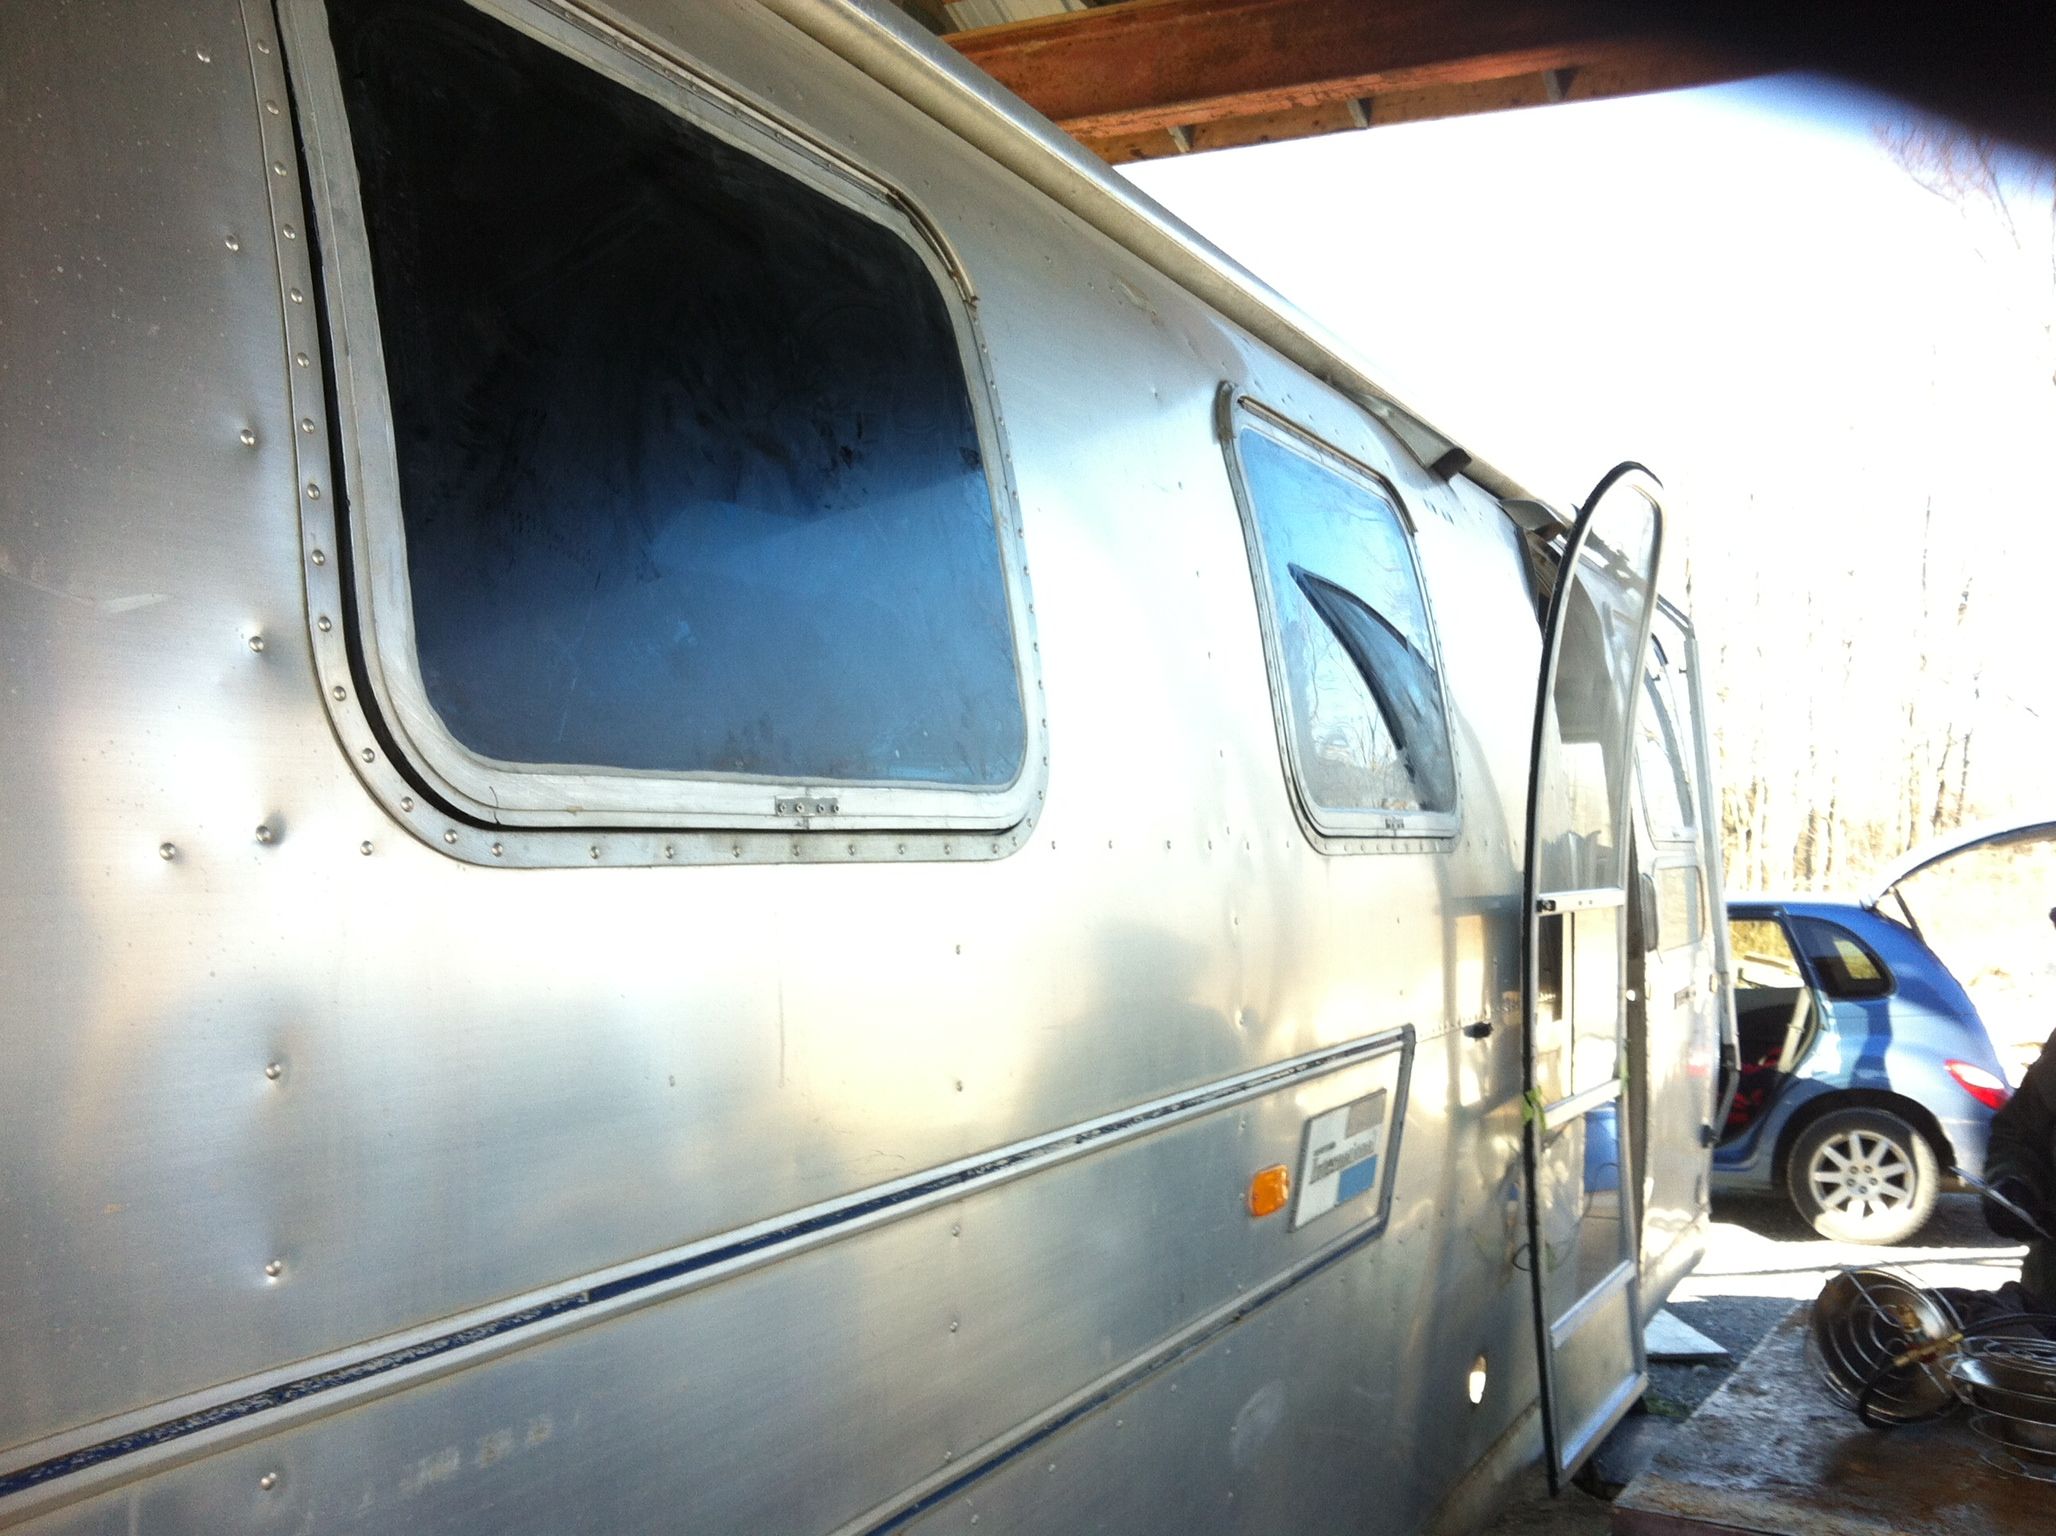
Removing the windows is quite simple. Un-attach the locking mechanisms from inside and remove the window arms. Its a good idea to remove the interior window frames too if you plan on cleaning or painting them. They are riveted in so removal can be done with the 1/8 drill bit. From outside the trailer (you will need a step ladder) open the windows and lift them up on a 45 degree angle. From this position gently pull out and the entire window should just slide right out from its position. Handle these carefully, they are fairly durable but extremely expensive to replace if dropped.
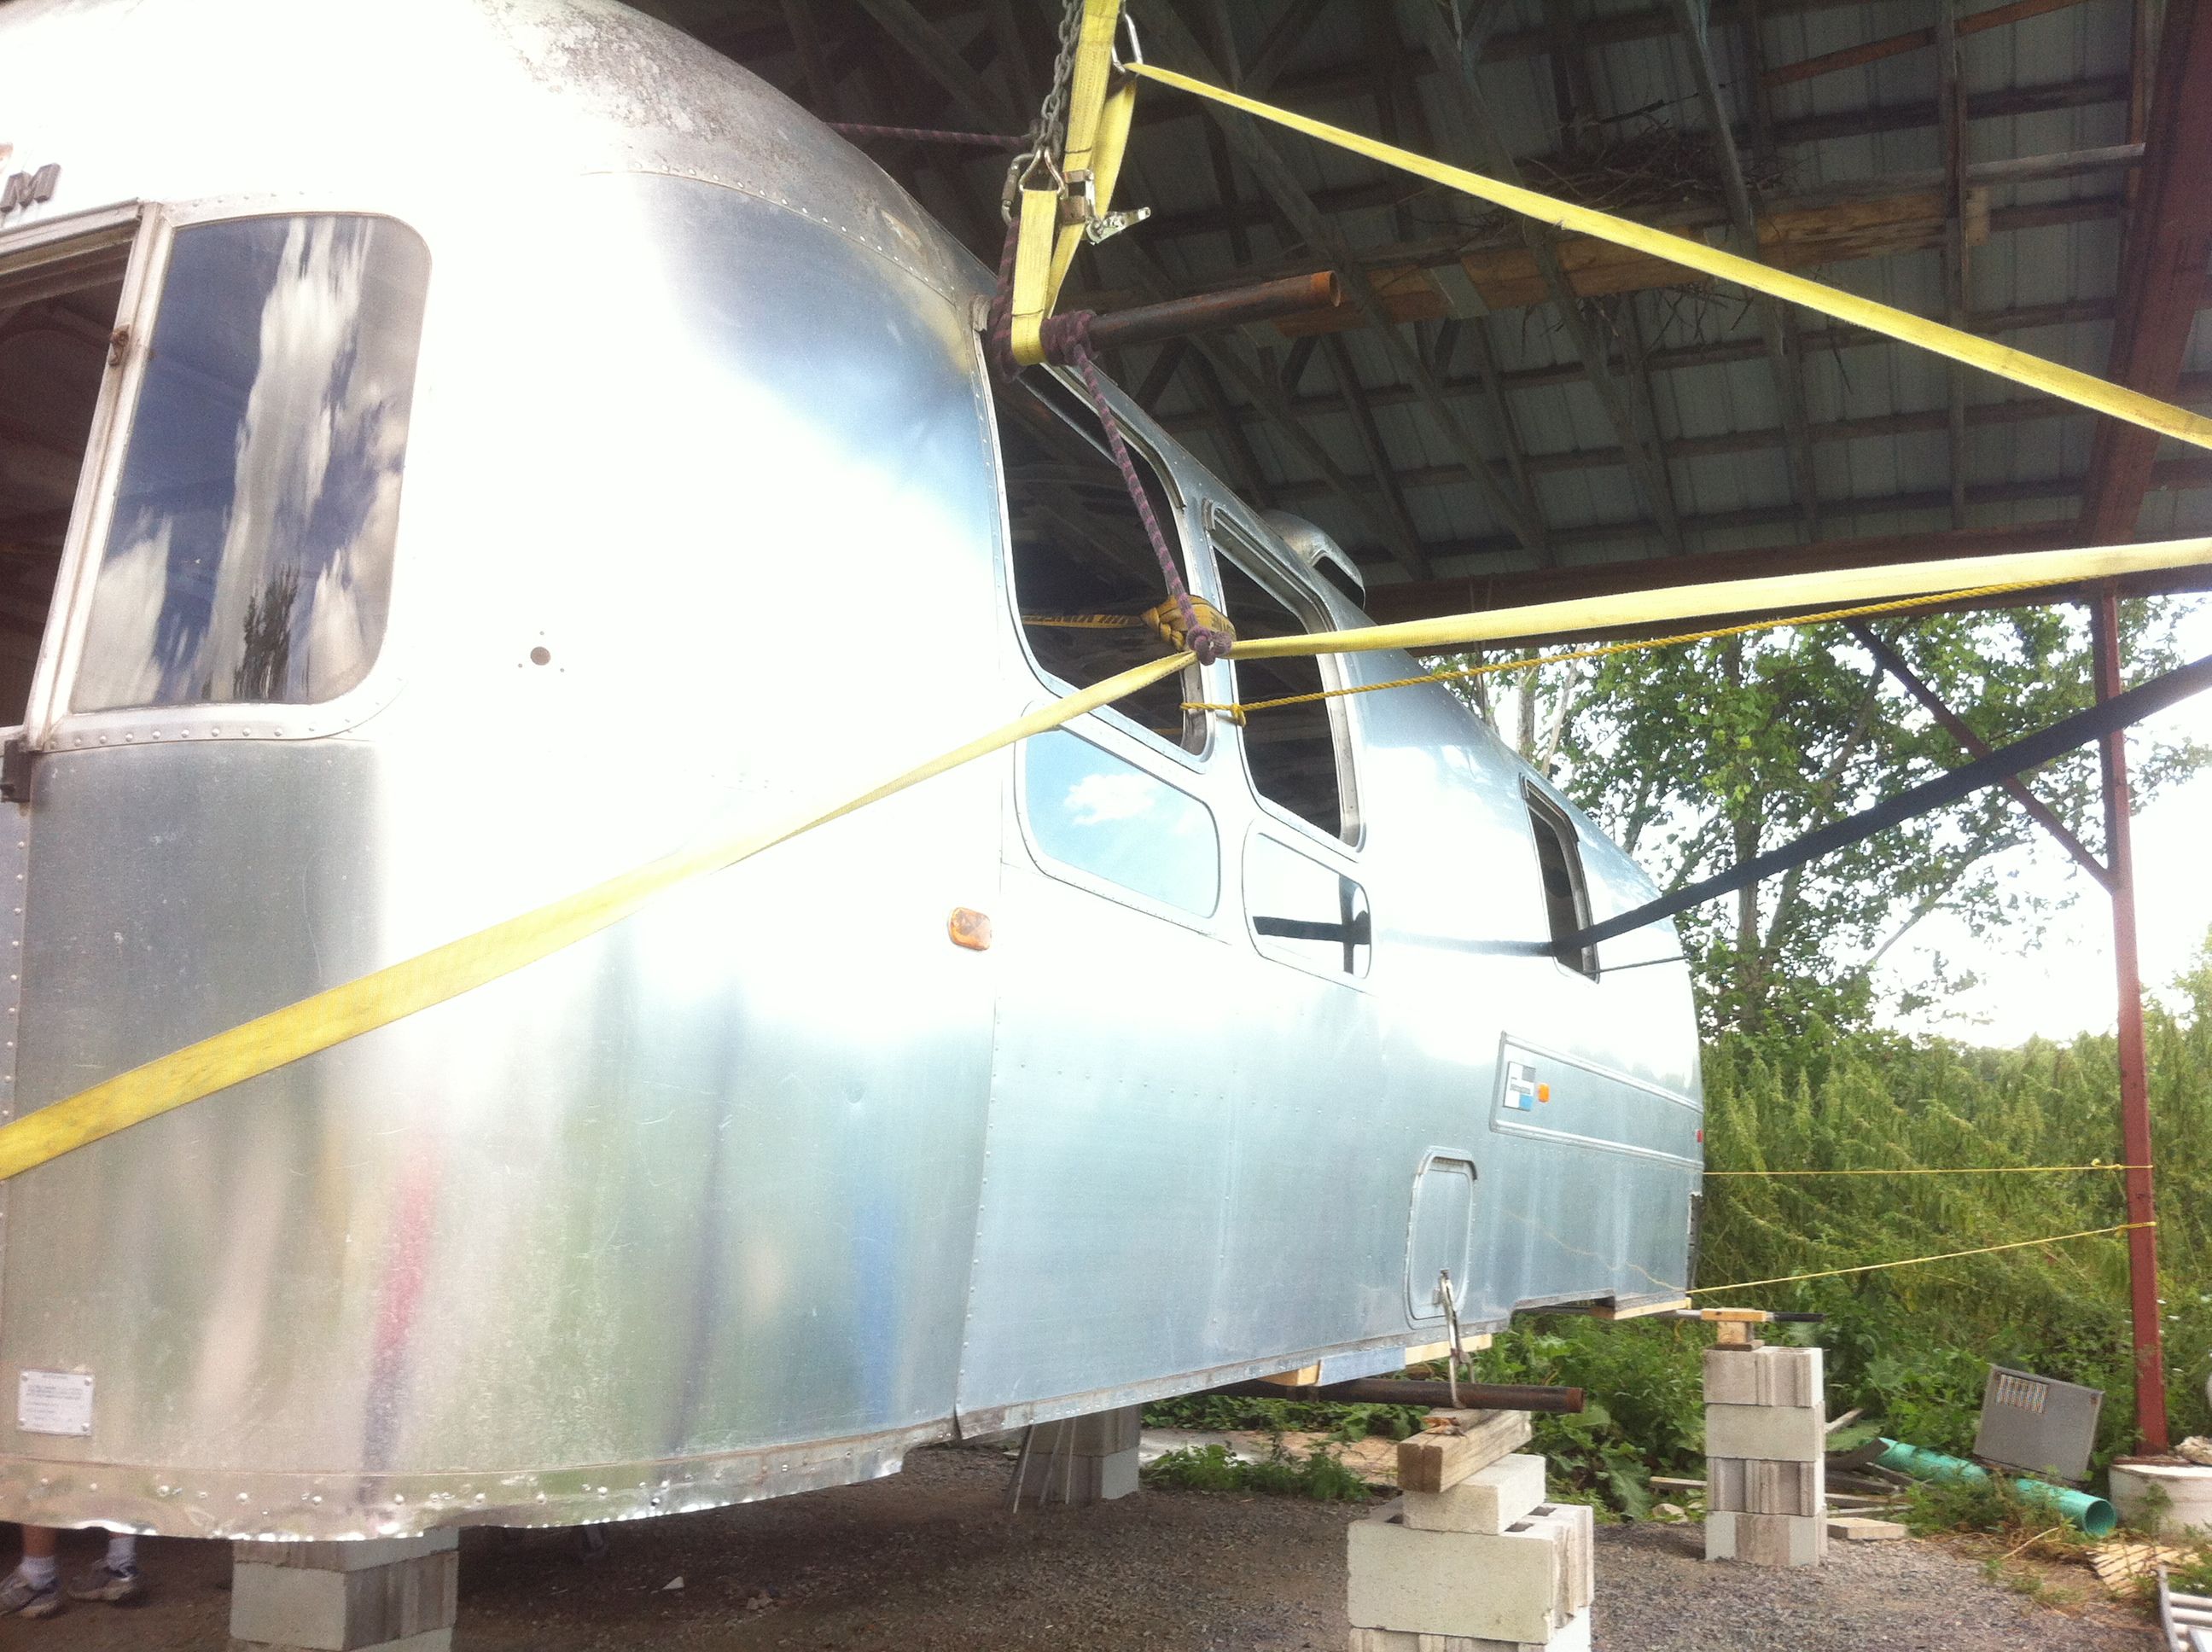
Once the windows are removed, you can place a 2x4 or in our case steel cylinders through the windows and secure them to your suspension harness. Use a towel to pad around the window frames as they can bend easily when lifting the shell off.
When you have removed all of the rivets around the perimeter of the base and the rivets from the front metal place, hoist the shell up and it should lift up fairly easily. From there, have your tow vehicle pull the base and chassis leaving the shell suspended and easy to work on.
Here are some photos of the shell suspended, the chassis and all the interesting things we found in there…

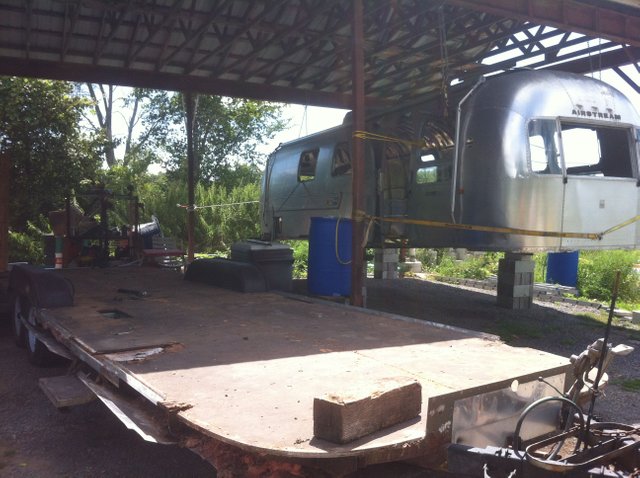
You can see the obviously poor condition of the 42 year old insulation underneath the plywood floor. Surprisingly the chassis was not too bad. A few spots had to be sandblasted and re-welded and then everything epoxied to prevent future rust.
The floor will be insulated with 4 inches of spray foam that will give an R value of 24.
We cut the plywood floor into sections to remove it a piece at a time, but be careful not to cut too deep as the fresh water and grey tank are side by side about half way up and the black tank is right at the rear but they all sit directly under the plywood.
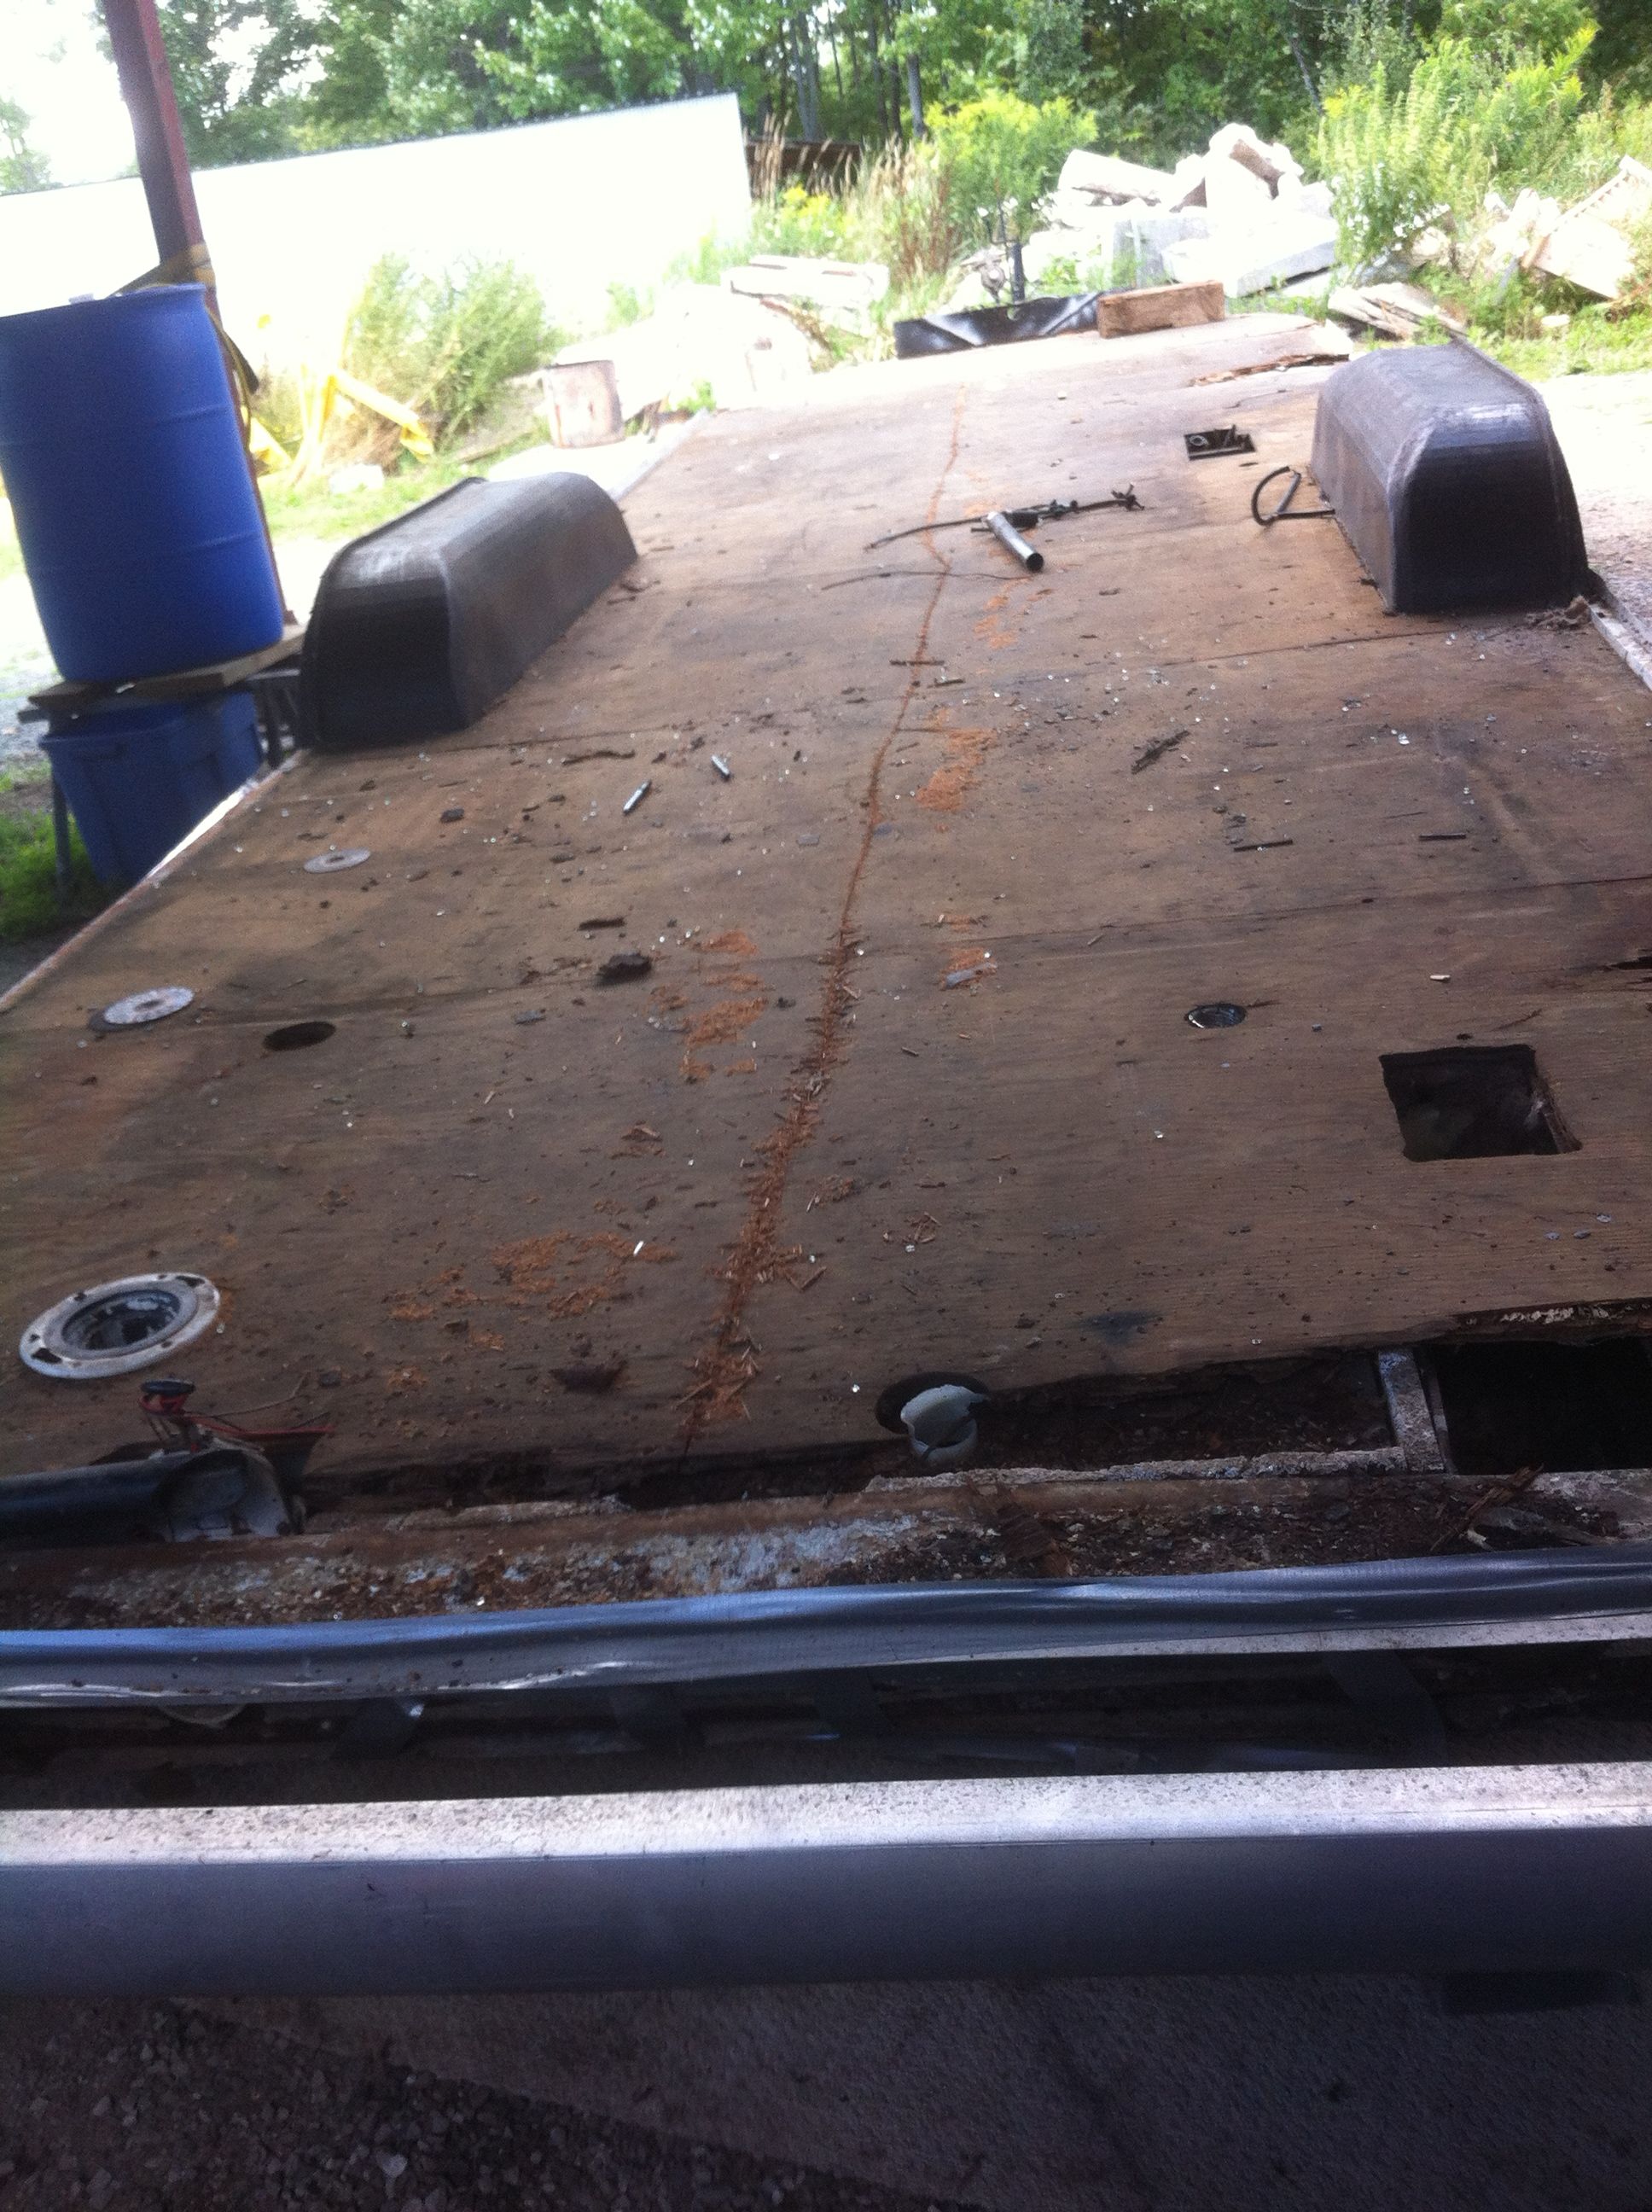
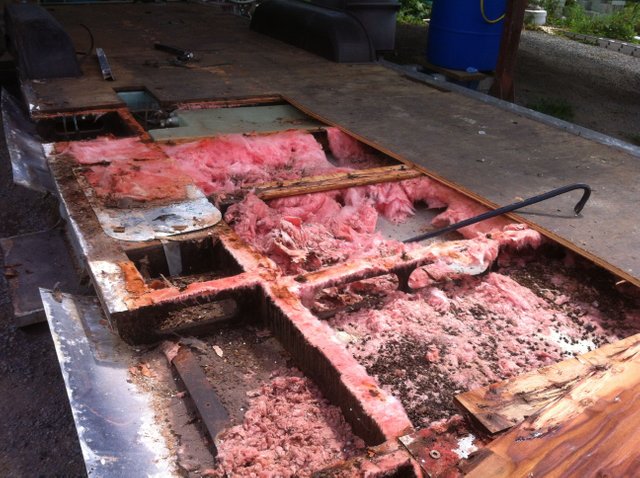
This is what it looked like under the floor. Those brown coloured objects are nut shells, some squirrels and most likely other rodents had made a home in the floor. We also found one of their skeletons in there.
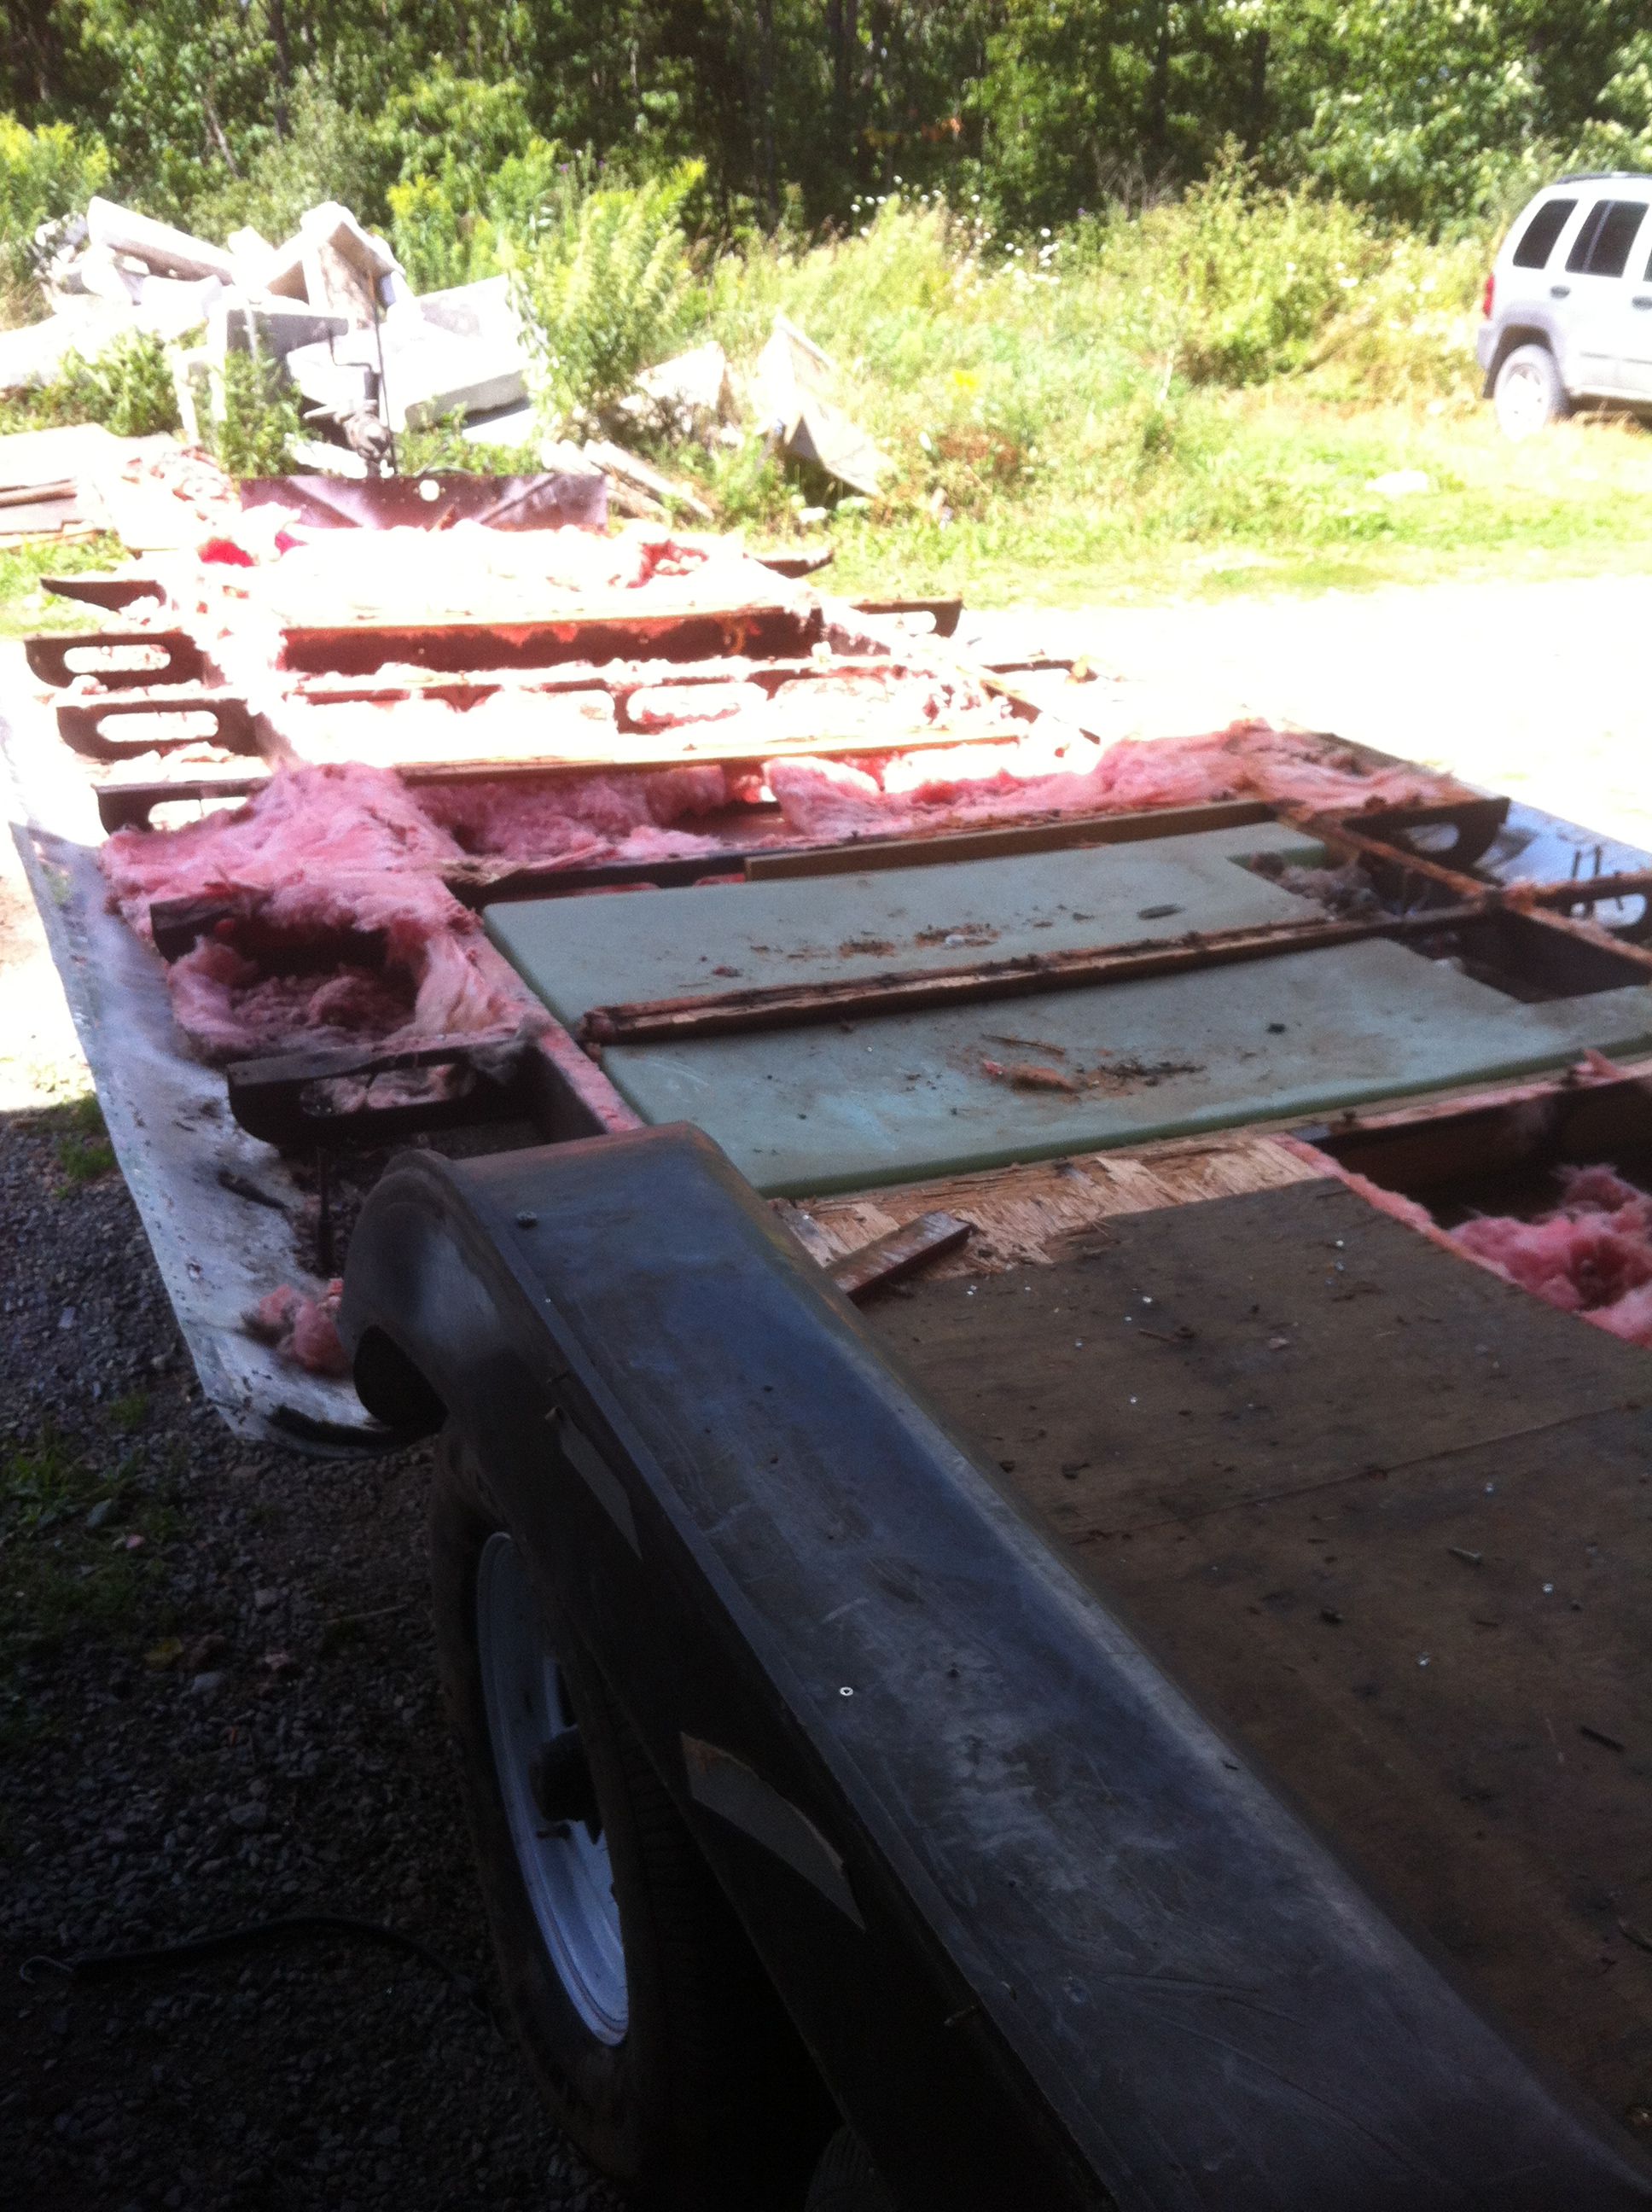
Here are the holding tanks. The wheel wells also had to be removed, the bolts had to be ground off.
The underbelly was in good shape except for the parts that were in contact with the steel chassis so unfortunately all of it has to be replaced. The original is .032 aluminum but I am replacing it with .040 which will add about 10lbs to the trailer but .040 is easier to find. Make sure to get 5X12 sheets as the 4 foot sheets do not fit properly and will require more cutting and riveting. I was able to order 2 5X12 sheets for $140 each.
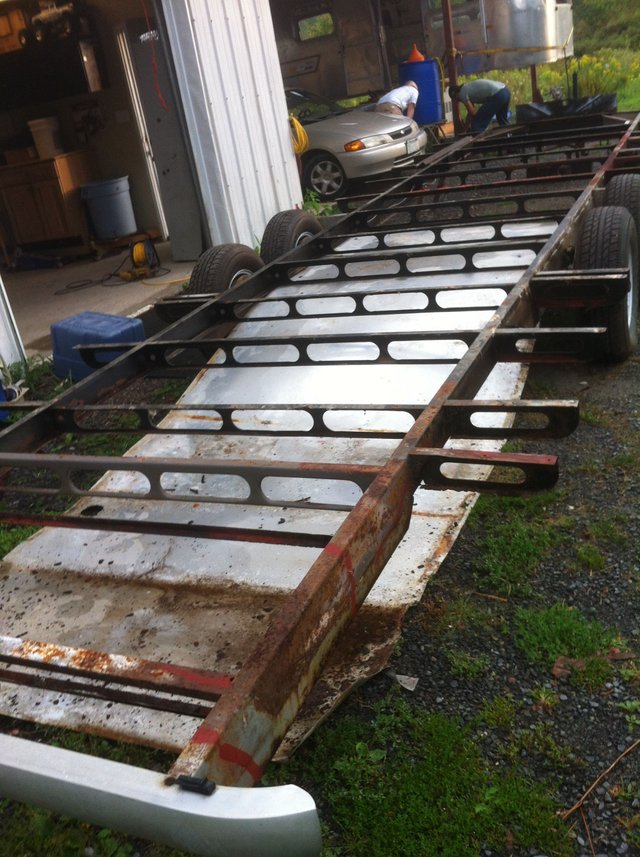
The axles were removed and the chassis was flipped over in order to take off the old aluminum underbelly so that cutting out the rotted steel from the chassis could begin. New steel was re-welded and extra pieces added to certain areas giving the chassis improved stability and durability. We sandblasted the remainder that was salvageable and then applied a rust proofing product to the entire thing.
Por15 is commonly used, however the Canadian equivalent to that product is Dom16. It works great and although still quite expensive, it is less so than Por15. A quart of Dom16 is approximately 35-40 dollars and we required 6 quarts (1.5 gallons) for this size of project. Best to apply it with a brush so as to not clog up your gun. Once the Dom16 cures, it is not coming off.
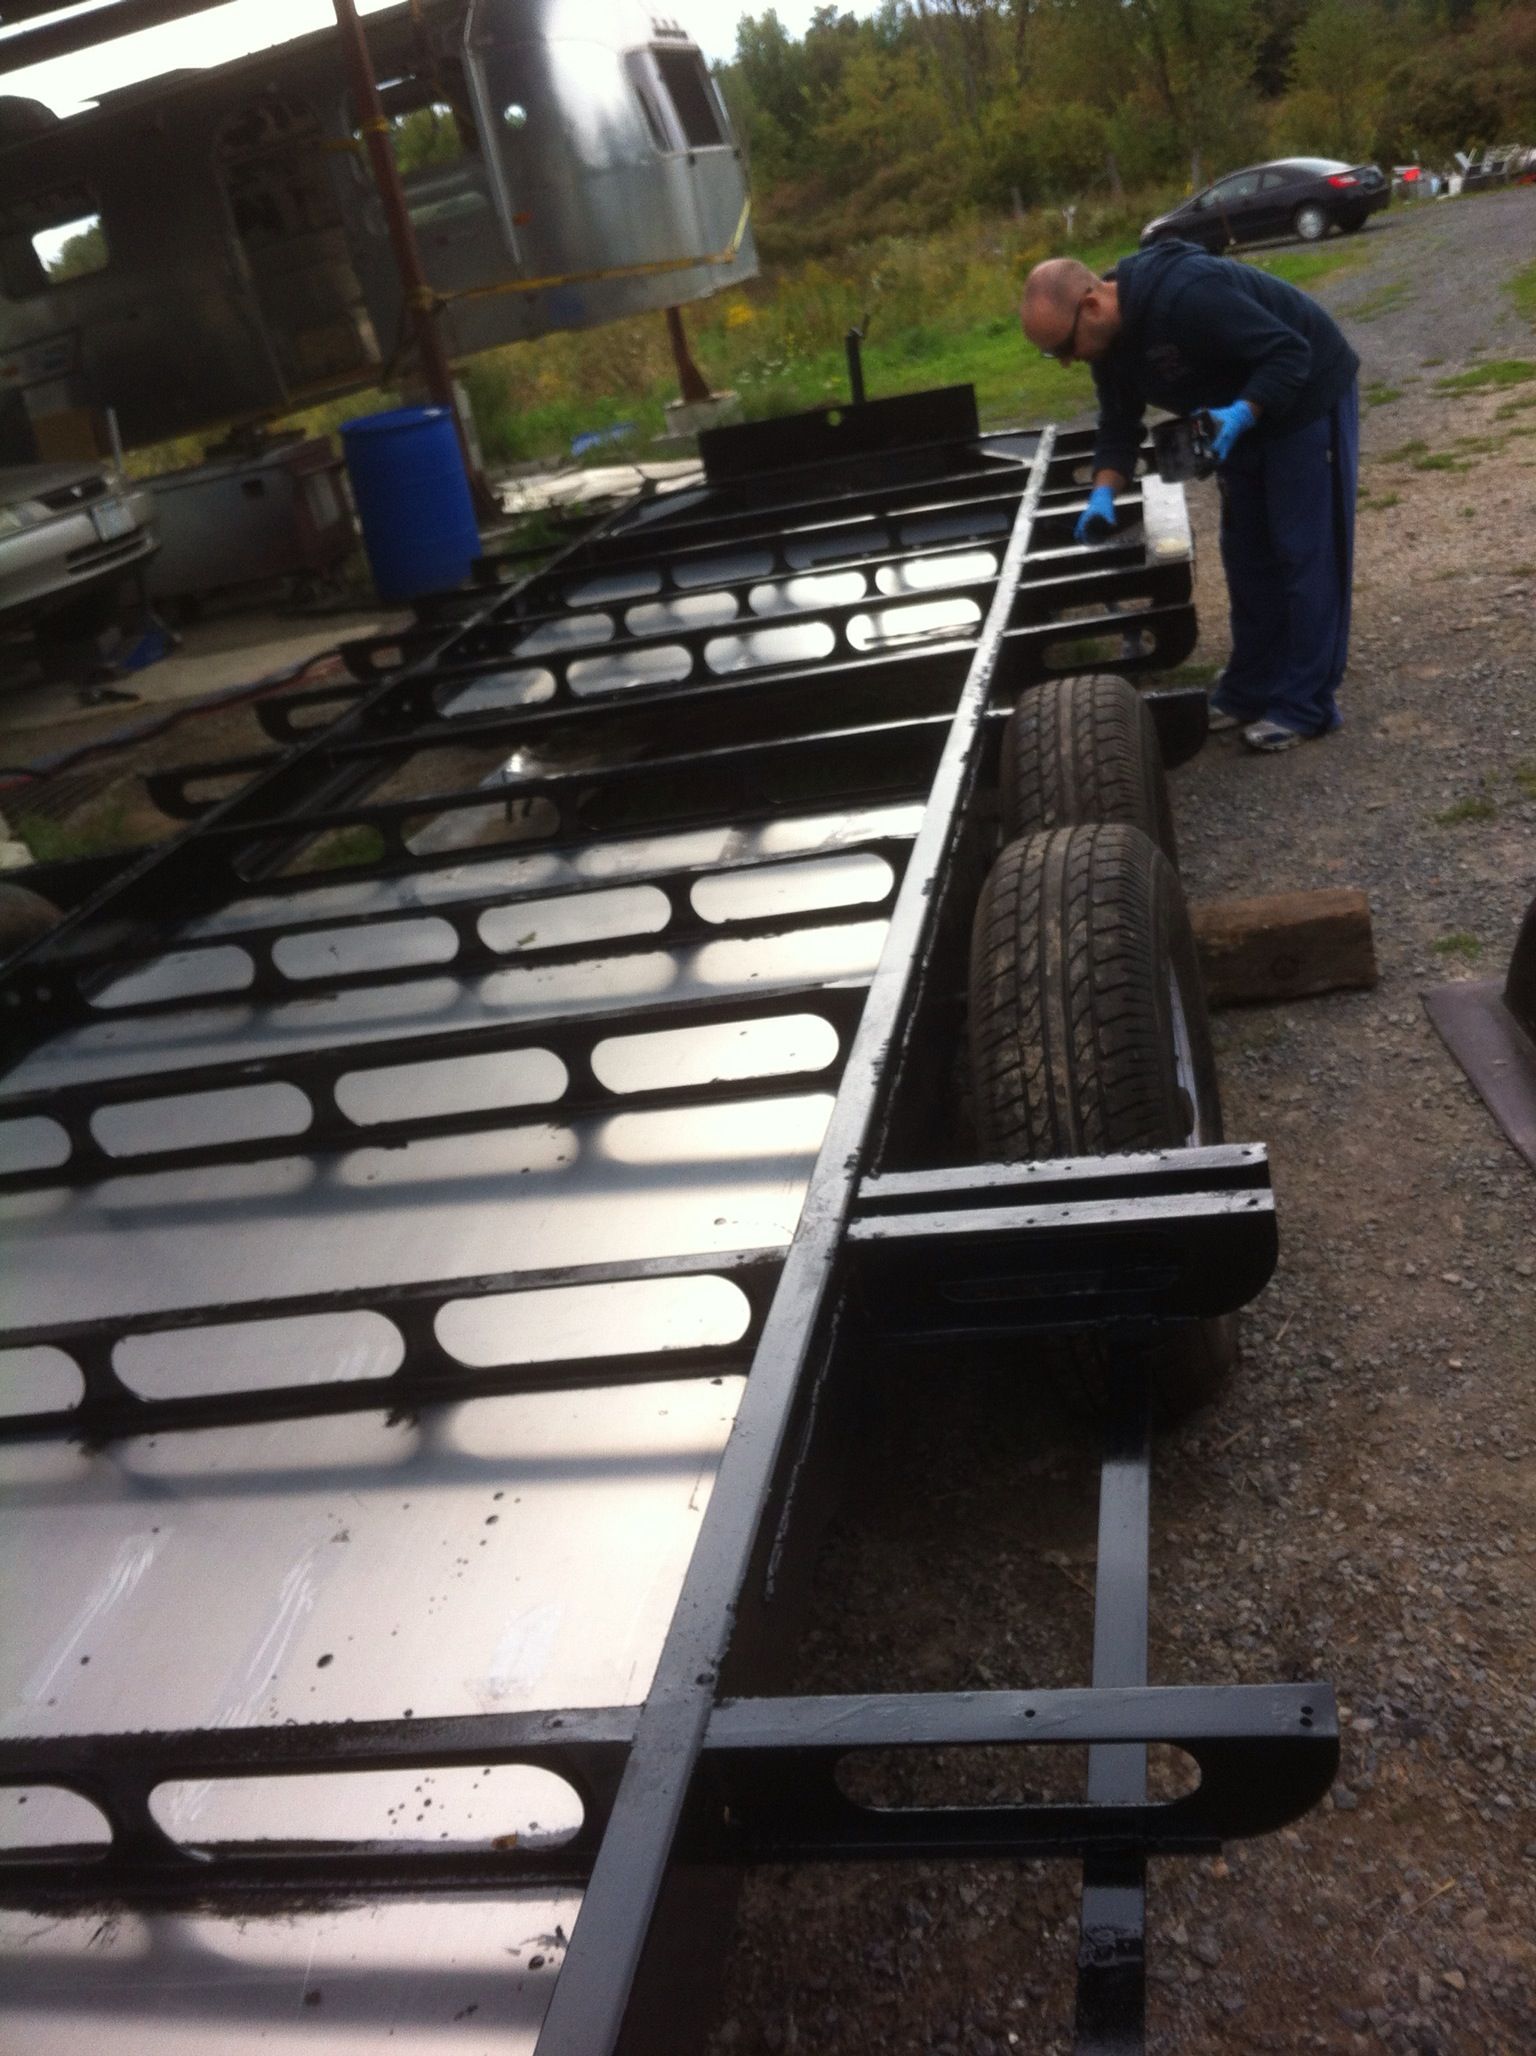
The Dom16 adheres well to rust and actually strengthens it so it is best to leave a light surface layer of rust before applying. It is not difficult to apply. Next, the new aluminum underbelly panels were put on and the shocks replaced.
We are getting close to putting the shell back on the chassis but first must insulate with 4 inches of spray foam, bolt down the new plywood sub floor and instal the wheel wells. The plywood subfloor has been weather proofed so as to prevent any future rot if in contact with moisture.

So the chassis is in great condition, the brand new aluminum is on the bottom and side pieces have been cut, its time to insulate the floor. There are many choices for insulation but given that this trailer is going to be used in extreme temperatures and that we want to keep any rodents completely out, we are going with four inches of spray foam through the floor. We’ve also built special insulated compartments for all the holding tanks and plumbing. Each of those will get at least 2 inches of spray foam.

Spray foam is a great product if done correctly so make sure you get a reputable company to do it. Every inch of spray foam gives you an R value of 6 so with our 4 inches we get R24 in the floors and R12 around the tanks and plumbing.
 .
.
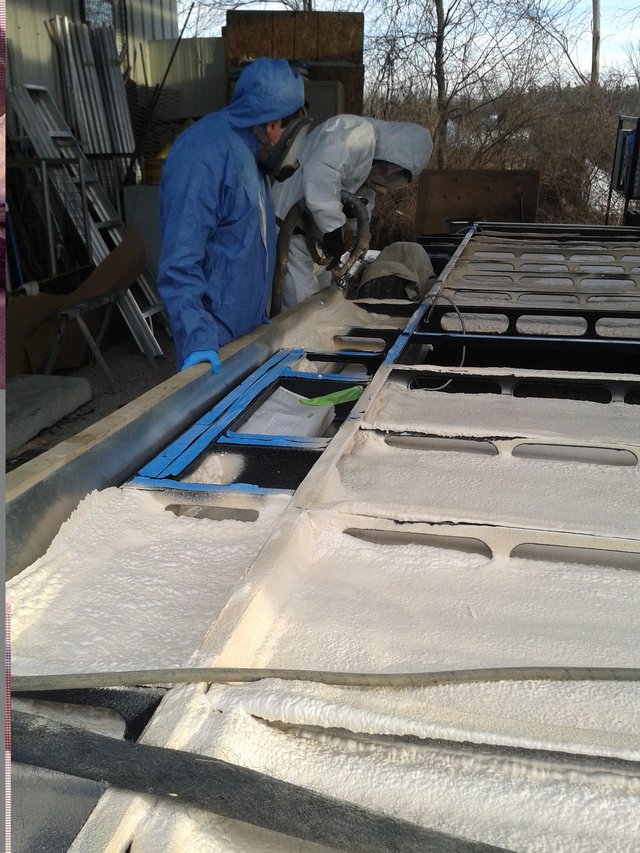
The curved sides needed to be held up while spraying. This is a two person job. The foam expands and sets within seconds and it sticks to everything so it will fit the curve and help hold its shape perfectly. It also adds a lot of structural integrity, something that traditional insulation does not do. We also pray foamed the wheel wells not just for climate control but for sound proofing also.
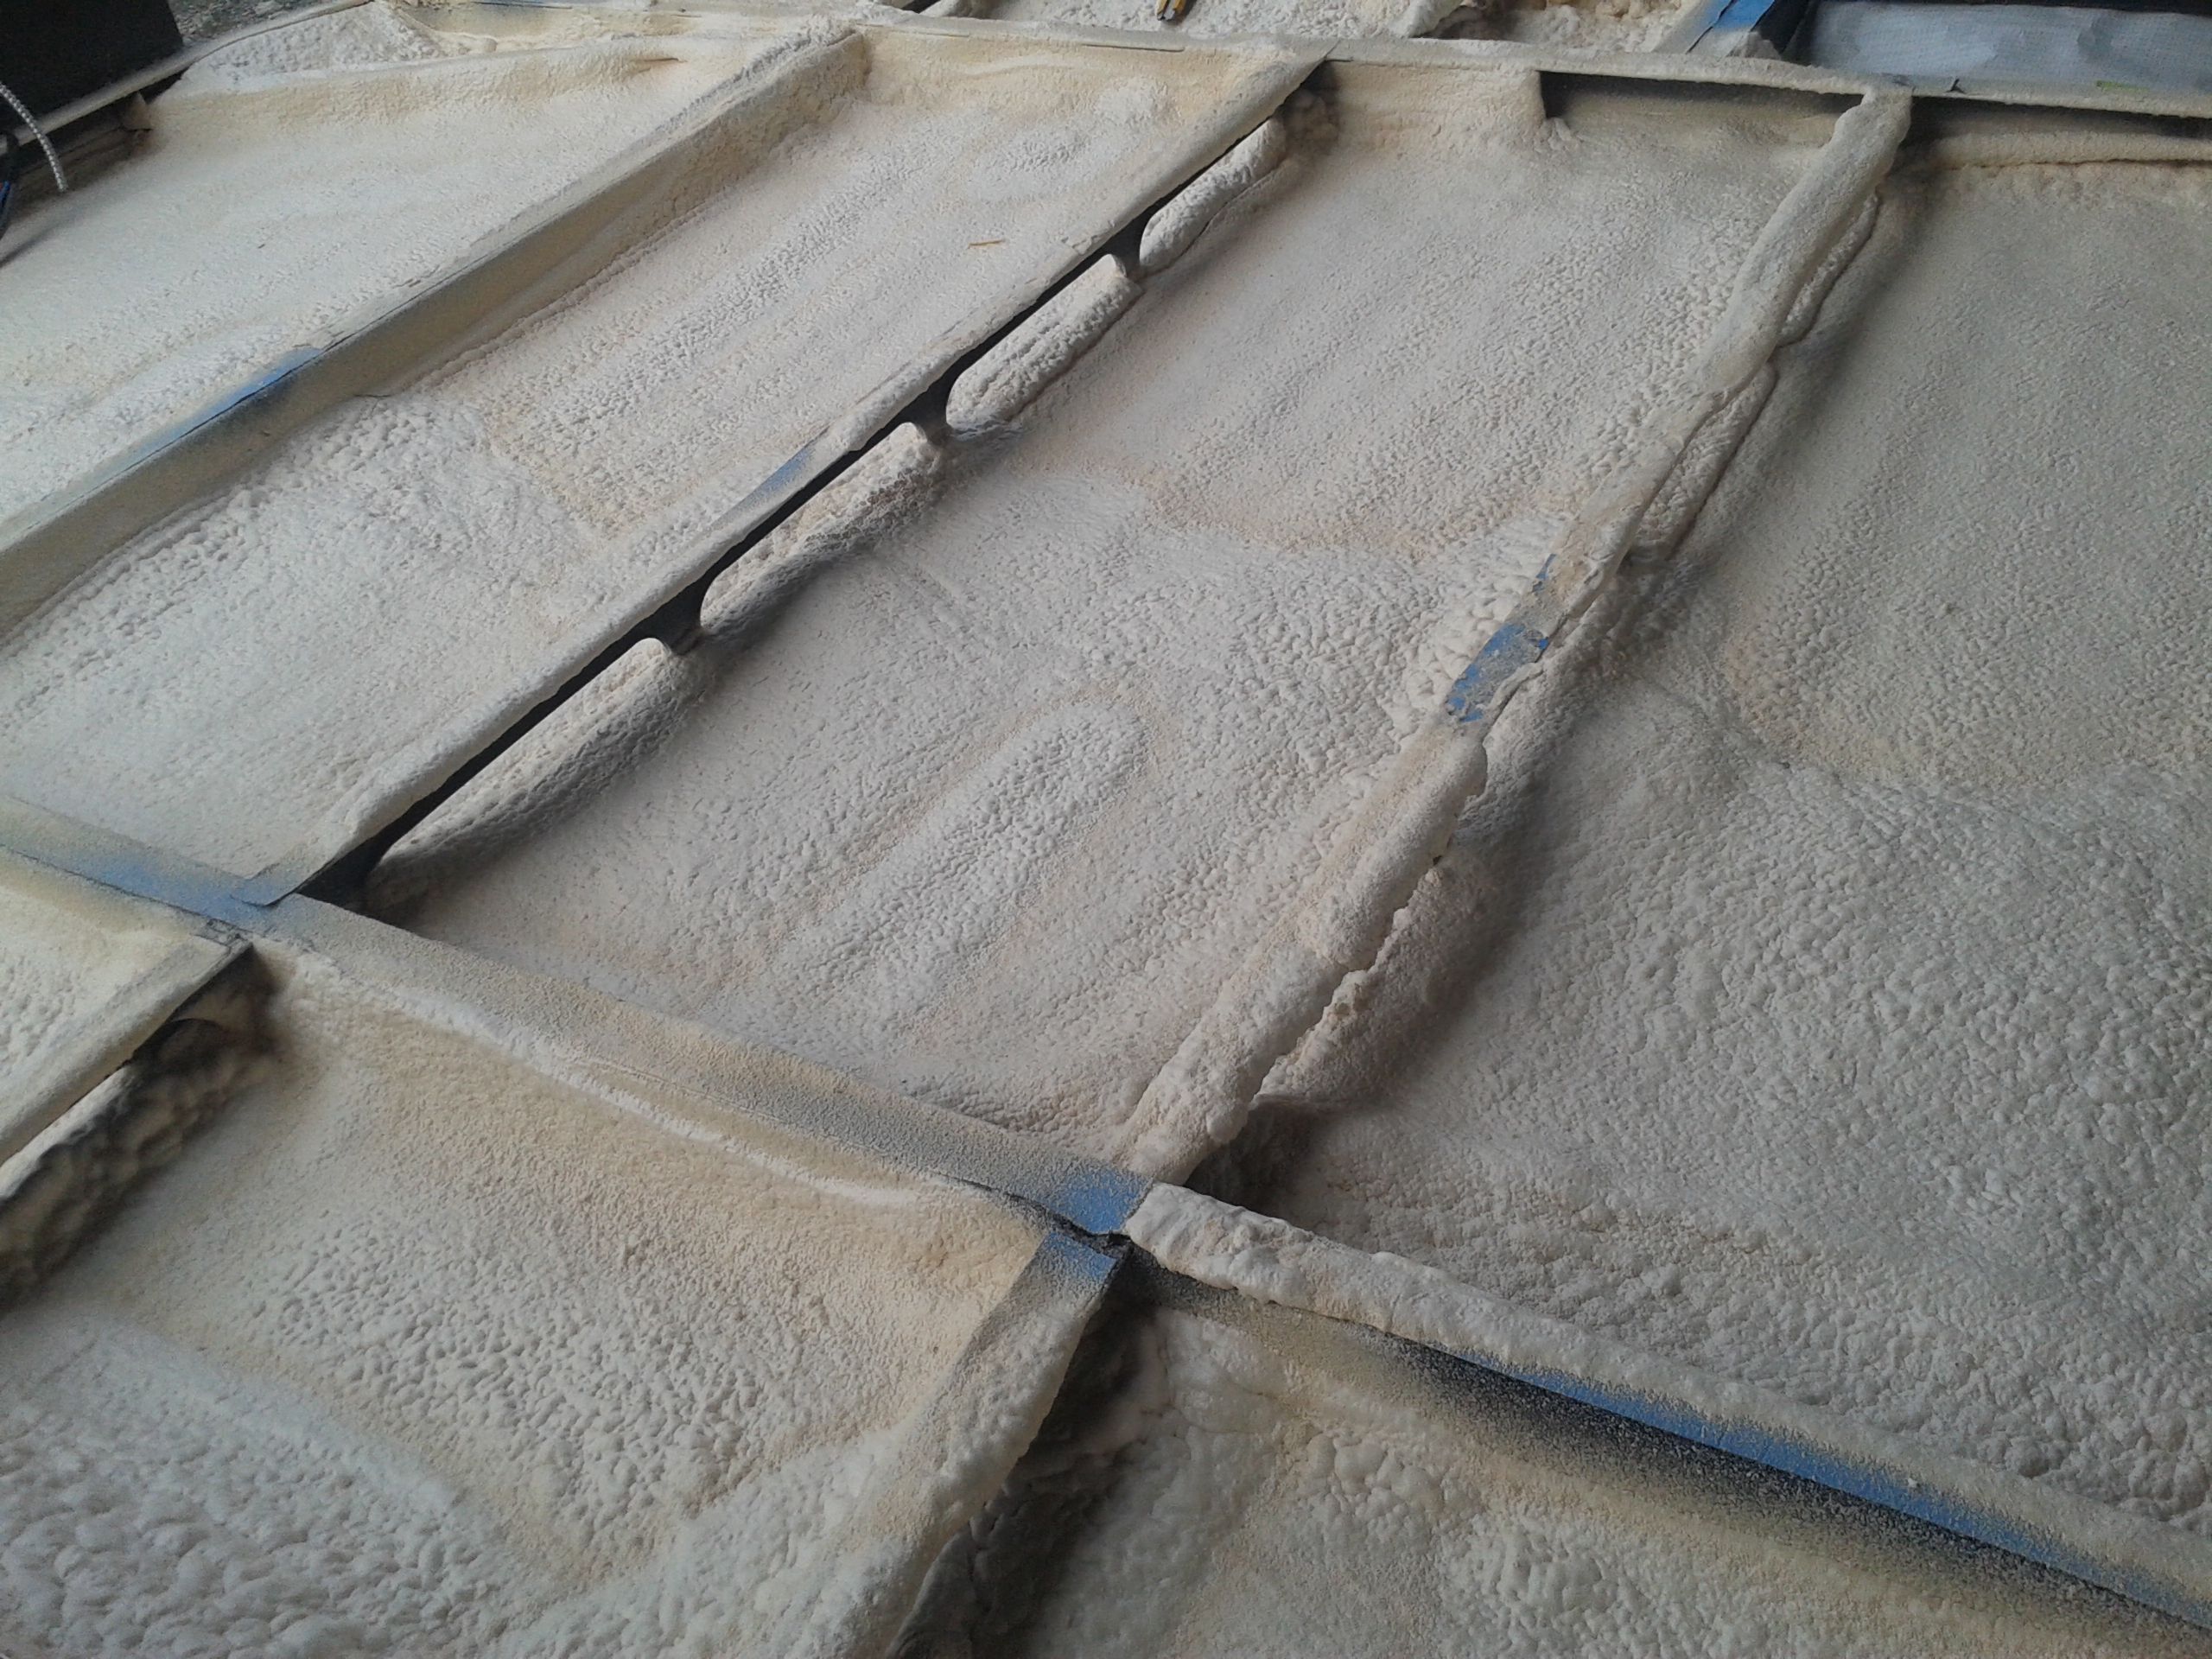
The spray foam needs to be applied in 2 separate 2 inch passes. The above photo shows the first. Below is the second and finished product. All of our electrical and plumbing has been run through there.
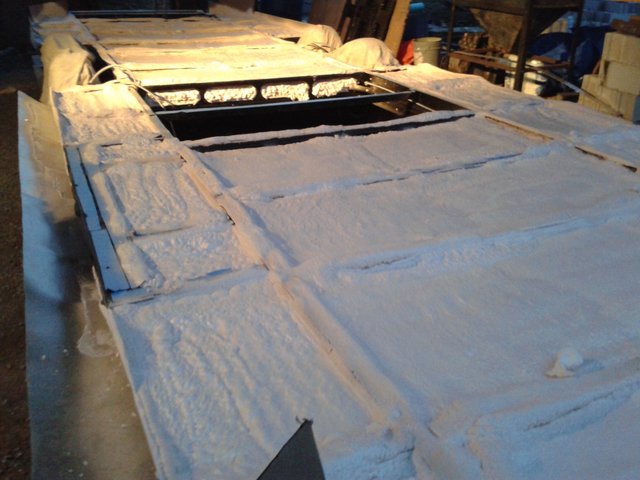
The opening in the centre is to allow access to the fresh water tank should it need to be removed or replaced for any reason. It is accessible from underneath via a thick removable aluminum sheet.

I used a SeeLevel 2 tank monitoring system which requires a circuit board be adhered to each water tank and wired in to give you accurate percentage based readings on all your tanks. It also reads your battery and propane levels. NOTE: it will not work on a metal tank. If you are installing something similar, do it at this point as to access this area again will not be easy in the future.
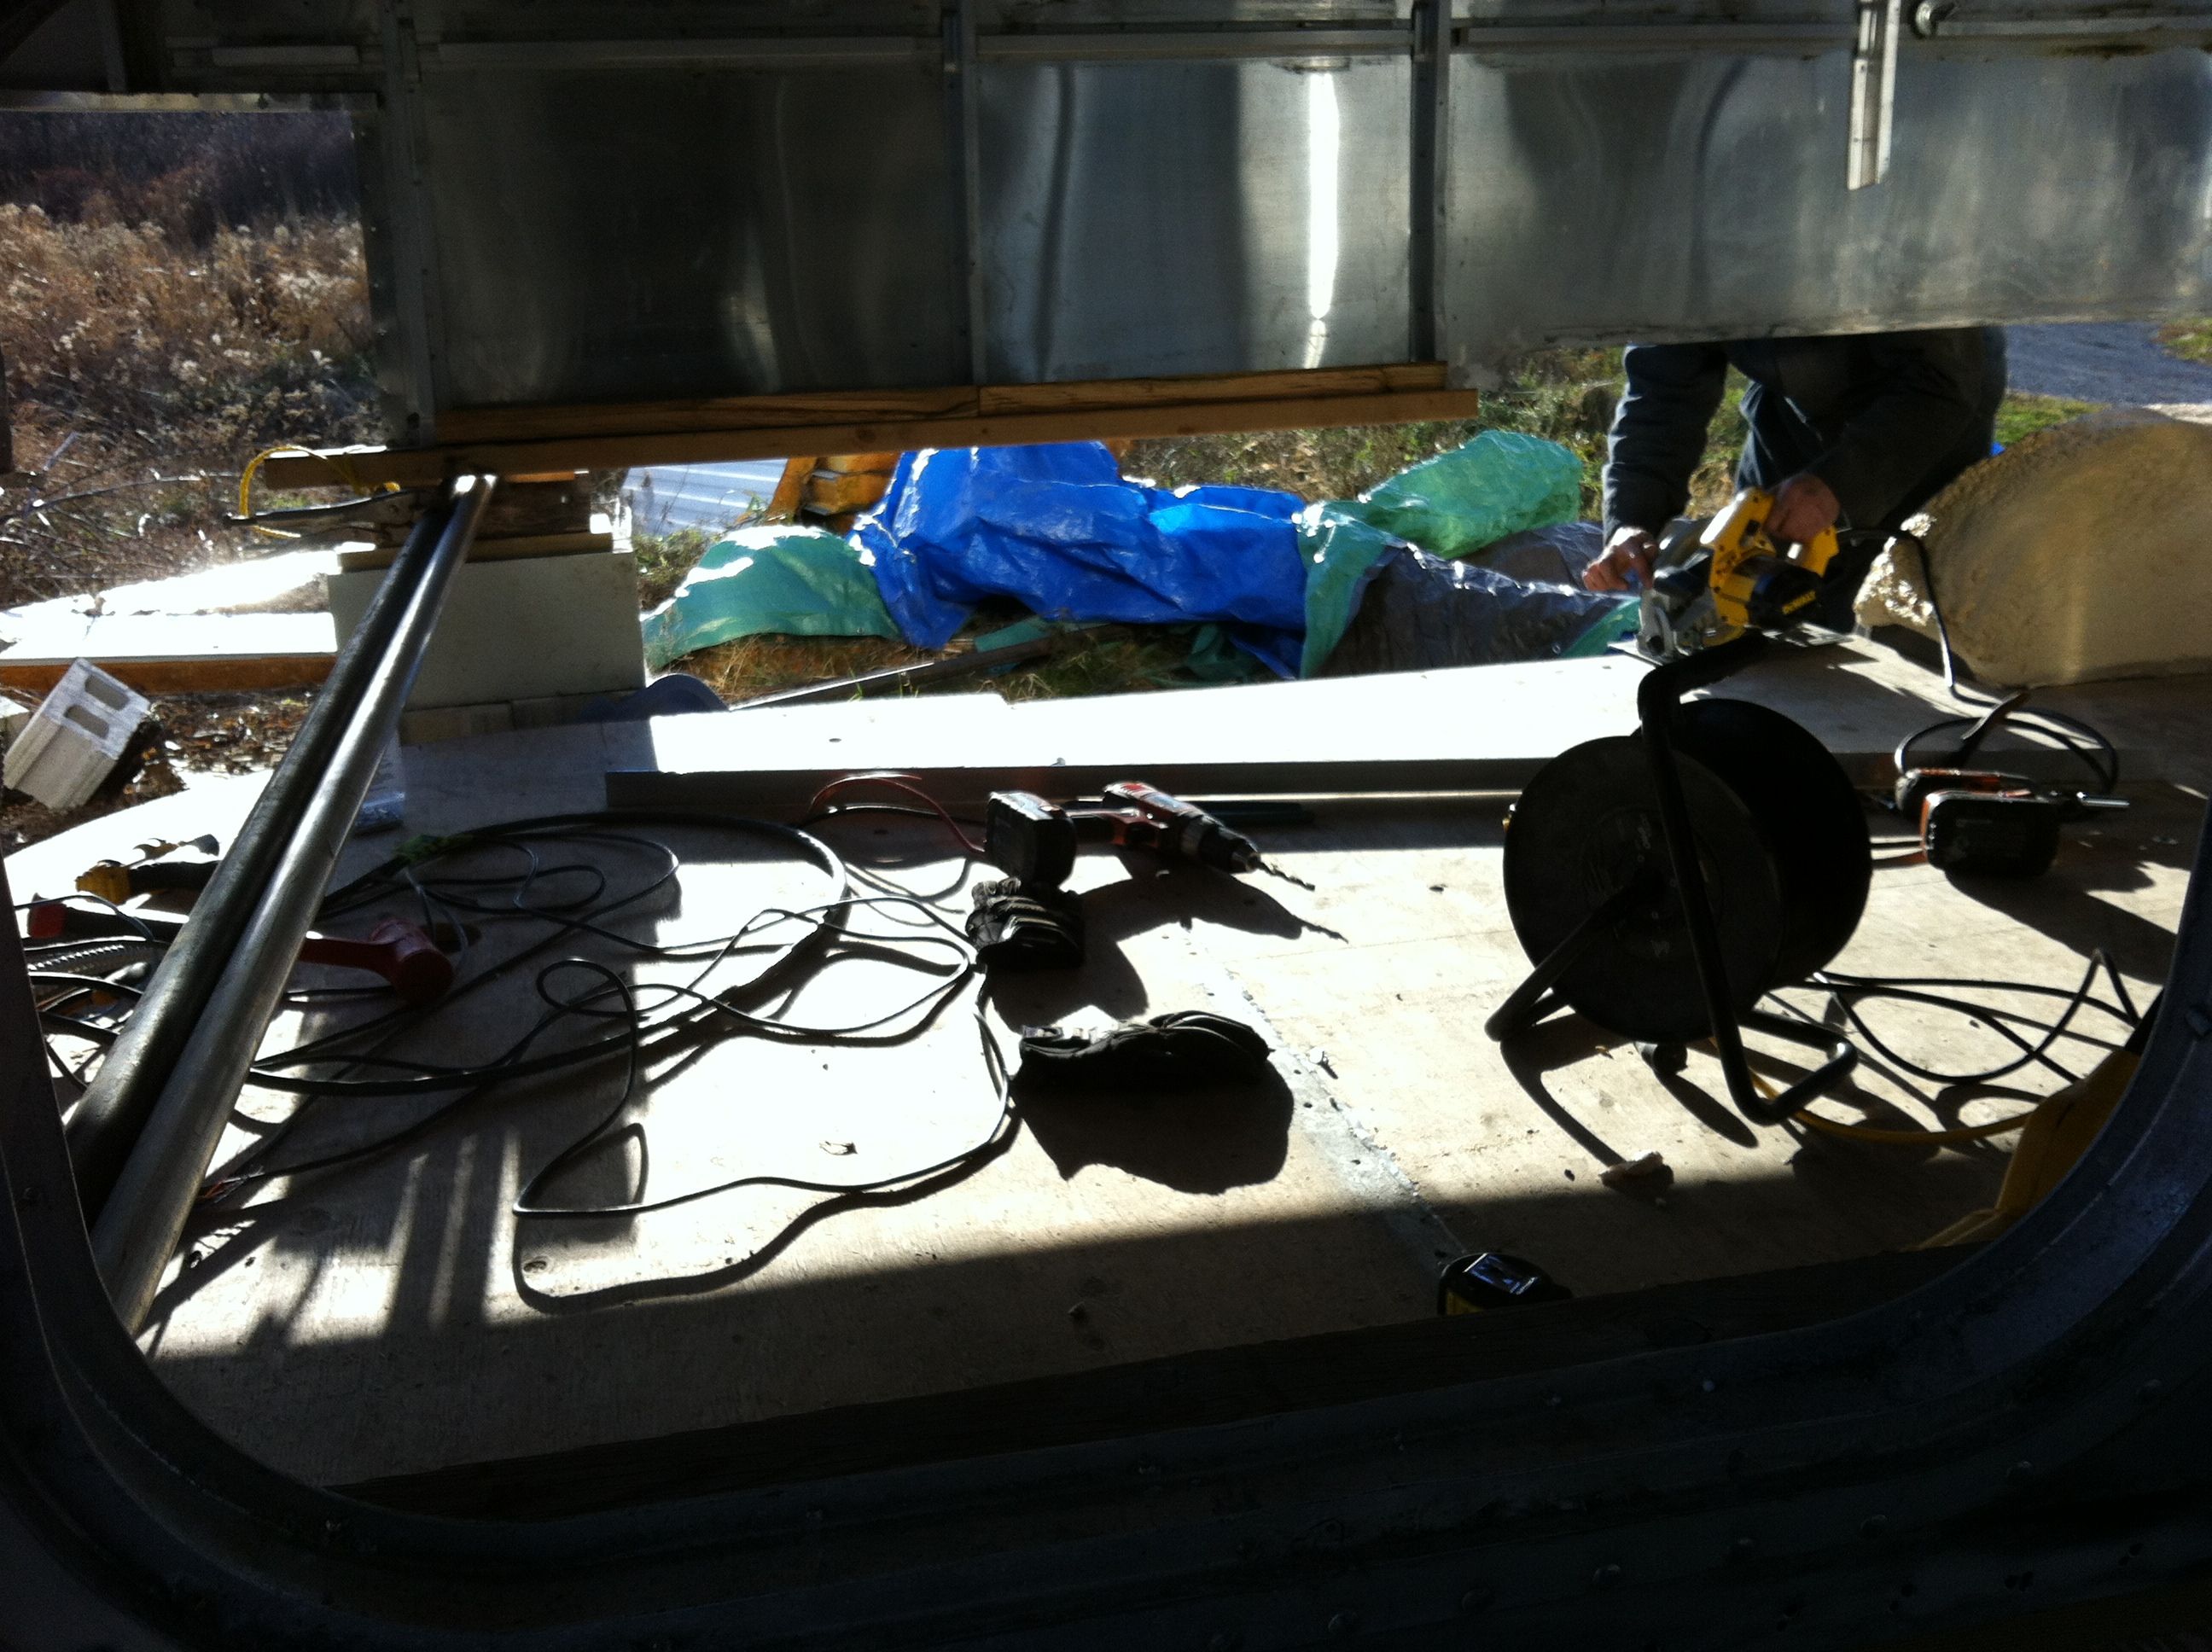
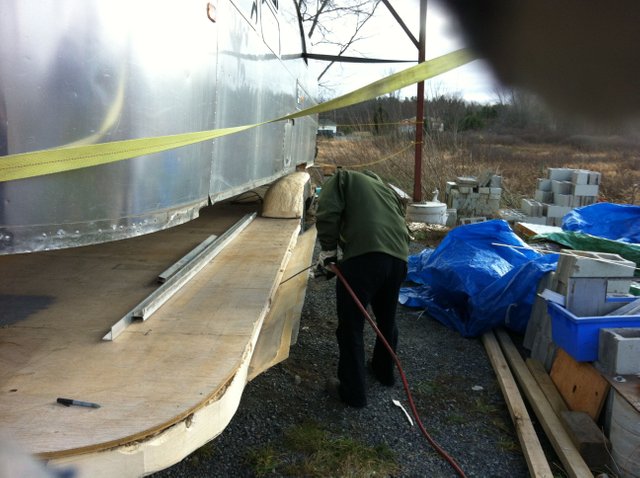
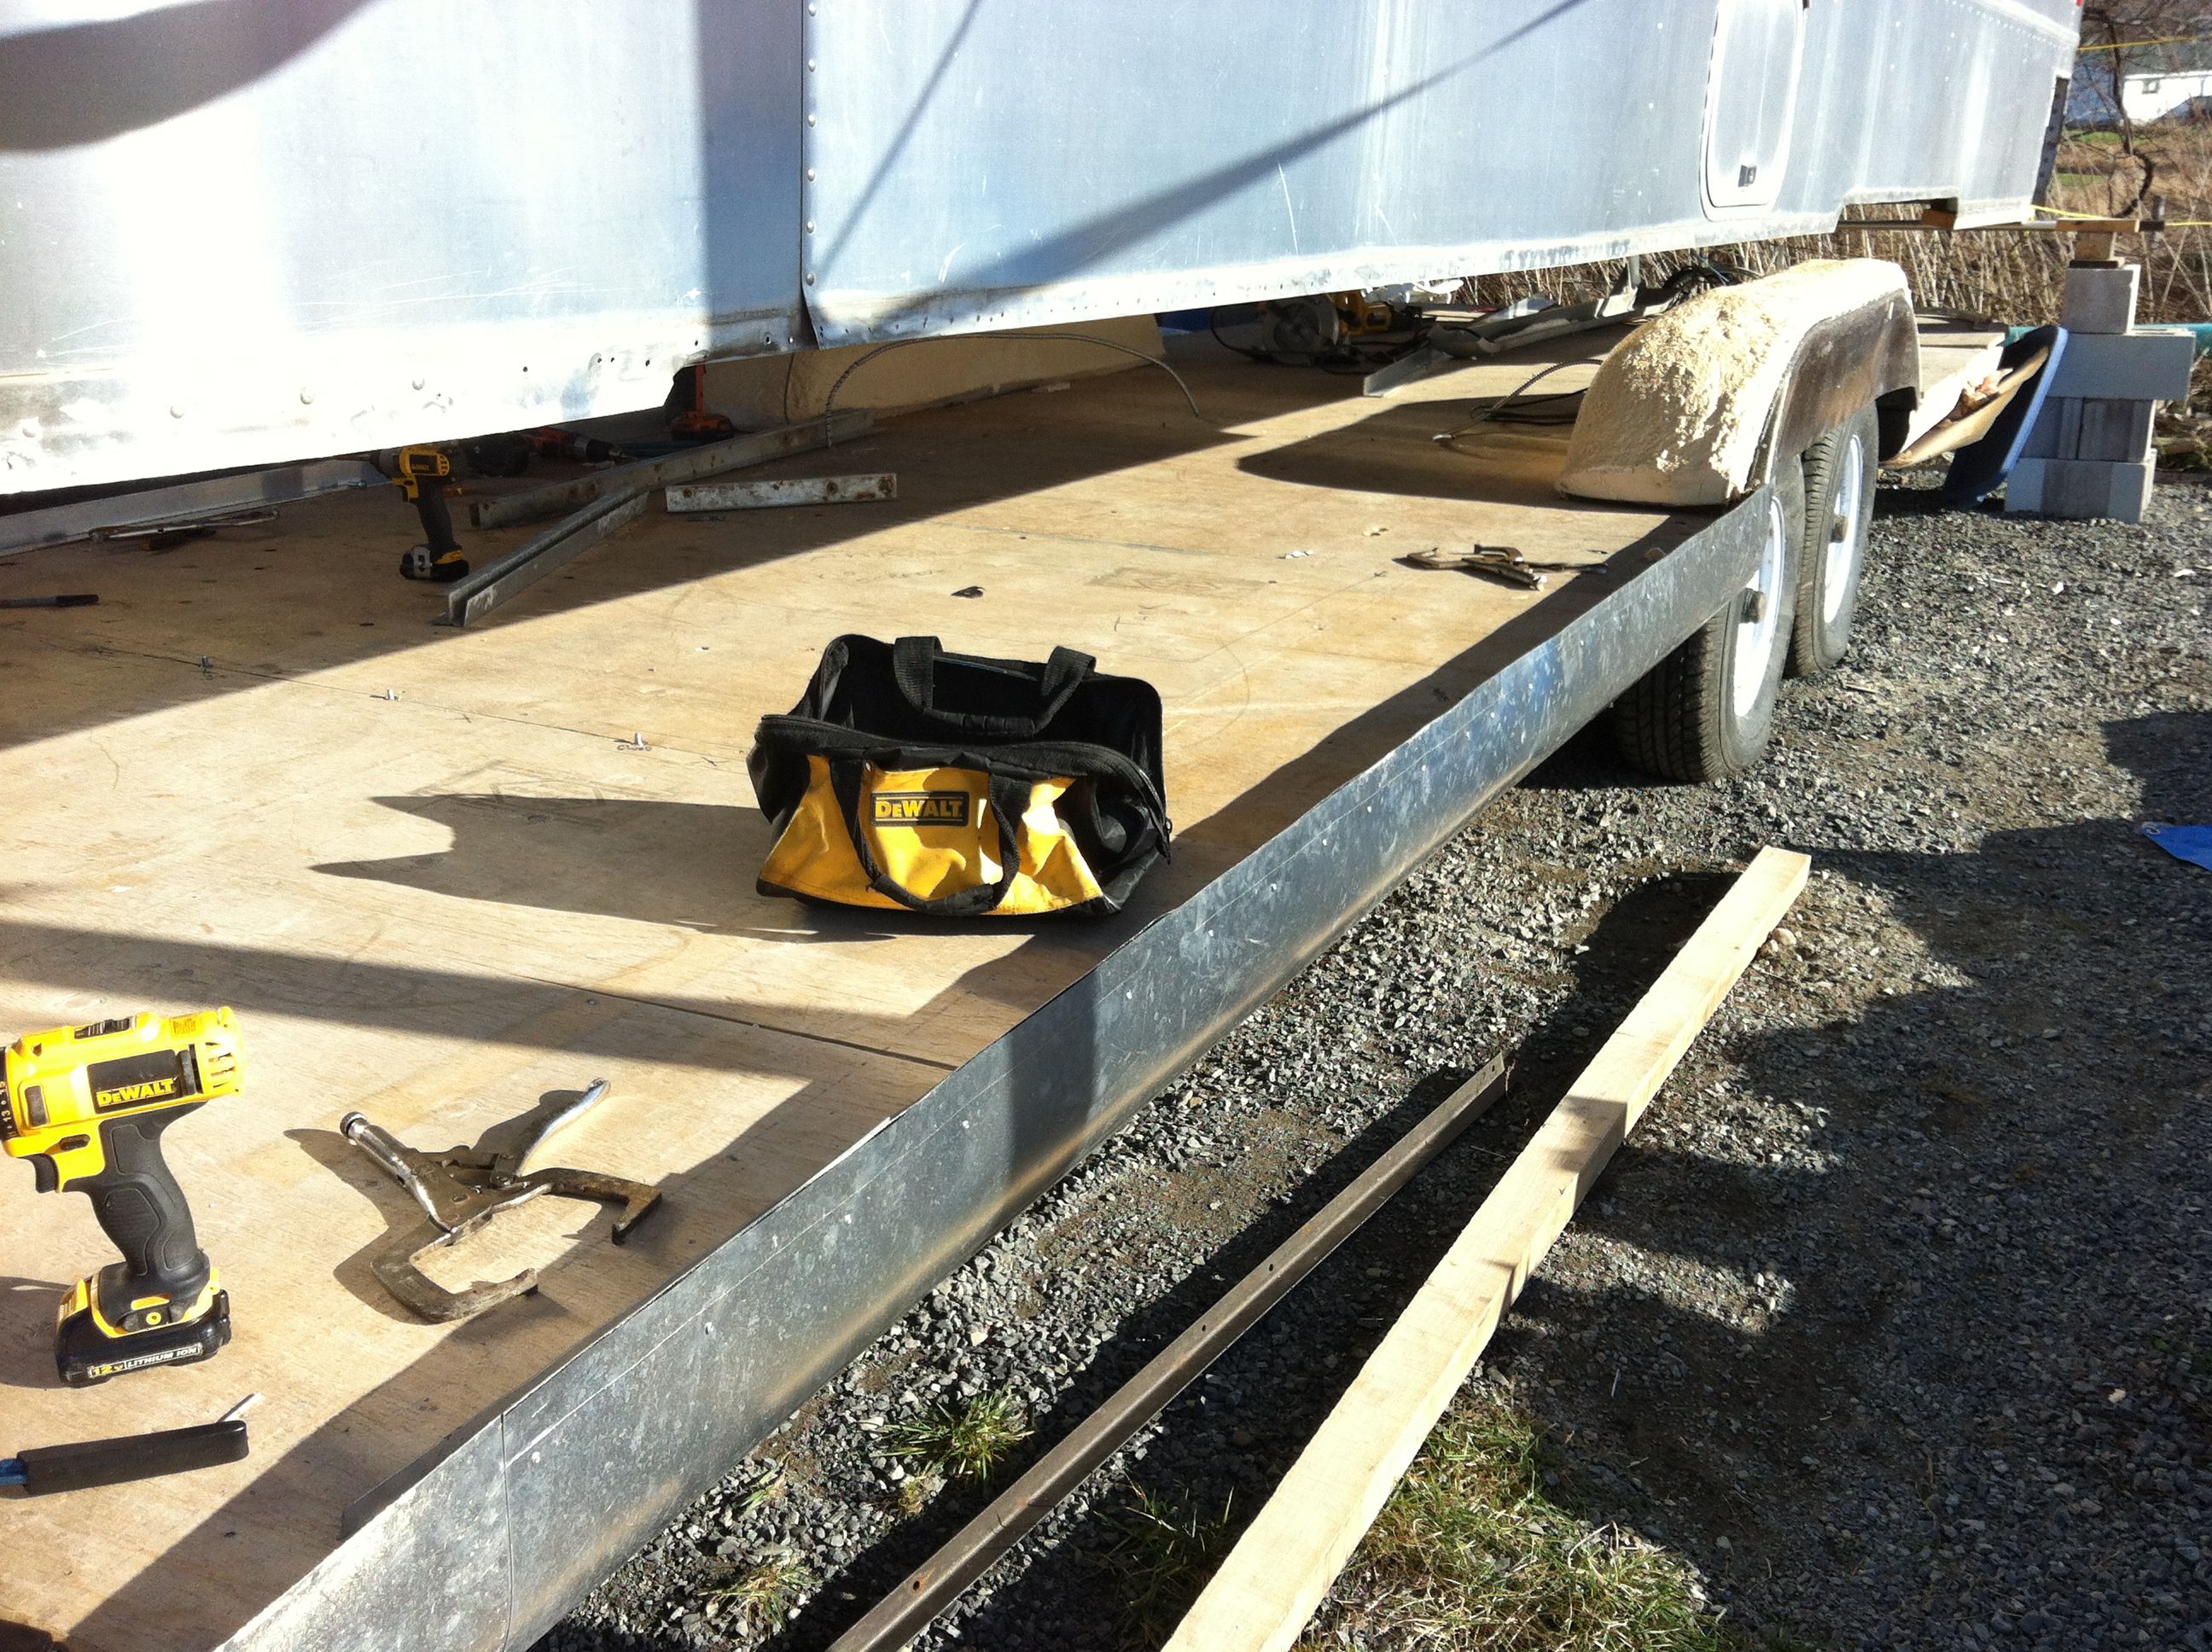
After spray foaming the chassis and even the wheel wells, we’ve used the original, wrecked plywood floor as a template to cut all new plywood pieces. We bolted them down, installed the wheel wells and carefully positioned the chassis under the trailer to finalize a few important details before putting the shell back in place.

Any overhanging parts of the plywood or spray foam need to be trimmed so that the aluminum curved part will fit flush to the shell without any bumps.
An air hose is helpful in blowing out any smaller pieces that might still cause blemishes in the aluminum.
Fold the aluminum up (if it did not adhere perfectly when the spray foam was applied) and rivet it into place.
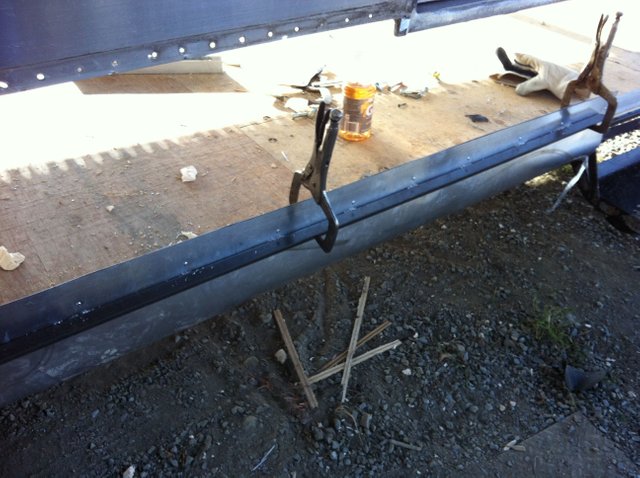
Next, we need to bolt our aluminum channel, that holds the shell, all the way around the perimeter and through the plywood floor and the steel chassis. The original channel was flimsy and corroded so we replaced it with brand new, thicker 1/8 aluminum. Your best bet is to buy 1/8 aluminum cube lengths and cut them in half diagonally to double the amount of area you can cover. For example, our 10 foot length gave us 20 feet of usable channel. Because of the rounded curves, we had to cut and use the original corner pieces but they were in pretty good shape still.
Last step, cut out the aluminum siding where the stairs are located and cut the channel inside to allow access to the door frame.

The shell is now ready to slowly lower into place! Making sure it lines up properly is essential for a good re-fit.

To re-rivet the shell back to the chassis we upgraded the regular 1/8 rivets for 3/16 aluminum rivets that are 1/2 inch long in order to improve stability, strength and to accommodate our thicker aluminum channel piece that actually holds the shell down. We used the original rivet holes but had to go through the tedious job of drilling each hole larger to fit the 3/16 rivets and then instal each one with a hand rivet tool.
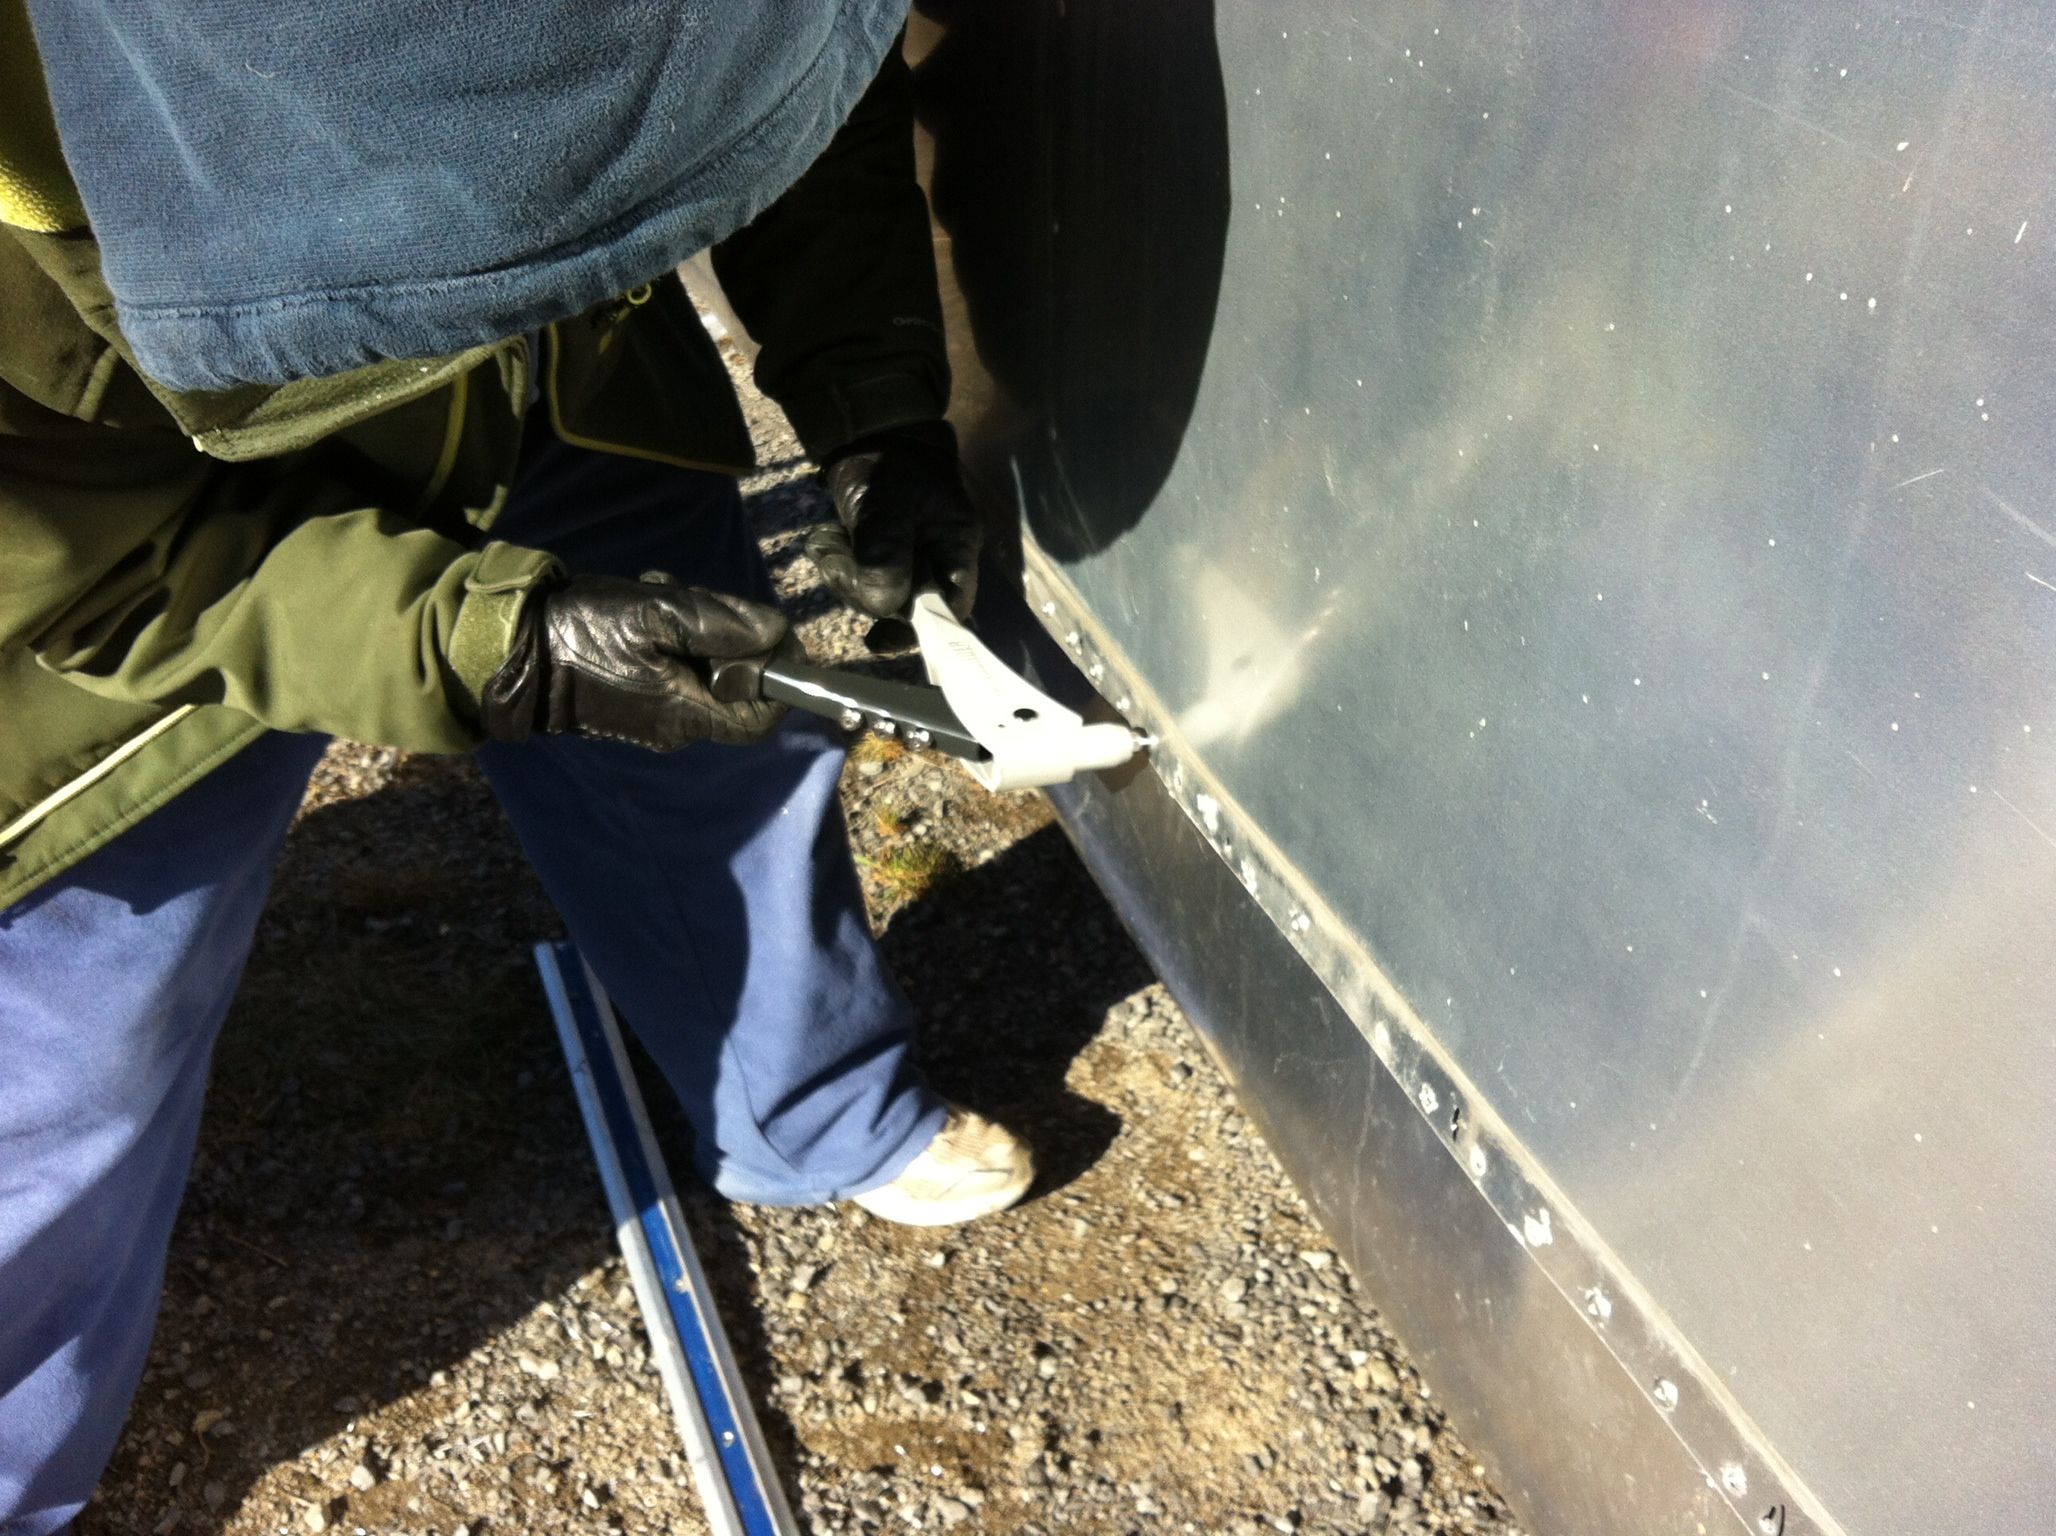
Below shows two finished rows at the front. You also have to rivet the gussets to the channel inside the trailer.
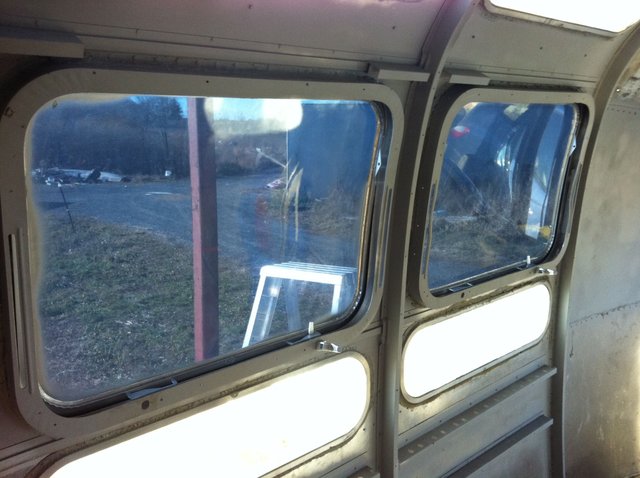
It starts to get pretty cold in Ontario at the end of November so we installed the windows to allow us to work on the interior throughout the winter. The windows come out very easily but can be a bit of a challenge to get back in. The hinges supposedly just slide into place in the frame if you angle them correctly, but if the frame is at all bent (which can happen when you have the shell suspended for 3 months) you must work it back to exactly the correct position, this can be done with a flat head screwdriver. Even if the window frame has not been manipulated, it is very tricky.
Ideally we should have used Trempro on the inside and Parbond on the exterior seams to really prevent any leaks but the weather this time of year will not let it set properly so we will cover the seams as best we can for the winter, keep the trailer covered and do a proper sealing job with those products in the spring.
At this stage we are ready to install the wiring, switches, LED’s both interior and exterior, replace the taillights and connect everything.
We also have to replace the roof vents, fan, hatches and cover all the exposed holes in the shell for the winter.
The access panel where the old hot water heater was, is wide open and will have to be covered with an aluminum piece as we are going with a tankless hot water heater. To my knowledge, the Precision Temp 550NSP is the only one on the market that can withstand use in extreme temperatures. It is vented through the floor so we wont need any more holes in our shell. Here is the link to where you can purchase it:
http://www.vintagetrailersupply.com/PrecisionTemp_RV_550NSP_p/vts-943.htm
