A 'Shiny' Nightfury? - The Making of Red Toothless
Hello Steemians! I'm drawing with flares again today.

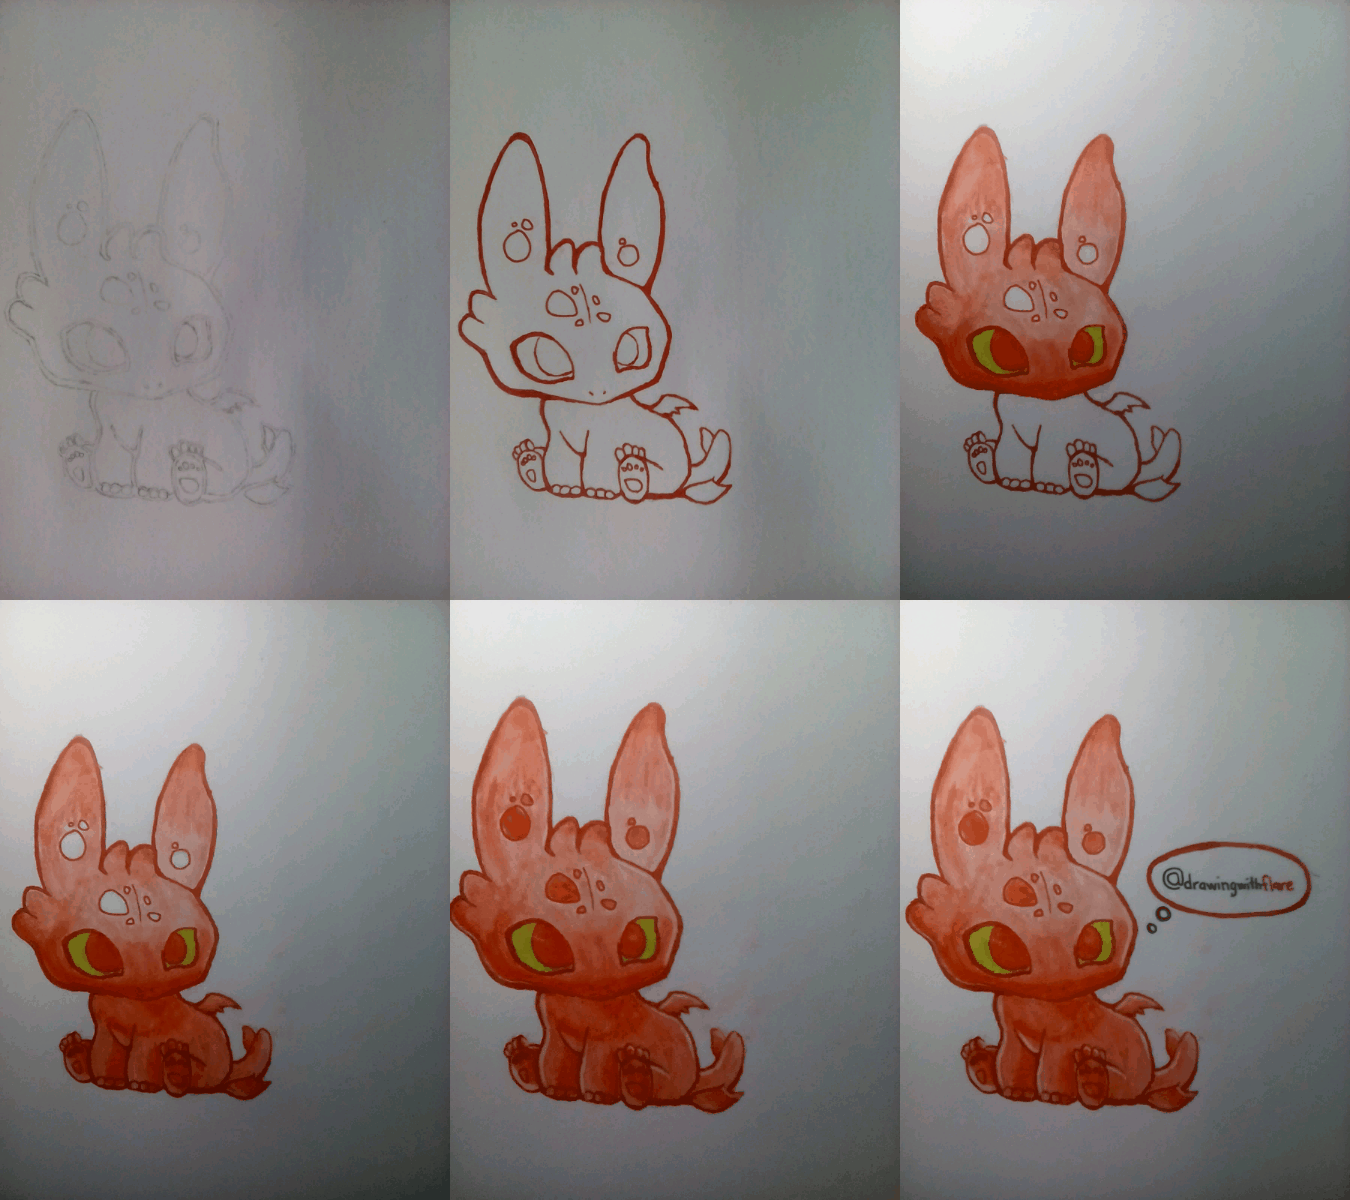
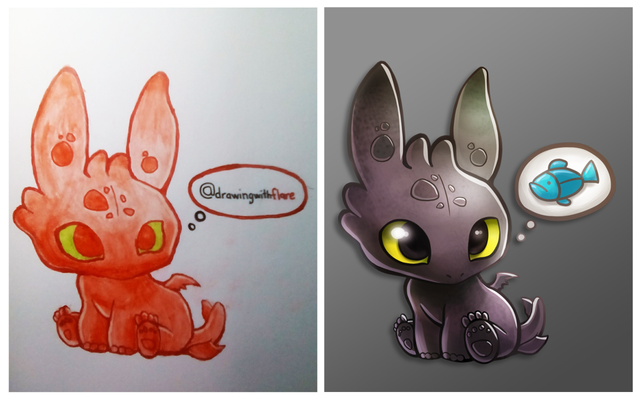
I'm back here again and today I drew a "Toothless" who is a Nightfury from the movie How to Train Your Dragon but I decided to turn him into Red. Maybe we can call him a "Flamefury or Nightflary" now? (Or maybe a Shiny NightFury - remember Gyarados from Pokemon who became red on his Shiny version?)
This was drawn on Vellum board (200gsm). Using a Staedtler Mars Lumograph graphite 3b pencil, a Cretacolor white chalk, Faber Castell water colour pencils, 0.8 Red and Black Uni Pin pens.
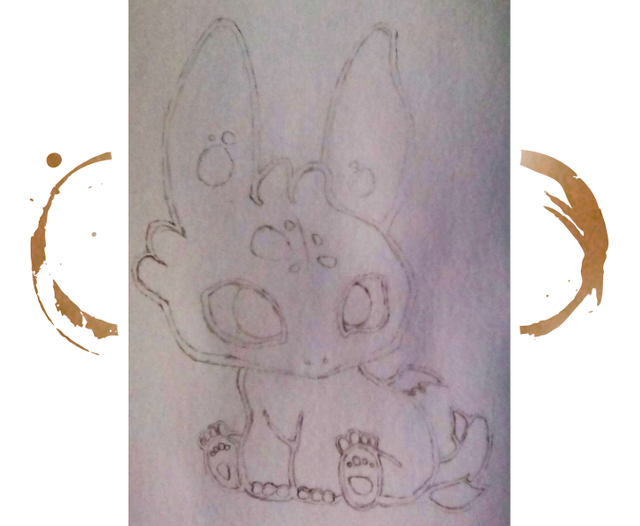
I started with a light sketch of pencils to outline his shape and important features.
(Sorry for the camera quality, we're only using mobile phones to capture this piece.)
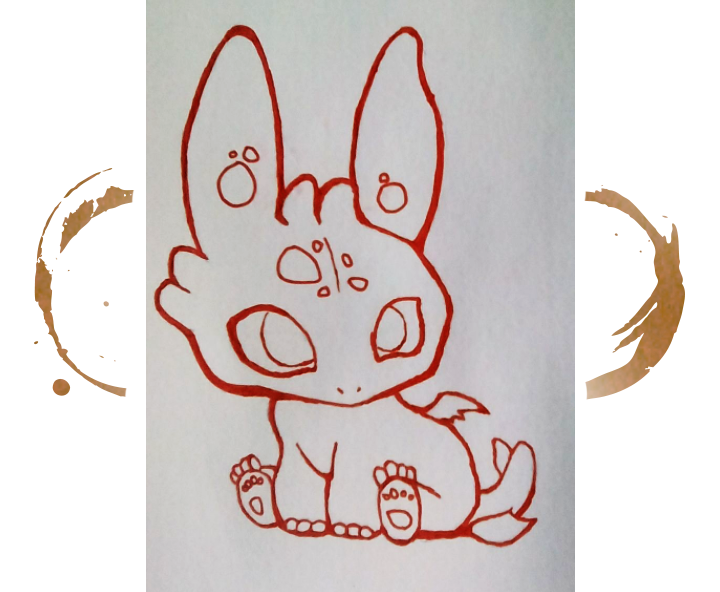
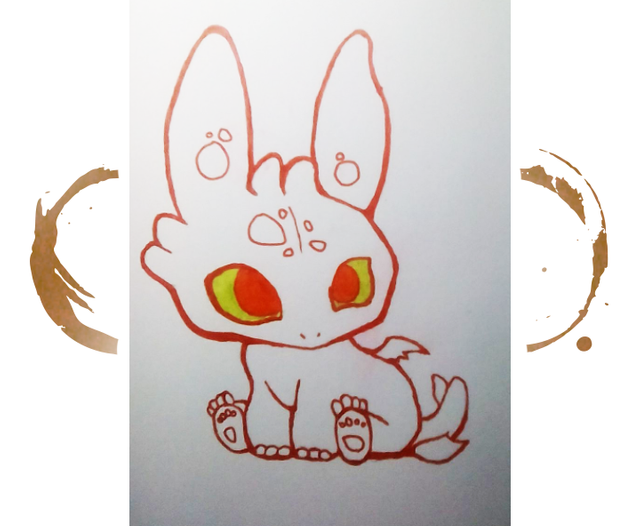
Then I started doing the outlines with a red felt-tip pen. I really like these Uni branded pens because they feel good in the hands and are very smooth to use on different kinds of paper. The ink quality is good as well, it's even fadeproof and waterproof. So this is my go-to pen when I create multimedia arts that requires using watercolors or watercolor pencils.
For the eyes, I used red watercolour pencil for the iris and lime green for coloring the Sclera. I also evened out the colors by using water on a brush (this is one advantage of using watercolour pencils and waterproof inks).
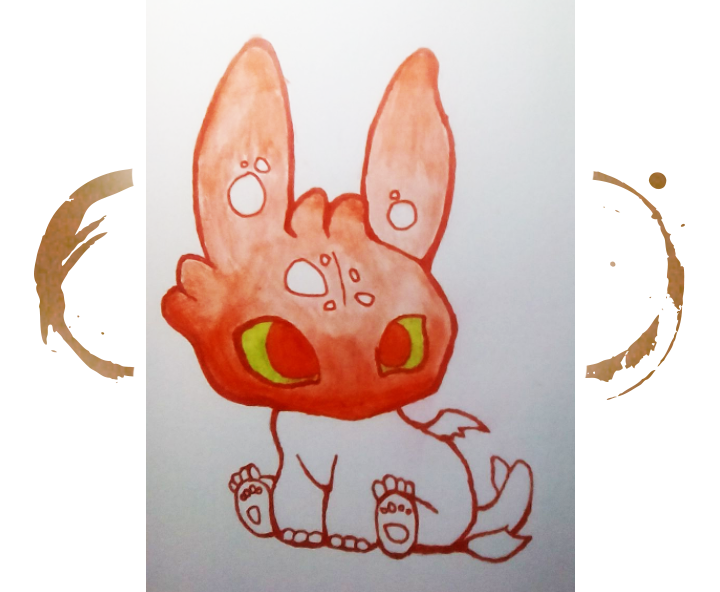
For his head, I again used a red water colour pencil and to achieve such a texture or gradient, I had to use varying depths on painting the red into this drawing (if you're not careful you will easily mess up your drawing's colors, so be extra careful). Then I mixed them with water to create a "clean" gradient for the final touches.
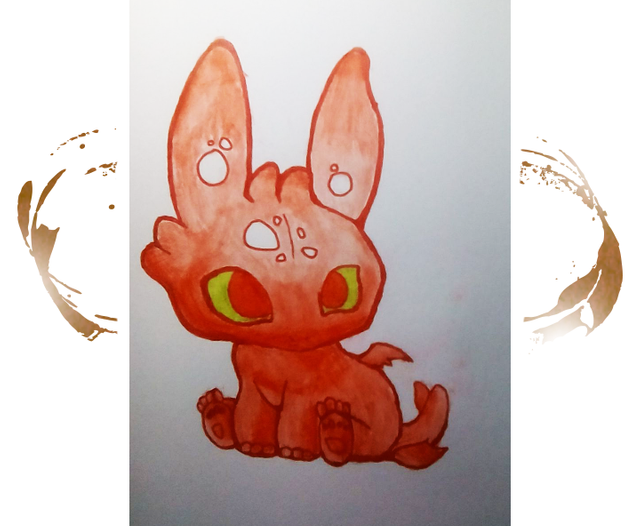
I also used the same technique to color in Toothless's body. It's a bit tricky to maintain a smooth gradient using this painting method.
Basically, the same technique was used as with the other parts of his body. Here's the actual traditional art image that I created after adding some highlights using a chalk.
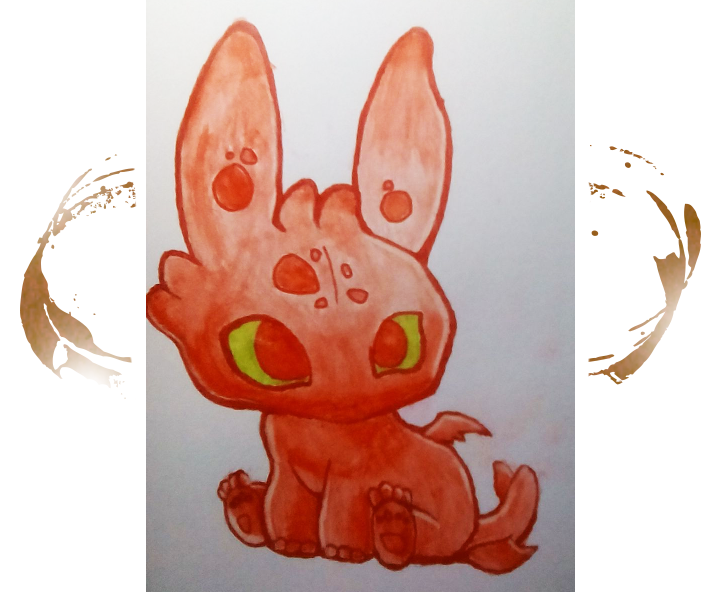
I've added a bonus - I tried doing some post-processing on the artwork via digital software Photoshop and here's the result:
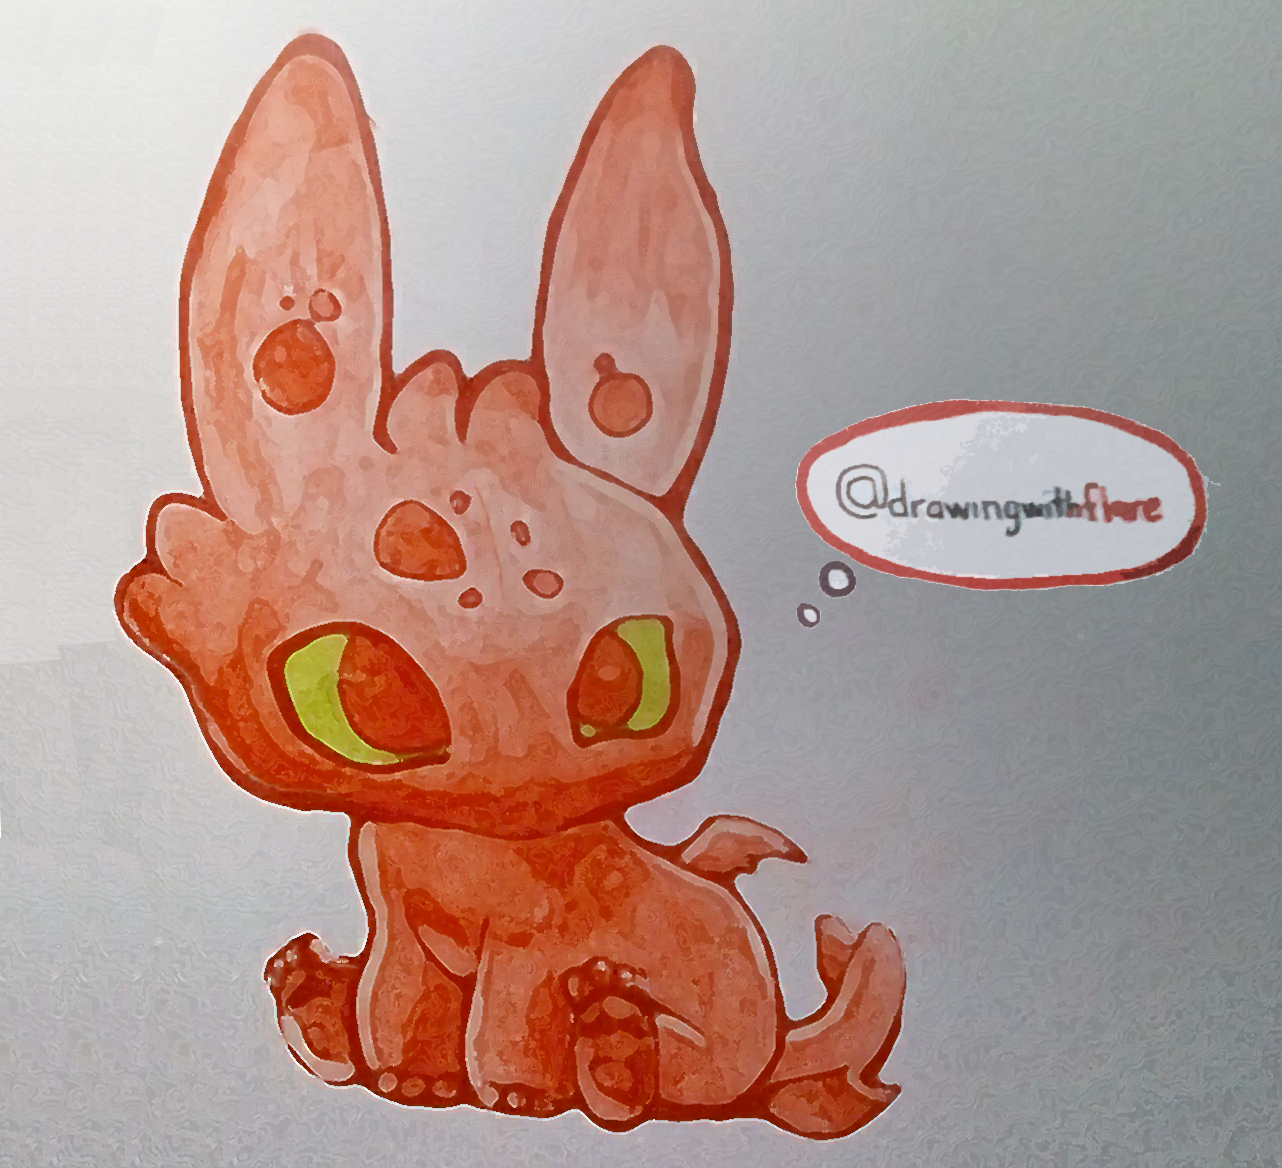
I did this simply by experimenting on the Filter Gallery in Photoshop. What I used are the following effects: Cutout, Paint Daubs, & Dry Brush. (The coffee stains you see in this post are from the default Shapes section of Photoshop, I just overlayed it with a default pattern that somehow looks like coffee stains, a few more edits and then came the graphics you're seeing in this post.)
Thank you so much!
This is incredible! Love it. @drawingwithflare
Good work. Especially on your formatting. Keep up the amazing work!
Congratulations @drawingwithflare! You have completed some achievement on Steemit and have been rewarded with new badge(s) :
Click on any badge to view your own Board of Honor on SteemitBoard.
For more information about SteemitBoard, click here
If you no longer want to receive notifications, reply to this comment with the word
STOPVery good son @drawingwithflare 😊. Keep it up! You surely know how to use your talent 😉.
Congratulations @drawingwithflare! You have completed some achievement on Steemit and have been rewarded with new badge(s) :
Click on any badge to view your own Board of Honor on SteemitBoard.
For more information about SteemitBoard, click here
If you no longer want to receive notifications, reply to this comment with the word
STOPCongratulations @drawingwithflare! You have completed some achievement on Steemit and have been rewarded with new badge(s) :
Click on any badge to view your own Board of Honor on SteemitBoard.
For more information about SteemitBoard, click here
If you no longer want to receive notifications, reply to this comment with the word
STOP