Drawing Cyborg from the Teen Titans Go, step by step tutorial
Cyborg
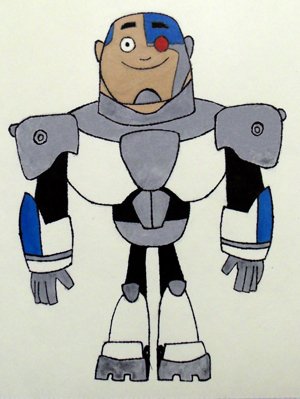

In this post I go ever all the steps I took to draw and color Cyborg from Teen Titans Go TV show.
I did things a little different in this tutorial then previous ones. First off this drawing was way more complicated and just over all harder then any other drawing I've done before, but I felt i'm getting better so I wanted to step it up and try something I wouldn't have dared try before. All so in this one I used a piece of paper from a drawing pad note book and not just printer paper and this drawing pad paper has a weird texture to it and is not completely flat, so when going over it and doing the lines with the black pen, it makes the lines very blotchy.. And it didn't help that I was using a thicker black pen then normal. Also as usual I only had free time to do this in the dead of night so the lighting was horrible and couldn't get well lit pics. At least once I got to the point of using the black pen I could just Photoshop it white, couldn't do it on the first ones with pencil lines because they just fade out when I lighten the pictures.

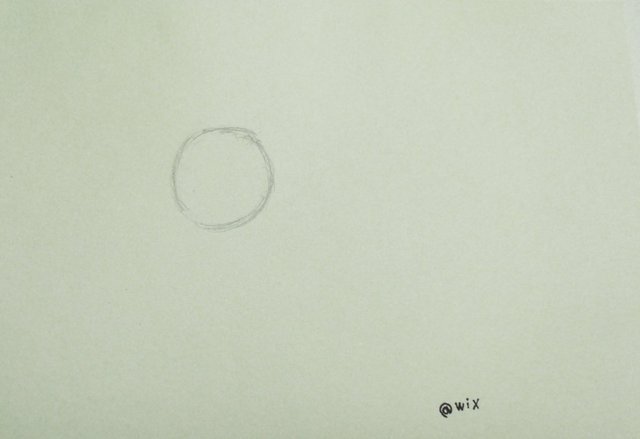
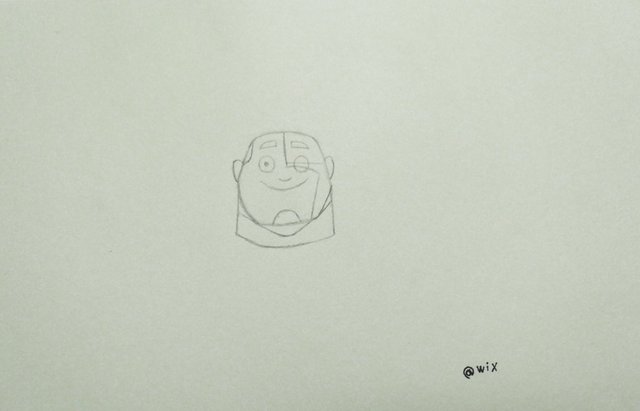
First I start off with putting a circle where I want the head to be and try to make it about the size the head should be.
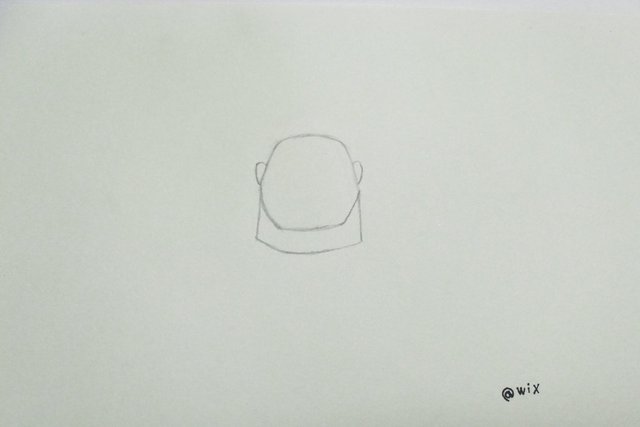
Then I get his head in to the shape I want it to be and after that I add his neck and ears.
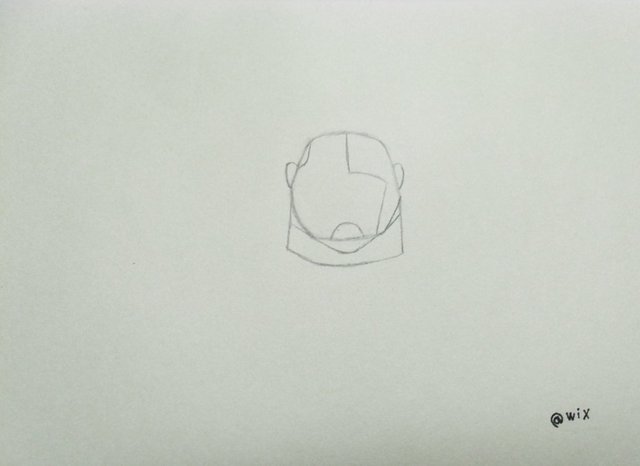
Then I add some of the lines on his face that are the separation of the flesh and metal.
Next I draw his eyes, nose, mouth, eye brows, and chin.
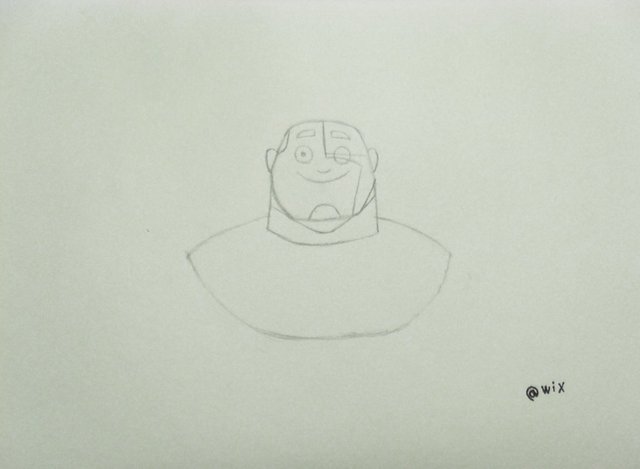
Next I start forming his torso.
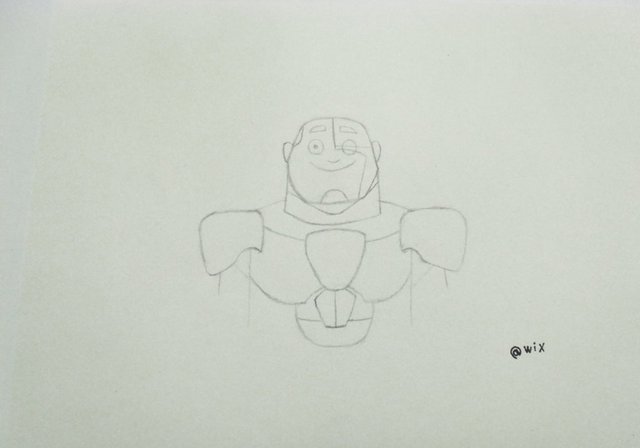
Next I draw his shoulders, upper arms, and lower torso.

Next I put the lines for his chest and abdomen.
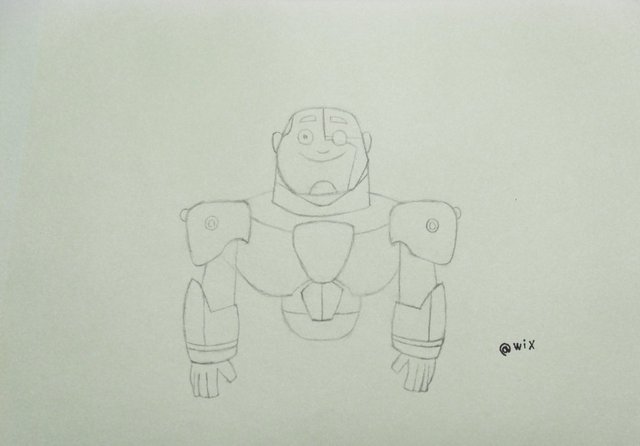
Next I do his hands (they were pretty tricky but I think I got it)
Next I draw his legs and feet. At this point i'm finished with the sketch and ready to start using the black pen.
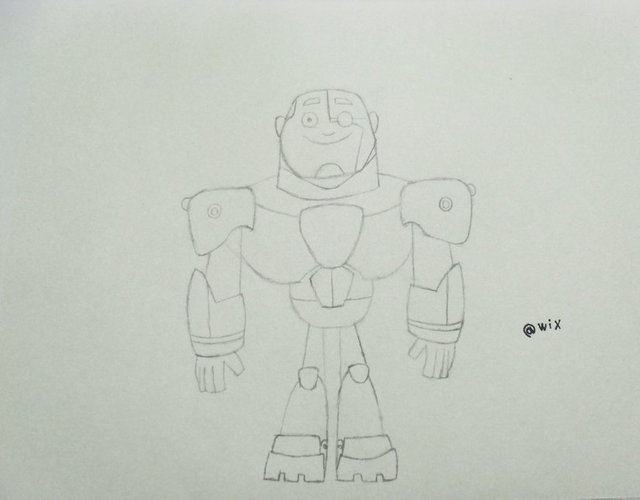
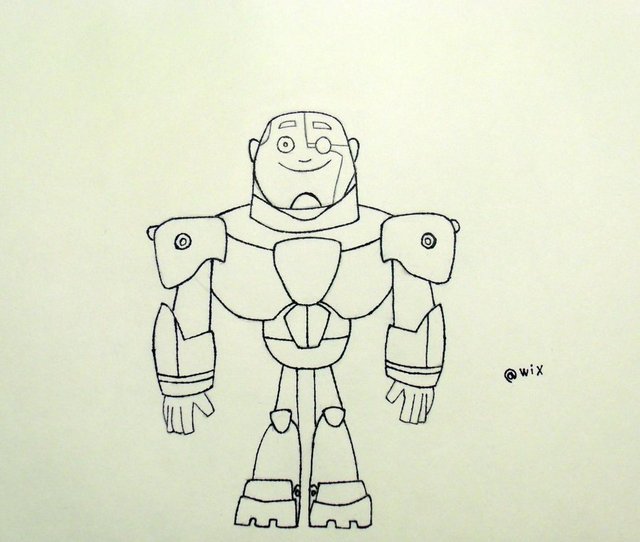
Now I trace over all of the lines I did with pencil with the black sharpie pen.
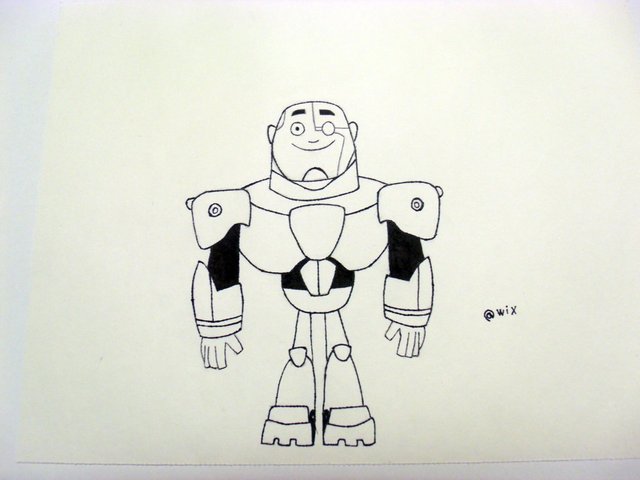
Next I fill in every thing that needs to be black with the same black sharpie pen. *note* I missed his legs and didn't notice it unil later step.
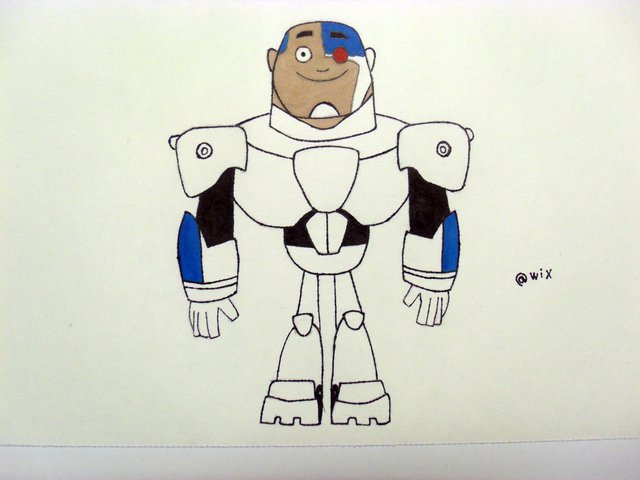
Next I color his robotic eye red and the other robot circuit board parts blue.
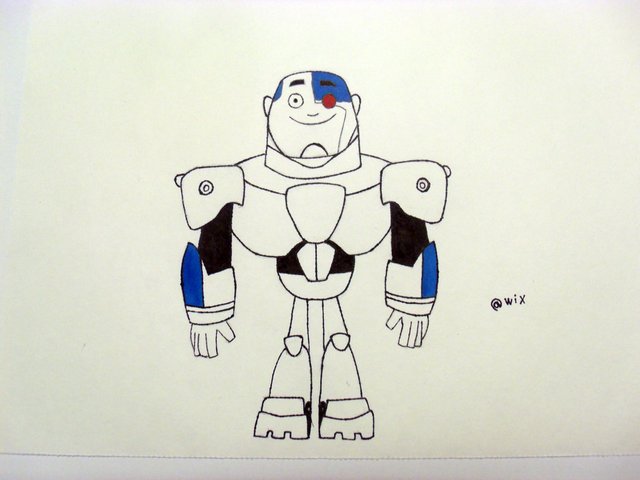
Next I color the very little skin that he has.
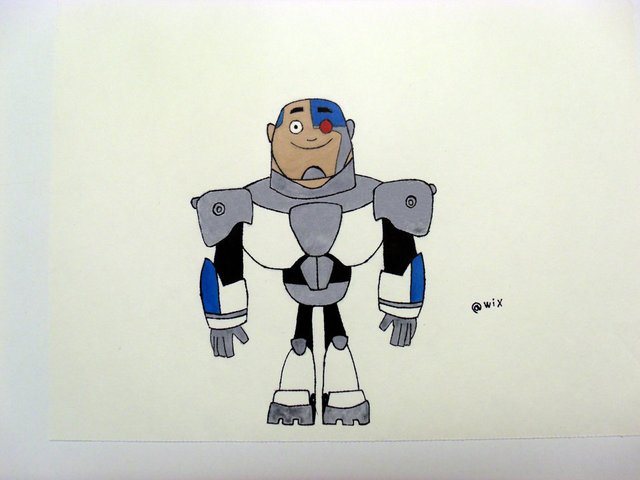
And last step is coloring the metal parts grey. Unfortunately my marker started giving out half way through coloring. Lesson here is don't buy the cheap copic markers.. Just pay the extra couple dollars to get the good ones..

Doing a gif was a little tricky because each pic was taken at different angles but I tried

If you enjoyed my content then

for new content daily
Thank you.
That Cyborg is cute.
Thanks :)
@wix got you a 4.21% @minnowbooster upvote, nice!
Want a boost? Click here to read more!
Thanks
very nicely shown step by step...!!
good one...!
Thanks! Tried pretty hard on this
You did good <3
<3
This post has received a 0.39 % upvote from @booster thanks to: @wix.
You received a 3.00 Upvote from @worldclassplayer
STEEM ON