A Quick And Easy Guide To PC Cable Management. - PC Tech - Part 32. - So Many CABLES!
Most PC users won't care what the inside of there PC looks like. Others, like me, are obsessive when it comes to looks.

Although my current system I am still using is touching 5 years old now, with the few small upgrades I have done to it, it still serves me well for what I do.
Despite its age, I still like to make sure that the inside of the case is clean and free from dust. Because of the various upgrades I have done, most notably the Radeon RX580 GPU, a new 1050 watt PSU and a hot swap drive, the cable management is a bit shit for my liking, I thought I would put together a cable management guide while I had the system in bits to sort everything out inside. So if your PC looks like a spaghetti with wires everywhere, then this should help you make your system look so much better.

What You Need.
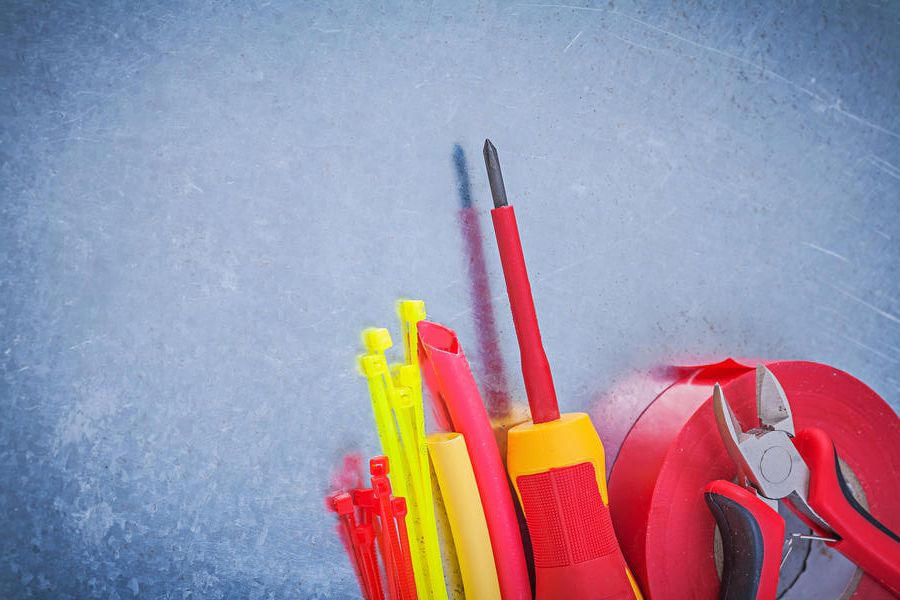
For those that are unsure about taking there PC apart, don't worry, you only need some basic hand tools to get started. Just make sure you take pictures at every stage so you know what goes where, PC's in general are idiot proof, but if you do have concerns or need help, join our Discord Channel and we should be able to help you out.
So the tools and bits that you will need are...
- Long Magnetic Head Phillips Screwdriver.
- Short Magnetic Head Phillips Screwdriver.
- Wire Snips (or scissors)
- Zip ties and/or Wire Ties.
Optional
- Magnetic Parts Tray
- Compressed Air Can (for dusty systems)

Tear Down.
So first things first, find a nice clean place where you can work. I didn't want to carry mine down stairs so I just placed it on the bed, using my desk to place all the cables and screws I needed.
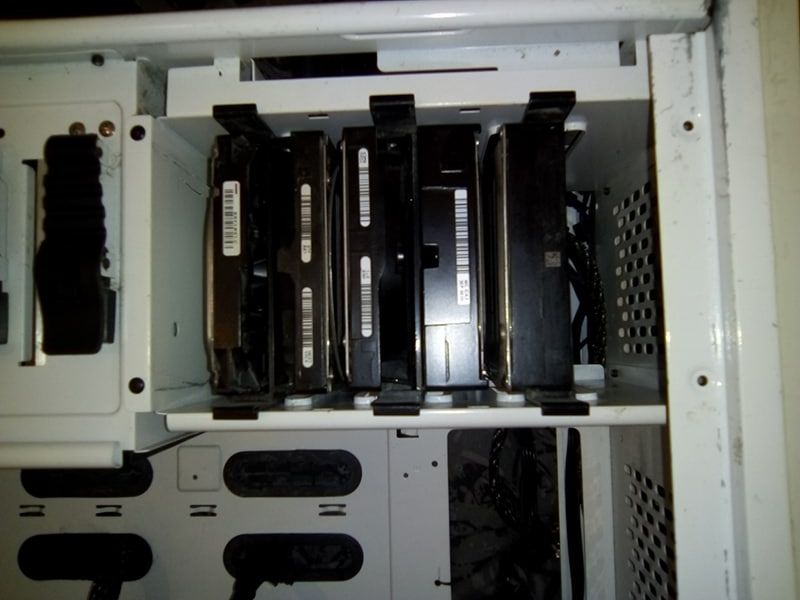
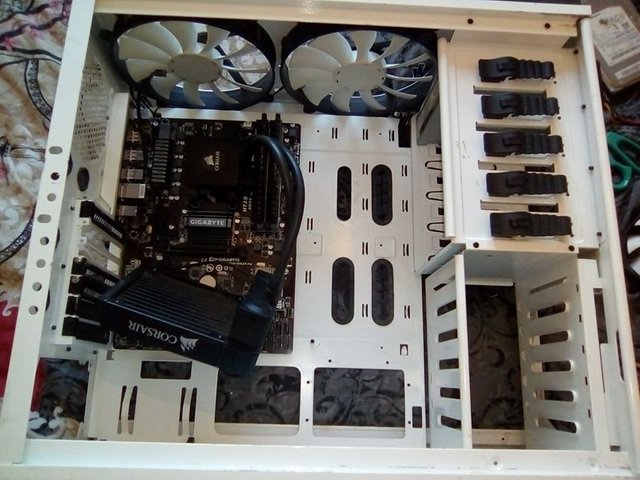
First things first, you do not want to damage any data on your system, so it is a good idea to unplug and remove the Drives first. Once they are safely to one side, you can basically unplug everything and remove everything. You don't really have to remove the motherboard of the tray, unless it is extremely filthy, so leave it on, and if you have a water cooling system, best leave it attached too unless you have spare thermal compound and are confident you can replace it.

Front I/O.
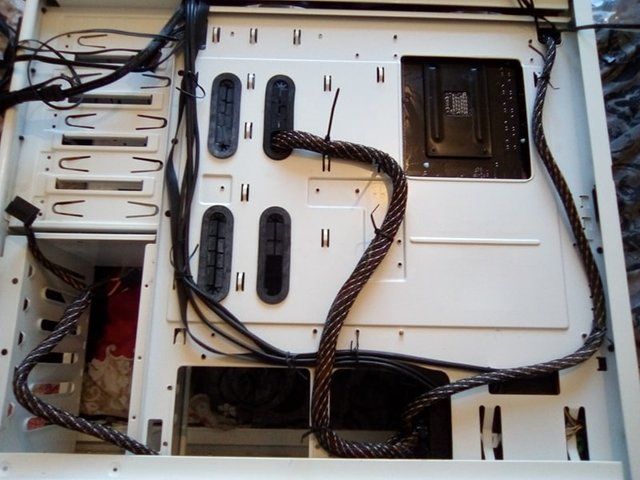
First place to start in any build or cable management would be the front I/O cables. This would be the cables for the power and reset switches, lights, USB and and any other ports on the case.
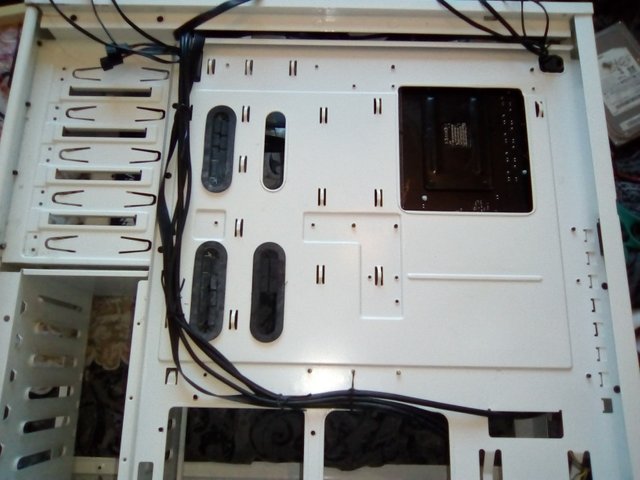
Find the best route for the cables along the back panel, making sure there is enough length available for them to plug into the board. Using the wire ties, loosely tie them down and plug them into the motherboard.

ATX and CPU Power.
This is the best time to put the power supply back in. some people like to plug everything into the power supply before they put it in, I believe that it is much easier to leave everything unplugged when putting it in, only ever plugging in cables as you go along. It just makes everything flow better.
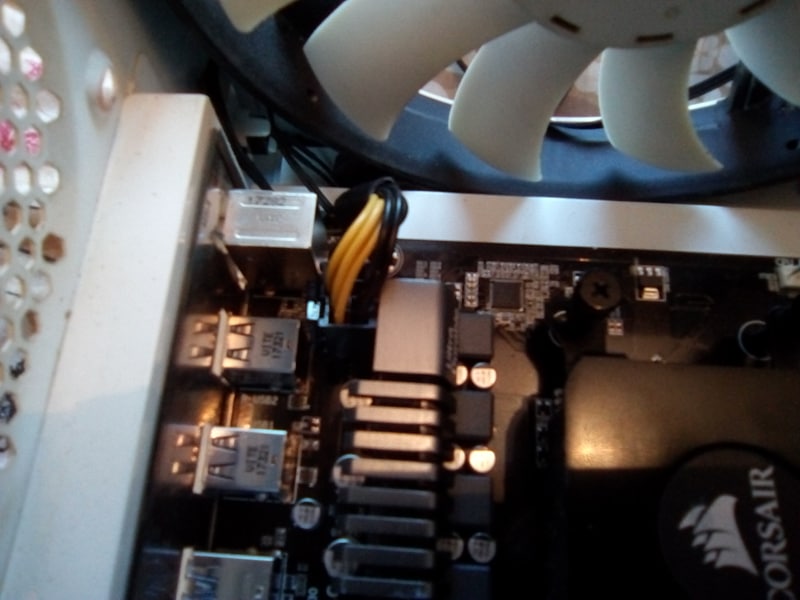
Now is the ideal time to plug in the power for the CPU, well it is for me as there will be no access to this if the AiO water cooler is put back in. run the cable up and out the top of the motherboard, making sure you loosely tie it down to the back of the tray. Do exactly the same thing with the 24pin ATX power.

PCIe Power.
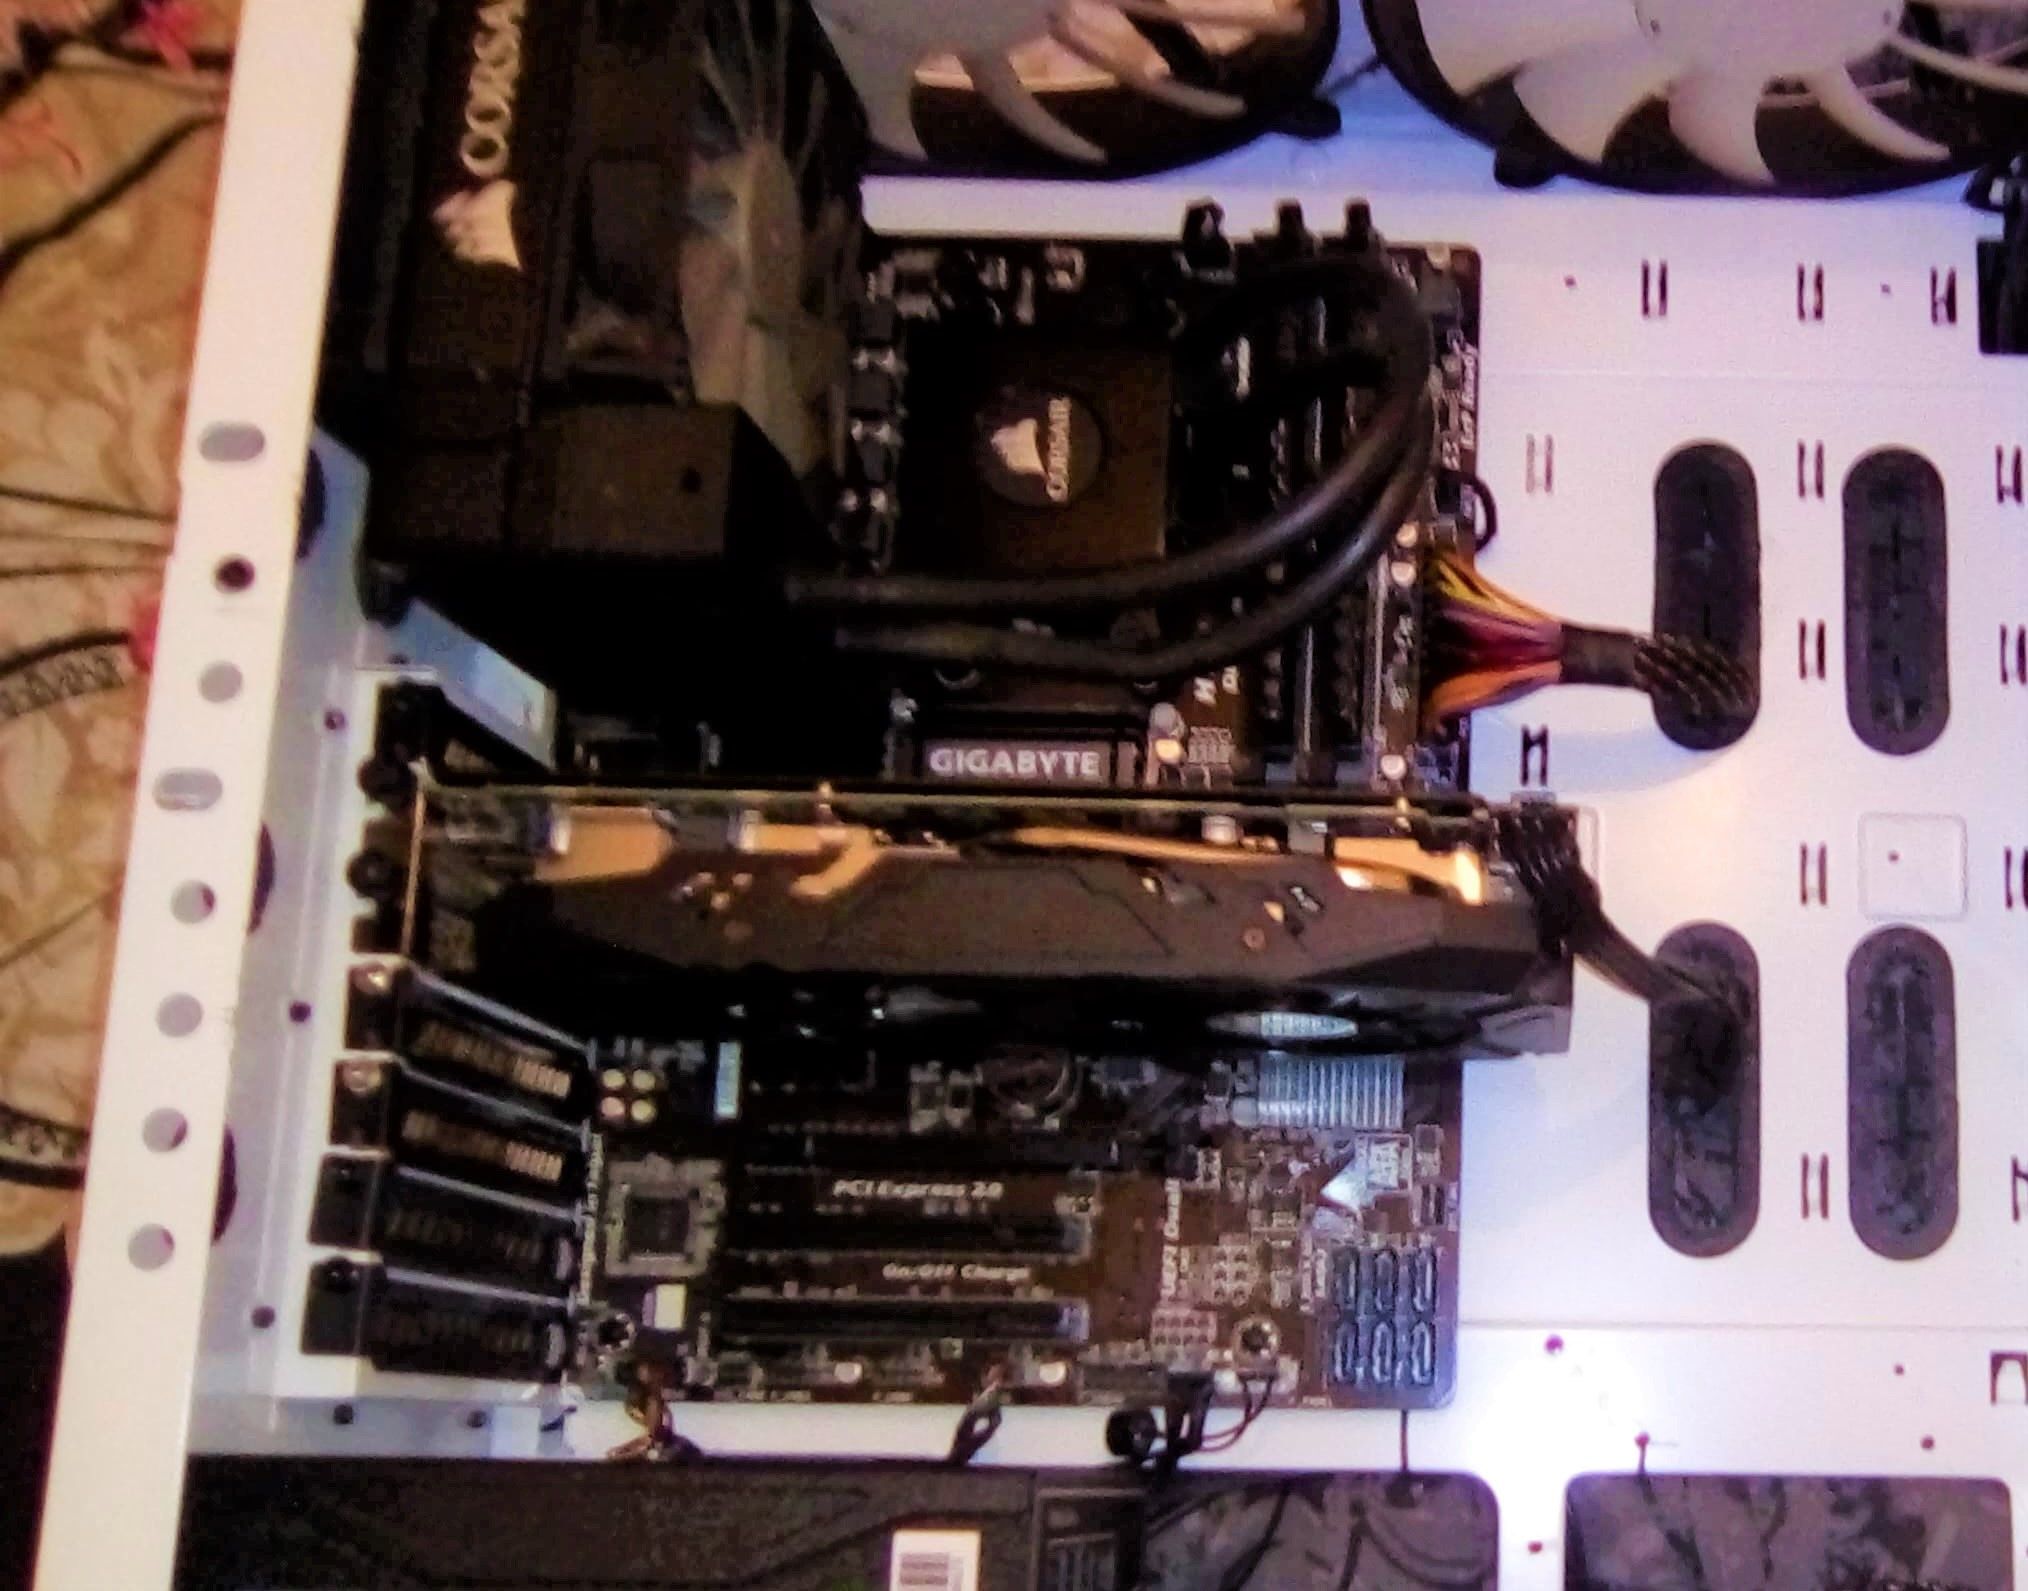
If you do have a discreet graphics card, now will be a good time to plug it back in and securely fix it in place with a case screw. Some graphics cards derive all the power they need directly through the PCIe lanes on the motherboard and don't require any external power. Others, like the RX 580 in this system, require an 8 pin, PCIe power in order for it to function as intended. Just like the other cables, run this neatly through into the back of the case, loosely fixing it with wire ties. If need be, you can start to bunch up multiple cables together. Just be mindful of how much room you have to work with, as real estate in the back of most cases is very limited. Try to keep the cables as flat as possible.

Fans and Cooling.
For workhorse systems, such as this one, cooling is paramount as the system will get hot when under load. Fortunately, this case comes complete with a fan controller that can be controlled on the front panel.
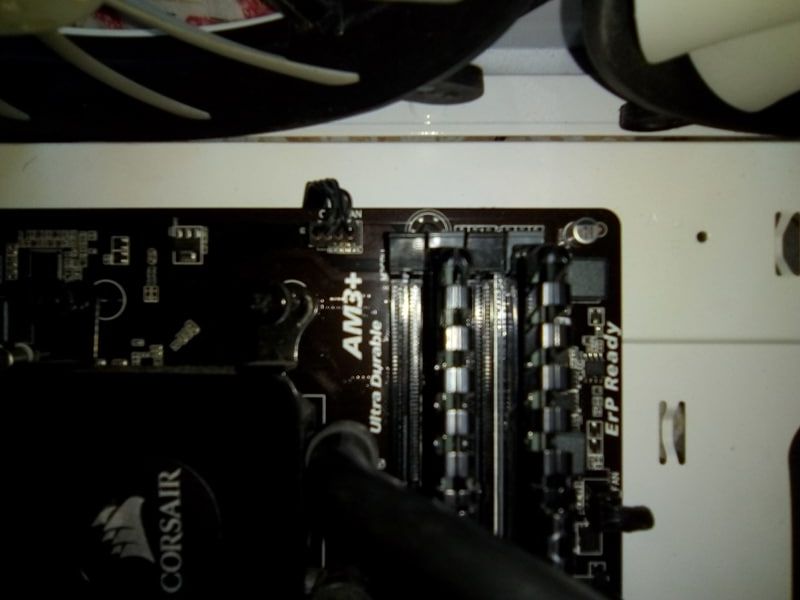
Start by fixing the fans back to the case, being mindful of the orientation. Rule of thumb is the side with no arms holding the propeller blows through. If you have an AiO water cooler such as the one I have and one that requires connections to the motherboard, you can use the space behind the board to route and hide cables to keep them out of sight. Other fans that need PSU power. Just run the cables from the fans as far as they will go to where they need power, then route the power towards them. Leaving any excess near the power supply. Also bunch up cables with others to make it look neater.

Drive Power and SATA Cables.
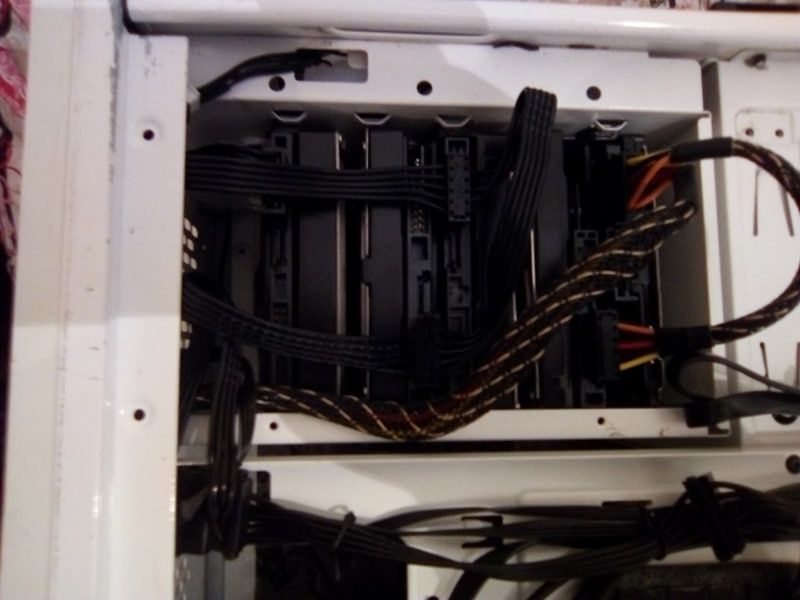
For most people, this part is fairly easy as most of you will be running 2 drives at most. Me on the other hand have 5 fixed drives and a hot swap drive to wire up so cabling can start to get messy if you are not careful.
Route the power cables for the drives first. I do this because, if there is ever a problem with the drives, gaining access to the SATA cable is much easier. In most cases, you can get away with running the power cables along the base of the case, but use your own judgement, loosely tie down the cables as you go.
The SATA cables come next, unlike the power cables, these carry the data too and from the drives and are more fragile so be careful. Plug the cables into the drives first, then thread them through to the front of the case, plugging them into the motherboard. Make sure the drive that contains the operating system is plugged into the '0' port, then the D: into port '1' and so on. The ports are listed 0 – 5 or 0 – 7 depending on the motherboard you have, but rule of thumb is the main drive is put into port '0'. bunch these cables together and tie them down.

Finalize.
Plug power into the PC and briefly turn it on to make sure the system POST's and you haven't fucked anything up. If all is well, unplug and finish off.
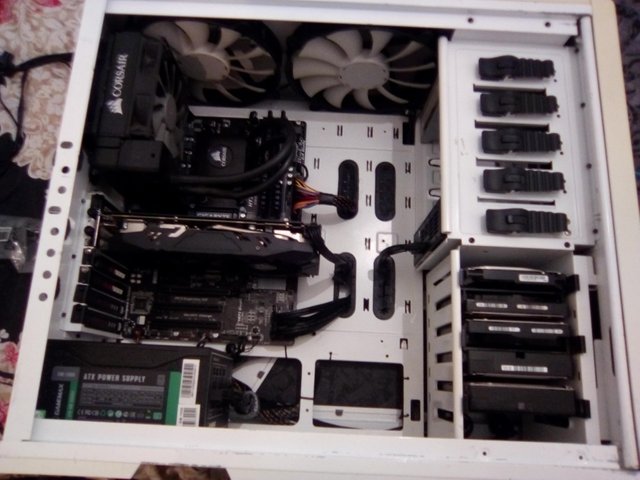
Now you will need to adjust any cables that need it, fixing them down tightly with either the wire ties, zip ties or Velcro ties. After you take a look at your handy work. Get the back panel and hide it. Place the other panel back, and plug your system in.
now you have a computer that is both great looking and something to show off. Above all though. Easy to maintain.


As I have stated. If you are having any difficulties with this and need some help, need advice or have a general question. Head over to the TechMojo Discord Channel and myself, a member of my team or the community will be able to help.
Thanks for reading.

Make Steemit Work For You! Join SmartSteem NOW!... Click HERE to Find Out More!
Don't Forget to Upvote, ReSteem and Follow for more content like this!

Stu @TechMojo
Join the chat TechMojo Discord Channel Follow us TechMojo OnG Social Page Like us TechMojo Facebook Page Follow us TechMojo Twitter
@TechMojo Recommended Blogs you should follow.
@Deeviras @Gaming-Stuff @retro-room @gamesociety @Rerez @C0ff33a @Free999Enigma @deadspace @TechBlogger @GeekClub @XR-HammerGaming @tygergamer If you want to apper here, then contact us via our Discord Channel!
Like this Content? Why Not Donate Then.
Bitcoin Wallet Address. 1L8TZDQasoBU2RNcjkSeZX3iUsSaHT37aj Ethereum Wallet Address. 0xe3c6372121554f73c38acae3312fc7b1ddaf670f
Just put all my guts in this case with a new cooling system. I spent the time to rig the cables decently though not perfect.
to be fair. it is better than most. at least you put in the effort to make the 'guts' look as good as they can with what you've got. nice job.
Well, if you have a good PC case then cable management is really easy. Otherwise it's a very daunting task.
Cable management is an essential aspect of maintaining a neat and organized PC setup, which not only looks aesthetically pleasing but also enhances the overall functionality of the system. The topic ""A Quick and Easy Guide to PC Cable Management"" sounds promising for those who are new to PC building or looking for some quick tips to improve their cable management skills.
In terms of the website, I advise checking out cable management for their products and information related to cable management. Based on my analysis, it seems like a reliable source, and the website has a good collection of products and helpful resources related to cable management. However, I recommend doing your own research and reading reviews before making a purchase.