SIZ TUTORIALS | Adobe Photoshop | Part 02 | 20% Beneficiary to @siz-official by s-m-mubashir
INTRODUCTION
I did only one tutorial up till now and this post will conclude my second one and I will keep on doing tutorials as much as I can to tell you to know Adobe Photoshop and help you get familiar with it. In today's tutorial, I would be telling you about Vibrance and Saturation, I had already covered and given an idea of what Saturation is, but Saturation is also used alongside Vibrance. Let me tell you step-by-step how to use these two tools of Photoshop.
.jpg)
Source
STEP 01
First of all, what are vibrance and saturation? Both of them are used to increase the intensity of an image or a picture, but there is a slight difference between the two. Vibrance increases the intensity of only the muted or dull areas of an image, it helps improve the color of different objects and also helps give the image a natural look.
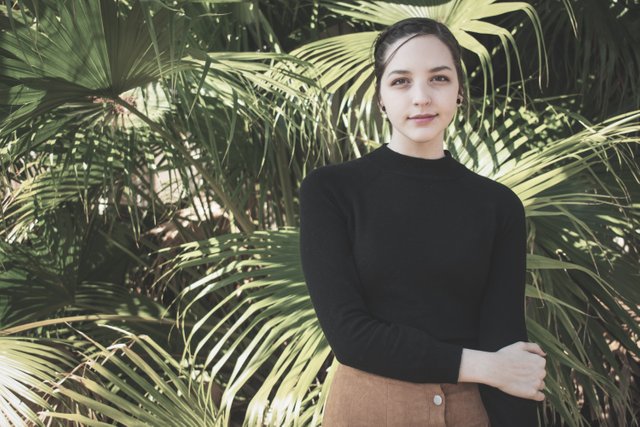
Firstly, you have to select an image to work on, I have selected the following one:

STEP 02
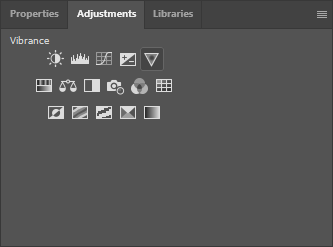
Then you have to go to your Adjustments panel and look for an inverted triangle, it is the option of Vibrance.
STEP 03
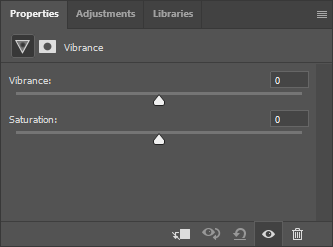
It opens up the panel that has two options: Vibrance and Saturation.
STEP 04
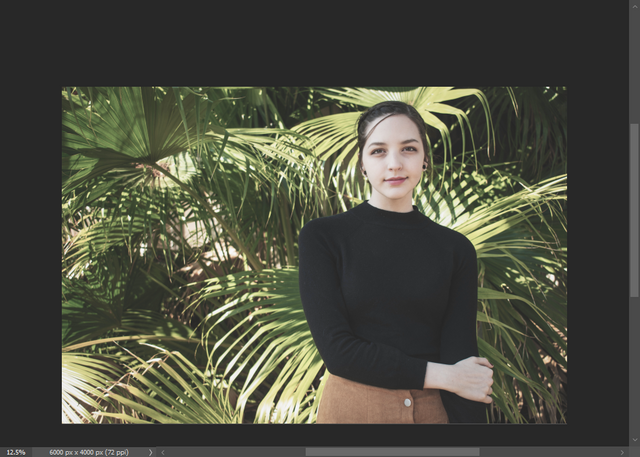
Increase the Vibrance a little bit and you will notice the color of the skin and the leaves changing and getting better. I did it +50 but you do the number which you think is looking best.
STEP 05
Even though the colors have improved but still they don't look natural. Well, to achieve the perfect colors for our image, the last step we have to do is increase the Saturation a little. I did it +70 and it looks absolutely perfect.

Amazing ain't it? It looks realistic and natural. Just remember not to overdo the vibrance and saturation!
CONCLUSION
This was the second tutorial of Adobe Photoshop, there are more ahead and I will keep posting them. Thank you for going through this tutorial and I hope it helped! Take care of yourself and stay optimistic!
Thanks to the admins and moderators of this community:
@cryptokraze
@siz-official
@vvarishayy
@farhan-nabeel
@suboohi
You can delegate your SP to @siz-official and take benefit of our Delegation Rewards Offer of getting up to 200% Curation Rewards
You can also use these quick delegation links. Just click on your desired amount of SP you want to delegate and it will be done in process of 1 minute.
50 100 200 300 400 500 1000
2000 3000 4000 5000 10000


Good post dear friend you make a very good post. Keep it up bro and keep learn with our steem fellows and friends.
Regards, Faran Nabeel