Made in the Shade - Part 1
I've been busy with other stuff lately so the DIY activity has taken a bit of a pause. Over the last week I did have a little project come across the workbench, so I thought I'd share here. Having shades on my windows is always something that I took for granted. Then I moved into this house, which seems like it hasn't really been used for quite some time. I know a retirement age couple were living here, but I don't believe any children were living with them. Well, as soon as we started using stuff, even though it all looked really nice when we moved in, things started to fall apart. The blinds were a big failure point. Some windows didn't have any shades at all, and I think this is why. They just left the bad ones off and threw a coat of paint on everything.
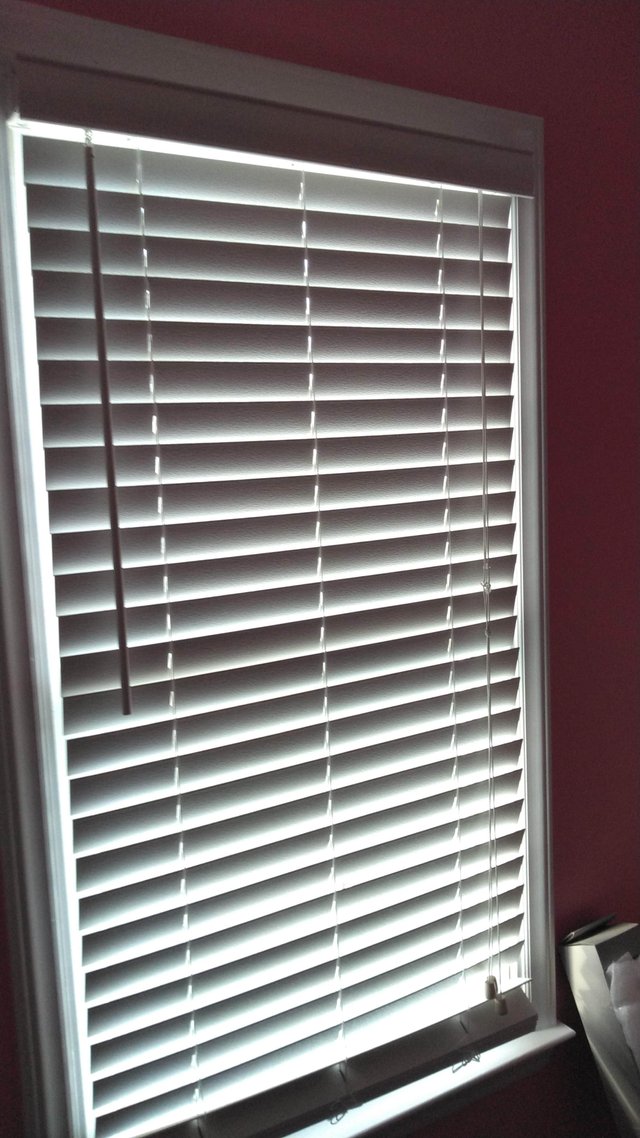
The above blind looks pretty good right? Well, there's a small problem. There are little nylon plastic pieces inside there that the strings roll over to articulate the fins up and down when you're opening and closing the blinds. Over time they become embrittled from I assume UV exposure.
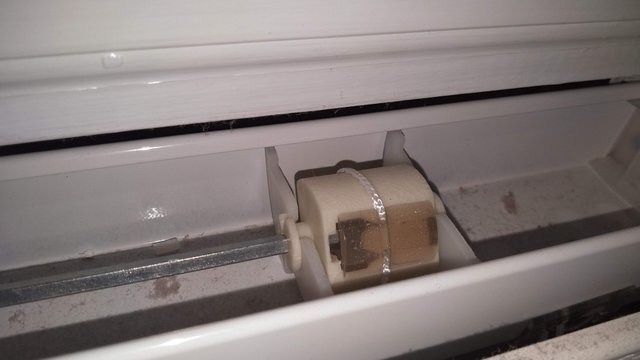
Above is one that's still intact, but when they fail they just disintegrate and there's really no fixing these as far as I can tell. Time for some new shades for these windows!
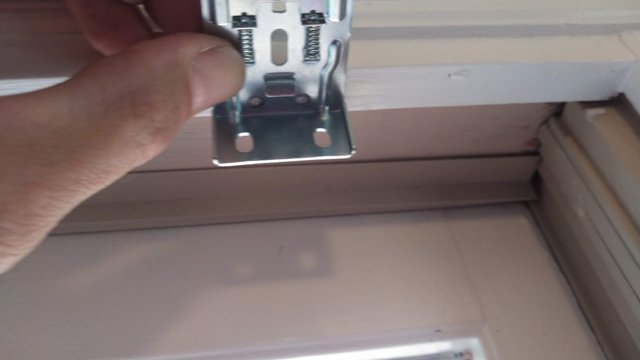
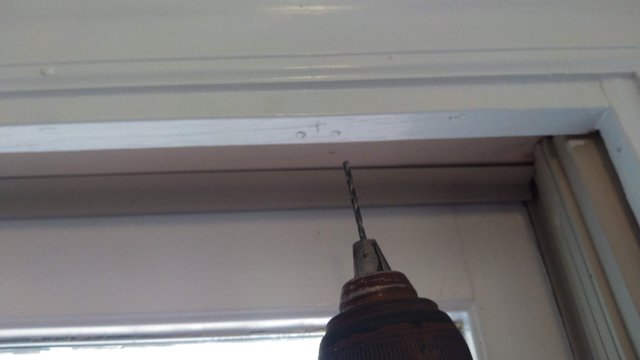
Here I am marking the hole positions for the brackets and drilling them. This was the only place on the window or frame these could be mounted, so I had to be very careful not to split the thin piece of trim. The pilot holes being drilled helps prevent that.
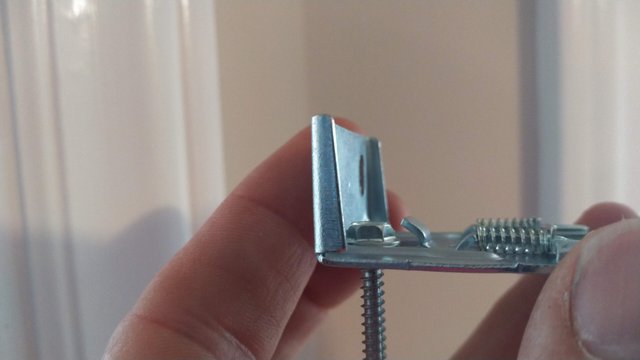
First bit of trouble I ran into was with the hardware provided by the manufacturer. Now if I was screwing these into the wall, the included screws would work fine because they would be in the holes on the surface perpendicular to this. As it sat here, the screw heads were too proud of the bracket and interfered with that little tab, which is what holds the blind in place, so I had to come up with an alternative solution.
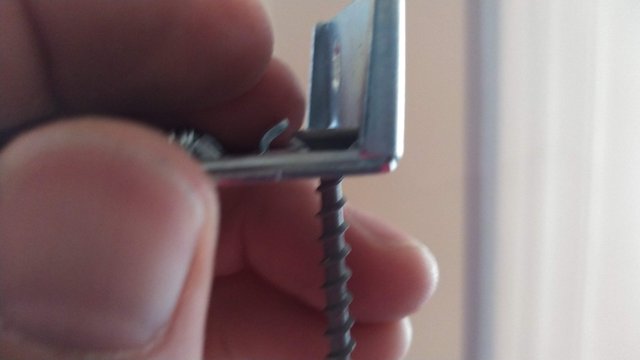
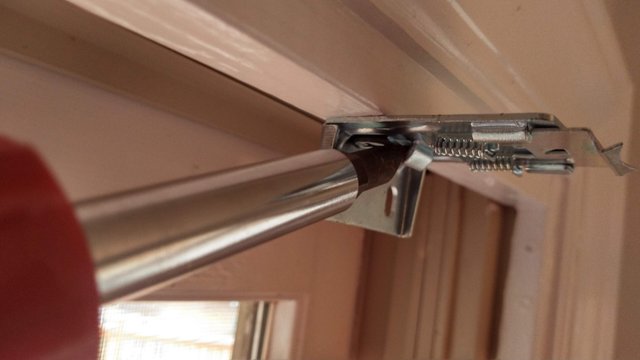
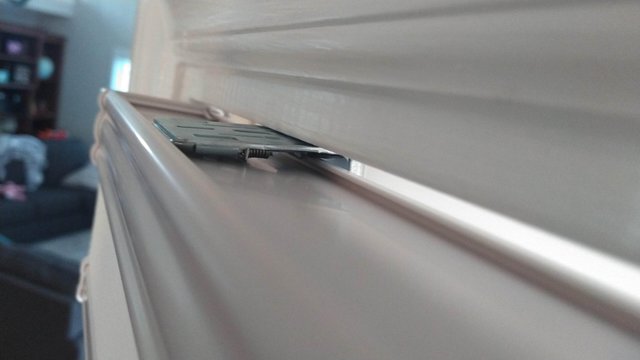
The best I could come up with was these drywall screws. They still interfere with the tab, but between torquing them down enough to sort of countersink the hole a bit, combined with a little tweak with a flathead screwdriver to open up the tab a bit, the blind snapped into place nicely.
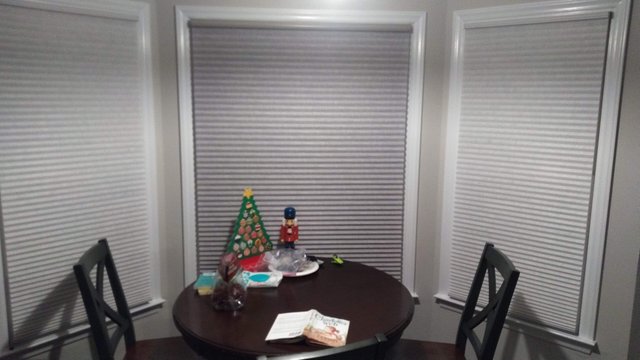
Here they are all hung up on these bay windows. Now we can sit here at night and have a little bit of privacy. These will also come in handy in the mornings during the summer because this is on the east side of the house. It got awful hot in this part of the house at the end of the summer, even with the AC on, which is not to mention the fact that if you want to sit there in the morning, it will blind you with direct sunlight right in your eyes.
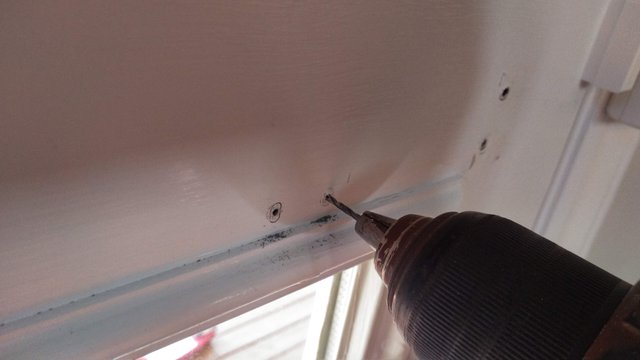
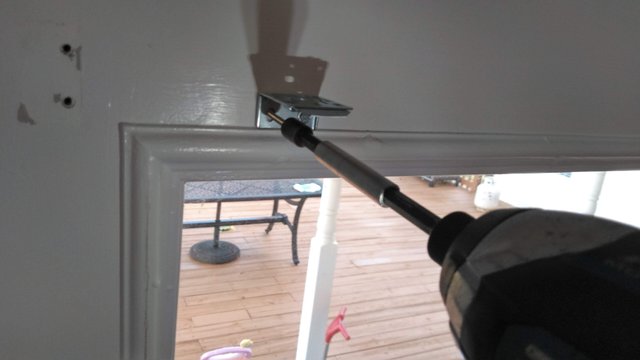
Last shade for the downstairs was for the door. It had one of the dreaded blind failures simply by our kids roughly opening and closing the door too roughly. The door is metal, so these pilot holes help here as well. It makes it so you can precisely locate the holes and so the sheet metal doesn't noticeably deform. Another problem with the hardware here, the provided screws were long enough that they would poke all the way through the other side of the door, so I had to track some down that were shorter.
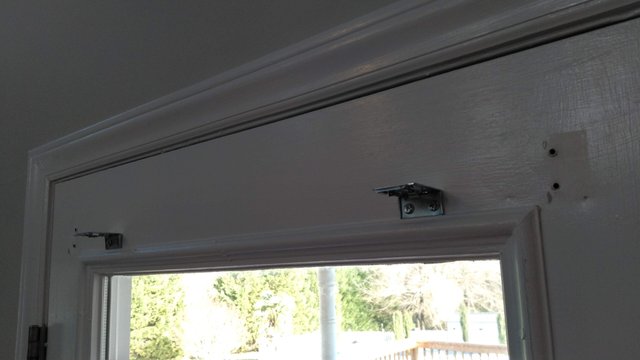
Those exposed holes from the old blinds are pretty nasty looking. Luckily the new ones cover them completely.
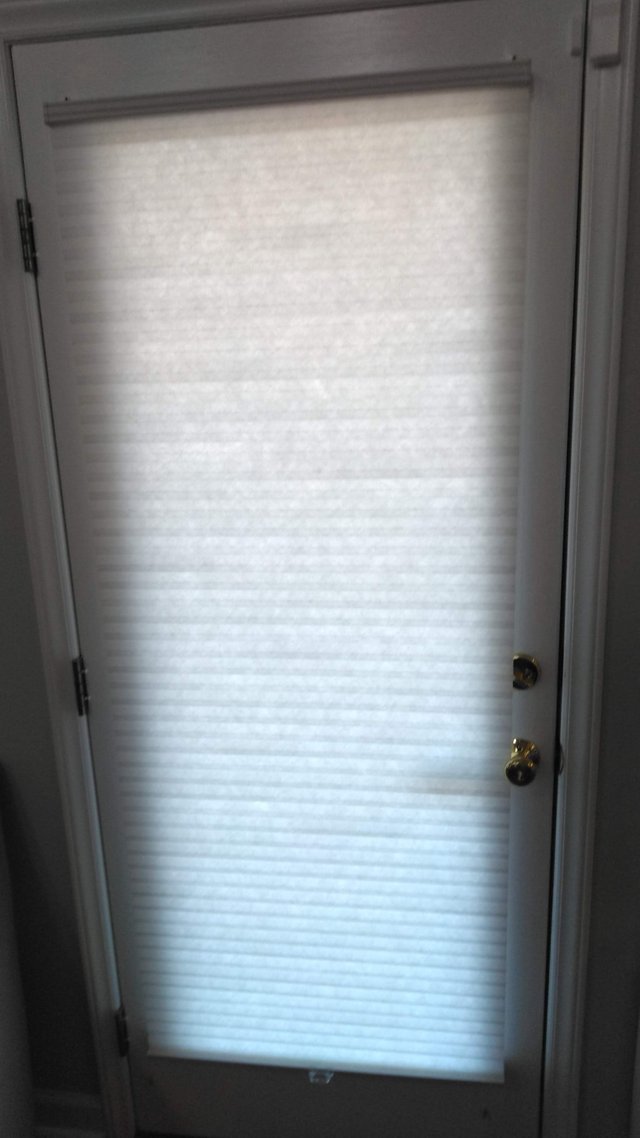
This door is on the same wall as the bay windows, so same applies here. No sun in the morning when we don't want the heat, although we leave them all open in the morning these days. It's been in the high 20's and low 30's every night lately, so it's feeling a bit chilly in the house when we wake up. All done! One last thing for this area though.
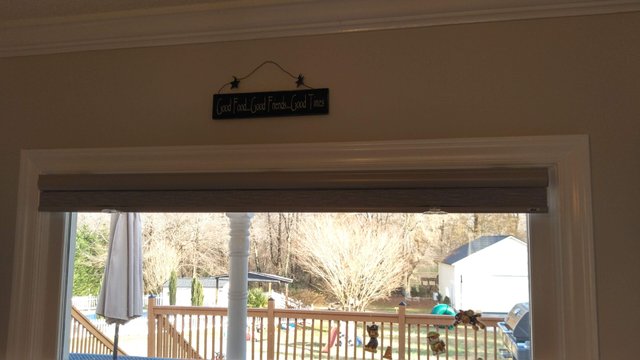
A nice little sign above the bay window to gently remind us of why we make a home in the first place. Good Food, Good Friends, Good Times: Thanks to our old neighbors in California for this one ;). I had some curtains to hang still after these, but the post was getting a bit long, so I'll show those in part 2. Until next time, Steem On!
Congratulations! Your post has been selected as a daily Steemit truffle! It is listed on rank 8 of all contributions awarded today. You can find the TOP DAILY TRUFFLE PICKS HERE.
I upvoted your contribution because to my mind your post is at least 5 SBD worth and should receive 225 votes. It's now up to the lovely Steemit community to make this come true.
I am
TrufflePig, an Artificial Intelligence Bot that helps minnows and content curators using Machine Learning. If you are curious how I select content, you can find an explanation here!Have a nice day and sincerely yours,

TrufflePigHi randr10,
Visit curiesteem.com or join the Curie Discord community to learn more.
Well done! When my mom moved into a new apartment we also needed to install new shades. We are however not that handy, so we had to call a company to do it. I wish we had someone like you who can do this kind of stuff ;)
Thank you for sharing and have a lovely day!
Thanks for the comment. Yes it seems that the handy husband is a dying breed based on the comments I'm receiving. My father was a professional carpenter and taught me quite a bit about the trades, so my level of knowledge in this area might be uncommon. I think a determined person could learn these skills without that though. It just takes time to study and practice like any other skills. For those who aren't so inclined, probably best to leave it to the pros. Anyway, glad you enjoyed it. You have a nice day too.
hi dear @randr10, I very much envy people like you who have golden hands and can do a lot of things !!
congratulations for your work and for the curie vote ;-))
Alas my dear I may be able to do a lot of things, but there are limits to everything, my abilities included. I'm glad that you can find the value in what I do though. Thanks for the kind words ;).
you are a very handy - man
Thank you for using our recommended tags. This post has been manually rewarded with BUILD tokens in the form of an upvote. You can buy, stake, and exchange our "BUILD" tokens for steem on steem engine or SteemLeo
Build-it is a central hub for DIY and How-To projects. It's an opportunity to find and share the latest in DIY, and How-To tutorials. The recommended tags required when creating a DIY article are #diy, #build-it. #how-to, or #doityourself. Please read our guide
Chat with us on our discord and telegram channels Discord, Telegram. Are we adding value ? your witness vote will be appreciated! Click here to vote
Twitter link https://twitter.com/RandR10/status/1205332137844580352 #posh
Congratulations @randr10! You have completed the following achievement on the Steem blockchain and have been rewarded with new badge(s) :
You can view your badges on your Steem Board and compare to others on the Steem Ranking
If you no longer want to receive notifications, reply to this comment with the word
STOPVote for @Steemitboard as a witness to get one more award and increased upvotes!