SLC21W6 | Basic pattern for men's trousers
It's time to make for myself a trouser I really appreciate this course, and thanks to @lunasilver for organising this, a full package has been delivered, and we are looking at more.
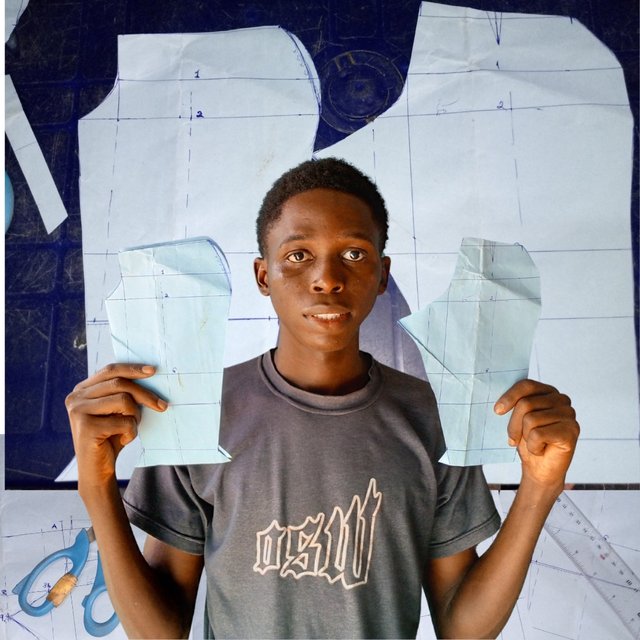
After reading through, I decided to write the steps I used in making my trousers; it wasn't that easy getting those points.
FRONT PATTERN FORMATION |
|---|
I folded my fabric from the wrong part or back part, so I can mark my fabric freely. I get my measurements prepared, and they are waist = 34, hip = 36, thigh/lap = 23, length = 40, calf = 16, heim = 14. With this measurement, I can make the cut on real material, not on the cardboard because of its inability to contain such lengthy inches.
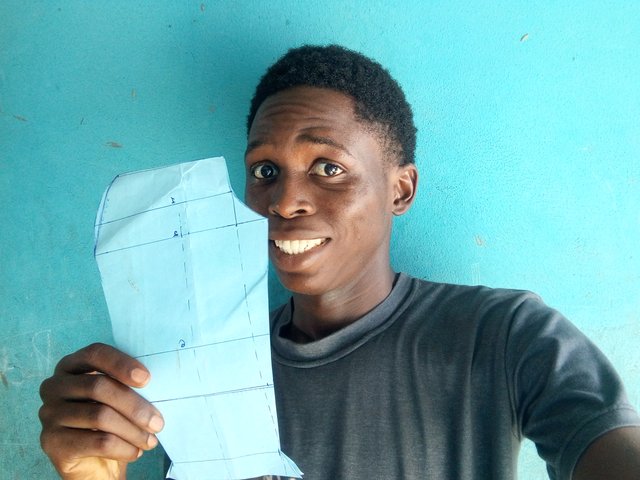
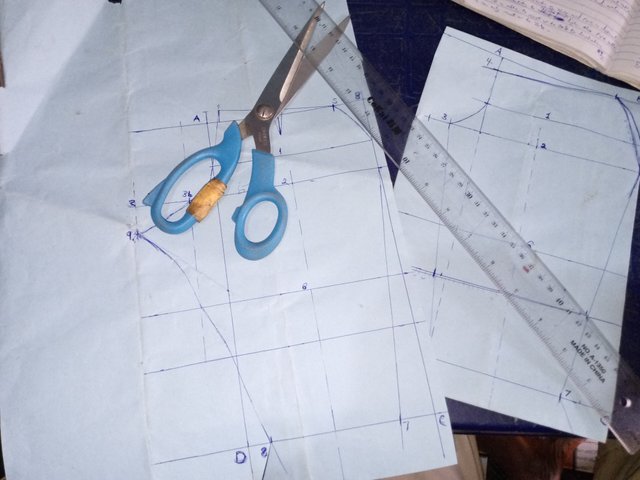
- I draw a straight line from the point I assumed to be my waist measurement and trace it down my measured trouser length, crouch length, calf length, and entire length; this is the basic length needed, and these are gotten orderly.
- To get my crouch length, I will divide my hip measurement by 4; that is, 36 / 4 = 9 inches. I will measure from AD 9 inches, mark it, and trace it down to BC. The next line drawn from the waist to the knee is 22 inches after measurements, so after marking the point on both sides, I trace it down to align.
- Remember I will be using my original for a clearer understanding while the draft measurement will only be a description.
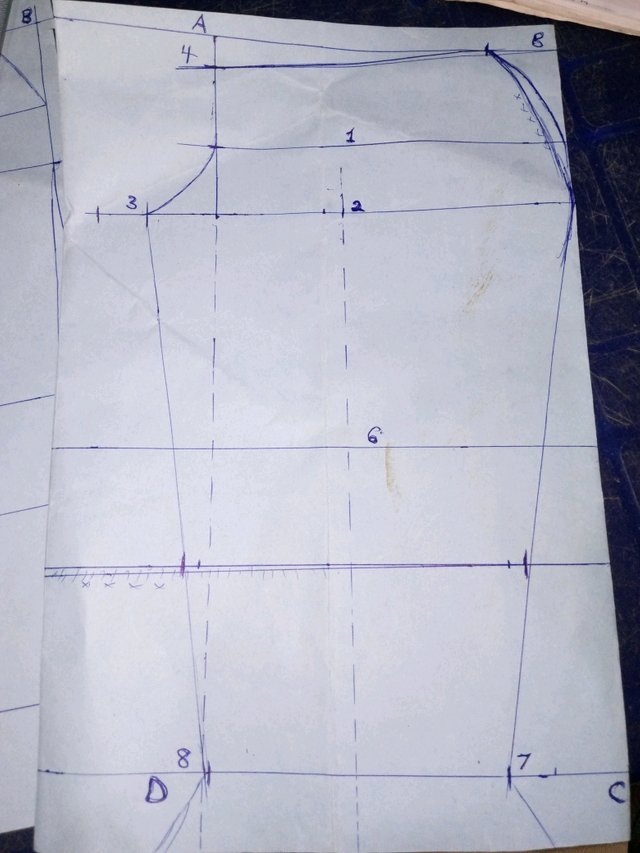
- The next is my calf, which is 4.5 inches from the knee region down; I trace it down to the opposite sides, and I then insert my length measurement of 40 inches on the fabric plus an extra inch for sewing allowance. Remember, A-B is the waist measurement divided by 4 plus an extra 1 inch; this is one of the first measurements marked.
- A crouch extension is the next point to be marked, and that is done by dividing our lap measurement by 2 plus an inch, or half that is 23 / 2 = 1.5 + 0.5 = 12 inches.
- In order to make my slant from the point of extension to the point where the waist measurement starts, pick the measurement and make the same measurement vertically from the line of extension to the top and make your curve.
- You need a centre line that will pass through all the lines drawn, and this is done by dividing the points line marked 2 and 3 by two; the centre is where you will make your line.
 |  |
|---|
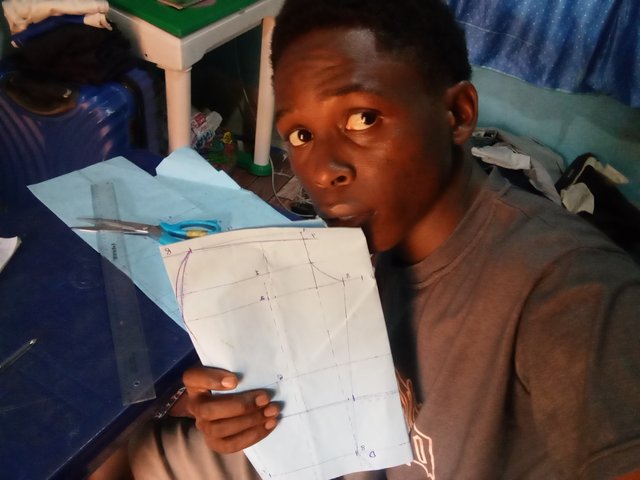
- The last measurement can be done by calculating 15% of line two measurements, but in some cases you can change that.
- How I did my mine was dividing my hem by 2, which is equal to 7, then placing it in my centre line and marking the measurement on both sides; this measurement is done in the last line.
- The next step is dividing the calf measurement by 2 and then placing it in the centre line that divides it into 2; after that, you can now trace all the points vertically to cross-link using your French curve.
BACK PATTERN FORMATION |
|---|
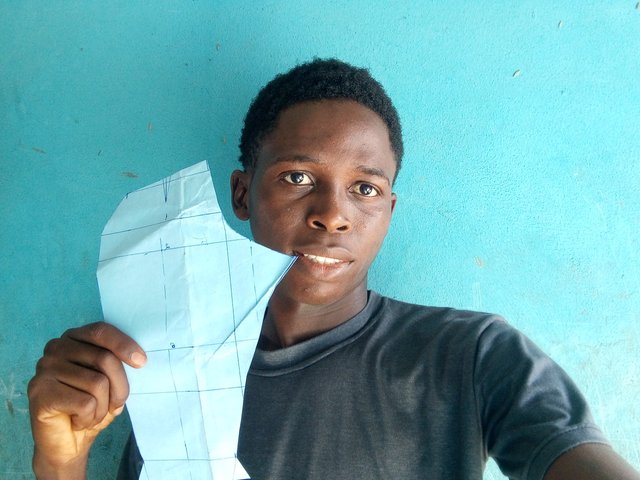
- The back pattern is similar to the front pattern; in marking, the only difference is that here the crouch extension is much more, and also the waist slantiness is different.
- To make your extension we multiply the 3.2 gotten from the front part crouch extension by 3 and then trace from point 1 out, making it 9.6cm
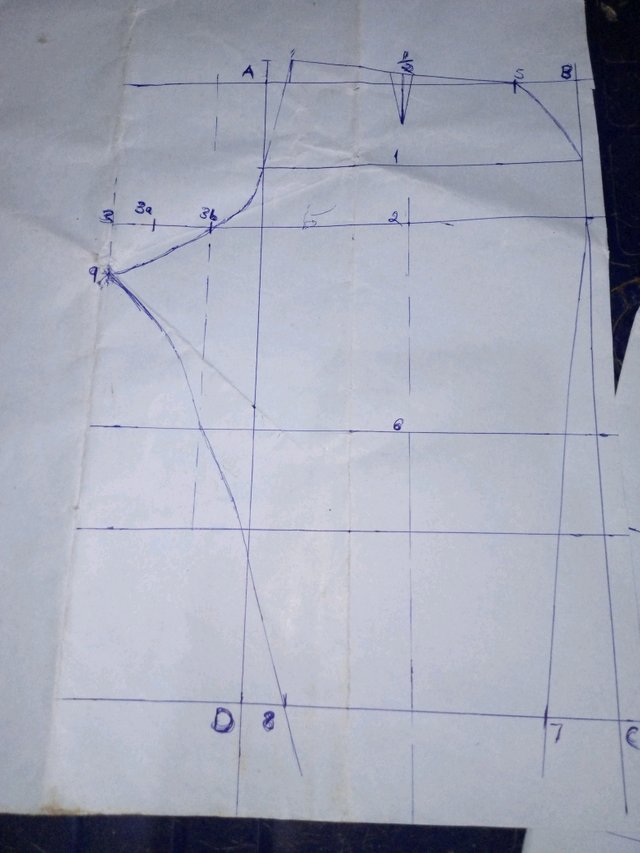
- For the waist slantiness, which slants from point A down to B, shifting A inside by 2 cm takes it up by 2 cm as well, and mark the points as point 4.
- For point 5, I measured 1/4 of the waist measurement and then added 2 cm additional to it. I can then make my traces the same way I traced down from the crouch extension to the last length in the front pattern, and my trouser cut is now ready.
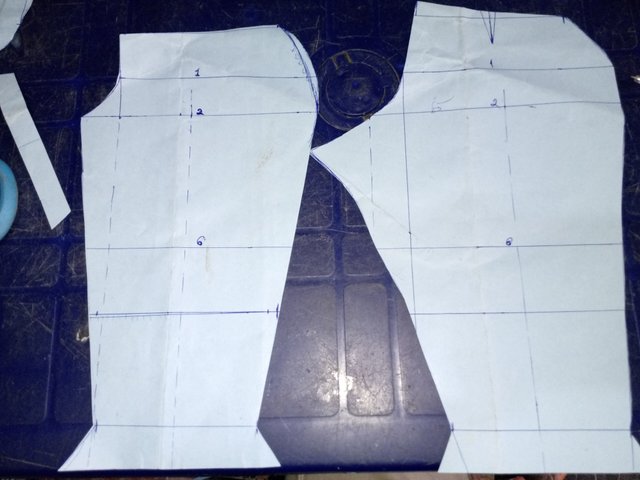
BOTH PATTERN
BOTH PATTERN
I would love to see entries from @bossj23 @ninapenda @okere-blessing in this contest
Upvoted! Thank you for supporting witness @jswit.
X promotion link
https://x.com/nsijoro/status/1865815556294869156?t=IBh9ZwJiw1fotdPRiSAkMA&s=19