My New Artwork - Pencil On Paper
Looking back to see how far I have gone drawing with pencil, I realized I have improved - it might not be so much but every little progress counts.
My goal with every new piece I start is to do better than my previous ones. So I try to give my all, exercise patience, persevere and discover new things. I also try to use another style because every new piece brings with it a new challenge.
Immediately I was done with my previous pencil portrait drawing (even before I framed it), I commenced this one. The work lasted for over a week. I knew it would be challenging more especially because the picture I used was faint. But that didn't stop me from getting what I wanted achieve. I know I have a lot to improve; I'm still working on it diligently.
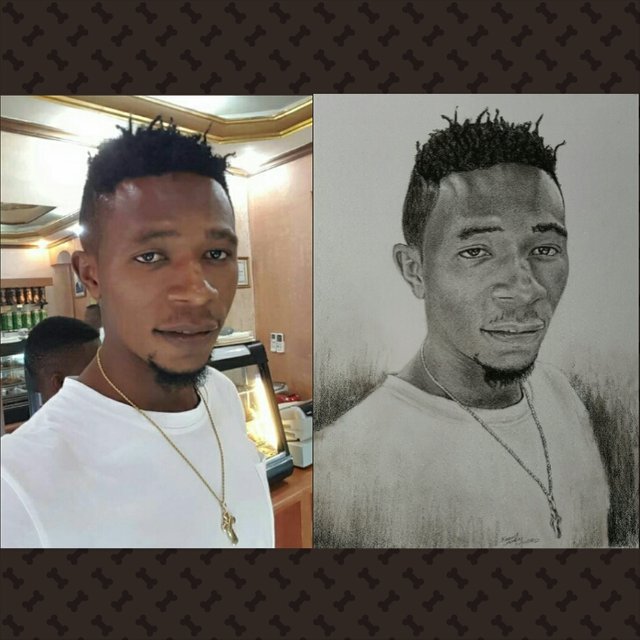
Reference photo Vs Artwork
I used a combination of charcoal and graphite pencils to create this piece on a middle point paper.
Below are thorough explanation of my processes
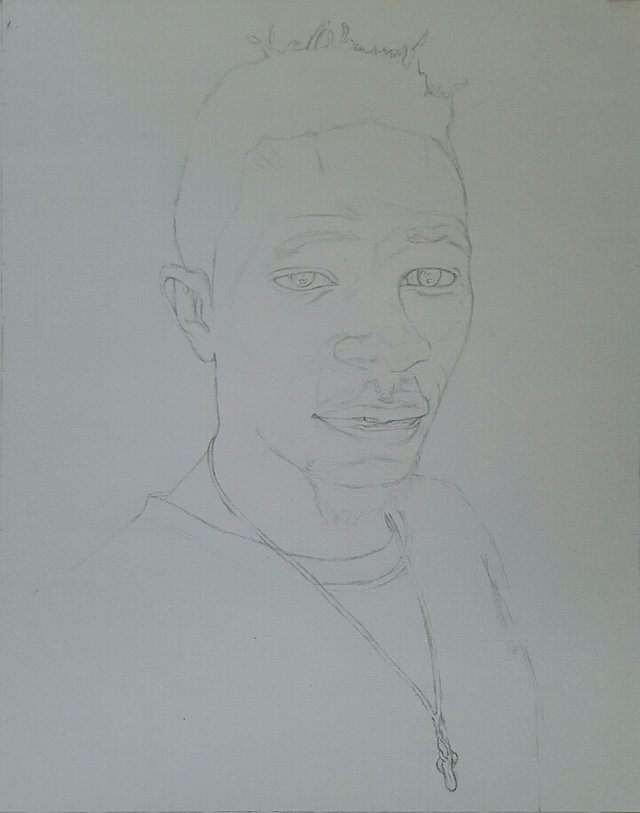
Step 1
Outline sketching: This is the first stage. I sketched out my model using grid lines. This is for accuracy. After sketching, I cross-checked the work by comparing my sketched work with the reference photo to see if there is an error. The sketched work need to have a little resemblance before you proceed to the next stage.
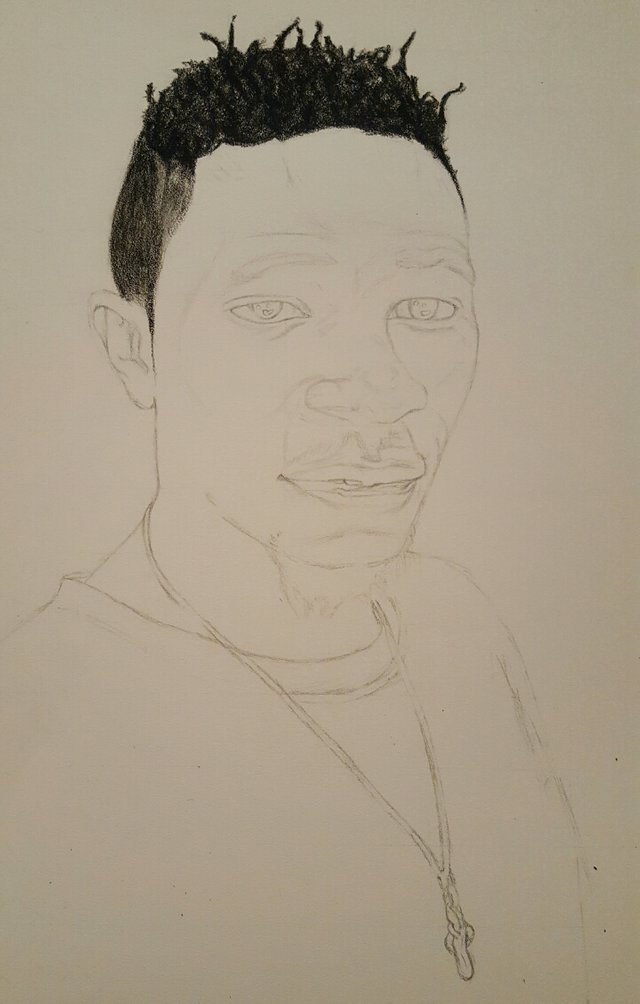
Step 2
Hair: After sketching, he worked on his hair using a charcoal pencil directly. There was no need to blend it but instead, I shaded it over and over again to make it very dark.
Step 3
Forehead and Eyes: After completing the hair, I worked on her forehead. I worked from left to right, up to down adding tones and values.
I made harmonious light strokes repeatedly and crossed over with another stroke using graphite 2B and 6B. Thereafter, I use a darker pencil which is 8B to overlay it.
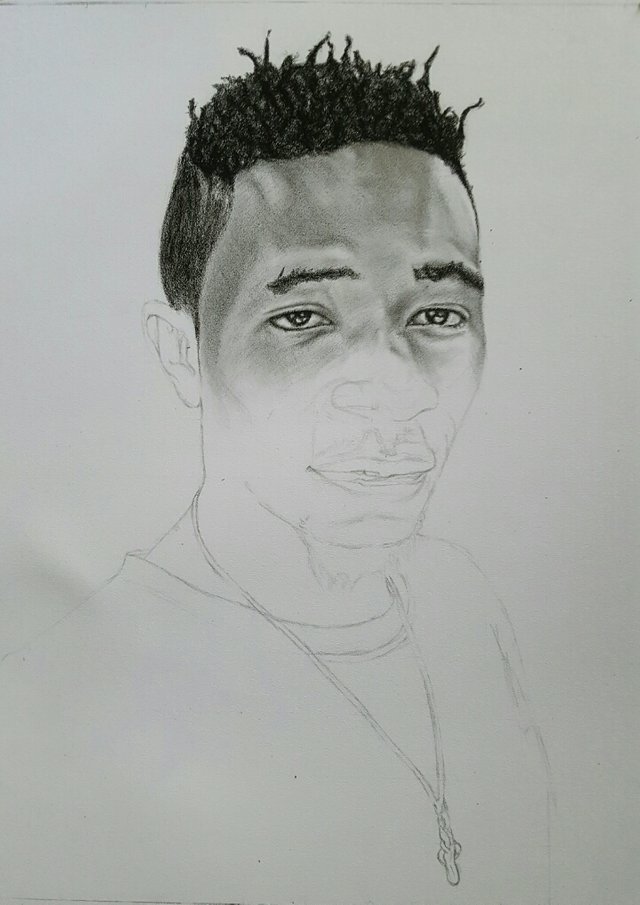
I also worked on his eyes and eyebrows using a charcoal pencil.
Step 4
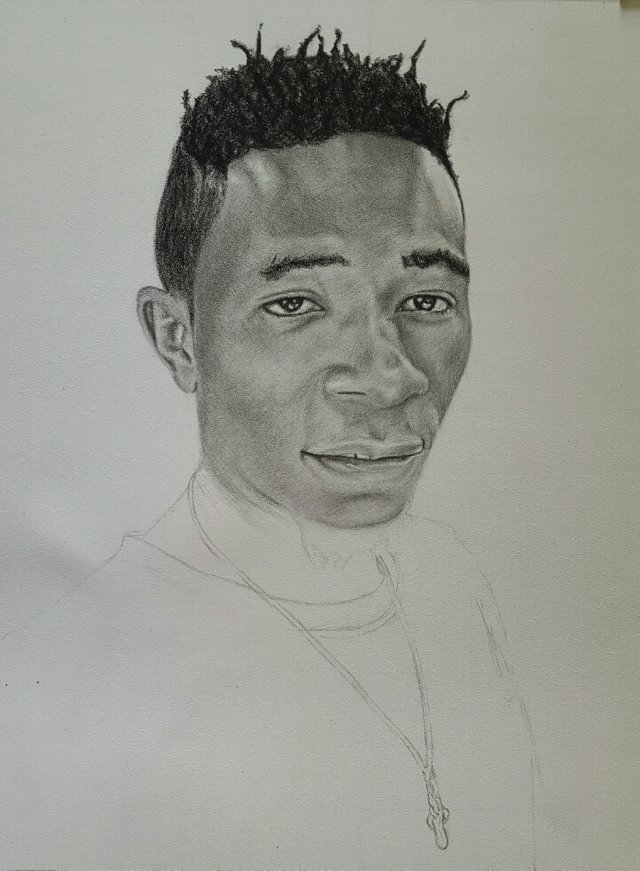
Completed Face: At this stage, I repeated the process used in shading the forehead to complete the face.
Step 5
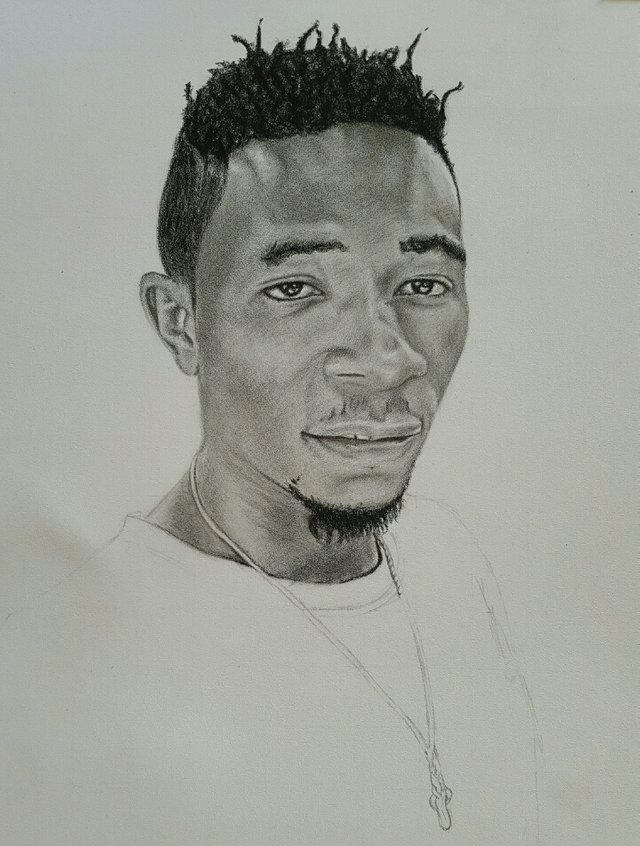
Beard and Neck: I applied charcoal pencil on his beard making it look so real. But before then, I worked on the neck using graphite pencils of different range and a little touch of charcoal.
Step 6
Background: Before I created the background, I already had the image of what I wanted to create on my mind. The idea was to surround the white shirt with charcoal which would bring out his white shirt and made it look more artistic. That's exactly what I did.

I wanted the background to have an artistic look so I did a starter shading with charcoal to complement his white shirt and rhythm with his hairs. I never wanted it to be very dark so I blended the work a little with a brush.
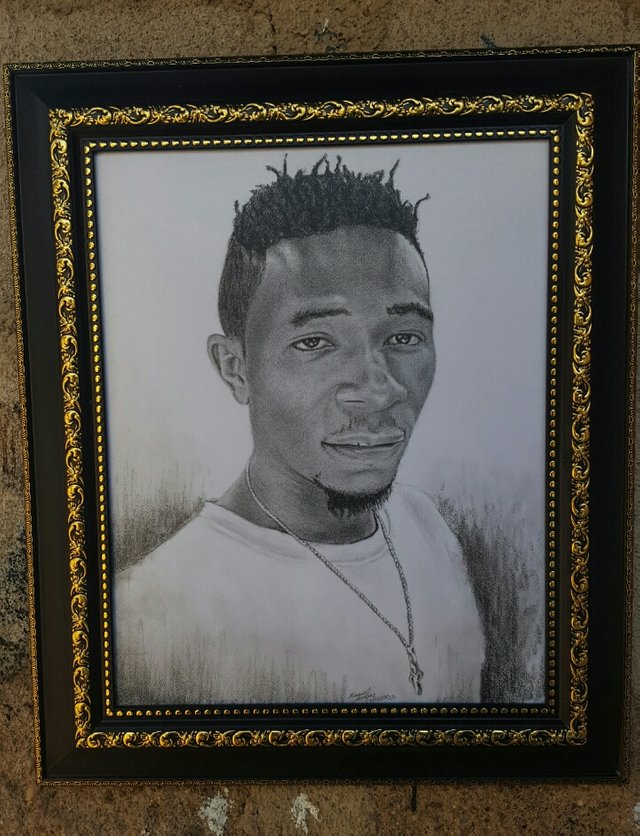
Step 7
Framed: Here, I used a black frame with a golden design to frame it. This brought out the beauty of the work.
Remember: It's always good to have a picture of what you want to achieve or create on your mind before you commence work.
Thank you.
Your pencil work is exceptional.
Curated to art-curation in @c-squared on Discord
Thank you dear!
Posted using Partiko Android
What a gorgeous portrait work! Phenomenal job on this one, sir!
Thank you Boss! Always trying to give my best!
Posted using Partiko Android
This post was shared in the Curation Collective Discord community for curators, and upvoted and resteemed by the @c-squared community account.
If you are a community leader and/or contest organizer, please join the Discord and let us know you if you would like to promote the posting of your community or contest.
@c-squared runs a community witness. Please consider using one of your witness votes on us here
Thank you!
Posted using Partiko Android