How to make your display more awesome by bias lighting
Why bias lighting for your display?
In modern day, chances are you will spending long hour in front of your desktop or watching television as daily basis. And likely you are going to do it for years so the total amount of time you spent staring at the bright screen can really adds up. This will leads to eyestrain, headaches and overall decreases the experience.
Many studies show how such background lighting can help to improve visual enjoyment on digital screen.
Bias lighting isn’t just a showy trick akin to putting superfluous lights on a street rod but a very useful technique that not only increases viewing comfort but image quality at the same time.
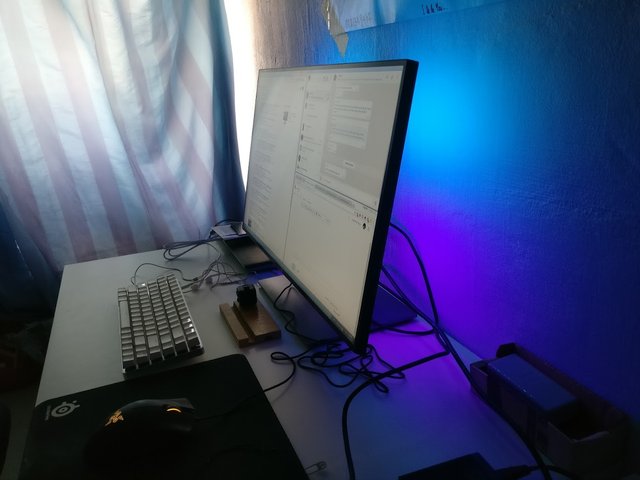
Bias lighting especially RGB colors of your monitors or television can be the most awesome way to light up your workspace or living room. It just makes everything looks cool. Lately I've got a new Dell UltraSharp 27 Monitor U2717D for my personal desktop. It features 1440p resolution with IPS panel makes it the best monitor I've ever owned. As I often working with it in my dimmed bed room at night, that would be great if I can add some bias lighting on it. So it begun.
How to make my new monitor even more awesome
Instead of getting one of those fancy RGB LED strip with ridiculously expensive price tag, I decided to DIY with these 2 LED USB strips I got from TaoBao for less than $5 including shipping, what a steal!
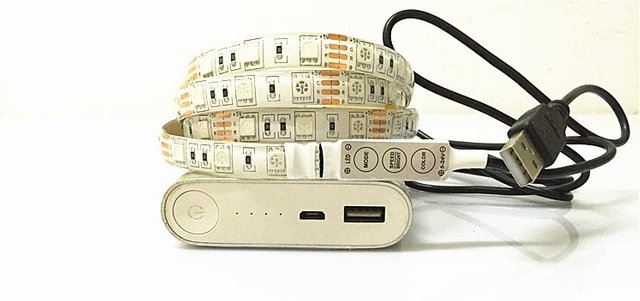
It has double sided tape for me to paste at the rear side of monitor. Powered by USD connection, simple controller is attached with each of the strip for mode, brightness/speed, color control. For my case to setup a persistent bias lighting for long hours, brightness and color control is most important feature to make hundreds of combination possible.
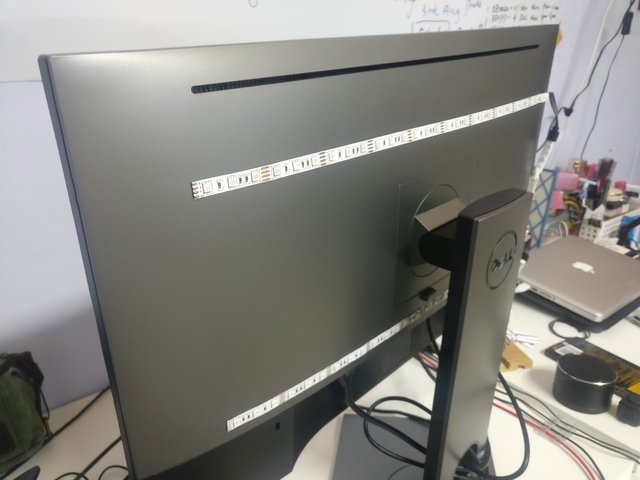
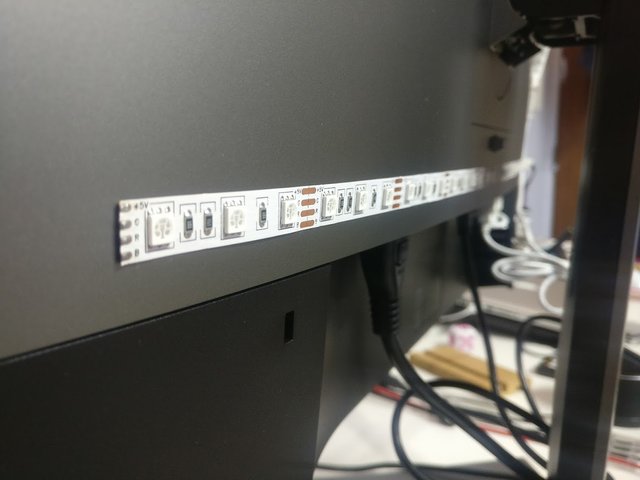
2 LED strips are now attached to the back of monitor.
Next step will be cable management
Although the USB connector and controller are light, but the USB cables however is too long and those extra weight is going to pull the pasted LED strip over long hour of application. We need to improvise with something else for the weight problem.
I'd go with the almighty binder clips to solve this problem, as some of you may already know how this little tool can be of great help sometimes in the random situation like this.
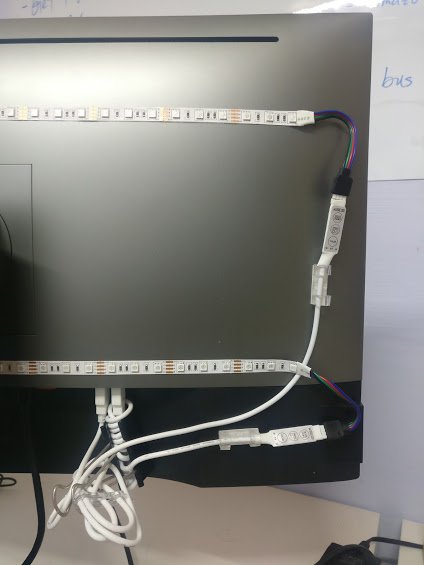
This is how I run the cables as I have 2 USB ports behind the monitor which is a huge advantage for hiding the cables completely from the front view. Do note not all monitors have USB ports.
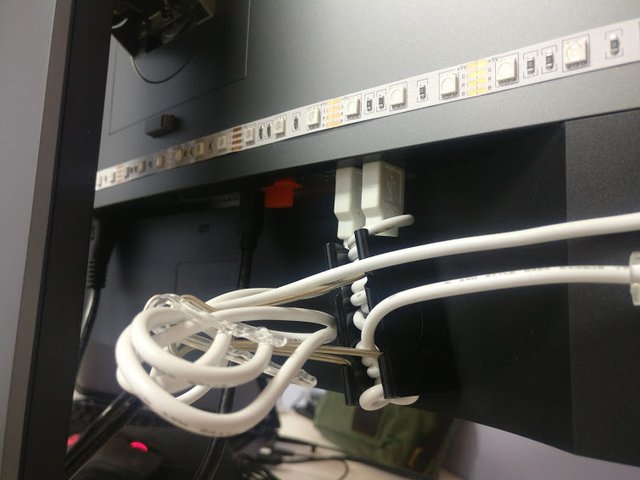
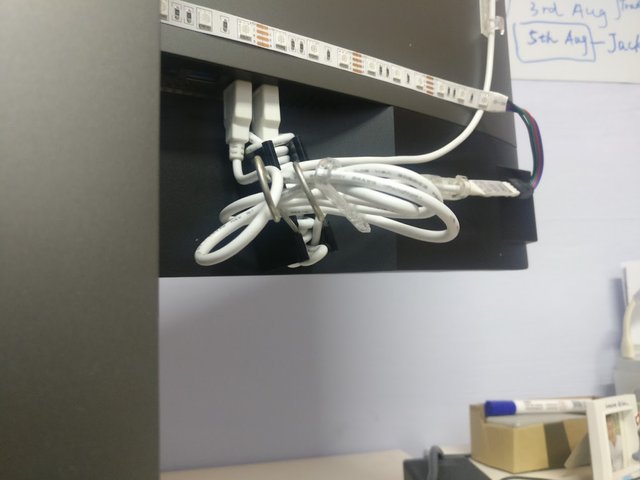
The binder clip keeps all the cables just above the bottom level of monitor, at the same carries all the weight so LED strip would not be pulled off.
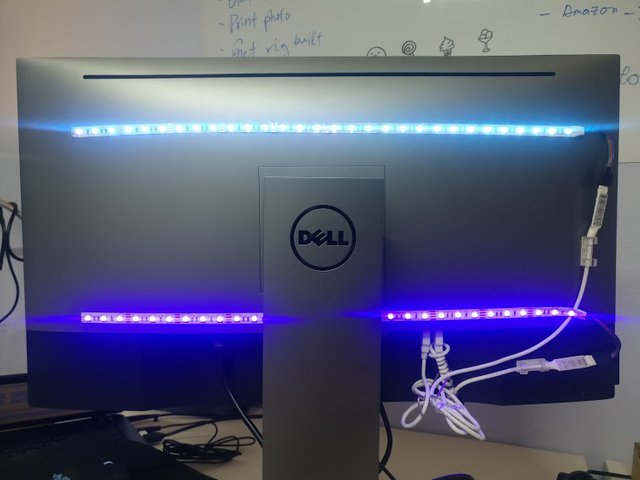
Now the fun part, color combination!
We have everything set and ready, now I have to choose my favorite combination of color. This can be changed anytime by using the color controller and it is easy.
Behind the scene, this might not looks great yet, but wait...
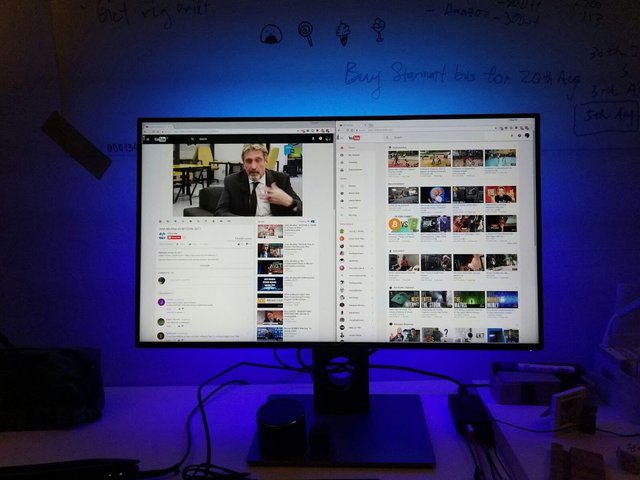
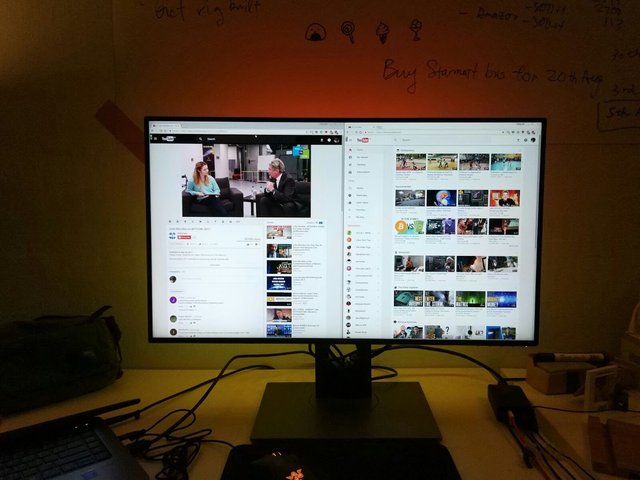
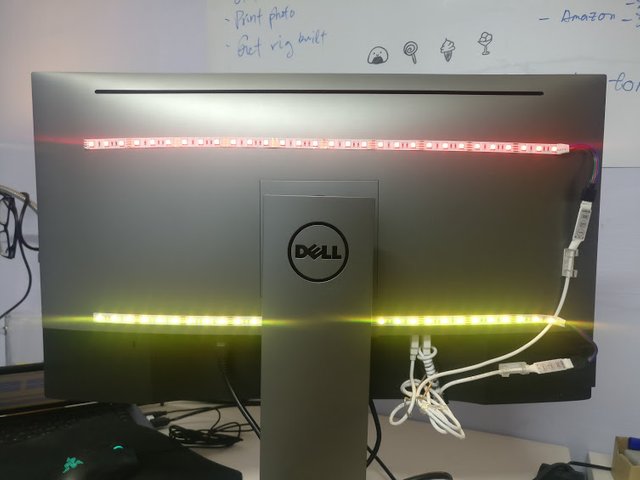
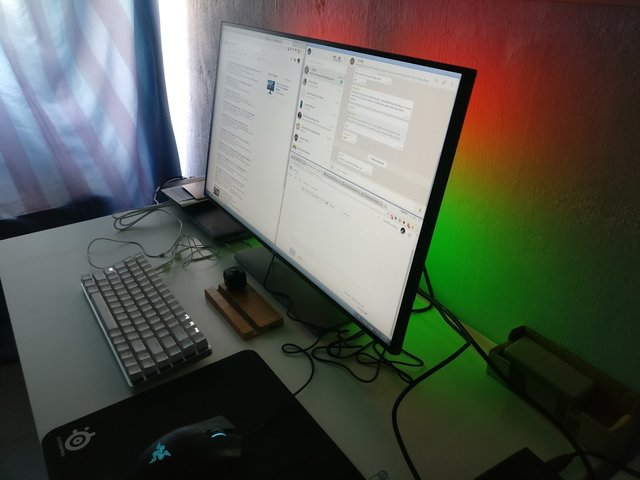
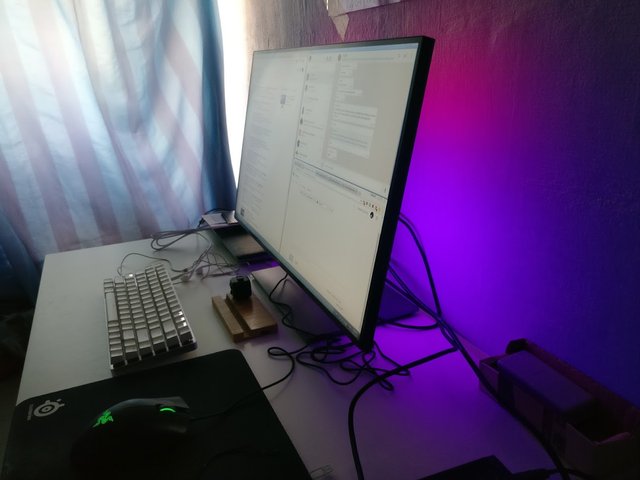
Voila, This is the final result! Now you can sell why I used 2 strips instead on just one. Because this setup allows me to play with the so many combination of colors when I got bored of the old setting! Of course single color will do just fine for bias lighting, personally I would like to have more options.
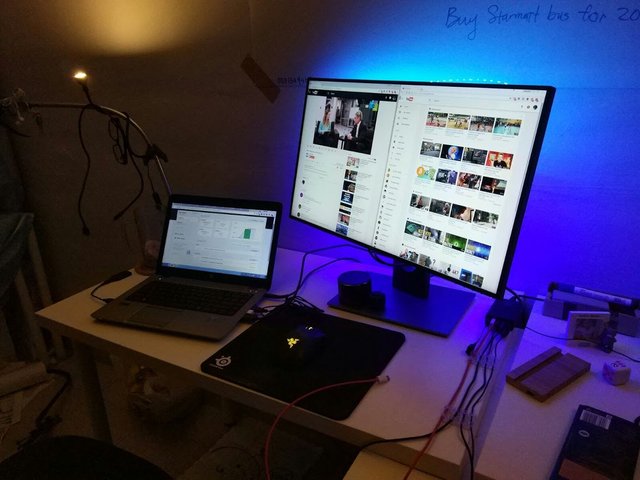
Oh damn now I will really prolong my already long working hour in front of this sweet monitor!
Nice post! Do you think this works with TV?
Yes I think this should work with anything. Not only displays but CPUs, tables, chairs, ceilings and many more. Just gotta make sure you have USB ports nearby for power supply.
Cool! Can you share with me where I can buy this from? ^^Y
bro, I have included the link in the article, one does not simply read without his heart.
found it! Suggest to use more story-telling way for the hyperlink.
i.e. 2 LED USB strips I got from TaoBao for less than $5 including shipping, what a steal! ( you can get the same item from here --> https://world.taobao.com/item/537123817789.htm?fromSite=main&spm=a1z09.2.0.0.1f30a53frGdNmp&_u=u21m3vh08608)
this is exactly the way i try my best to avoid LOL. Btw what you gonna DIY onto?
Congratulations @fr3eze! You have completed some achievement on Steemit and have been rewarded with new badge(s) :
Click on any badge to view your own Board of Honor on SteemitBoard.
For more information about SteemitBoard, click here
If you no longer want to receive notifications, reply to this comment with the word
STOPHi. I am a volunteer bot for @resteembot that upvoted you.
Your post was chosen at random, as part of the advertisment campaign for @resteembot.
@resteembot is meant to help minnows get noticed by re-steeming their posts
To use the bot, one must follow it for at least 3 hours, and then make a transaction where the memo is the url of the post.
If you want to learn more - read the introduction post of @resteembot.
If you want help spread the word - read the advertisment program post.
Steem ON!
nice works. Makes me wanna get a monitor.
just do it, i can give you some recommendations