Improve your Software Development – Continuous Deployment with Docker – Part 4.1: GitHub for Continuous Integration
Improve your Software Development – Continuous Deployment with Docker – Part 4.1: GitHub for Continuous Integration
Hay steemers,
we will continue with our way to a professional environment for developing software. So far, we learned why we want to use the techniques and concepts shown in this tutorial series in part 1. We also started to write a small example application under the use of a build management tool in part 2 and started to develop the first feature under the use of the test driven development strategy in part 3.
We will now combine the things we've learned so far and bring some automation into the game.
I will split this part in multiple chapters, as the article would get too long otherwise. In this first chapter, we’ll talk about version control which is one of the first prerequisite for further steps.
Version control
The first thing you need if you work in a team is a way to put the changes of each developer together. This could basically be a USB-Stick, which each developer can:
- lend,
- get the current version from,
- add his changes to,
- and put it back to the place where he took it from, so other developers can do the same.
This may be the most inefficient way of sharing code you could think of. So instead of that, you want to have a central place, that can be reached through the network by each developer and that supports you at merging changes or getting back to older versions of the code.
Those kind of tools are called “version control” in general and “source control management” (SCM) tools if we are talking about code. The most common ones are Subversion (SVN) and Git.
As GitHub offers a free Git-Repositories and other services for OpenSource-Projects, I will show you how to use it.
Git with GitHub
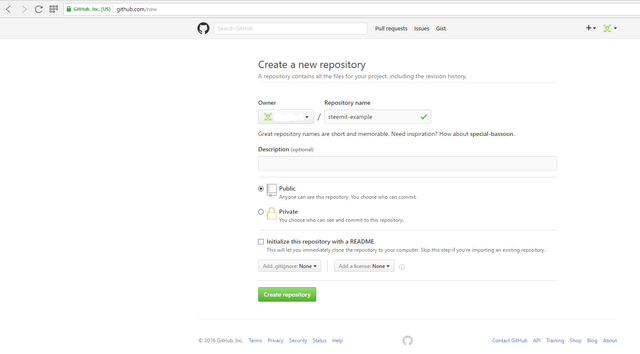
The first step is to create an account if you haven’t already. To do so, visit https://github.com and fill in a user name, your email address and your password. After you have verified your email address, you can start by creating a repository.
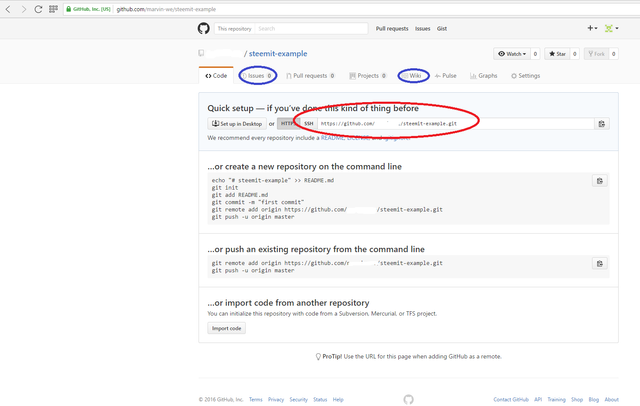
You should now see the landing page of your repository.
As you can see at the blue circles, GitHub offers much more services like a wiki and an issue tracker, but for the moment, we will focus on the version control part. The URL with the red circle is the one you need to connect your local computer to the repository, so keep this URL in mind, we will use it later.
Before we can continue, we need a local git client. I personally prefer "Git for Windows" which can be downloaded at [https://git-for-windows.github.io] (https://git-for-windows.github.io "https://git-for-windows.github.io").
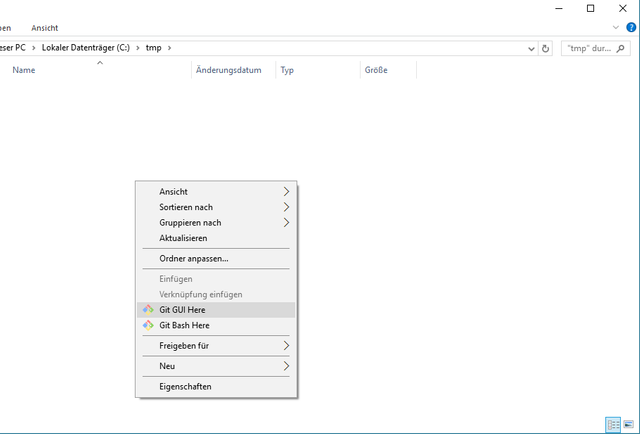
Just install the tool and keep all default settings if you don’t know them better. After a successful installation you should move to the place where you want to store your repository locally and press the right mouse button. You should now see “Git Bash here” and press it.
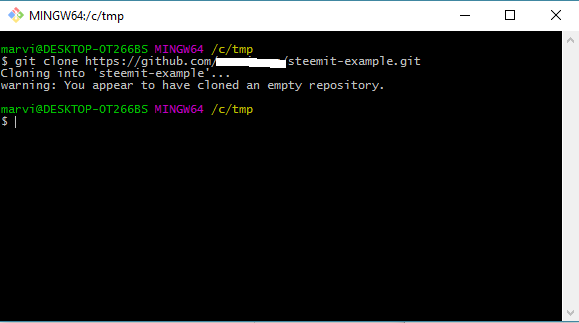
In the new windows you can type all git commands. We start by checking out our new and empty repository by using the “git clone” command. Just type "git clone" followed by the URL of your repository.
As GitHub is only free for open source projects, you will need no user name or password. Everyone is allowed to clone your source code.
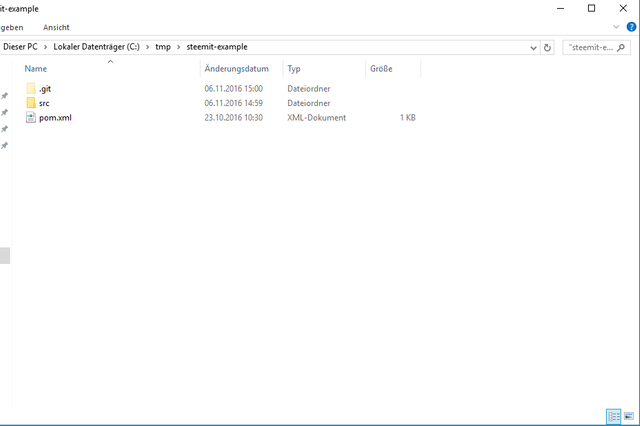
To show you how to continue, I’ve just copied the source code of the example application we've created in part 2 and 3 into the "steemit-example" folder.
As you may noticed, the target folder and some ecplise specific files are missing. The target folder contains the build artifacts that can be created by executing the mvn clean install command. Due to the build management tool, everyone can create those artifacts at his own machine and there is no need to add those files to the repository. We just safe the hdd space and this is a best practice in general.
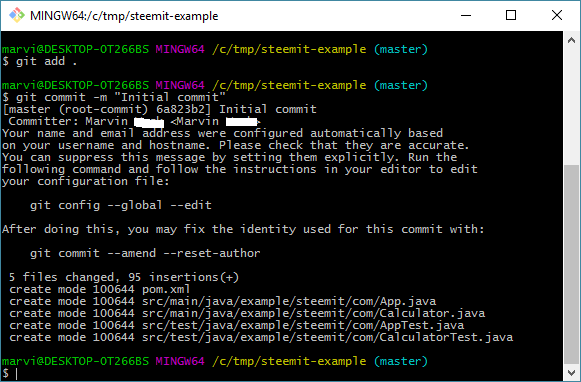
Back to version control systems. So far we just copied the files in our local folder, but didn't tell Git what files we want to have under version control. To do so, we have to use the “git add” command.
You can specify the files you want to add or just the "." as I did. This will add all files and folders of the current folder. Git now knows which files we want to have under version control, but we have to tell the tool, that now is the time where we have some code that is worth of saving it. This procedure is called "commit" and can be performed with the "git commit" command. At this point I have to tell you about a little difference between Git and SVN: Git creates a local repository first which you commit your changes in. This means, committed changes will not show up at the server. This mechanism can help developers to have some unfinished features under version control without messing up the hole application for other developers.
As you can see I've added the "-m" flag. This flag is used to add a message to your commit which is very helpful to get a clue what a colleague or you changed in this commit.
If you committed all your local changes and have a point where, for example, your new feature is ready, you want to push your local changes to the github server.
This is done by the "git push" command.
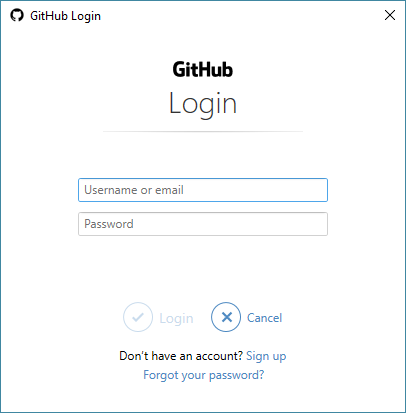
As you now push the data to the server, you have to enter your credentials for the first time.
Good job! You finally have your source code under version control and went a step further to a professional software development.
Please keep in mind that SCM-tools are much more powerful. For example show the log of all commits and pushes with the git log command or revert changes with the git revert command. You should take a look at other guides to learn more about those features.
Summary
In this first chapter we've learned what a source code management system is used for and how to use git and github as an example system.
In the next part we will start to build our software automatically as often as possible, to receive a fast feedback for our changes.
If you liked this chapter please follow me and give me some feedback.
Best regards!
