How to browse Steem with a Raspberry Pi - A quickstart guide for beginners
Note that the reward window for this post is over and if you want to support this post with an upvote, please do that through the "Steem Forever" link.
I finally got my first Raspberry Pi and I plan to use it to run a node for a crypto project that I am following. At the same time, my dear friend @mrshev also gotten a Raspberry Pi and I promised him that I will write him a setup guide. So why not have it posted on Steem so that it will benefit everyone? :)
Basic information about the device
I bought the latest Raspberry Pi 4 Model B. There are 1GB, 2GB and 4GB (in terms of RAM) variations for this device, and the one I bought is the mid-tier one at 2GB RAM (immediate screenshot below).

I got the device from Cytron, they are the official distributor for Raspberry Pi in Singapore. The 2GB version costs S$70 now, and you get free shipping when you buy above S$100 worth of products. The prices for the different variations as below.

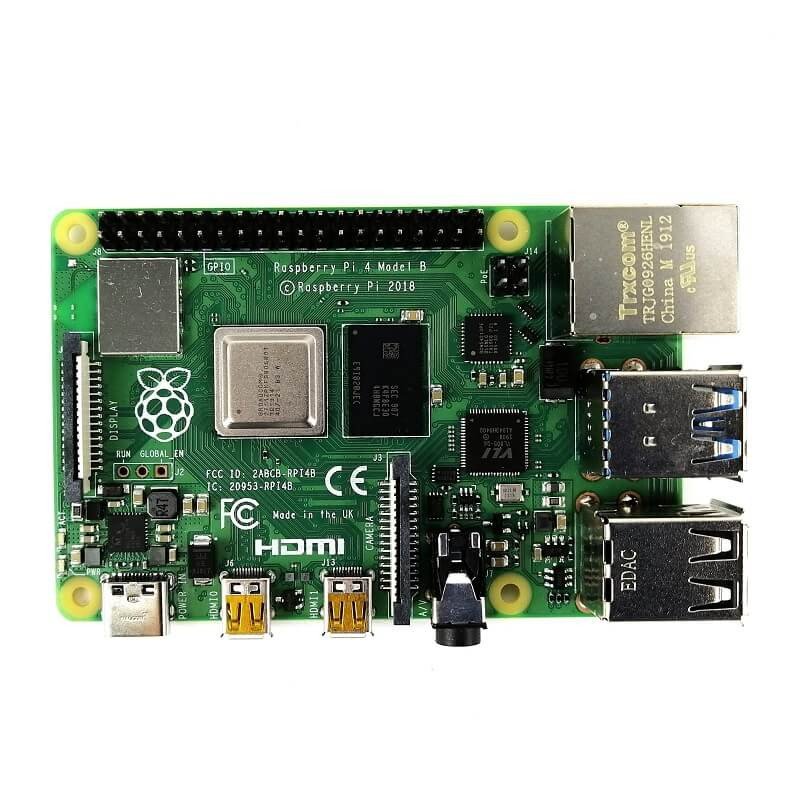
I forgot to take a picture of the device before I assemble it into my case, so the below picture is courtesy of Cytron. This is exactly how it looks like when I took it out from the box.
Source
The Raspberry Pi 4 is a reasonably powerful and versatile device. Here are the technical specifications of the Raspberry Pi 4.

Source
- Broadcom BCM2711, Quad core Cortex-A72 (ARM v8) 64-bit SoC @ 1.5GHz
- 1GB, 2GB or 4GB LPDDR4-3200 SDRAM (depending on model)
- 2.4 GHz and 5.0 GHz IEEE 802.11ac wireless, Bluetooth 5.0, BLE
- Gigabit Ethernet
- 2 USB 3.0 ports; 2 USB 2.0 ports.
- Raspberry Pi standard 40 pin GPIO header (fully backwards compatible with previous boards)
- 2 × micro-HDMI ports (up to 4kp60 supported)
- 2-lane MIPI DSI display port
- 2-lane MIPI CSI camera port
- 4-pole stereo audio and composite video port
- H.265 (4kp60 decode), H264 (1080p60 decode, 1080p30 encode)
- OpenGL ES 3.0 graphics
- Micro-SD card slot for loading operating system and data storage
- 5V DC via USB-C connector (minimum 3A*)
- 5V DC via GPIO header (minimum 3A*)
Assemble the device
There are a few important components that you need in order to run the Raspbian OS and get your Raspberry Pi working. At the very least, you need a 5V/3A power connector (top left of picture) and a MicroSD card (bottom right of picture). You also need a micro-HDMI cable to connect to your monitor, the standard HDMI cable will not work. Last but not least, you also need a set of keyboard and mouse :)
When buying a MicroSD card, make sure you read the official recommendations first. General rule of thumb is to at least get a 64GB class-10 MicroSD card.

As you can see in the picture, I also bought a case and a case fan. These are not mandatory but I think they are nice to have. They do not cost a lot if you buy it from sites like Lazada or Shopee. Depending on which case you buy, the assembly will be different. Hence, I am skipping the case assembly part and here is how my device looks like after I put it into the case.


Flashing Raspbian to MicroSD Card
The next thing you need to do is to "install" the Raspbian Operating System (OS) into your MicroSD card. The correct term to use here is to "flash" the OS, but "install" probably sound more beginner-friendly :)
To "flash" the OS, you need to use another computer, it can be a Mac or Windows PC. You also need to connect your MicroSD card. Some computers come with a MicroSD card slot, if yours does not have, you can purchase an adaptor which looks something like this,

Source
This basically converts you MicroSD card to USB and you will be able to access it via you computer through a USB port. Next, you need to download Raspbian OS which is available at the official Raspberry Pi site.

Again there are a few variations here. I chose the one with a GUI desktop for ease of setup. There is another version with a set of recommended pre-installed software. I think the software are not necessary for my purpose but feel free to choose that if you like to use those software, the rest of this guide will still be the same.
While you are downloading the Raspbian OS, you can go ahead and also download the "flash" utility. BalenaEtcher is the recommended utility to flash the OS.

After you downloaded BalenaEtcher, install it. I am using a Windows PC and the screenshots below are applicable for Windows.


Once installed, open the application. The utility should auto-detect your SD card if you have it connected to your PC. You then have to select a image file to be flashed into you SD card. By now, your Raspbian OS download should be done (it is a zip file), and you can go ahead and select that for the image (you do not need to unzip the file).

After that, click "Flash!" and it will magically start flashing you SD card with the OS. It will take about 10 minutes.

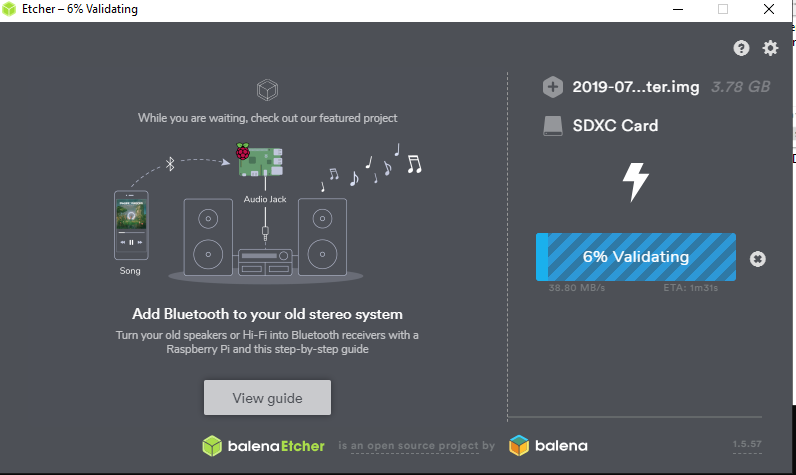
When you see the "Flash Complete" page, you are done!

Setting up Raspbian
Before you power up your Raspberry Pi, put in the SD card, which you just flashed with Raspbian OS, into the MicroSD card slot. The slot is located opposite of the USB ports. After that, plug in the power supply and connect the Micro-HDMI with your monitor. Power the device up and watch Raspbian OS loads...
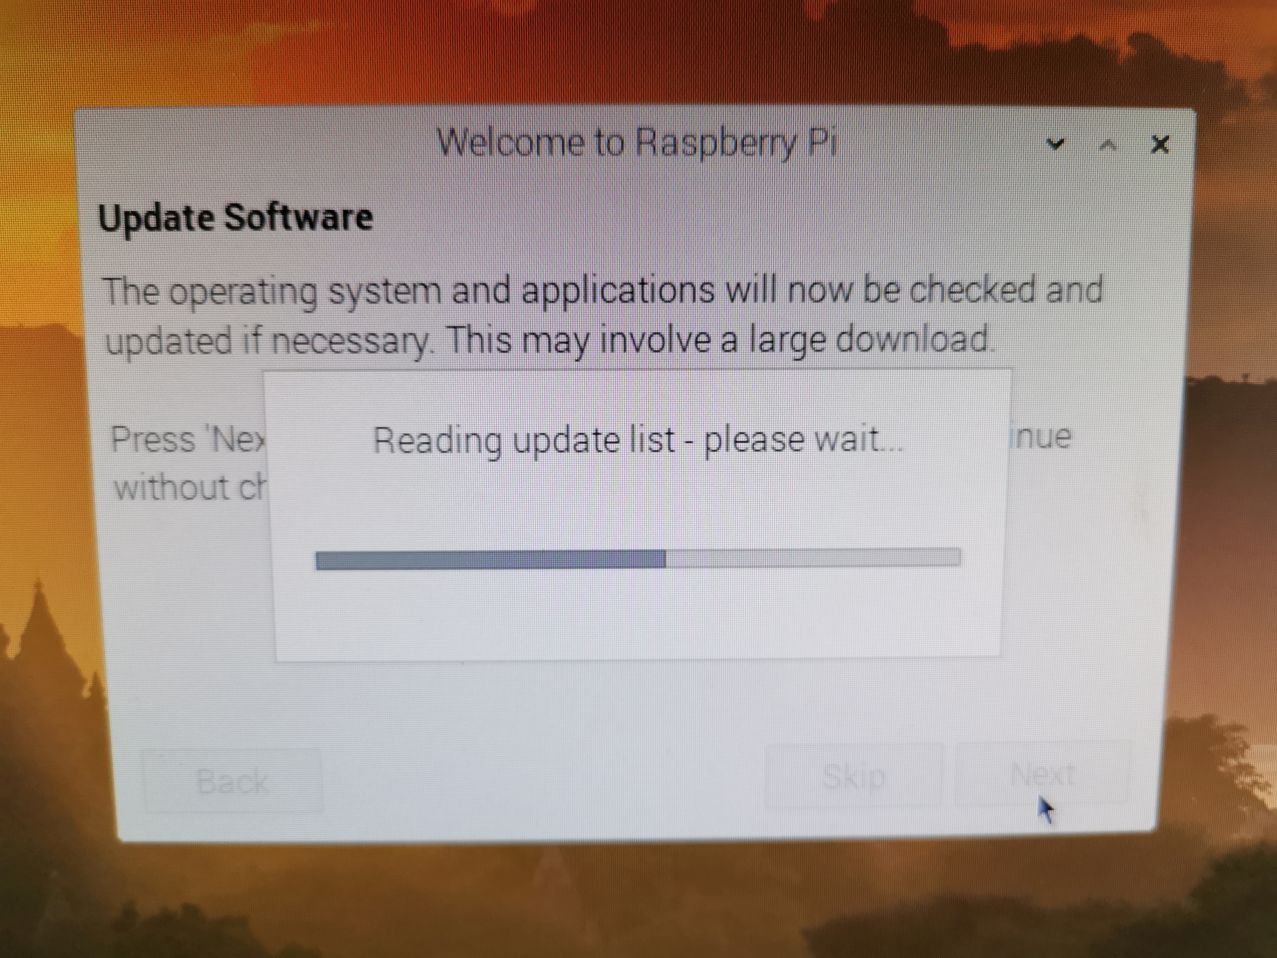
When it boots up, you will be greeted by the following welcome screen. Click next.

Like any devices, it is important to change the default password. It is basic security hygiene and I recommend you to do so now, otherwise you will simply forget later :)

After stepping through a few screens, including connecting to your WiFi, it will prompt you to perform an update, of which you it will fail. But fret not, I will teach you how to update it later. For now, just follow through the step and perform a restart when prompted.


When your Raspbian OS boots up again, you can perform update manually. Fire up a terminal console (4th icon from top left corner of the screen). Then enter the following command:
- sudo apt-get update
This will trigger the updates to be downloaded as shown below.

Once done, run the second command to install them:
- sudo apt-get upgrade

After the updates are installed, you are done. The OS is shipped with a Chromium browser and with that you will be able to browse Steem! There is nothing else you should be doing first :p
So here is me browsing Steempeak
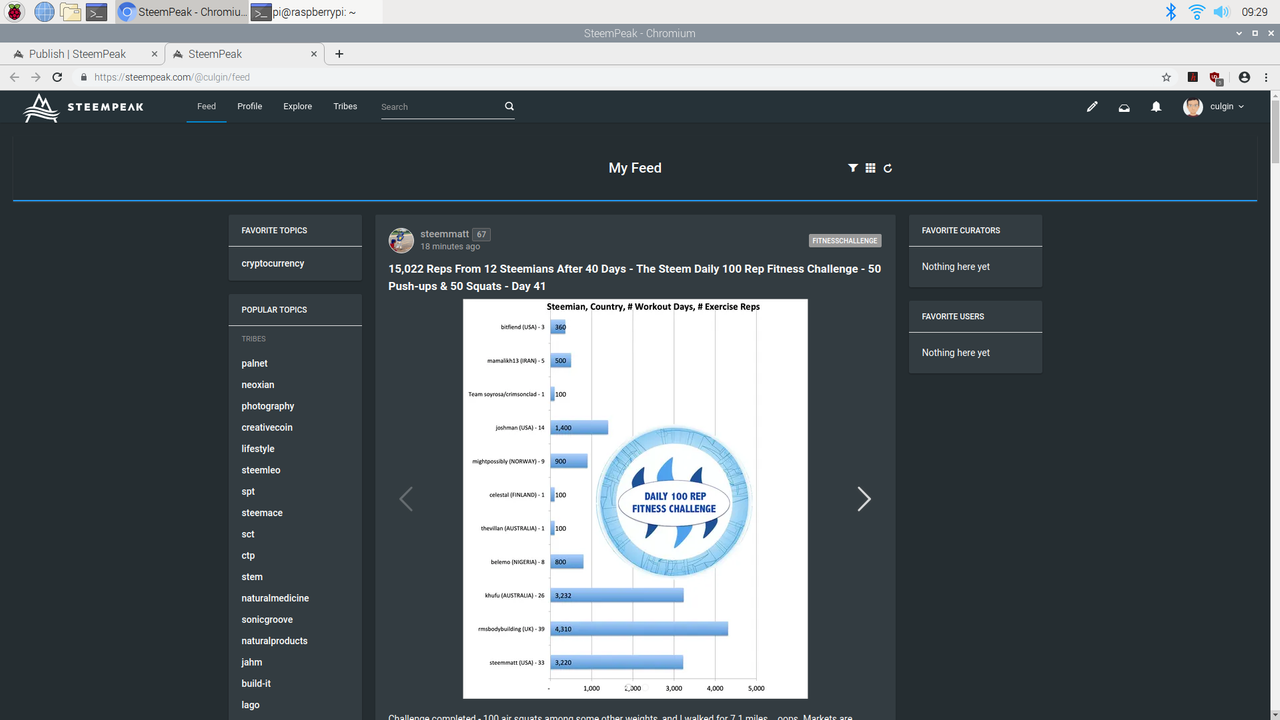
Oh and by the way, this post is written and posted from my Raspberry Pi too!

Some afterthoughts
While there are many things you can do with your Raspberry Pi, do not expect your browsing experience to be blazing fast. Remember that the device costs under S$120 with everything in. You can search online on what else you can do with your Raspberry Pi, have fun and feel free to drop me any questions.
If you also have your own Raspberry Pi, do share with me what you are using it for.
Note that the reward window for this post is over and if you want to support this post with an upvote, please do that through the "Steem Forever" link.
The "Raise to 50" Initiative
Under 50 SP and finding it hard to do much on this platform? I might just be able to raise your SP to 50. Check this post to find out more!
This article is created on the Steem blockchain. Check this series of posts to learn more about writing on an immutable and censorship-resistant content platform:
I have one of these as well, and also have some plans in the works!!!
Very nice how to guide! :)
Thanks! Will be interested to check out your article (if you do post) when you set it up for your purpose
Greetings and congratulations.
You have a very interesting post and explained very well, step by step.
I would recommend that when the 7 days of its publication are completed you will go through https://steem-bounty.com/services/forever to monetize this manual and continue reaping the fruits of your good work.
Thanks! I will certainly try out the Steem-Forever service.
Hi @culgin
I'm not raspberry user so all I can do is resteem and upvote. Hope your publication will manage to reach people who would find it valuable.
Yours
Piotr
Thanks buddy!
A new toy! Have fun! I will bookmark this page for the day when I get a raspberry pi. 😃
It is fun! Will likely get a couple more for other purposes :)
Wow. It must be very useful then. 😊
This post has been revived by steem-forever and will get extra rewards. This happens when a post is upvoted on steem-bounty.com after the 7 day post life.
Users can simple upvote via steem-bounty.com continously, so posts can live and earn rewards forever.
Authors can share their steem-bounty.com links and get upvoted forever.
We hope this will allow everyone to earn more meaningful rewards over longer timeframes than before.
I will dabble in to this RaspberryPi thing when i have more automated or smart iot at home. currently none exist. also no $$,, unless i can raise money out of Steem. haha
I have a 4 gb ram for servers (PC3-10600 / PC3-12800). Will it be possible to use on that device?
Unfortunately server RAMs are too big for the device. The onboard RAM on a Raspberry Pi is soldered in and cannot be replaced :(
Nice article on setting up a Pi 4! I have a Pi 3 and may get a 4 someday. Now, my 3 is fine for what I use it for. I have 3 Steem related bots running on it.
Nice! Running bots sounds like a really good use case as well.
This post has been included in the latest edition of The Steem News - a compilation of the key news stories on the Steem blockchain.
Been seriously considering a Pi for some staking and really glad to see I can get up to 4gb of Ram because I will be able to use that to mine Monero when the RandomX algorithm is released in November. Do you know how much power they consume? Trying to run it off of solar power in my van. Be cool if I could set up a stack of Pi’s
Posted using Partiko iOS
According to this article,
https://www.raspberrypi.org/magpi/raspberry-pi-4-specs-benchmarks/
The maximum power draw is 7.6 watts. Wondering if it's powerful enough to mine monero?