Transform cheap headphones into a custom piece of art.
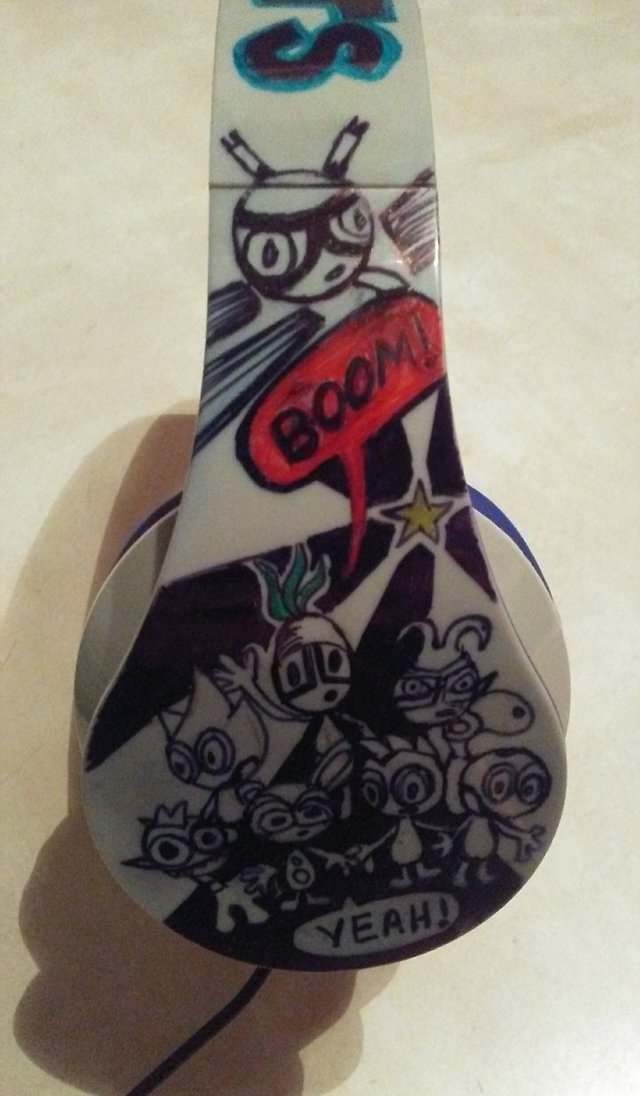
Hello Whalesharians! This post is a little different, even though it has to do with drawing, just in a different way.
Pick light colored headphones for better results since the image will be cleared.
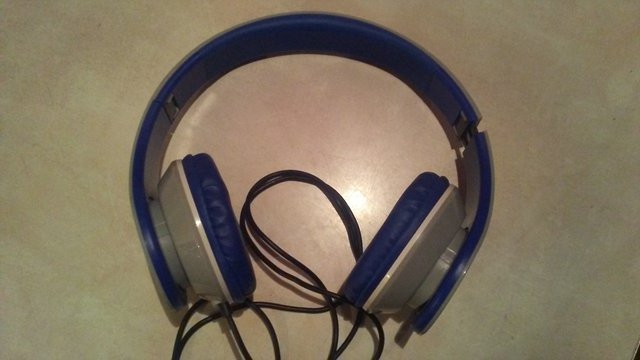
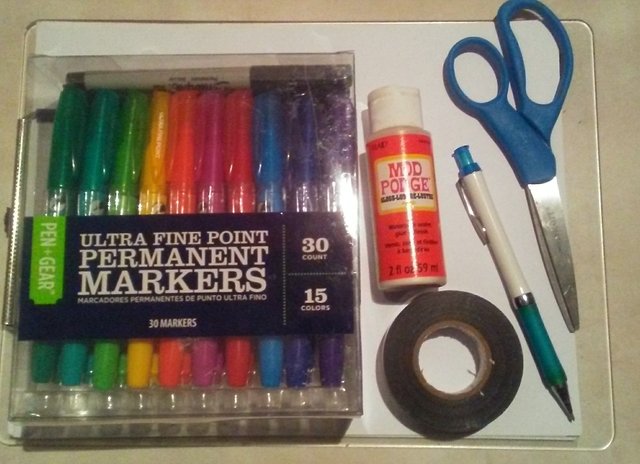
Materials:
If you can draw directly onto the headphones, ignore the tracing sketch paper steps and jump to the permanent marker outline step instead.
Take a piece of paper and trace the shape of it as a whole or the area you want to transform. It can be tracing paper or regular paper.
Cut the tracing and repeat to the other side keeping the symmetry because the paper might not be long enough to go around from one side to another. This is just for those that decided to draw directly onto the headphones.
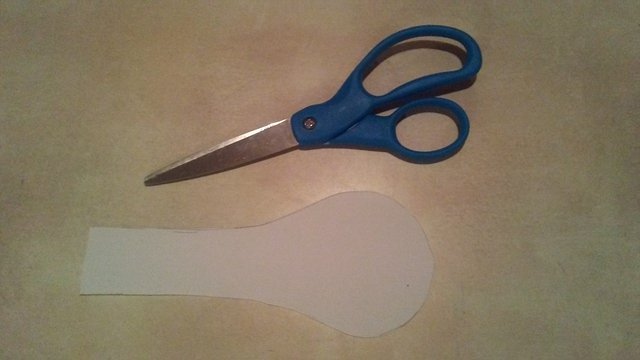
Once its all cut, take the shaped cut off and place it on the headphones, once there, tape it with small pieces of tape, making sure that your paper is shaped correctly over the headphones.
Remove the shaped paper and proceed to draw your design. This will give you a sense of what it's going to look like and how to arrange it at your discretion.
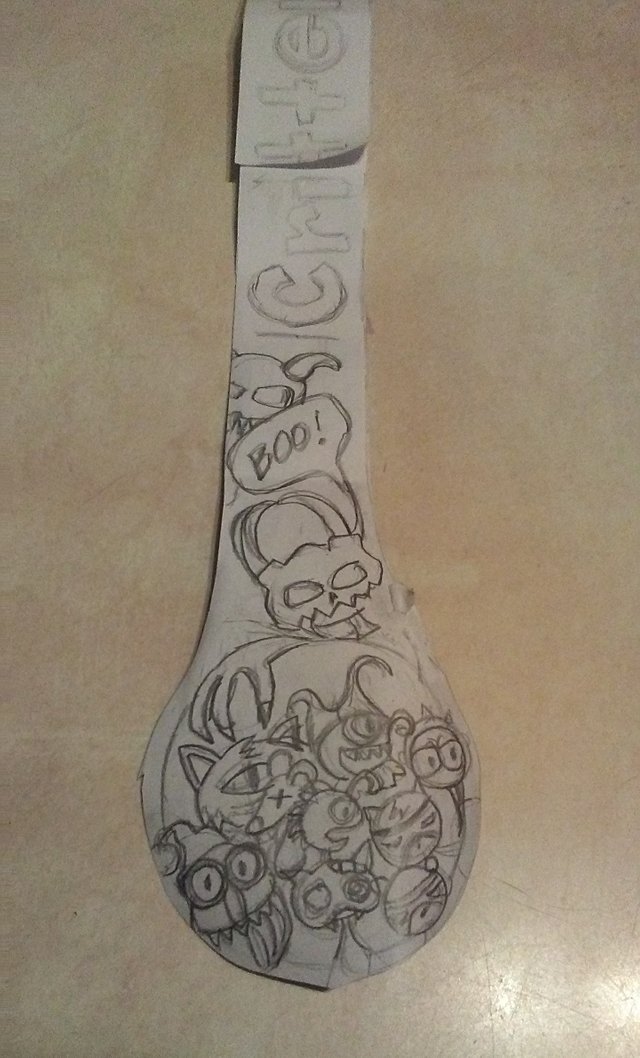
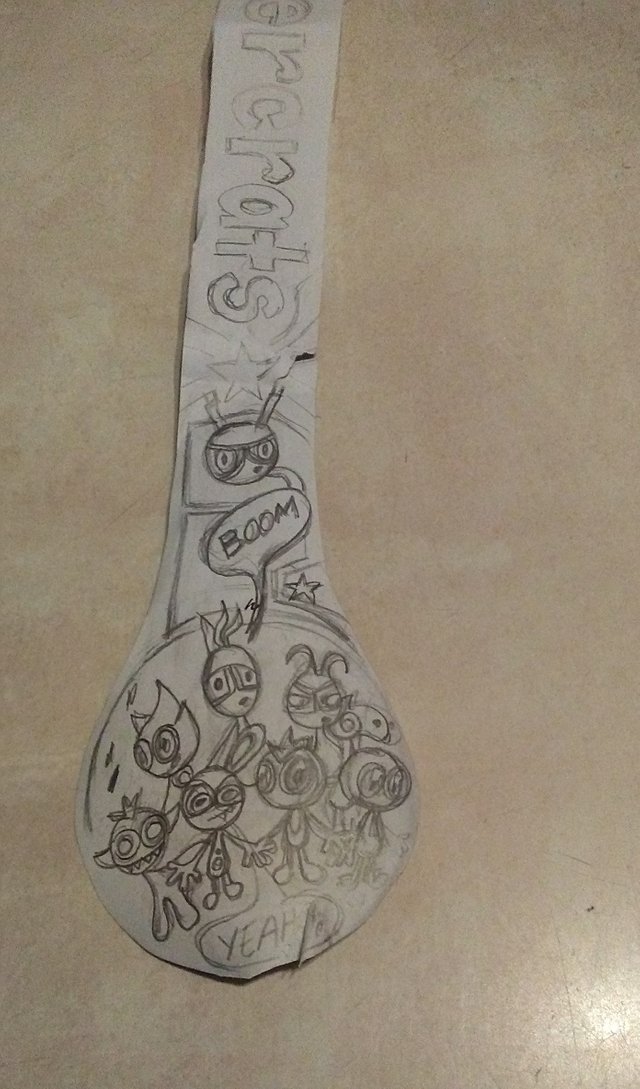
Once the sketch is done, turn it over for the next step, a transfer paper hack. If you have real transfer paper, skip this step.
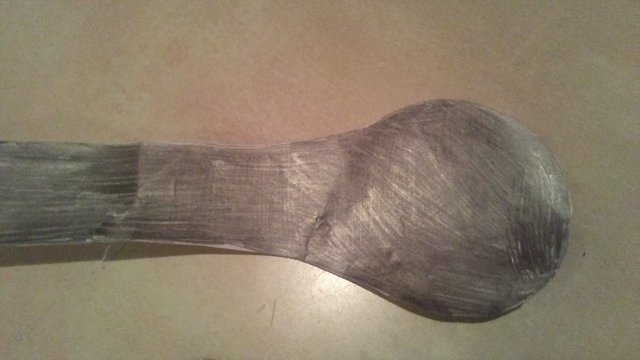
Take a pencil or graphite bar and the opposite side of your drawing, start to color it all making sure that everything is covered. That's what will make our transfer so make sure you don't miss many spots while doing it.
Once you are done, take the design and place it back over the headphones with the drawing up and the graphite color down. Tape it into position with a tape that is not too strong. Electric tape is perfect for it.
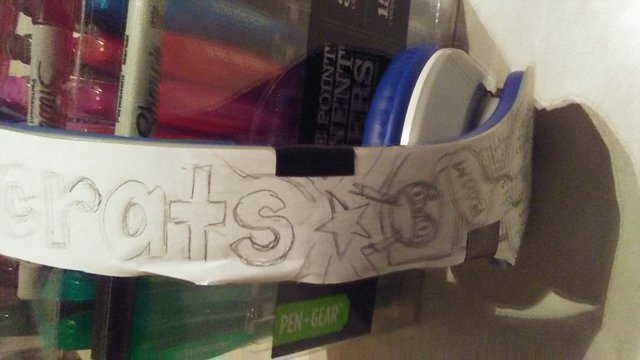
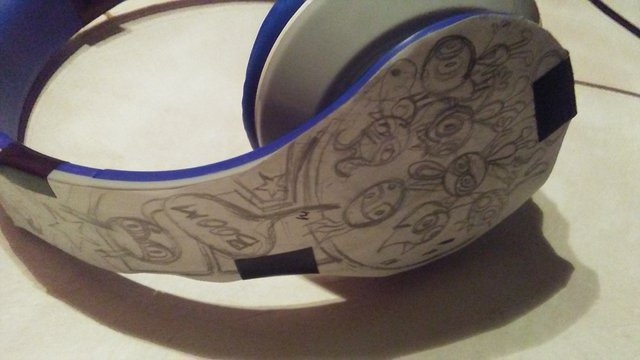
Once we have it taped and secure, start to trace your drawing over your own drawing. Do not check the drawing yet because it might move and the design might end up a mess instead. Keep it taped until it has been completely traced.
Now remove the sketch and your transfer should be ready. This transfer is not going to be too dark and if you run your fingers over it, you will notice it will erase it, that means you need to be cautious and thoughtful.
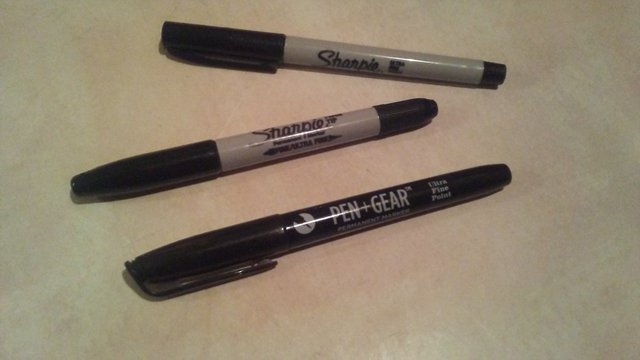
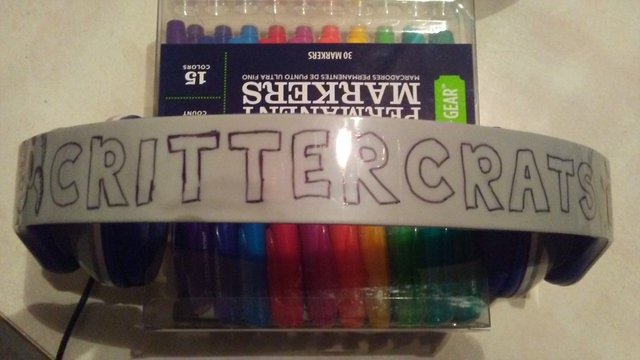
Take a permanent marker with a fine tip and start outlining your design slowly. Try to have a steady hand since this marker its hard to erase, but it can be done.
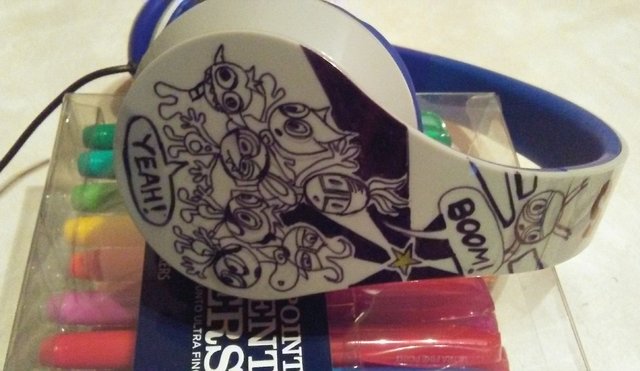
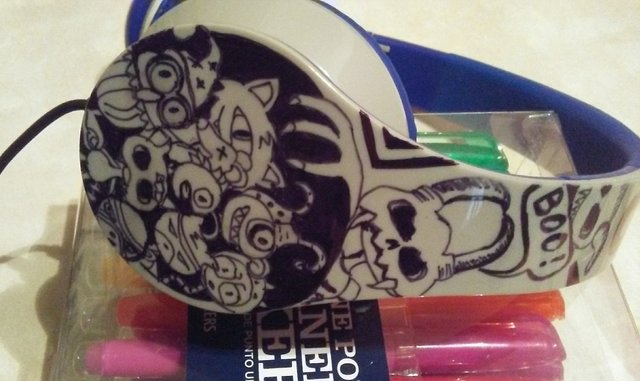
You can color it once its all traced with colored permanent markers or even alternate your own design by adding random drawings.
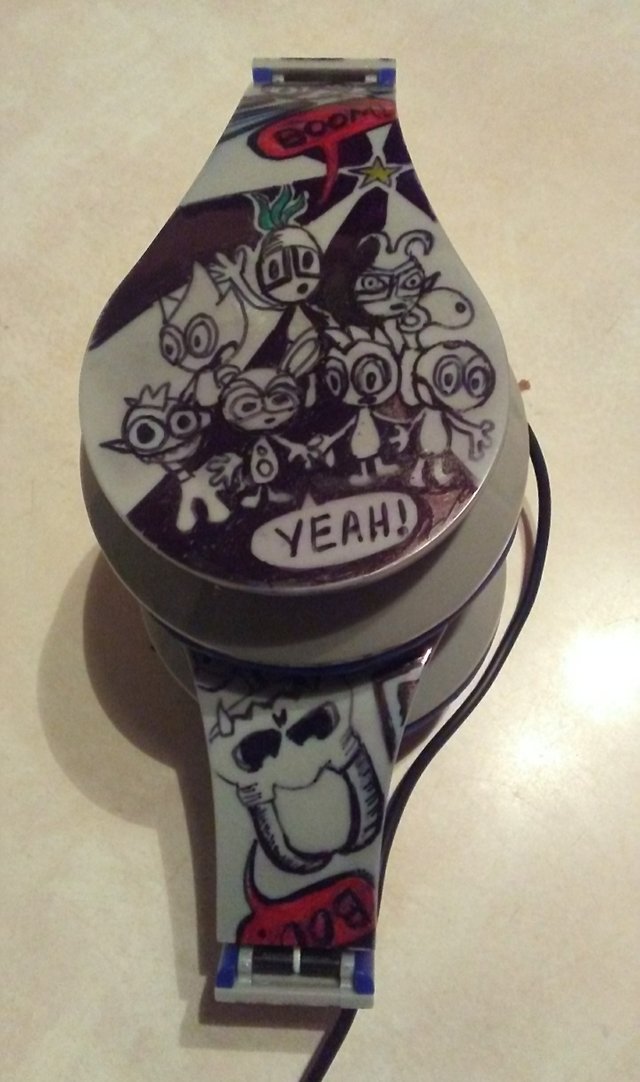
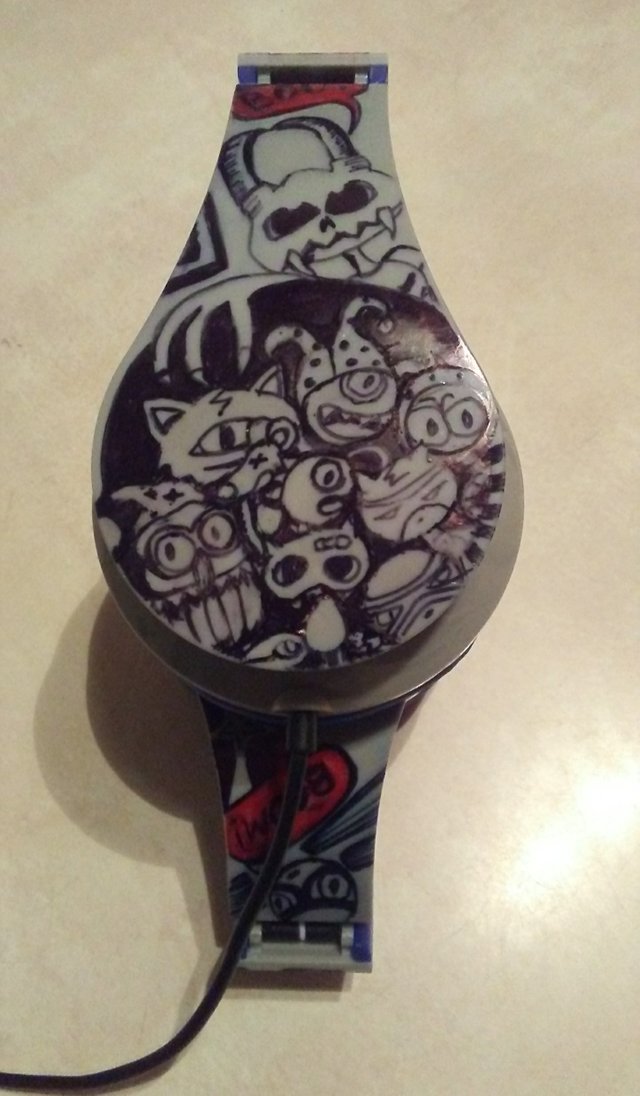
Once done get modpudge or a type of sealer to ensure lasting results. If you are not sure about it, leave it without a seal coat because you can always erase and repeat a different design following these instructions.

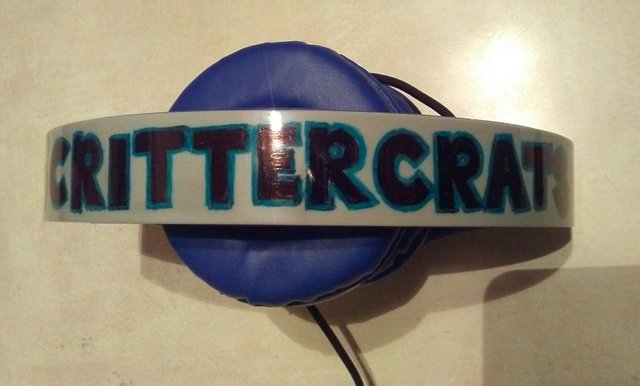
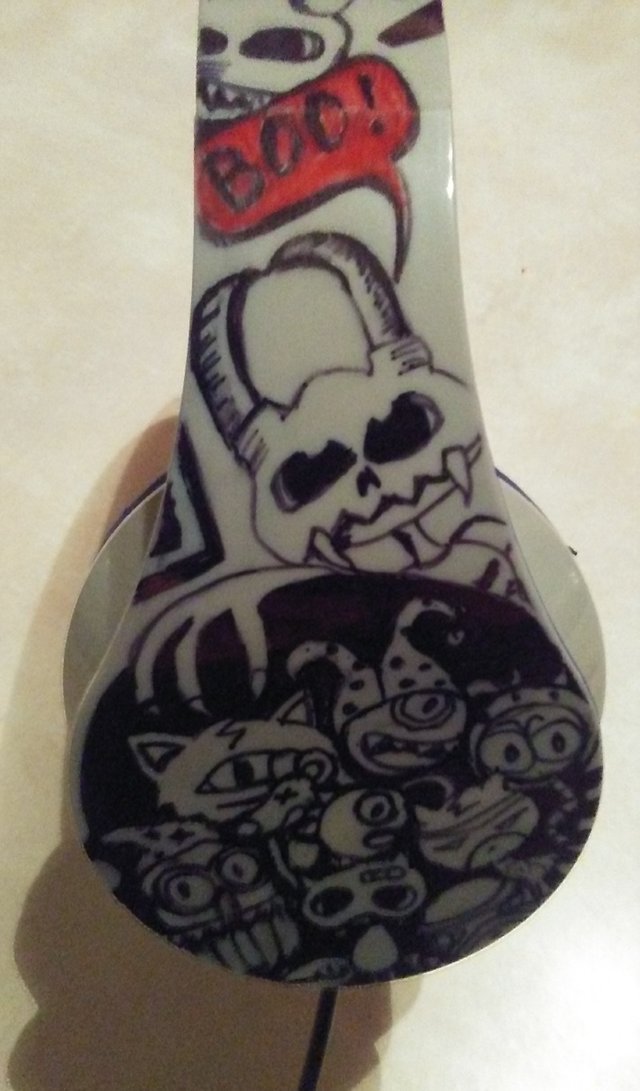
I hope you like this diy headphone design creation.

Dear Artzonian, thanks for using the #ArtzOne hashtag. Your work is valuable to the @ArtzOne community. Quote of the week: Art, freedom and creativity will change society faster than politics. -Victor Pinchuk
Thank you!
I love this!
I love "sharpie art." You take it somewhere special though.
My family asked me what I wanted for Christmas, I said mod podge.
Every project is better with mod podge.
Thank you very much! Yes, mod podge is something else. Thank you for stopping by. ☺
Posted using Partiko Android
This post was shared in the Curation Collective Discord community for curators, and upvoted and resteemed by the @c-squared community account after manual review.
@c-squared runs a community witness. Please consider using one of your witness votes on us here
Thank you very much! @c-squared
It is really beautiful this job my son will like !!!
Si que bueno. Es muy facil asegurate de escoger audifonos con colores claros y calquea el diseno favorito de su nino pintalo y sellalo con mod podge. Gracias por tu comentario. Me da gusto que les guste este proyecto.
Posted using Partiko Android
Wow, you really made that headphone absolutely wonderful with your own artwork !!! Very nice !
Thank you very much! ☺@veryspider
Posted using Partiko Android