A Doggone Good Day
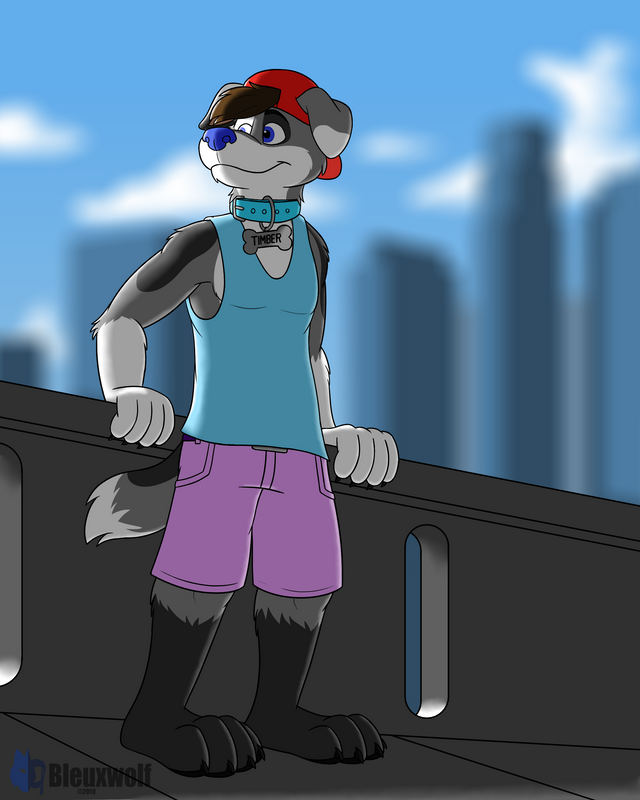
Such a pretty day for a little jog around town. Looks like Timber has decided to take a little rest after logging some blocks.
This is a full detail semi-realistic with full detail background gift art for TimberPuppers on Twitter. I wanted to draw (again) his character because I had thought he was a cute character especially as a toony dog. I've already drew him before in my toony style (in fact you can see one of them in my banner at the bottom of this post and in my Steem header 😉).
Drawing Details
| ART PARAMETER | DETAIL |
|---|---|
| Art Medium | Digital: Krita |
| Art Tool | Wacom Cintiq 13 HD |
| Art Style | Semi-Realistic |
| Level of Detail | Full Detail |
| Background Detail | Full Detail |
| Size | Full Body |
| Dimensions | Portrait: 2048 x 2560 |
| Date Completed | 2019-01-21 |
My Layer Layout
- Foregroud Folder
- Lineart
- Highlights
- Backligthts
- Shadows
- Color Folder
- Quaternary Color layer
- Tertiary Color layer
- Secndary Color layer
- Base/Primary Color layer
- Background Folder
- Lineart
- Color Folder
- Highlights layer
- Shadows layer
- Base/Primary Color
- (Copied and Merged Folder) Blurred Background layer
- (Folder to be copied, merged and blurred.)
- Buildings layer
- Clouds layer
- Sky layer
- Extra Sketch layer
- Fine Sketch layer
- Rough Sketch layer
- Canvas Background layer (neutral color like grey)
Phase 1: Foregound Part 1
Canvas Prep/Rough Sketch
Layers Used:
Canvas Background layer
Rough Sketch layer
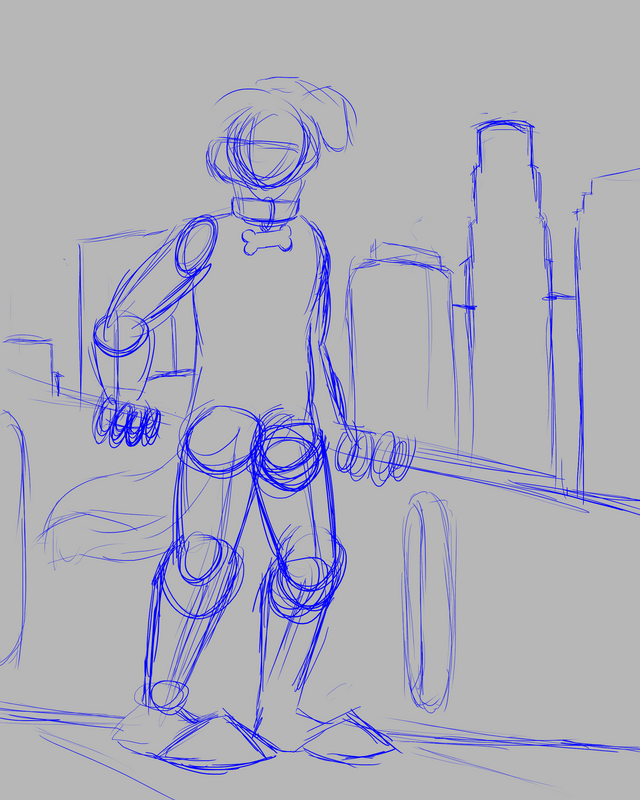
We are going to start off with a grey or any neutral color background and sketch in a rough sketch of the basic shapes and the pose of the character and background.
Fine Sketch
Layers Used:
Fine Sketch layer
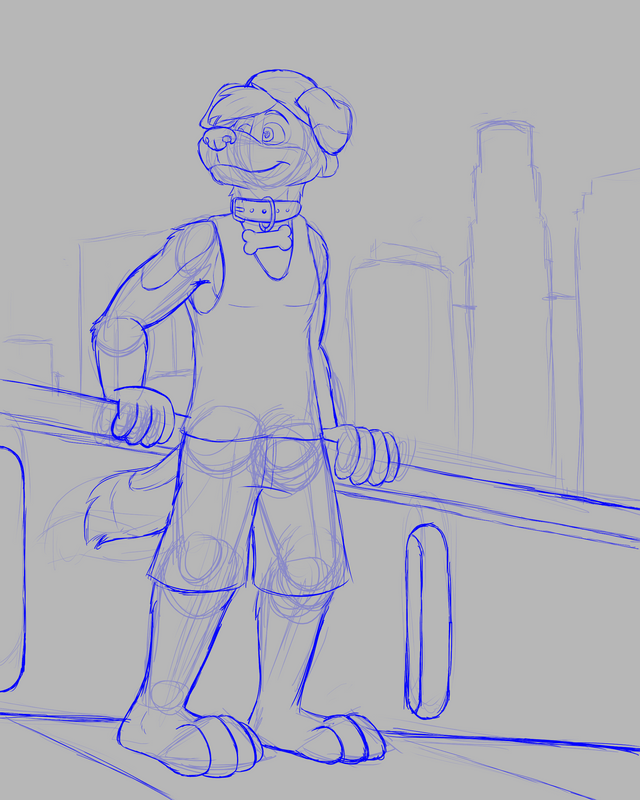
Then sketch over the roughs with a finer sketch to detail the figure more.
Lineart
Layers Used:
Foreground Folder -> Lineart layer
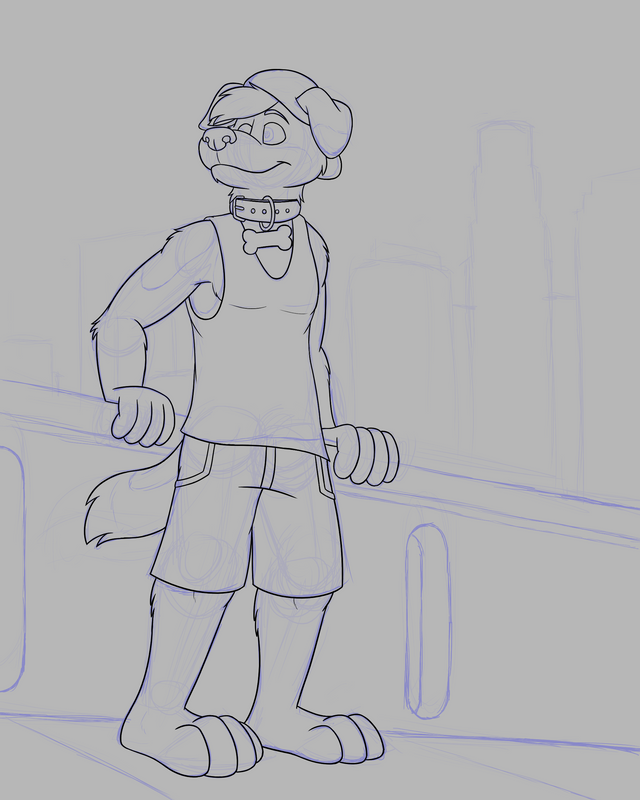
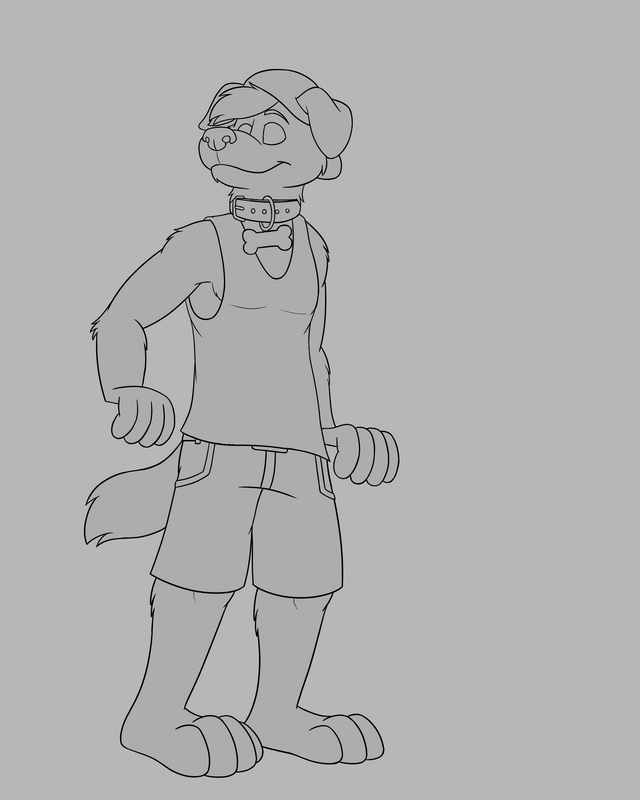
Once satisfied with the look, I trace over the fine sketch with lineart.
Base/Primary Color
Layers Used:
Foreground Folder -> Base/Primary Color layer
Then with the continguous selection "wizard" tool, select all areas outside of the character's parameters, invert the selection, and then fill with the character's primary color. Do this method this way to reduce gaps in your base color that you would otherwise have is you just select areas within the character.
Detail Color
Layers Used:
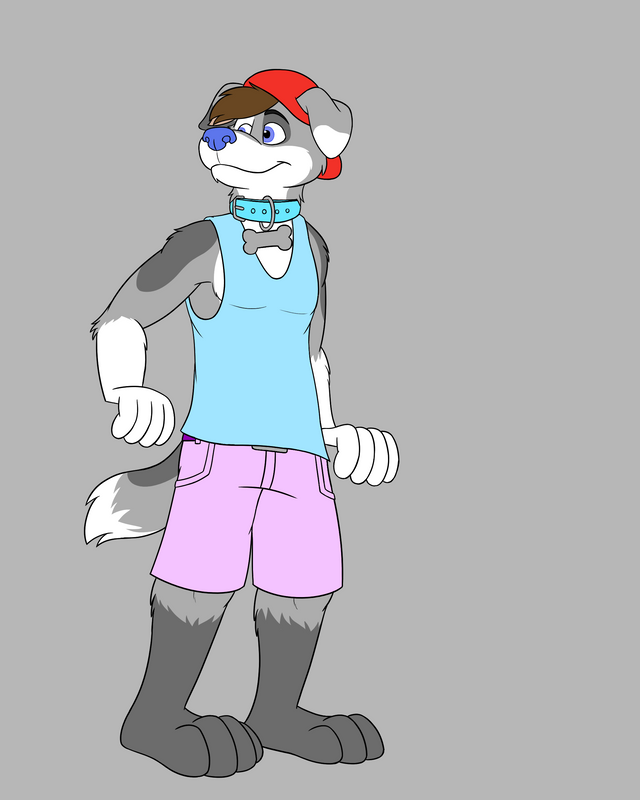
Foreground Folder -> Color Folder -> (Folder's color layers.)
Here you just add in the character's other color details utilizing as many layers as you need.
Phase 2: Background
Sky Layer
Layers Used:
Background Folder -> Sky layer
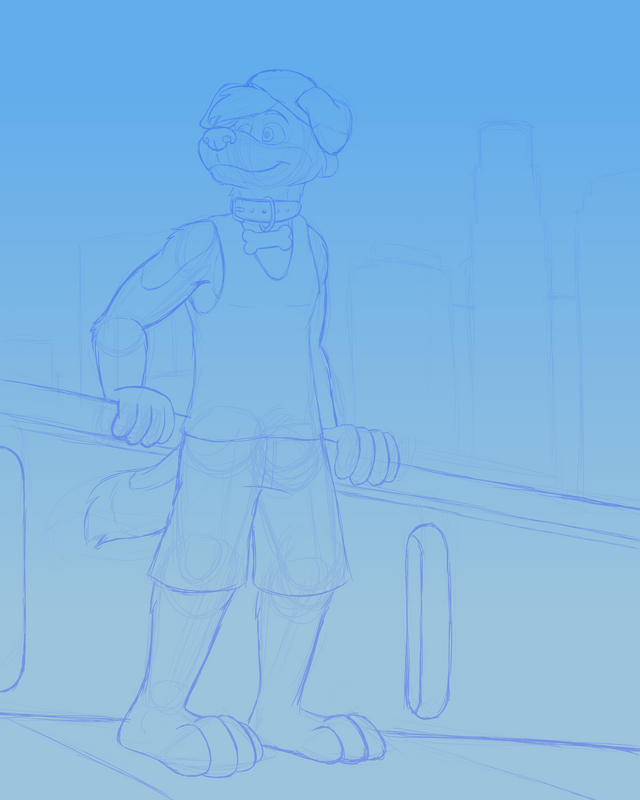
Really I guess I should've finished up the foreground still, but I went ahead and did the background to get a sense of how the lighting would be for the drawing. I start off with using the gradient tool to put in a gradient blue sky.
Cloud Layer
Layers Used:
Background Folder -> Clouds layer
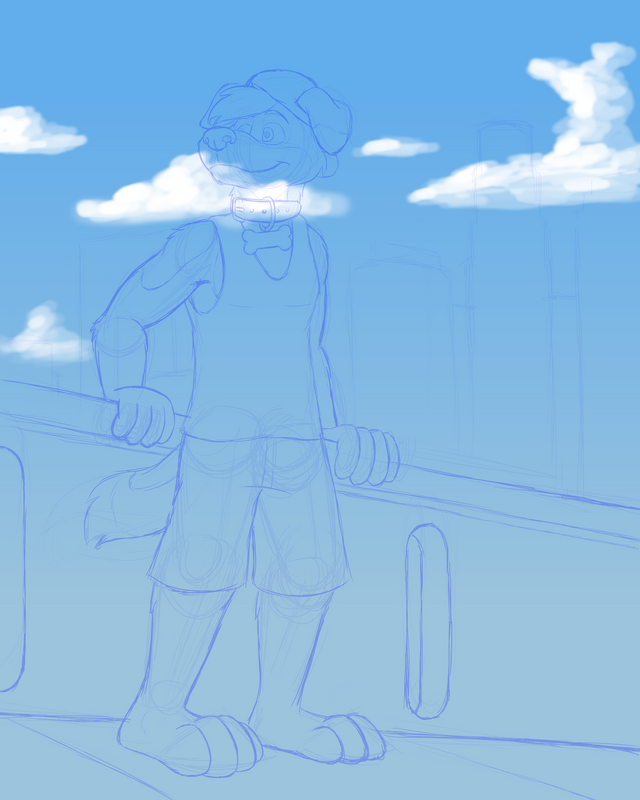
I add in some clouds.
Buildings Layer
Layers Used:
Background Folder -> Buildings layer
And add in the buildings. Hint: The line tool helps here. ;)
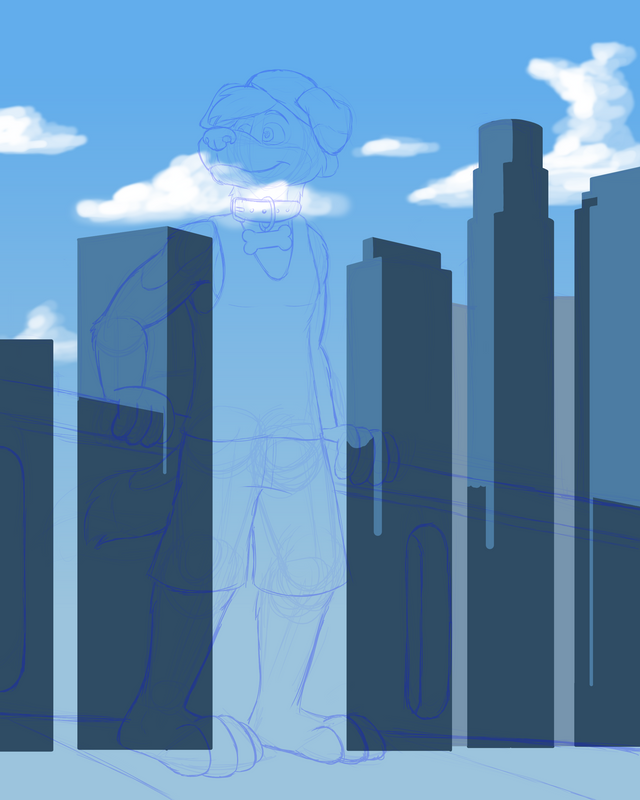
Blurring
Layers Used:
(Folder to be copied, merged and blurred.)
(Copied and Merged Folder) Blurred Background layer
For myself here, I basically put the sky, clouds, and buildings layers in a folder, copied the folder, and merged the contents in the folder. Then used a blur effect on the newly created layer from the merge.
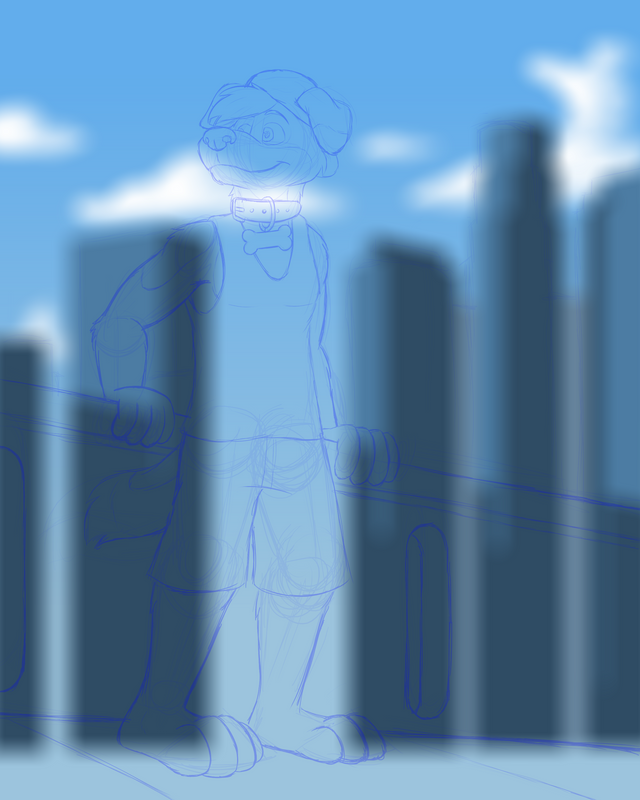
Lineart
Layers Used:
Background Folder -> Color Folder -> Lineart layer
I then lineart the wall and sidewalk.

Base/Primary Color
Layers Used:
Background Folder -> Color Folder -> Base/Primary layer
Just like the foreground (temporarily turn off the blurred background of course), select areas outside the parameters of the wall with the contiguous selection tool, invert the selection, then fill the area will the base/primary color.
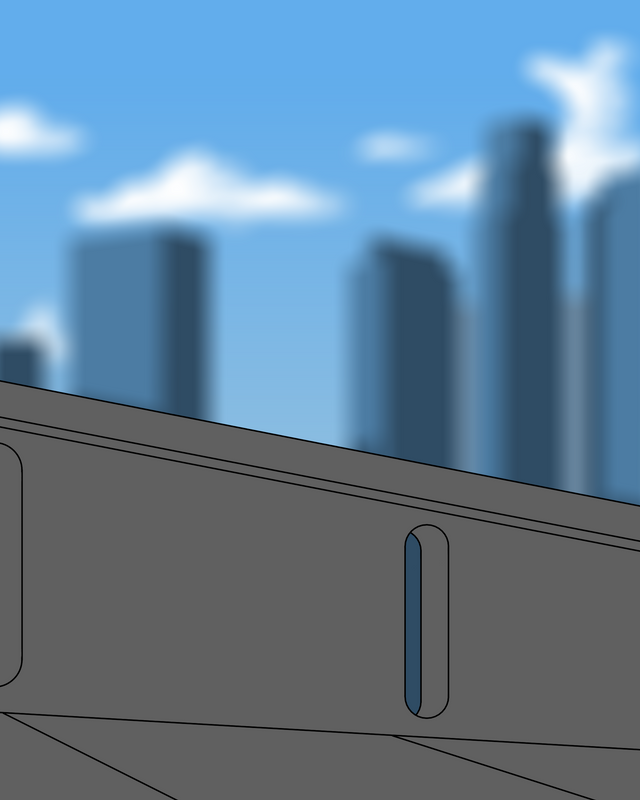
Shadows
Layers Used:
Background Folder -> Color Folder -> Shadows layer
Add in the shadows.
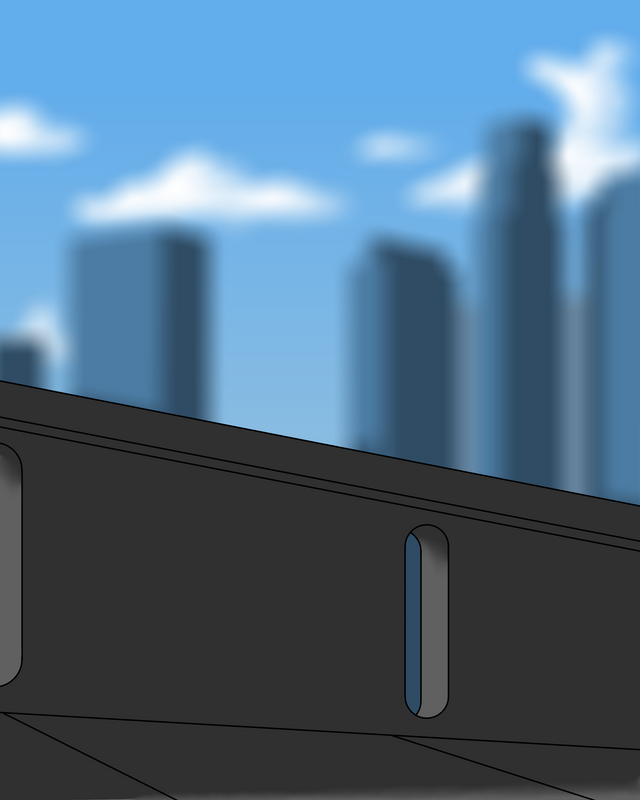
Highlights
Layers Used:
Background Folder -> Color Folder -> Highlights layer
Add in the highlights. Backlights not necessarily needed for this.

Phase 3: Foreground Part 2
Shadows
Layers Used:
Foreground Folder -> Shadows layer
I return to the foreground folder now that I got a sense of direction of where the light is coming from to add in the shadows...

Highlights
Layers Used:
Foreground Folder -> Highlights layer
...and the highlights...
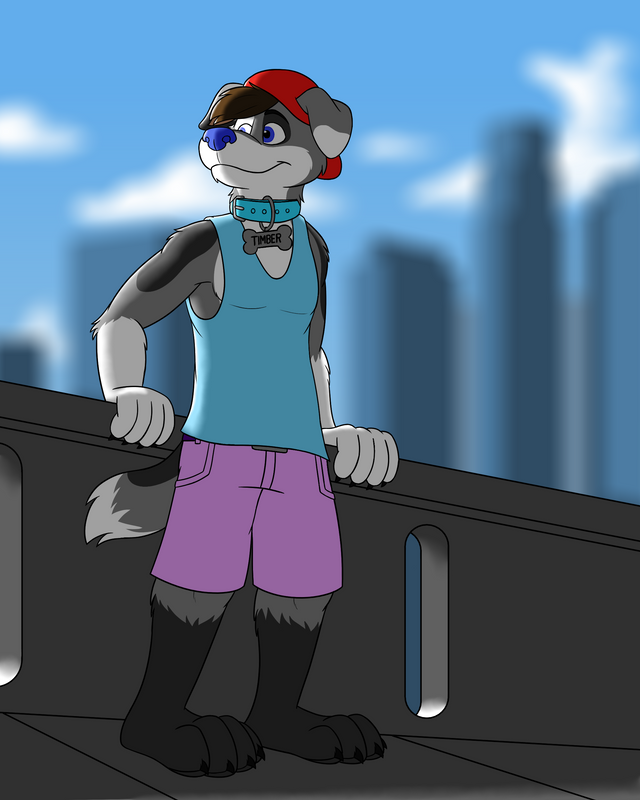
Backlights
Layers Used:
Foreground Folder -> Backlights layer
...and the backlights.

Misc. Details/Final Check/Final Result
Layers Used:
(Various layers)
Finally, I check over the drawing to make sure I got all the details I needed done and corrected. Then the drawing is completed!

Thank you and hope you like the pic and tutorial!
Timber © Tw: TimberPuppers
Artwork by @bleuxwolf


Congratulations @bleuxwolf! You have completed the following achievement on the Steem blockchain and have been rewarded with new badge(s) :
Click here to view your Board
If you no longer want to receive notifications, reply to this comment with the word
STOPTo support your work, I also upvoted your post!
Very cool work, both with the character and the background. Well done!
Thank you Trin!
Posted using Partiko iOS
Hi again, I'd like to let you know that I've featured your post on my Art Curation Initiative #8 - Help Me Select 3 Artists to Reward With SBI Shares
Thank you for the feature Trin! :)
Posted using Partiko iOS
Thank you so much for participating the Partiko Delegation Plan Round 1! We really appreciate your support! As part of the delegation benefits, we just gave you a 3.00% upvote! Together, let’s change the world!
This post was shared in the Curation Collective Discord community for curators, and upvoted and resteemed by the @c-squared community account after manual review.
@c-squared runs a community witness. Please consider using one of your witness votes on us here
I can see why you enjoy drawing TimberPuppers, he looks like a fun pup. Great art!
Oh yeah. He’s a cute doggo. :)
Posted using Partiko iOS
The character looks so happy and fit, and they interact well with the background. Nice works Blue :).
Thank you. :3
Posted using Partiko iOS
Nice picture ! The expression and pose are so natural and done well <3 Love the clean inking and colours, too! And I love the background as well, and the step by step presentation is nicely done <3 <3 <3
Thanks! This was a fun pic to do and to show the step by step for. Heh
Posted using Partiko iOS
hi bleuxwolf. I love the way you do your presentations, all very detailed. I'm trying to make my post, taking yours as an example.
Thank you Sosa! I'm glad my post can be an inspiration. X3
Hi @bleuxwolf!
Your post was upvoted by @steem-ua, new Steem dApp, using UserAuthority for algorithmic post curation!
Your UA account score is currently 1.719 which ranks you at #31943 across all Steem accounts.
Your rank has dropped 49 places in the last three days (old rank 31894).
In our last Algorithmic Curation Round, consisting of 247 contributions, your post is ranked at #79.
Evaluation of your UA score:
Feel free to join our @steem-ua Discord server