WebTutorial #1 : How to create live follower and following count for steemit account using Codeigniter
Repository
https://github.com/bcit-ci/CodeIgniter
What Will I learn ?
- You will learn how to configure and use Codeigniter Framework
- You will learn how to get follower and following count from steemit API
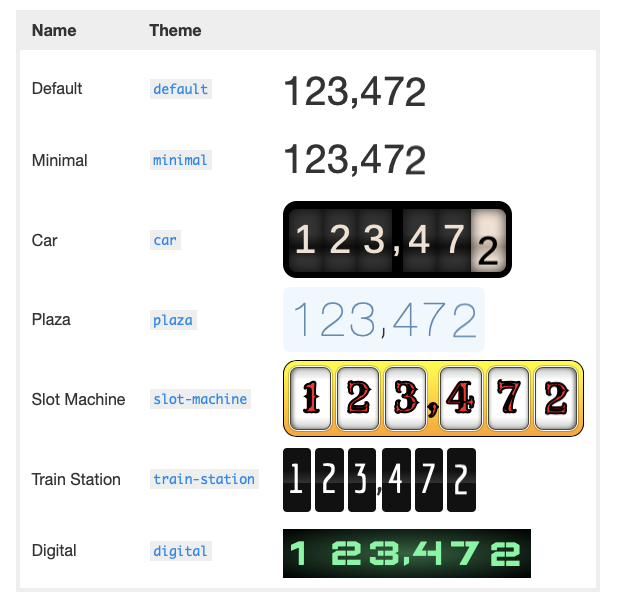
- You will learn how to animate the number using odometer
- You will learn how to load live count every second
Requirements
- Basic knowledge about PHP, Javascript, HTML
- Editor and browser
- XAMPP or LAMPP
Difficulty
- basic
Tutorial Content
This Live Follower / Following count is the same as the page for calculating yutube subcriber in real time. Here I am trying to use Codeigniter as a framework. For web page display I use bootstrap and to animate the numbers I use odometer. As for the data I take directly from the Steemit API.
- Configure Codeigniter
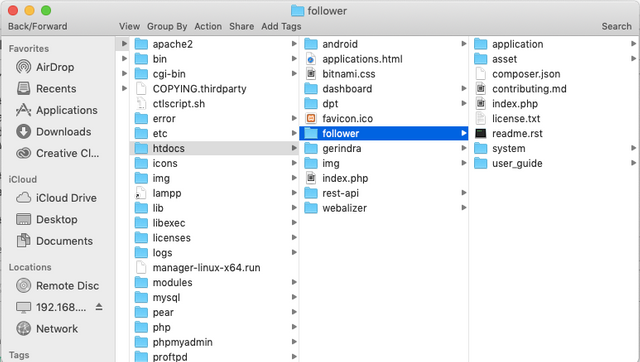
Download Codeigniter on its official website https://codeigniter.com/download
Extract it in htdoc folder and rename it as follower
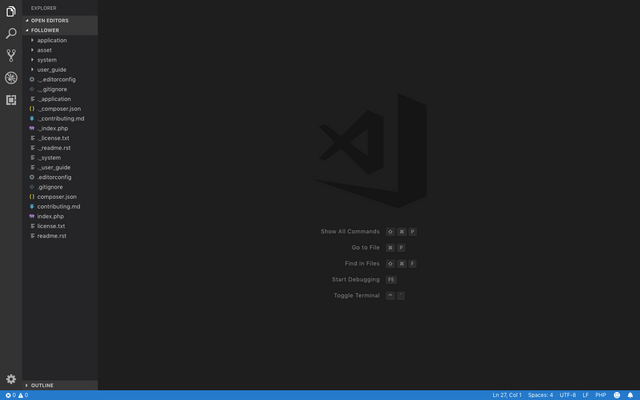
Open it on your editor. Here I use Visual studio code
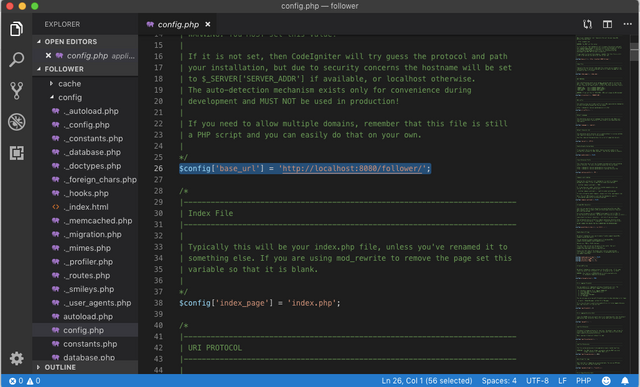
Open Application > Config > config.php and search
$config['base_url']then add the value with your base url
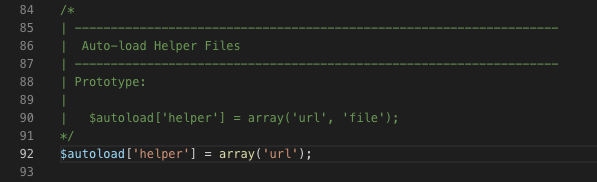
Open Application > Config > autoload.php and search
$autoload['helper']then addurlas array value
Open Application > Config > routes.php and search
$route['default_controller']then change the value fromwelcometofollower. This is to set the default controller.

Open Application > Controller then create new php file and rename it as
Follower.phpThen add this code to the
Follower.phpfile
<?php
defined('BASEPATH') OR exit('No direct script access allowed');

class Follower extends CI_Controller {

    public function index()
    {
        $this->load->view('follower');
        // to load the display page in application > view
    }
}
Now go to Application > View and create new php file as
follower.php. Why ? because in Controller file you load the page with name is follower, so you should create with the same name.Add html:5 component to
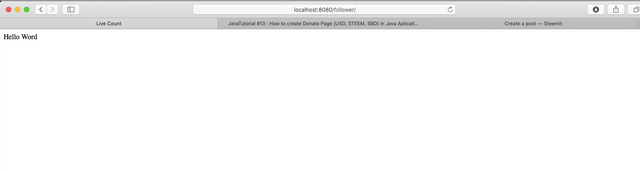
follower.phpand add some text in body then run on your browser to see the result
<!DOCTYPE html>
<html lang="en">
<head>
    <meta charset="UTF-8">
    <meta name="viewport" content="width=device-width, initial-scale=1.0">
    <meta http-equiv="X-UA-Compatible" content="ie=edge">
    <title>Live Count</title>
</head>
<body>
    Hello Word
</body>
</html>
- If you see like this that mean the configuration is success
- Design The Display Page using Bootstrap
- Add the CDN of Bootstrap in
headcomponent. For more detail you can read here : https://getbootstrap.com/docs/4.3/getting-started/introduction/
<link rel="stylesheet" href="https://stackpath.bootstrapcdn.com/bootstrap/4.3.1/css/bootstrap.min.css" integrity="sha384-ggOyR0iXCbMQv3Xipma34MD+dH/1fQ784/j6cY/iJTQUOhcWr7x9JvoRxT2MZw1T" crossorigin="anonymous">

    <script   src="http://code.jquery.com/jquery-3.3.1.min.js"   integrity="sha256-FgpCb/KJQlLNfOu91ta32o/NMZxltwRo8QtmkMRdAu8="   crossorigin="anonymous"></script>

    <script src="https://cdnjs.cloudflare.com/ajax/libs/popper.js/1.14.7/umd/popper.min.js" integrity="sha384-UO2eT0CpHqdSJQ6hJty5KVphtPhzWj9WO1clHTMGa3JDZwrnQq4sF86dIHNDz0W1" crossorigin="anonymous"></script>

    <script src="https://stackpath.bootstrapcdn.com/bootstrap/4.3.1/js/bootstrap.min.js" integrity="sha384-JjSmVgyd0p3pXB1rRibZUAYoIIy6OrQ6VrjIEaFf/nJGzIxFDsf4x0xIM+B07jRM" crossorigin="anonymous"></script>
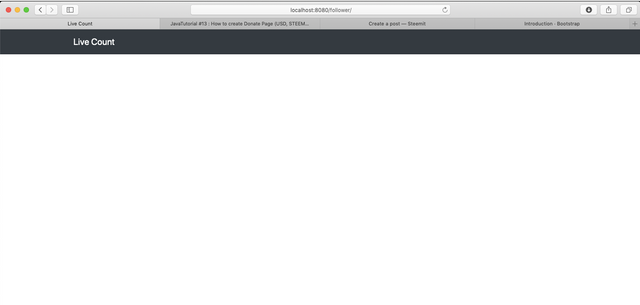
- Create a navbar to write the title
<nav class="navbar navbar-dark bg-dark">
        <div class="container">
            <a class="navbar-brand" href="#">Live Count </a>
        </div>
    </nav>
result :
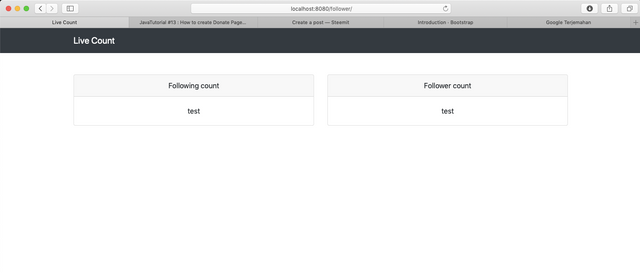
- Create 2 columns using
cardclass. One for follower and one other for following.
<div class="container">
        <div class="row mt-5">
            <div class="col-sm-6">
                <div class="card text-center">
                    <div class="card-header">
                        Following count
                    </div>
                    <div class="card-body">
                        test
                    </div>
                </div>
            </div>

            <div class="col-sm-6">
                <div class="card text-center">
                    <div class="card-header">
                        Follower count
                    </div>
                    <div class="card-body">
                        test
                    </div>
                </div>
            </div>
        </div>
    </div>
result :
- Add Odometer
- To animate the number of result we use odometer. you can check it on GitHub : https://github.com/HubSpot/odometer
- Odometer provide some theme you can see the detail on its document. Here I use
odometer-car-theme
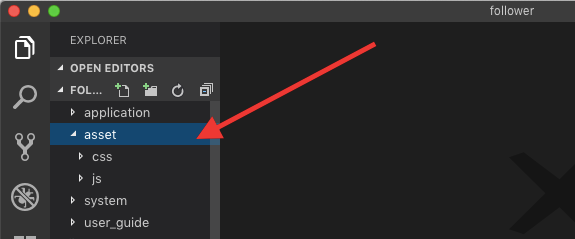
- back to visual studio code. Create new folder as
assetin root. Then create 2 new folder again in asset. Itsjsandcss
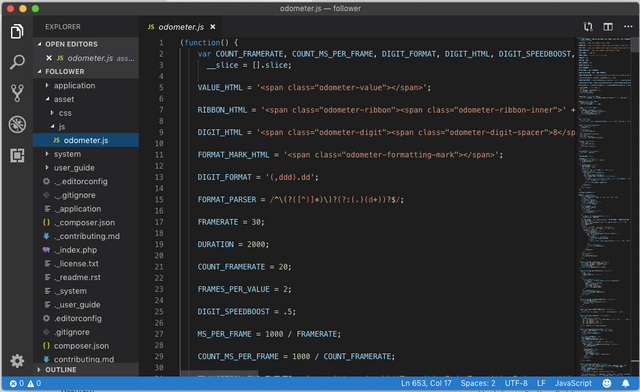
- create new js file as
odometer.jsin asset > js. - Copy all code from https://github.com/HubSpot/odometer/blob/master/odometer.js and paste it on your
odometer.jsin js folder
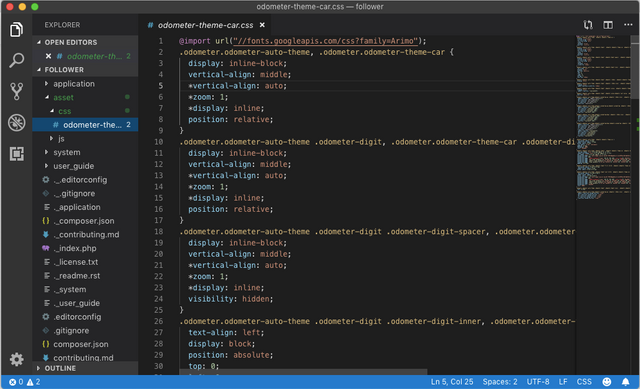
- Create new css file as
odometer-theme-car.cssin your css folder. - Copy all code from https://github.com/HubSpot/odometer/blob/master/themes/odometer-theme-car.css and paste it on your
odometer-theme-car.cssfile.
- To Call odometer js dan css just go to application > view > follower.php add the following code in
headelement
<script src="<?php echo base_url()?>asset/js/odometer.js"></script>
<link rel="stylesheet" href="<?php echo base_url();?>asset/css/odometer-theme-car.css">
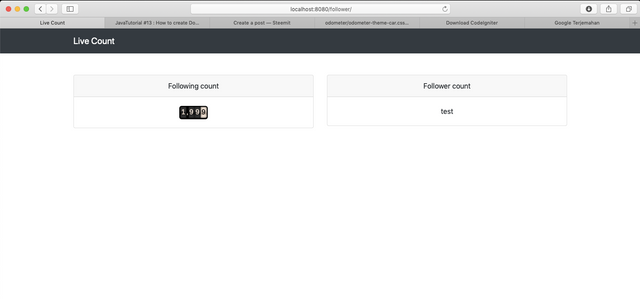
- To try the odometer just add this code in
card-bodyclass
<div id="following" class="odometer">1999</div>
If you see like this that mean the odometer is run as possible
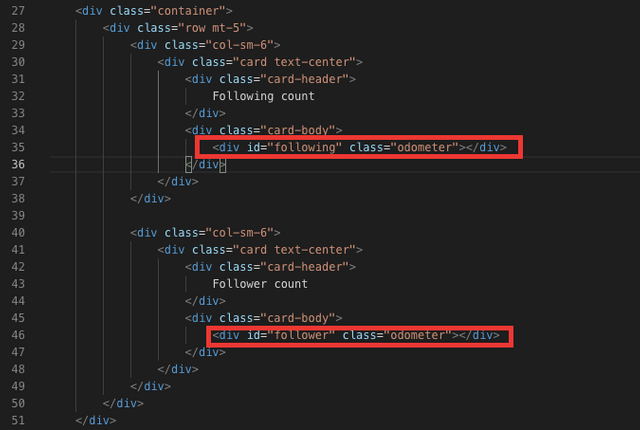
Now add
<div id="follower" class="odometer"></div>incard-bodyfor follower and<div id="following" class="odometer"></div>for following like this
- Get live data from STEEM API
- add steem js CDN in head element of
follower.phpfile
<script src="//cdn.steemjs.com/lib/latest/steem.min.js"></script>
Open
<script>element under</body>then addready functionlike this
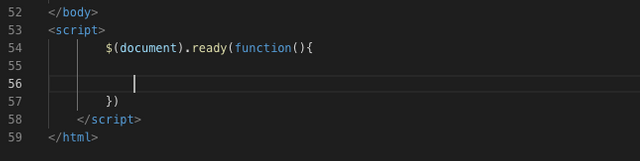
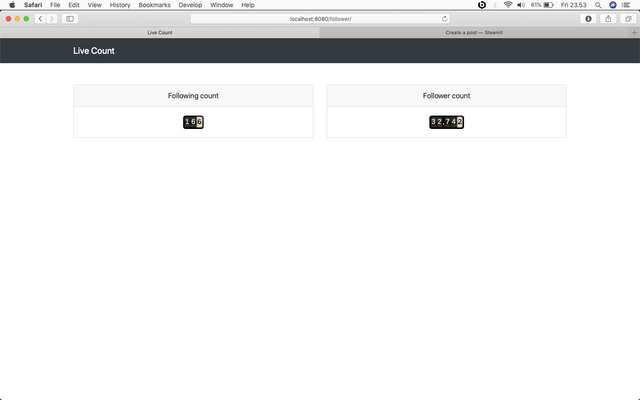
Add the query from steem js to get the follower and following count. Then get the following and follower count and add it to html element with
followerandfollowingid. like this.
              steem.api.getFollowCount('team2dev', function(err, result) {
                    $('#following').html(result.following_count);
                    $('#follower').html(result.follower_count);
                });
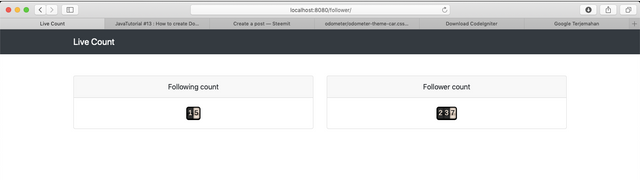
result :
- To get live count in certain time, we need to use
setIntervalfunction like this :
$(document).ready(function(){

            setInterval(function() {
                steem.api.getFollowCount('team2dev', function(err, result) {
                    $('#following').html(result.following_count);
                    $('#follower').html(result.follower_count);
                });
            }, 1000);
            // 1000 is 1 second
        })
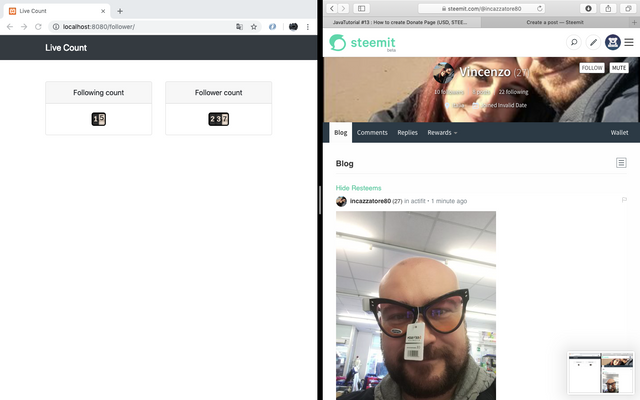
Now try to run your live count page in one browser and in other browser you try to follow and unfollow some account, you will see the live count here.

Done, Now we have the some webpage for live follower and following count of steemit account. You can modify it as you want.
Curriculum
- [Tutorial] How to Combine getAccountVotes and getContent in Steem-Js
- how to create payment with SBD page on e-commerce site
Thank you for your contribution @team2dev.
Below are the points we suggest for improvements to your tutorial:
Your tutorial is quite short for a good tutorial. We recommend you aim for capturing at least 2-3 concepts.
Your tutorial has very basic features that are already well explained in various tutorials.
We suggest that in the next tutorial you bring a more innovative subject/features to the open source community.
In code sections always put comments, it will help less experienced readers in the code.
The structure of your tutorial is a bit confusing. Try to improve the structure of your next tutorial.
Your contribution has been evaluated according to Utopian policies and guidelines, as well as a predefined set of questions pertaining to the category.
To view those questions and the relevant answers related to your post, click here.
Need help? Chat with us on Discord.
[utopian-moderator]
Thank you sir. I will do all my best for next
Thank you for your review, @portugalcoin! Keep up the good work!
Hi @team2dev!
Your post was upvoted by @steem-ua, new Steem dApp, using UserAuthority for algorithmic post curation!
Your post is eligible for our upvote, thanks to our collaboration with @utopian-io!
Feel free to join our @steem-ua Discord server
Hey, @team2dev!
Thanks for contributing on Utopian.
We’re already looking forward to your next contribution!
Get higher incentives and support Utopian.io!
Simply set @utopian.pay as a 5% (or higher) payout beneficiary on your contribution post (via SteemPlus or Steeditor).
Want to chat? Join us on Discord https://discord.gg/h52nFrV.
Vote for Utopian Witness!
Congratulations @team2dev! You received a personal award!
You can view your badges on your Steem Board and compare to others on the Steem Ranking
Do not miss the last post from @steemitboard:
Vote for @Steemitboard as a witness to get one more award and increased upvotes!