WordPress Speed and Security Optimization with CloudFlare

If you have a WordPress blog, you want to make sure that it loads fast and has the basic security protections in place.
This is my second tutorial on Steemit, please let me know in the comments if you would like more of these. You can read my first tutorial here.
WordPress Speed and Security Optimization
There are many different WordPress plugins that you can install to do this, but there is a Free service that you can use called “CloudFlare”.
Let's have a look at before I optimized my blog and after.
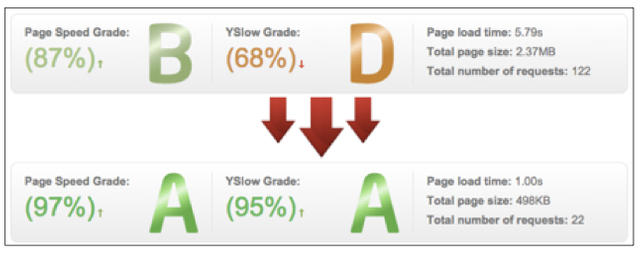
GTmetrix is another free service that can help you measure your blog's speed.
I used a bunch of plugins and CloudFlare to get this kind of results, but if you only use CloudFlare you will see a jump in your scores after 24 hours.
What is CloudFlare?
CloudFlare is mainly a Content Delivery Network (CDN).
CloudFlare protects and accelerates any website online and this is how it works.
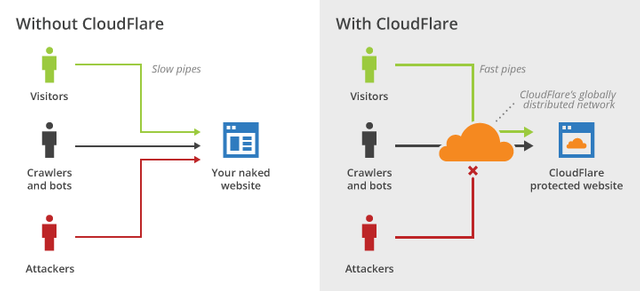
After you have set up your blog in CloudFlare, your web traffic is routed through their network. Your blog is automatically optimized and your visitors get the fastest page load times and best performance possible.
CloudFlare also blocks threats and limit abusive bots and crawlers and you will see an improvement in server performance and a decrease in spam and other attacks.
Create an account here: www.cloudflare.com
How to set up your blog in CloudFlare?
After you have registered for an account, adding your blog is very easy and straightforward.
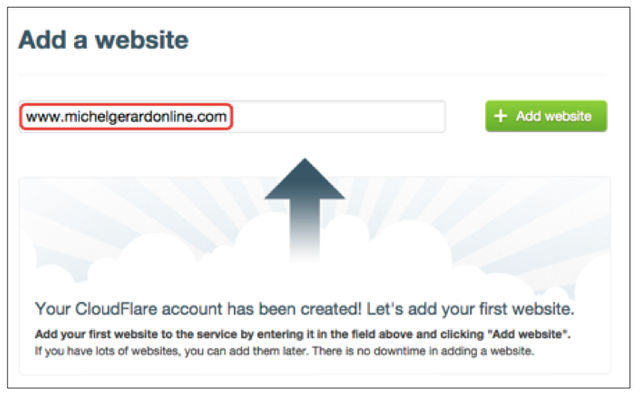
Add your URL and click the “Add website” green button.
CloudFlare is scanning your DNS records and a video is played to explain what to do in the next steps.
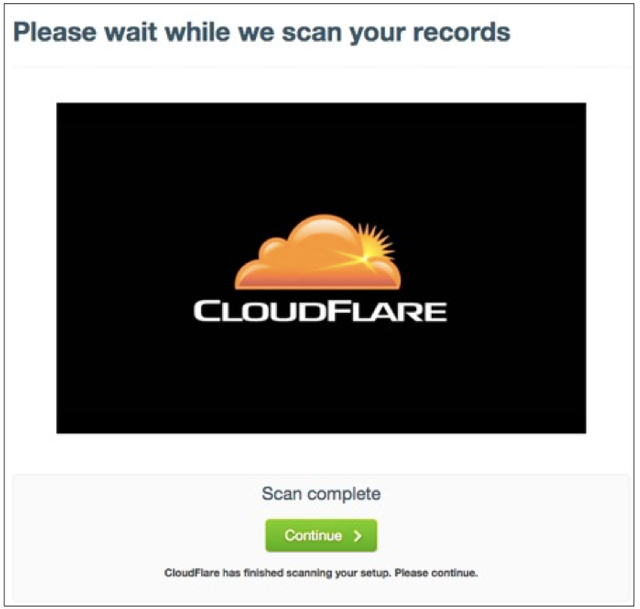
After the scan is completed, click the “Continue” green button.
You are now in the DNS section.
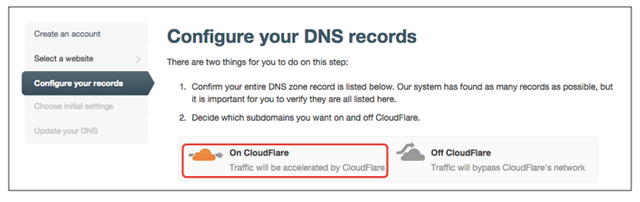
Select what you want to go through CloudFlare and what goes through your server. Click on the cloud icon to enable it. Click again to disable it.
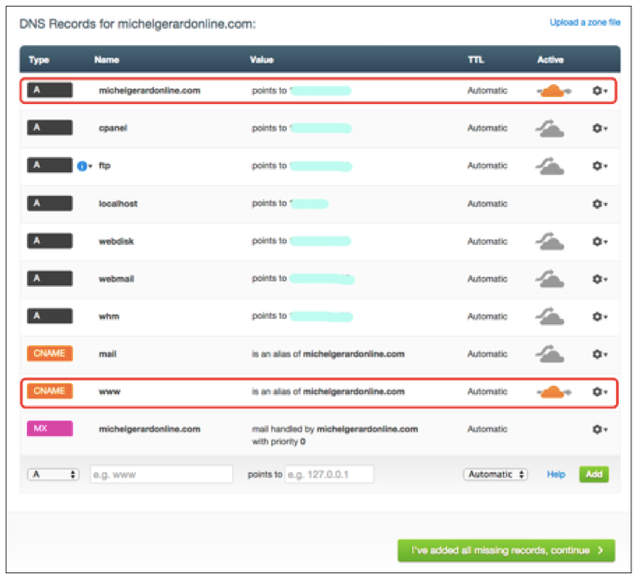
Usually you only need to have the blog with and without the www.
Notice that a FTP sub-domain was created for you to upload files when needed.

The next step is to click on “I’ve added all missing records, continue” green button.
On the next screen you are presented with options. By default it will be the paid option, just select the free plan.
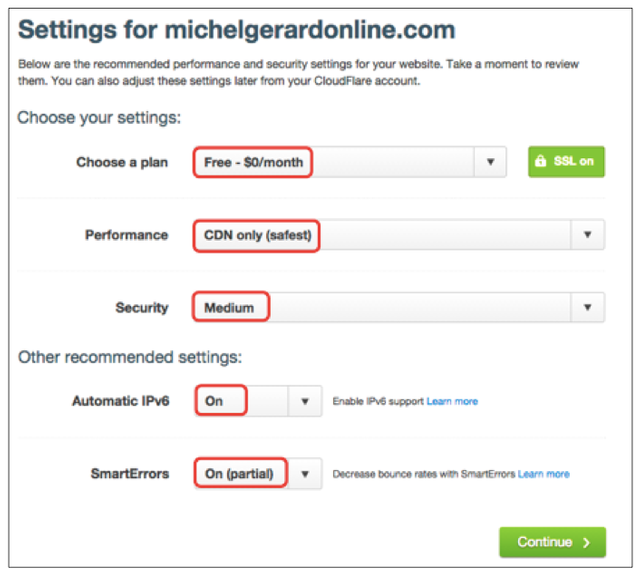
Select all options as I am showing you above.
Later, your settings can be changed and you can upgrade to a paid plan for more benefits if you wish.
Click the “Continue” green button.
The most difficult part for some people will be to change their name servers as indicated on the next screen.
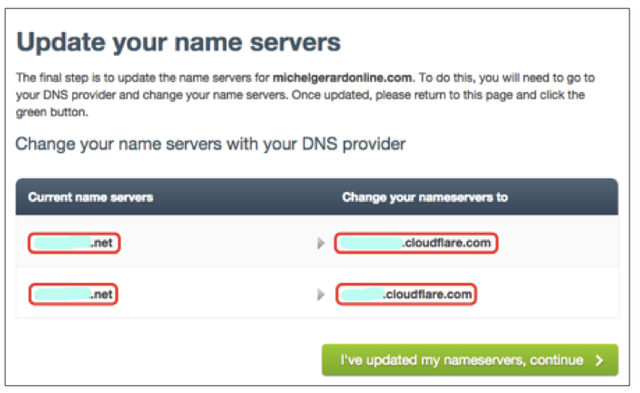
This can be done on your domain registrar: Go Daddy, NameCheap or any company.
After the change is made, click the “I’ve updated my name servers, continue” green button.
After you have done that, test your site in GTMetrix after 24 hours and see your results.
There are also lots of settings, stats and options inside the CloudFlare dashboard that I will let you explore.
I hope this is helpful and if you have any questions, please comment below. If you feel this post is useful please upvote. Follow me for more of these tutorials.
Michel Gerard
you make great tutorials keep it up
Thank you Joel!
That tutorial i will use for my website www.rapay.com ... now i just fixing small settings before get active
I will follow that type of tutorials
Plamen
Thank you very much for letting me know the tutorial is useful for you.
Hi @gmichelbkk great post very useful content Thank you very much for your time and informations !! 😎👍
I'm now #resteemed and #upvoted ( also shared on Facebook #sharingiscaring )
Have a nice day with best regards from Germany ☉😎
Lars @laloelectrix
Thank you very much Lars. I am glad you like the tutorial.
Very informative post. Thank you Michel
My pleasure.
Having a few websites I find speed and security vitally important, I'll see which of these points I can implement and thanks for sharing @gmichelbkk.
My pleasure.
Now this is something unlike ANYTHING organic!!!!
If only that was true...
Organic in itself my friend.
Glad to be a part.
STEEM ON.
VERRRRY NICCCCCE!!
1 By 1.
Another informative and helpful post, will have to look into this piece of advice thanks @gmichelbkk
Thank you very much Joan.
awesome article!! I should start using my wordpress account!
Thank you Shaunf.