How to Add a Custom Token to the NEON Wallet
The NEO blockchain is starting to experience more ICOs, which means more tokens to put in your wallet. This is similar to when Ethereum started to have a lot of ICOs and people needed to add a custom token to their MyEtherWallet wallet. This guide covers adding a custom token to your NEON wallet in a few easy steps.
Adding a custom token to your NEON Wallet
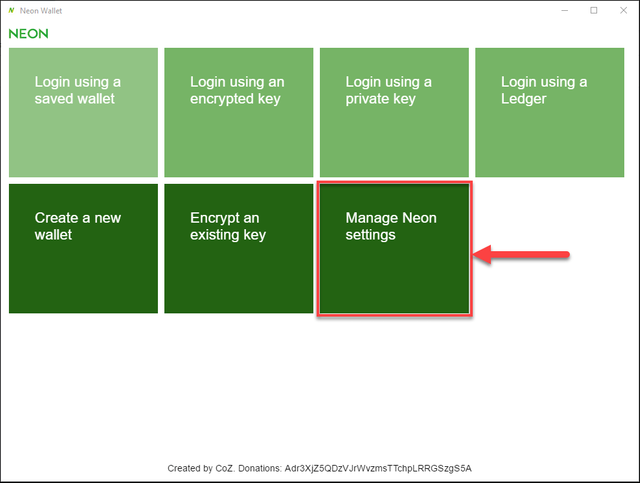
- Open the NEON wallet app and choose “Manage Neon Settings”
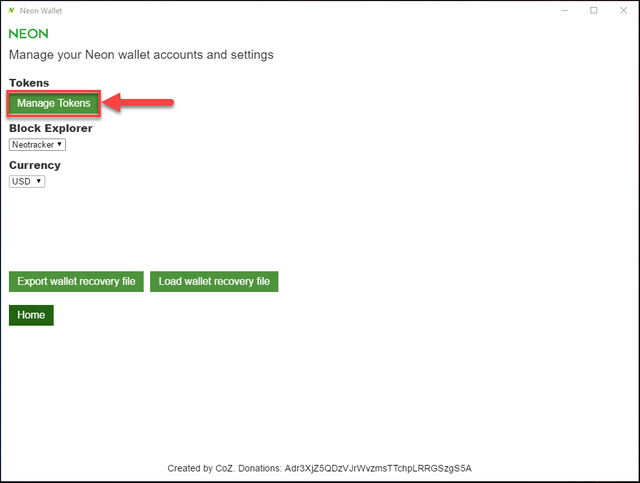
- Click the “Manage Tokens” button
- You will notice there are a few tokens already listed here. The current ones are DBC, RPX, RHT, and QLC. Click the “Add a new token” button
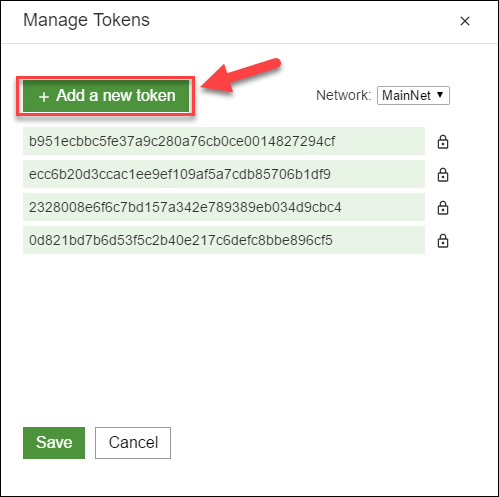
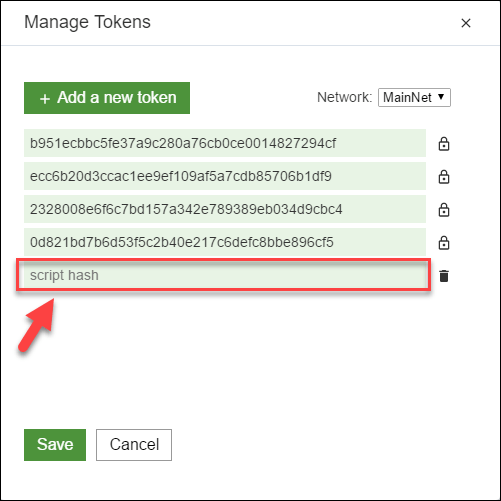
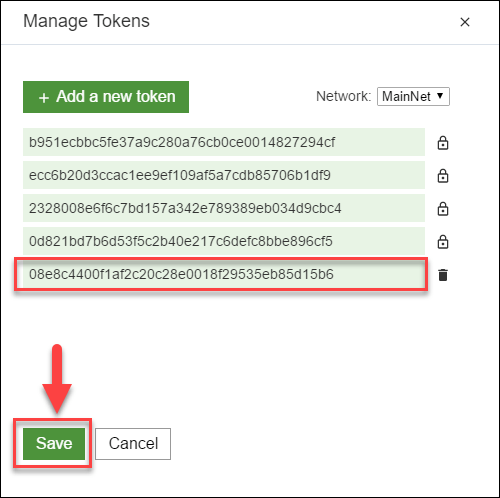
- Enter in the script hash for the token you want to add and click “Save”.
In this example, I wanted to add the Trinity token (TNC). I went to the NEO Tracker Asset tab and found TNC to get the hash. Here is the asset page of Trinity so you can see: https://neotracker.io/asset/08e8c4400f1af2c20c28e0018f29535eb85d15b6 . The script hash is 08e8c4400f1af2c20c28e0018f29535eb85d15b6 in case you want to follow along.
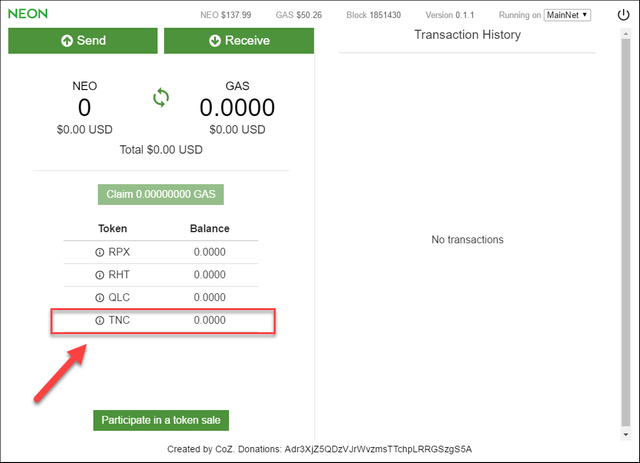
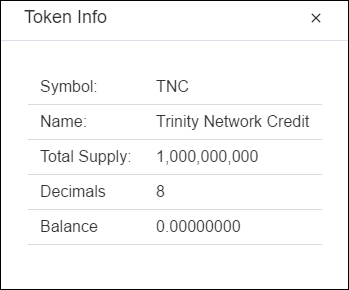
- Now you can login to your NEON wallet and should see TNC listed (top screenshot). Clicking on the ‘i’ will show you the token details (bottom screenshot) Note that it can take a minute or 2 for the tokens to display.
Summary
Adding a custom token to the NEON wallet is a straightforward process. A lot more ICOs are coming to the NEO blockchain, so you can expect to perform these steps more frequently. Be sure to check back for guides on how to find the script hash for a token, as well as how to send tokens from your NEON wallet