SLC-S26/W6 | "Coloured pottery"
Greetings to all my creative friends,


Required Material
1- Plaster of Paris
2- water
3- Plastic bottle for mold
4- Yellow 🟡 Colour
5- bowl for mixing
6- oil For greasing
7- Hand made Bees sticker
8- Scissor
|
|

My Process
Step 1 Mold Preparation
For the mold, I used an empty plastic bottle because it’s simple, available at home, and saves plutocrat. As suggested, I cut the top part neatly with a knife and greased the inside smoothly with oil so that it becomes easy to remove the pot latterly.
|
|
|

Step 2 Mixing the Materials
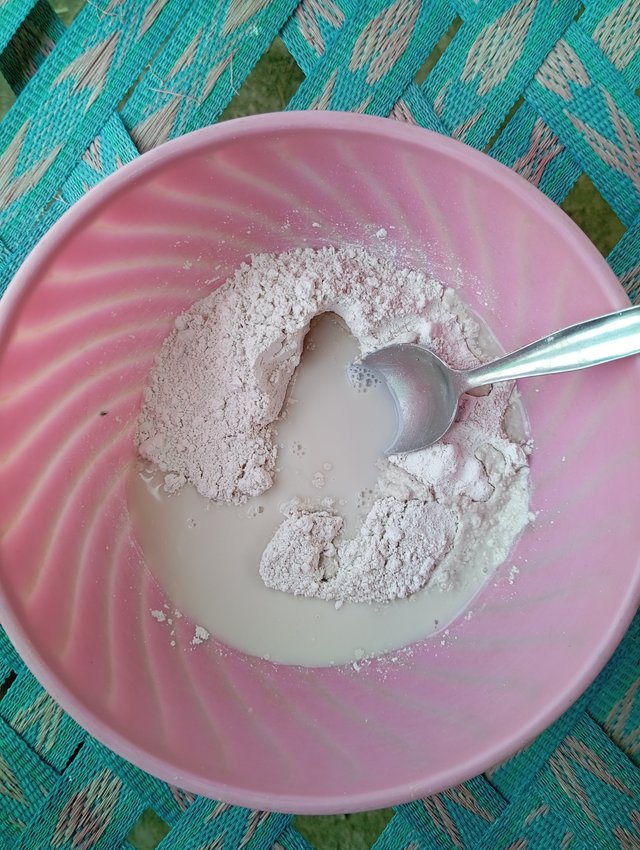
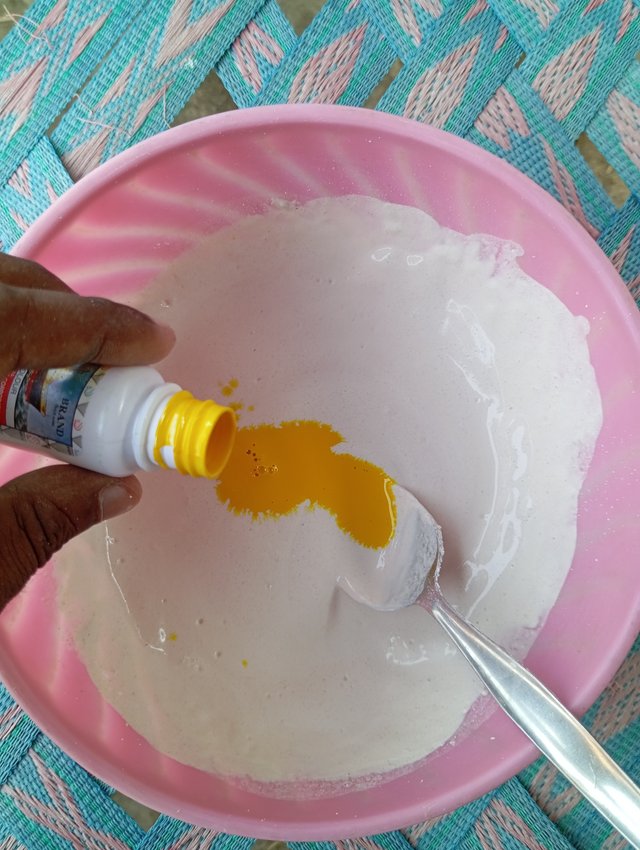
I took pop( about half kg) and added water gradationally until I got a smooth watery admixture. This time, I wanted my pot to look fresh and lively, so I added liquid yellow colour into the admixture.
|
|
 |
 |
|


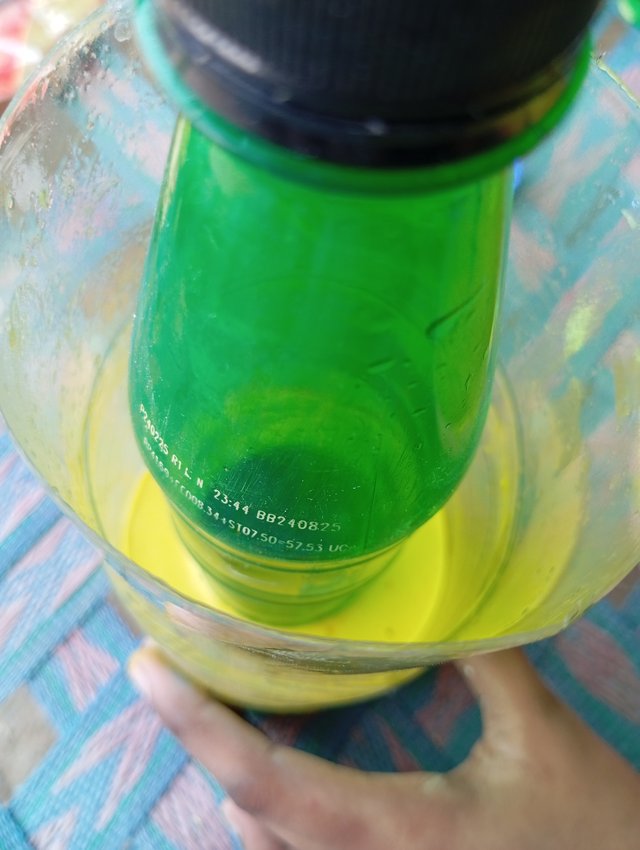
After mixing duly, I placed a small plastic bottle in the center of the box mold to produce a concave space.
|
|
 |

Step 3 Drying Process
I kept the mold away for drying. Since I used plaster of Paris, it demanded around 2 hours to dry duly.
|
|
|

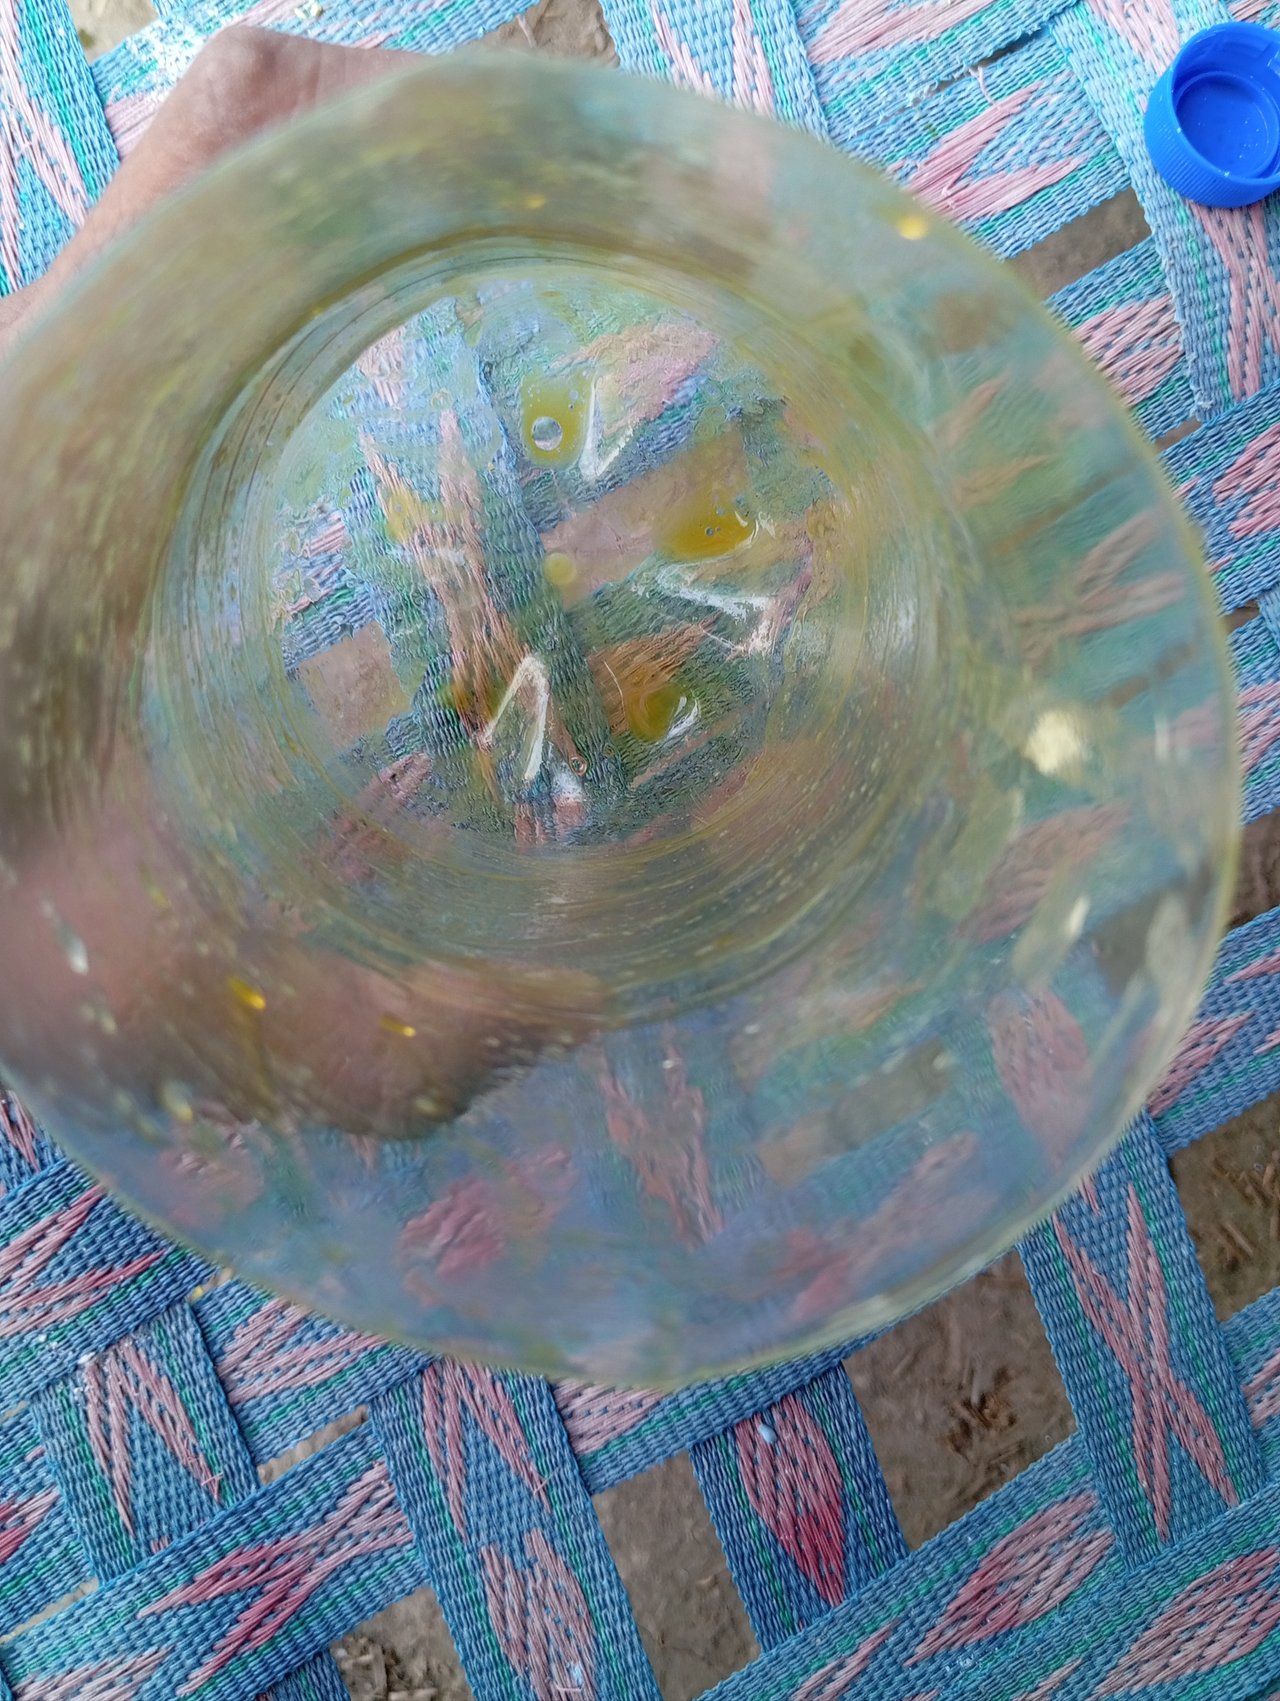
Then, I precisely tore away the tetra pack and cut out the plastic bottle. Eventually, my raw pot shape was ready.
|
|
|


Step 4 Decoration & Final Touch
For decoration, I used acrylic black to draw honey bee house basic and famous structure beehive and use some hand made bee stickers for more attractiveness. I applied it gently with the help of a small spatula to give some texture. I also used a unique handmade beehive design on one side to make it look more natural. Incipiently, I decorated it with artificial flowers which gave it a complete and beautiful look.
|
|
|
|
|
|


My Final Pot
Then's the finished pot. I genuinely appreciated how the blue shade came out with a smooth texture, and the stencil arrangement made it more seductive. It pivoted out better than I anticipated, and I feel superior of the outgrowth.
|
|
|
|
|
|


|
|
|

Student Tasks
1. Pot Making
I completed my pot using a plastic bottle mold, white cement admixture, added yellow colour, and decorated with hand made unique design and flowers.
2. Are you satisfied with your final results???
Yes, I'm blissful and fortunate with the final results.
3. At the end Share your opinion about the pottery classes
These pottery classes have been truly helpful. Every week I learned new tips and ways which were explained in a simple and practical way. The stylish part was that utmost accoutrements were ménage- grounded, so I did n’t have to spend redundant plutocrat. This course encouraged me to be creative and confident in trying new art forms.
4. Showcase your all projects that you submitted throughout the whole season (only pictures required)
Then I present all my projects from the once weeks in one frame Insert collage or filmland of all former workshop then)
|
|
|
|
|
|


Conclusion
This was my entry for Week 6 of the Pottery Challenge( Coloured Pottery). I delighted this final week the most because colours brought further bio into pottery making. I unfeignedly thank our educator for guiding us so wonderfully step by means, and I feel divine to be allotment of this trip.
I invite my friends @dasudi, @taaher1, @sadaf02, @jannat7 and @josepha to join this week’s challenge.
Best Regards,
@abdullaht
X link
https://x.com/steemlover/status/1968799513423888522?t=WKHV4g1ROhHdsJ-IhOu5bA&s=19