Replacing Radiator Support, Fender and Bumper Cover on My 2003 Mach 1
As a DIY kind of guy and because this accident happened to be my fault, I decided it was time to try my hand at some body work. (I wasn't about to let the insurance company potentially give me a salvage title)
The damage was mainly confined to the radiator support and front bumper/fender. I bought a new radiator support, painted bumper and painted fender for around $700 online (Ebay,Amazon,etc.).
The main tools I used were:MIG welder, angle grinder, reciprocating saw, clamps, and various sockets/wrenches.
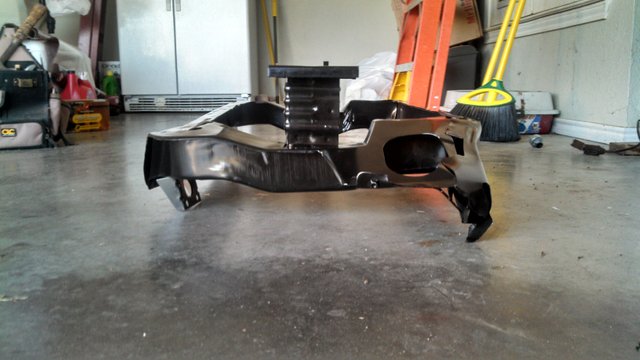
New radiator support.
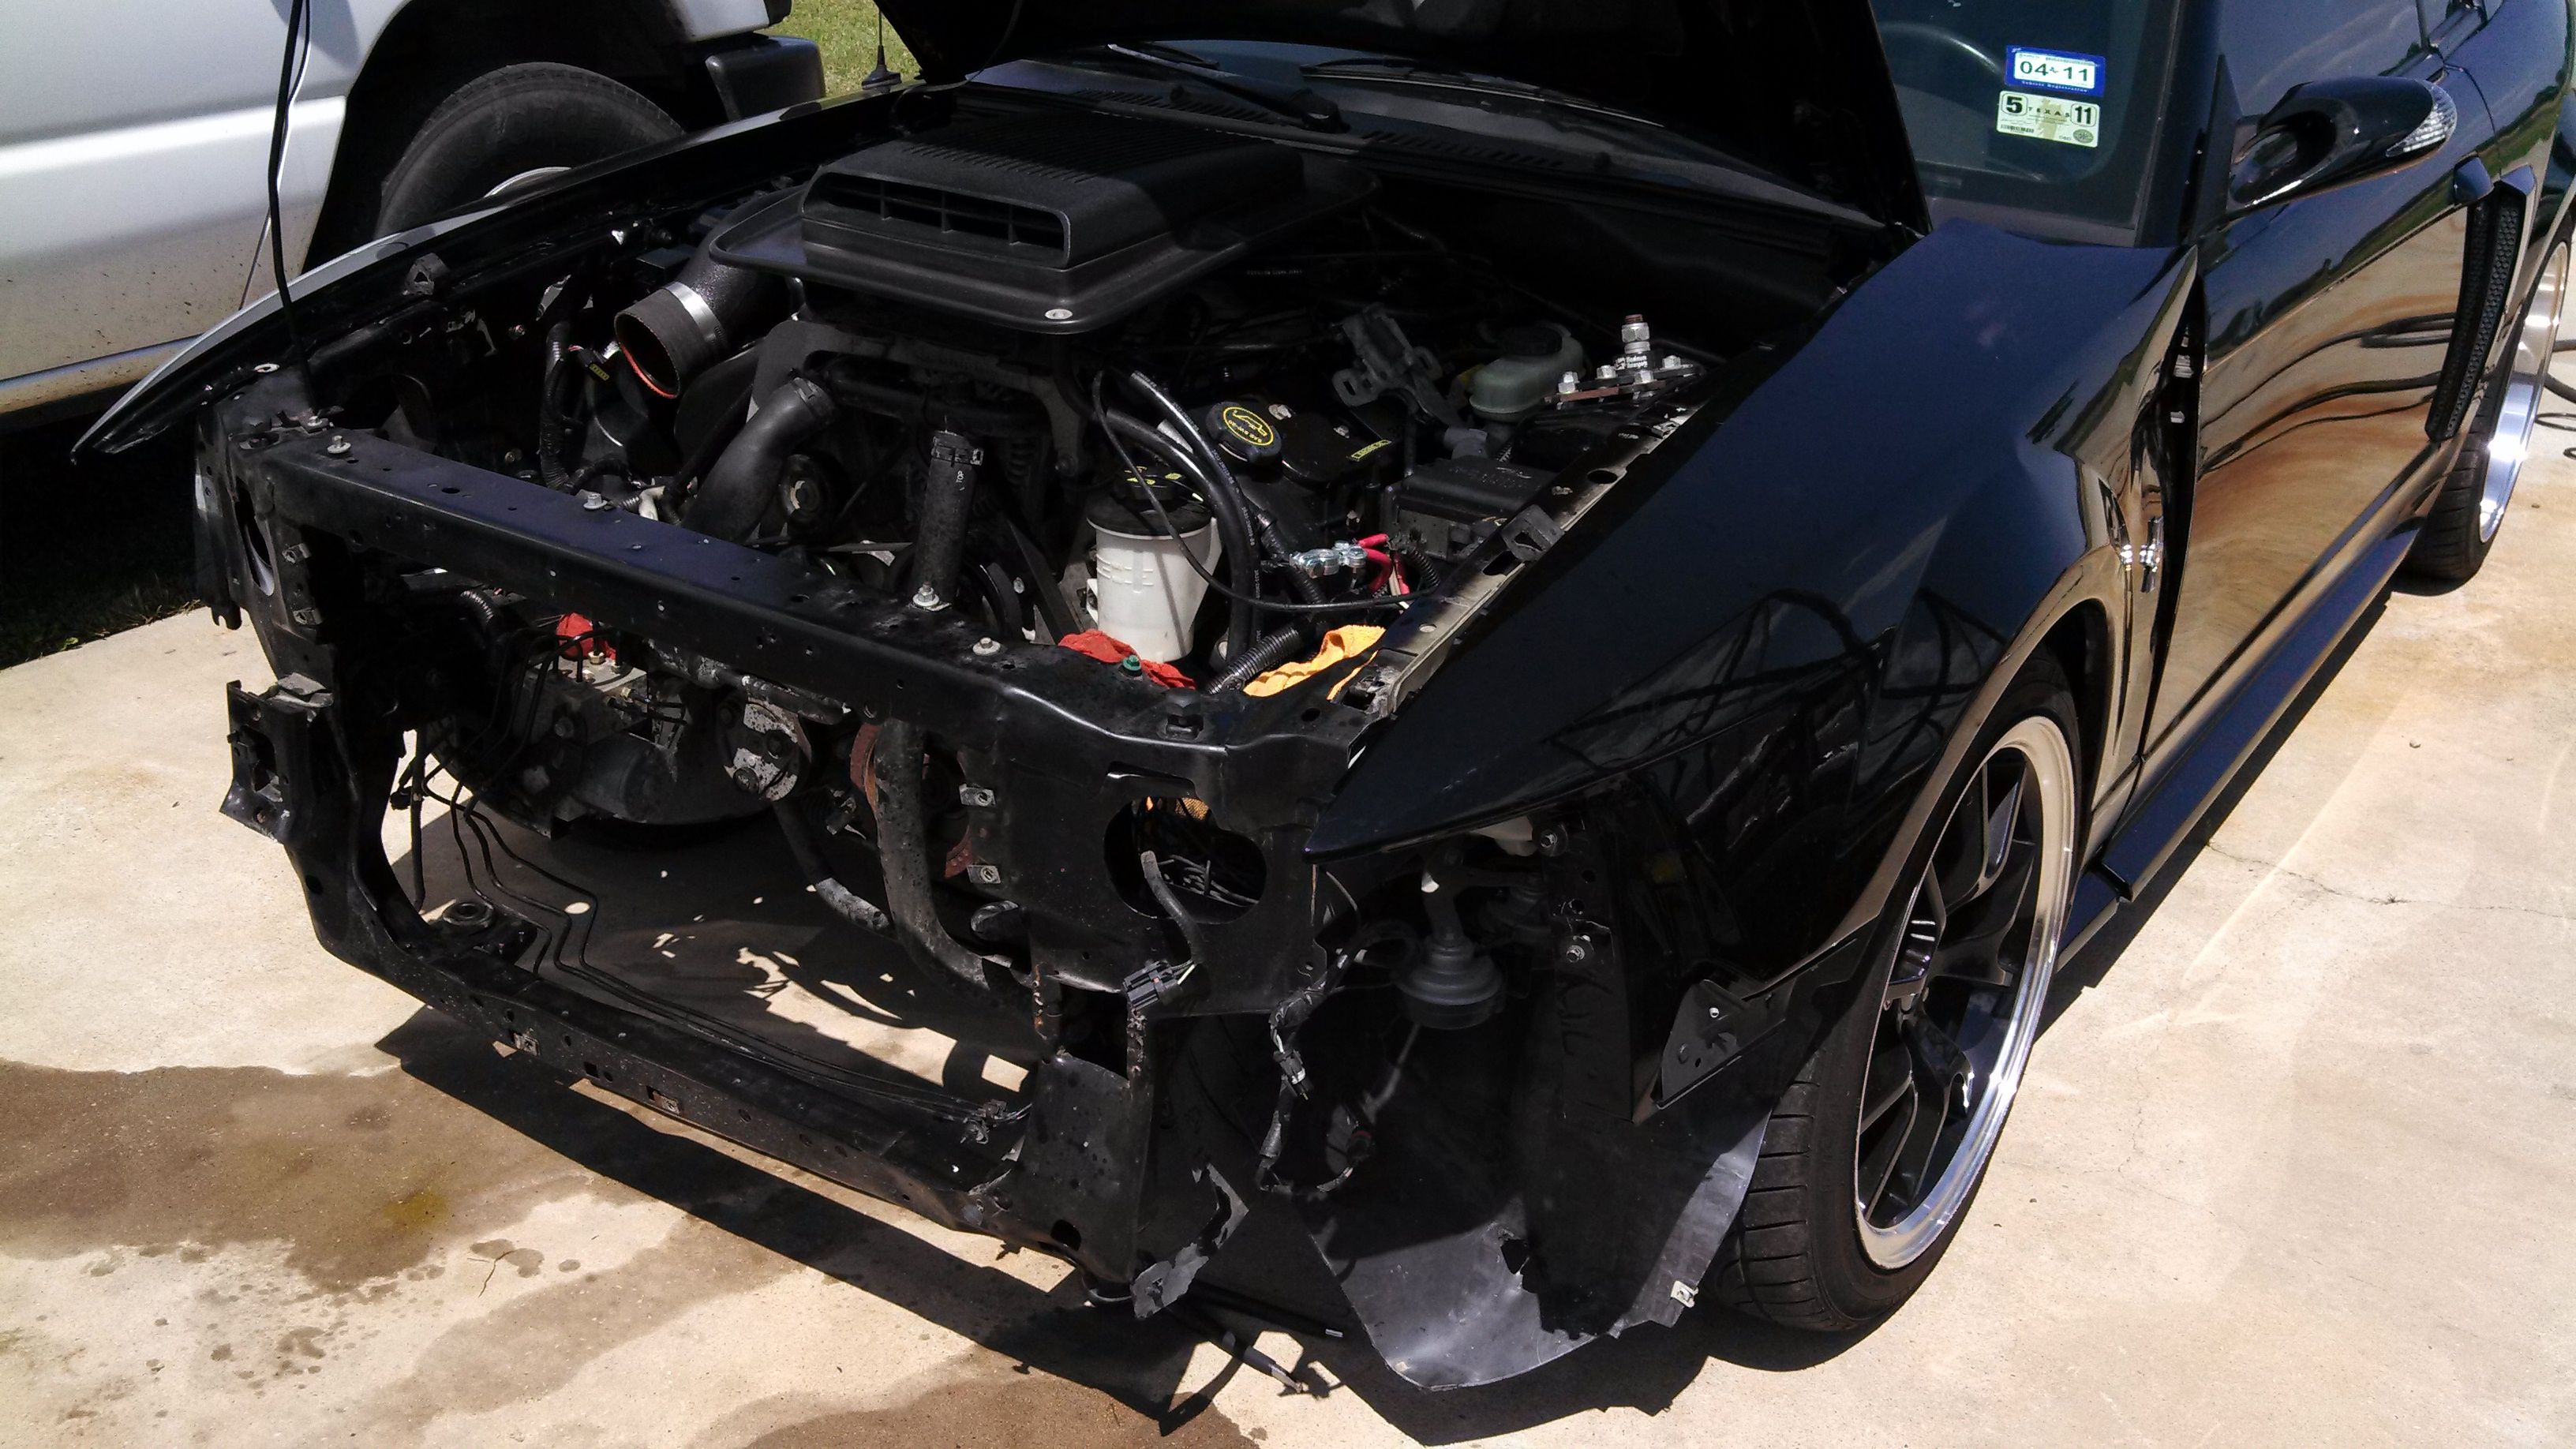
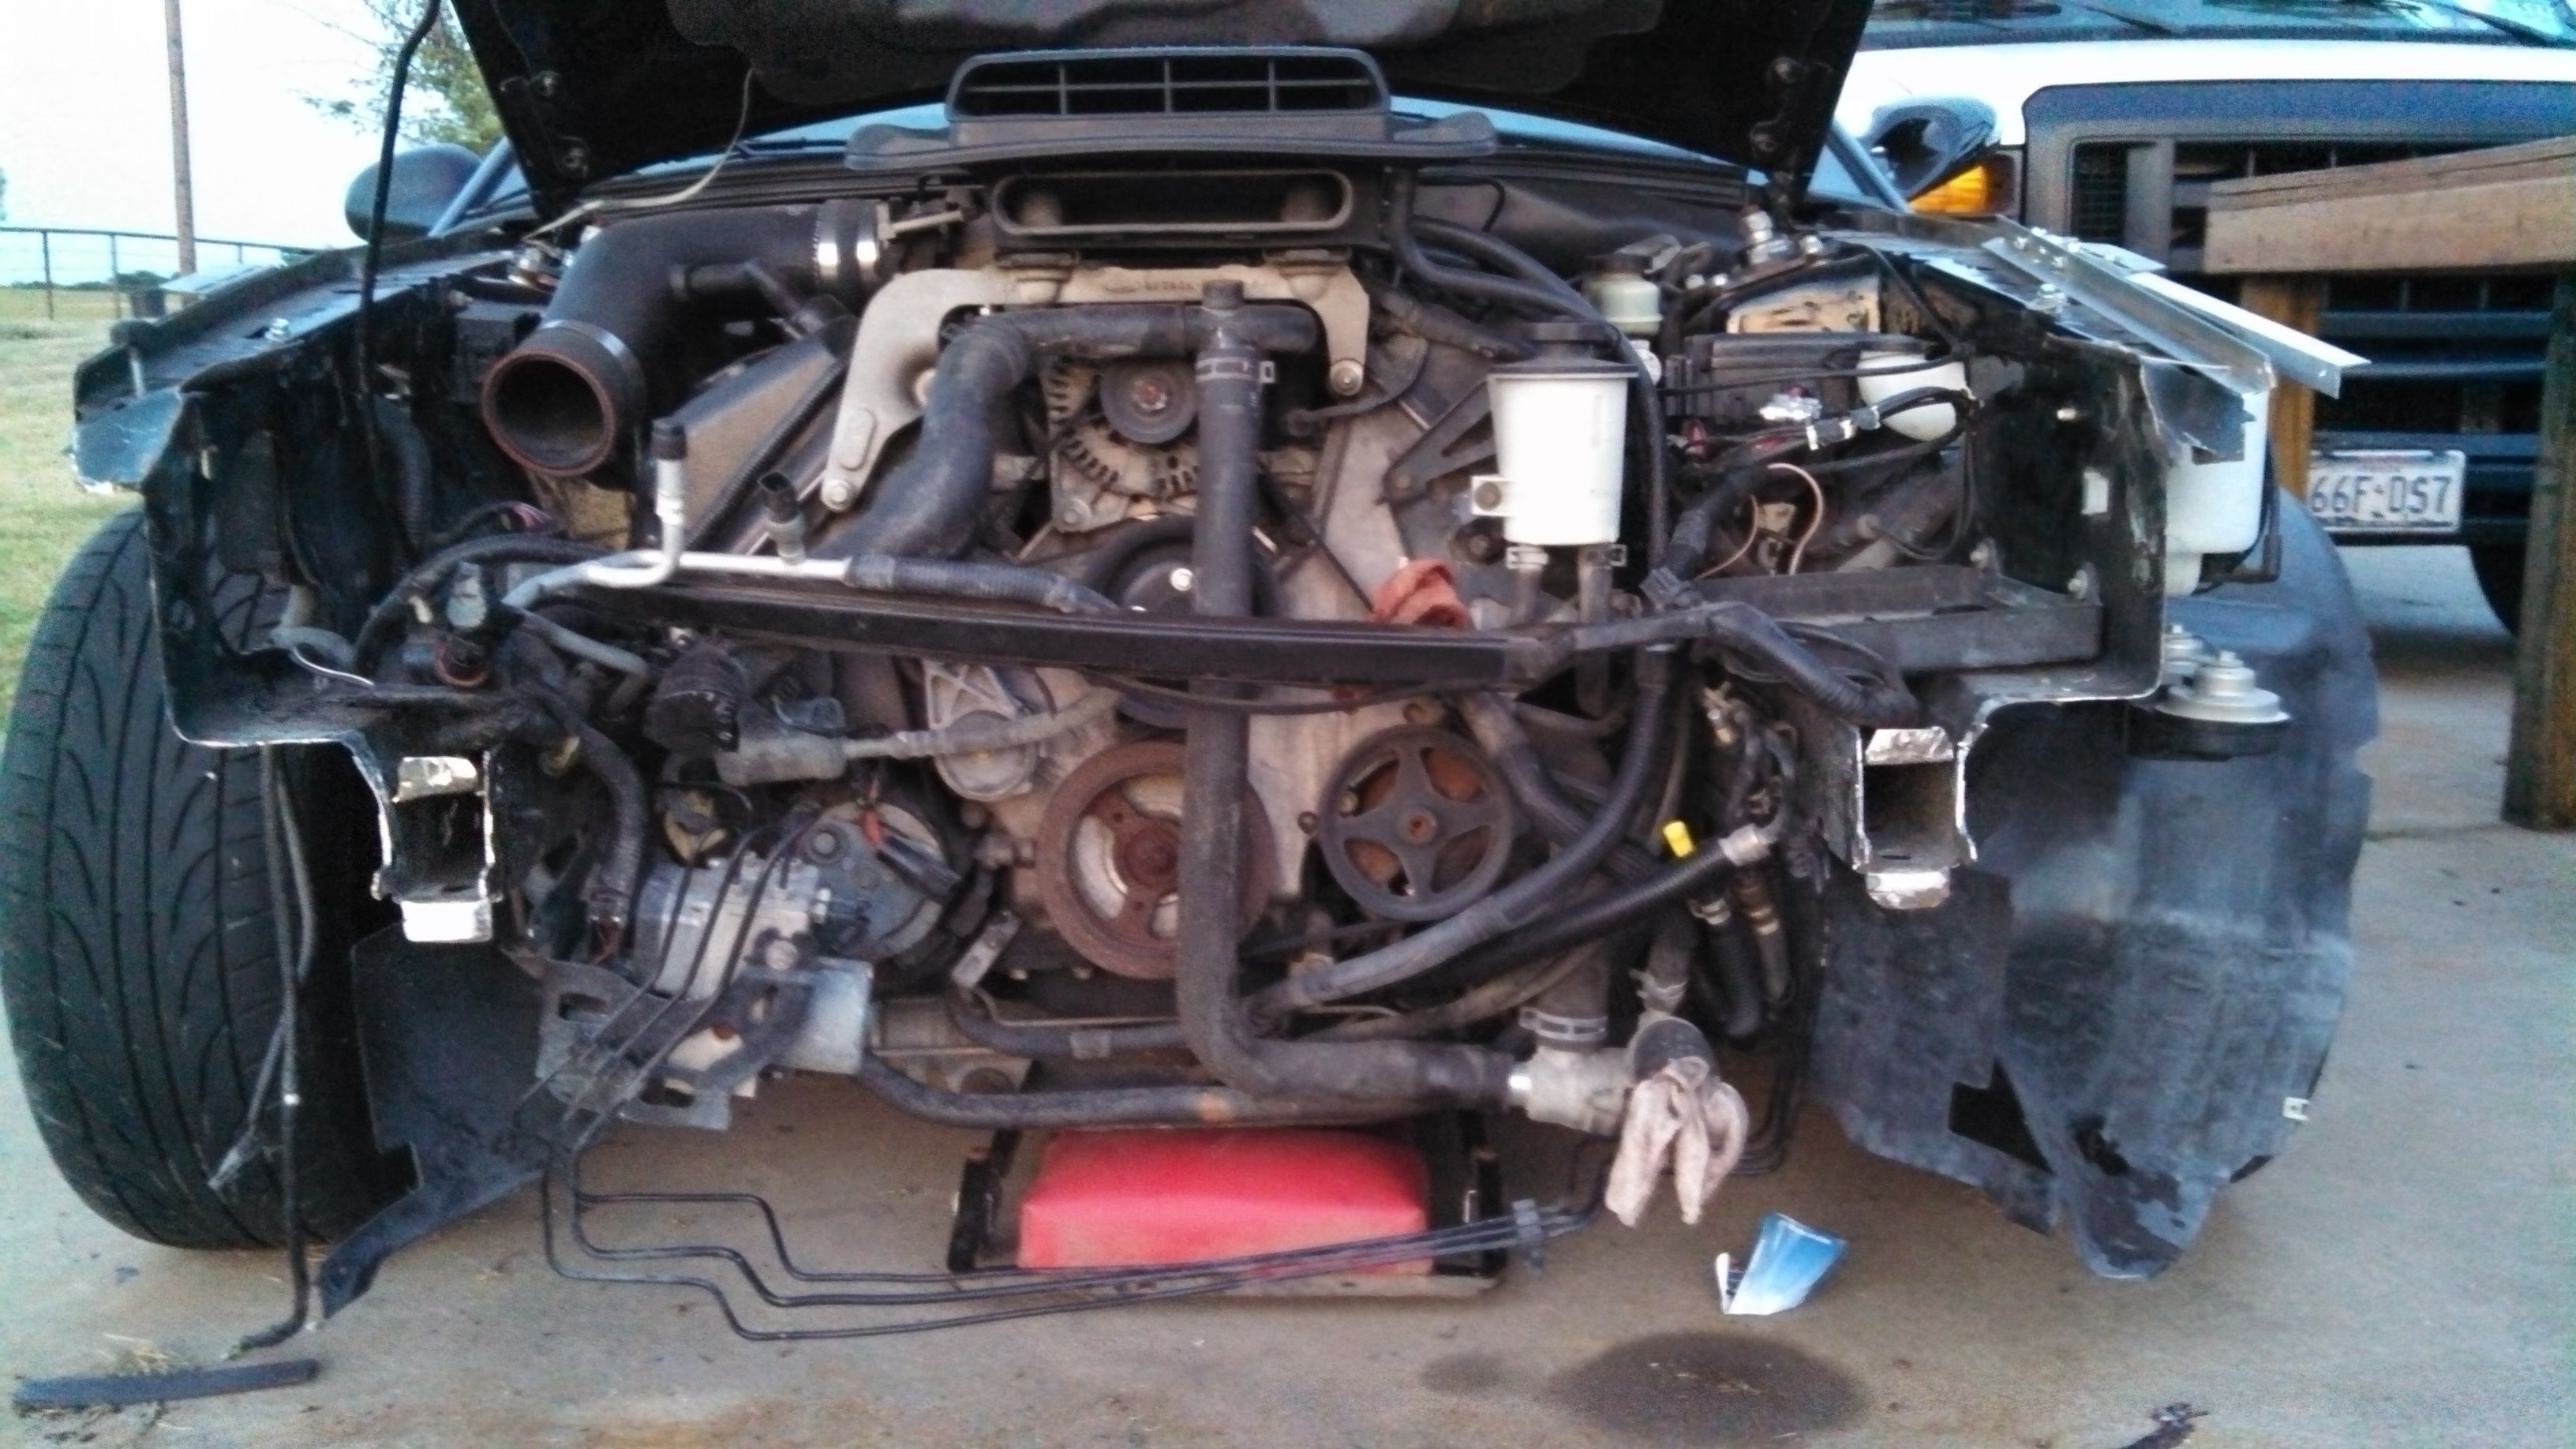
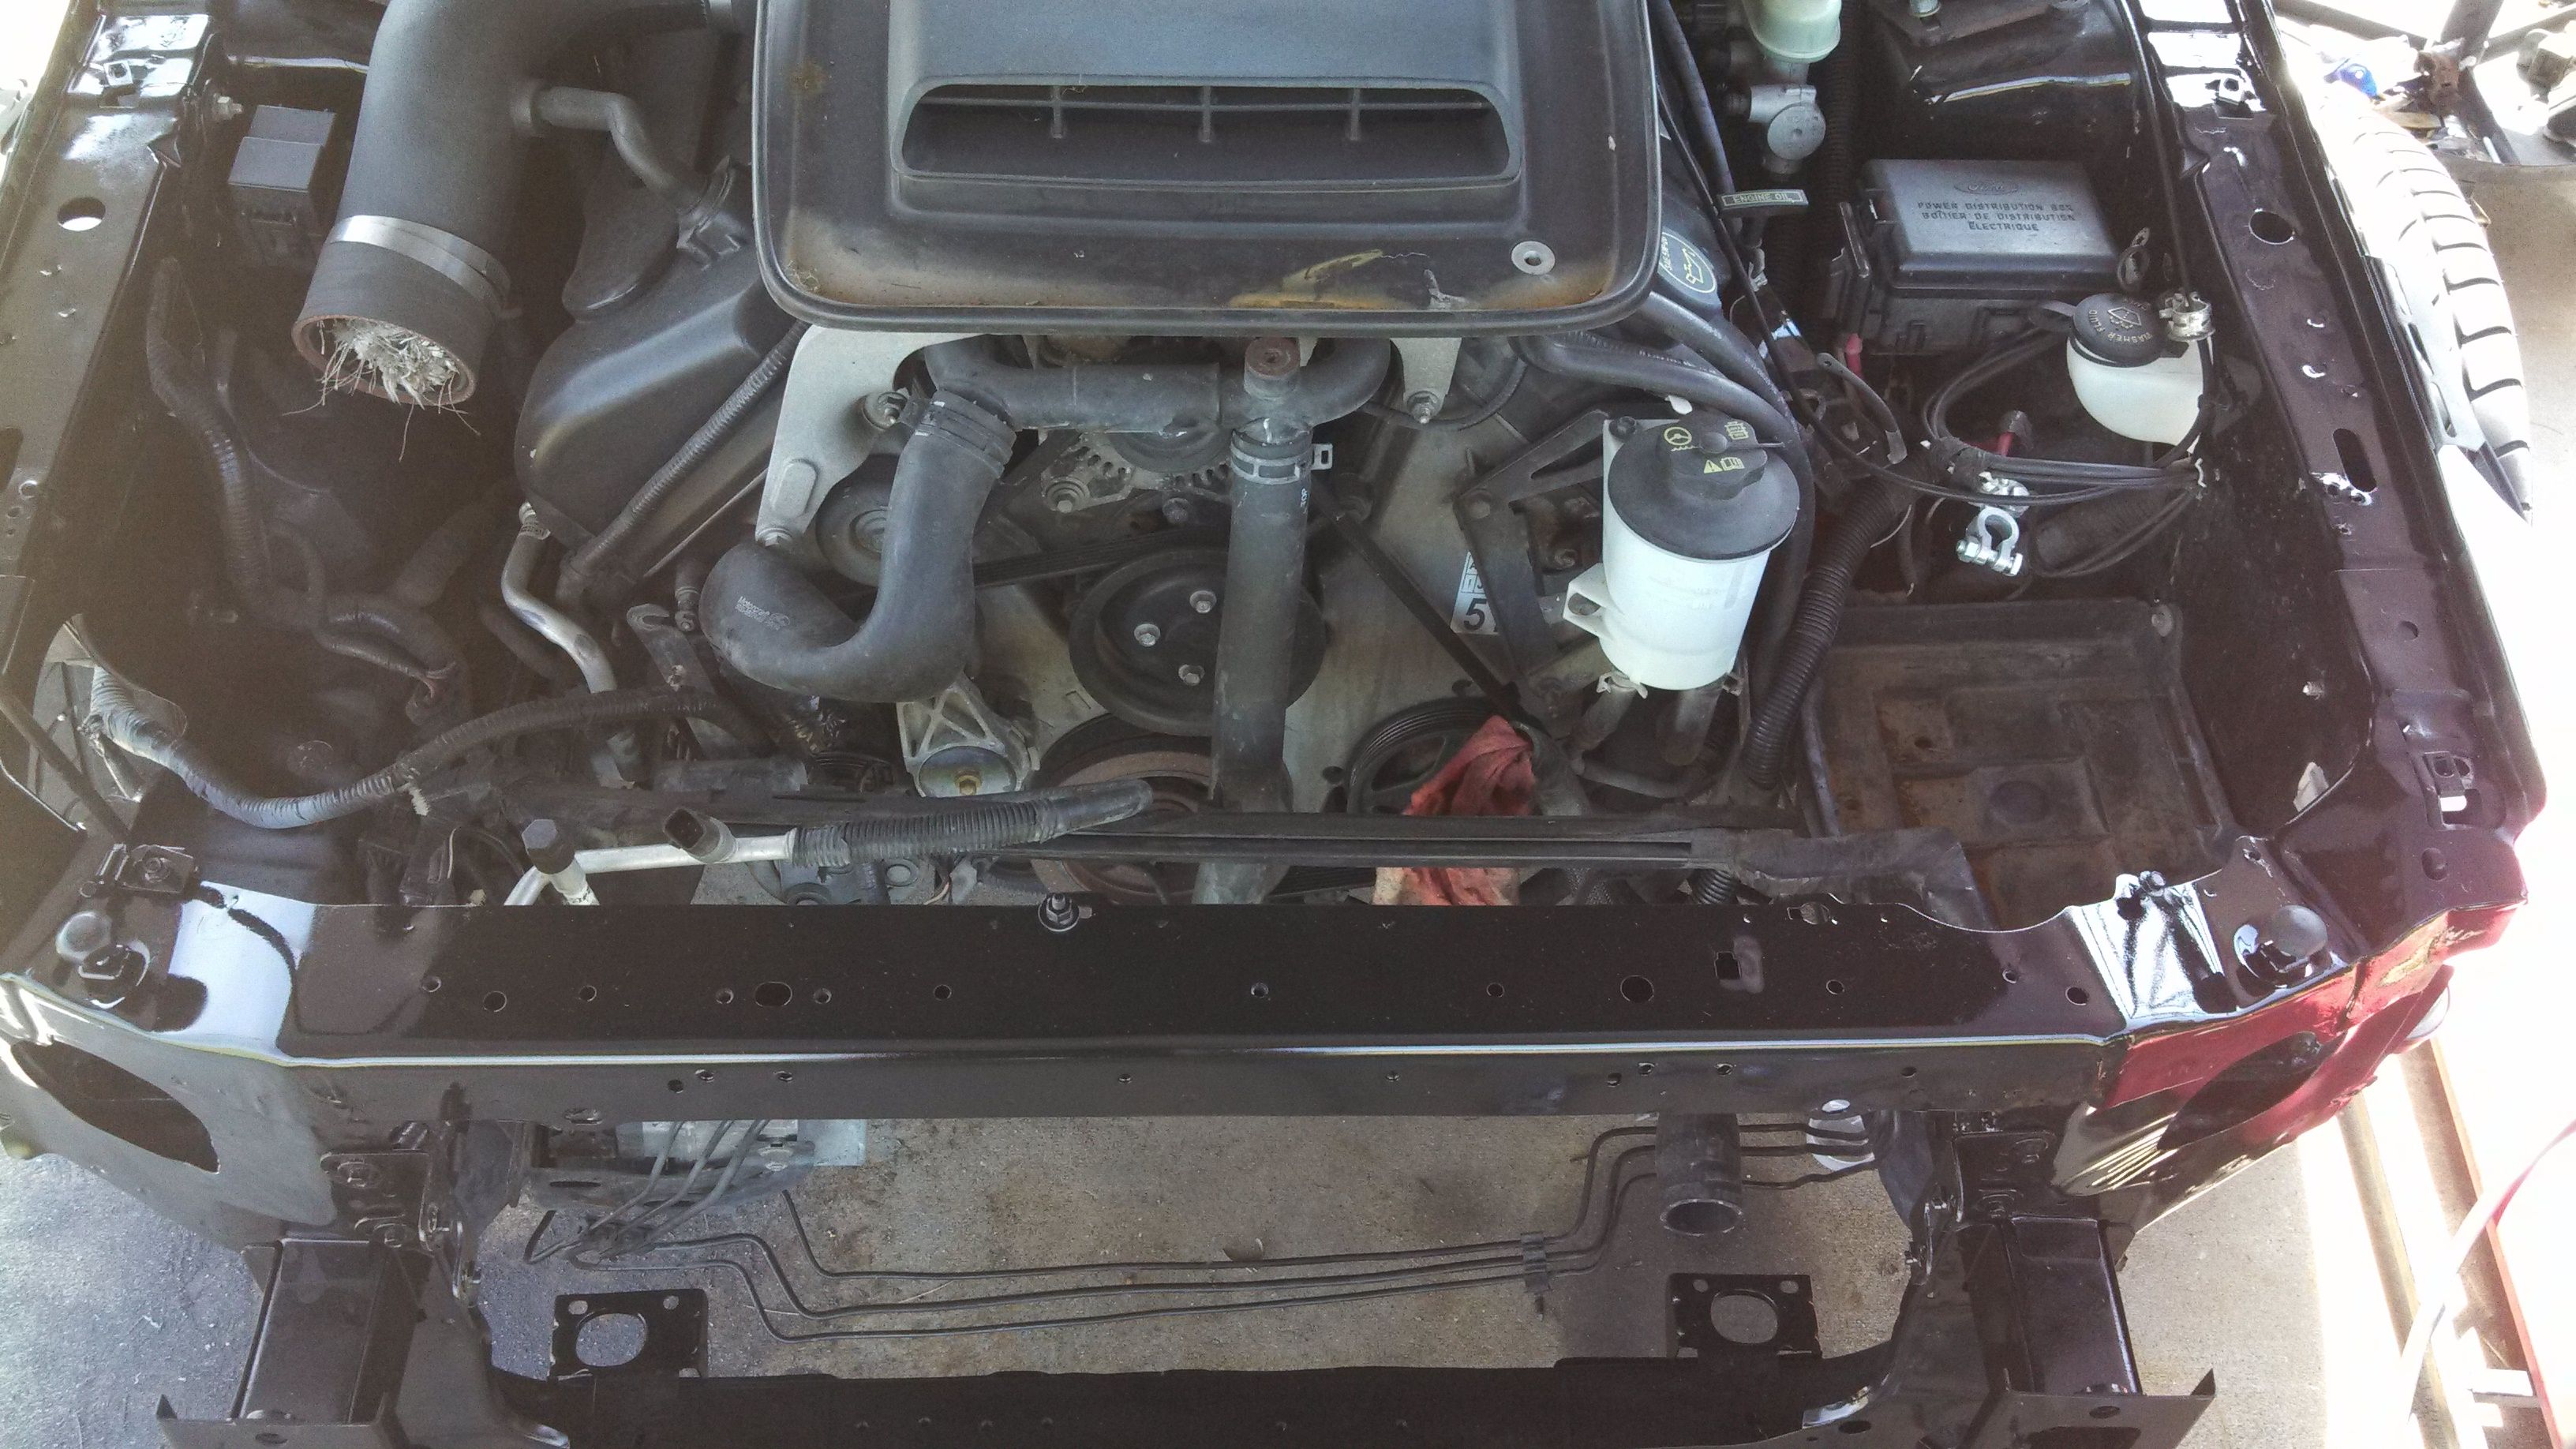
After removing the radiator, condenser, moving the brake lines, and electrical harness, this is how the front end looked


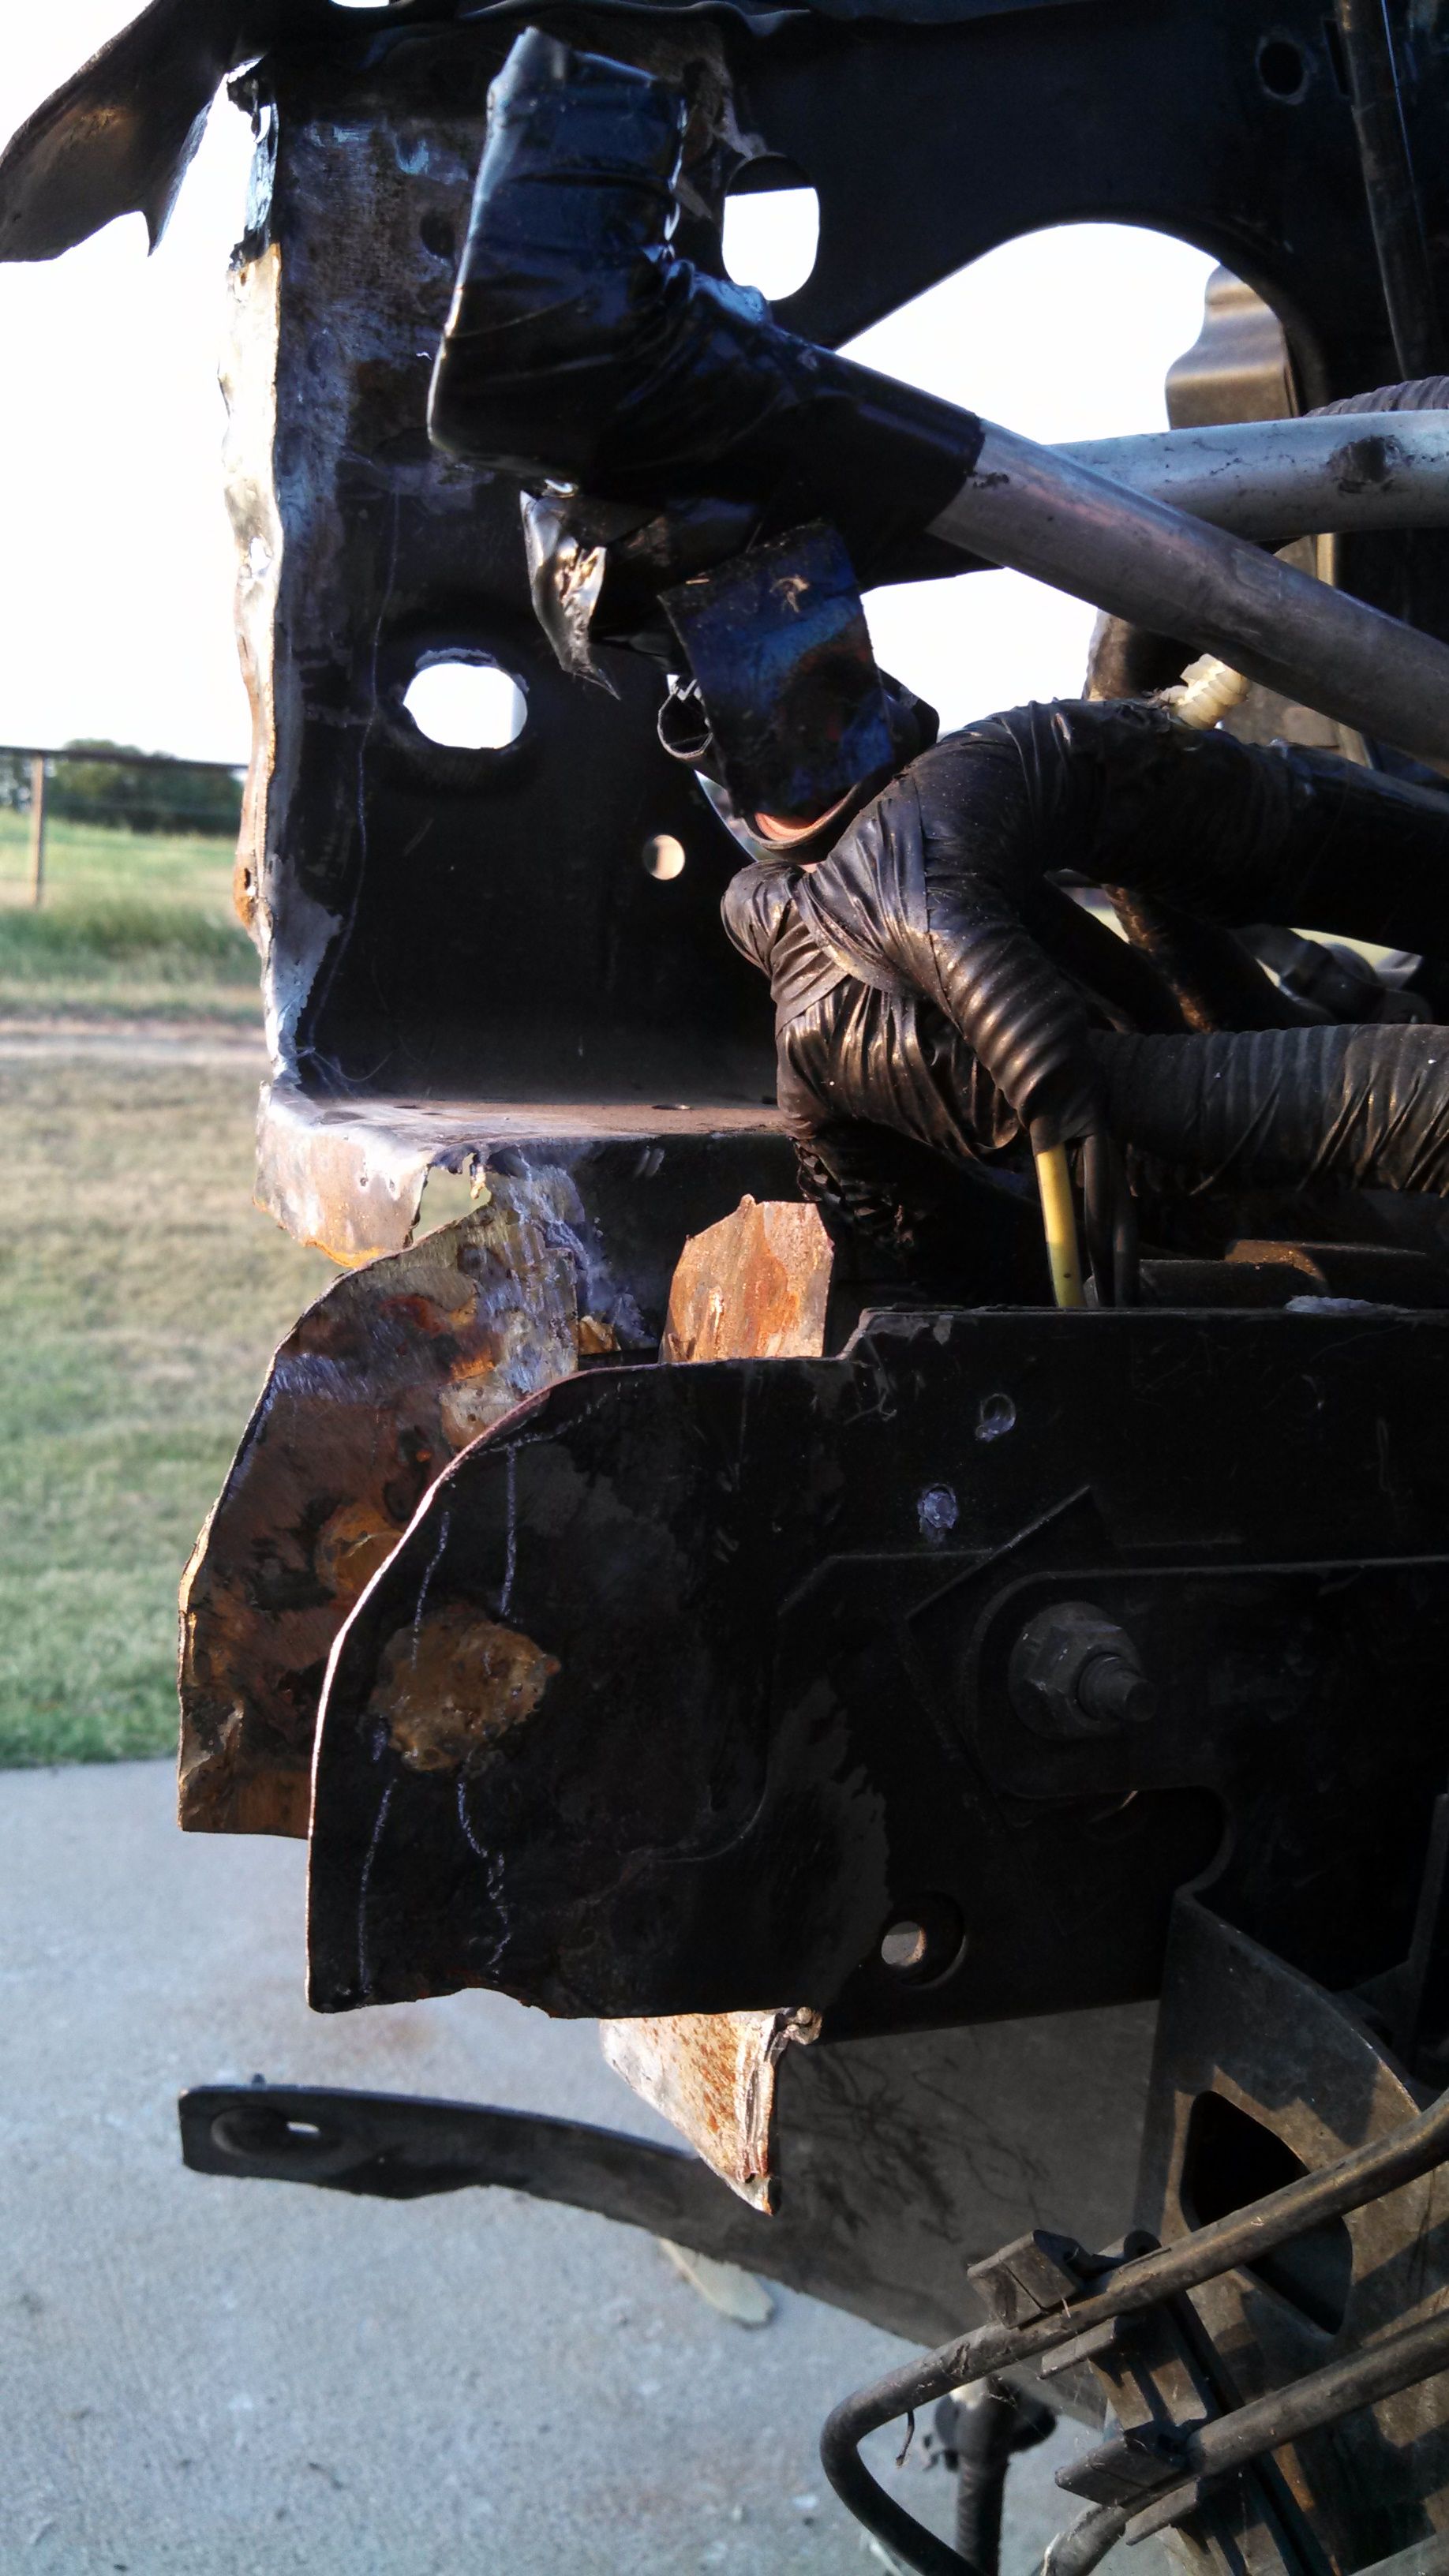
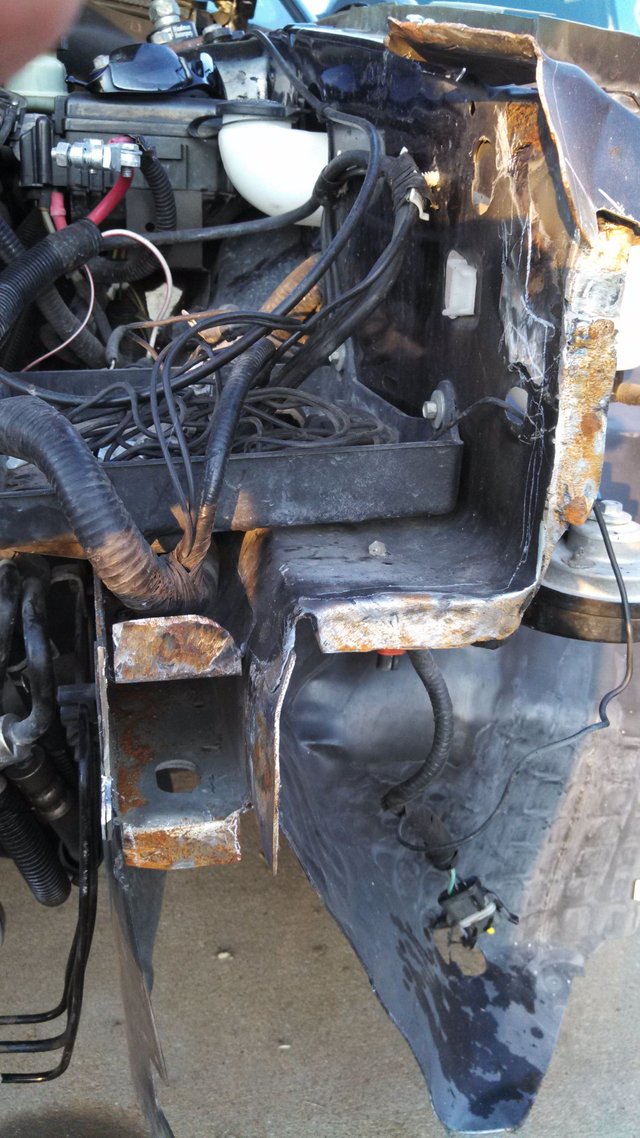
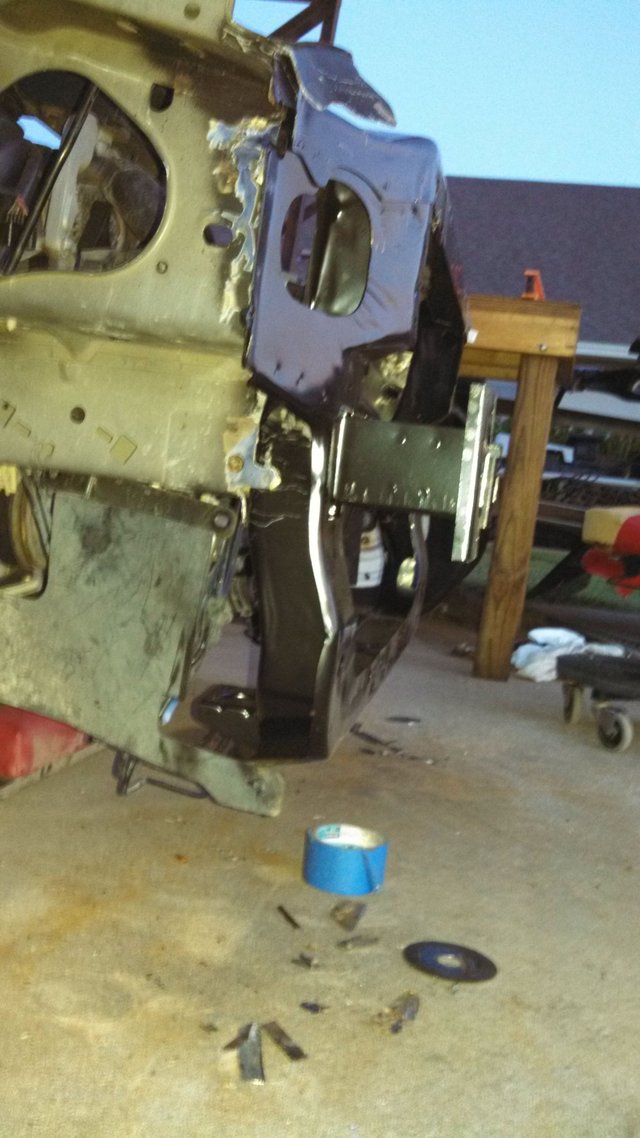
This is after the reciprocating saw was used to remove the old radiator support. It took many (15+) hours with the angle grinder.
Ready to start going back together.
Test fit.
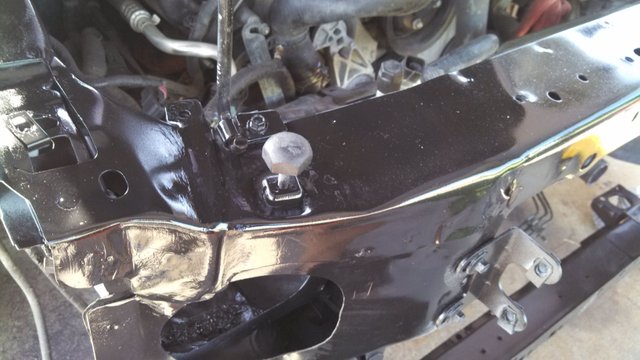
Tack welds to keep everything in place.
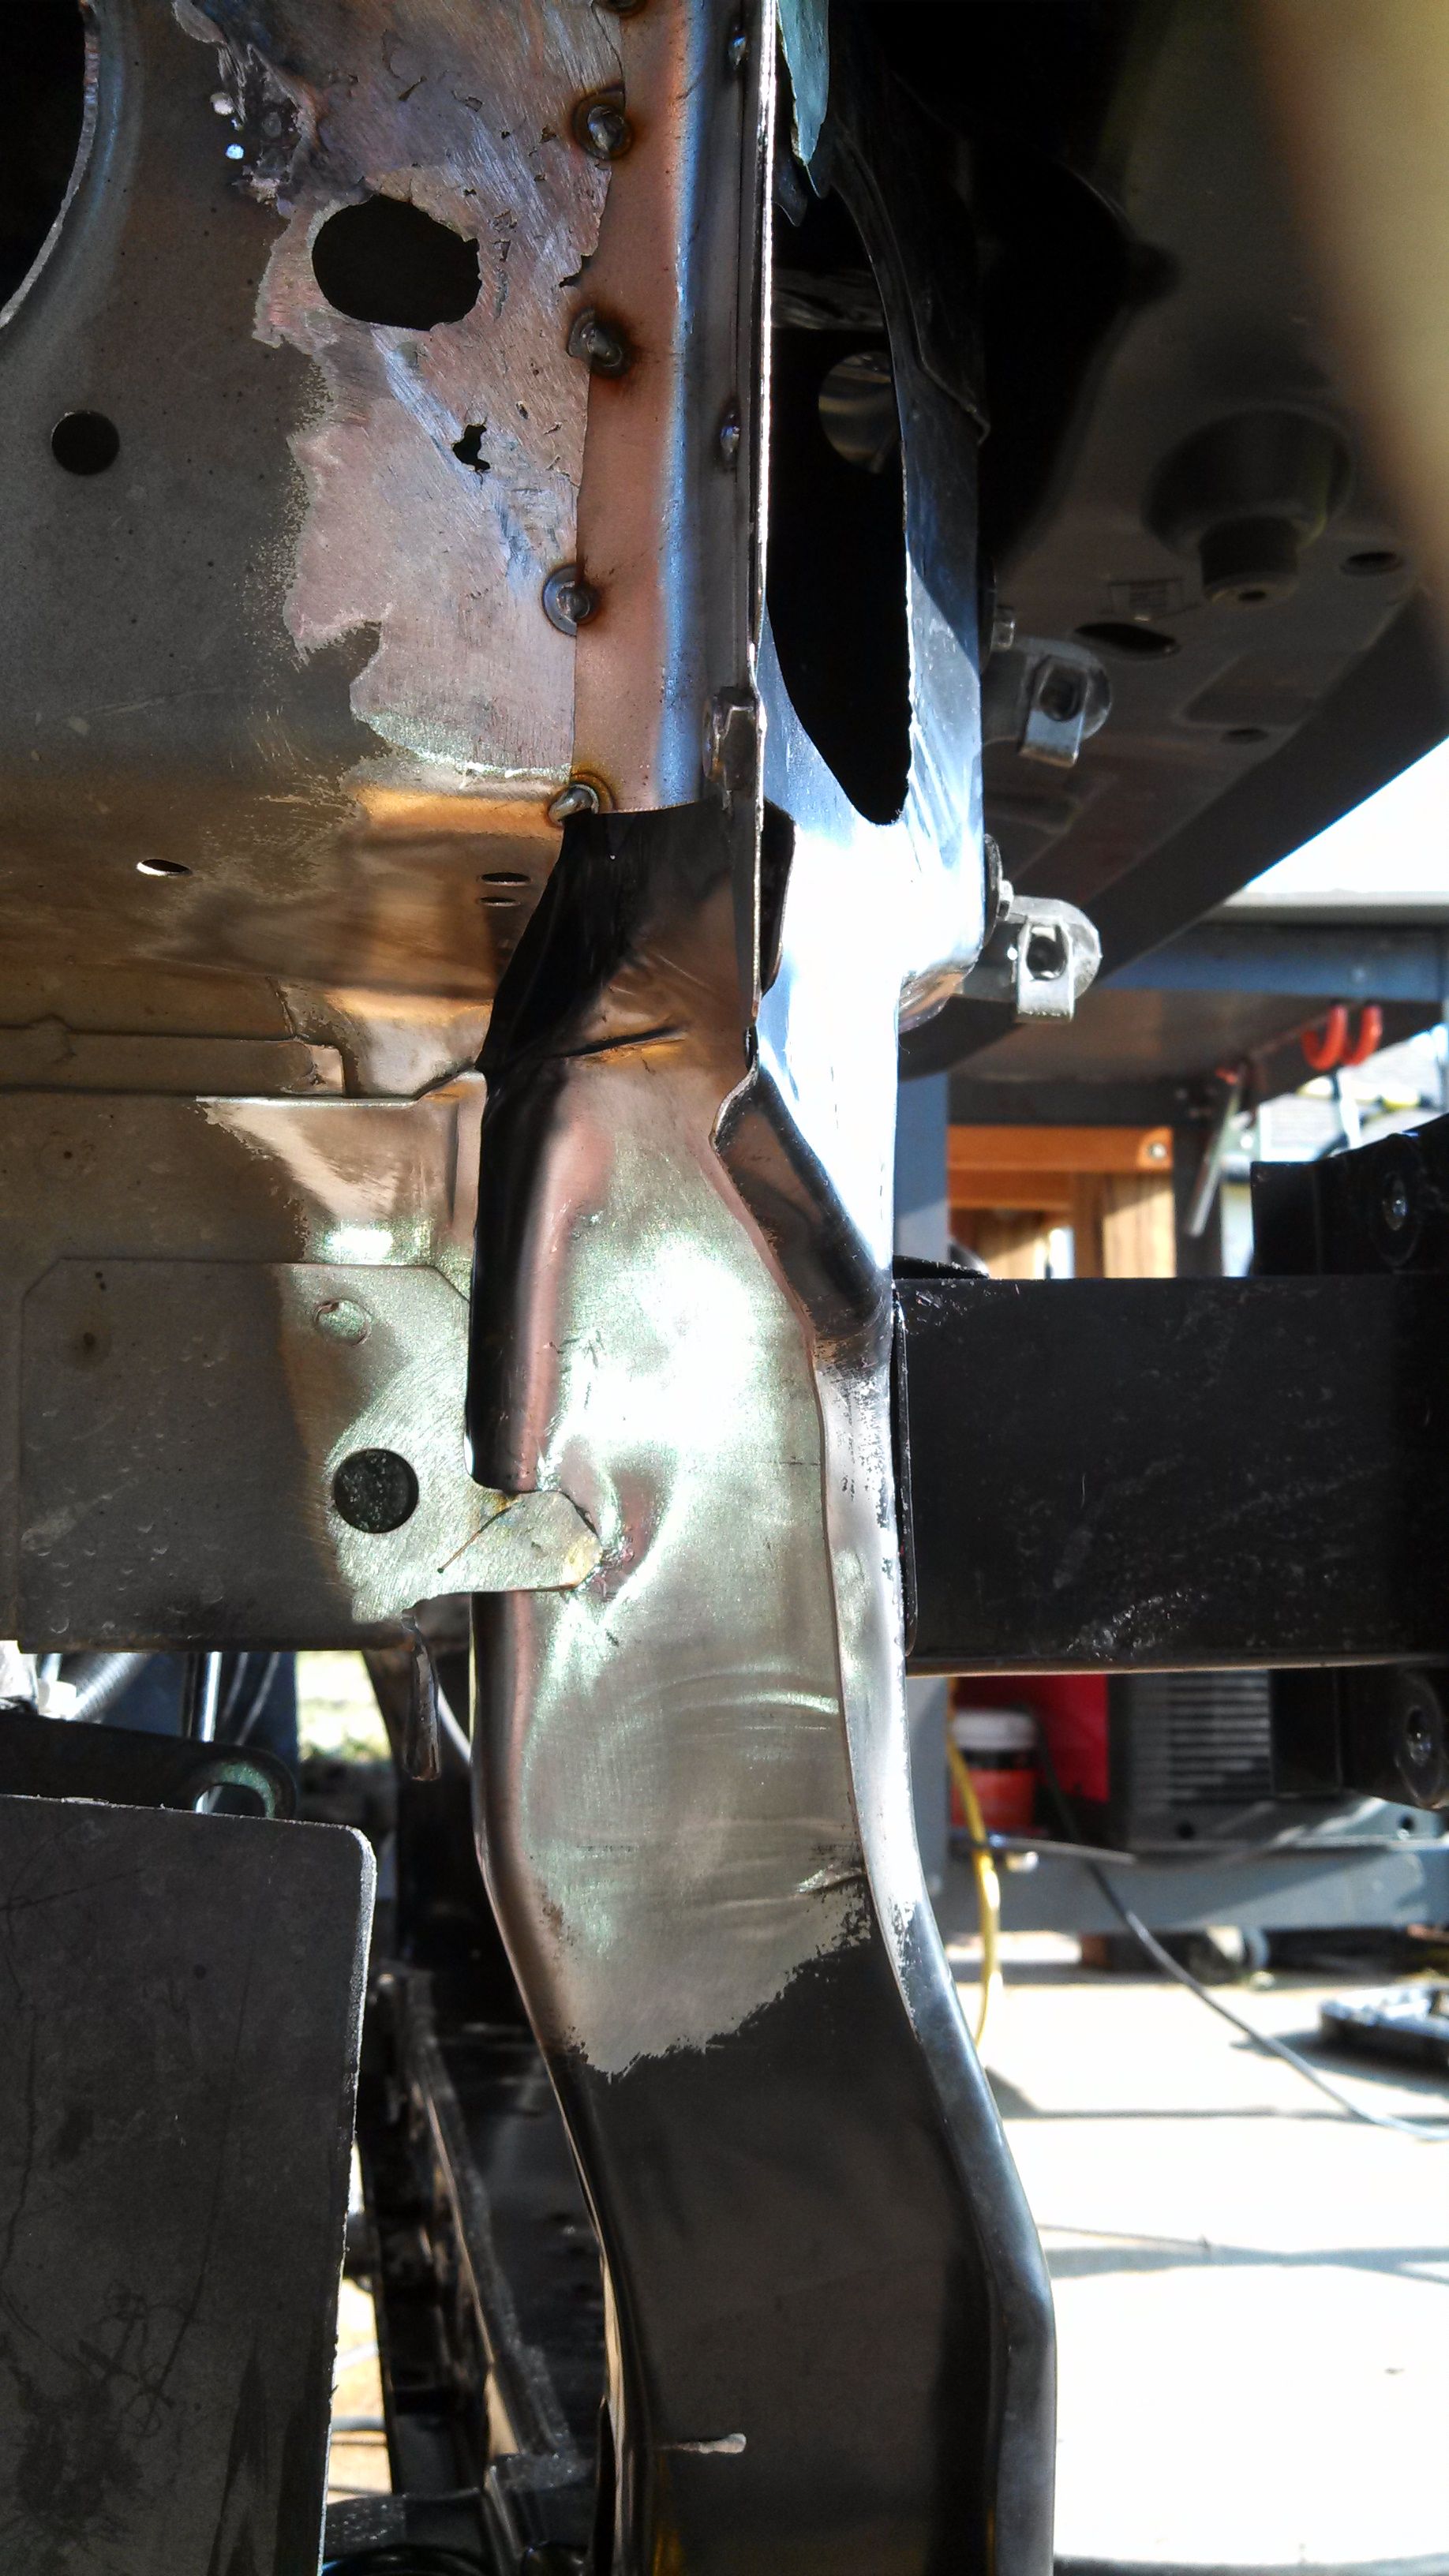
First bead smoothed with the grinder and coated with cold galvanizing spray paint.

Covered with black enamel.
Hard work done, now its just putting all the parts back on.
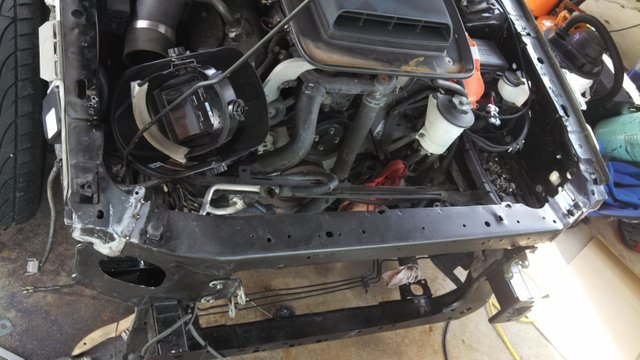
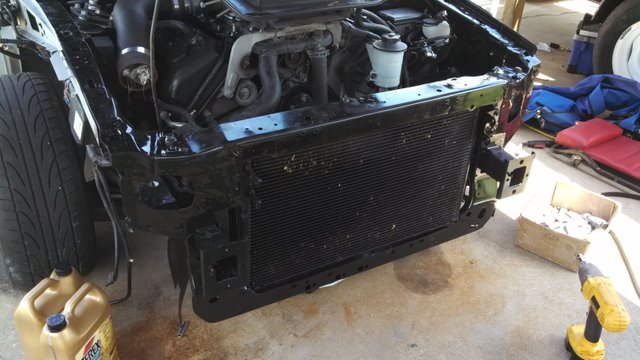
Radiator and condenser installed.
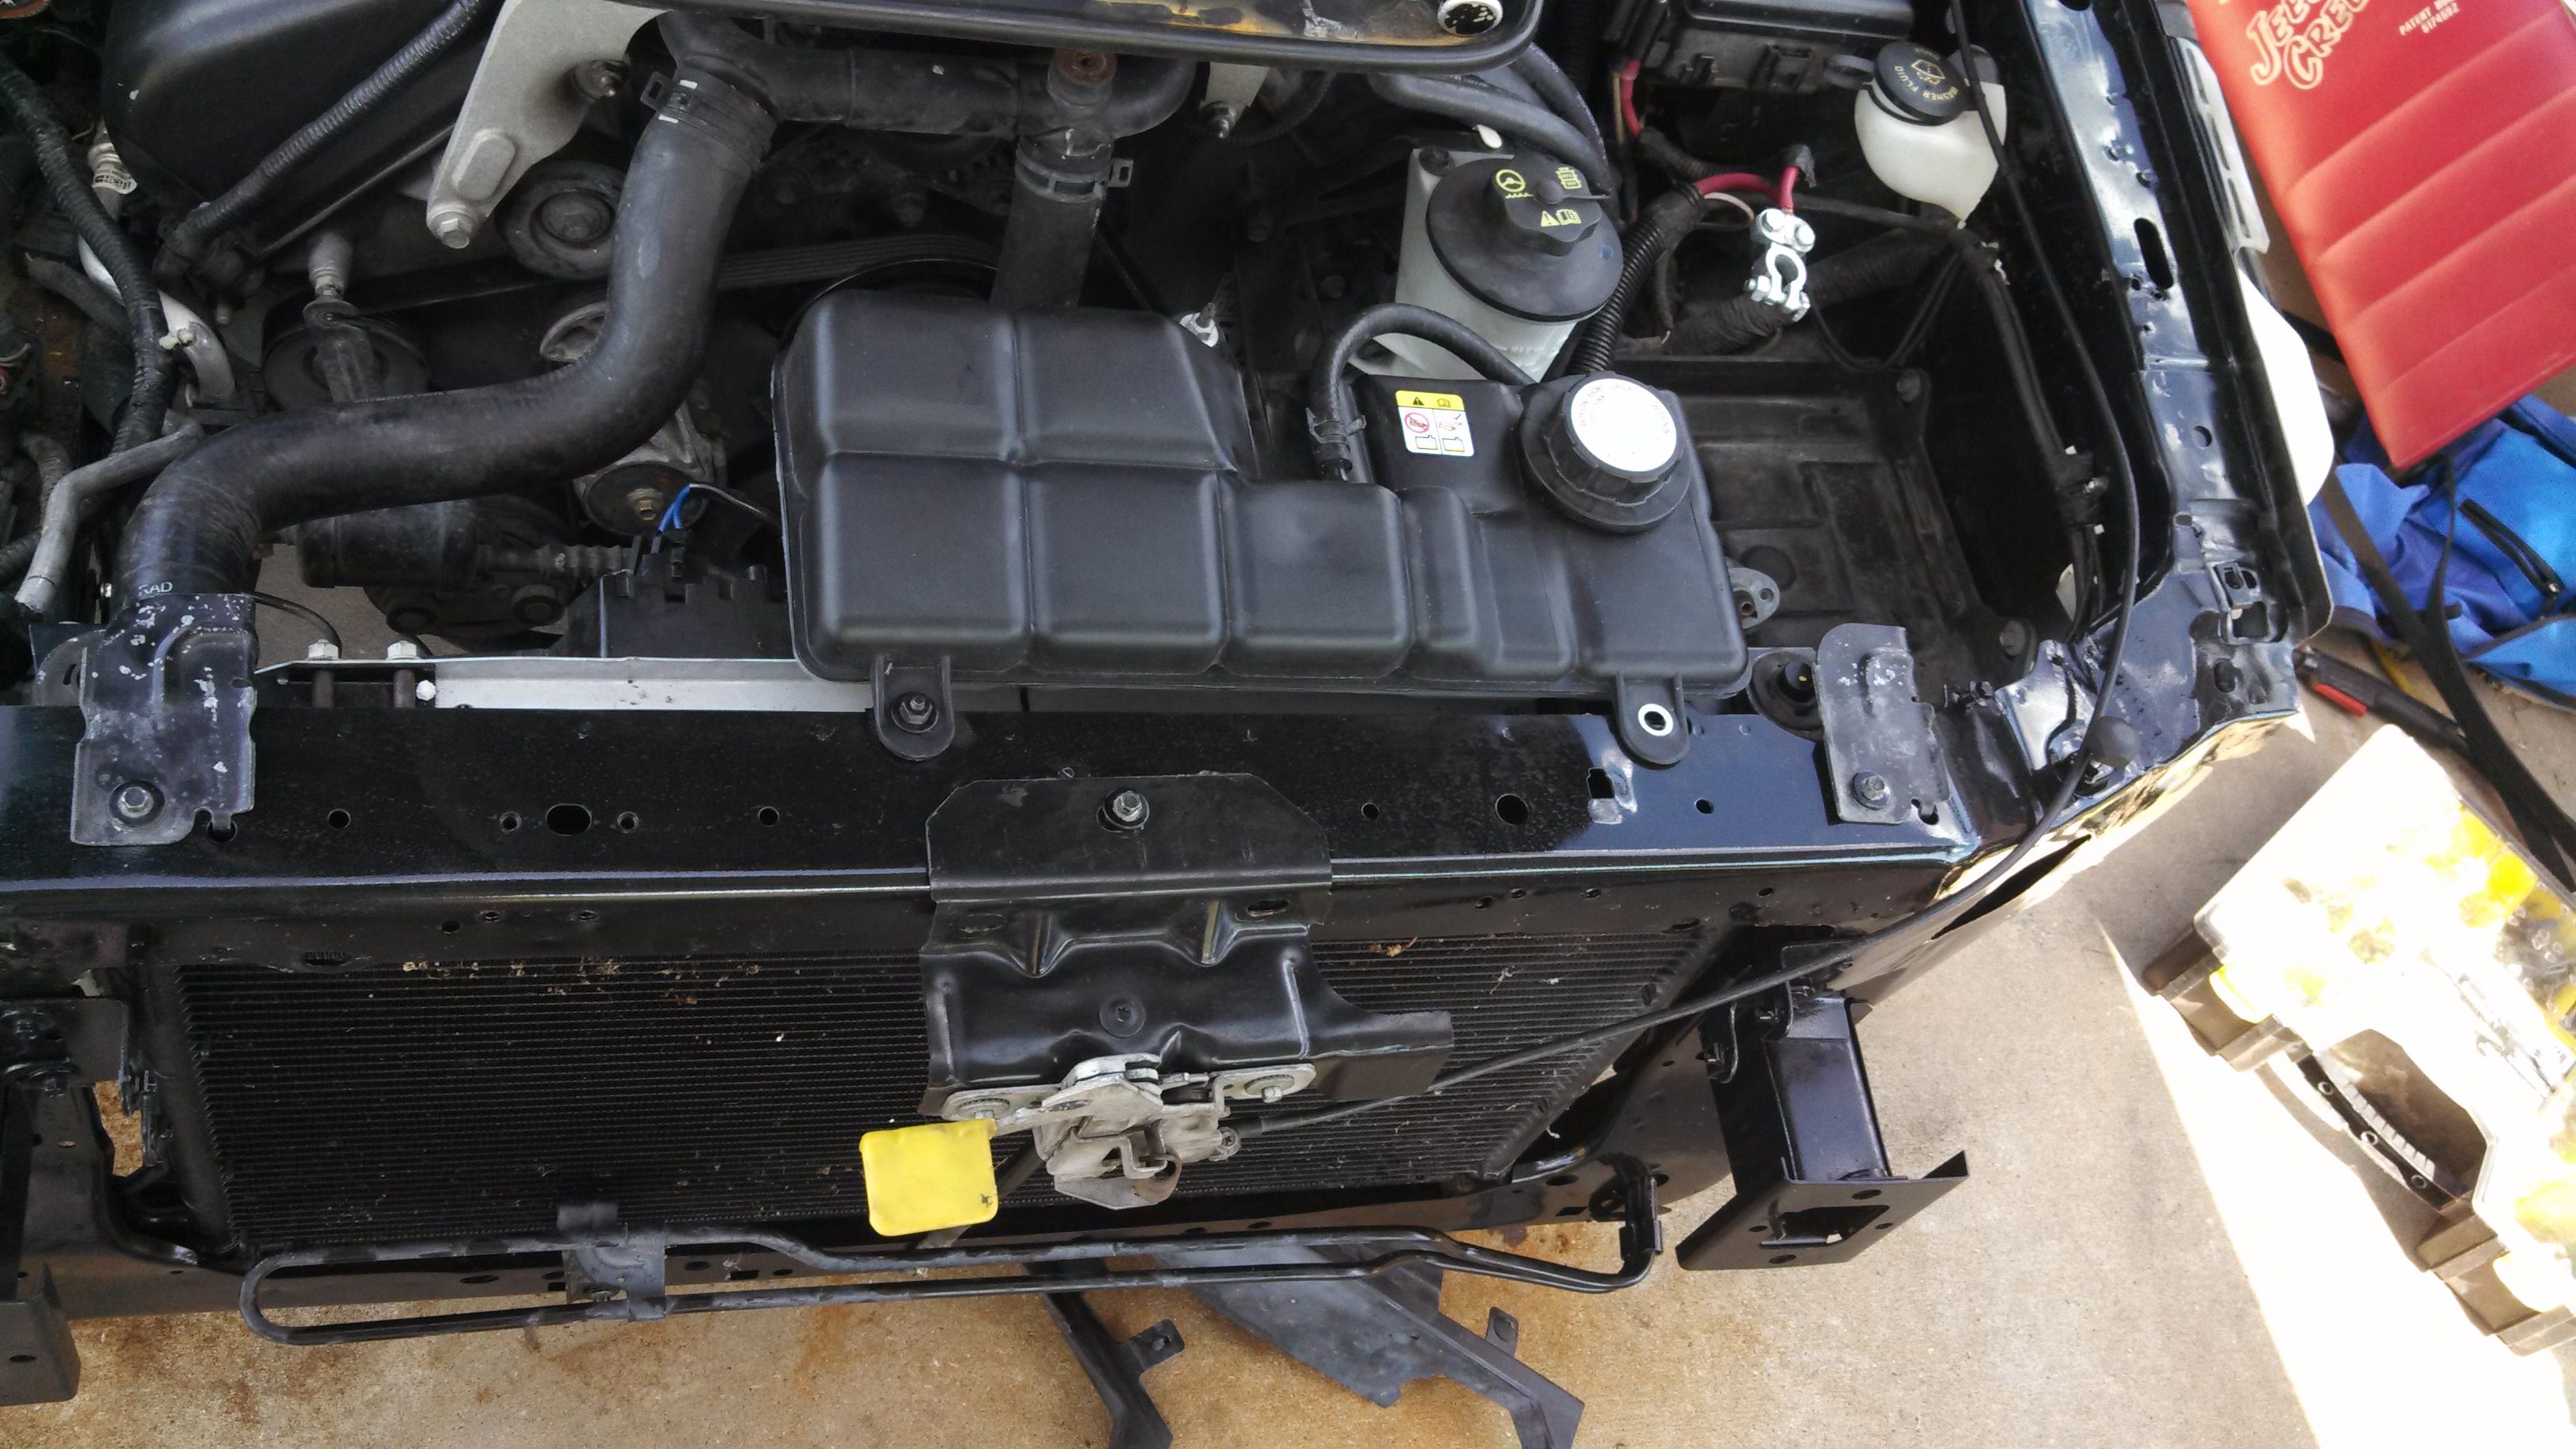
Coolant reservoir, hood latch, brake lines, wire harness all in place.
Time for headlight support and fenders. Painted parts are tricky and lining all the edges up perfectly takes some patience. I used masking tape around all the edges to prevent any scratches, then removed only after everything was tightened up.

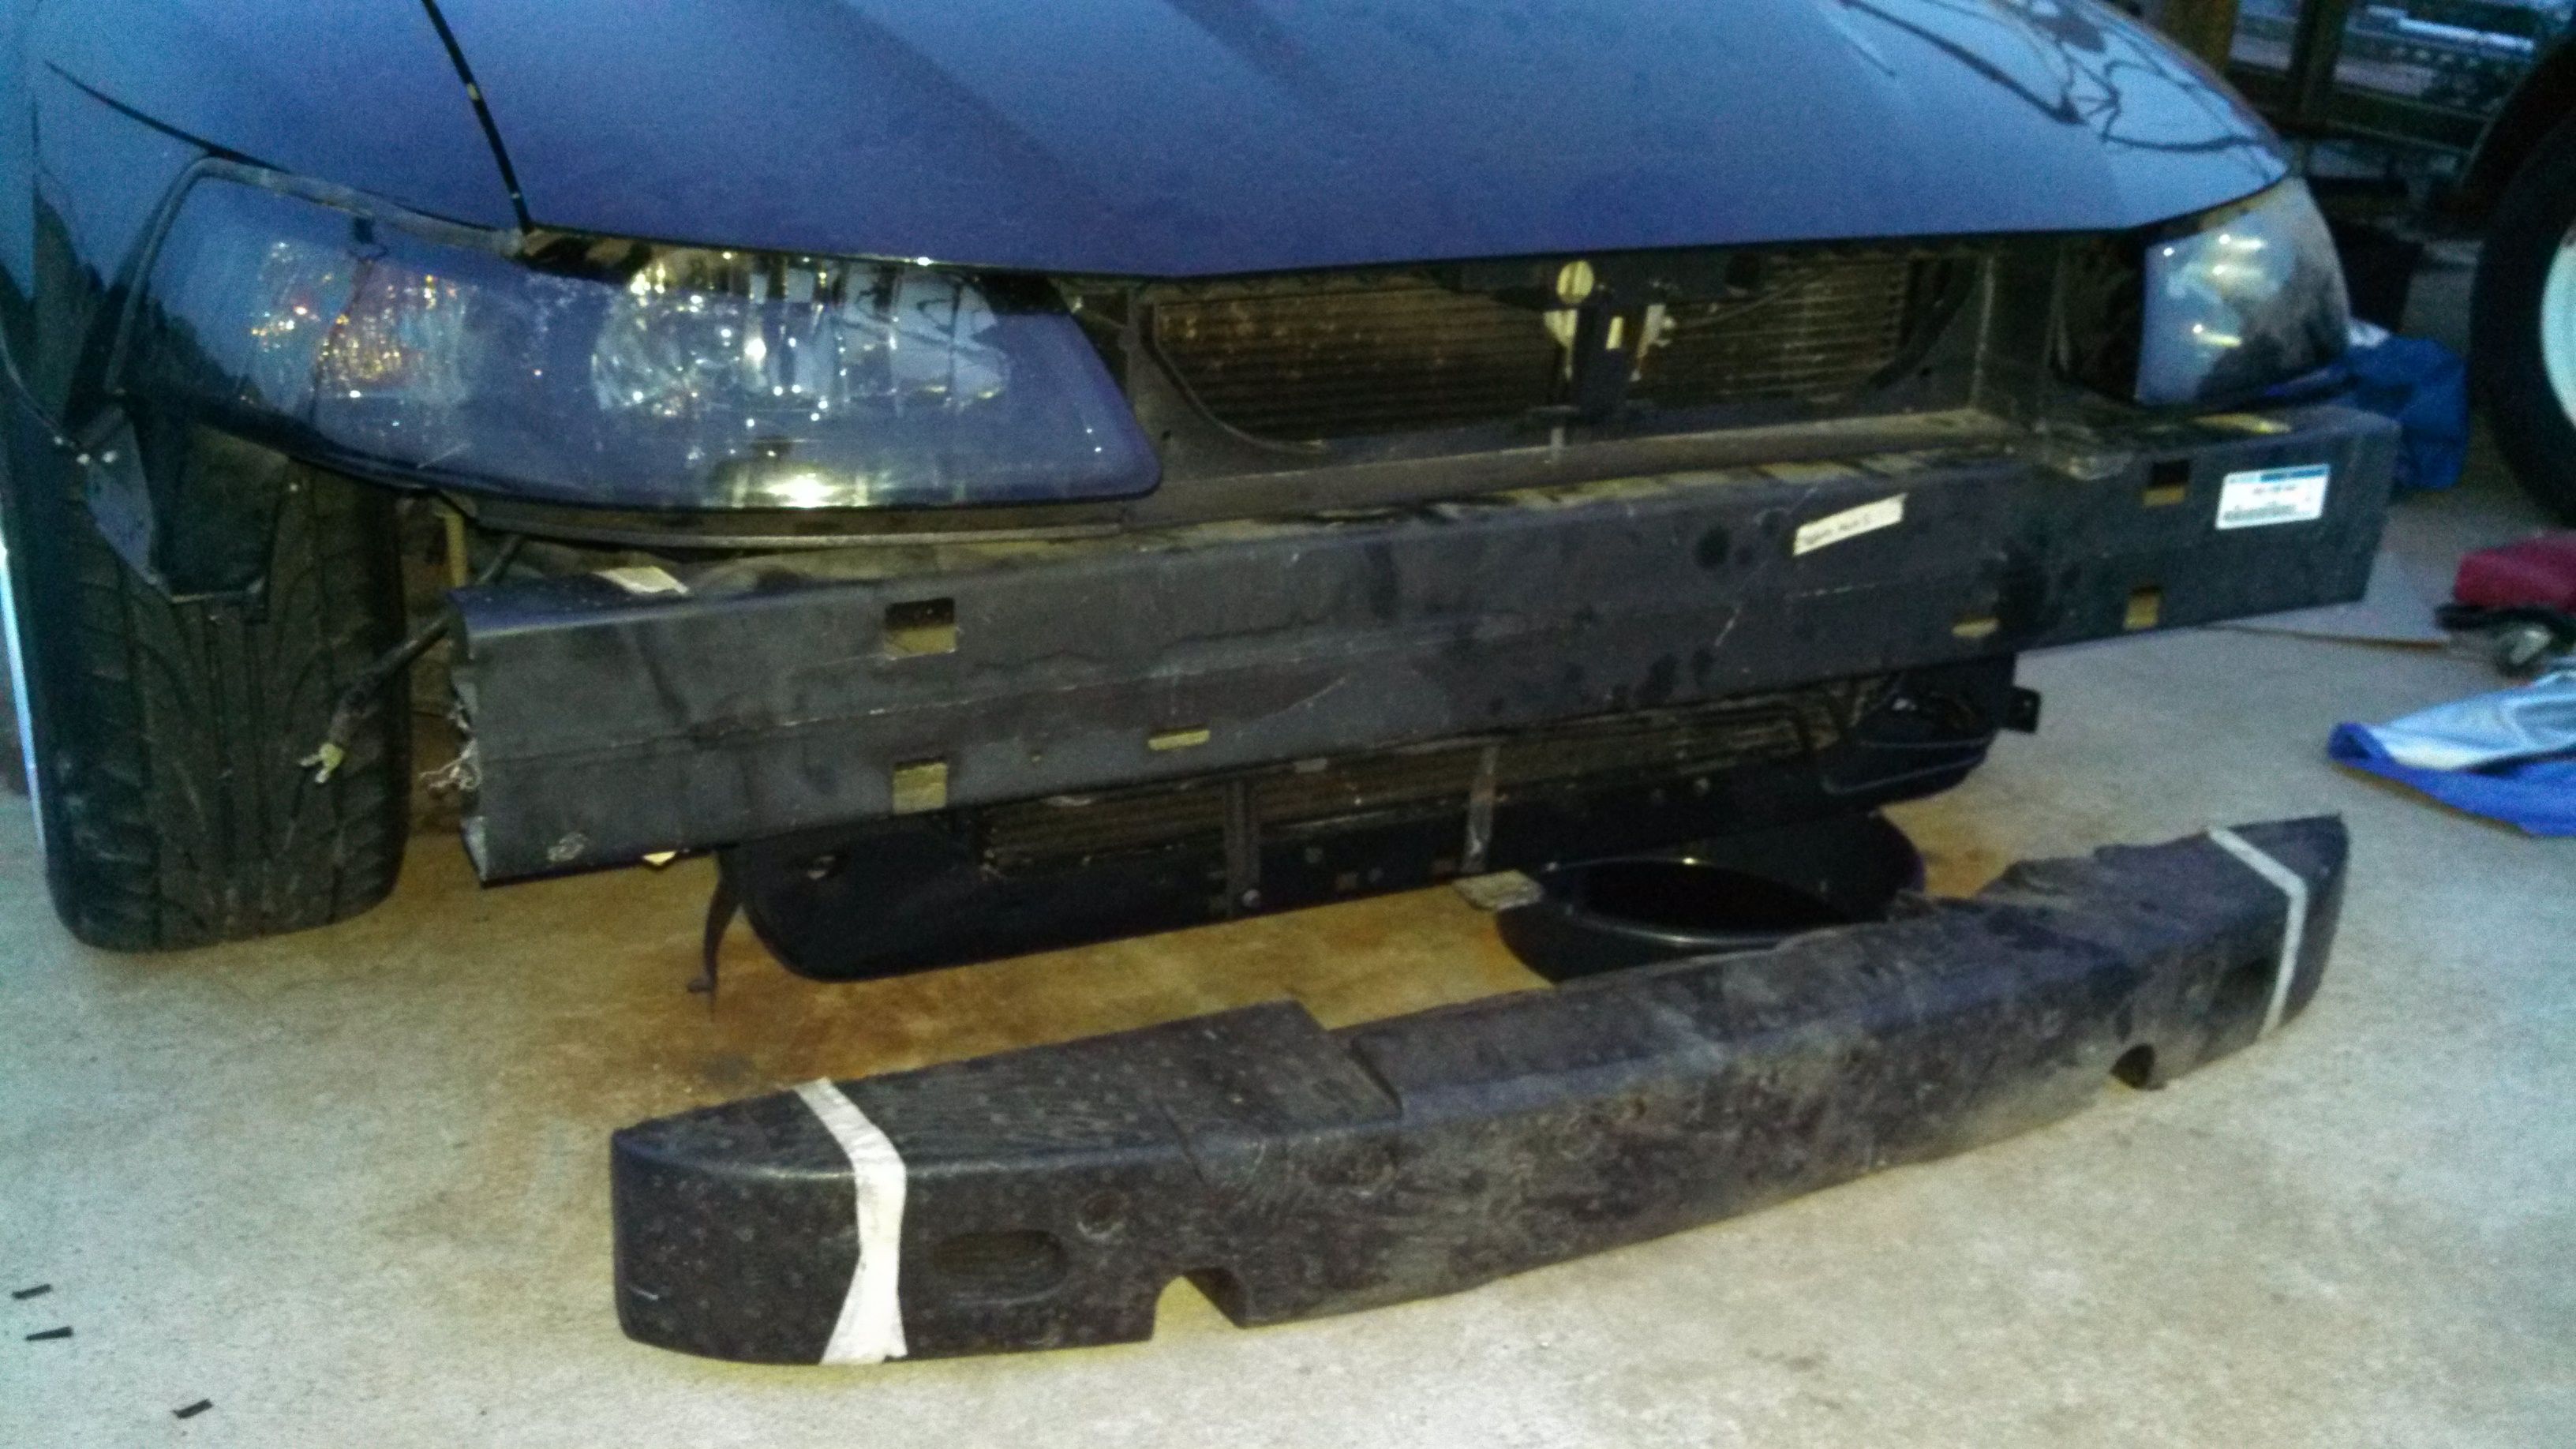
Headlights, bumper support, and absorber.
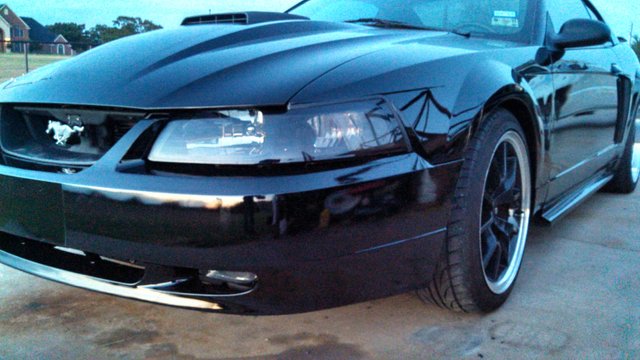
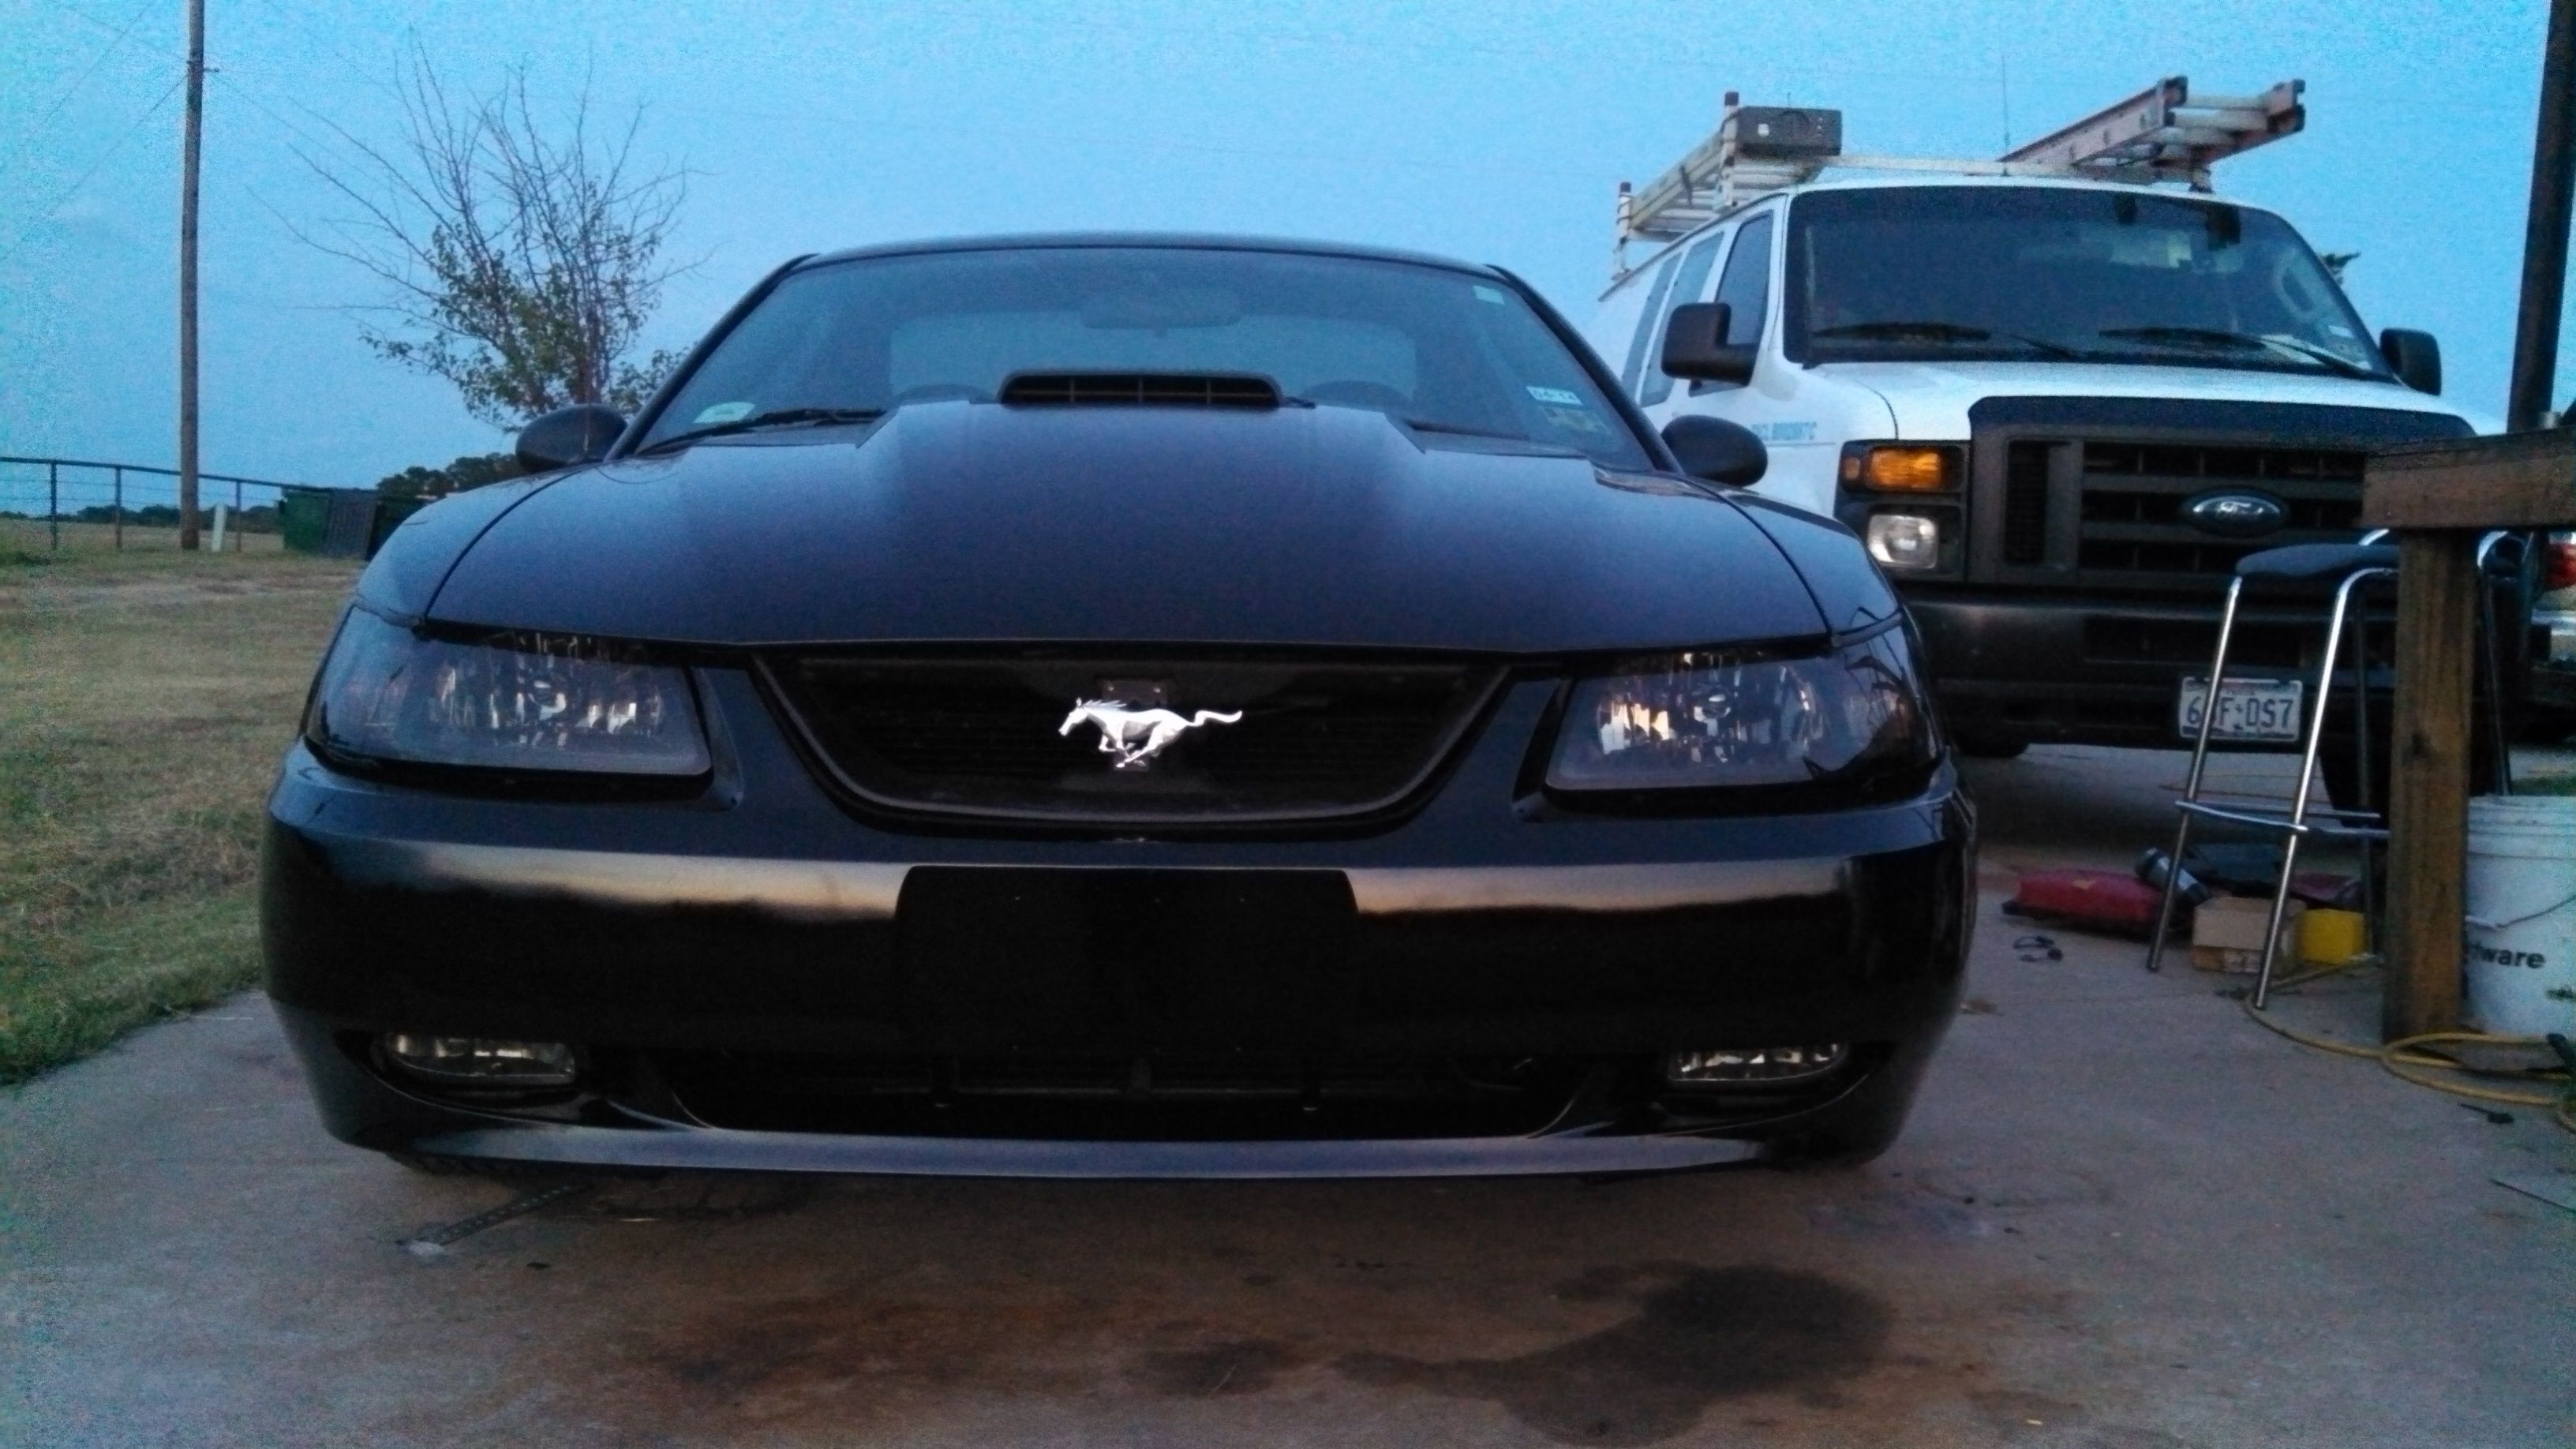
Bumper cover, "pony" emblem, and foglights. Just about ready to hit the streets!
Thanks for stopping by. This 2013 project took about 4 months (spare nights and weekends) and overall, cost me less than $1200 in parts but 50+ hrs of work.
My guess is that at a body shop would've been at least $6k-$8k, but IMO knowing how to do things yourself is priceless.
That's one helluva job. The only place I hate to doing body work on a car more so is the quarter panel...lol. Seriously though I know what its like as I'd done a few rebuilds and have to say it really makes you look at any potentially new project in an altogether different manner. I think my next project car is going to be a Chevelle more than likely.
This gem of a post was discovered by the OCD Team!
Reply to this comment if you accept, and are willing to let us share your gem of a post! By accepting this, you have a chance to receive extra rewards and one of your photos in this article will be used on our compilation post!
You can follow @ocd – learn more about the project and see other Gems! We strive for transparency.
Thanks, yea at some point i hope to have a shop so I can set up a paint booth and then do some real body work. The passenger rear quarter panel now has some small damage that will be a challenge to fix for sure. Funny you should say that, i've always dreamed of restoring or even just owning a 70 chevelle.
Nice post bro.. Keep it up🙏
Holy shit this is comprehensive. I freakin love it. I used to sell cars, but know nothing about this stuff. I think I found my car guy to follow :)
Thanks! I feel like my car is more of a perpetual project but I guess that means i'll have plenty more to steem about!
Hahaha rightttt gotta love ongoing content :)