Tutorial: 18650 3.7 V lithium-ion battery charging circuit model is TP4056.
Assalamu alaikum Everyone. I am @imranhassan From #Bangladesh
.png)
We who use many non-rechargeable gadgets and devices at home have to change our batteries after a while. Today I will show you how to safely charge a TP4056 3.7-volt lithium-ion battery, and this small board model is 18650. In today's video/post, I will show you step by step how I charged a 3.7 V battery using this circuit and its results, so let's get started.
Step -01

Now the circuit board that you see in my hand is designed to safely charge a single cell 3.7 V lithium-ion or lithium-polymer battery. It has a micro-USB input, and the charging IC inside the board charges the battery with the correct voltage and current. It also has built-in protection against overcharging, over-discharging and short-circuiting.
Step -02

Now to complete my work, I have taken a model 18650 lithium-ion battery and the model TP4056 charging circuit. And by connecting these two, we will charge our battery and see how to get the output safely.
Step -03

The charging circuit that we have has 4 outputs, 2 for charging the battery and 2 for running any device, so we have taken 4-wire connections to give four connections, two red and two blue.
Step -04

Now you can see that I have made two connections to the battery charging output of the circuit with the battery minus and battery plus.
Step -05
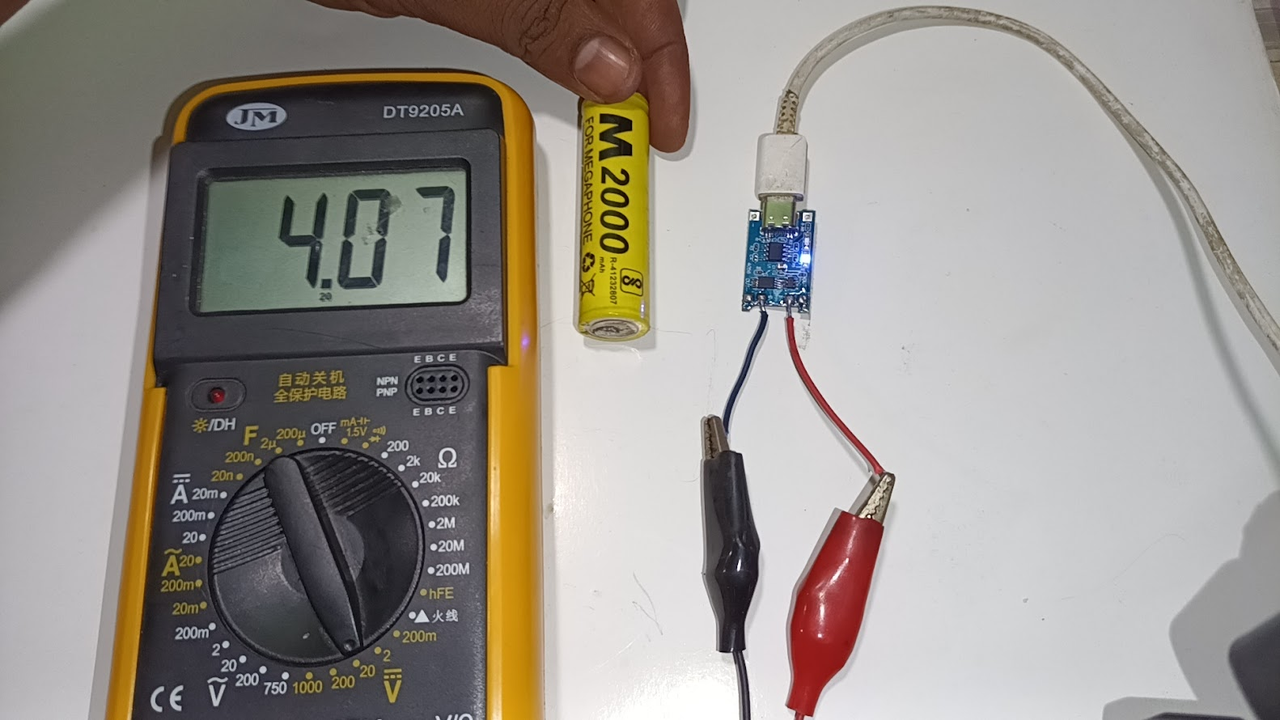
Now we are checking the output of the circuit without charging the battery. You can see that the digital multimeter is showing four volts output here, which means the circuit is fine, but here, 5 volts of input voltage is given, and the output is 4 volts.
Step -06

Now I have connected the wires of the battery connection of the charging circuit to the battery. You can see that the red wire is connected to the positive end of the battery and the blue wire is connected to the negative end of the battery.
Step -07

Now you can see that I have connected the charge here with a Type C 5-volt mobile charger, and a red light is indicating, and this red light is indicating correctly. It means that the battery is good and the battery is charging. If the red light was on and off and a green light was on occasionally, then you would understand that there is a battery problem.
Step -08
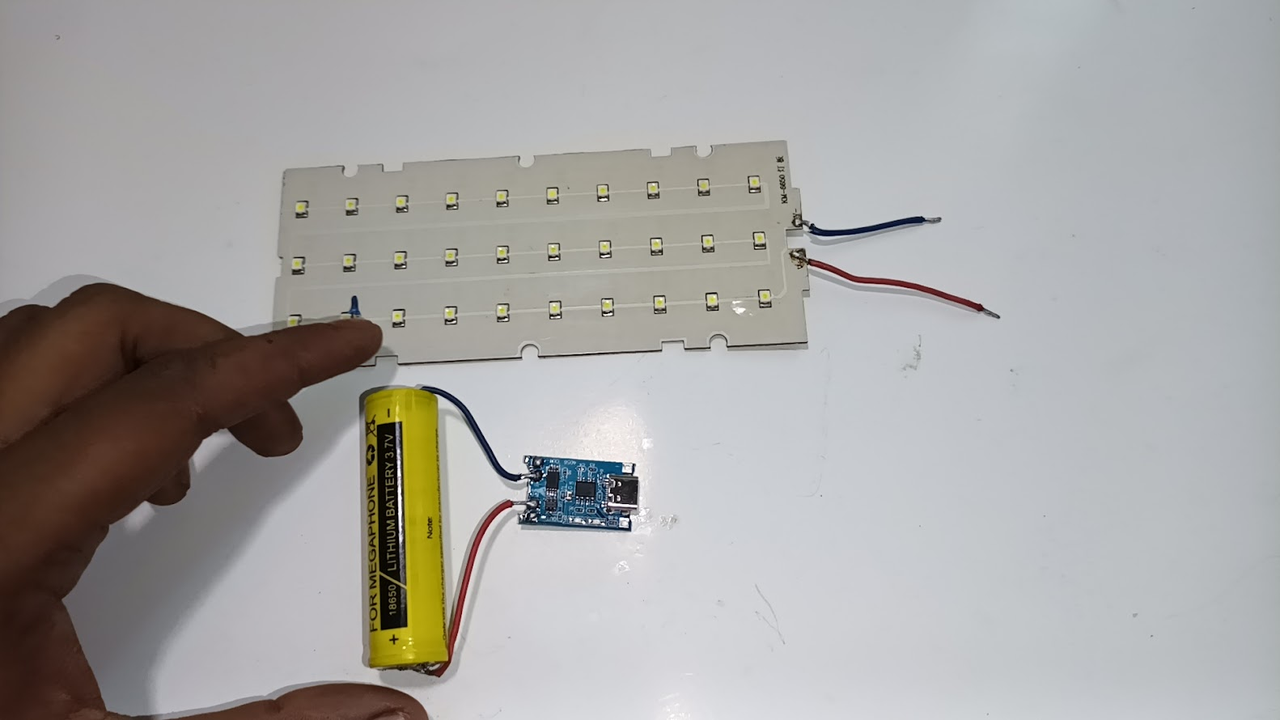
Now you can see that I have taken a 4V LED panel light, and from here we will now show you the output.
Step -09

You can see that out of the 4 output connections of my charging circuit, two went to the battery, and the remaining 2 remained. I connected the positive to the positive of the LED light and the negative to the negative. Now my light is lit through the battery without any charging input.
| Video Tutorial: To better understand the practical part of this tutorial, you can watch the video below. |
|---|

✅ CC: My friend @rmm31
✅ We support @pennsif and @pennsif.witness for the growth of this platform. pennsif.witness his contribution to the Steemit community. Vote for him as a Witness here: Click to Vote
| Photography Details | 📱 Device: Walton Xanon90 | 📍 Location: Narayanganj, Bangladesh | 📷 Captured By: @imranhassan |
|---|
https://x.com/ImranHosen98536/status/1971098714417803593
Here is your content summary:
By improving the marked items you could get Higher Votes!
Curated by @suboohi