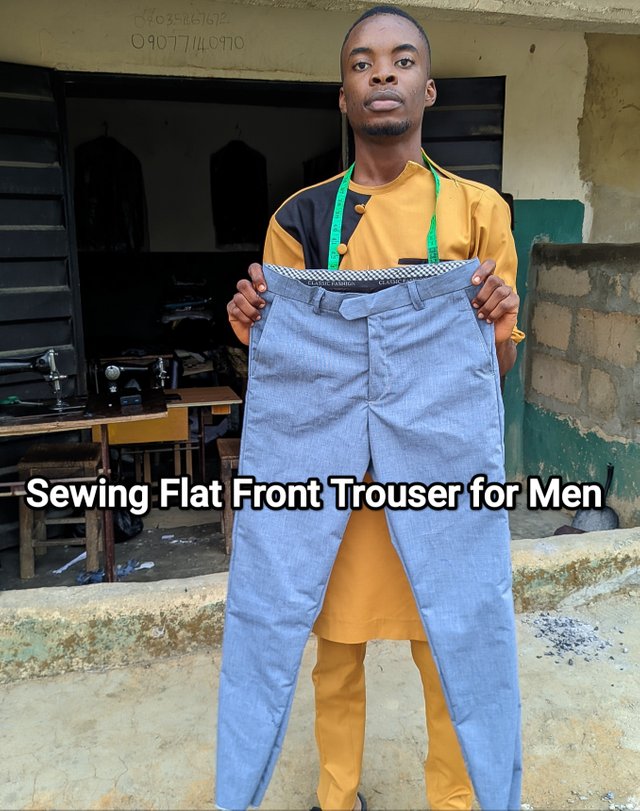
Sewing Project [Pattern making] - Sewing Men's Formal Flat Front Trouser
Sewing men's trouser or pant isn't an easy job. If you take a look at the pictures in this post you may be overwhelmed by the number. Not everyone knows how to perfectly cut and sew a man's trouser. It may either be too big or too tight even when measurements are taken into consideration. Sewing is an integral part of being careful and conscious as small mistakes won't take your life but would take the life of the clothes you're sewing.
Why do I say so? I'm saying this because you need to be extra careful when cutting and sewing any cloth as a mistake in cutting can make you buy the whole material again and mistake in sewing can spoil the dress. This is one of the reasons why people complain about tailors not giving them what they expected. They'll say
What I ordered VS What I got.
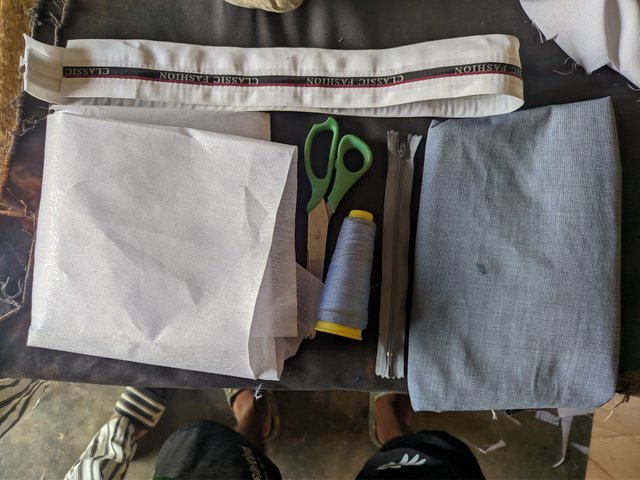
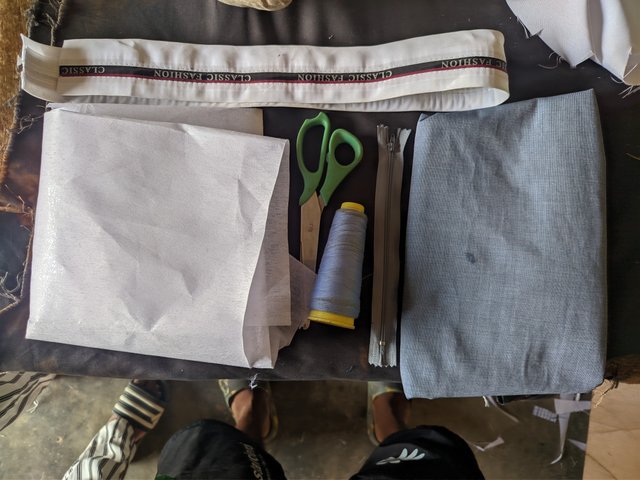
Now let's go deep into the sewing aspect as I'll be making use of pictures to explain the whole concept involved in sewing if you're just a beginner. Let's start with the material and measurements. If you're sewing a trouser for yourself, you must consider the length and width of the material. In most cases, yards are considered as it may vary from persons. I usually use 2 yards on average. After getting this done, we make sure our equipment and tools for sewing are handy.
- Chalk for marking
- Measuring Tape
- Gum Stain and paper gum
- Waistband
- Scissor and Thread
 |  |
|---|
Measurements |
|---|
Measurements is very important as it helps you know the size of the person, the hip and lap size and the full length. The following are measurements we would carry out in the course of this project.
| Full length | 39½½ + 2.5 inches allowance |
|---|---|
| Waist | 39½ ÷ 4 + 1/2 inch = 10.3 |
| Lap | 23 ÷ 2 = 11.5 |
| Hip | 40÷4 = 10 |
| Leg or ankle | 14 ÷ 2 = 7 |
These are the measurements I'll be using to sew my trouser to fit. These measurements are made in such a way that suits the front and back piece without overlapping or making it too tight.
Steps |
|---|
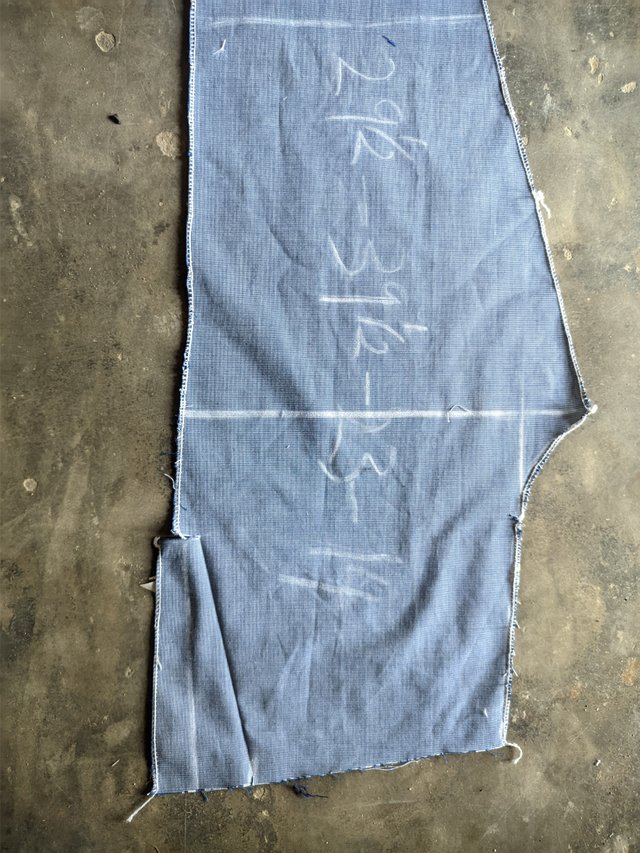
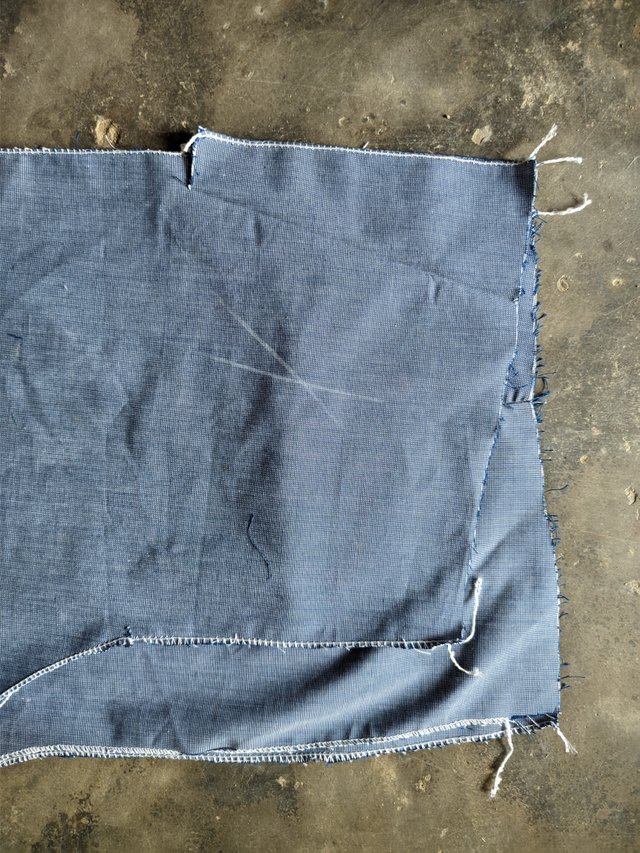
- Place your full size material on a table and double it so you can attain four pieces, 2 for the front and two for the back and you can also get the wrong piece from the material's layout. After placing, I used my chalk to do the markings starting with the waist measurement. The front part of the trouser bears the actual measurement while the back piece bears the predicted measurement for allowance.
- My waist measurement is 39½. So dividing it by 4 gives me 10.3 which I mark from the edge of my fabric to an extension which I then added ½ inch. From my waist line to lap line is 10 inches i.e i divided my hip measurement which is 40 by 4 to get the actual size which gives me 10. I marked it and gave a 2 inches gap on both sides for my crutch curve.
- From my waistline to knee line is 22 Inches....I used my tape to mark it from there and then did joining with my ruler from the waistline. I then measured my full length and added 2.5 inches for the length allowance. After doing this, I'll focus on my crotch area. Remember, I made a crotch mark of 2.5 to the width. To get the length, I measured divided my hip measurement by 2 and got a total of 11.5 which gives the crotch extension which would be fitted for the curve. I then added extra inch to make it fit. I then drew my curve from my curve extension to meet the 2.5 inches mark I once labelled.
 1 1 | 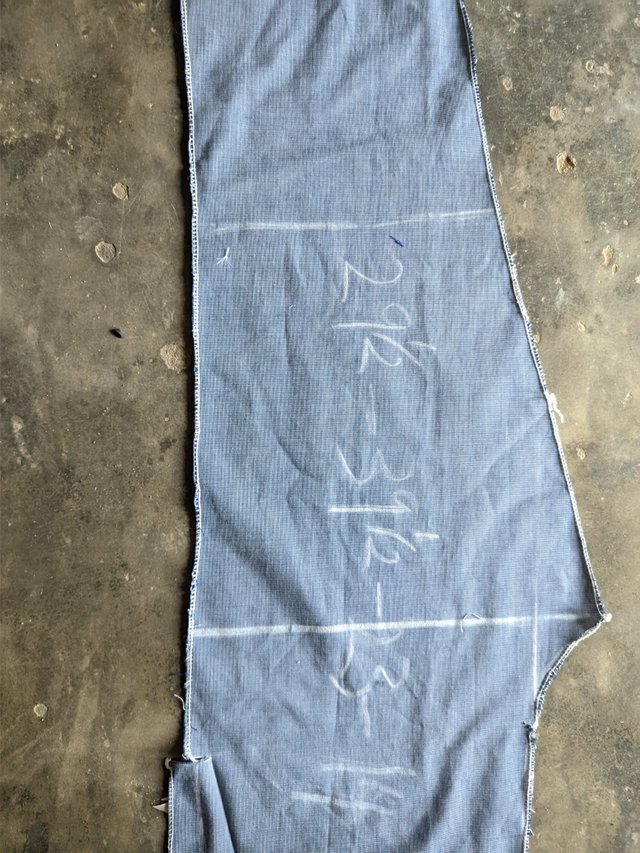 2 2 | 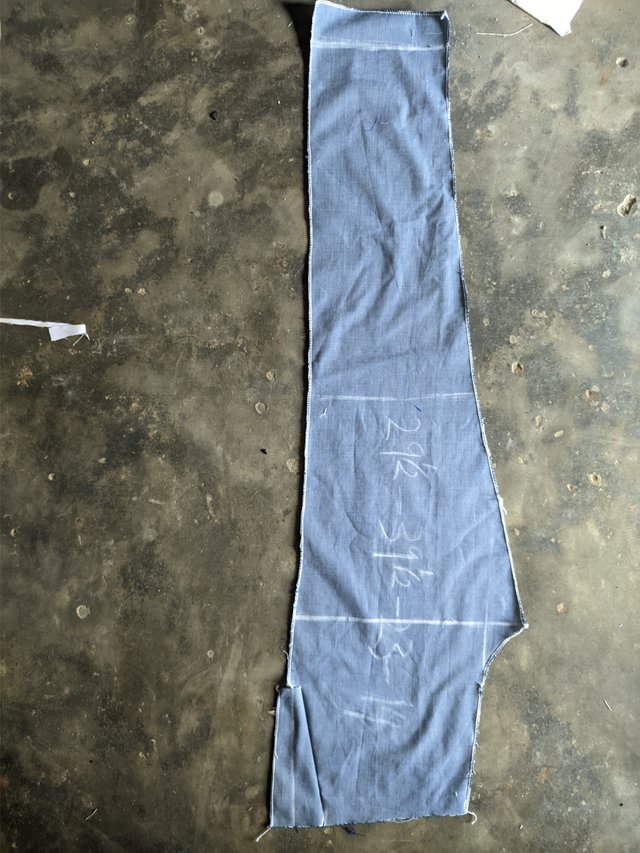 3 3 |
|---|---|---|
 4 4 | Front View |
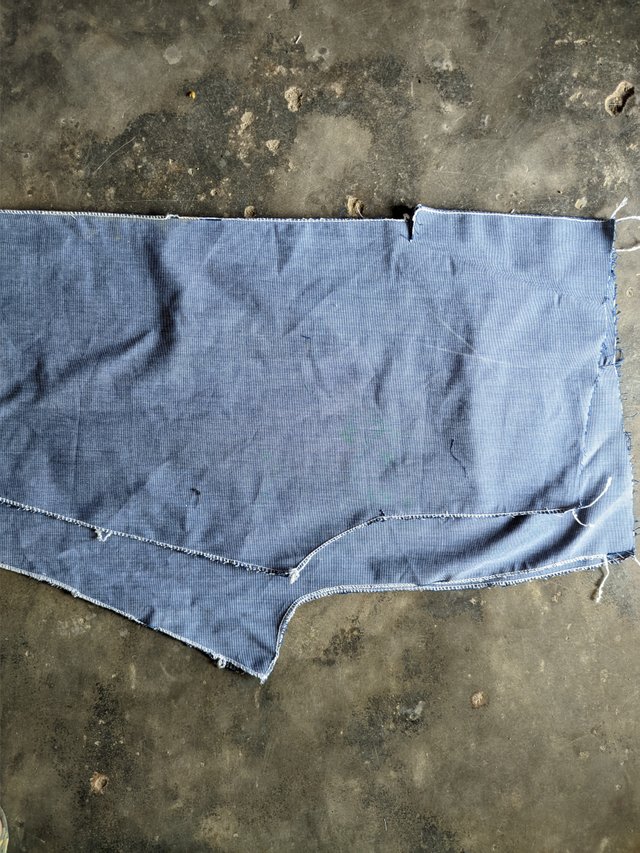
- After that, I took half of the crotch line or hip line to meet my knee and full length line to be able to get curves on both sides which I achieved perfectly and then marked on the front piece. For the back piece, It was just an extension of the front piece with a larger crotch curve line and a straight line edge. I placed my front piece on the remaining material to get my back piece. I made a 2 Inches allowance from the crotch area while still making the side pocket area straight with no allowance.
- I made 2.5 inches allowance on the crotch line for the back piece to meet the front piece placed on top of it. Then, I created half inches at the top of the trouser cut and marked it to the edge of the crotch curve on the front piece and then draw a straight line to connect it. Afterwards, I took 1 inches up to create my back rise for the buttocks and then joined it slanted to meet the front slope.
Front and Back pieces |
|---|
 | Front and Back piece |
|---|
 |  |  |
|---|
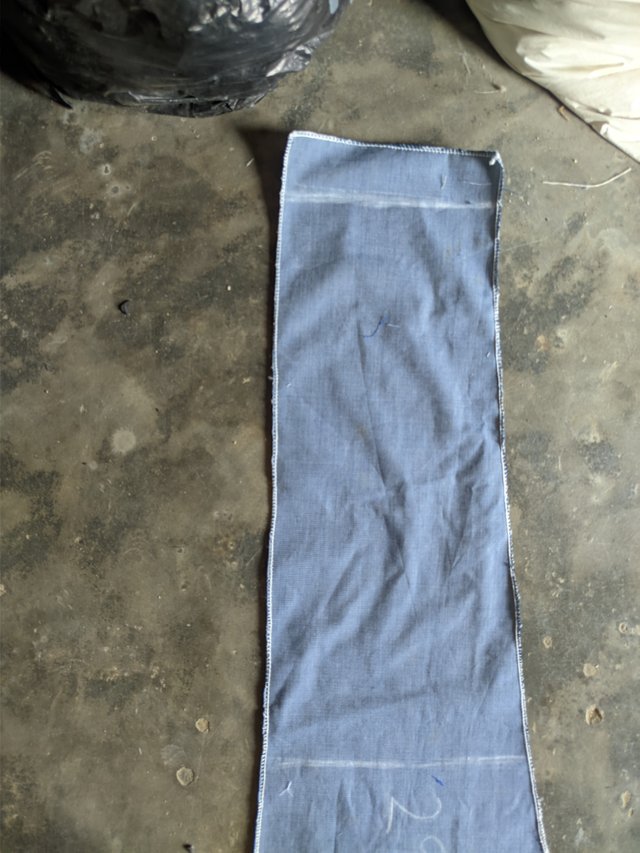
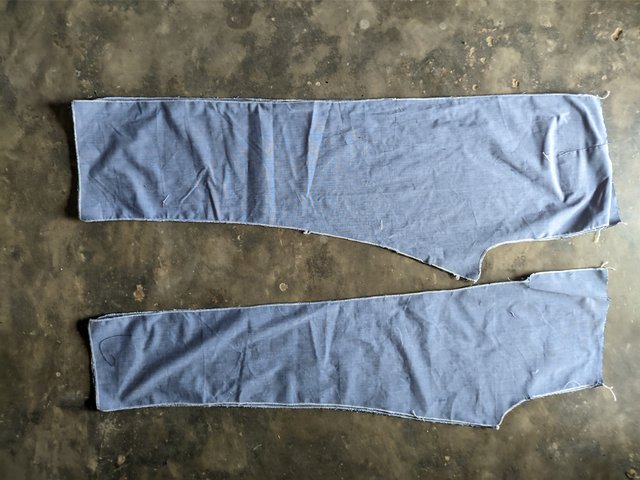
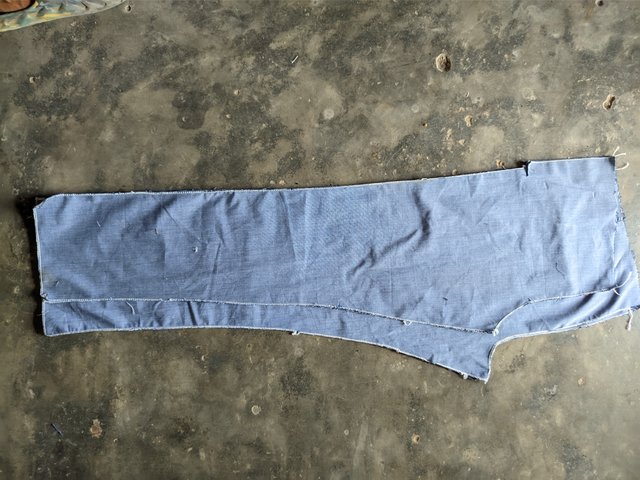
After that, I created a curve for my back piece crotch line and did the cutting intermediately. The cut on my back piece crotch curve would be used for my side pocket cover. That's how I was able to draft this measurement well. After getting the front and back piece in pattern, I took to cutting the pieces and also measuring with my tape. These are the pieces used;
Side pockets cover
Pocket tin
Back pockets
Waist cover
Flap [Front and Back]
Lobes
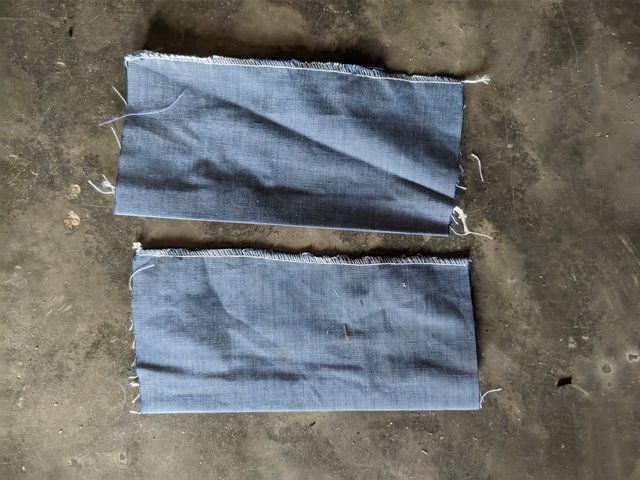
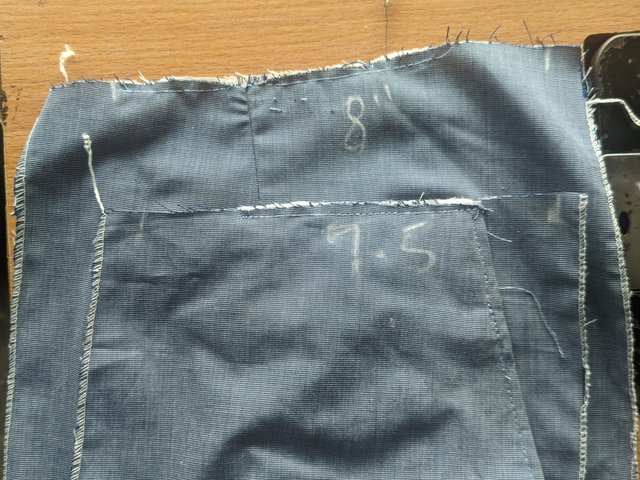
Back Pocket Pieces |
|---|
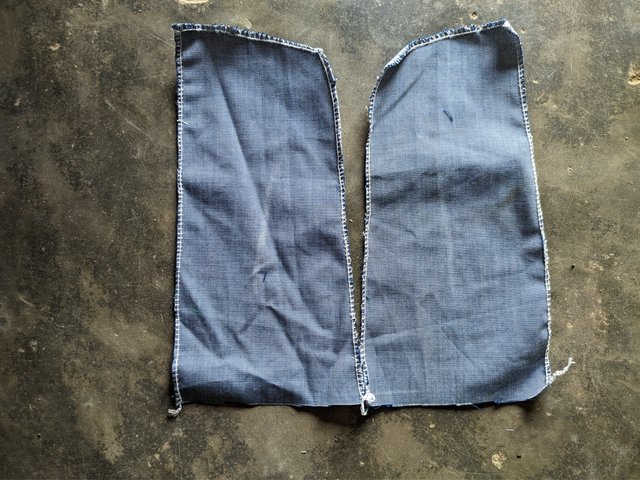
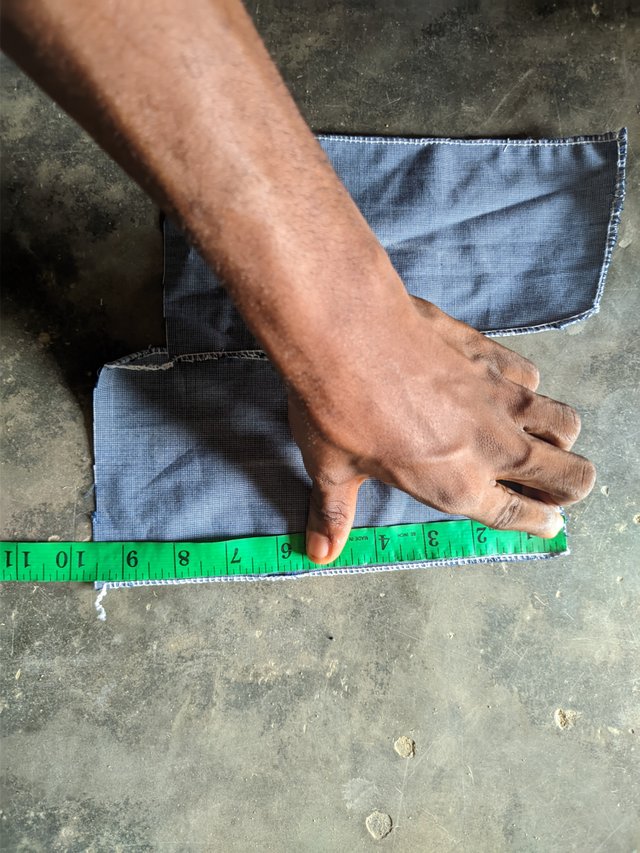
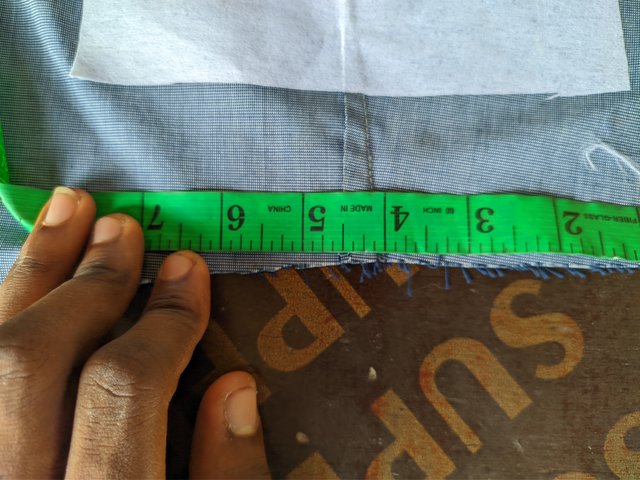
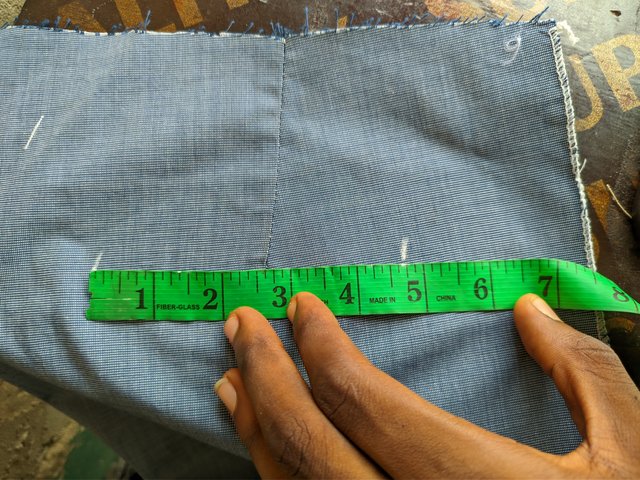
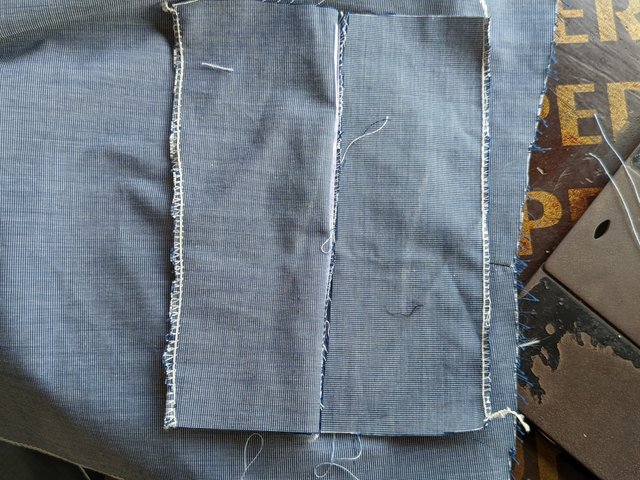
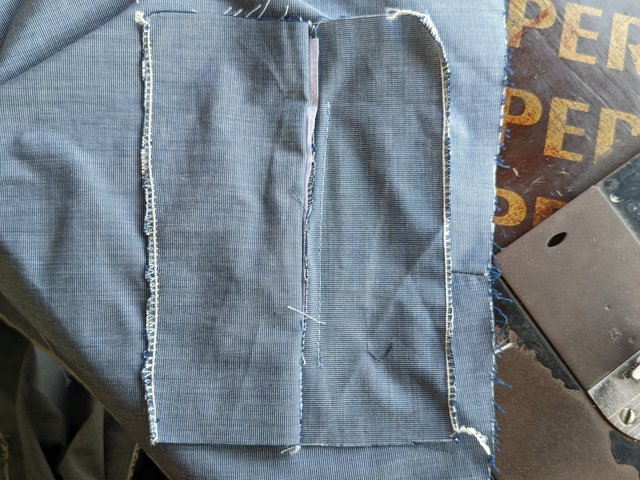
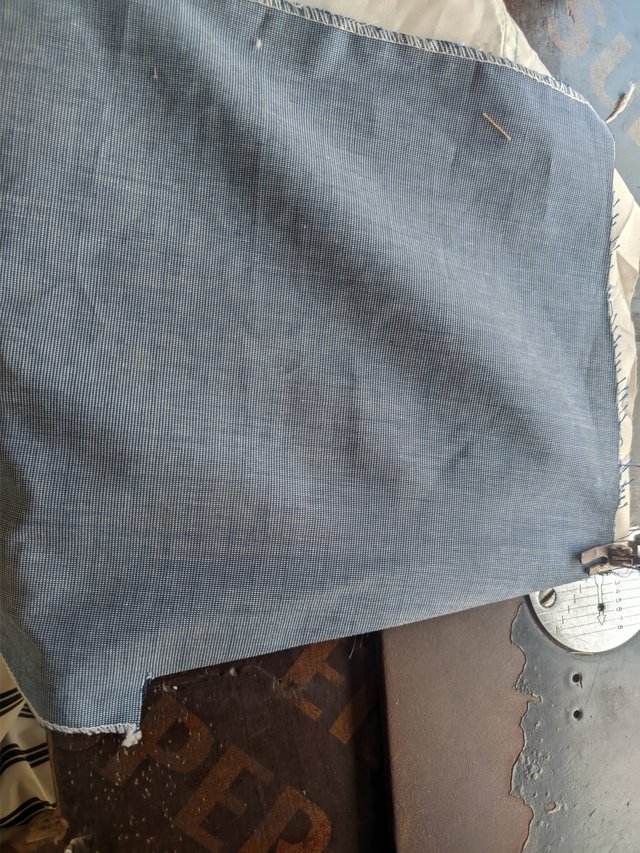
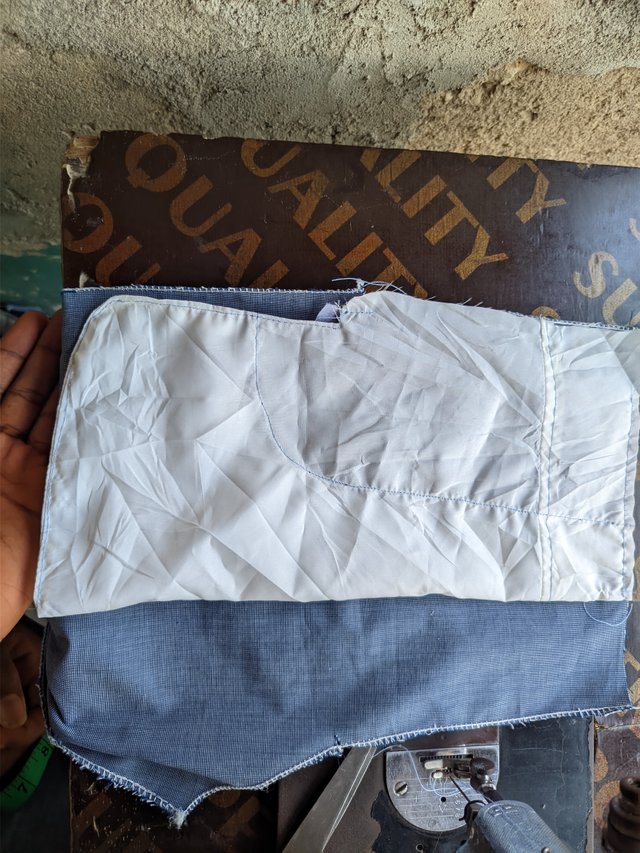
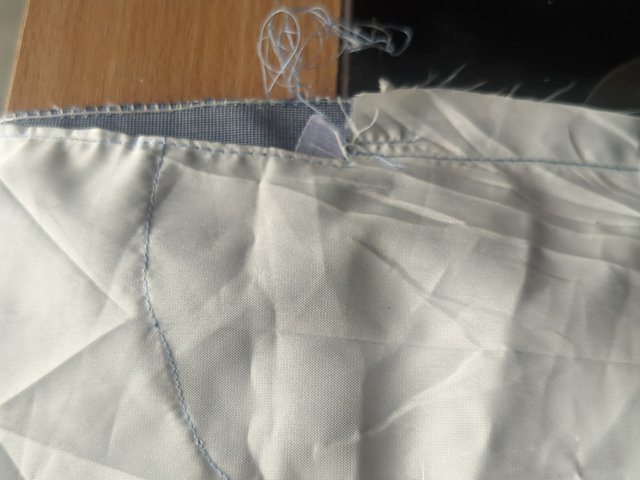
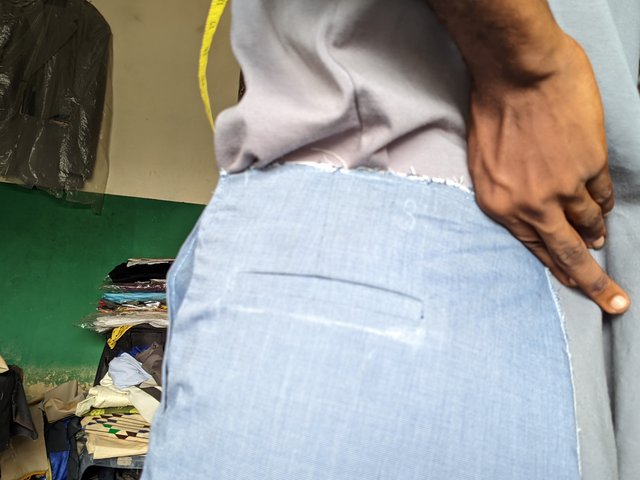
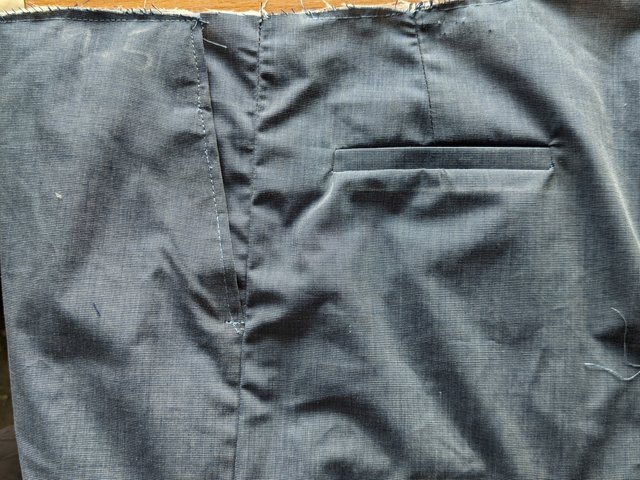
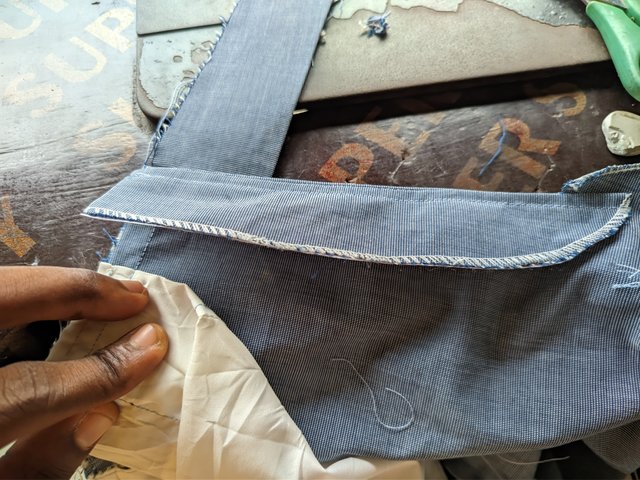
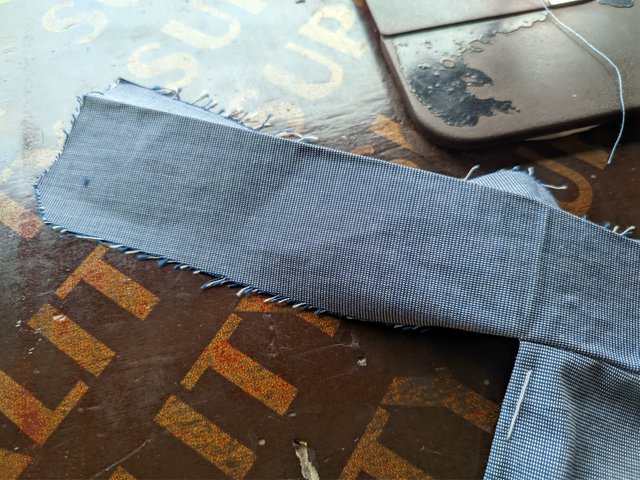
For the back pocket, I measured a length of 4 inches and a width of 8 inches and then cut it out as rectangular. The first set of pictures you've seen is for the front part of the back pocket while the lady picture is a joining to back up the front from the back.
 Front part of back pocket Front part of back pocket | 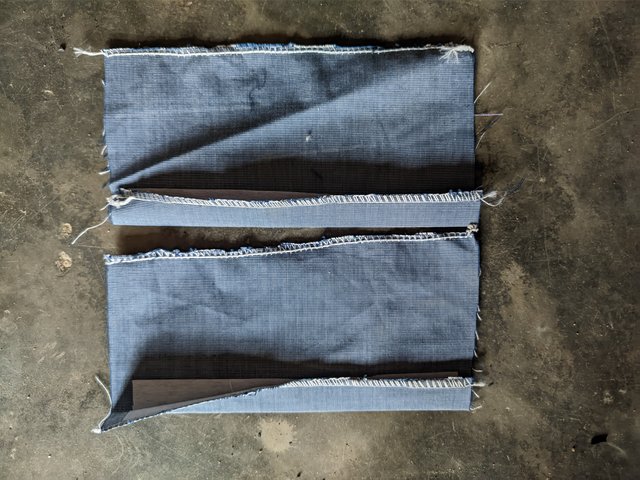 Pockets to both sides Pockets to both sides | 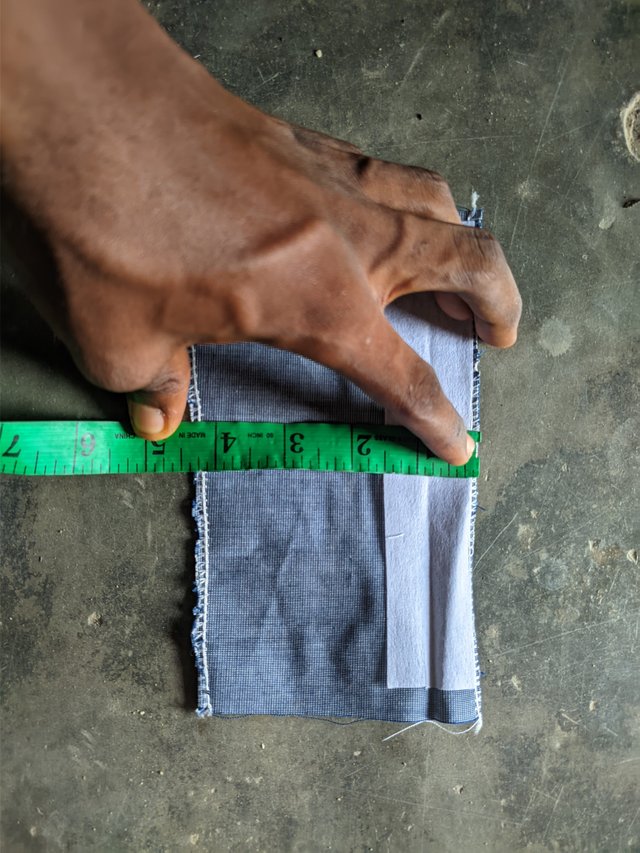 |
|---|---|---|
 |  | Back Pocket in and out |
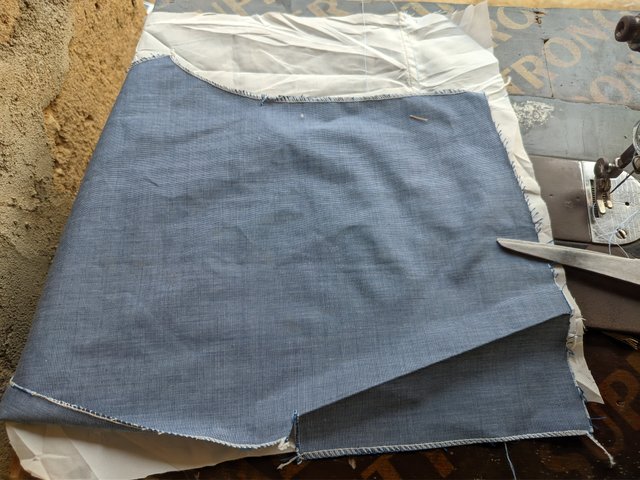
Side Pocket Pieces |
|---|
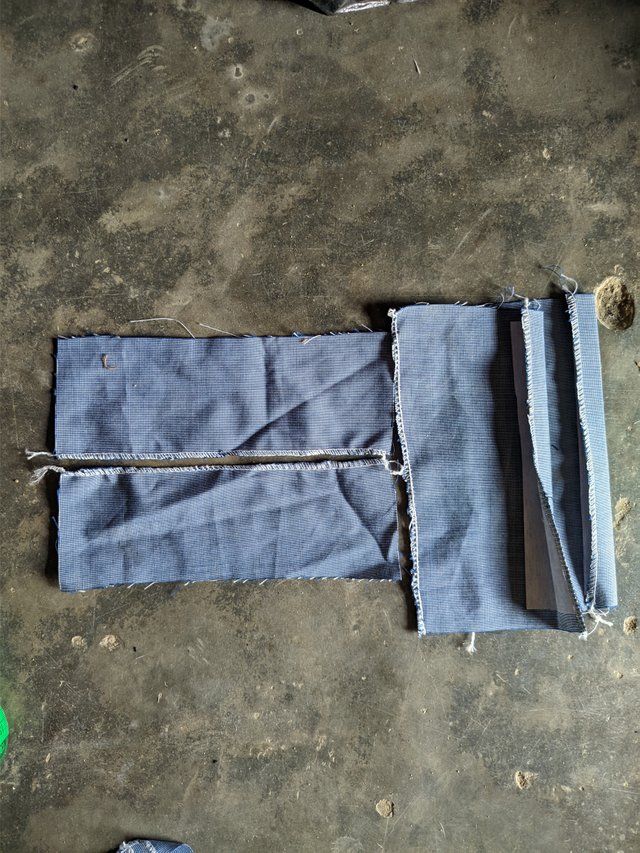
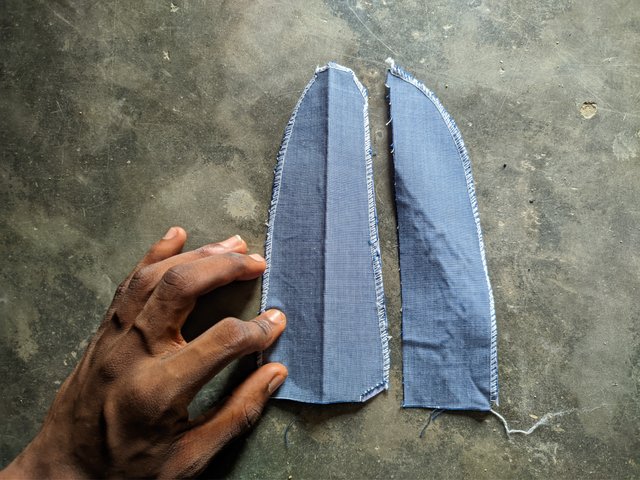
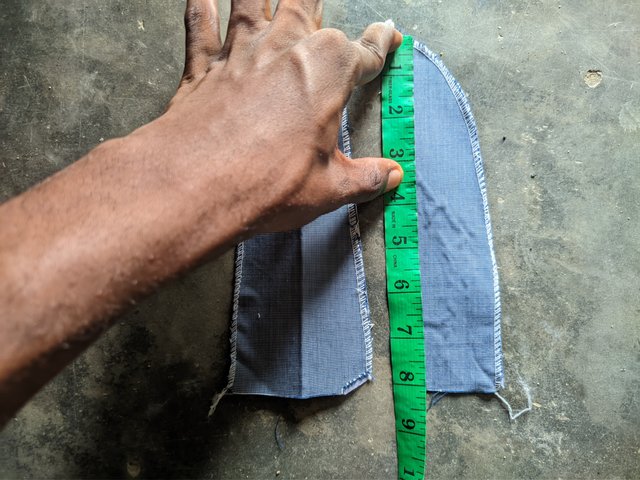
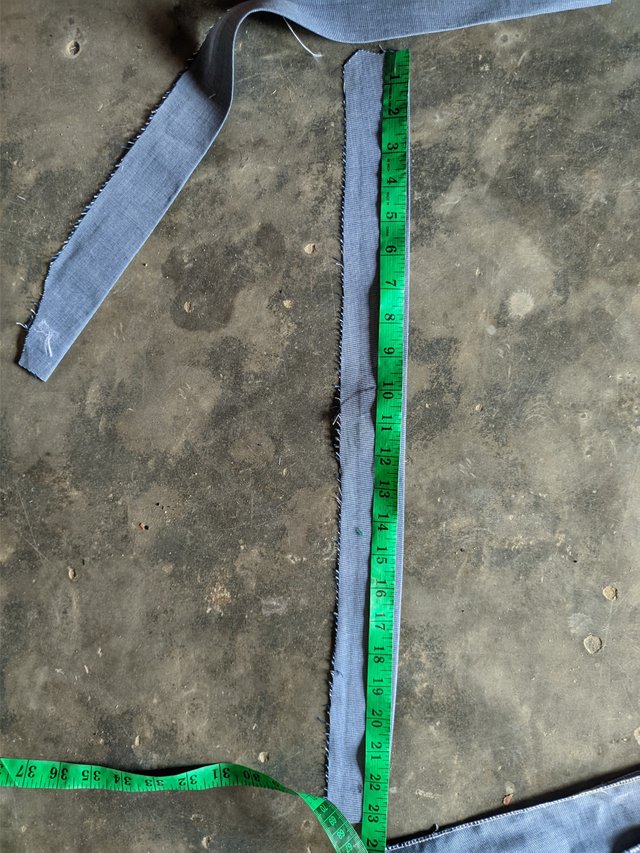
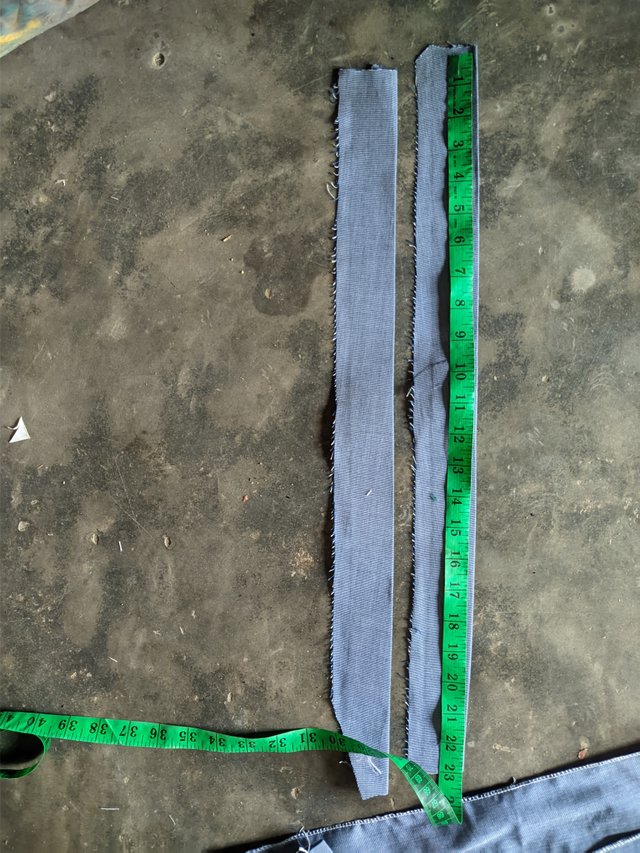
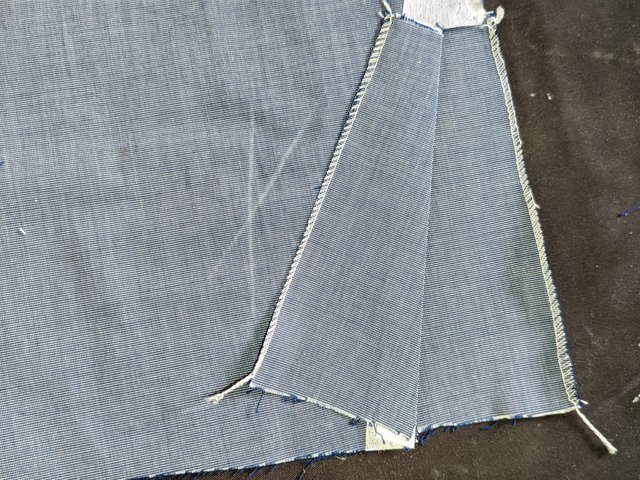
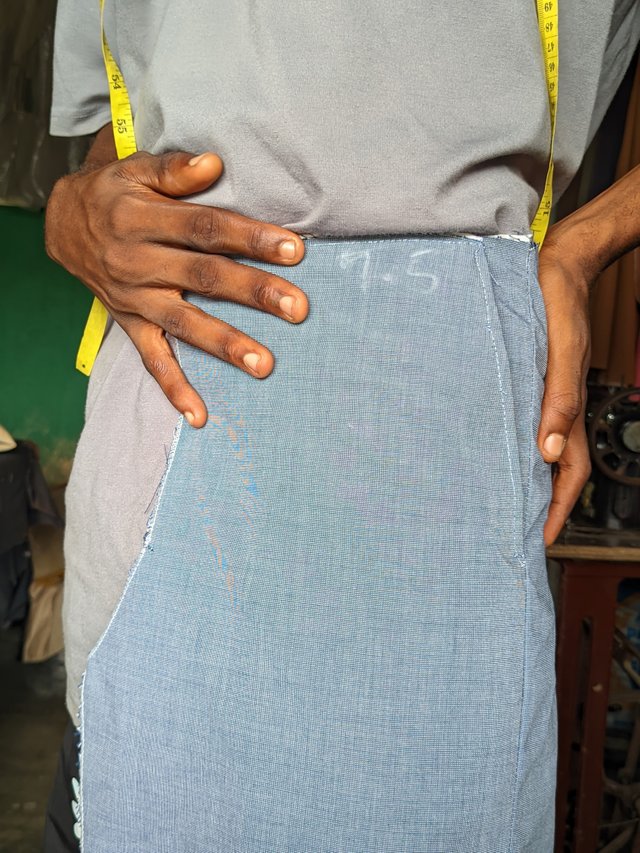
As I earlier said, my side pocket was gotten from the back crotch curve line which looks more like a volcano shape. It has a curve on one end and a straight line edge on the other. The two pieces you see are for both sides of the side pocket. It has a measurement of 9.5 Inches for the length on both sides and then have curves at different ends to suite the cover of the side pocket when placed.
 |  | Side Pockets |
|---|---|---|
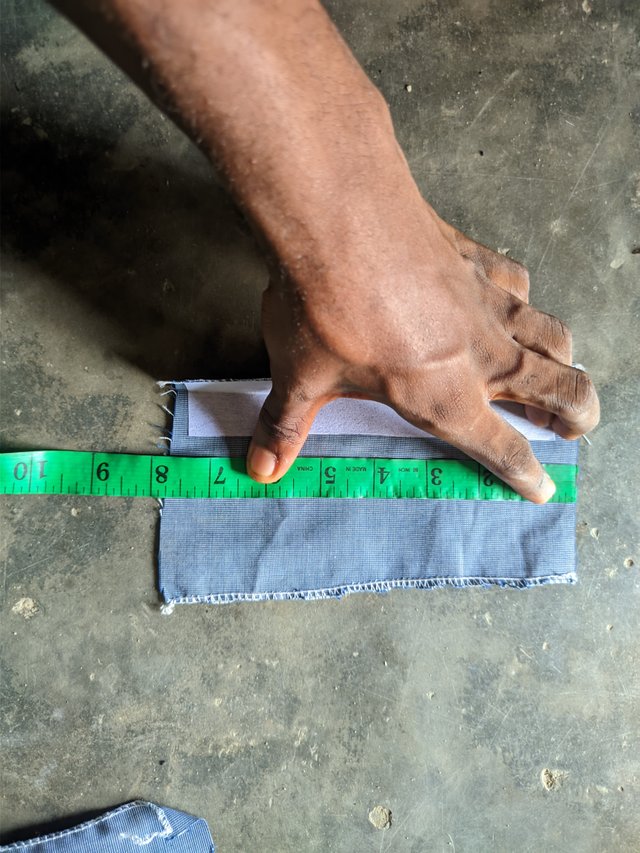
 |  | Flap for zip |
Flap for zip has front and back cover to hold the zip firm and in place without revealing its structure. It has a measured length of 8 inches long to fit. This is for average adults and can't be used to do children's size.
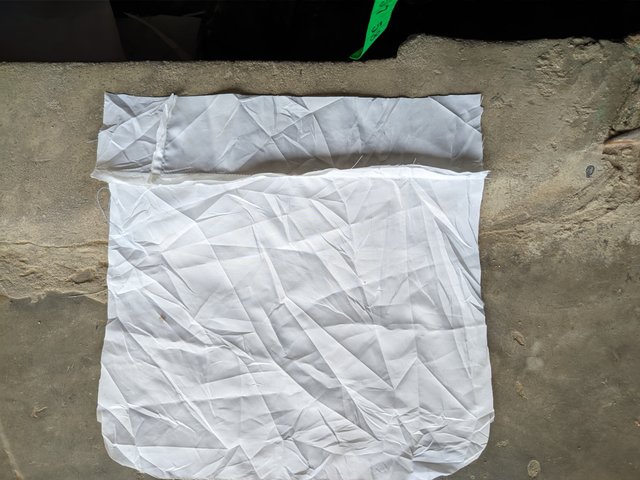
Waist pieces |
|---|
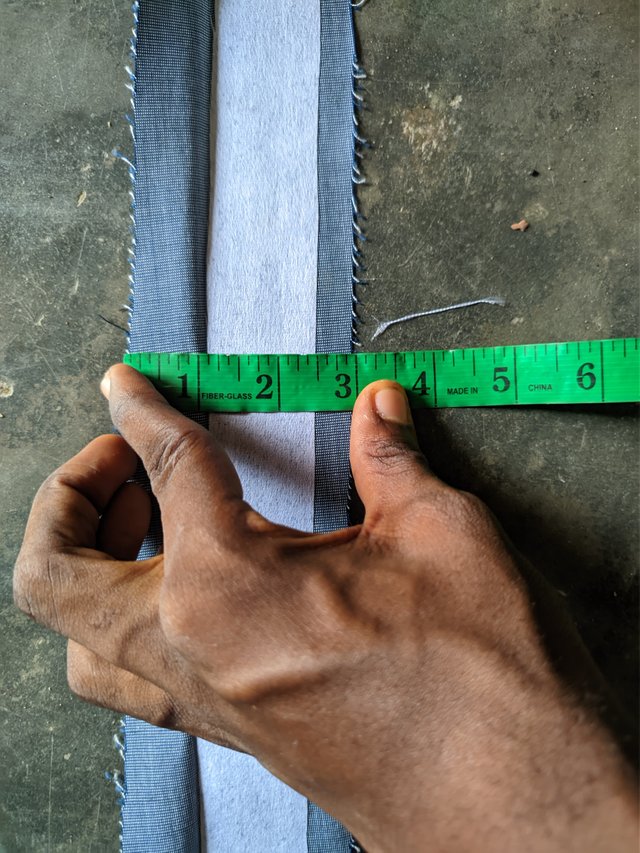
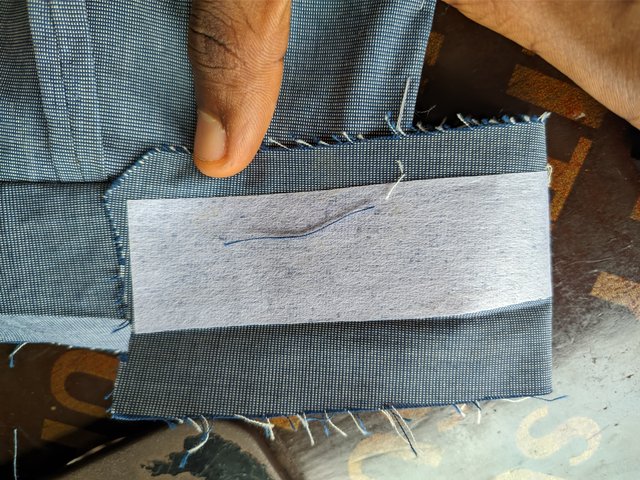
The Waist is an integral part of the trouser and is taking into special consideration. Since waistband would be attached to it, it has a length and width measurement of 23 × 3. In this waist, front button cover is added outside the actual waist measurement. Paper gum of considerable length is pressed on the waist piece to give a fitting bending for the waist. It's usually a 1 inch mark and placed on the wrong piece for ironing.
 |  |  |
|---|
Application of paper gum to hold |
|---|
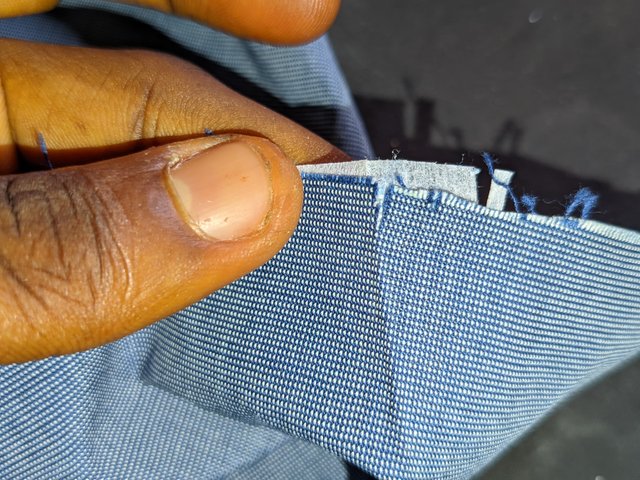
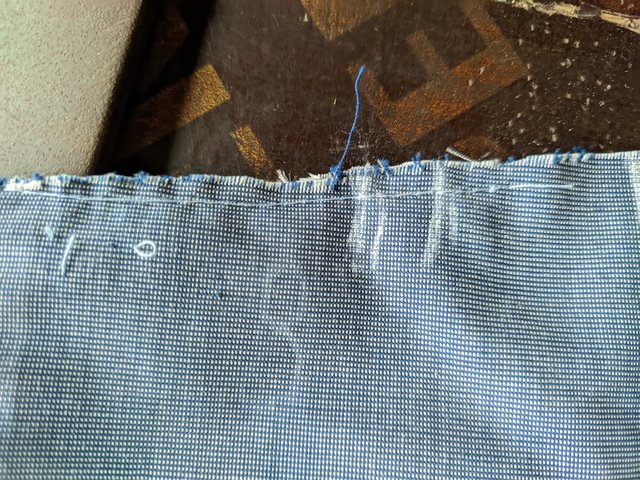
Before applying gum, you must weave the rough edges of your pieces to avoid loose ends. After weaving, you add or apply gum to the front piece side where there's a cut around the crotch line to provide space for joining of the pocket. There's aldo a joining at the top of the front rise which was made when the back price was marked. This joining is where the middle of the gum would be.
 1 1 | 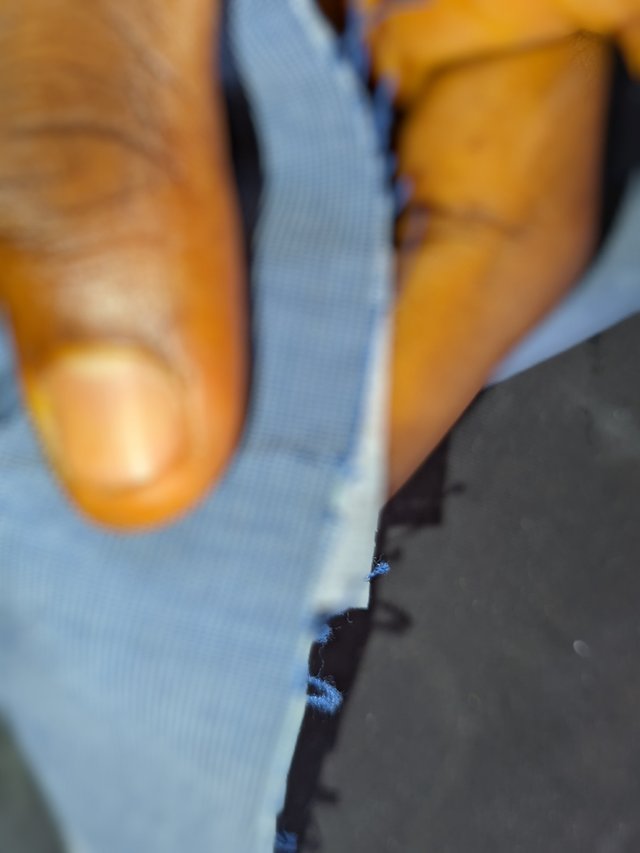 2 2 |
|---|---|
 3 3 | 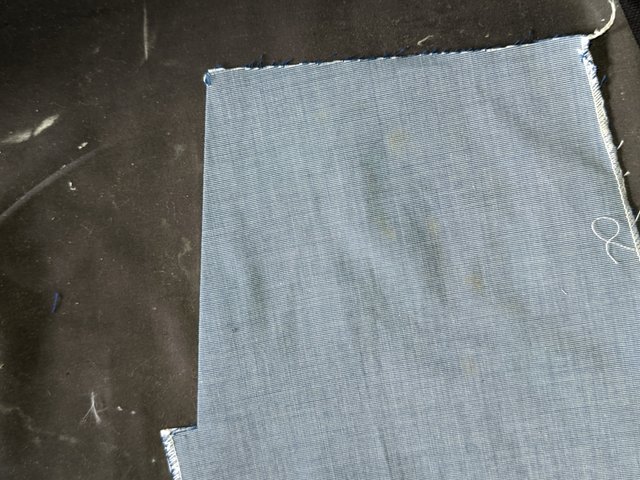 4 4 |
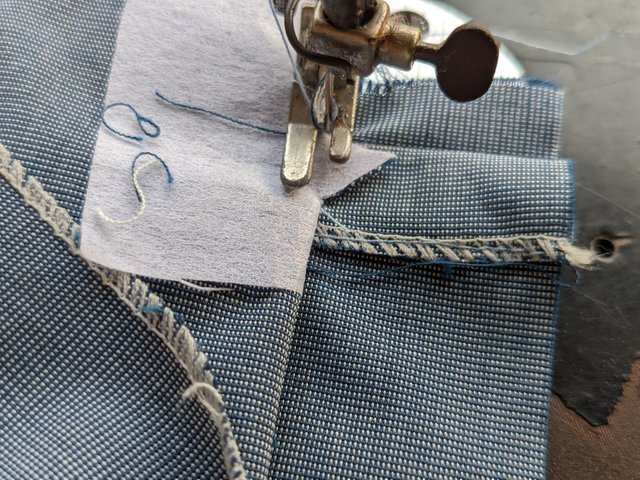
After ironing it to pass through the middle line, up and down, you join it to produce a slant before ironing it out as shown in the pictures below. Here's a typical example of what I mean here. Not just the front piece, the back pockets, flap and waist cover would be straightened with the gum. That's the main aim for the paper gum. Using a gum stain won't make it straight, sharp and hard as the paper gum.
How to sew Back Pocket |
|---|
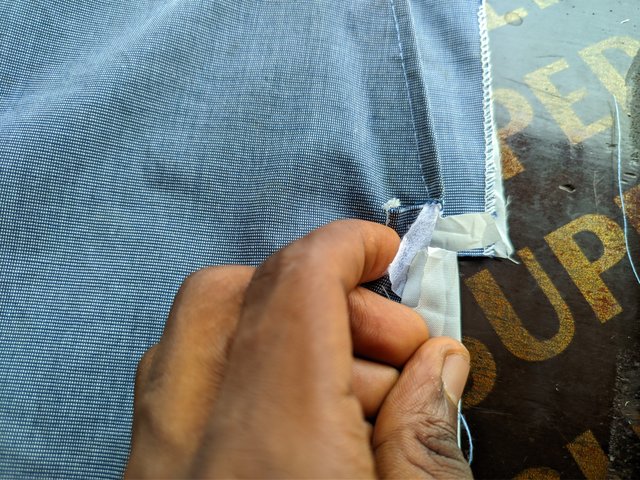
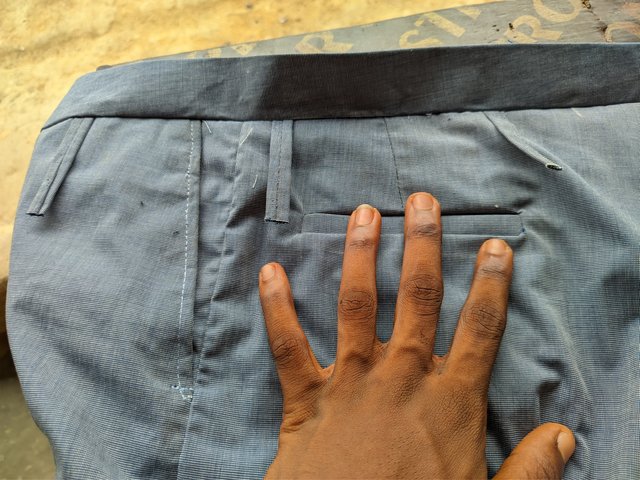
I usually start with the back pocket before going to the side and then joining.....Let me explain in details how the back pocket is added to make it have a sharp end and inside filling. I then used my machine to make a slant pull in of 4 inches from the 4½ inches mark.. This was done on the back side on the back piece so the pull in joint or dart won't appear visibly on the front part of the back piece.
I then did my markings on the front side of the back piece where I'll use in working throughout. As I did that, I measured a length of 4 inches from the joining down and then placed my tape in the middle of the joining to suite 5 inches. I was working with these measurements. I placed my front piece of the back pocket on the line I connected from far end to the other end.
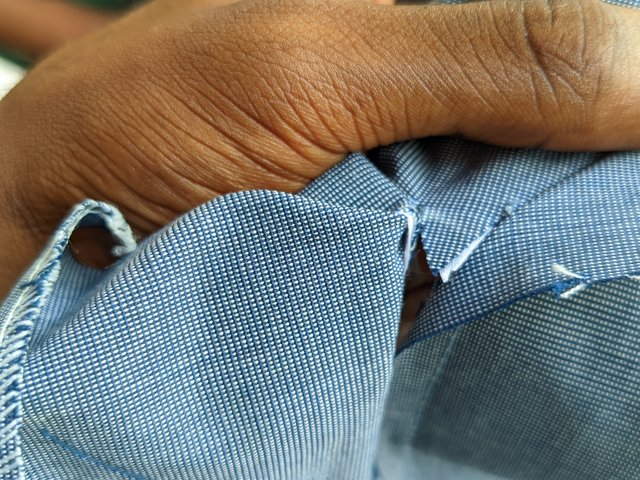
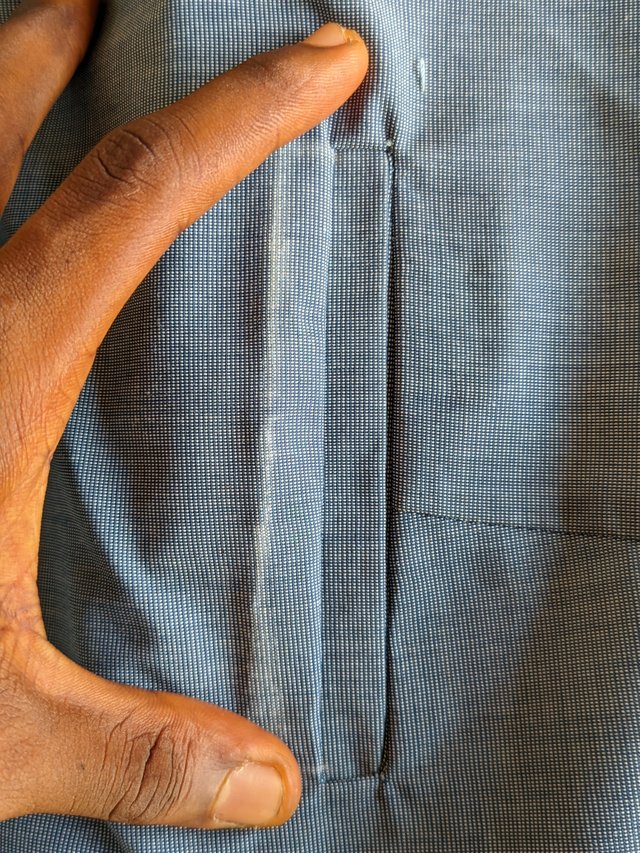
I then used the front part where the paper gum was pressed to align and sew it close to the marked line. I did same for the back piece. The front piece was placed on top and the sewn at the sharp 1 inch end of the paper. After being sewn, it was brought down and the back piece of the pocket was place on top, close to the joining or dart and sewn. After that, I used my scissors to create a hole between the two parts. After creating this hole to a point, I made a triangular curve to use for straightening when the pocket is put in the hole and turned.
After this was done, I sew the curves to the pocket line to straighten the front result of the pocket and then did joining with the bulletin to fit into the back rise and I was done. The pictures got you covered.
 1 1 | 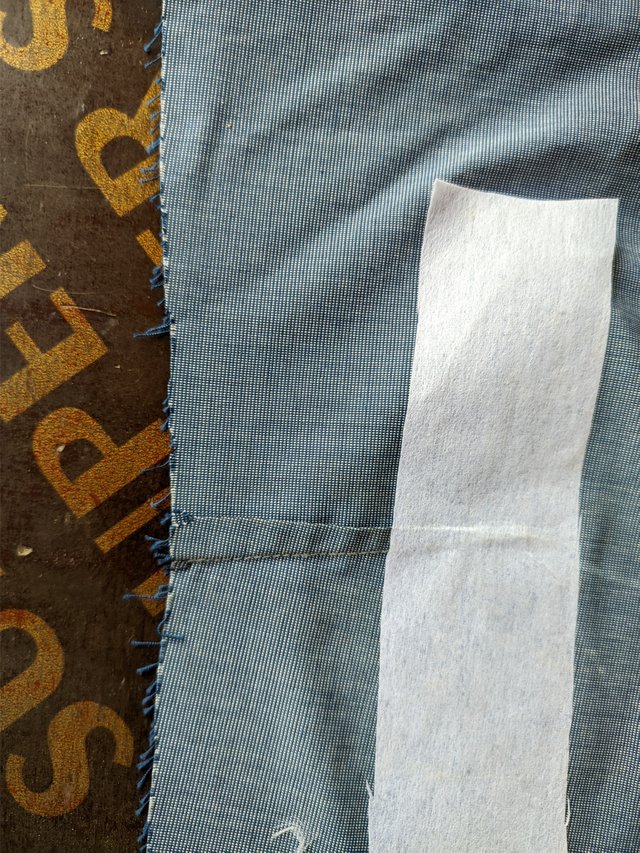 2 2 | 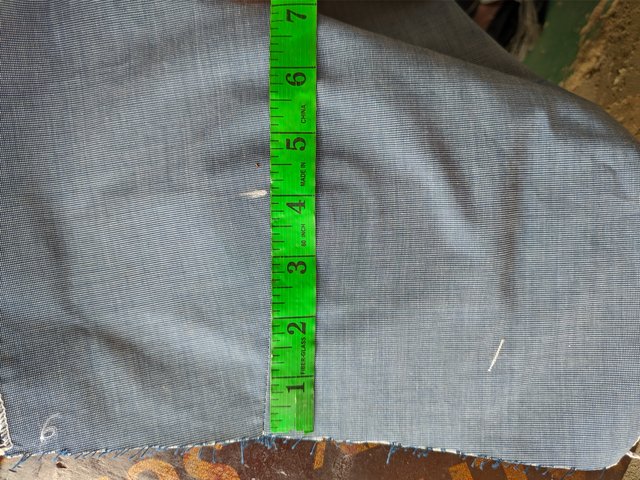 3 3 |
|---|---|---|
 4 4 | 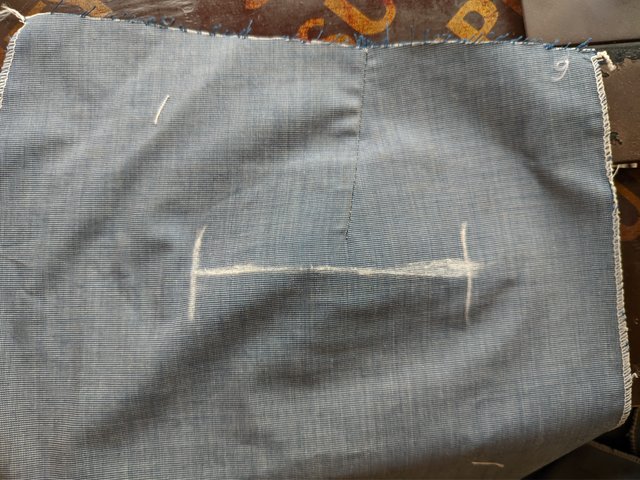 5 5 | 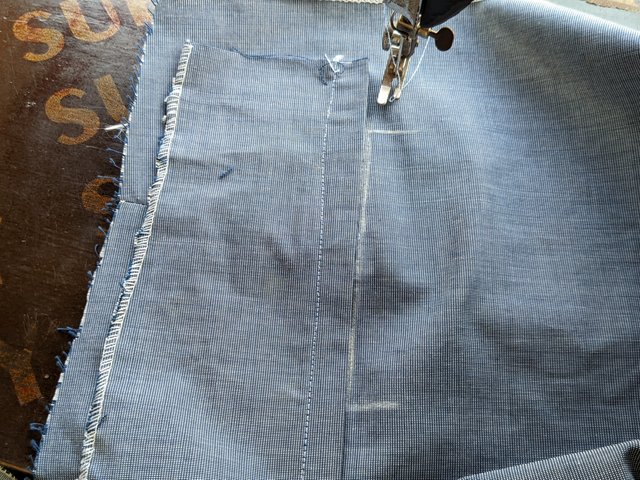 6 6 |
 7 7 | 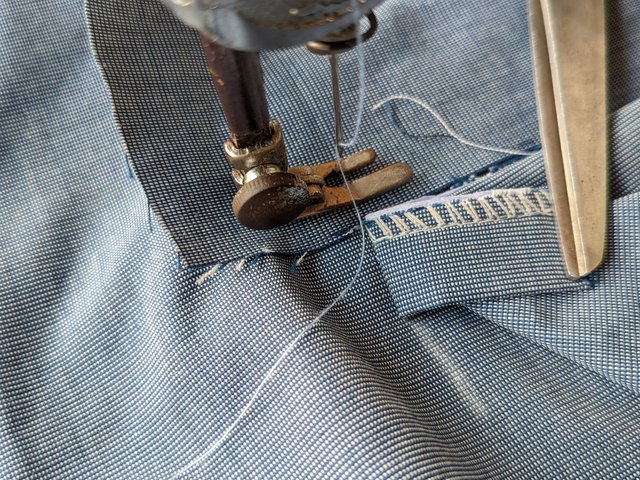 8 8 | 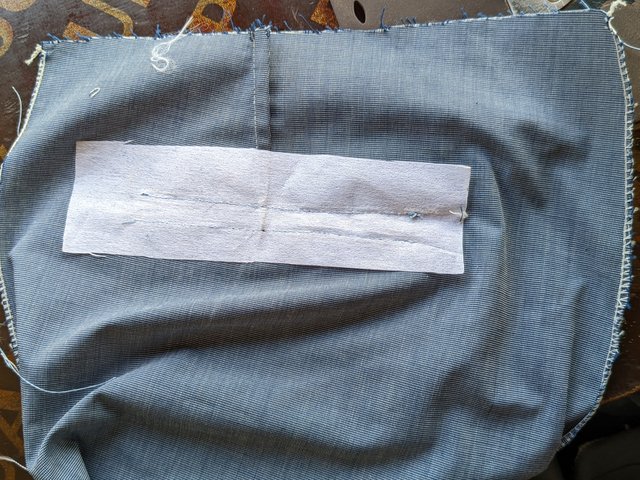 9 9 |
|---|---|---|
 10 10 | 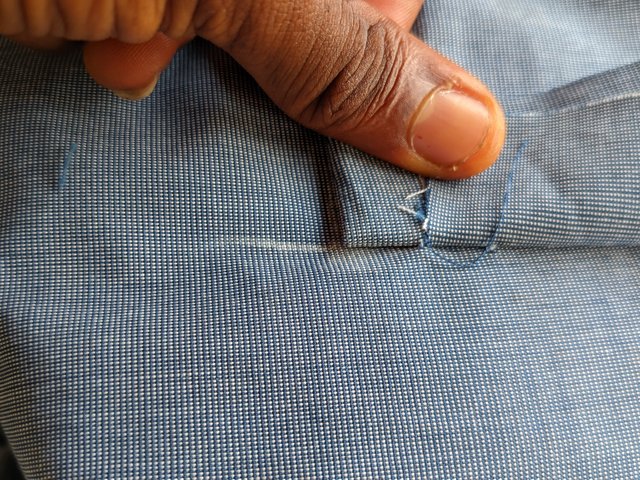 11 11 | 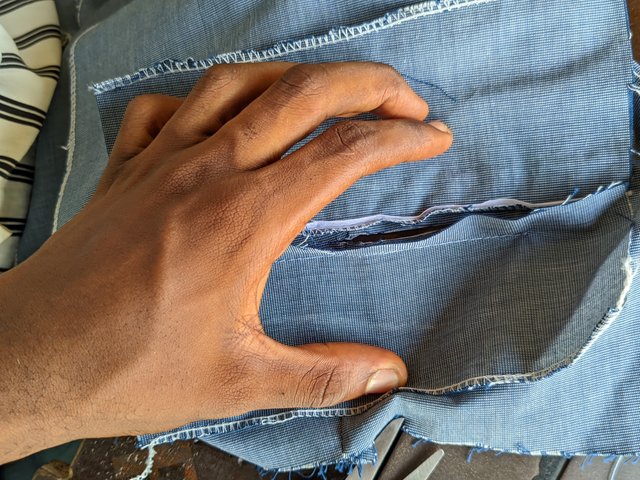 12 12 |
 13 13 | 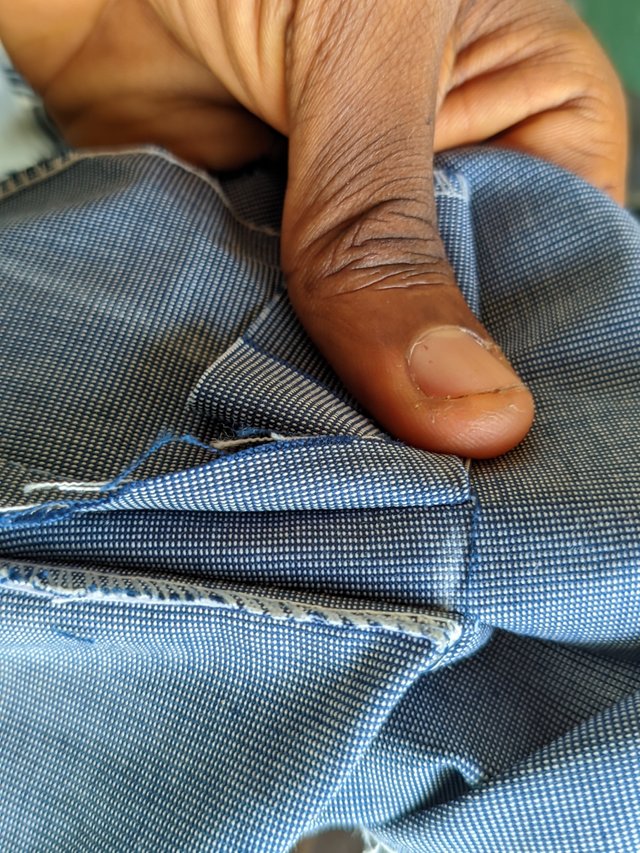 14 14 | 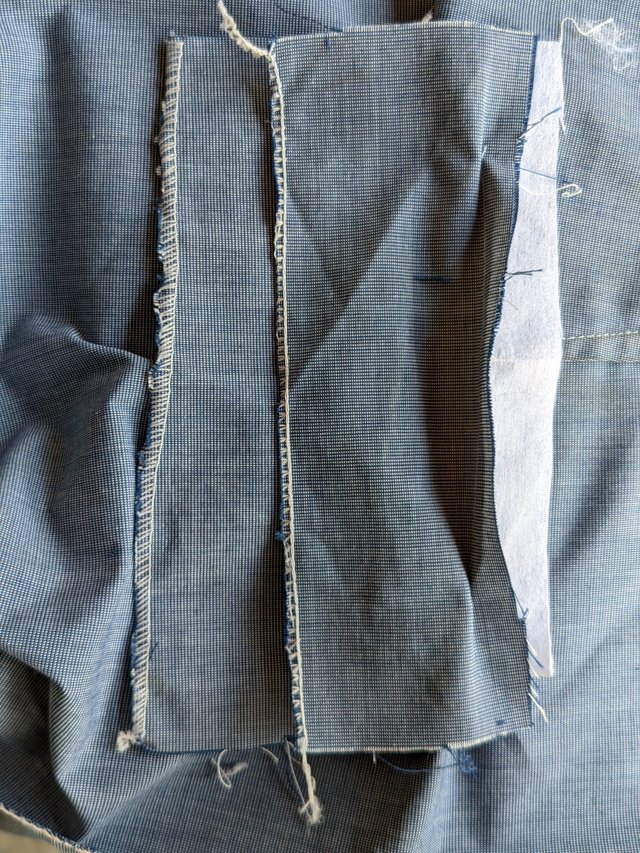 15 15 |
 16 16 | 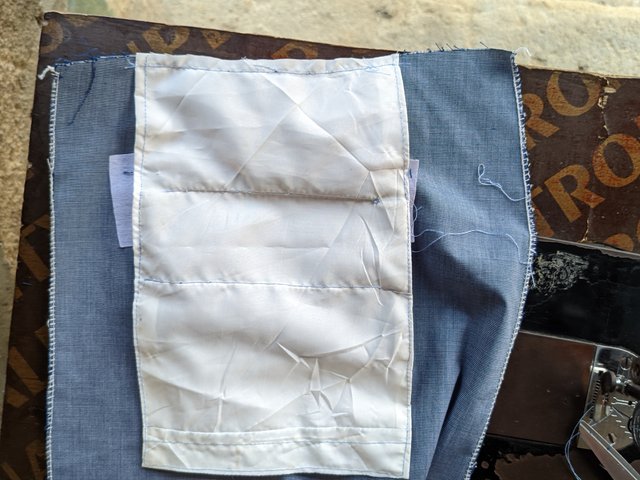 17 17 | 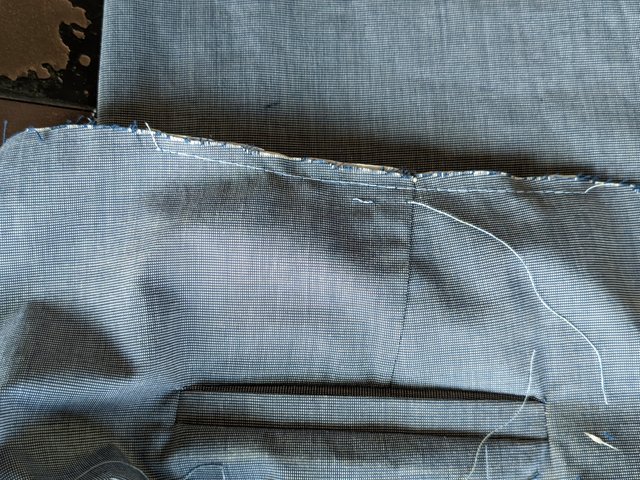 18 18 |
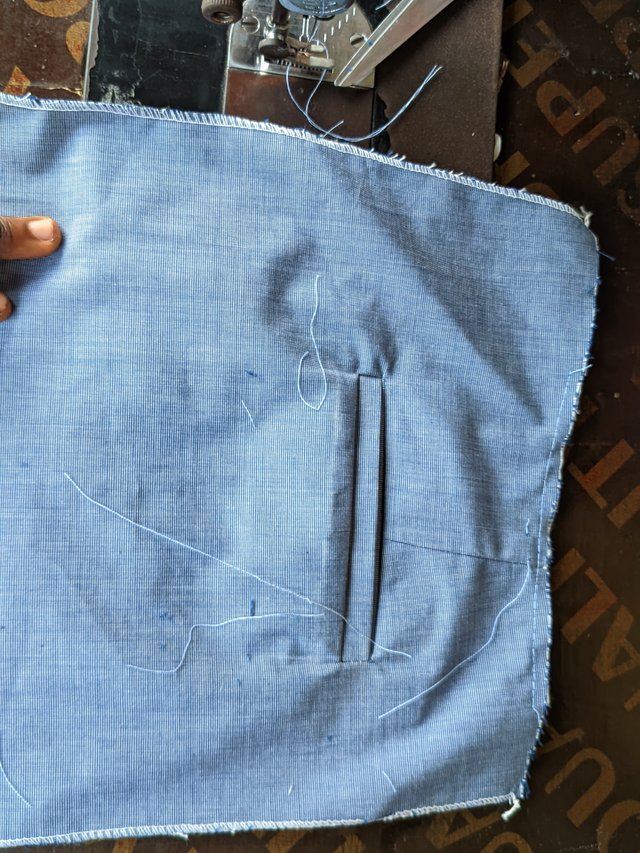
This is the end result of aftermath of the sewing process after making good use of my the joining and fittings. The pocket tin is normally used in putting pockets or sometimes, cotton materials in the absence of this bulletin or cost.
 | Front View of back pocket |
|---|---|
 | Back View |
 |  Finished work Finished work |
|---|
Sewing side pockets |
|---|
Sewing side pockets isn't as complex as that of the back pocket. You can actually make a hellbound easily from the side pocket. It's all about playing with your pocket tin. I measured a length of 13.5 inches to use for my pocket length and then made curves below, to fit in the sides of the pockets as the curve sides would be faced down.
After doing that, I took my side pocket cover to the far edge of the pocket tin where it would cover when placed and sew it round. I did same for the other side of the pocket before Sewing the sharp pocket front I ironed earlier. I placed the pocket tin to fit into the sharp edge and then sew it together to hold. I joined it again from the center.
After sewing the front edge by ½ inch, I folded the pocketin together to see if the back covers the pocketin. I took my scissors and gave a joining down the crotch line to sew my pocket and then sew the pocketin with the front rise to hold it. This is the result.
 1 1 |  2 2 | 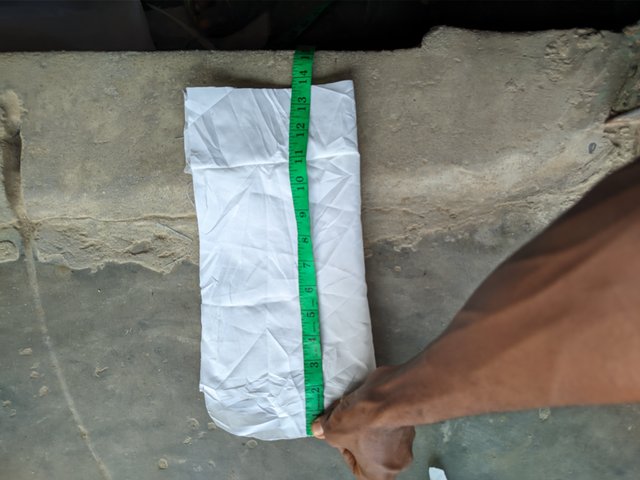 3 3 |
|---|---|---|
 4 4 | 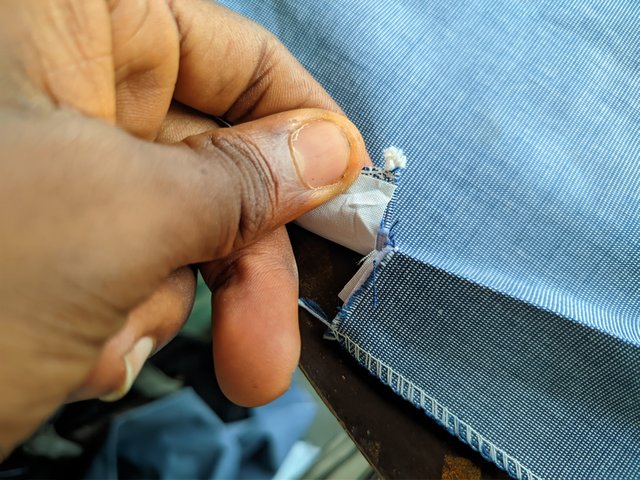 5 5 | 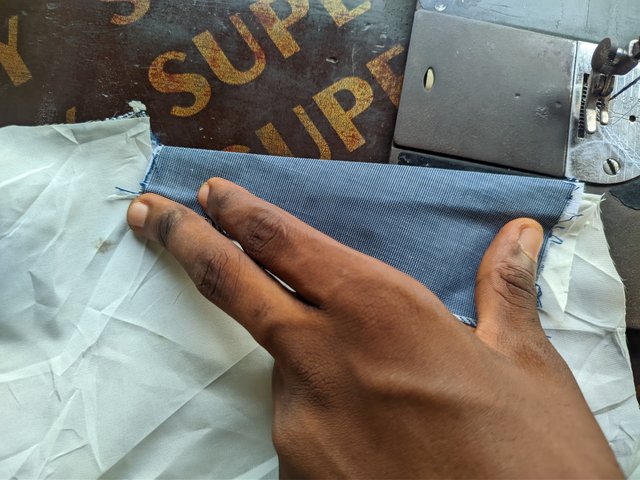 6 6 |
 7 7 | 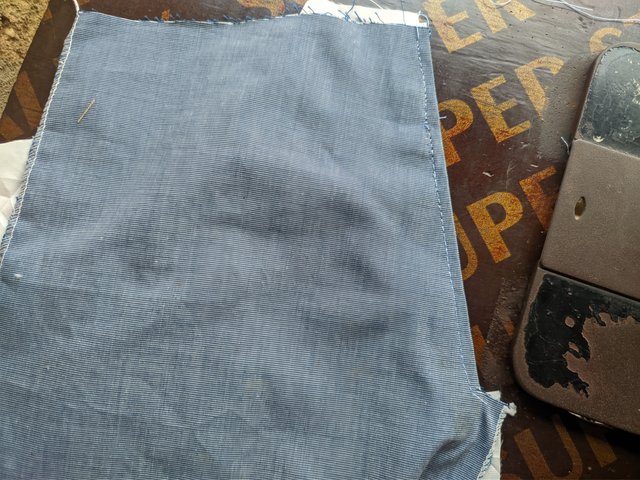 8 8 | 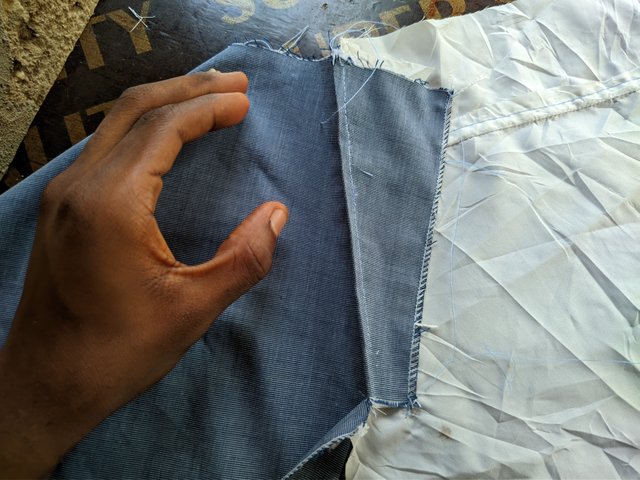 9 9 |
 |  |
|---|---|
 Back View of Side Pocket Back View of Side Pocket | 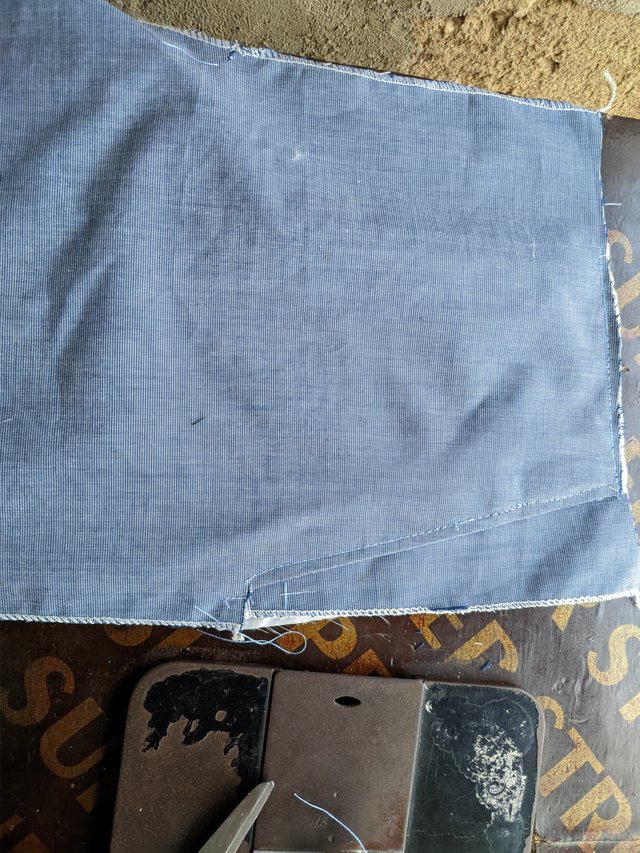 Front View of Side Pocket Front View of Side Pocket |
Finishing of side and back pockets |
|---|
 Back View Back View | 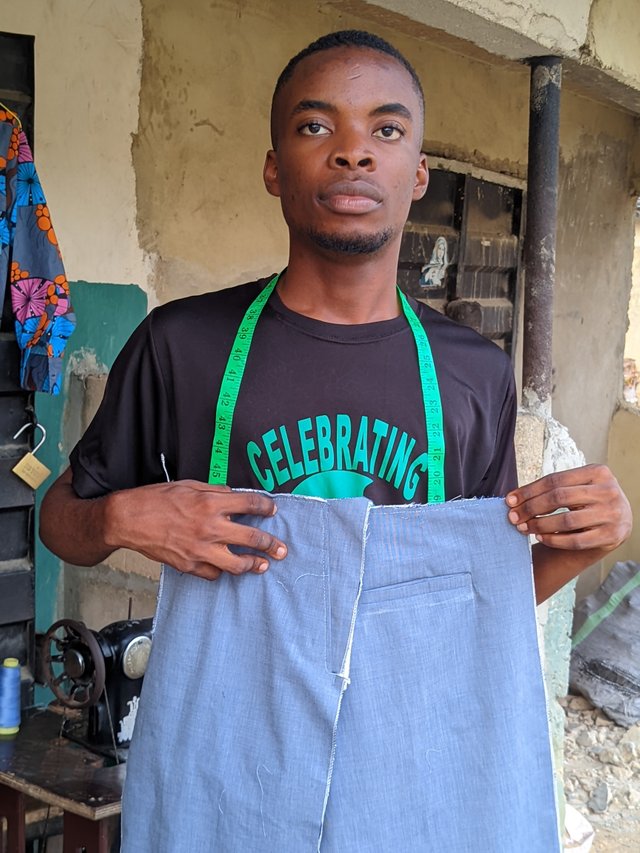 Front View Front View |
|---|
Joining Front and Back Piece |
|---|
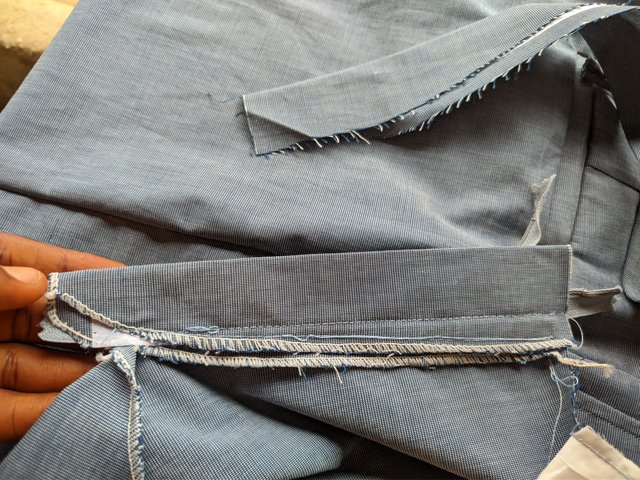
After working on the pockets on all sides, I joined the front and the back together using their edges. I measured ½ inch for this joining so as not to exceed the actual measurement. I did a resew of the crotch line to the top before actually sewing it down. This is the fitting.
 |  |  |
|---|
 | Front and back pocket |
|---|
 |  |  |
|---|---|---|
 |  |
Completion Stage |
|---|
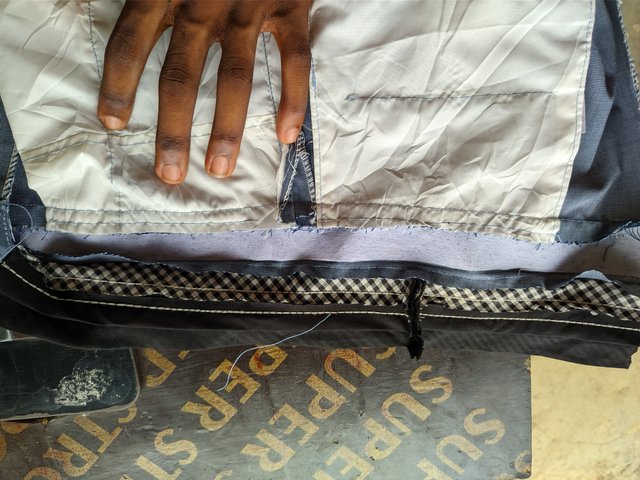
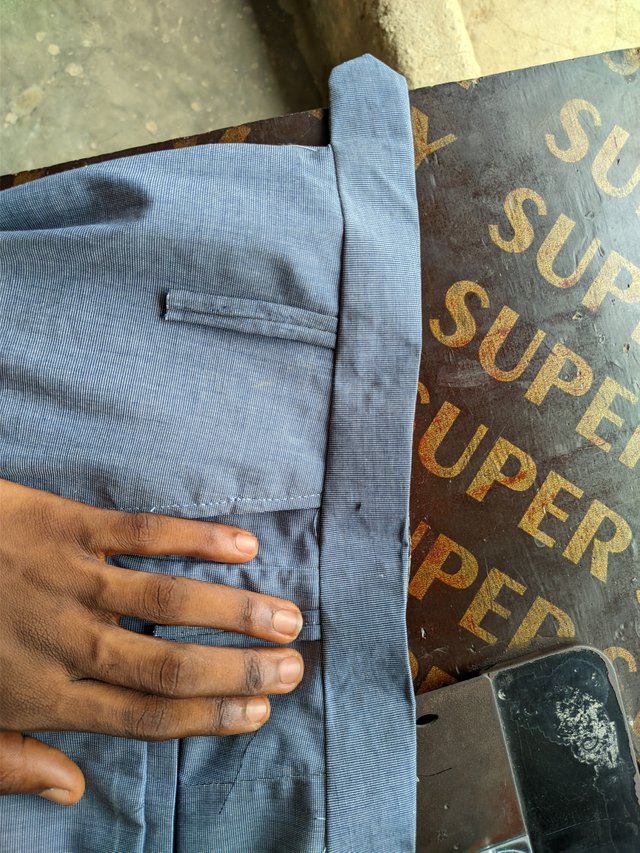
I turned my attention to working on the waist cover. I placed it across my joining and then used my lobes to create belt holes as it sew the waist cover to fit into the joint pieces. After it was done, I created a protrusion for button by sewing that protruded part out and then using a scissor to bring out the good part after being folded.
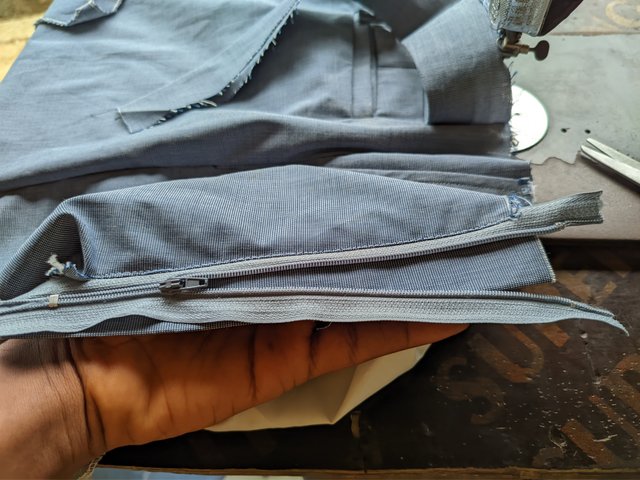
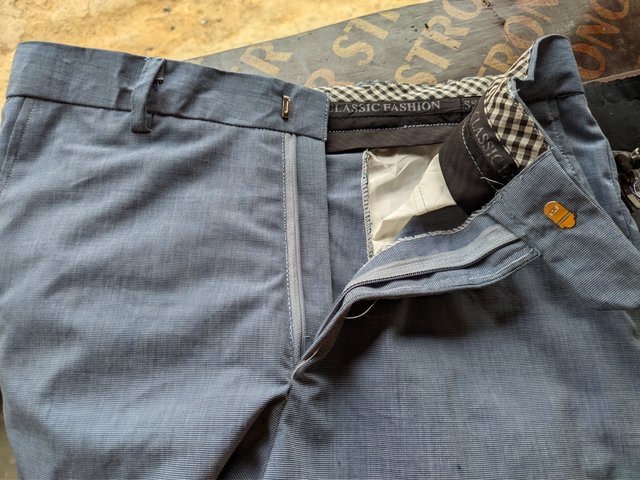
I then used by waistband to cover the back piece of the waist cover and then continued putting my loves till it was done. I gave a distinctive gap difference between lobes and ensured they were straight. After everything, I took to joining my flap to the crotch curves on both sides and then put my zip to hold the ends if the trouser.
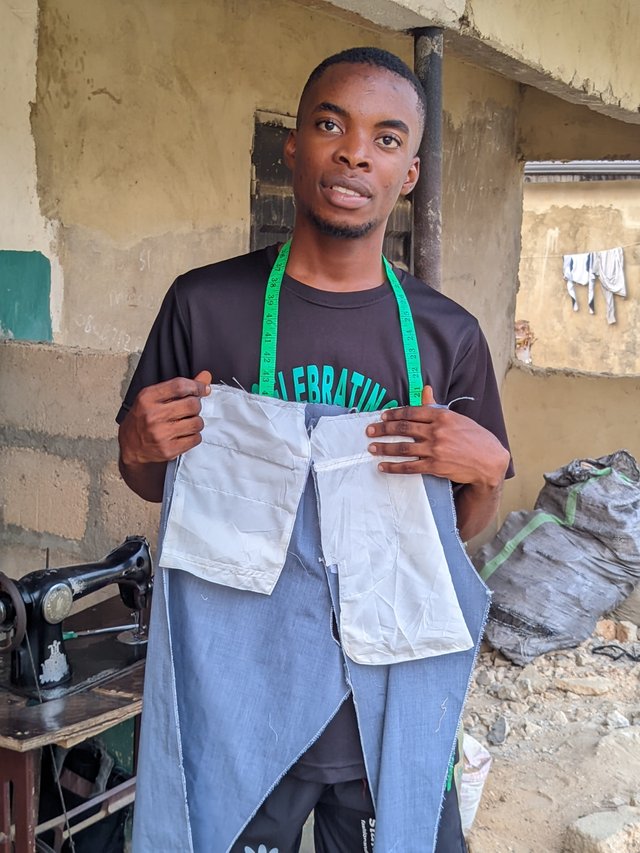
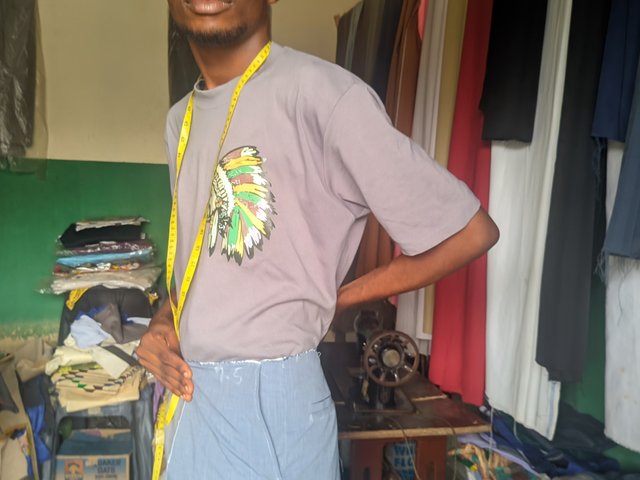
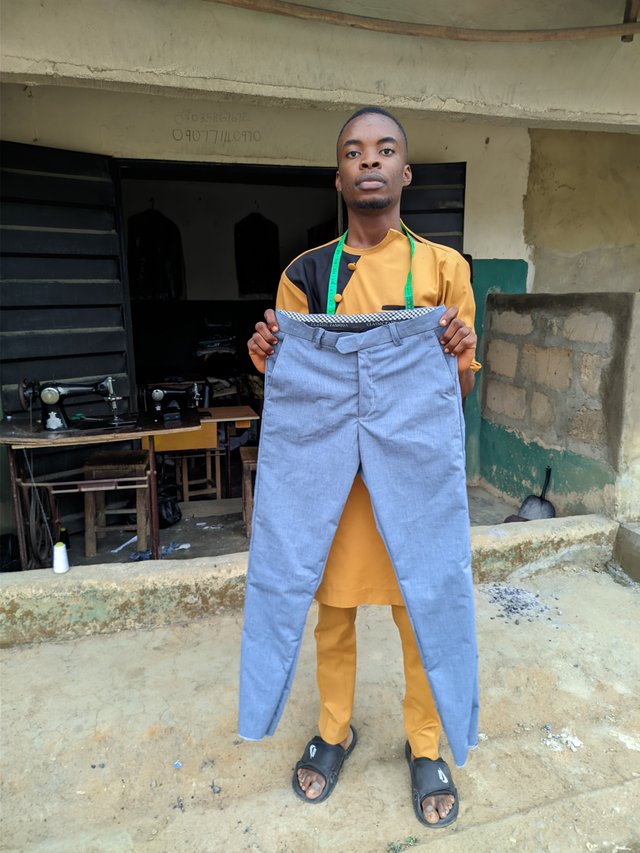
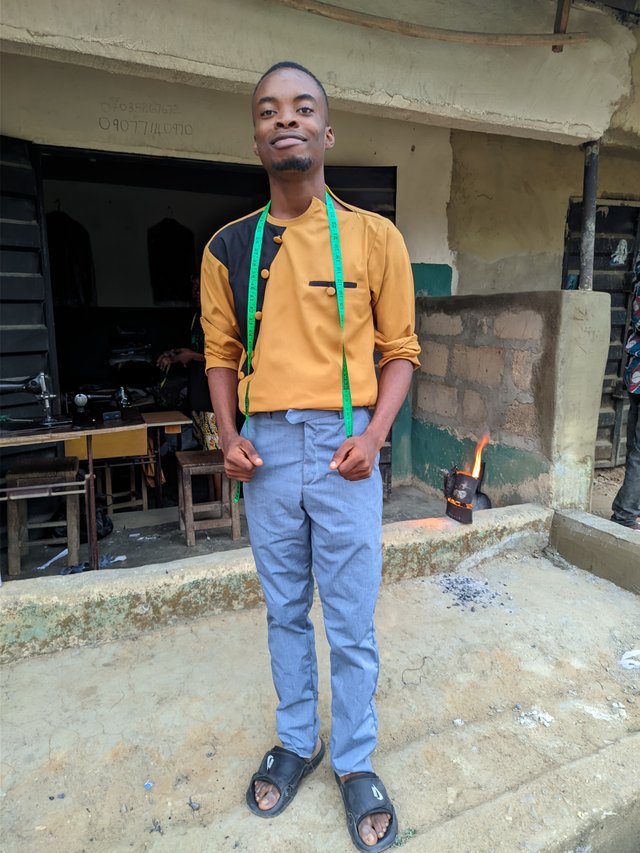
I was done manipulating this trouser at the following pictures gives you their final result. It was wow if I were to admit. I wore the trouser and it was my size. It fitted me perfectly. I then did finishing touches by working on bending the allowance and ironing the trouser in and out to comfortability when worn.
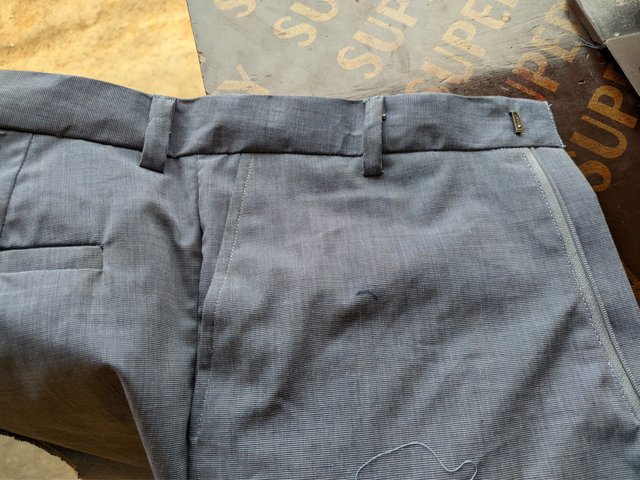
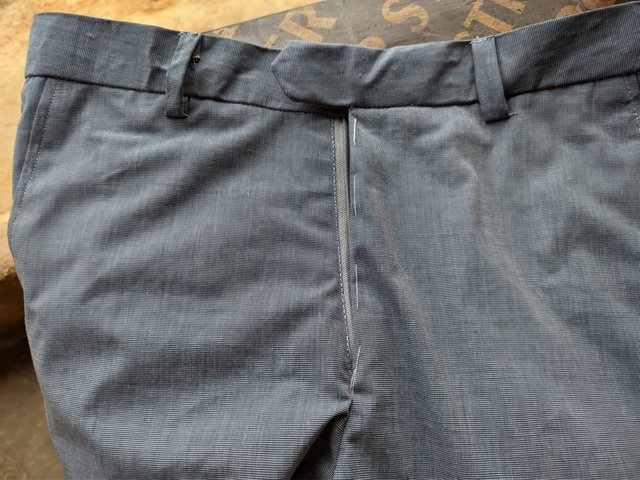
 | Sewing front side, waist and flap |
|---|
 |  |  |
|---|
 |  |  |
|---|---|---|
 |  |  |
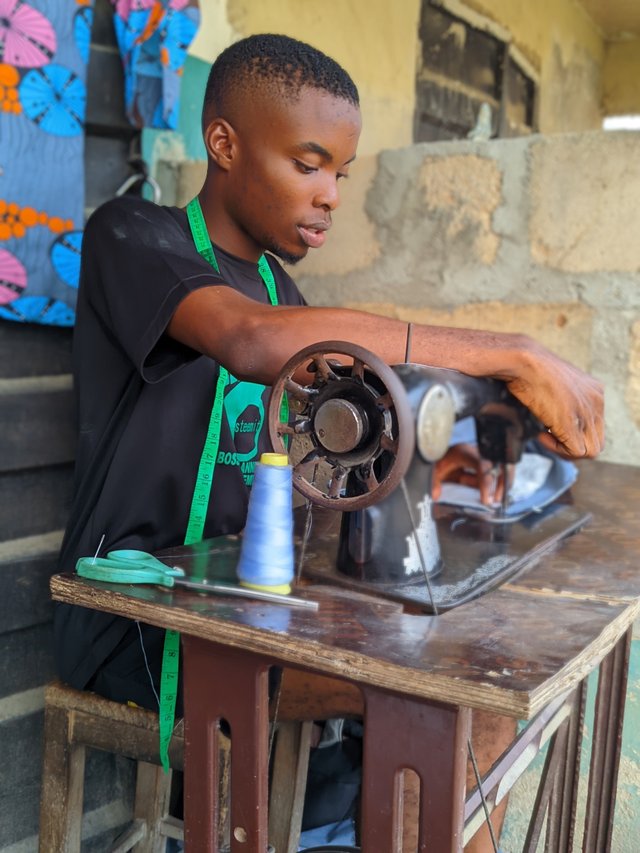
I took me 2 hours plus to complete this sewing. I didn't really have someone to video me consistently that's why I had to snap simultaneously. This is the end of my project. I've defended it by wearing it. This is a flat front trouser. The one with pleats has darts on both sides. Once again, I remain @bossj23. Next week, I'll show you how to overcome challenges in measurements and back pockets. Because of space in my device, I couldn't make a lengthy video. I hope i will be able to purchase a memory card next week. This video summarise the process.
Bienvenido amigo al club textil. Es maravilloso observar el tutorial de tu proyecto.
Definitivamente no entiendo por qué usted no está como mentor en este club. Usted tiene muchísima experiencia.
Me encantó que mostraras el paso a paso del bolsillo ojal en el pantalón de caballero. Es una pieza importante en la confección de un pantalón.
Me encantó tu última imagen del resultado final, con una cara llena de satisfacción. Conozco ese sentimiento.
Gracias por el vídeo, excelente 👍.
Excelente 👍 😘
The fabric is nice and your explanation is well detailed
Welldone friend 🤗
Thank you. Appreciated
Es un gusto ver tu trabajo, amigo. Nos muestras todo el proceso, con mucho detalle, eso se agradece para poder aprender los secretos de la costura de este tipo de proyectos. Tu post es una gran referencia para aprender a hacer esto.
Lo hiciste en dos horas, wow, demuestras la experticia que tienes en esta área. Mis respetos.