Recreating with Photoshop: Adidas Stan Smith Shoes [Tutorial]
Today, we will be RECREATING WITH PHOTOSHOP. The principles are going to be the same no matter what object you will choose (kind of), so you can follow these steps even if you're not using shoes as your subject.
Choosing Your Reference
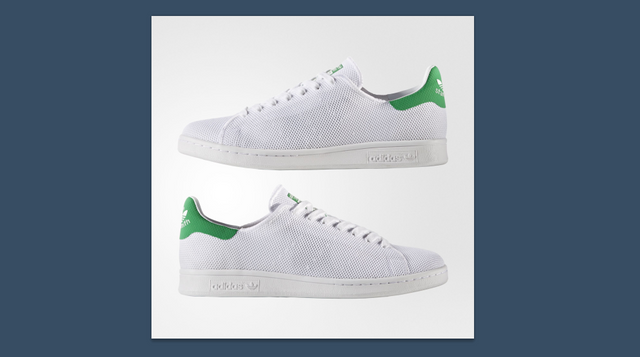
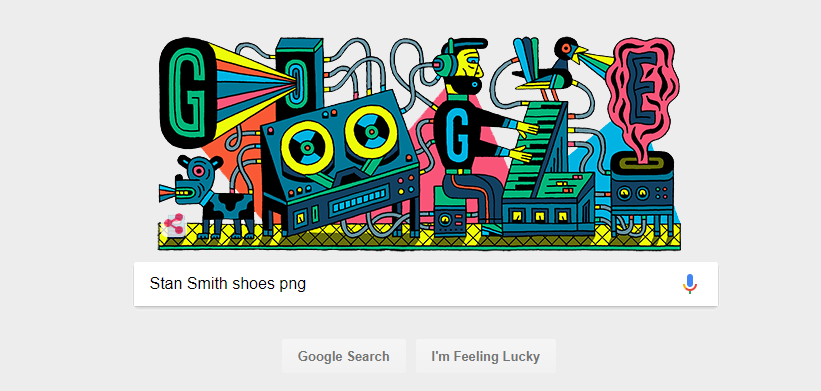
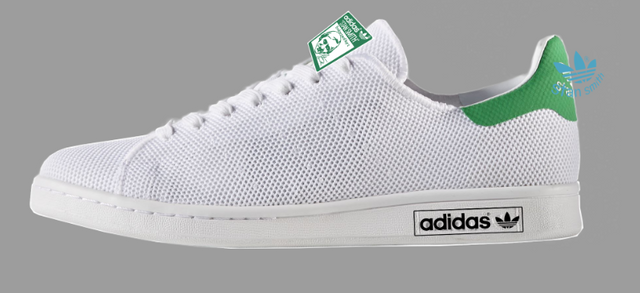
First thing is open your reference photo in Photoshop. I didn't have Stan Smith shoes so I got this from adidas.com to use as my subject.
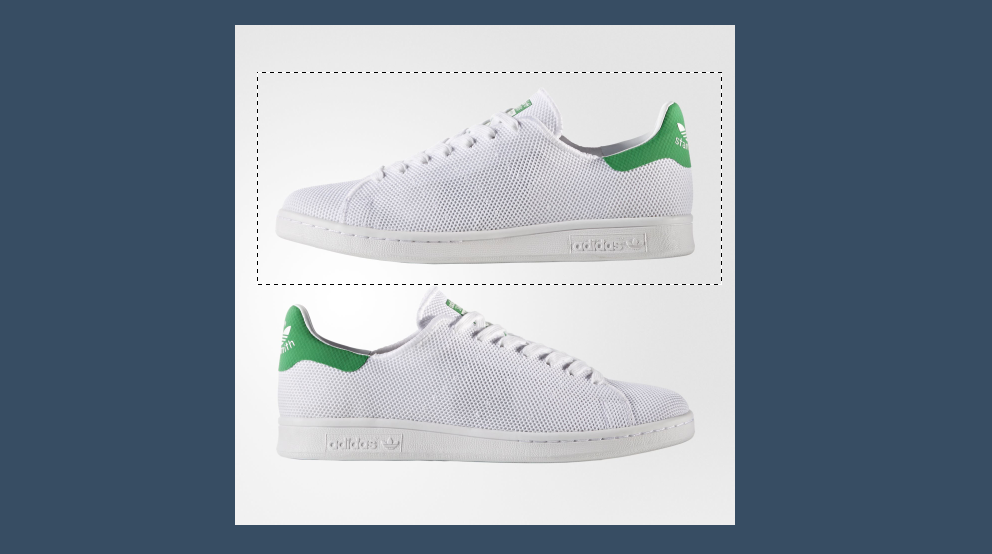
If there are 2 or more things in your reference material, select which one you need using the Marquee Tool.
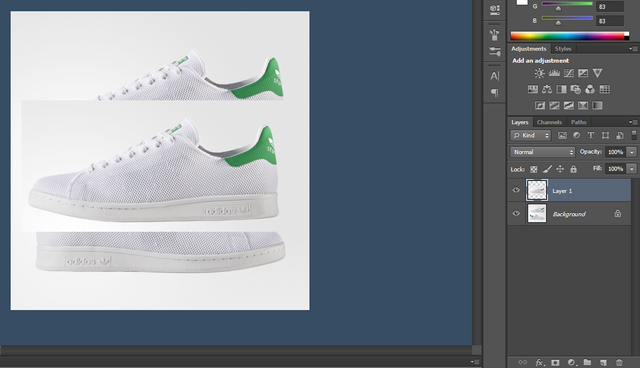
Then use Duplicate by pressing Ctlr+J on your keyboard to make a copy of the area selected by your Marquee Tool.
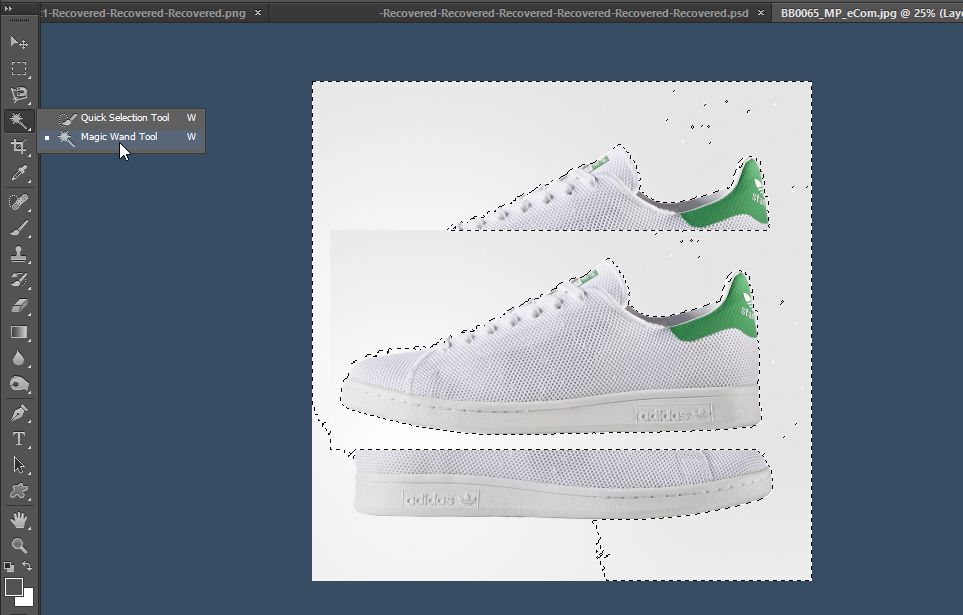
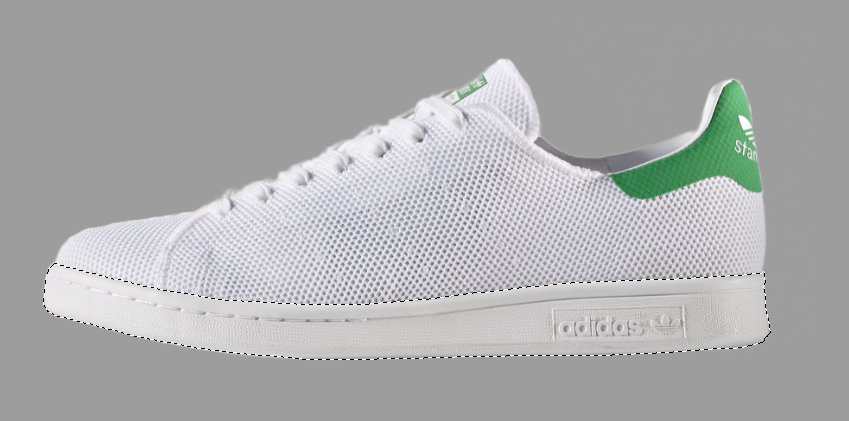
With the Magic Wand Tool, select the areas you would like to delete. Changing the tolerance to suitable ranges.
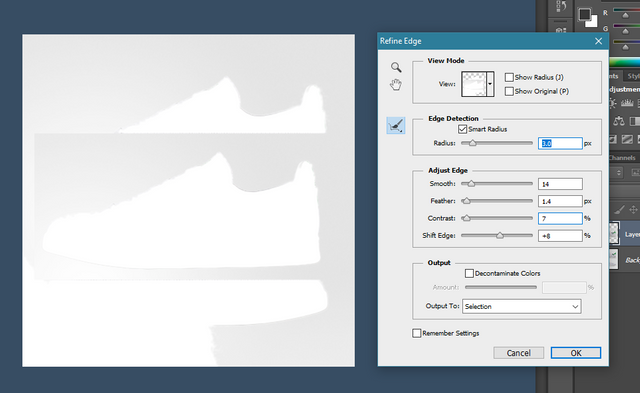
Then use the Refine Edge button to further adjust your selection.
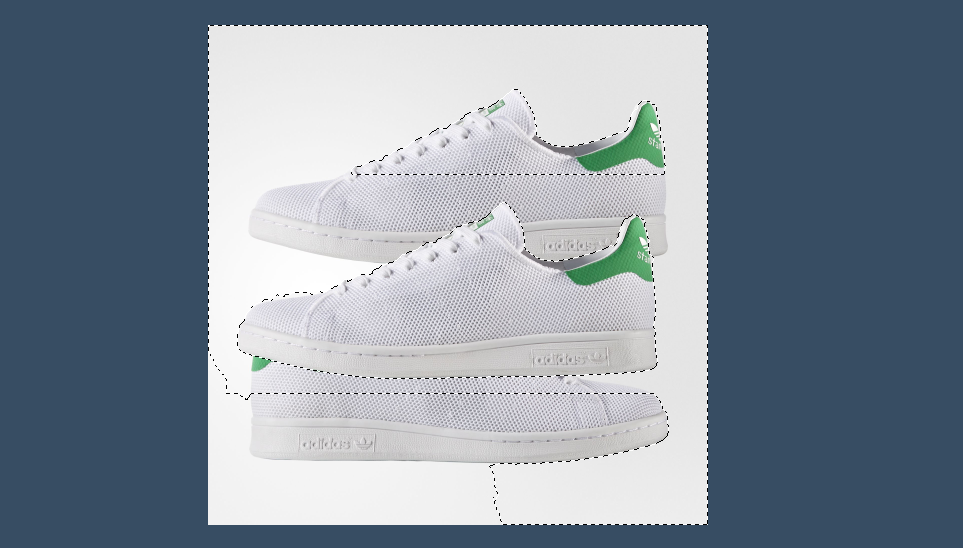
Then delete it afterwards using the Eraser Tool or the Delete button on your keyboard.
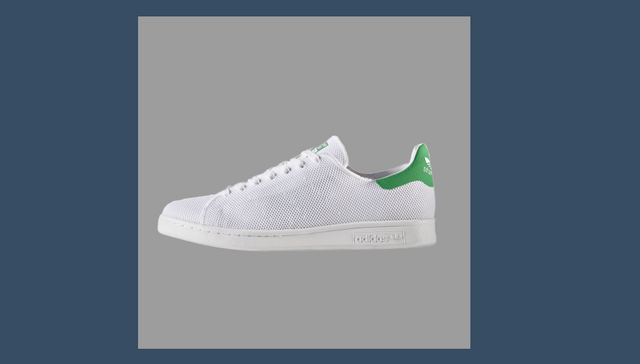
Recolor the background and further clean up your image by erasing any residue from the background. Now, we have a cleaned-up transparent reference.
I know some of you would say "Why not just Google a transparent image?". I know that works best, but what if your reference is your own photo. If I had a Stan Smith shoe I will photograph it and follow my steps above. Using your own image is a good way to hone your skills further.
For people who want it easier - simply Google a transparent image and choose from the search results. However, if you want to start from scratch follow my steps above in this post.
Screenshot is from Google.com's search page, doodle art is for Wednesday Oct. 18, 2017.
Recreating
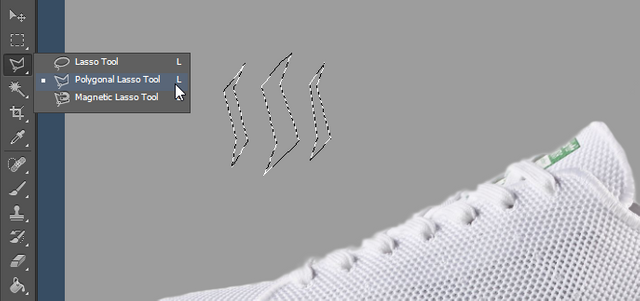
We will use the Polygonal Lasso Tool to recreate the object in the following steps. We will use simpler shapes for this one. Dividing the object into 3-5 main parts.
Carefully trace the outline of those parts, we started with tracing the rubber soles.
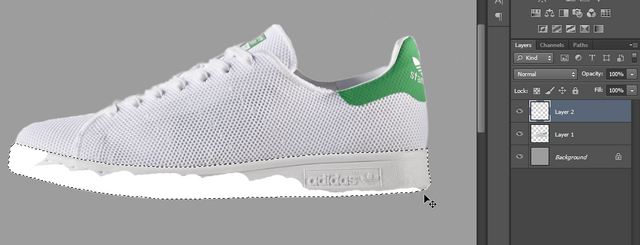
Add a Layer and start filling it up with the Brush Tool or the Fill Tool. I filled up my layer with white.
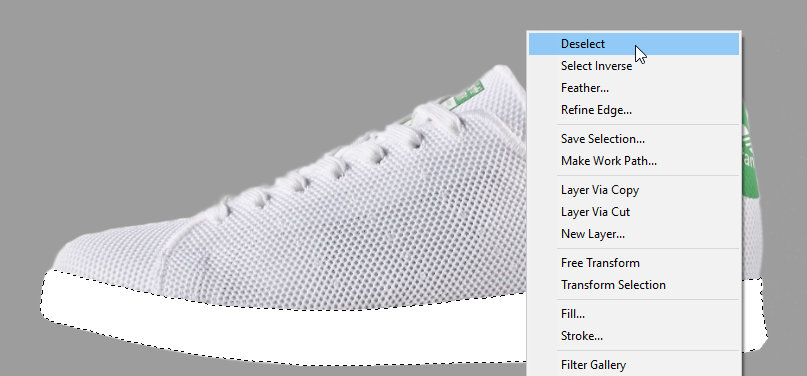
Right-click anywhere in the work area then choose Deselect once done with this part and move on to the rest of the main parts.
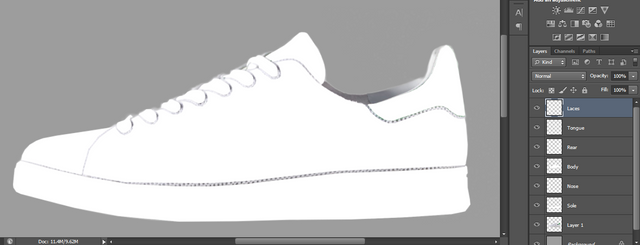
I made a few parts here and did the same thing with them: Lasso Tool > Filled it up with white on a new layer > Named the Layers > Repeat.
The parts I made are the following:
- Sole
- Body
- Rear
- Nose
- Tongue
- Laces
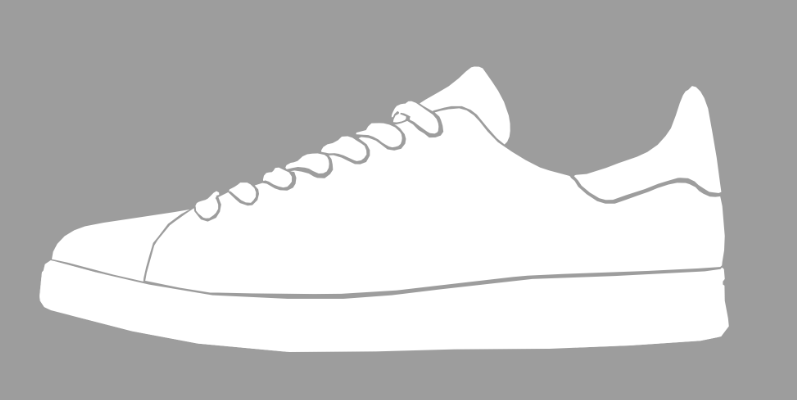
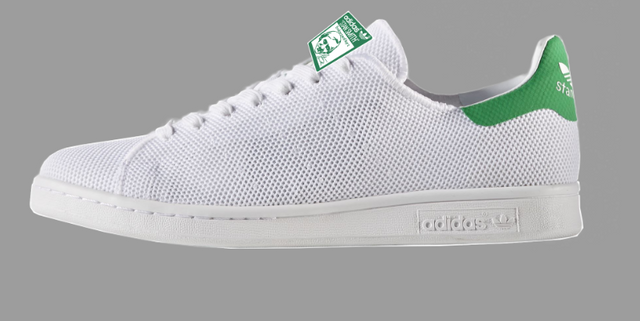
After hiding the reference I cleaned up earlier, that's how my Recreated Stan Smith looks like, but we're not stopping there.
Designing
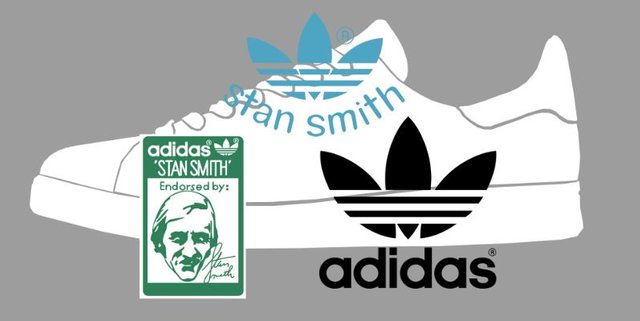
I will add some details into the recreated image. I looked for 3 things first: Two Stan Smith Logos & The Adidas Original Logo and Type. I found the Stan Smith Patch Logo here, the Stan Smith Logo here and the Adidas Original Logo and Type here. I did this to save time, if you want though - recreating the logos is also another way to do it.
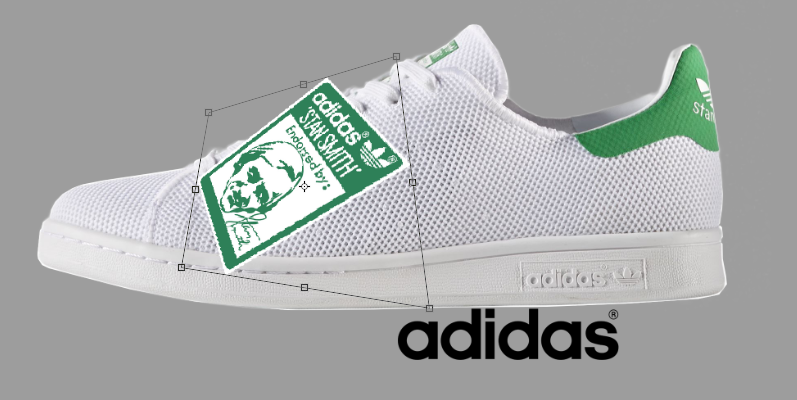
I placed the Reference Layer on top and started resizing and skewing the Stan Smith Patch onto how it's placed in the reference.
After further resizing and placement, I stopped where I think it'd work.
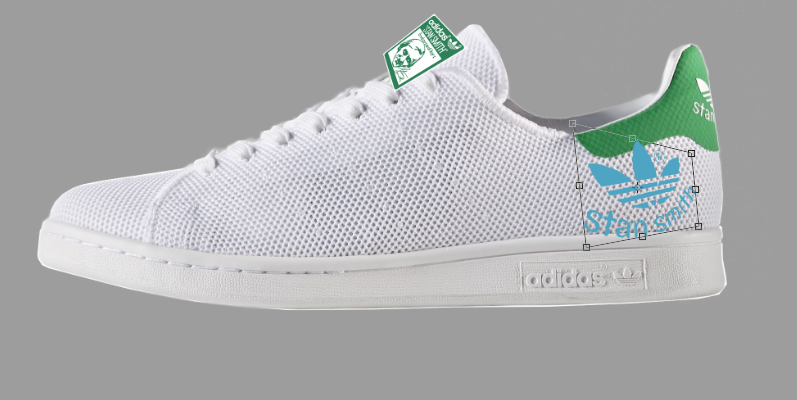
Then, I did the same thing on the Stan Smith logo that will be placed on the rear side of the recreated shoe.

Now, I'm gonna start with the Adidas Logo. As you can see though - the one on the sole doesn't look the same because the logo is right beside the type. Whereas, on the logo that I got, it's on top of the type.
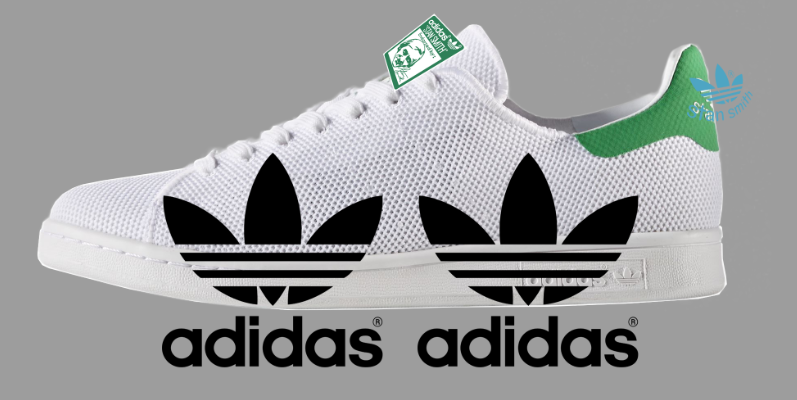
I start fixing that by duplicating the Logo so that I can rearrange it and remake the proper one.

I proceeded with erasing the parts I don't need from the duplicate Logo and the original one. Leaving me with 2 things: an Adidas Originals logo & an Adidas Type logo.

After resizing the Logo, I rearranged it by moving it closer to the Type and placing it right beside the Type. As seen on the reference.
I merged the 2 together as well as a rectangular box then resized them, rotated it a bit, so that it looks as similar as possible as the one from the reference.
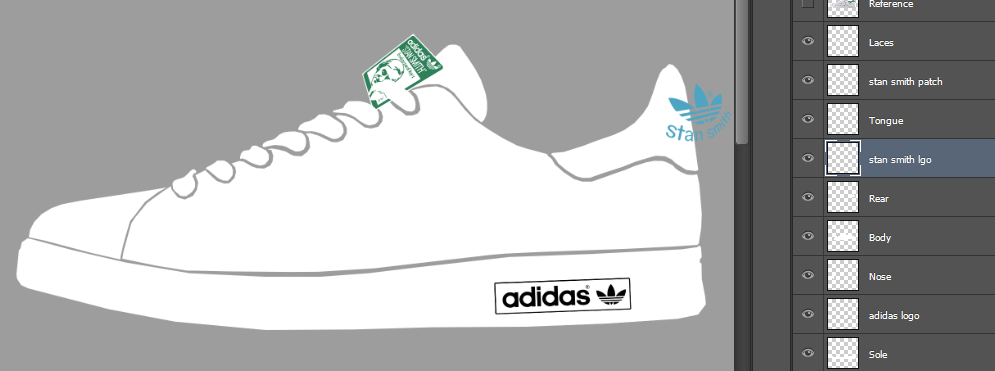
I hid the Reference Layer and rearranged those 3 Logo Layers, each on top of the parts where they will be merged with:
- The Adidas Originals Logo on top of the Sole Layer
- The Stan Smith Patch on top of the Tongue Layer
- The Stan Smith Logo on top of the Rear Layer
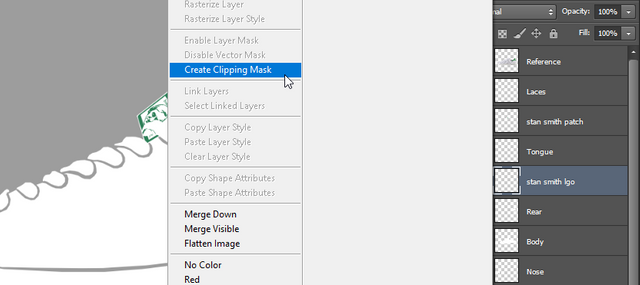
Now, right-click on each of those Logo Layers and select Create Clipping Mask so that they will not exceed the space of the layers where they will be merged with.
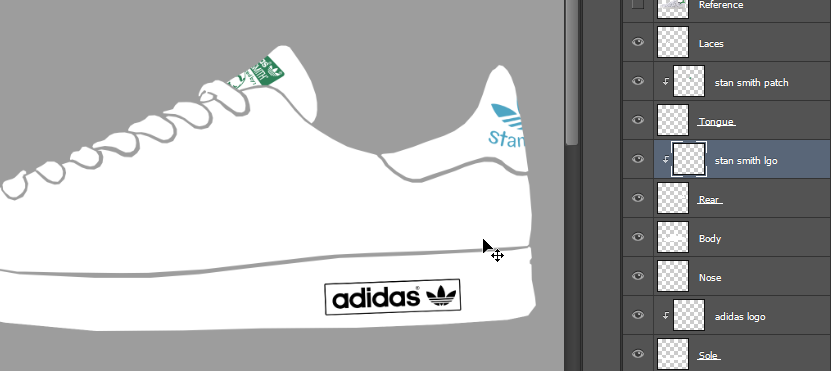
You can rearrange the position of those 3 based on what you think will be better (I did minor adjustments on mine) and it will look like the photo above.
Finishing Touches
You can now add different effects to any of those layers that will further enhance the visuals on your recreated object, here are some ways to make finishing touches on your work:
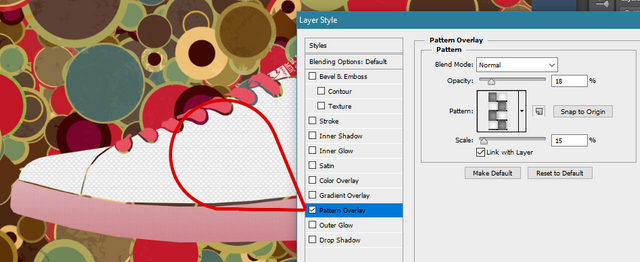
You can add Pattern Overlays on some parts of your object to make it looks more real. Added textures will look great on it rather than simple plain and flat colors. There are tons of patterns in Photoshop that you can use to add effect to your work.
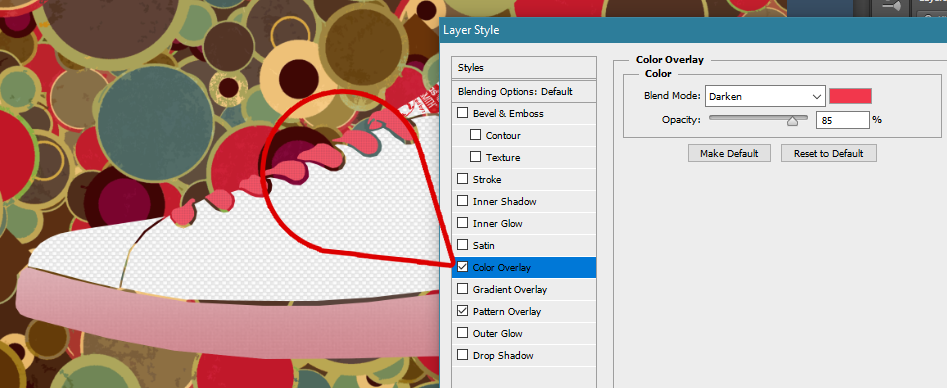
Adding Color Overlays will also make your design pop-out especially for some parts that can be made playful in real life. Like in this project, the laces of the shoes.
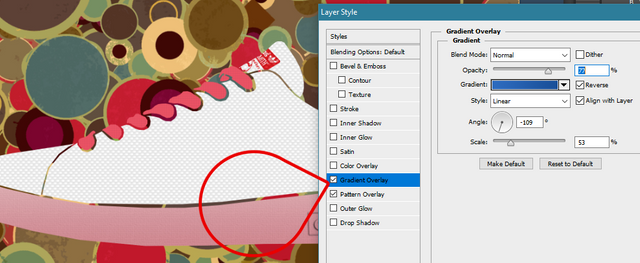
Gradient Overlays are also something you can use to an effect. It can be a better alternative to Color Overlays if you want to emphasize Shadows on some parts of your object.
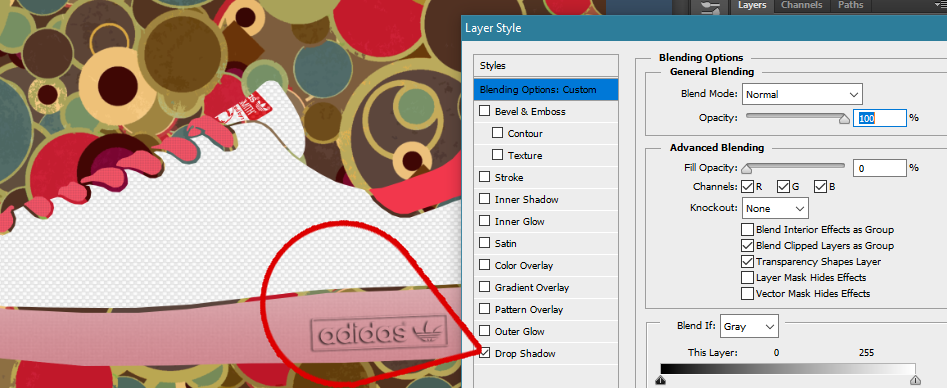
The Adidas Logo is somewhat tricky, but what I did is I used simple Drop Shadow effects on it and made the entire Layer's Fill 0% so that it will become transparent, but not the effects you add in it.
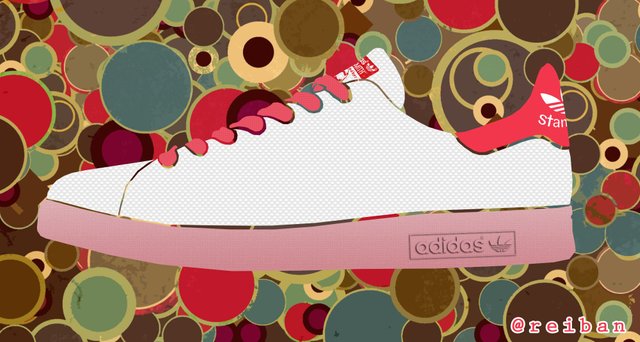
That's what it looks like when I finished it, the wallpaper I used is from here. Thanks!
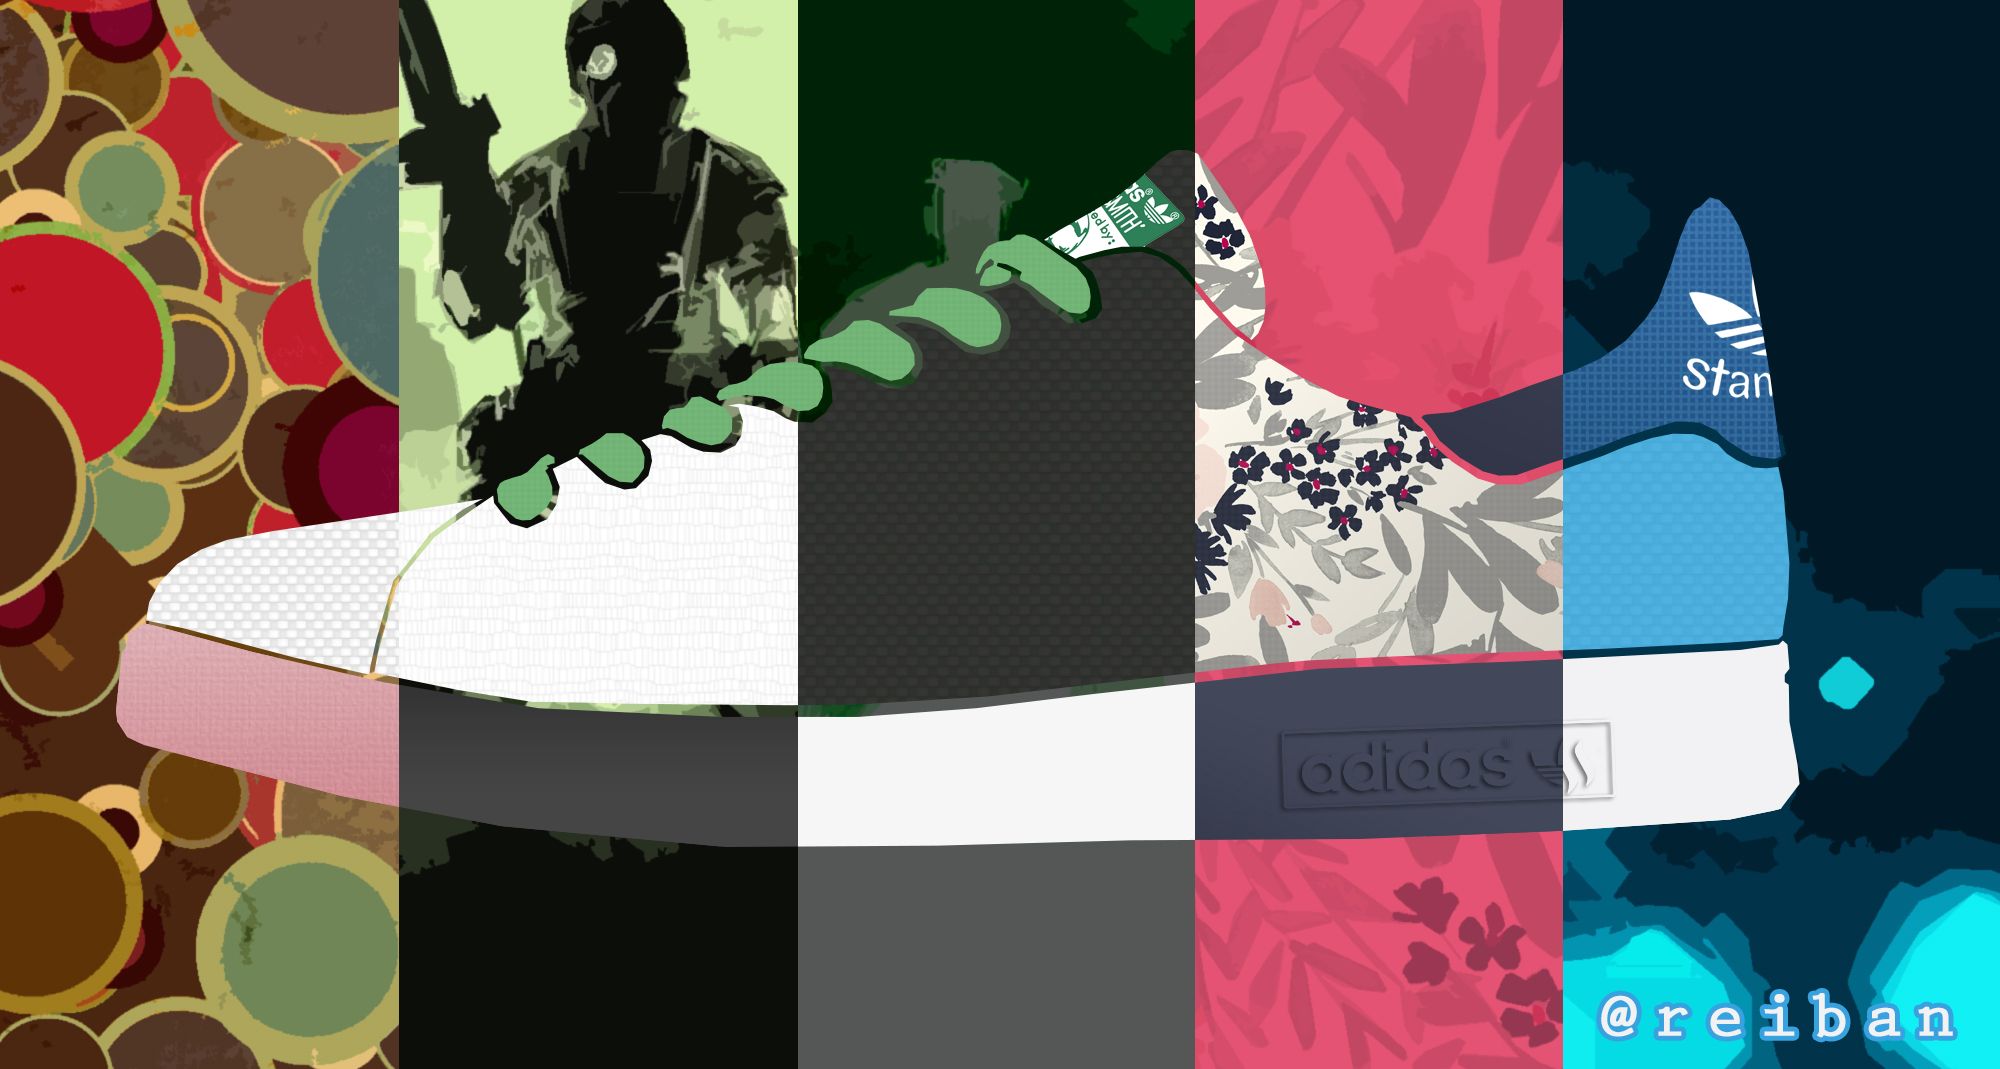
Variations
I made different looking designs based on the instructions I listed at the top. I hope you enjoy my work here!
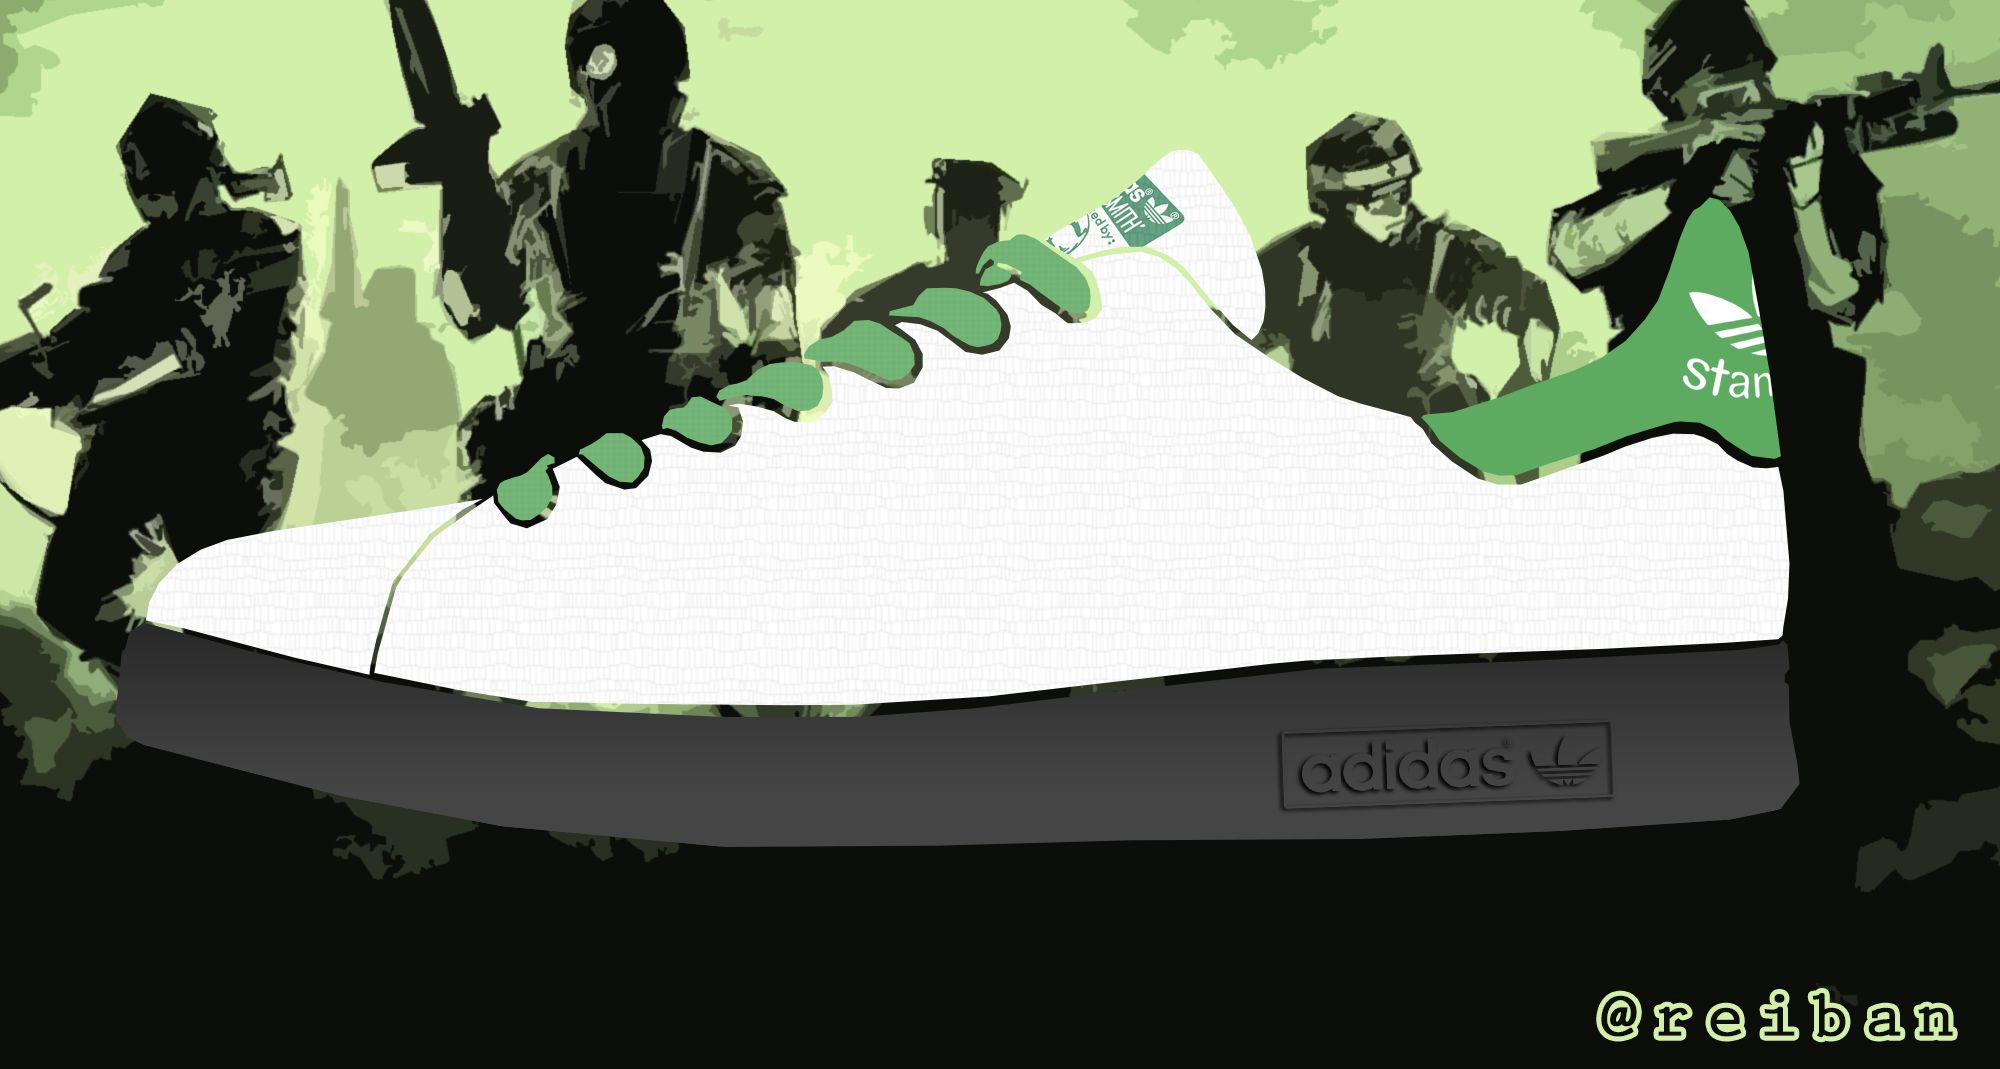
Here's an Army-inspired design I made, wallpaper from here.
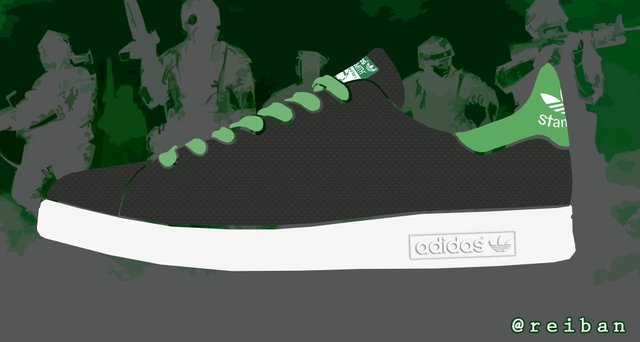
Here's another variation of the same design above.
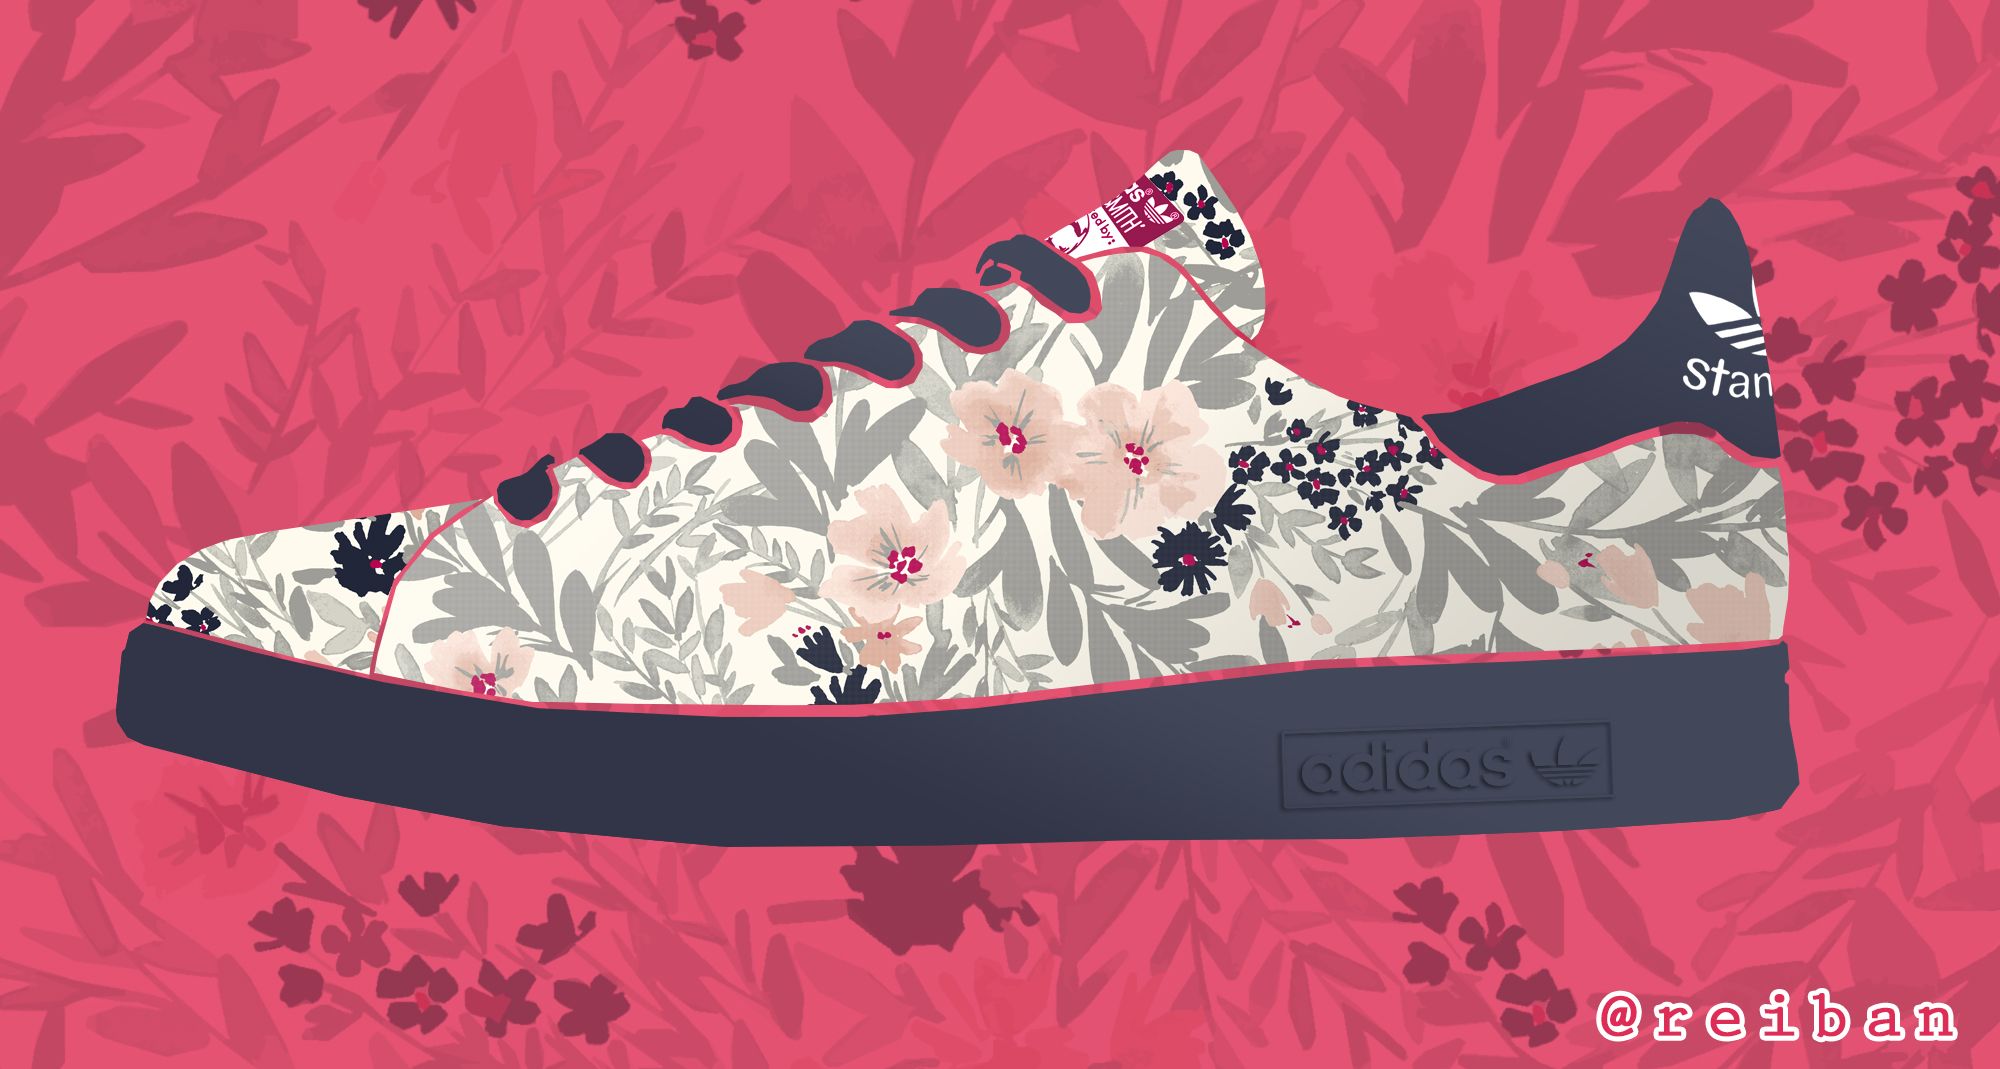
I also made a floral-motif Stan Smith Shoes just in case you guys would like one too, wallpaper used from here.

Lastly, this wouldn't be a complete Steemit post if I don't make something that's exclusive to Steemit. Here's your Steemit-designed Stan Smith Shoes! Wallpaper used from here.
Thanks!
All screenshots and design above are mine or made by me using Photoshop. The only images that were borrowed were the reference shoes, the Logos and the graphic wallpapers I used for editing. All of which are properly cited and the sources are linked in this post for your reference. If you want to use my image as a base for you to design a Stan Smith Shoe, you're free to do so, just click here for the transparent white shoe base with Logos and no @reiban watermark.
Thanks for browsing through my work, I really appreciate it. Till the next post my good friends! Stay cool dudes!

Woah! I want one, would be nice if you can create an Iron man one. Amazing work! Congrats!
Thanks! :D I can do one if I have time.
Congratulations @reiban! You have completed some achievement on Steemit and have been rewarded with new badge(s) :
Click on any badge to view your own Board of Honor on SteemitBoard.
For more information about SteemitBoard, click here
If you no longer want to receive notifications, reply to this comment with the word
STOPhey can u guide What are the tricks to get successful on steemit .
@reiban
Persevere and make original content and engage your community.
Dexterity on d platform(photoshop)...nice one bro.
I also work with Photoshop myself
Thank you so much! :)