(Review/Guide) BW.com BW-L21, 550 Mh/s, 950W Litecoin (scrypt) ASIC miner
(Review/Guide) BW.com BW-L21, 550 Mh/s, 950W Litecoin (scrypt) ASIC miner
Picture copyright (c) BW.com.
Author:
HagssFIN
https://bitcointalk.org/index.php?action=profile;u=348185
- General information, other items needed
- Unpacking
- Overview
- Install
- Configuration
- Testing
- Power consumption measurement
- Conclusion
- How to order
- More information about the miner
- Firmware upgrade instructions
Last updated in: February 17, 2018.
Nicely formatted version (February 17, 2018) available for download here (Mega.nz cloud service):
https://mega.nz/#!0oVThaRD!UJT-TMD4w8p2m4CoZCwfdu-i50h3U8znLKD-sm8IKYE
Bitcointalk.org thread:
https://bitcointalk.org/index.php?topic=2118409
1. General information, other items needed
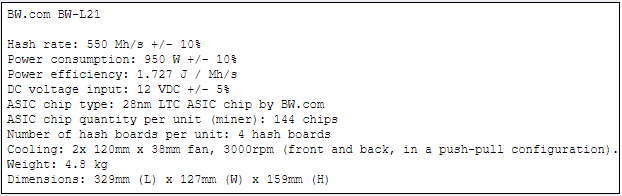
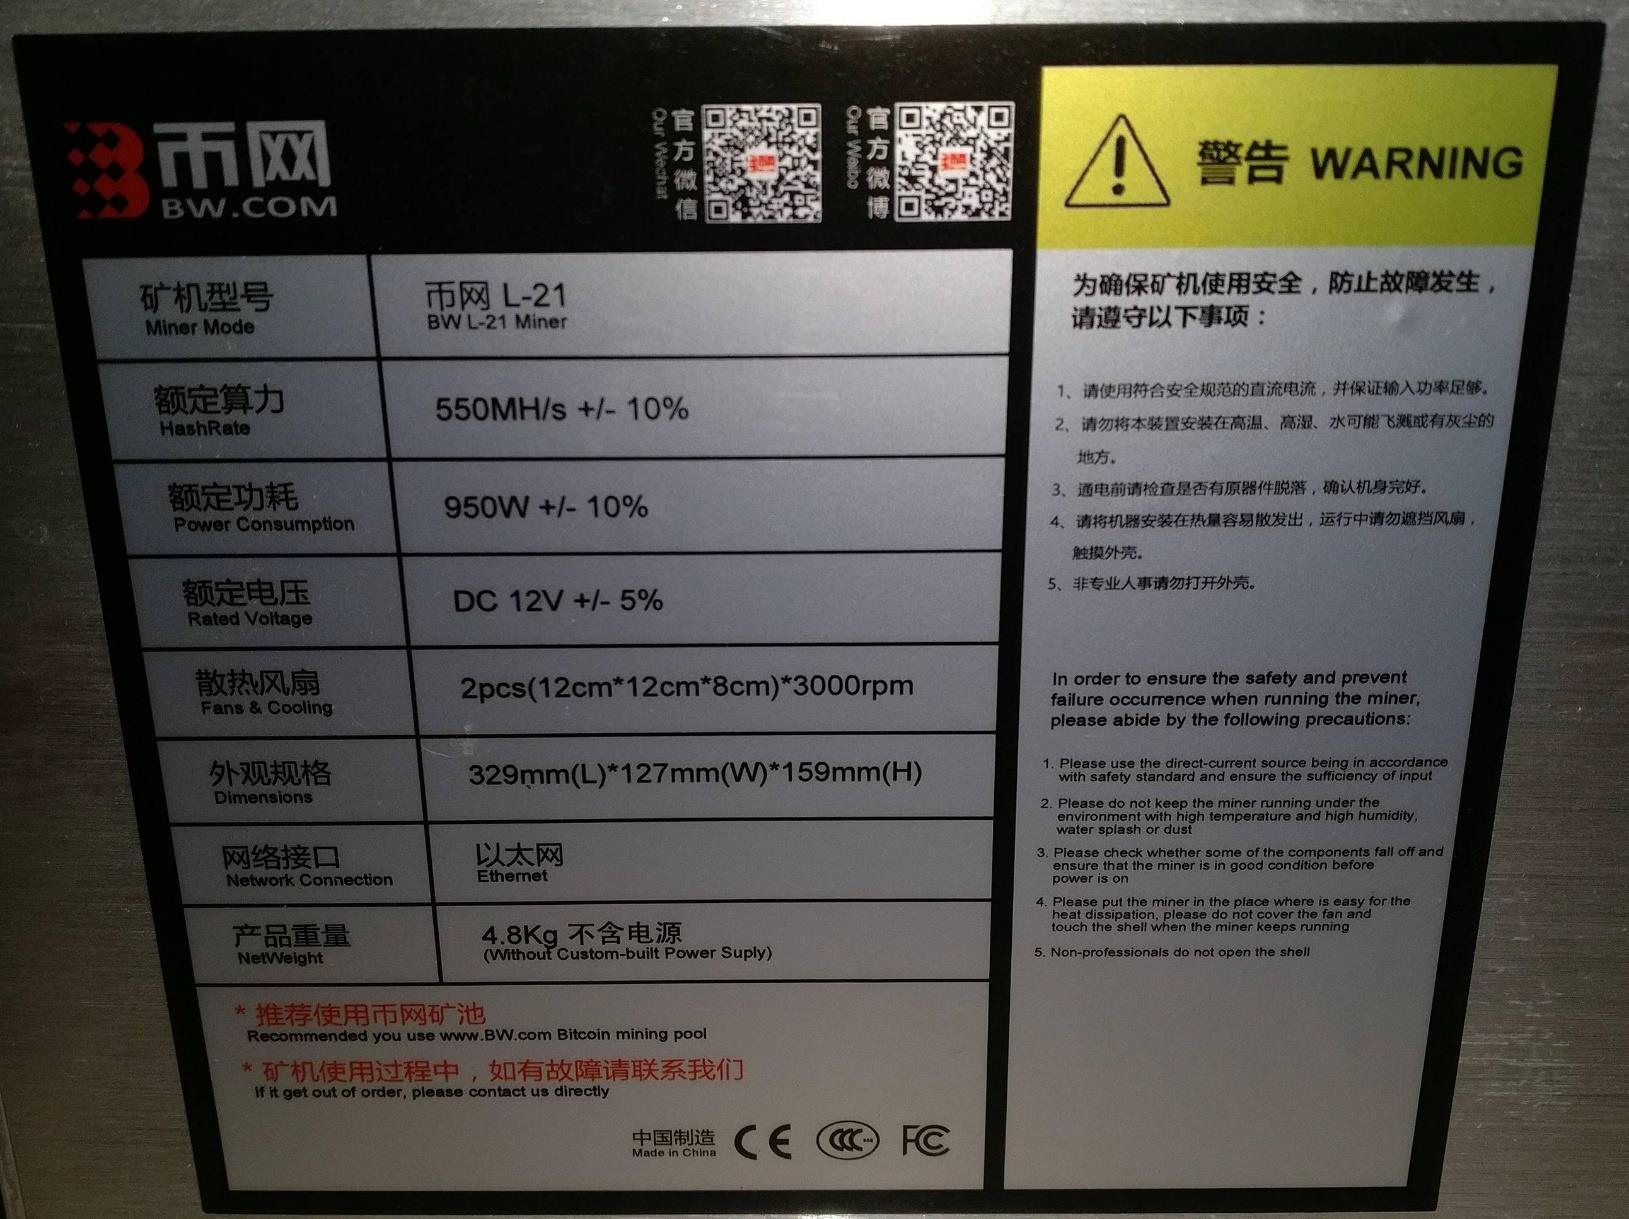
BW-L21 is a LTC (scrypt) ASIC miner using 28nm ASIC chip technology, manufactured by BW.com (headquarters in Shenzhen, China).
It is a standalone miner with a built-in controller and you don't need a separate Raspberry Pi for example to run it.
It weights 4.8 kg which is pretty usual and reasonable weight for a ASIC miner.
Outer dimensions are 329mm (L) x 127mm (W) x 159mm (H).
The nominal hashrate is 550 Mh/s(+/- 10%) with a nominal power consumption of 950 Watts (+/- 10%).
However, the miner that I got was hashing mostly around 580 Mh/s with frequency setting 684 MHz.
684 MHz was the default setting for the frequency when I started the miner.
BW.com: http://www.bw.com
Technical specifications:
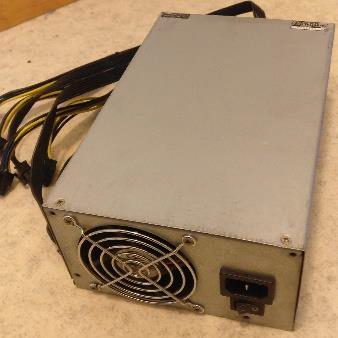
Other items needed:
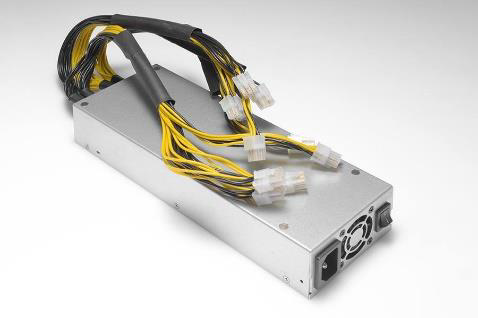
- A server grade power supply with at least 6x PCI-E 6-pin connectors, every one with own cable at least 18AWG wires.
(I used a 1300W (unknown brand) power supply provided by BW.com as a complimentary item in my miner order).
I'd recommend at least a 1200W power capacity rating for the power supply.
HP DPS-1200 FBA with a good breakout board and good cables is one good choice, for example.
BW.com also manufactures their own official custom power supply which is available for sale in their web shop. Note: the power supply shown in this review is different, it is not the official BW.com custom power supply. - C13 power cord suitable to your country's electrical socket
- Ethernet cable to go to your router/switch
- Computer to set initial pool and configuration settings.
2. Unpacking
The delivery was pretty quick via DHL. It was sent in Tuesday from Hong Kong and in same week Friday it arrived here Finland.
Because of my trip in Germany I was able to pick it in the following week Tuesday from a DHL Packstation where it was delivered to in Friday at my request.
Packaging was pretty good with lots of foam to protect both the miner and the PSU shipped together in the same cardboard box.
Normally BW.com actually ships two miner units in this same type of cardboard box, but
in my case it was used to ship one miner and one PSU.
I would have hoped though some ESD plastic bag for both the miner and the power supply.
They came inside the box without any plastic bag.
But both hardware came successfully in a mint condition so this was not a serious downside.
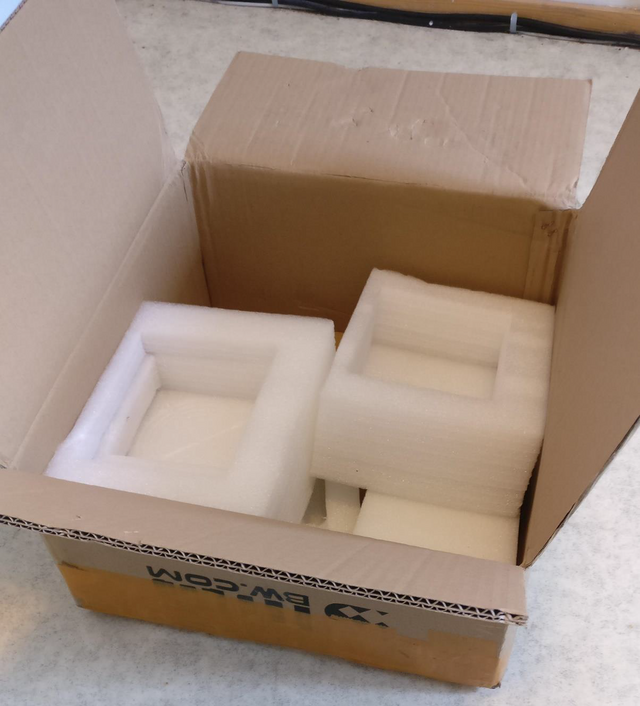
Packaging material.
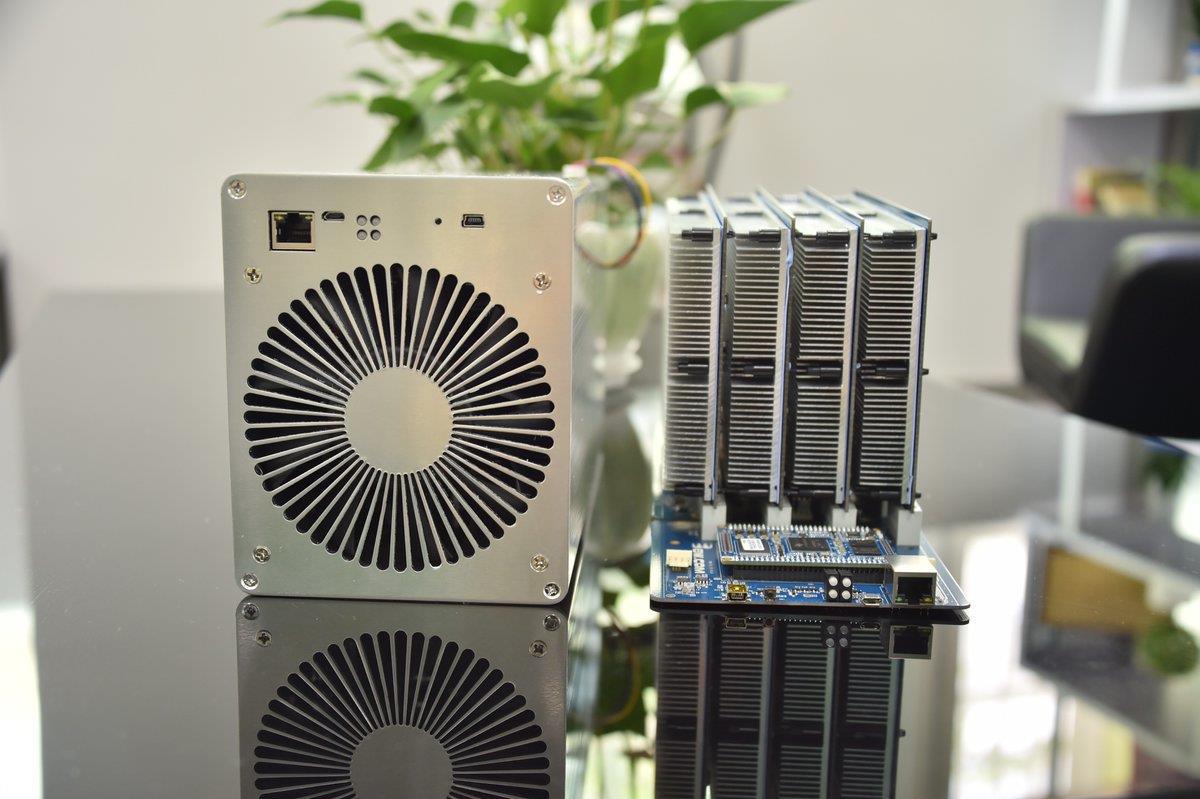
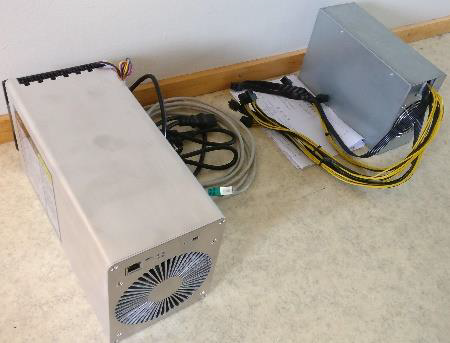
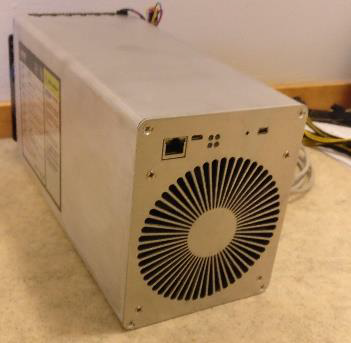
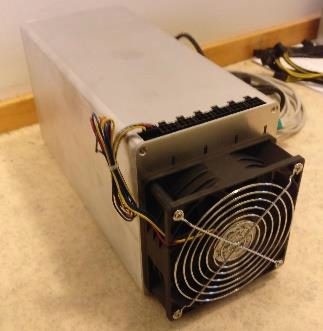
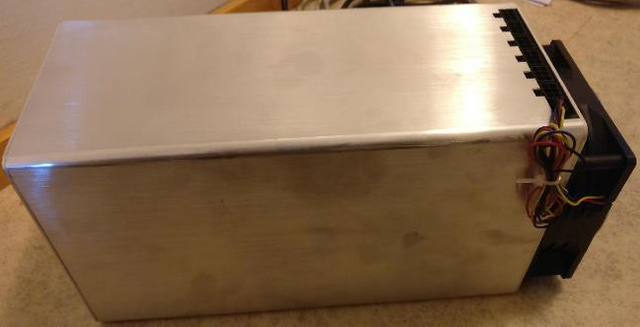
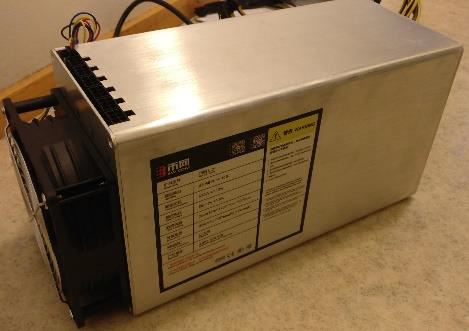
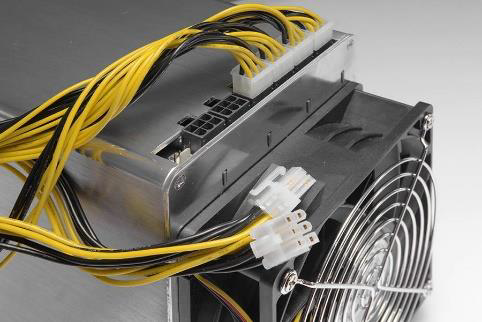
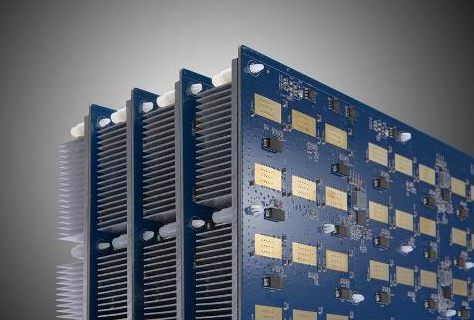
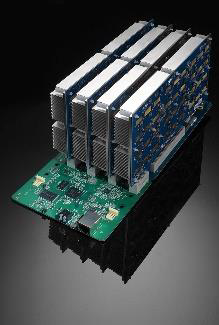
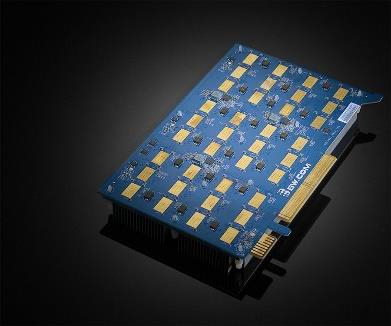
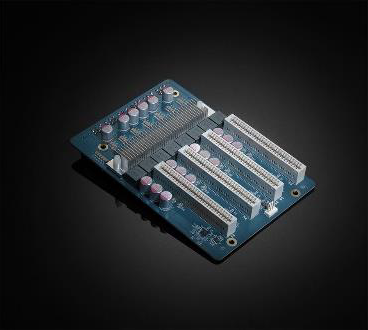
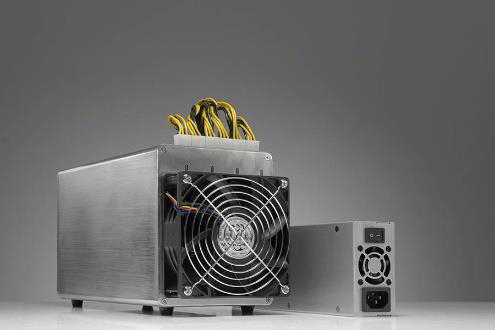
3. Overview
Here are some pictures about the miner and the PSU that I got included with it.
The power cord and ethernet cable seen in the pictures were not included, I bought them separately.
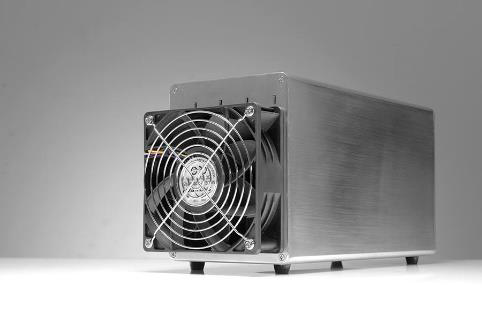
February 17, 2018 update:
I added here all the images released by the official distributor HyperBit at their Facebook page.
These images show some more details that are not clearly visible in the images I took with my camera.
In these images you can also see the official BW.com custom power supply unit.

4. Install
The installation was pretty quick and easy as it usually is with ASIC mining hardware.
You need to connect the Ethernet cable to your miner and the other end to the router or switch device (step 1).
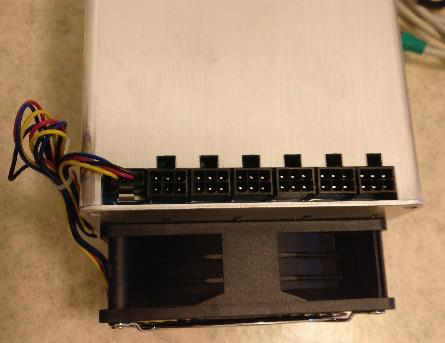
And you need a proper power supply and then you install the six PCI-E 6-pin cables to the connectors found at the top side of the miner (step 2).
The miner uses DHCP to acquire an IP address and you can find it easily from your router configuration page
IP address list or by using software tools found online.
Knowing the miner IP address makes the next miner configuration part possible.
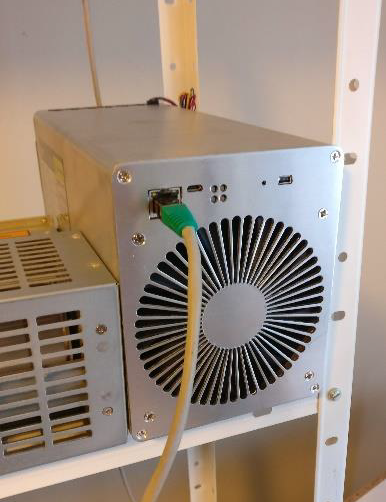
Step 1.
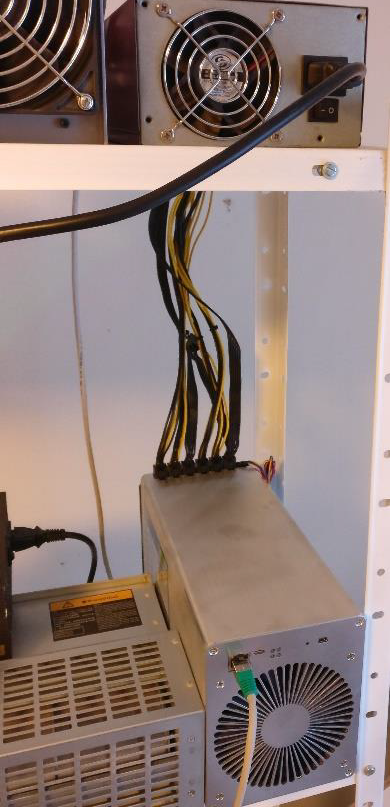
Step 2.
5. Configuration
First you need to go the miner IP address with your web browser.
Then you login to the configuration page.
Username is admin and the password is bw.com by default.
I tried changing the language to English, but I was unable.
Edit (February 17, 2018):
English GUI is available in the newest firmware version.
However, it has not too hard to go through the configuration pages when you have Google Translate as a helping hand.
The GUI is most likely the same as with the BW.com 14nm Bitcoin ASIC hardware, and there is a logo left saying that.
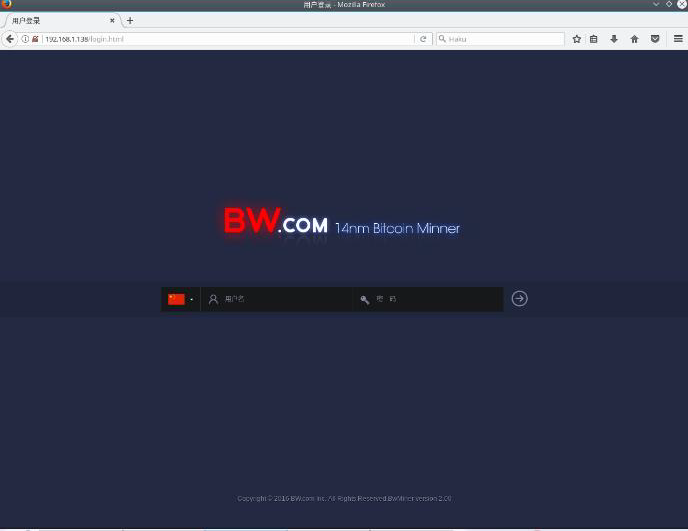
Login screen view.
Then you need to setup your network settings.
Network settings can be found by clicking this logo:

My miner IP address is 192.168.1.138
My subnet mask is 255.255.255.0
My gateway IP address is 192.168.1.1 (my router).
My DNS address is 192.168.1.1 (my router).
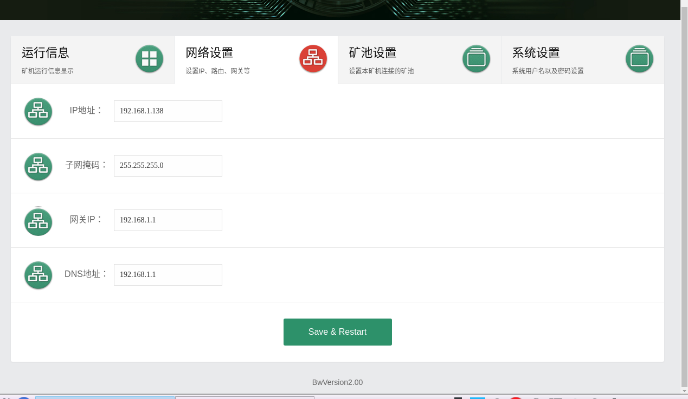
Network settings view.
Now it is time to setup mining pool settings.
Pool settings can be found by clicking left one of this logo:

My pool settings were for Nicehash.
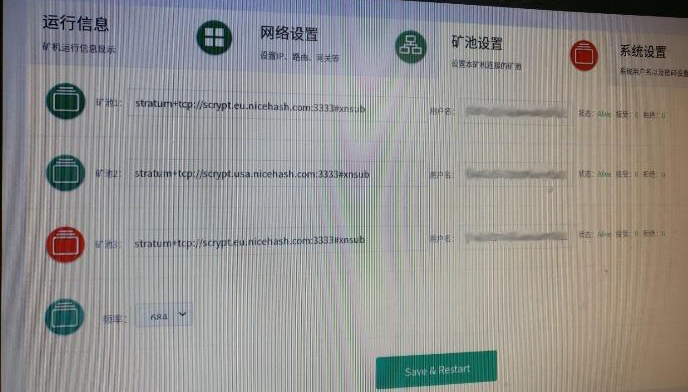
Pool settings view.
You can put address and username for three pools in priority order from 1 to 3.
There was no possibility to input pool worker password for some reason.
It is sometimes an useful feature in more way than just a password, as few pools offer a possibility to input attributes in the password field.
Extranonce.subscription that I tried using (#xnsub after the pool address port number) used in Nicehash is not yet supported by the miner Cgminer software.
Edit (February 17, 2018):
This is fixed and now available in the newest firmware version.
The fourth and last field is for the miner frequency.
684 MHz was the default value when I received the miner.
It is possible to choose frequency between 384M to 1020M area,
but I think I will keep it at the 684M.
6. Testing
After all the settings were made properly, it was time to test the miner.
The hash rate was around 580 Mh/s and it slowly but surely started to show the same at pool side.
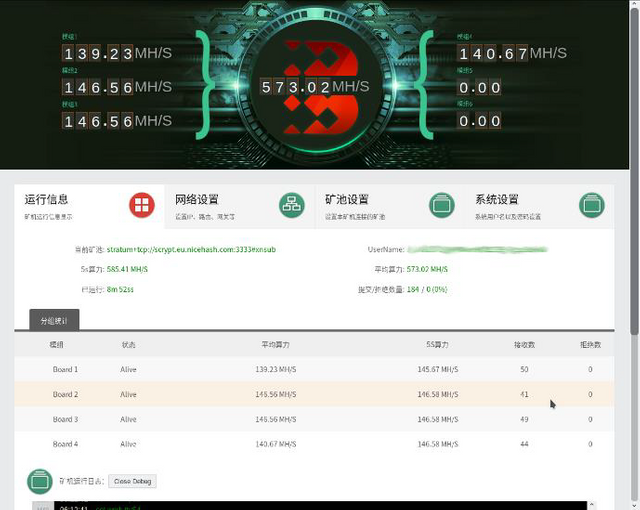
Miner status page.
Being able to see what happens in the Cgminer in real time was a nice bonus feature.
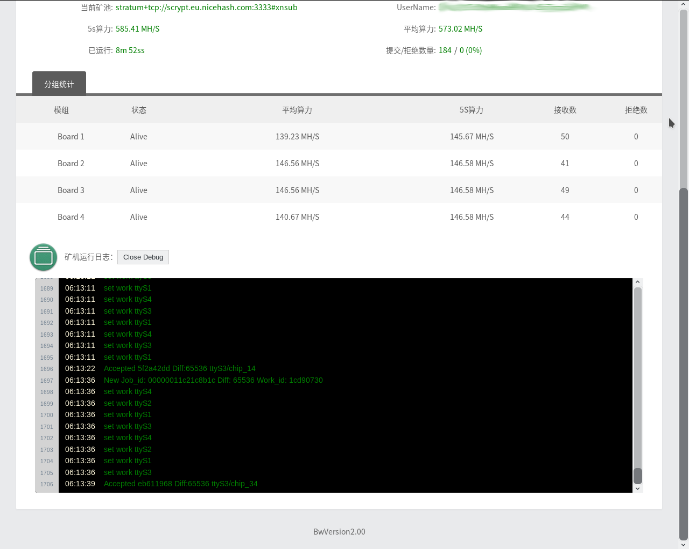
Miner status page.
There was a small problem after logout and then logging in again.
The GUI showed hash rate as zero, but there was no actual problem with the hash rate when I checked pool stats page.
Stats just won't update for some reason in the GUI.
Edit (February 17, 2018):
This is fixed in the newest firmware version.
Also, it would be nice to be able to see miner hash board temperatures and to control fan speed manually.
These two things were unavailable.
7. Power consumption measurement
Both voltage and current measurements were done with HT-Italia HT7011 clamp multimeter.
Technical specs data sheet (.pdf document): https://mega.nz/#!5ssAiZQY!nuixMYOwoYImFX1zfzc9KibmhO2ig-Adav37rRt50AU
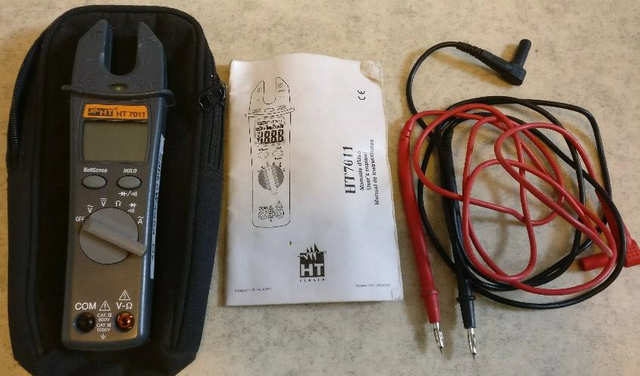
HT-Italia HT7011.
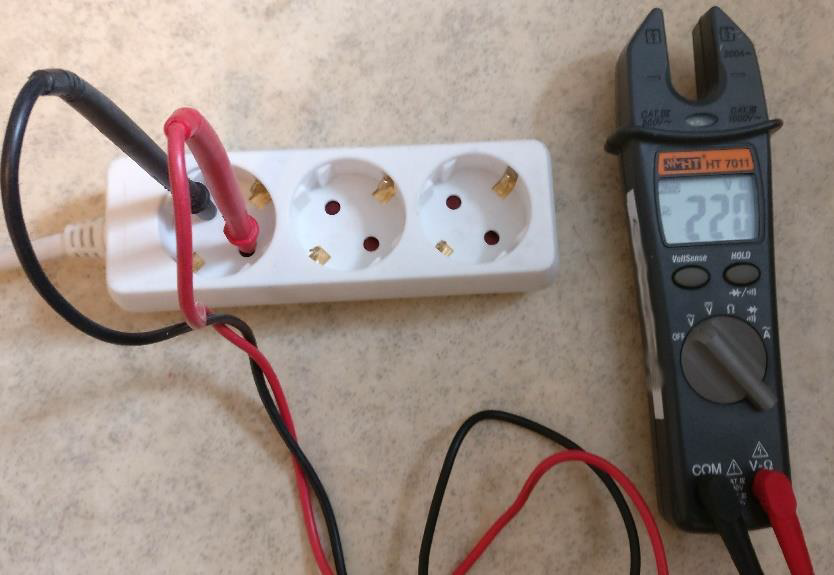
Voltage measurement.
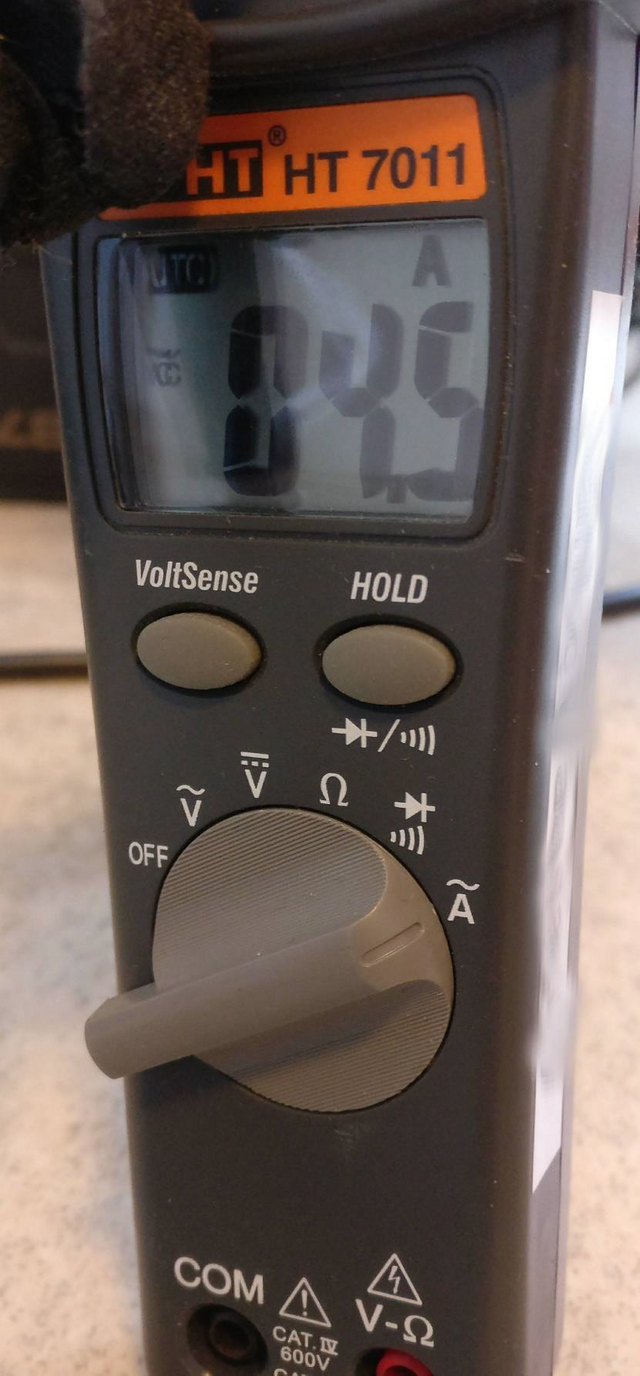
Current measurement.
Stable result for the voltage was 220 VAC and 4.5 A for the current.
This means that the power consumption (at wall) equals about 990 W,
when the frequency setting is 684 MHz and the hash rate is 580 Mh/s.
8. Conclusion
BW-L21 is a great looking miner in my opinion and it is easy one to setup.
It performed as advertised and even a little better, without any need for me to do some tweaking.
Power consumption is reasonably in the 1kW area which I personally like and noise is not too bad when fans are rotating at 3000rpm speed.
Cooling design is done well and the miner didn't get too warm.
It is not as loud miner as Antminer S9 for example but it still produces quite a huge amount of noise, so you don't want it in the same bedroom with you.
I think that this makes a serious competitor in the Litecoin (scrypt algorithm) ASIC miner market for the Antminer L3+.
I would like to thank BW.com for a nice miner and for the chance to give a review for it here at the forum.
I've been interested in their products for a long time and now I finally had a chance to try one of their products.
Special thanks for Ronald from the BW.com team for the efforts to make this review possible,
and for the support via e-mail and Whatsapp.
If you got any questions, feel free to drop them here in the Bitcointalk.org forum thread,
or in the comments section below.
9. How to order
BW.com webshop:
In late 2017, BW.com released their new website and announced a webshop, in which you can make an order for the mining hardware.
BW.com official webshop (English): http://en.shop.bw.com
BW.com official webshop (Chinese): http://shop.bw.com
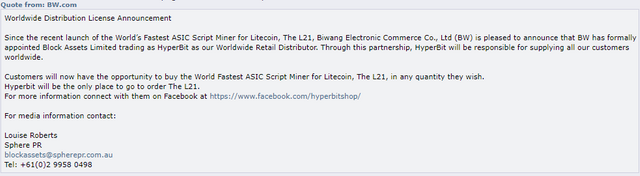
Official distributor HyperBit:
HyperBit is an official distributor for BW-L21 miners and miners are available when they have a open batch for sale.
HyperBit website: https://hyperbitshop.io/
Follow their website or their Facebook page to know when they have the next batch for sale.
10. More information about the miner
More information about the miner is available in following web addresses.
Introduction video at BW.com Facebook page: https://www.facebook.com/BWCOM1/videos/1207481296022406/
Twitter post by BW.com: https://twitter.com/www_bw_com/status/874514190337163265
Product page #1 at BW.com website:
https://www.bw.com/pool/miner
Product page #2 at BW.com website:
http://en.shop.bw.com/prod_view.aspx?TypeId=66&Id=168&FId=t3:66:3
BW.com website: http://www.bw.com
11. Firmware upgrade instructions
Here are the firmware upgrade instructions, which I got from the official distributor Hyperbit back in November 2017.
Version date: November 17, 2017.

Disclaimer: I am just a bot trying to be helpful.