A Selfcad 3D design tutorial: Whirling Flames Tea Light holder
MyMiniFactory is yet again hosting an interesting design competition, this time using SelfCad, an online 3D design tool with some interesting tools, along with an integrated G-code generator for 3D printing !
Here's my first entry to the practical object design competition using SelfCad:
Whirling Flames Tea Light Holder

I started out with a vague idea of creating a tea light holder in the form of a spider, or something similar.
0. Caveat : initial design flaw
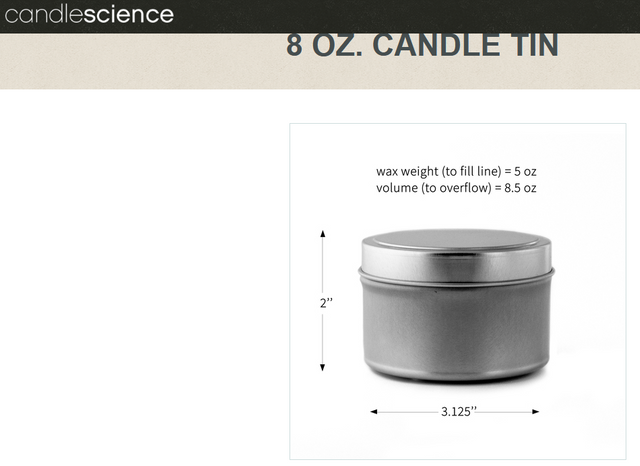
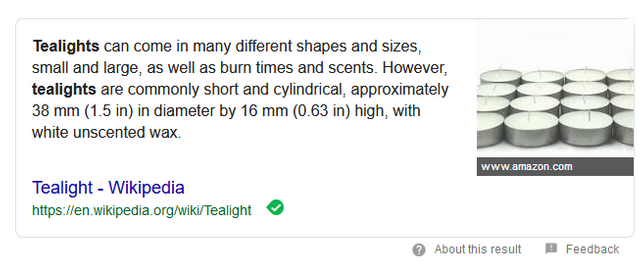
At first, I mistakenly believed "Tin Candle" was the name used for tea lights, so I took these dimensions as a starting point:
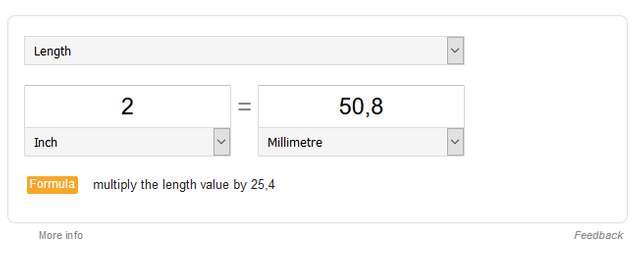
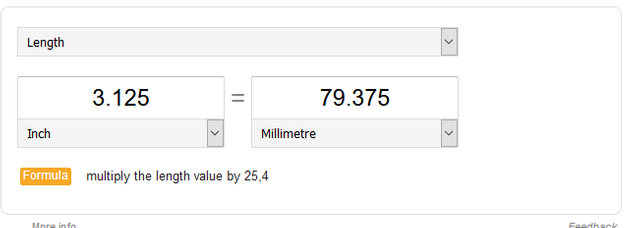
Which I converted to mm:
I'm not very good at mentally measuring objects, and didn't have a ruler handy to compare the dimensions to.
But the general design rules and tools apply no matter which size you create the model for, so it shouldn't impact the design too much.
1. Creating a candle model
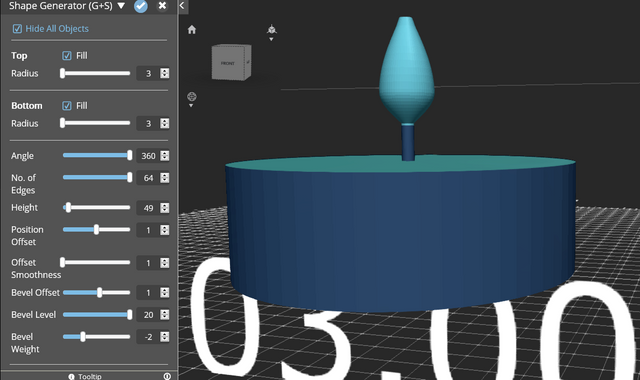
First, we use the Shape Generator to create a candle model.
Segment 1 represents the base (I didn't go so far as to create the thin tin layer around the candle)
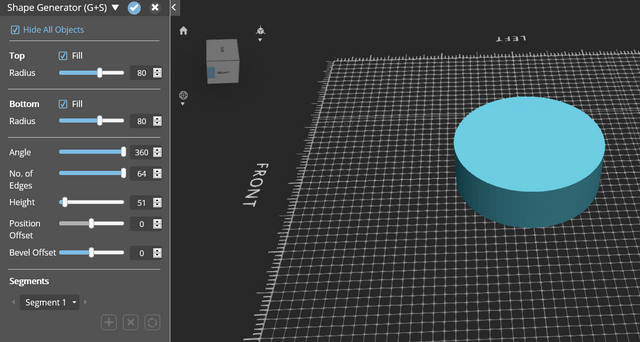
Segment 2 is the wick
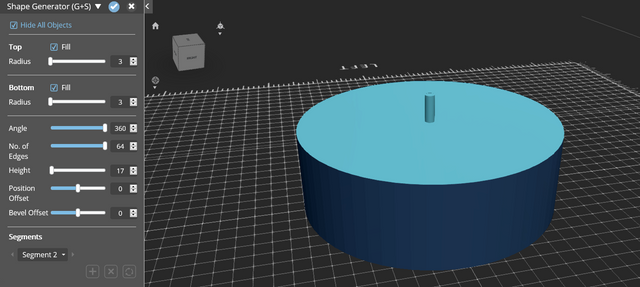
While segment 3 is a little cosmetic flame ;)
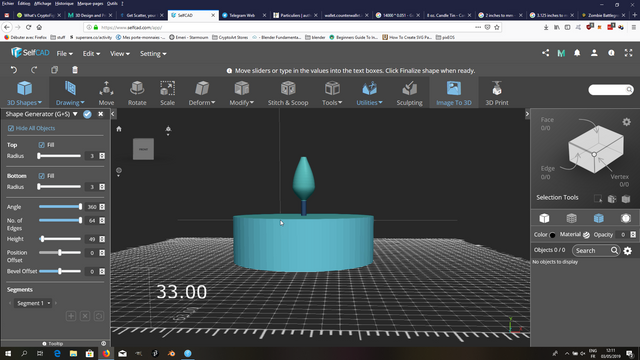
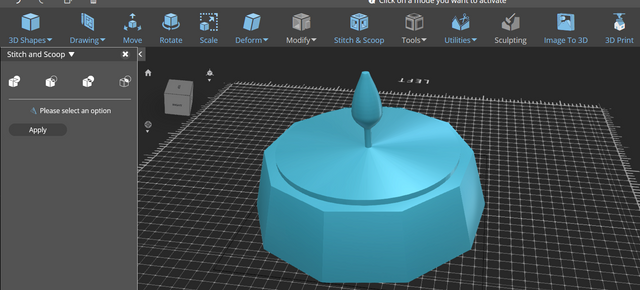
2. Creating the Candle Holder base
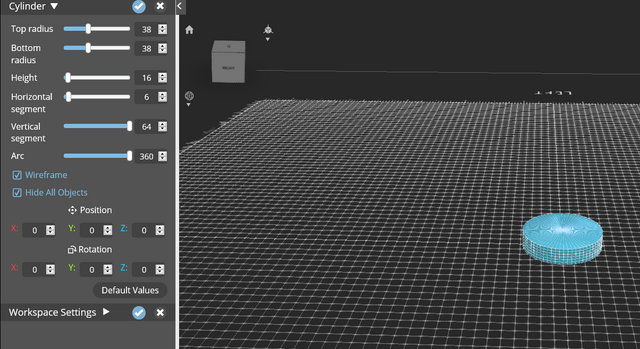
To create the base, I started out with a hexagonal piece, that I later replaced with a cylindrical piece of the same dimensions, but the process is the same:
First, create the object, giving it the dimensions of the candle, but with a couple of extra millimeters:
You might notice the candle is also moved a bit upwards, so as to create a bottom and be able to see the difference.
Then we use the "Stitch and Scoop" tool (Boolean operations to unite, cut out or keep the difference of 2+ models) and remove the candle from the holder, leaving a snug fit for a real candle once the model is printed.
3. Modelling the decorations
Now that we have a holder for a Tea Light Candle (well, in theory anyway ;) , we can design attachments and decorations.
This is a potentially infinite creative step, as there are tons of different ways to customize the holder.
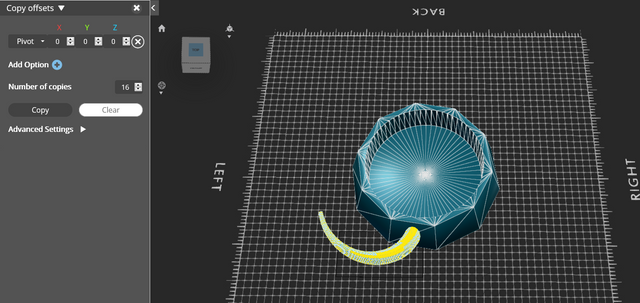
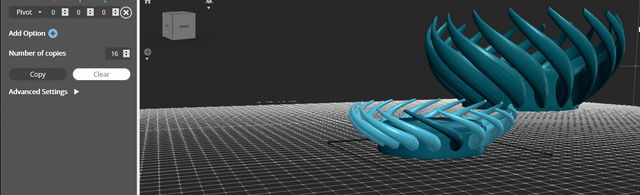
These will be using the "Copy offset" tool, that allows for creating multiple copies and setting them apart with different offset values (based on position, resizing, skewing,tapering... and, the one we'll be using Pivoting).
First, we need something to attach to our model. I choose this tentacle/flame creation I made using the Spiral shape generator:

We can then position it on the model (you'll see the hexagonal model be replaced by the all-round one suddenly, that's just me noticing the hexagonal one isn't as good and making a round one using the exact same steps used to create the hexagonal model)
Here's the Copy Offset tool in action:
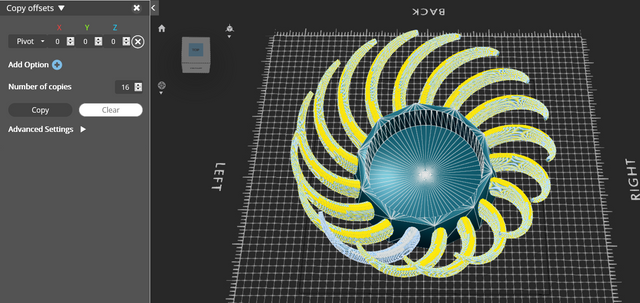
and here's the point where I switched over to the round model, as well as displaying the candle model in the middle to show how it'll look:
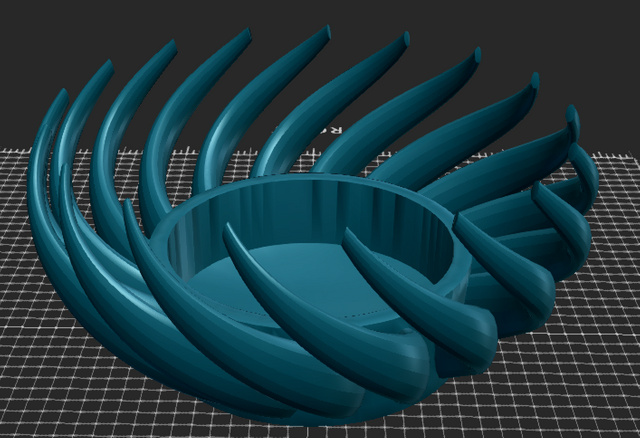
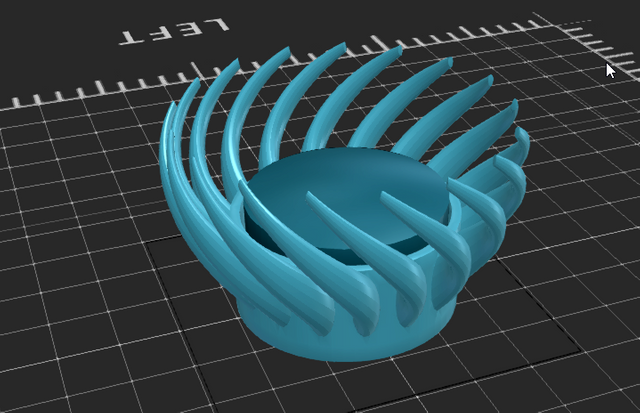
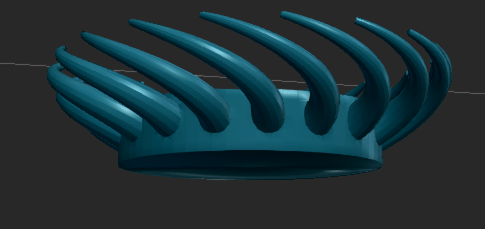
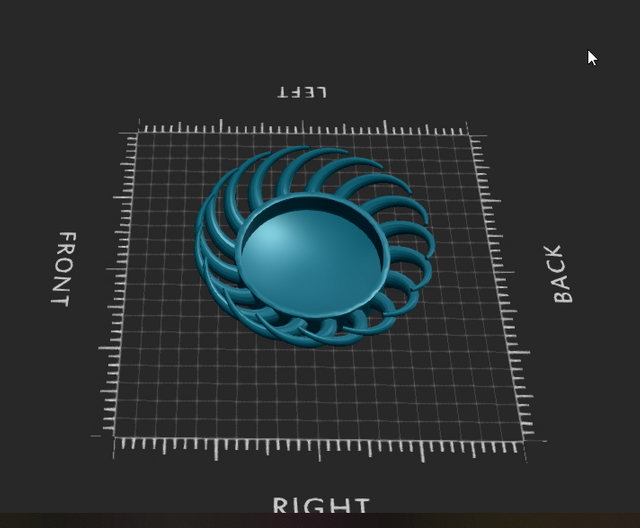
And here's the 'final' model:
4. Redo everything with the correct dimensions...
Here's me redoing all the above steps as fast as possible with the correct dimensions of a tea light ;)
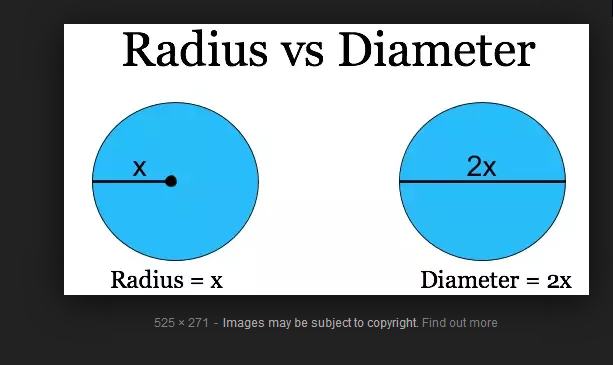
aaaaaaaaaaaand then I noticed Diameter = 2Radius, so I had to redo the calculations a bit XS
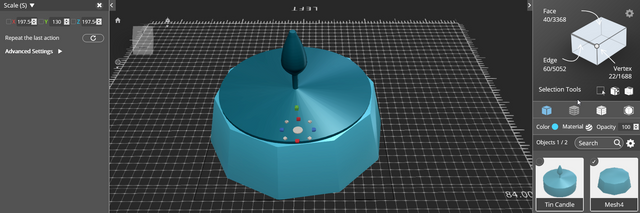
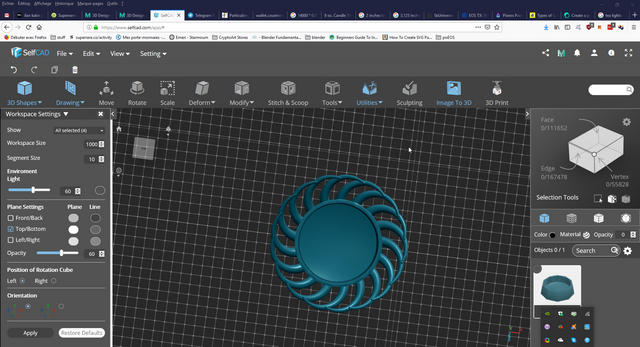
Luckily, I can just rescale the model on the X axis to be the same size as a cylinder with the correct radius:

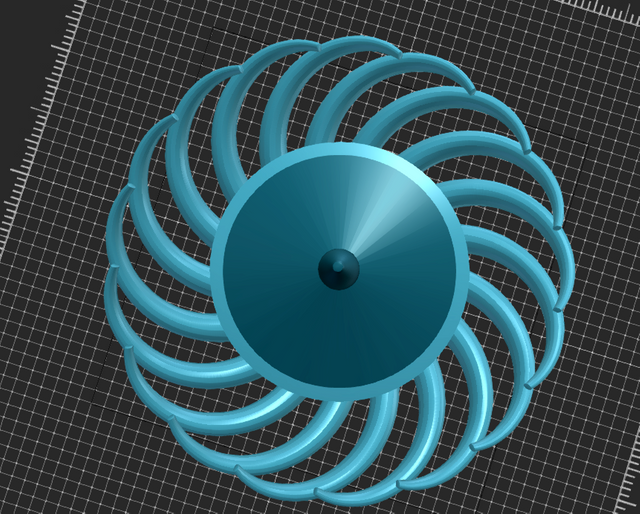
Finally done !
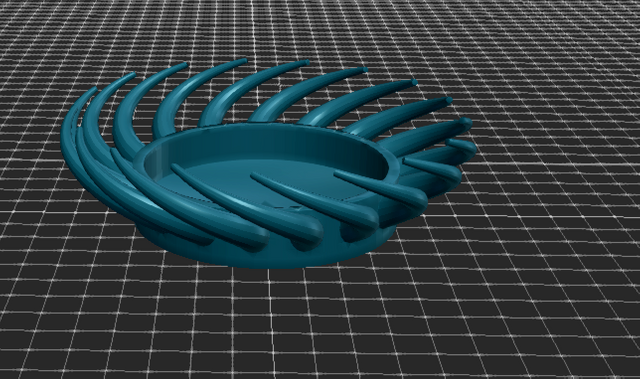
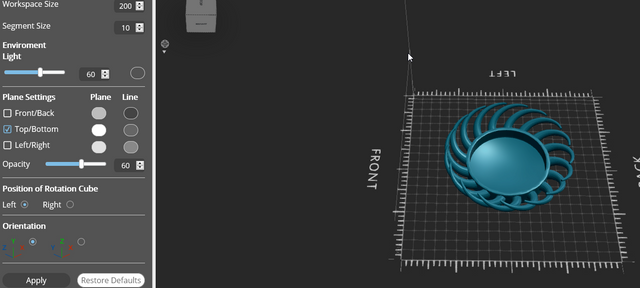
And here's some final shots of the model itself:
Hi pbock,
Visit curiesteem.com or join the Curie Discord community to learn more.
thank you ❤
it's always lovely when I make a post that's deemed of high enough quality to get a curie vote 😄
hi @pbock
I have to tell you that I don't understand much about 3D design, but yours seems like a great job to me. I like to see all the photos and descriptions of a project that is taking place and you did it very well. How long did it take? did you even think about the material of this candle holder?
Congratulations and thank you for sharing with us
As far as material goes, it could be printed using Shapeways in all kinds of stuff. Plastic probably isn't the best, but I could totally imagine this as a 3D printed metal decoration, like stainless steel of some kind, with a shine to it.
It took me most of the day. I'm visiting family and tomorrow we're holding a big party for their boy, so they were all busy doing stuff we couldn't help with, and left us to our affairs, so I decided I'd make a model for SelfCAD's competition :)
really awesome! great idea! And as a prize a giant candle !! -D
All i can say is I am in awe seeing this, Nice work buddy. It looks kindaa difficult and something that requires too many skills.
The skills are mostly self-taught, but the idea for the design is always the most difficult to hit on, when you're playing around in a tool like I do.
Impressive work on the 3D design software.
Thank you for sharing this step by step process you followed to obtain the final product.
This is all Chinese to me but it looks great. looks like you're already an expert and I bet this is helpful to those who are into 3D printing. Congratulations and good luck with your future projects.
Congratulations @pbock! You have completed the following achievement on the Steem blockchain and have been rewarded with new badge(s) :
You can view your badges on your Steem Board and compare to others on the Steem Ranking
If you no longer want to receive notifications, reply to this comment with the word
STOPDo not miss the last post from @steemitboard:
Vote for @Steemitboard as a witness to get one more award and increased upvotes!
The whole process of modeling looks quite interesting @pbock.
I am a software dev, and never really jumped into the modeling world. The end result looks nice! How many hours did this approximately cost ?
it cost me about a days worth of effort. I redid it a couple of times due to miscalculations and wrote this article too, of course.
happy you like it :)
both the competition organizers and sponsors say they loved it, so I think I've got a good start 😆
Posted using Partiko Android
You got a good start indeed :)
Keep up the good work!