How to use a nifty fifty (50mm lens) for macro photography and scanning 35mm film
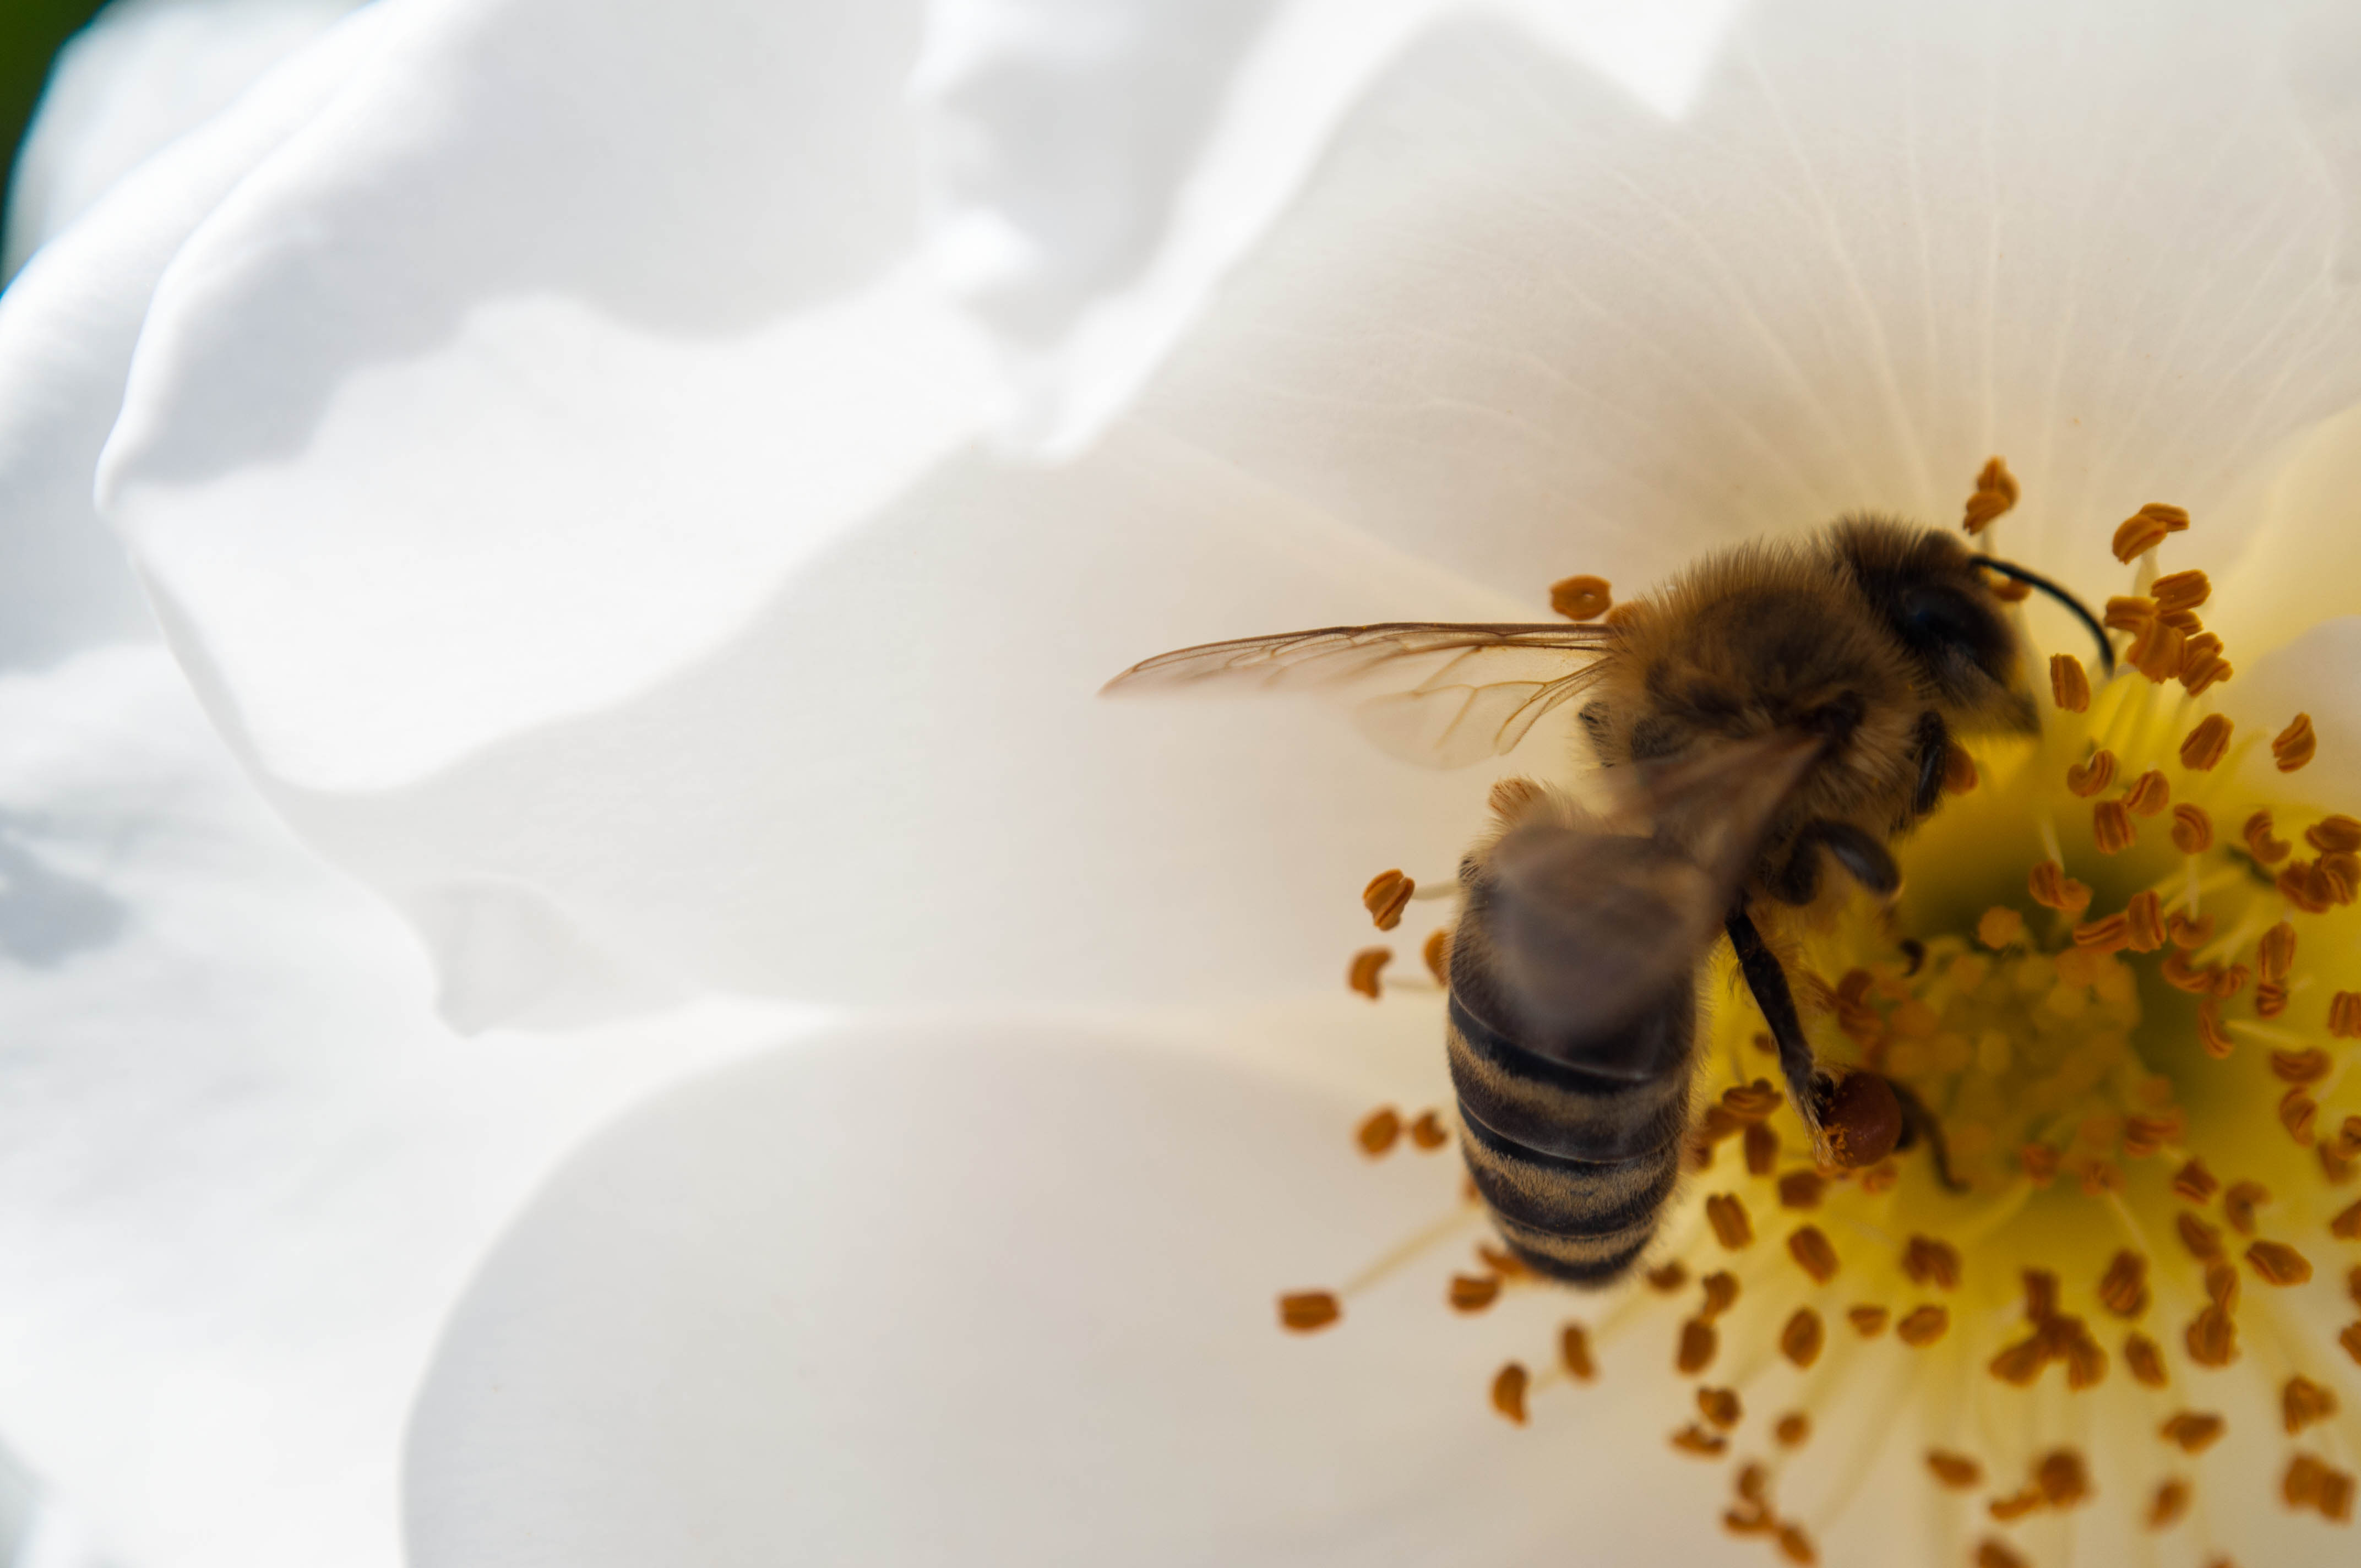
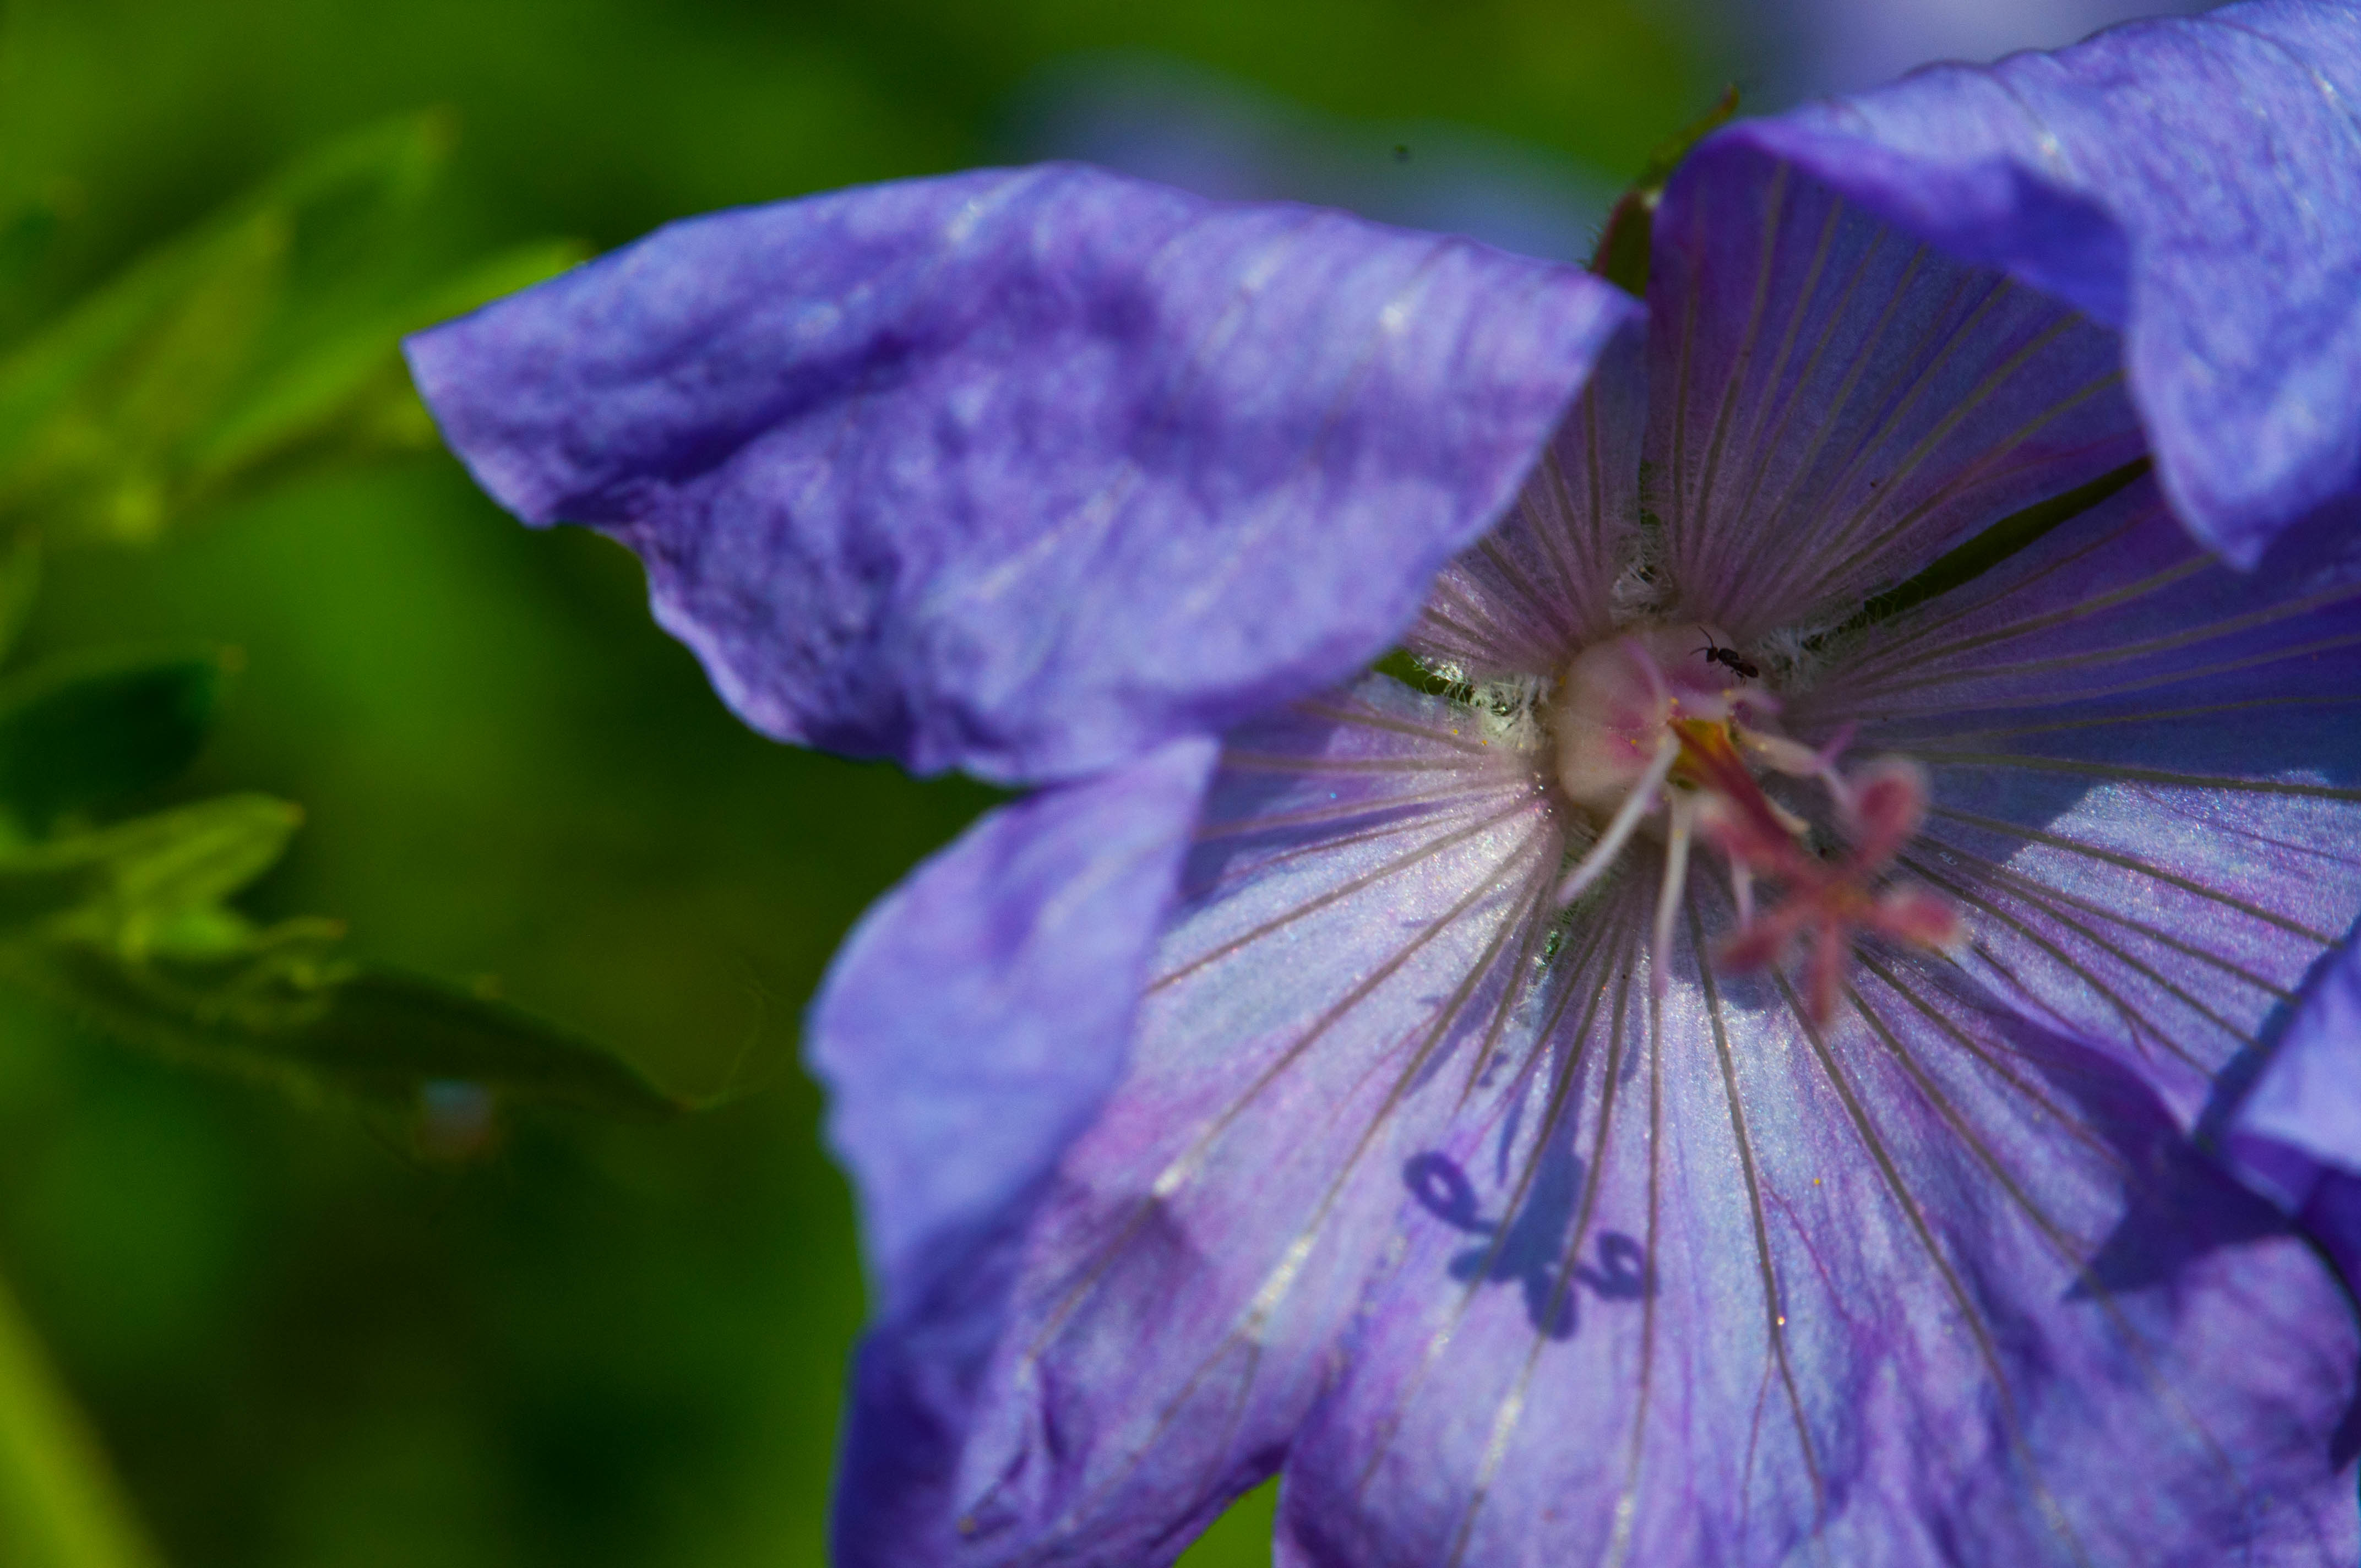
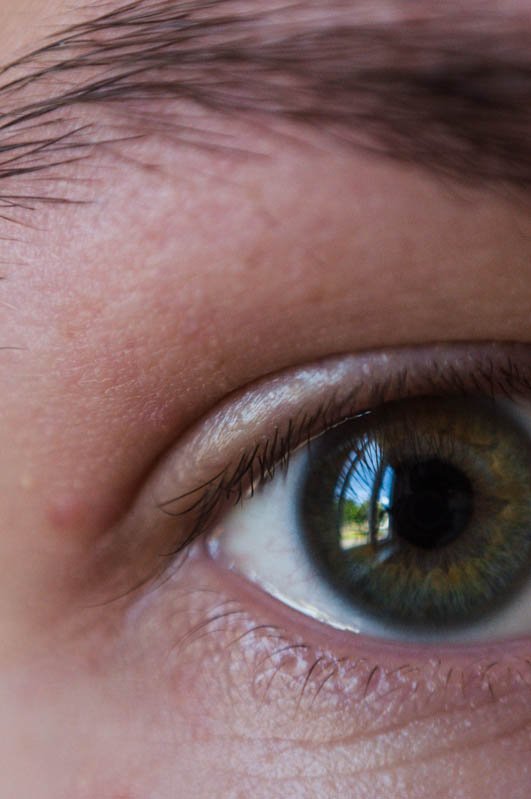
I want to show you all a great way to use a regular 50mm lens as a macro, using the same method I also scan my 35mm film. All shots displayed here are taken with a Nikkor F1.8D 50mm. Let me start of with an example and I'll walk you through it.
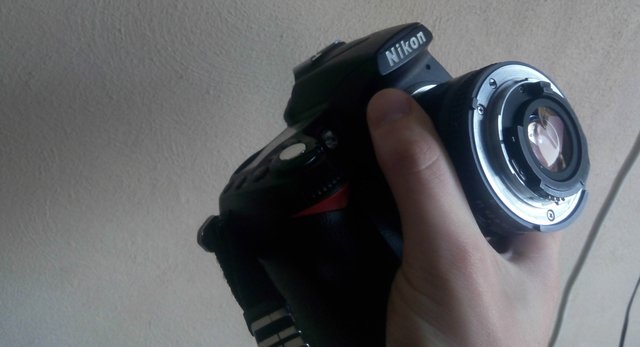
And the great secret is hold your lens upside down as shown in the photo below. This works with pretty much any 50mm lens, hell it works with my 18-55mm f3.5-5.6 kit lens too. And here are some tips for this technique:
- The lens has to fully cover the hole to prevent any light leaks. Use two hands, one to hold the camera and the other to hold your lens. The majority of these shots there done in sunlight at around 2pm, so it's not that hard.
- You have to set the aperture on the lens itself. So having an aperture ring is almost necessary. You can eyeball the aperture by moving the little knob on the lens itself, but it will be highly inconsistent, it can work though.
- Shoot in M mode.
- Focus range tends to be very limited and hard to adjust, as the lens is upside down. Feel free to shoot in burst mode and slowly moving the camera closer or further away, to catch the perfect focus.
I'm not great at macro photography, however I wanted to share this technique with all of you. If you have any old lens, which may not even fit on your camera, go try and see if it works upside down. I'd love to hear about anyone trying this!
Still starting of on Steemit, will be posting many many more photos and stories behind them! If you liked this photo, check out my profile for some more!
Bonus. How to apply the same technique to scan 35mm film
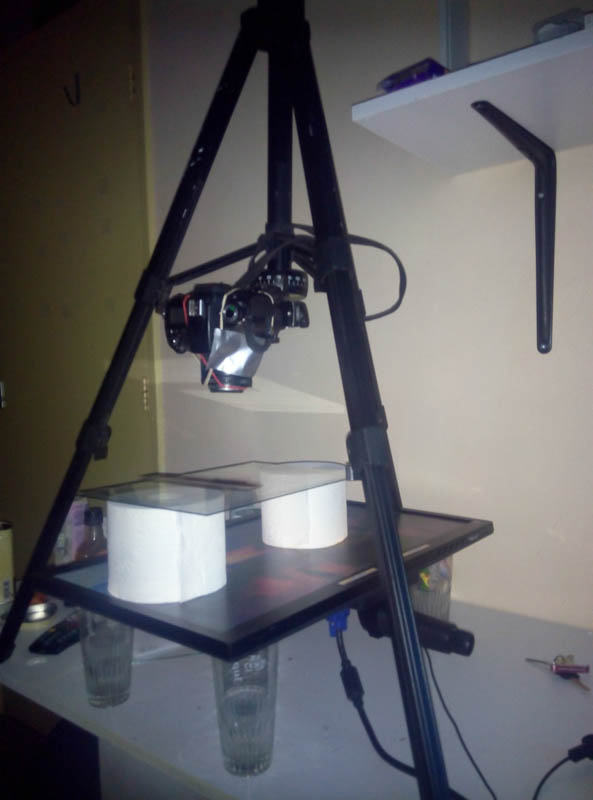
Oh I know this setup is glorious. Basically the lens is held up by hair bands with some extra duct tape. The monitor provides even white light, do not put the film directly on it, as a monitor is a pixelated. Two pieces of clear glass hold the film in place. To focus you are really gonna want to move your tripod, which combined with how complicated the entire things is is going to take some time, but it works.

I'd really love to see a 100% crop of a 35mm negative from your rig.
As you and I have discussed, I use a Wolverine film converter, which is essentially a mini-point & shoot version of your setup, confined to a box the size of a coffee mug. My money says the clarity of your setup wins.
Here is an odd example. A couple of problems this setup has is scratching film, two non perfect pieces of glass. However getting a RAW file allows to control the desired color a lot better.

Your film converter is all you will ever need. This is just a DIY solution.
Yeah, but I like that RAW idea. I shoot RAW, and having the ability to edit a 35mm film negative in 10-bit RAW is attractive.
Also, I'm curious: What is that moire patter that's happening caused from? You can see it come to a convergence in a blob near the bottom right corner in the grass.
Truth be told not sure, other shots didn't have it. Might have just been on the film. Well try it out on your next roll of film. I do really like this method for colored film.