10 Tips on Creative Car Photography
If you've ever tried photographing a car, you'll know that it's often not as easy as first presumed. Although it can be simple enough to capture a clear and simple shot of the vehicle, it's far more challenging to capture the design, detail and essence of the car in a photograph. To help, here are ten simple steps which will hopefully lead you through the basics of car photography.
Starting Out
There are a vast range of elements involved in car photography, to the extent that there are whole websites and books dedicated to it. We won't be able to cover everything in fine detail here, but hopefully it will give you an insight into the world of car photography and get you started with the basics, enabling you to start to explore further.
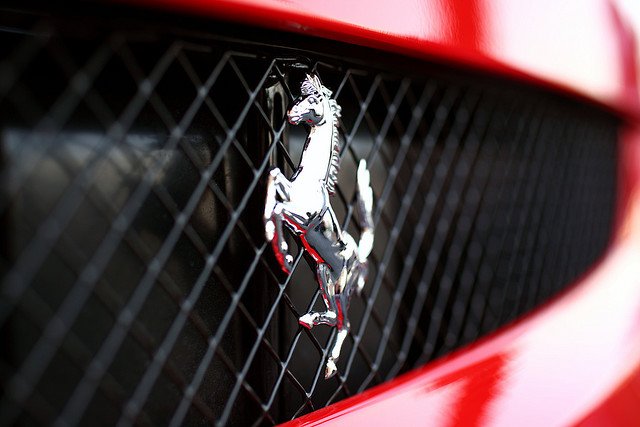
To begin, you'll need a car. Any car will do really to learn the basics, but your work will look more professional and exciting if you're working with more interesting subject matter. If all you've got is the Ford that you drive to work in, that will be fine. But if your mate has a Ferrari, you'd better buy them a few drinks and ask nicely if you can borrow it for the day!
Location
So you've got your car, now you need a location. You don't see many photographic car advertisements in which the car isn't set within an amazing scenic location and bathed with the warm glowing sunlight in the distance. But presumably you'll be shooting on a budget, so it will be hard to match the large scale shoots you see in glossy magazines. Still, there are plenty of location options to choose from.
You need to ensure that the car is the centre of attention, you don't want your location to steal away attention from your subject. You want it to enhance the attractiveness of the car. Decide whether you want to shoot the car in a natural setting, somewhere less usual or whether you'd rather go for a studio feel.
A Natural Setting
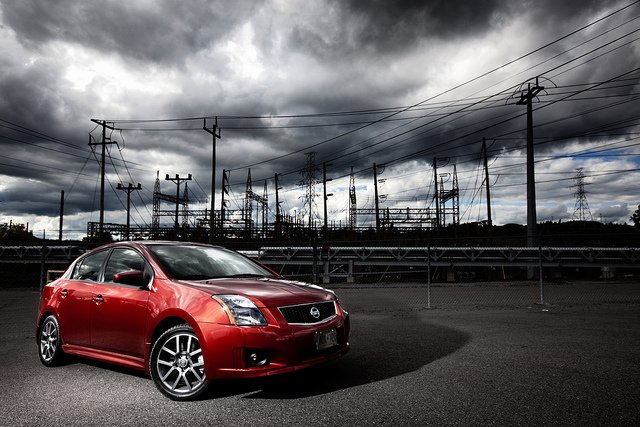
In a natural setting, you could have the car either on the road, in a car park, or on the drivewa. Though many of these settings wont add much to your shot and will look fairly plain. Consider what sort of feel you'd like for your shots. If you want a gritty and moody feel, it may be best to head to the top level of a car park with views across the city, or to the industrial part of town amongst the derelict warehouses. If you want a clean and classy bright image, consider heading to the business district of the city amongst the reflective glass of the office blocks and modern architecture.
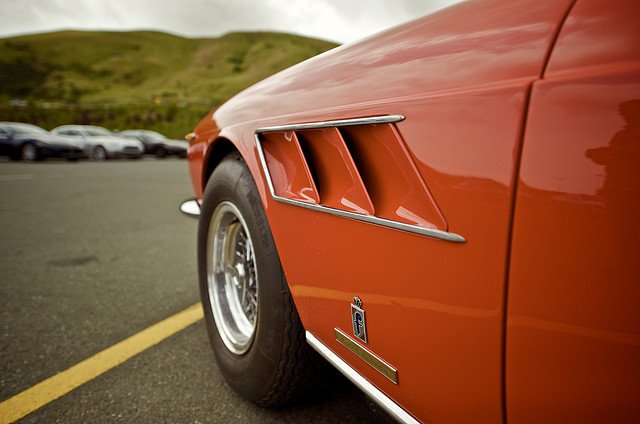
Alternatively, you could go for the classic shot, at the crest of a hill with an open expanse overlooking a landscape scene, preferably west facing in order to have the sun setting in the background. Finding a great location will make your photograph stand out and increase your artistic opportunities. Take care to find somewhere that will really enhance the atmosphere of the shot and the features of the car.
An Unnatural Setting
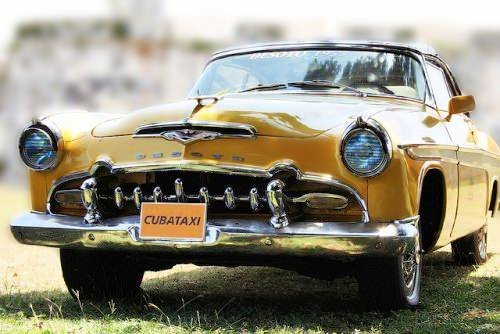
If you'd rather try an unnatural setting for the car, think carefully about whether you'll make the car look alien in it's surroundings. For example, a car doesn't look very at home even when shot parked on grass. There's no need to be overly adventurous with your location selection. It's understandable that you'd want to avoid clichéd car shots, but be careful not to be overly ambitious and end up having a series of shots that take the car too far out of context.
The complete alternative to having an on location shoot is to go for a studio-type shoot. Hiring out a studio large enough to house a car is an expensive business, so if there are alternatives you may want to explore those first. If you know someone with a large garage that has white walls it may be the perfect alternative to shelling out for prime studio space. The great advantage of using a studio space is the opportunity to light the subject creatively, which we'll come to in a bit. Having those options can give you the chance to get some great interior and detail shots, but full car shots can end up looking fairly cold and bland without any context.
Finally, when considering your location, think carefully about how the surroundings relate to the colour of your car and that the tones in the shot compliment each other.
Lighting
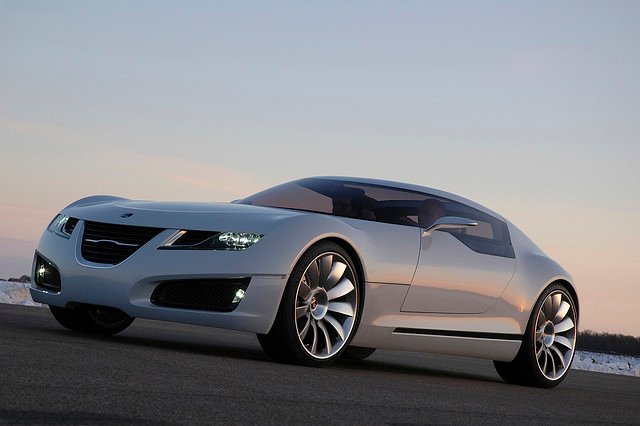
Next step is lighting, the essential element of every photo shoot! Depending on your location and timing, it's best to use natural light if possible. I'd recommend utilising the golden hours, just before and during sunrise in the morning and through sunset in the evening. This way, you'll get a lovely warm side wash of sunlight on your subject and you'll avoid the overtly harsh brightness of the midday sun, which will cause problems with reflections.
You also have the option of using artificial lighting, which some of us have more access to than others. To get the best results, it's all about utilising what you've got carefully. There aren't necessarily any right and wrong ways to light a car, my advice would be to set up lights or flashguns one by one, highlighting aspects or angles of the vehicle as you see fit. Then, take a test shot or two, ensure it's just where you want it, and then set up another. This way, you wont over light the car and you'll avoid letting the light sources double up on areas of the car. Use your eyes and take your time, the lighting is a very individual preference and can define the personal style and mood of the shot depending on the photographer.
Angles
So having set your car up in a great location and figured out the lighting. It's now time to actually start taking photographs! Hopefully you'll know the car quite well now, but it's important to consider how you want to portray the car, whether there are any features that you want to highlight and therefore what angle to shoot from.
By all means, get started by shooting from eye level, but to make your shots stand out, you'll need to exploit different angles and vantage points in the shoot. A particular favourite is to shoot from just above the ground. This gives the car an overbearing menacing look, but experiment and see what works for you and your car.
Once you've worked out which angles work best and show the car in the way that you want, try moving the car to varied positions to get it to work well in the setting. Make sure you avoid distractions behind the car such as trees and phone cables. Depending on the angles you've chosen, for full car shots, I'd recommend using a tripod, just for that extra sharpness. However, don't just leave your camera on the tripod. For those wonderful angles, you'll need to go handheld!