How To: Shoot Fashion Editorials
Step 1 - Pre-production, Creative Direction
For the sake of starting out, a moodboard is always good enough. The aim of the moodboard is to convey quickly and easily to model bookers, stylist, grooming team & magazine editors the body of work you are going to be producing.
Working off of a movie, music video works well, also referencing periods of style such as the 60s or 70s. Make sure you know your stuff and that fashion silhouettes & grooming are on point with the theme or period.
A strong creative direction makes the whole project and end result so much better, and also makes it easier to get everyone on board for your shoot.
Step 2 - Get A Commissioning Letter
Remember that the fashion world work in two seasons Summer Spring & Fall Winter. Usually if its Fall Winter already, you would want to be shooting a Summer Spring editorial, and likewise if its Fall Winter, you would want to be shooting a Summer Spring story.
There are multiple reasons for shooting so far ahead, firstly designers want to sell their most recent collections and they release their new products months in advance of the season coming in. You want to make sure the pieces that you are pulling for editorial are relevant and not out of season when the story itself gets released.
If you are shooting on a submission basis, this will give you the time you need to make sure you get your story placed and so when it does get released its perfectly in time for the season for which you have shot.

Step 3 - Build Your Team
If you dont already have a fixed team that you work with or prefer working with, there are plenty of groups on platforms such as Facebook or online communities such as Modelmayhem or purple port where you can easily get people to work with you.
Create castings and put together a solid team, also keep 2nd or 3rd options as people working on a 'free' basis for editorial work can tend to be flakey particularly if you have not worked with them yet.

Step 4 - Location Scout
Make sure you know your location well, visit it once or twice before your shoot, plan the logistics of the shoot so that movement of the team is kept to a minimum and most of the time during the shooting day is spent shooting and not people getting from one place to another.

Step 5 - Shooting Day
Create a call sheet, this should contain information like, the full team (with numbers, email addresses & roles) and then also a production schedule, with alloted time for hair & make up in the morning then a set time per look.
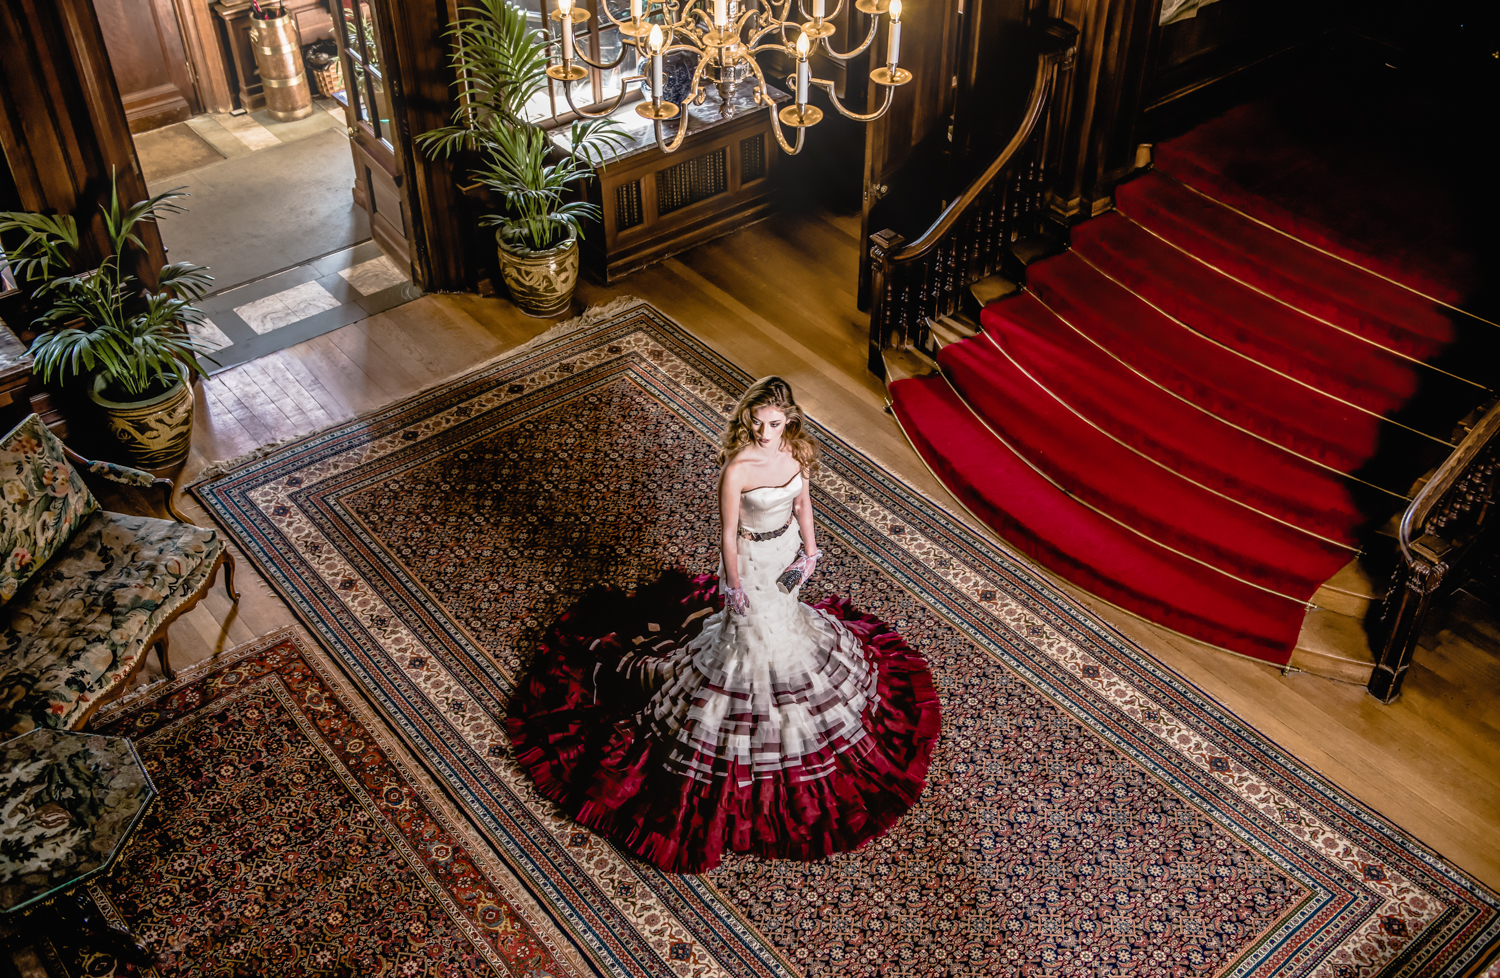
Try to aim for 10-16 looks for an editorial as this will give you options for the final spread. Bear in mind that you should generally shoot your images portrait so you can fit one look on one side of the page with the cover image for the story being landscape with some deadspace for story title & team credits.
Try to plan key shots that you wish to produce particularly for the cover image. A photographer that doesnt know what they really want is going to ultimately end up wasting time. When you have alot of looks to get through in one day you could end up running into overtime or working very late and making your team unhappy.
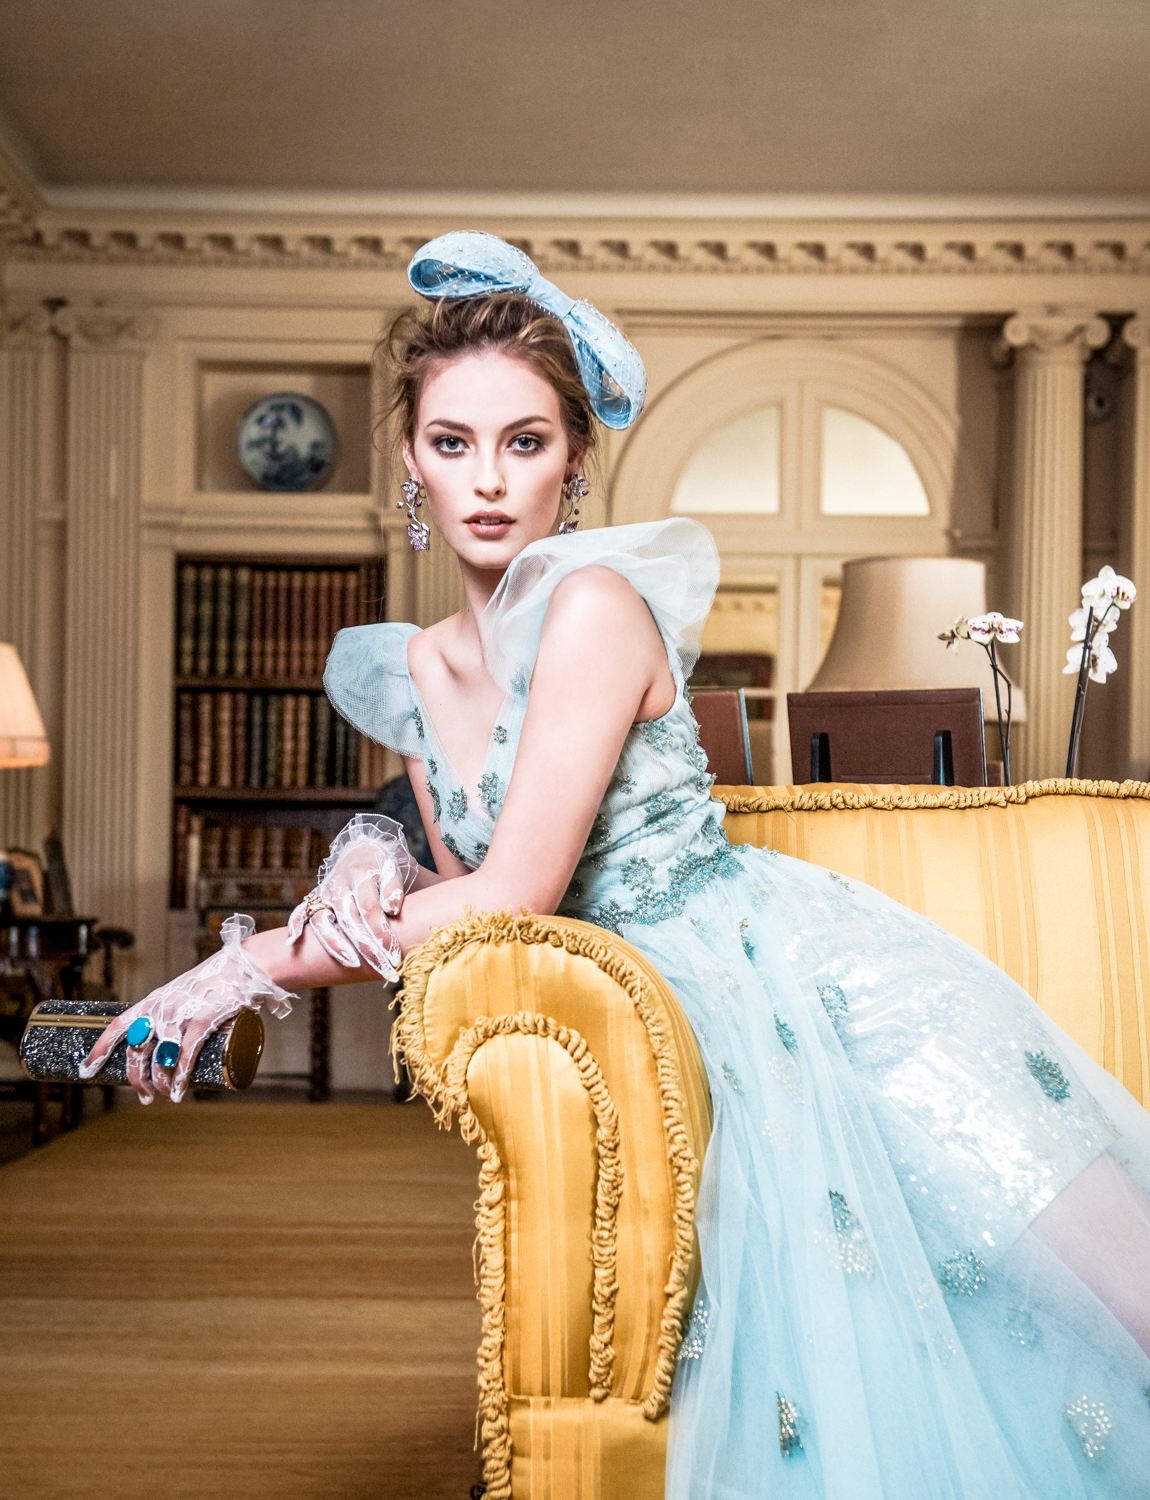
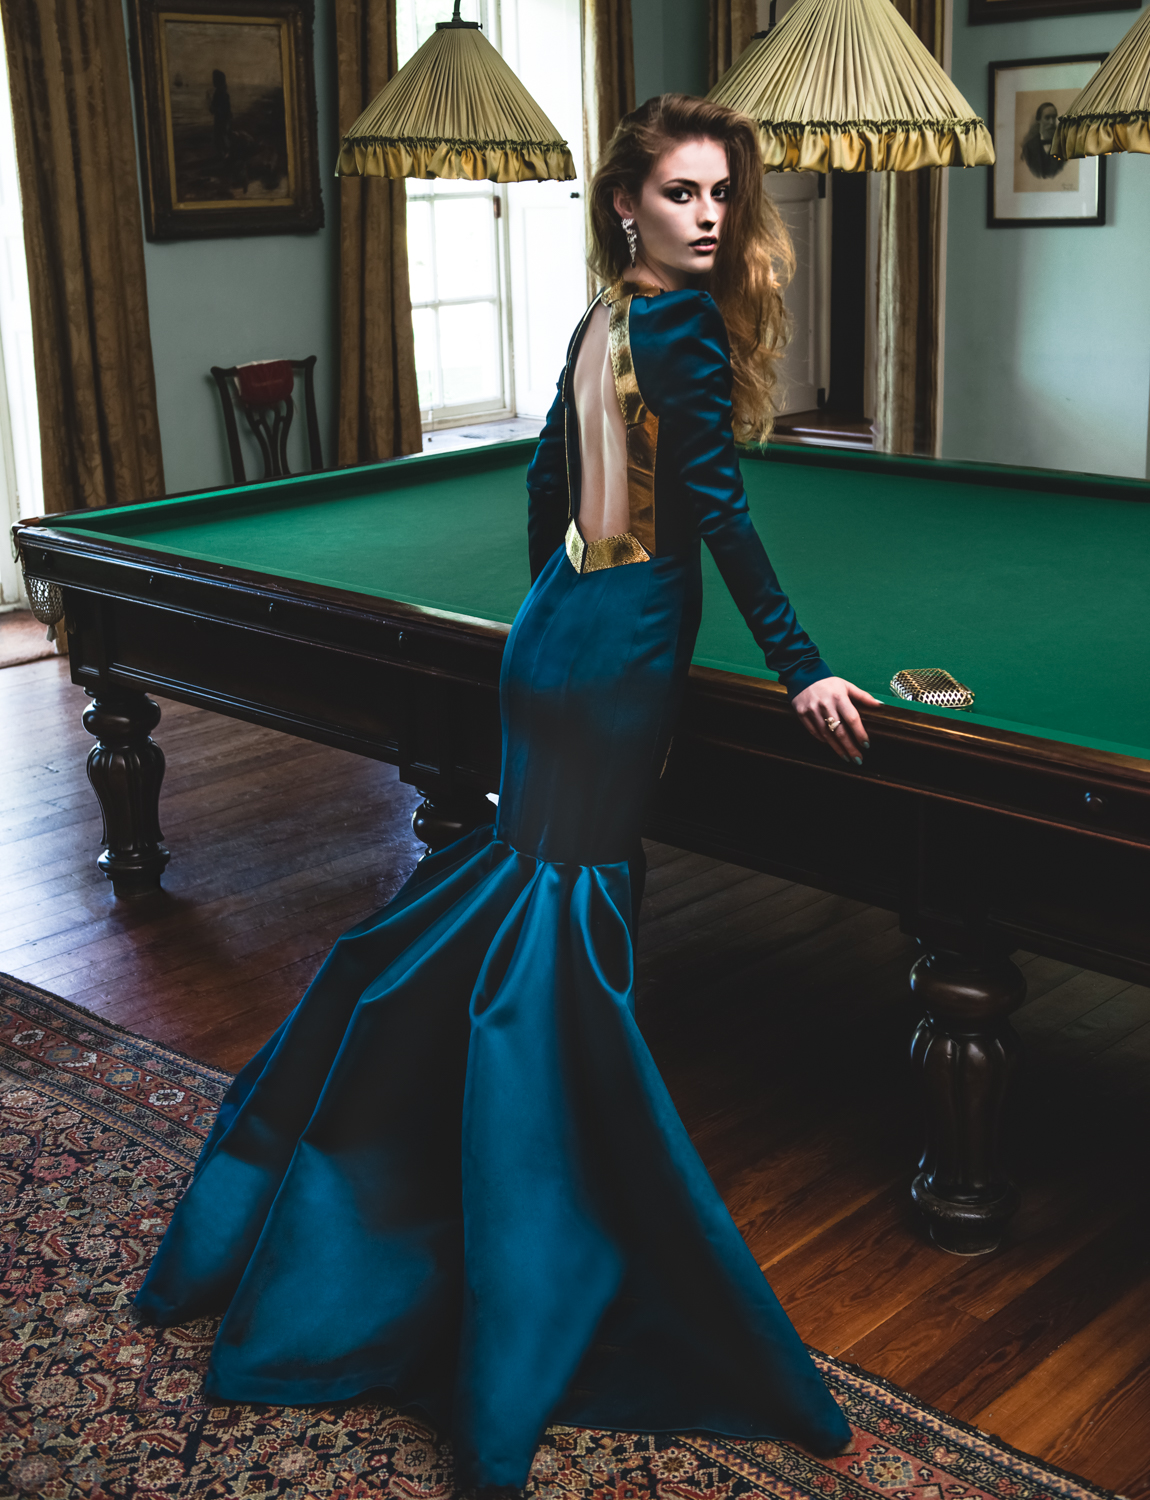
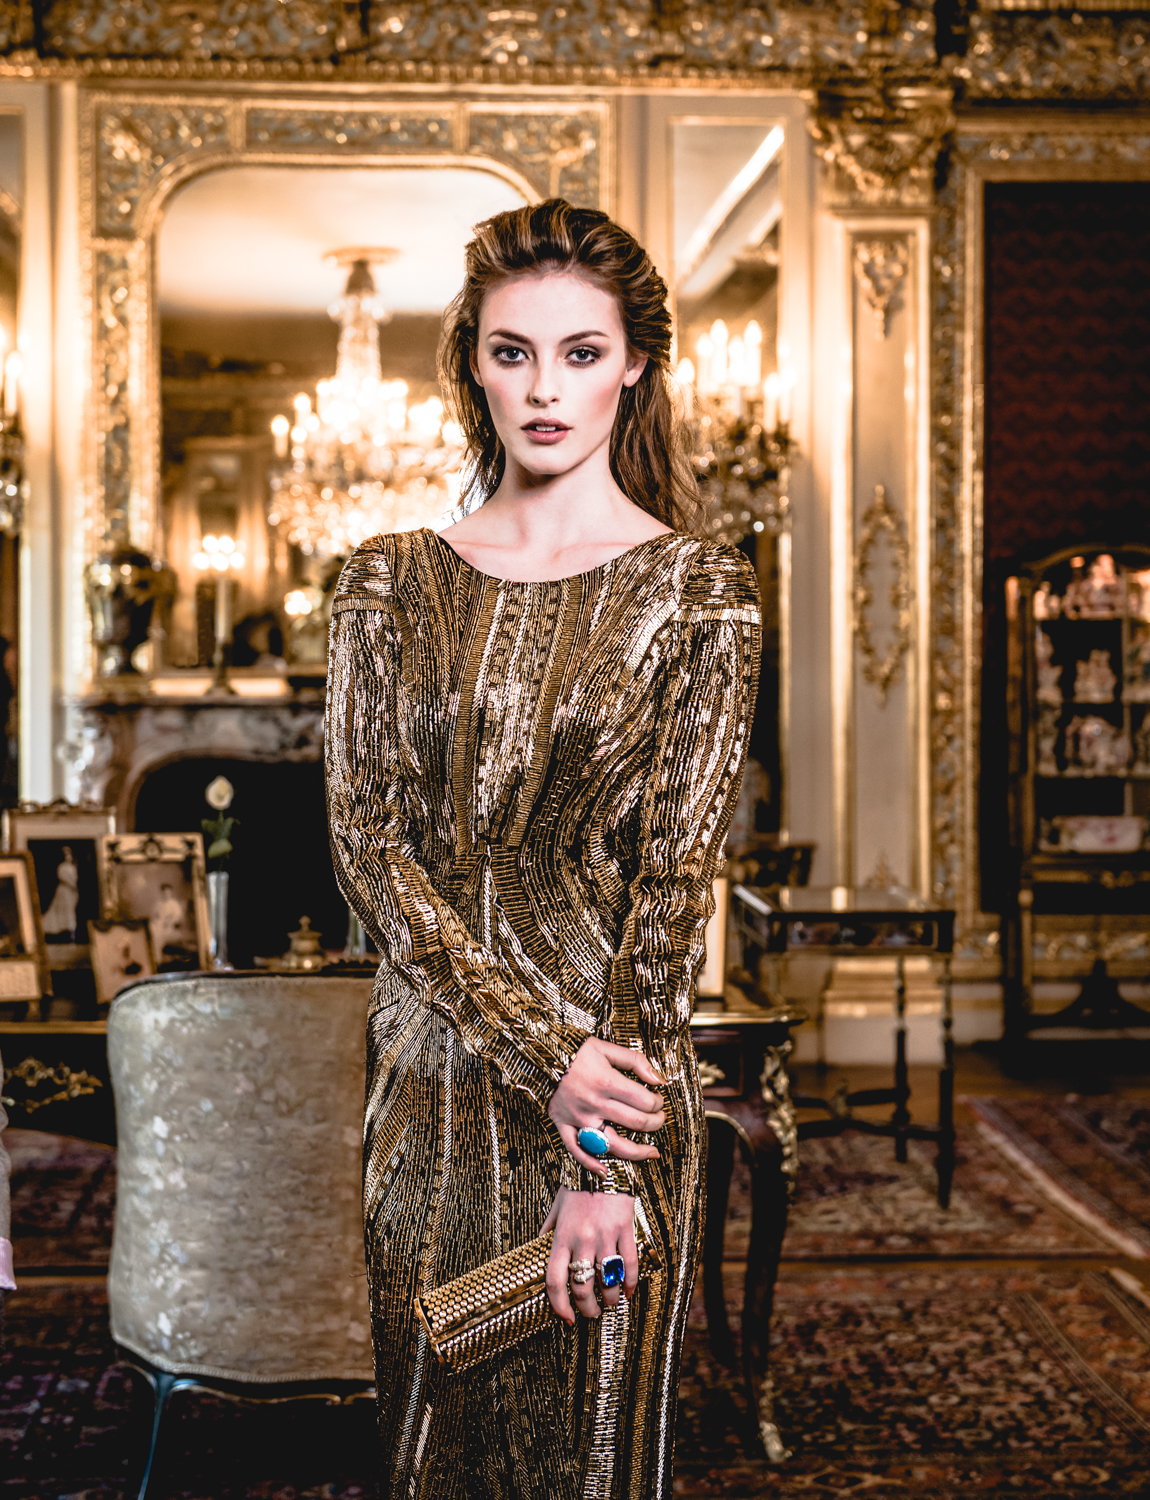
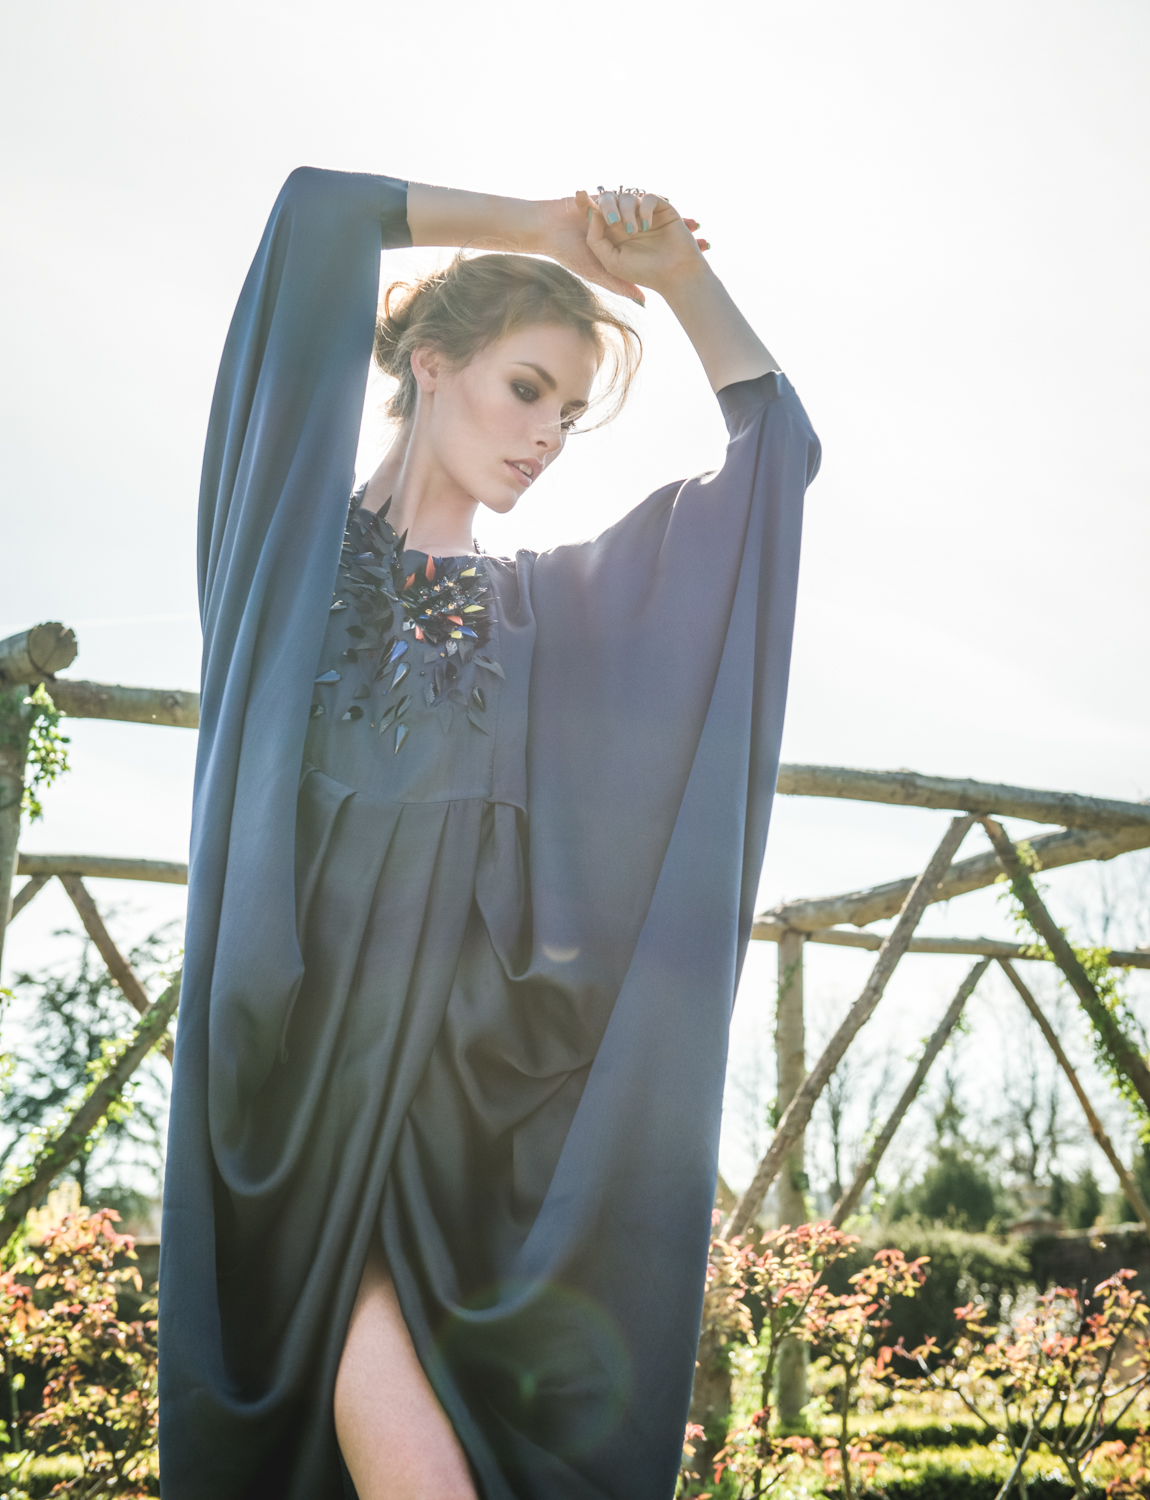
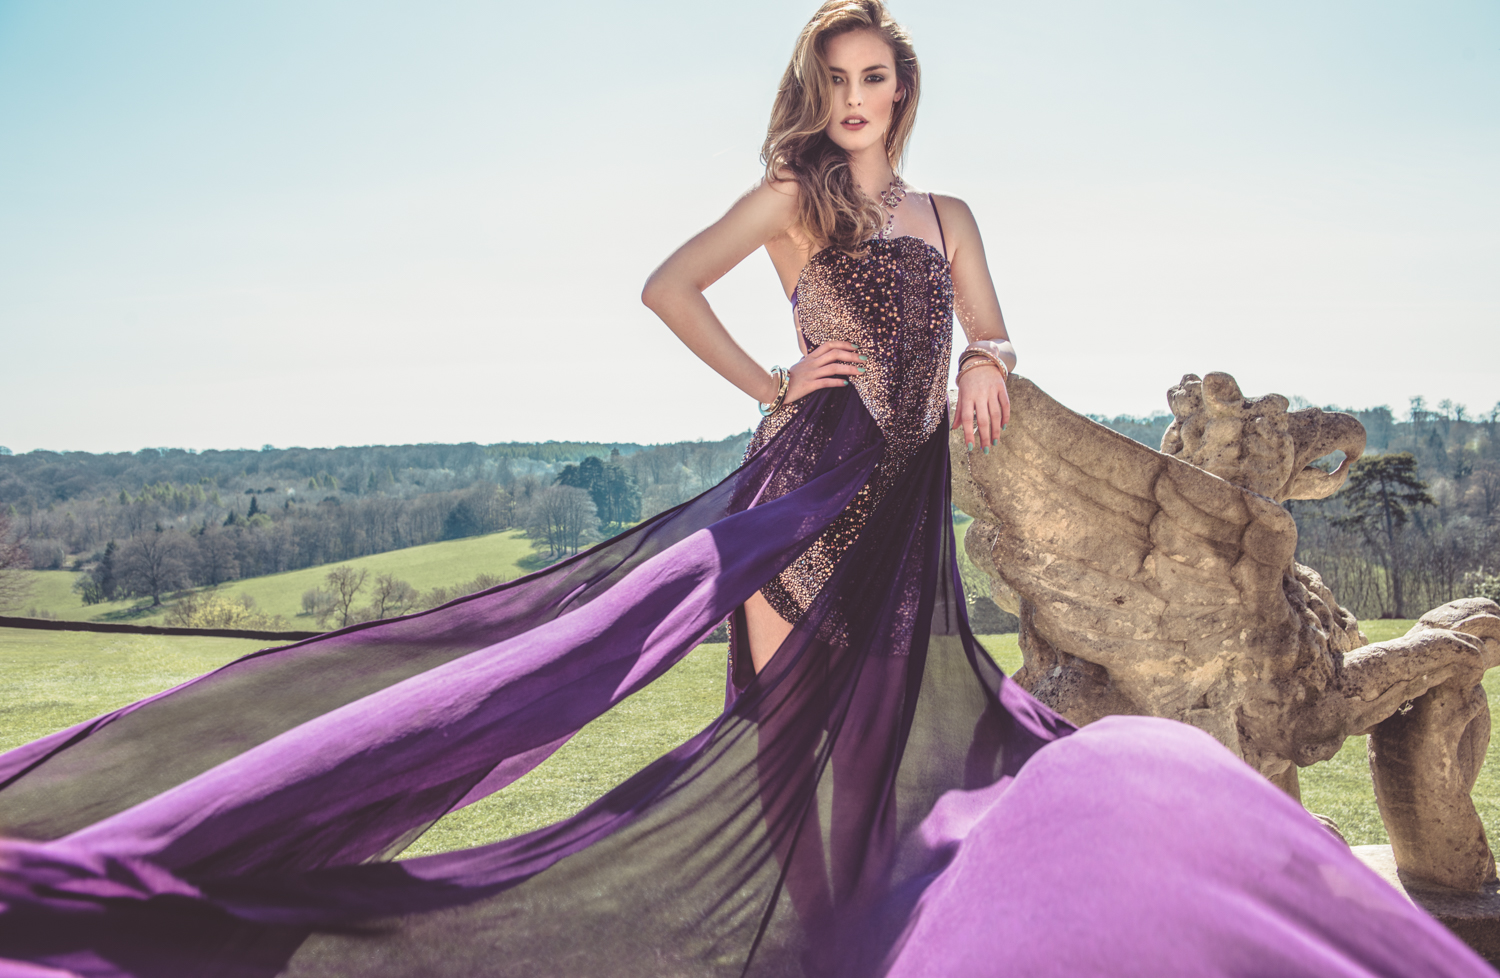
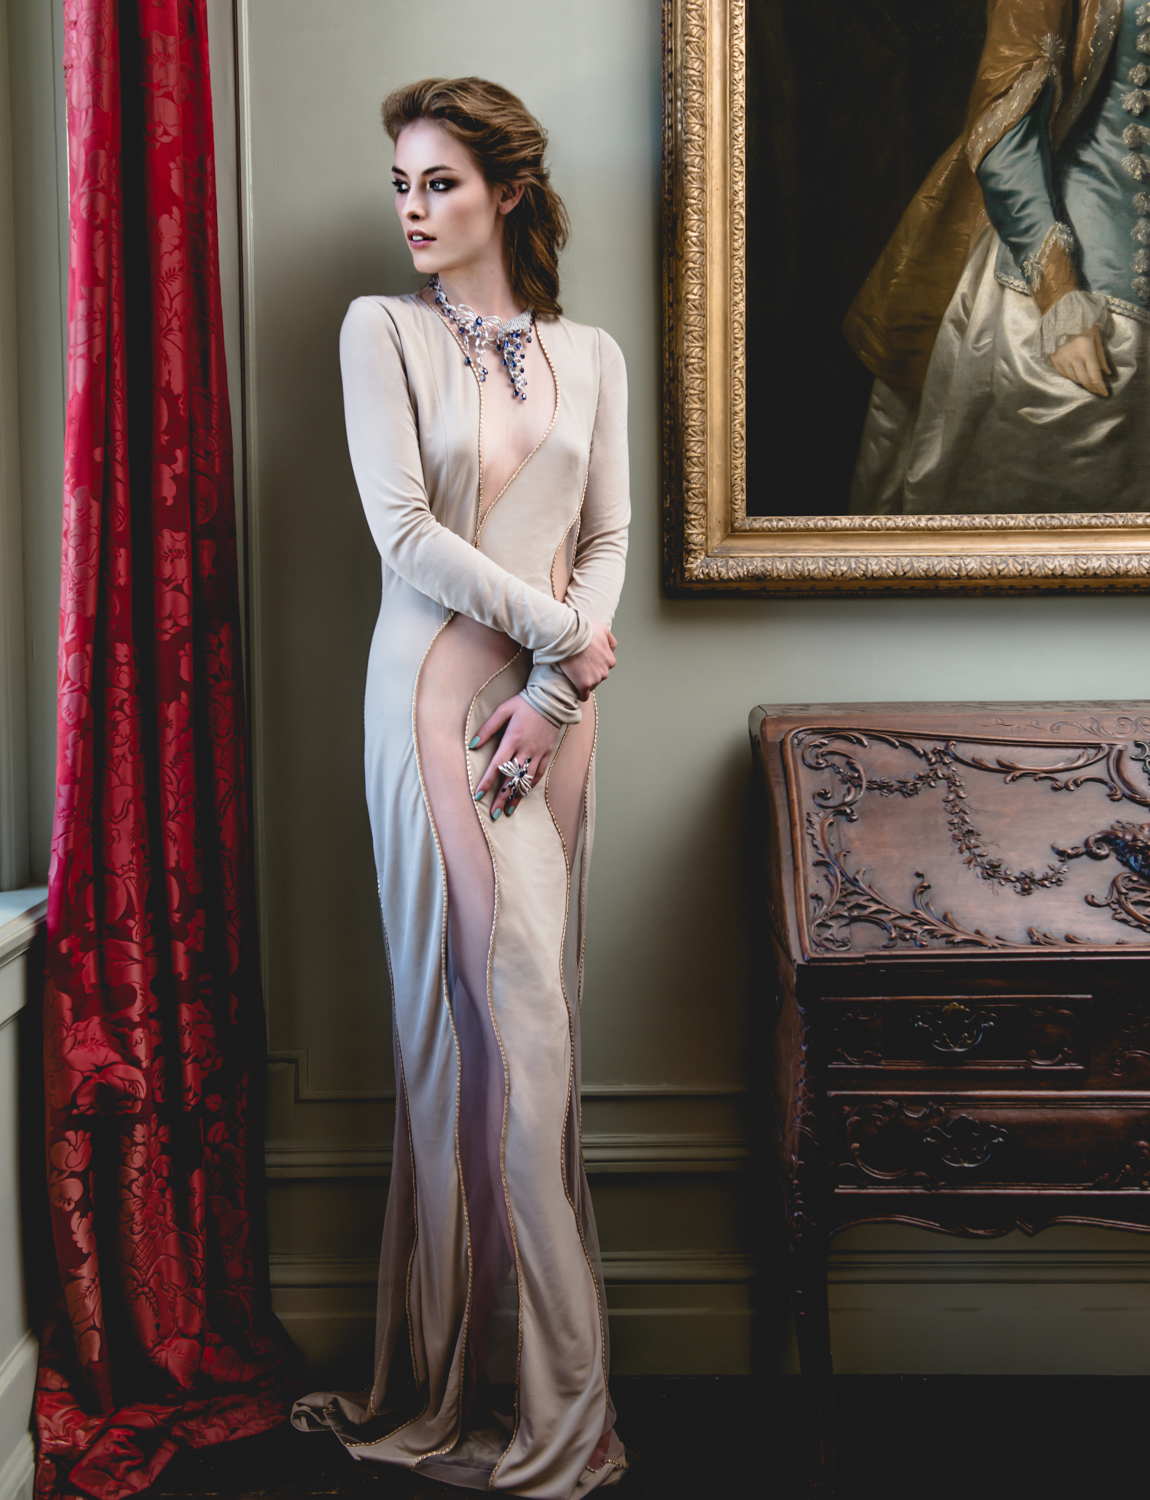
Be sure to work a look at full body & half body as designers ultimately are lending you their fashion so that they can sell their pieces, a full body shot will show the most fashion and so are generally the best to make up the bulk of your story, an editorial should not contain too many portrait shots unless it is a beauty story.
Step 6 - Selection
Once you have your selection you must refine it down to just one shot per look. Try to keep most of the shots portrait, with the cover shot being landscape as a general rule of thumb, however if the concept demands all landscape orientation go for it.
Step 7 - Retouching
Step 8 - Packaging It All Up
Step 9 - Do It All Over Again
The more shoots you pull off, the easier the whole ordeal becomes, as you display your ability to produce great work you will start to find brands, freelancers & agencies rallying behind you, wanting to work with you for future up coming projects.
Thanks for reading! I hope this post might help you shoot editorial work in the future!
Model - Sophie @ Storm Models London
Stylist - Steven Doan
Hair & Make Up - John Christopher
Location - Polesden Lacey
You're really talented ;)
This post has received a 2.09 % upvote from @booster thanks to: @dks100.
You are one of mine, keep in touch X)