Build a Minecraft Treasure Box! - Raspberry Pi DIY Home Project for the Family!
Minecraft Treasure Box
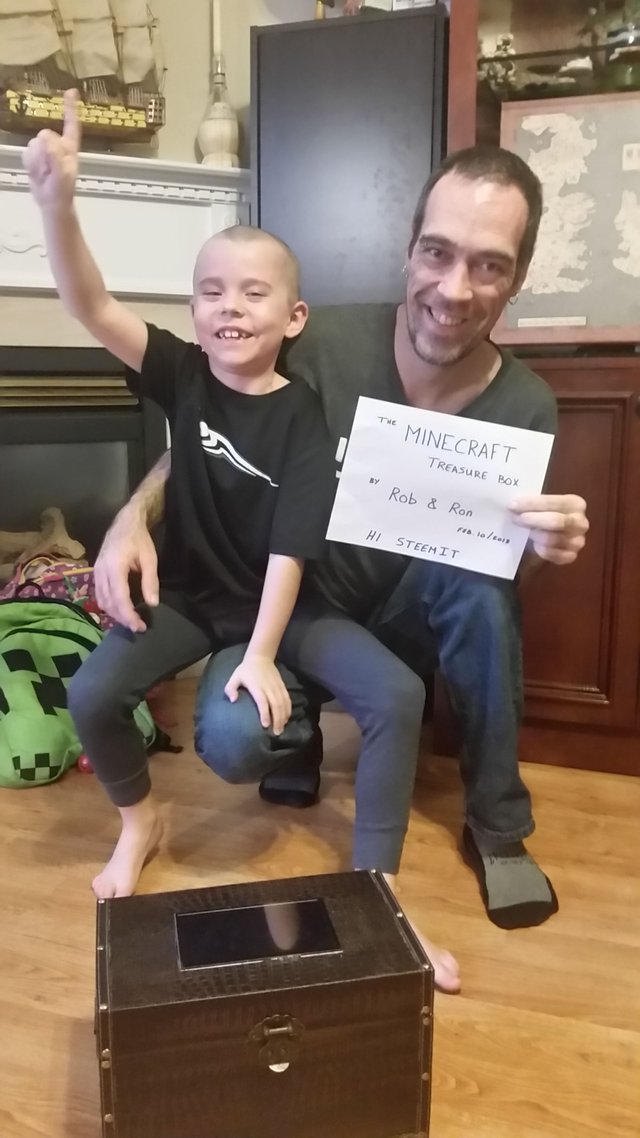
Hello Steemians! My name is Rob, and my sons' name is Ron. We would like to introduce you to the Minecraft Treasure Box!
What IS a Minecraft Treasure Box?
It is a DIY Home Project involving Raspberry Pi & Minecraft - great fun for the whole family!
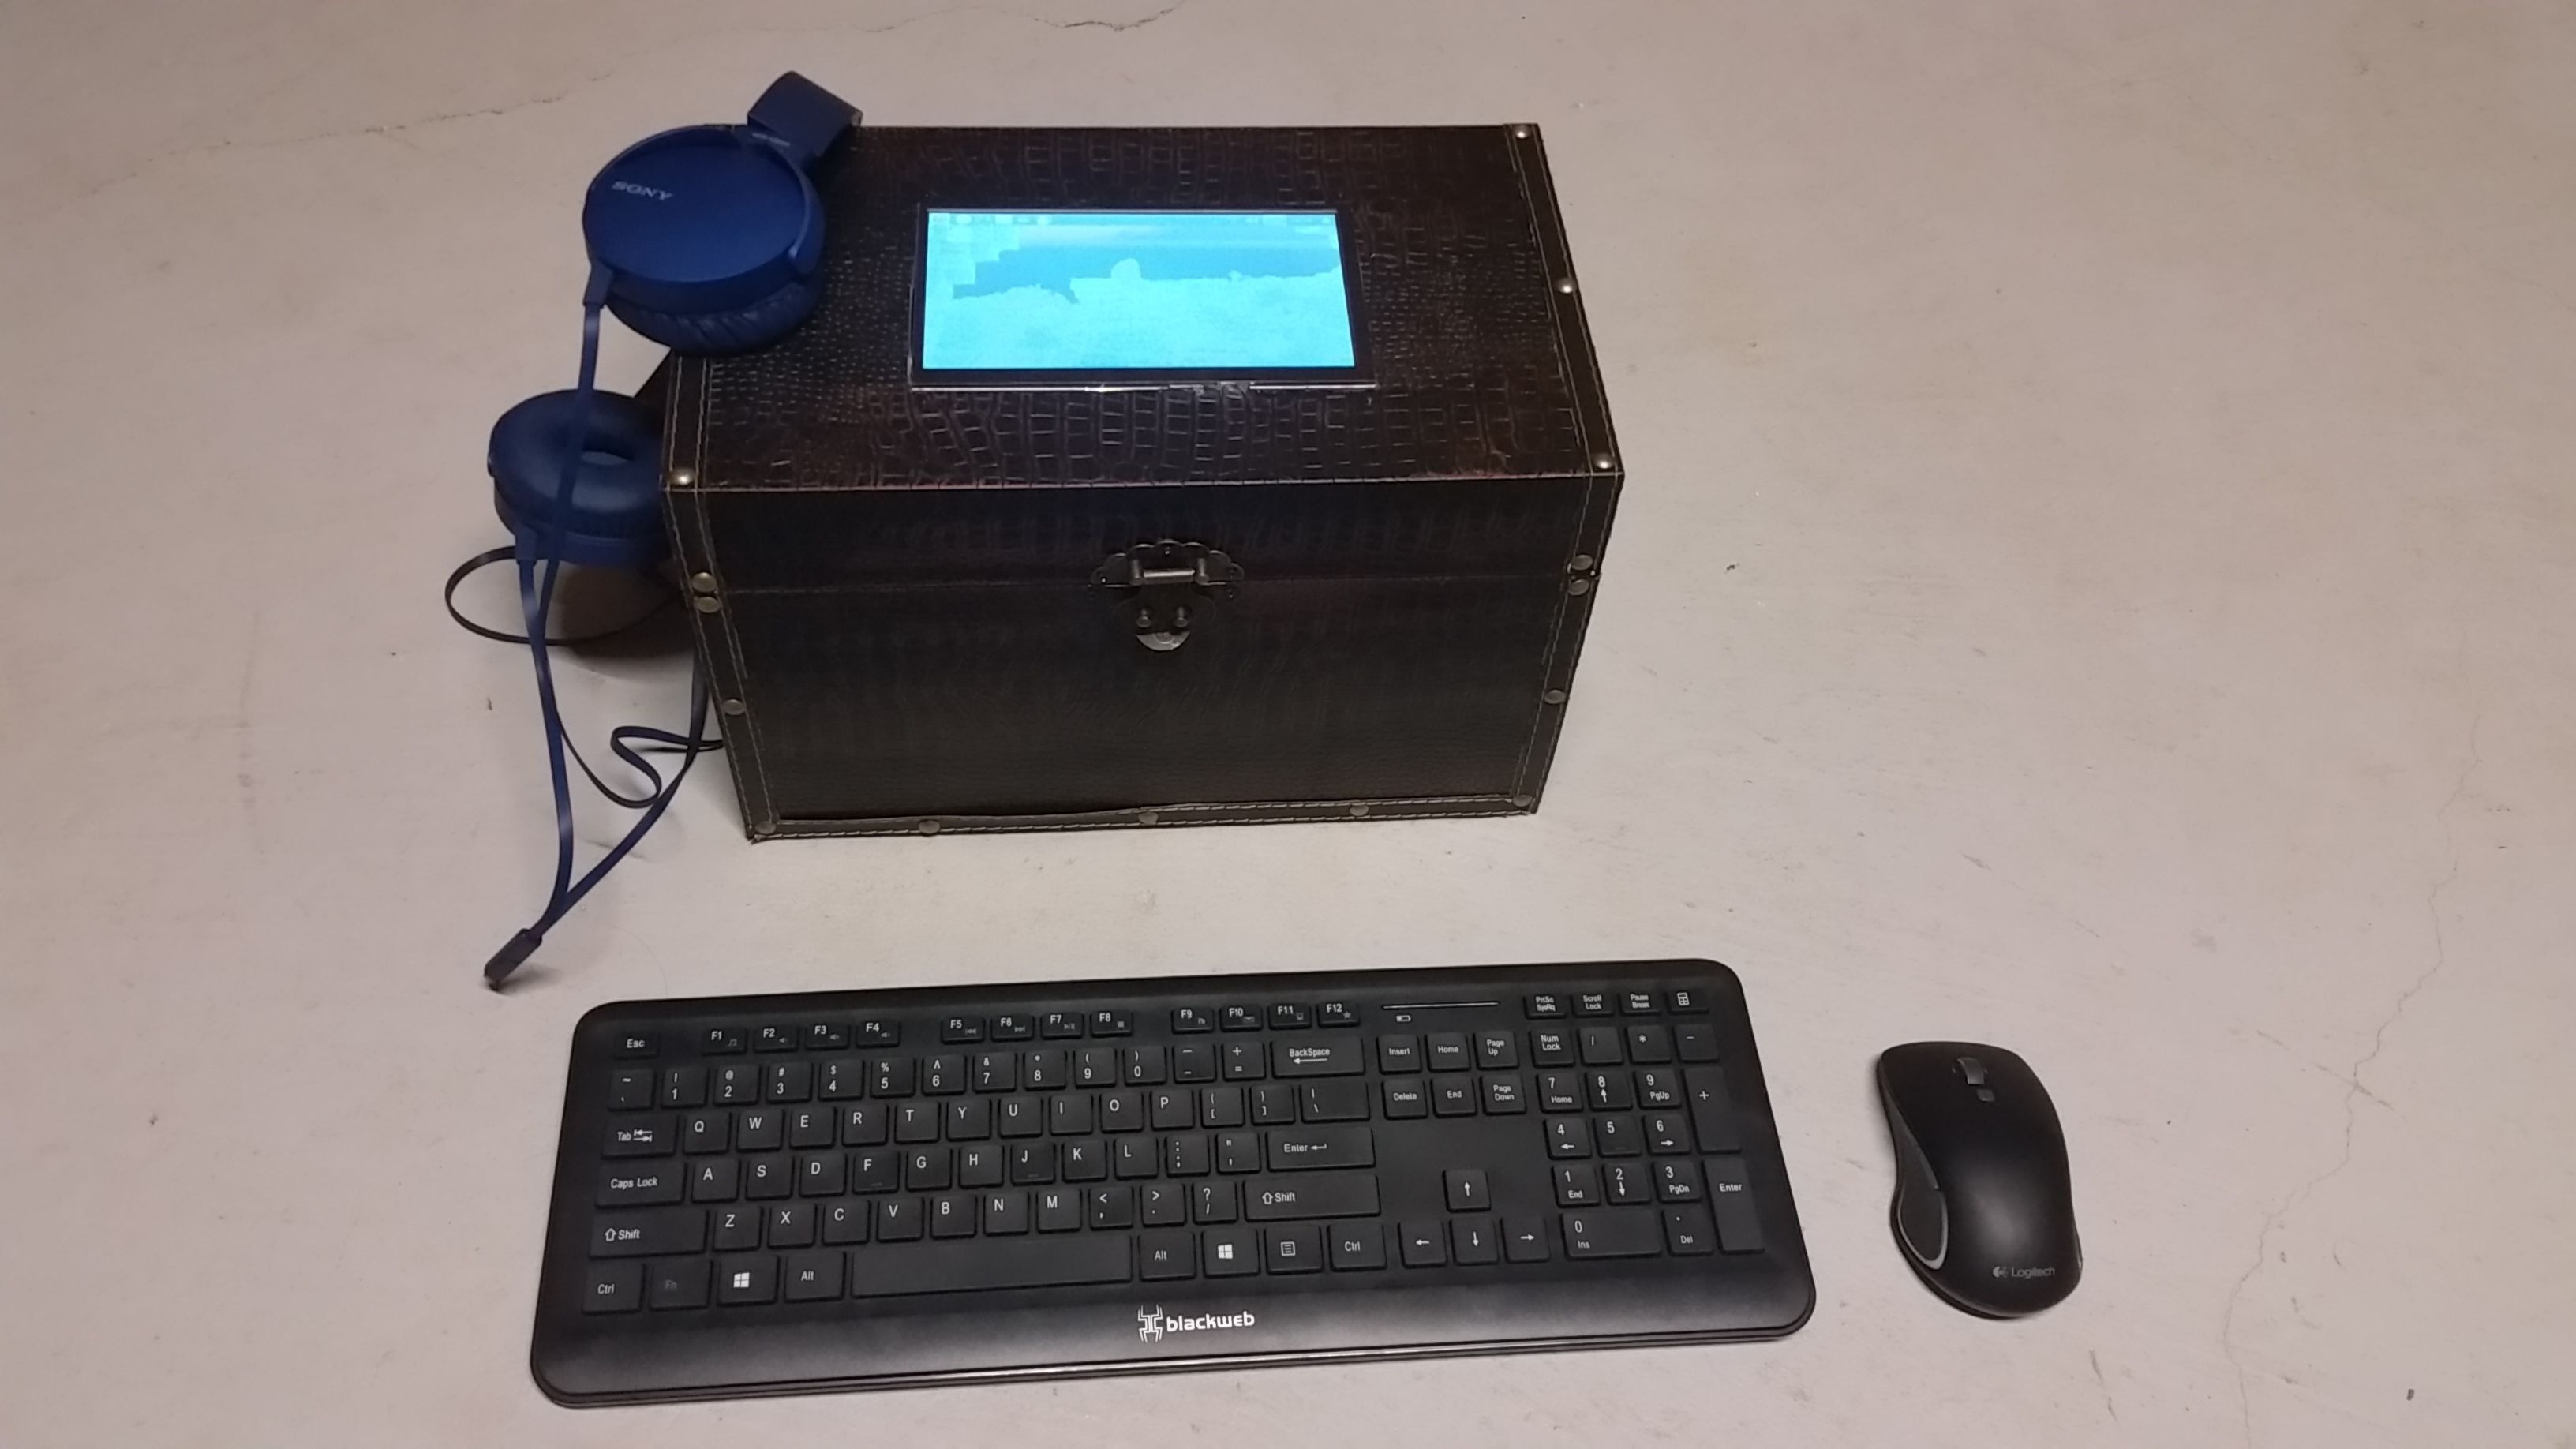
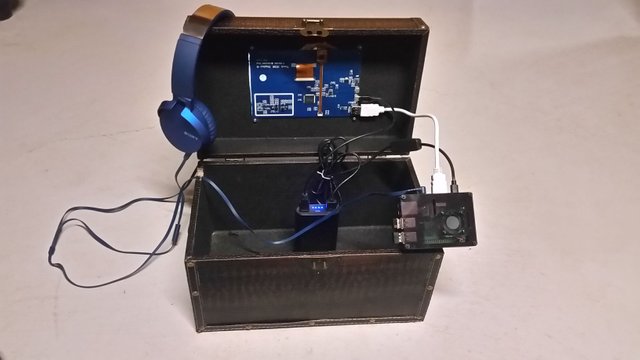
It is a small Treasure Box with a monitor mounted in the top.
Inside the box, there is a Raspberry Pi computer powering the monitor with Minecraft Pi installed on it.
Next we can connect a multitude of real-world sensors to the Raspberry Pi and use these sensors to program & interact with Minecraft! Once we are done, we can pack it all up inside the box!
Clap to make Steve jump!
Control the daylight in Minecraft with the lights in your room!
Send voice commands!
We can connect heat sensors, sound sensors, temperature & humidity sensors, reed switches, metallic-touch sensors, LED lights, push-buttons, laser transmitters, tracking and avoidance sensors, camera modules, and the list goes on and on!
The possibilities are endless! Share you ideas in the comments below!
So let's build a Minecraft Treasure Box!
A lot of people love Minecraft - young & old alike! I introduced it to my son at a young age and he has been hooked ever since!
I figured this would be a great home project for the two of us, and it would help introduce him to both hardware & software engineering by combining it with something he loves - Minecraft!
He is a natural engineer and absolutely loves Minecraft!
This is us - Hello Steemians!!
This will be the first of a multi-part series. In later posts we will experiment with integrating various sensors into Minecraft Pi and learning how we can control the game using real-world signals & events!
- In the first part of this series we will focus on building the Minecraft Treasure Box and getting Minecraft running on it.
- In the second part of this series we will get a GPIO Extension Board connected to our Raspberry Pi and start experimenting with hardware sensors in Raspberry Pi.
- In all of the following posts in this series we will experiment with integrating a specific sensor into Minecraft so that we can achieve some real-world interaction with the game. Each of the posts will focus on a specific sensor and how we can connect it to Minecraft! This will involve mapping out the hardware on a breadboard, receiving and interpreting the signals from the hardware into our code (Python-based) and using that data in some way inside the game of Minecraft Pi. We will write python scripts for Minecraft Pi and interact with the game via signals sent from our hardware sensors!
NOTE: This DIY project is a Work-in-Progress and will grow over time. As it grows, all related code will be open-sourced and posted on GitHub. This is an original project and SteemIt is the only source where this project has been officially posted.
Without further ado, let's get started! Full Steem Ahead! ;)
[Part 1] Building the Minecraft Treasure Box
What we will need:
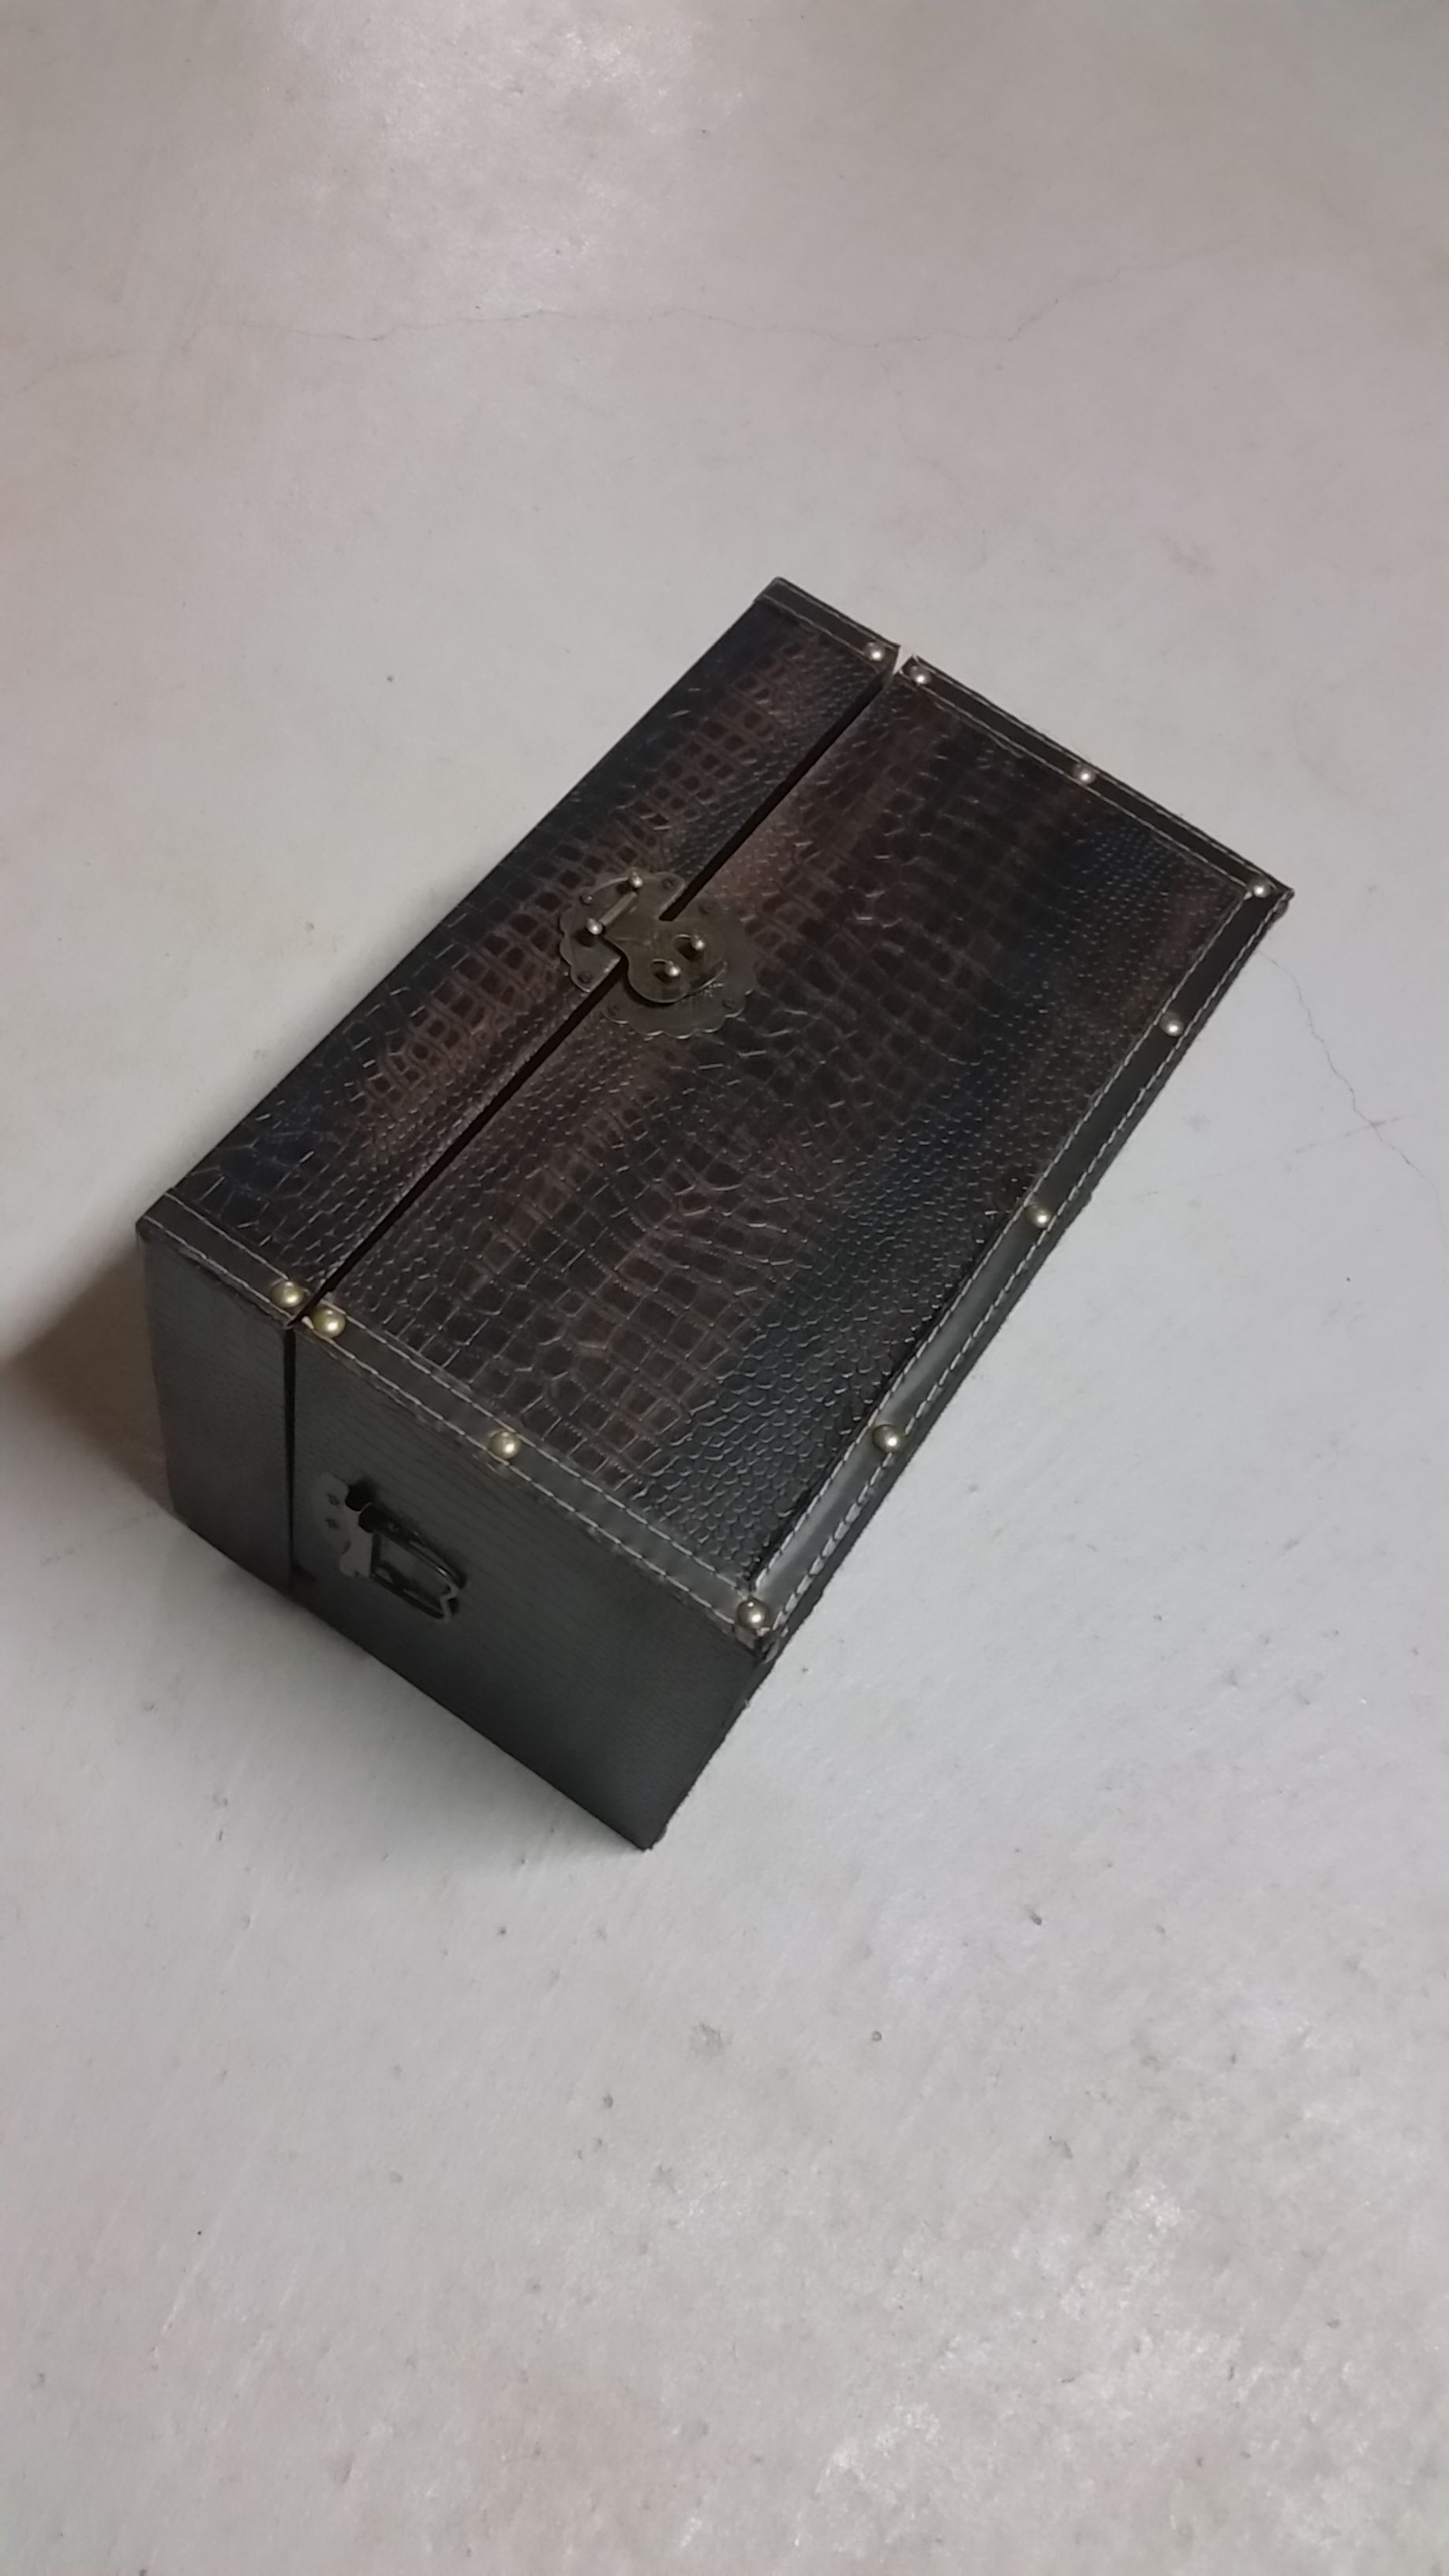
- A sturdy treasure box; approx. size: 13" x 8" x 8",
- Should be able to mount a small monitor on the lid,
- Should also be large enough to hold all of our parts & sensors,
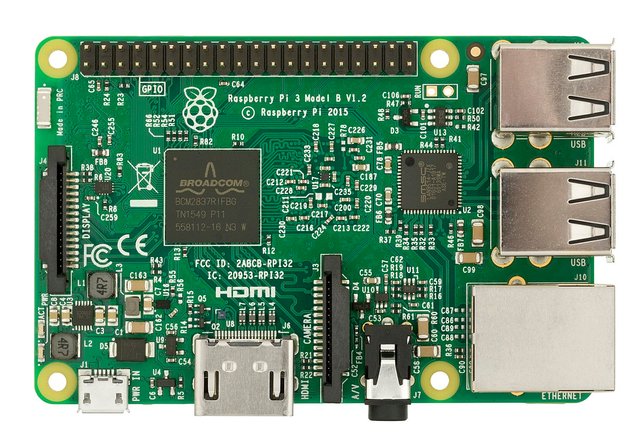
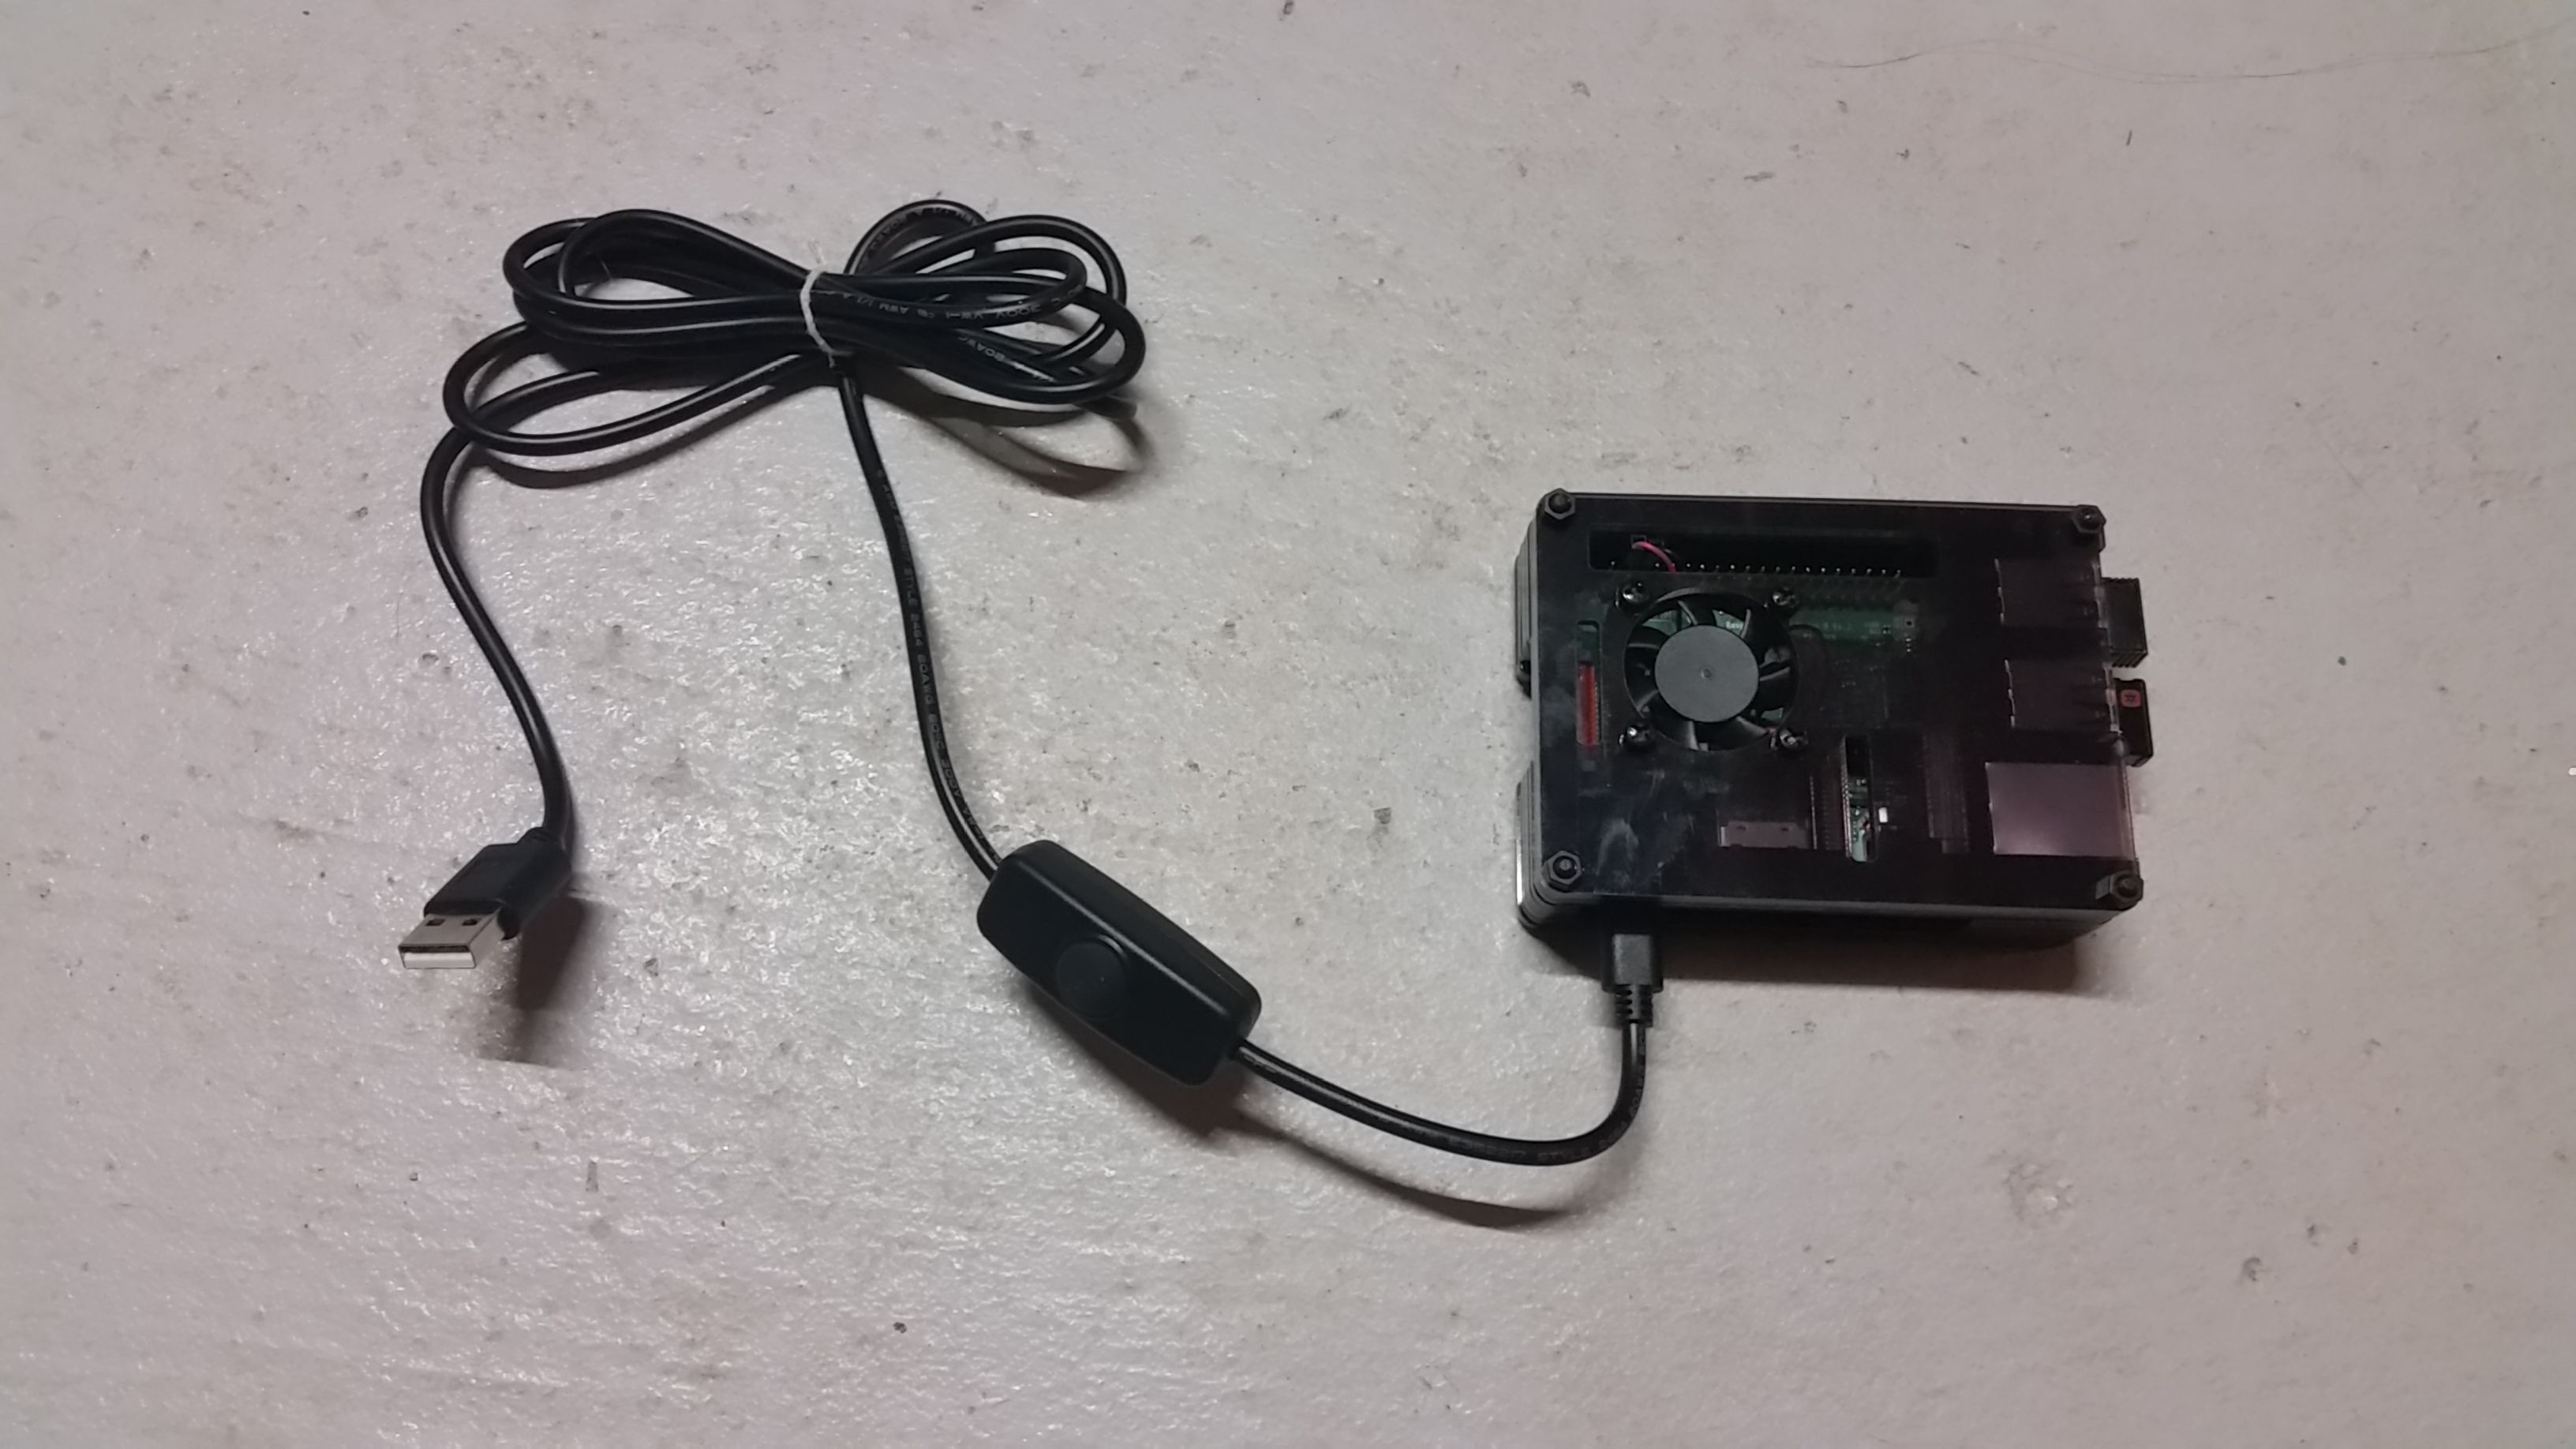
- Raspberry Pi 3 Model B,
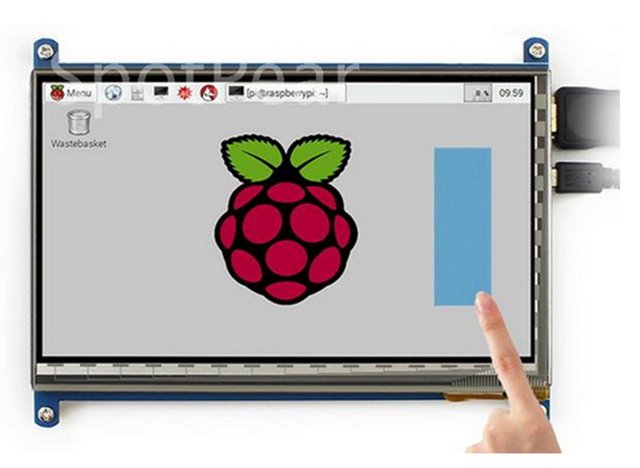
- 7" Screen for Raspberry Pi 3,
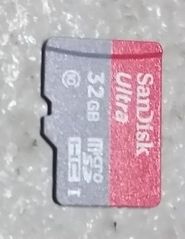
- MicroSD card for Raspberry Pi (32GB, any larger requires special formatting),
- Raspberry Pi 3 Power-supply (+ optional fan, heat-sinks & case),
- Small keyboard & mouse (a roll-up keyboard would be best, as it would fit nicely inside the box),
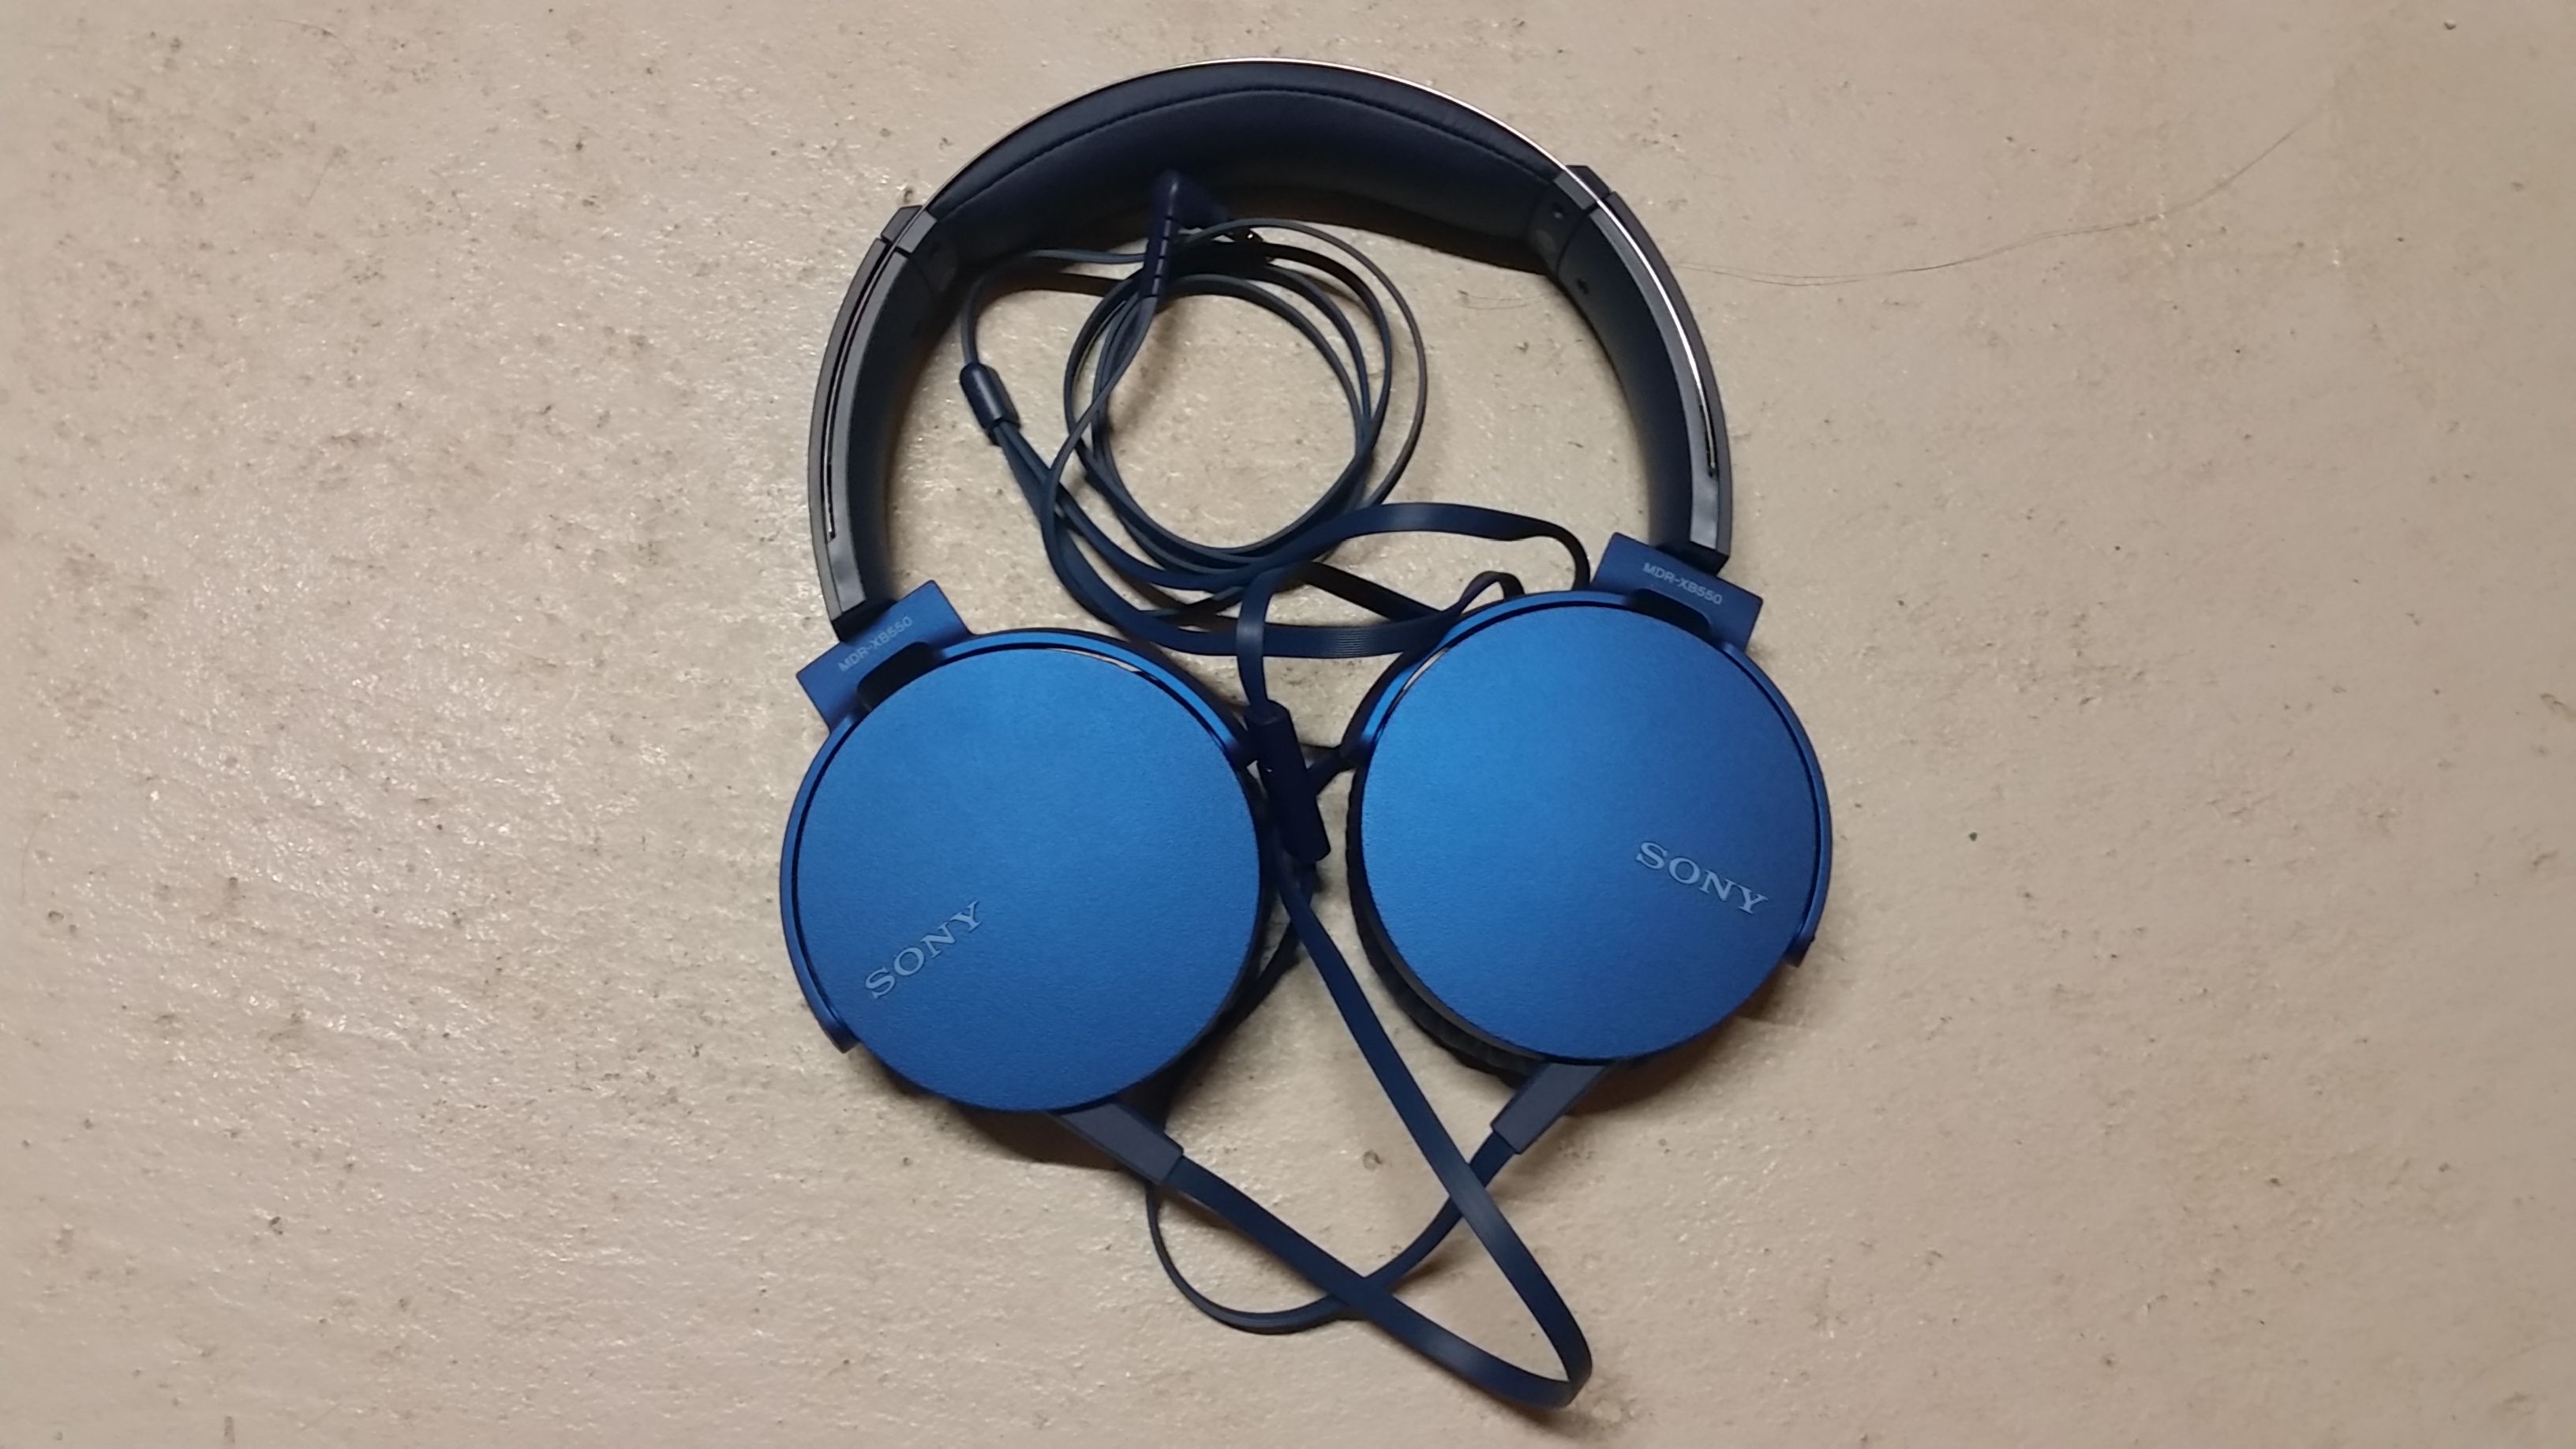
- Head-phones,
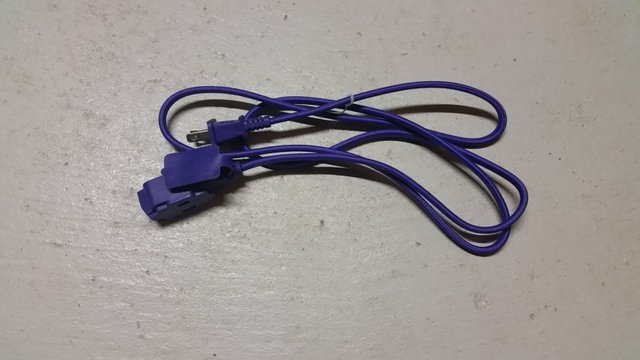
- Standard extension cord,
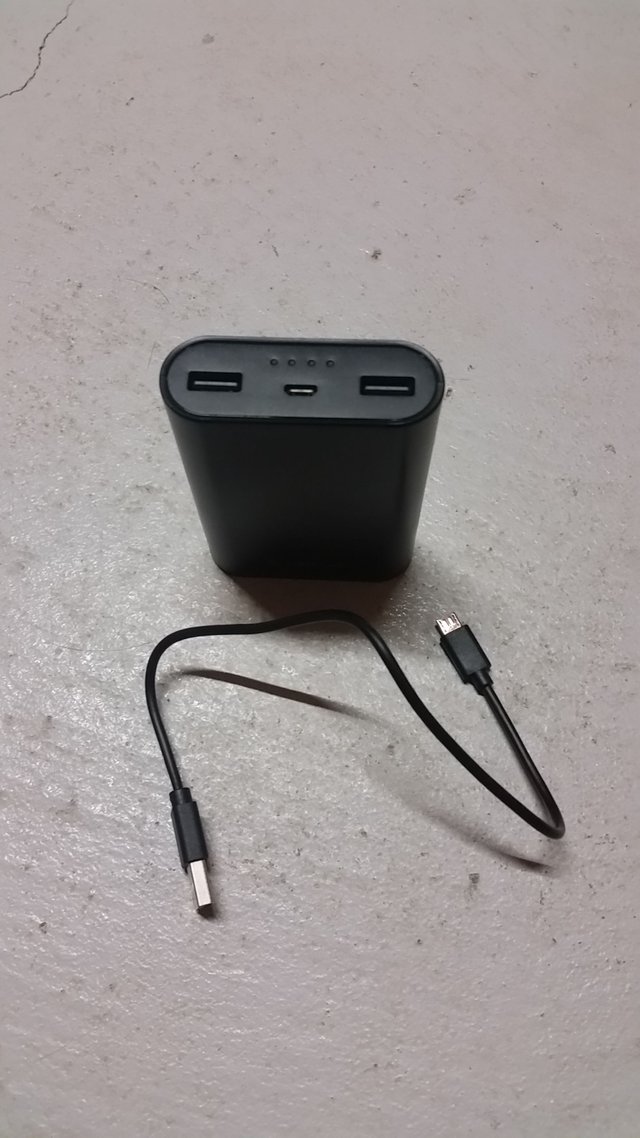
- Optional: USB Power Pack (for portable power supply).
The tools required:
- Measuring tape,
- Pen or pencil,
- Small razor-saw (something to cut into the top of the box),
- Philips Screwdriver (various sizes),
- Power Drill (optional).
Once we have all of the required parts, we can begin our plan of attack!
Let's look at a brief summary of the steps involved:
- Gather all required parts and tools,
- Make an opening in the lid of the box for the monitor,
- Mount the monitor into the Box,
- Assemble the Raspberry Pi components,
- Install Raspbian OS with Minecraft Pi,
- Connect and configure the monitor to the Raspberry Pi,
- Test Minecraft Treasure Box!
Some of the items are available on Amazon, here are the items I found and used:
- The Box - Vintiquewise Decorative Leather Wooden Trunk/Box
- Raspberry Pi 3 Model B
- Raspberry Pi Case + Kit
- LANDZO 7" Touch Screen for Raspberry Pi 3
- SanDisk Ultra 32GB microSD Card
- (Optional) Dual USB Power Bank
The other items are pretty common.
Note: It is very important to make sure you are purchasing a monitor that is compatible with Raspberry Pi 3. Landzo offers a couple of monitors, some of which are only compatible with Raspberry Pi 1 & 2. Please make sure you check the compatibility list first!
Onward!
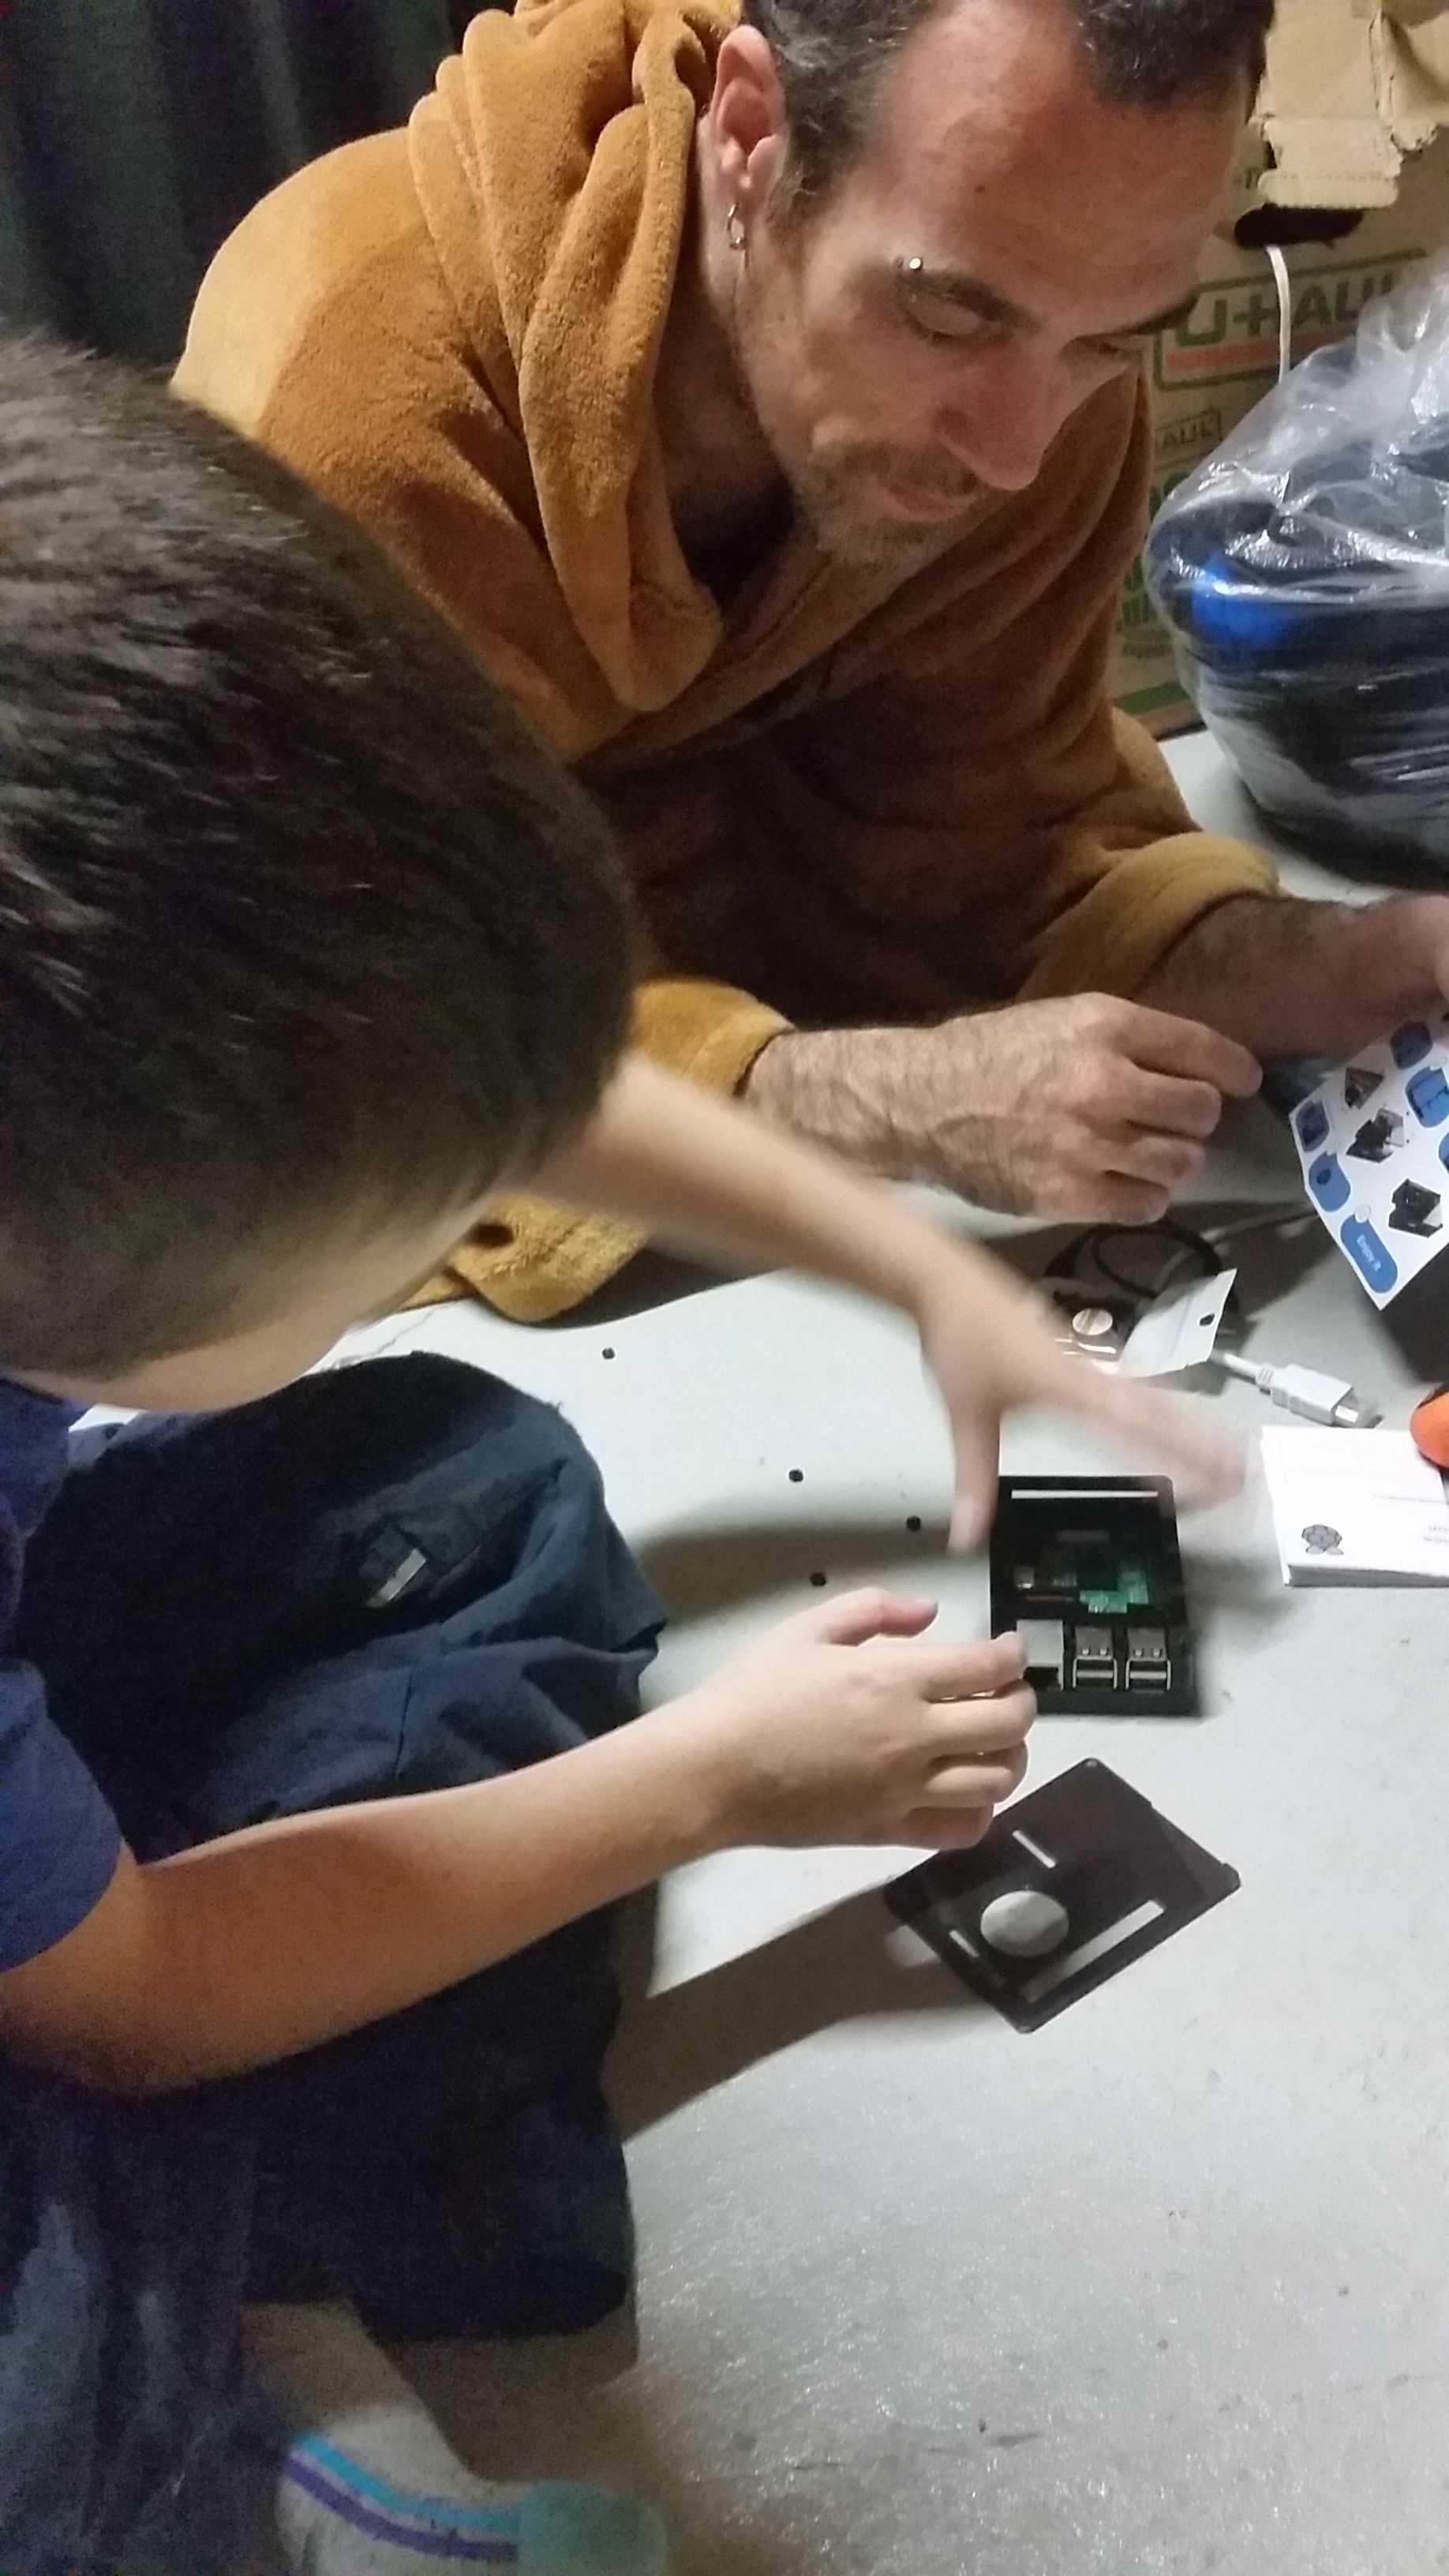
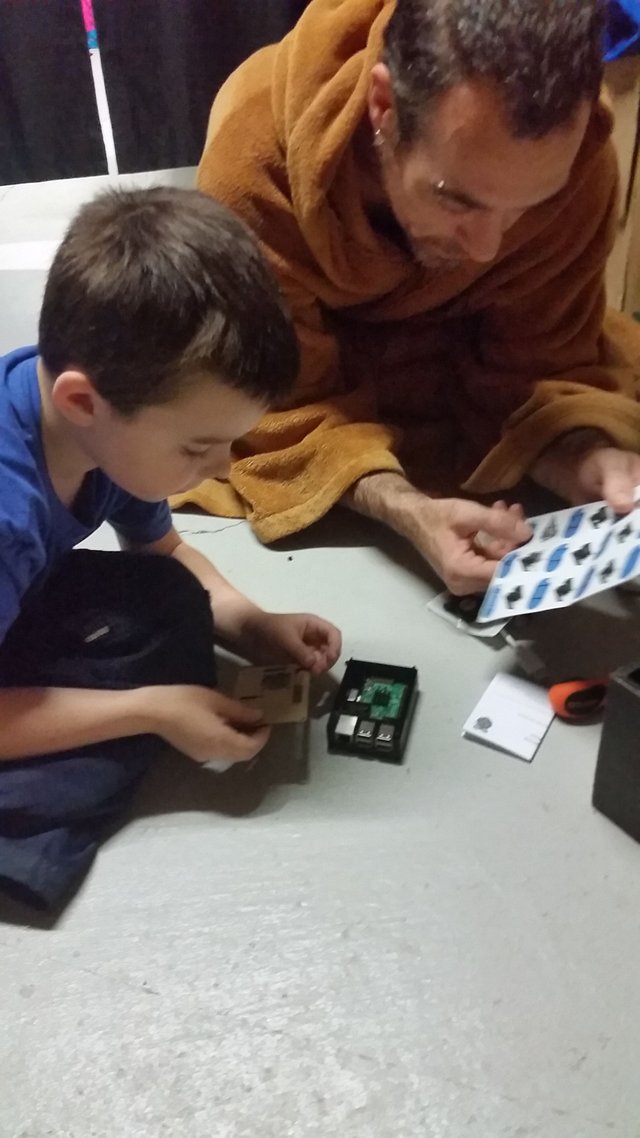
Once the items arrived from Amazon and we had all of the parts gathered together, my son Ron and I got a little carried away and assembled most of the parts that morning without taking many pictures. Mom did manage to snap a few of us while we were putting the Raspberry Pi into its case.
The first step we did was to measure the screen size of the monitor and make lines on the box lid precisely where we wanted to make the cuts. Next we drilled a starter hole into the box lid in order to slip the razor-saw in. We then cut along our lines to create an opening that would perfectly fit the screen size.
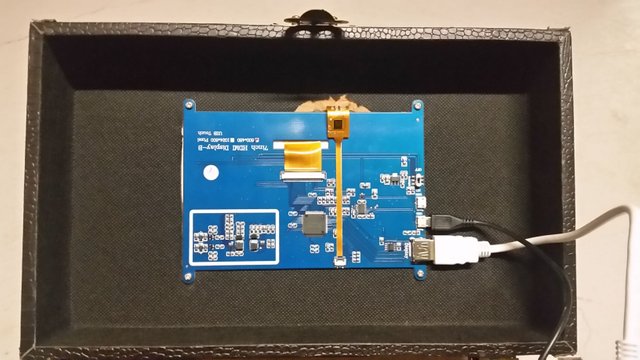
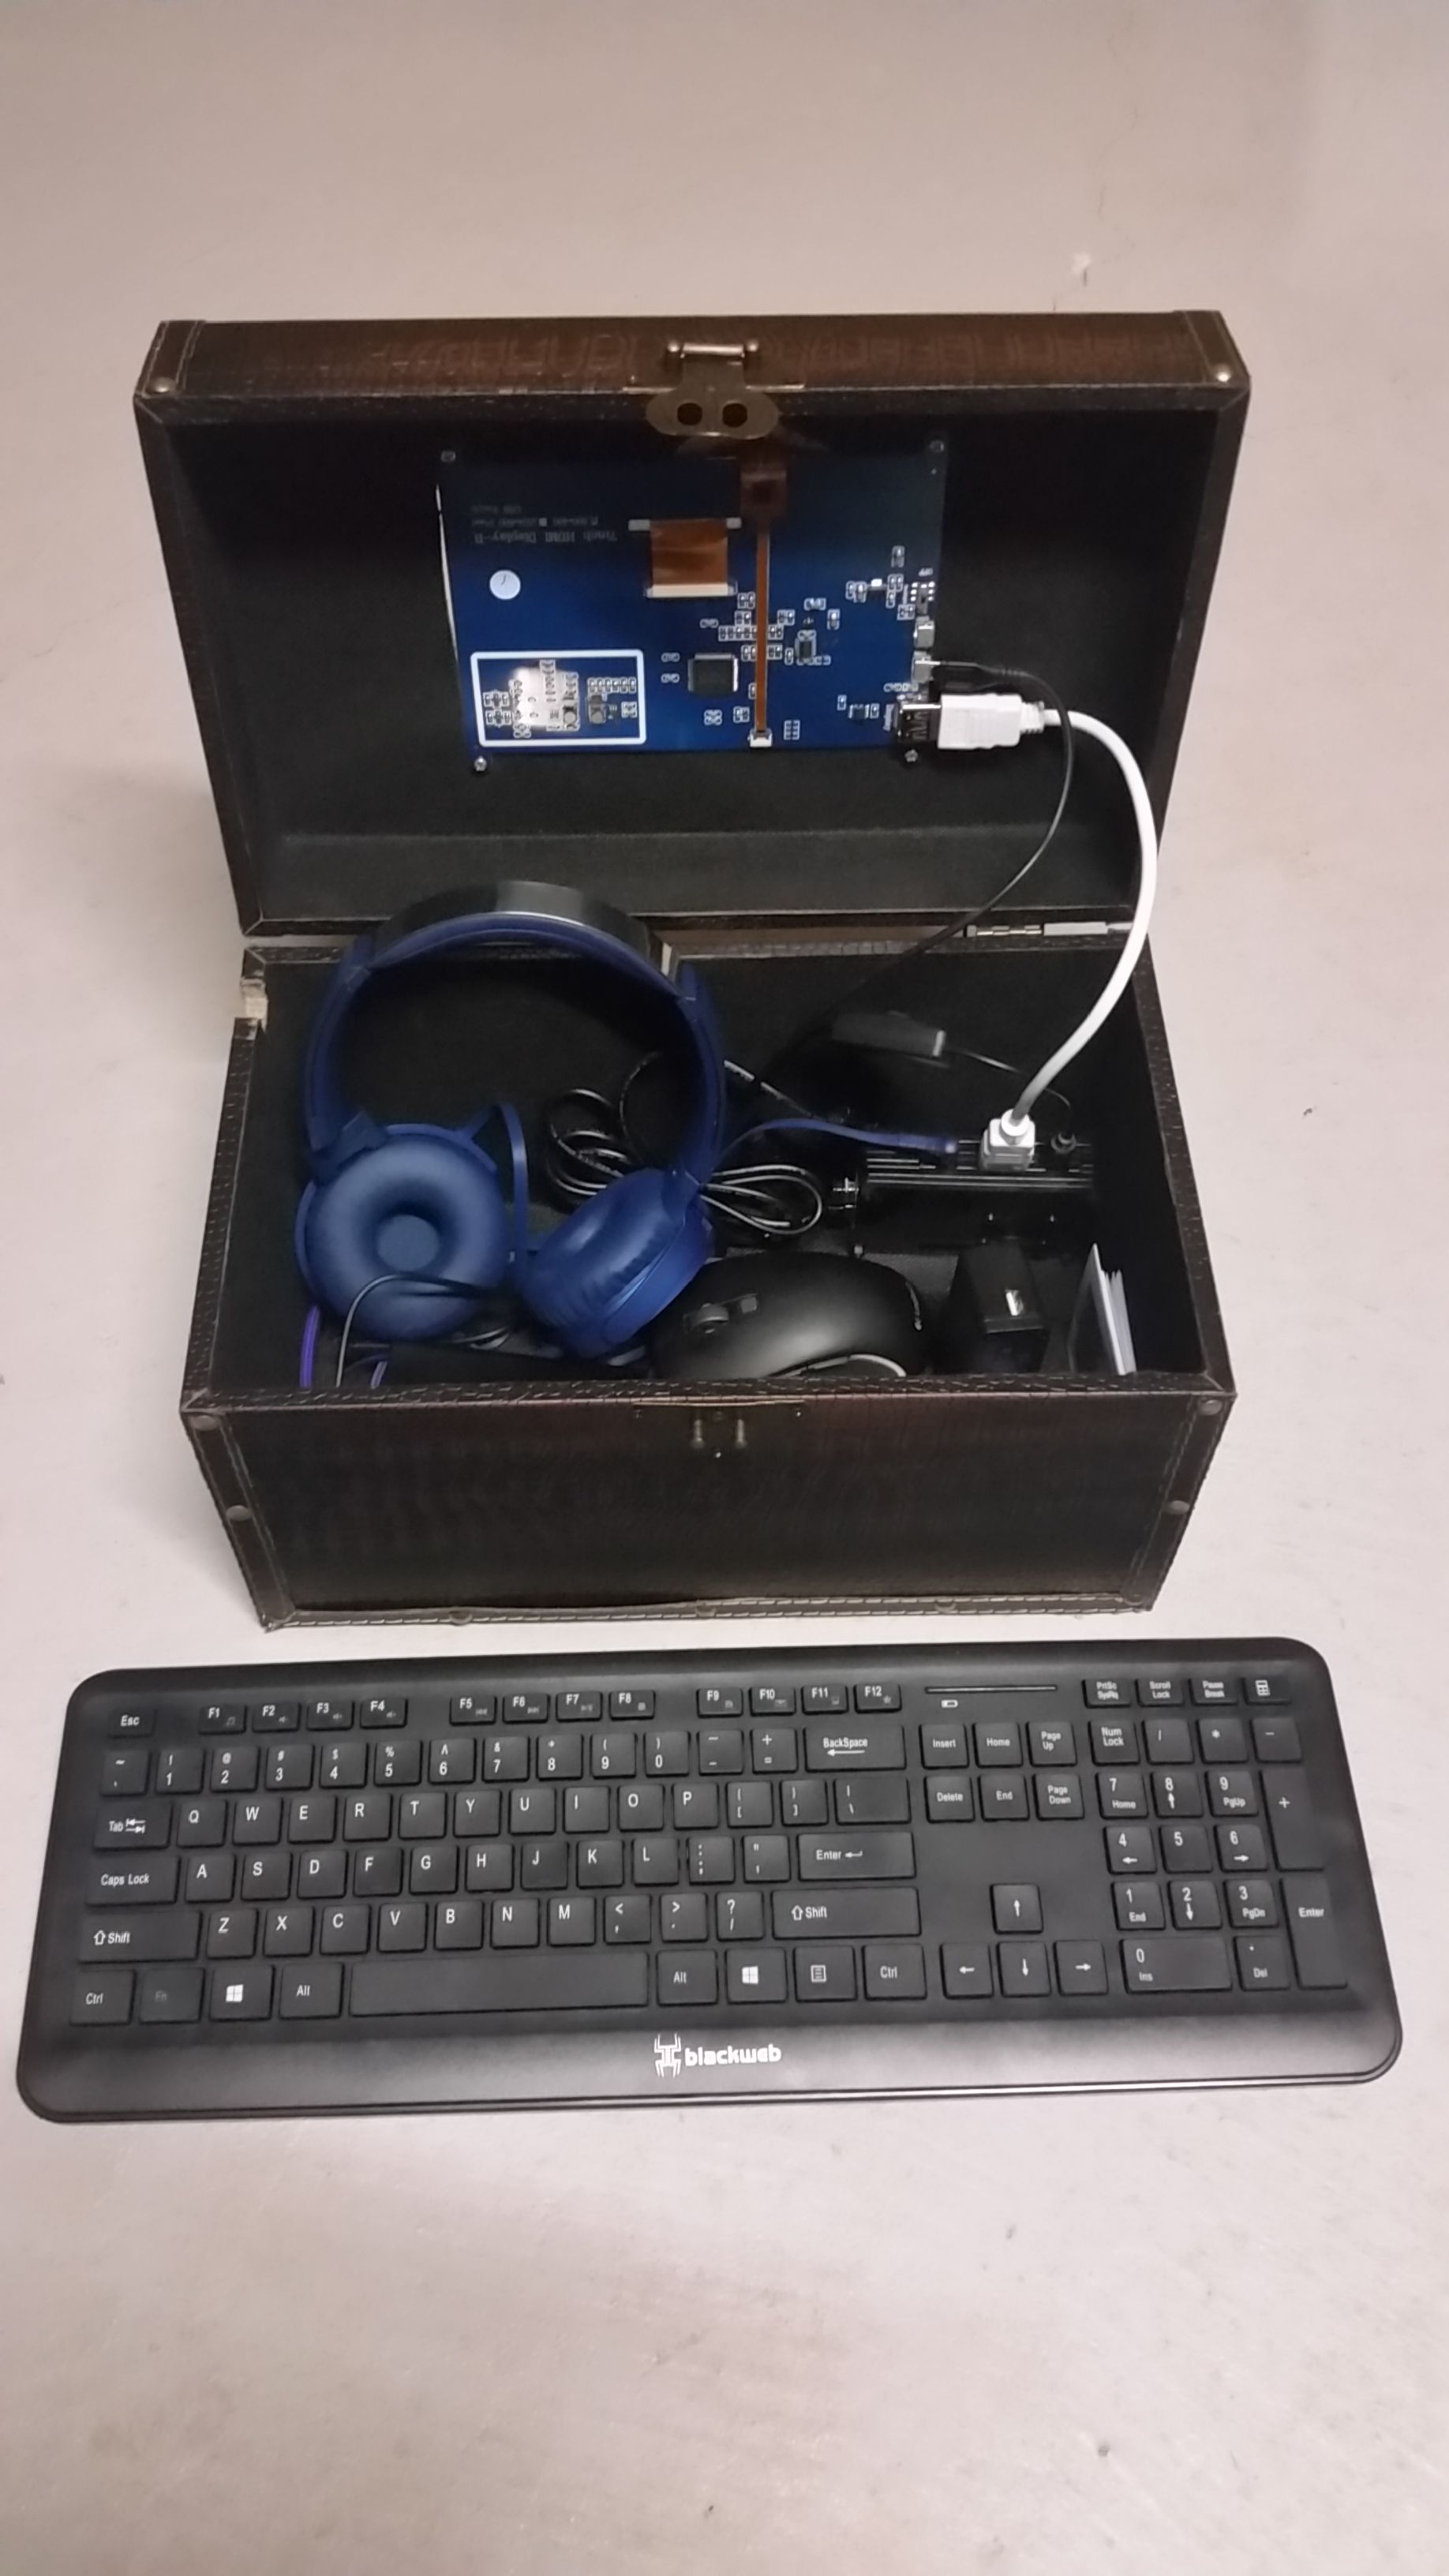
On the back of the monitor there is a circuit board which has mounting holes. From the under-side of the lid (with the lid open) we mounted the screen onto the box lid with the screws that came with the monitor. It worked out that the thickness of both the monitor and the box lid matched near perfectly, so that when it is mounted the screen is flush to the top of the box lid. If this is not the case for you, you could always use washers or spacers to adjust the mounting.
Ron had fun with the drill, punching random holes into the portion of the lid that was being removed! He attempted the saw as well, but his lines didn't stay straight, so we had some small touch-ups to do. :)
This is the box with the monitor mounted:
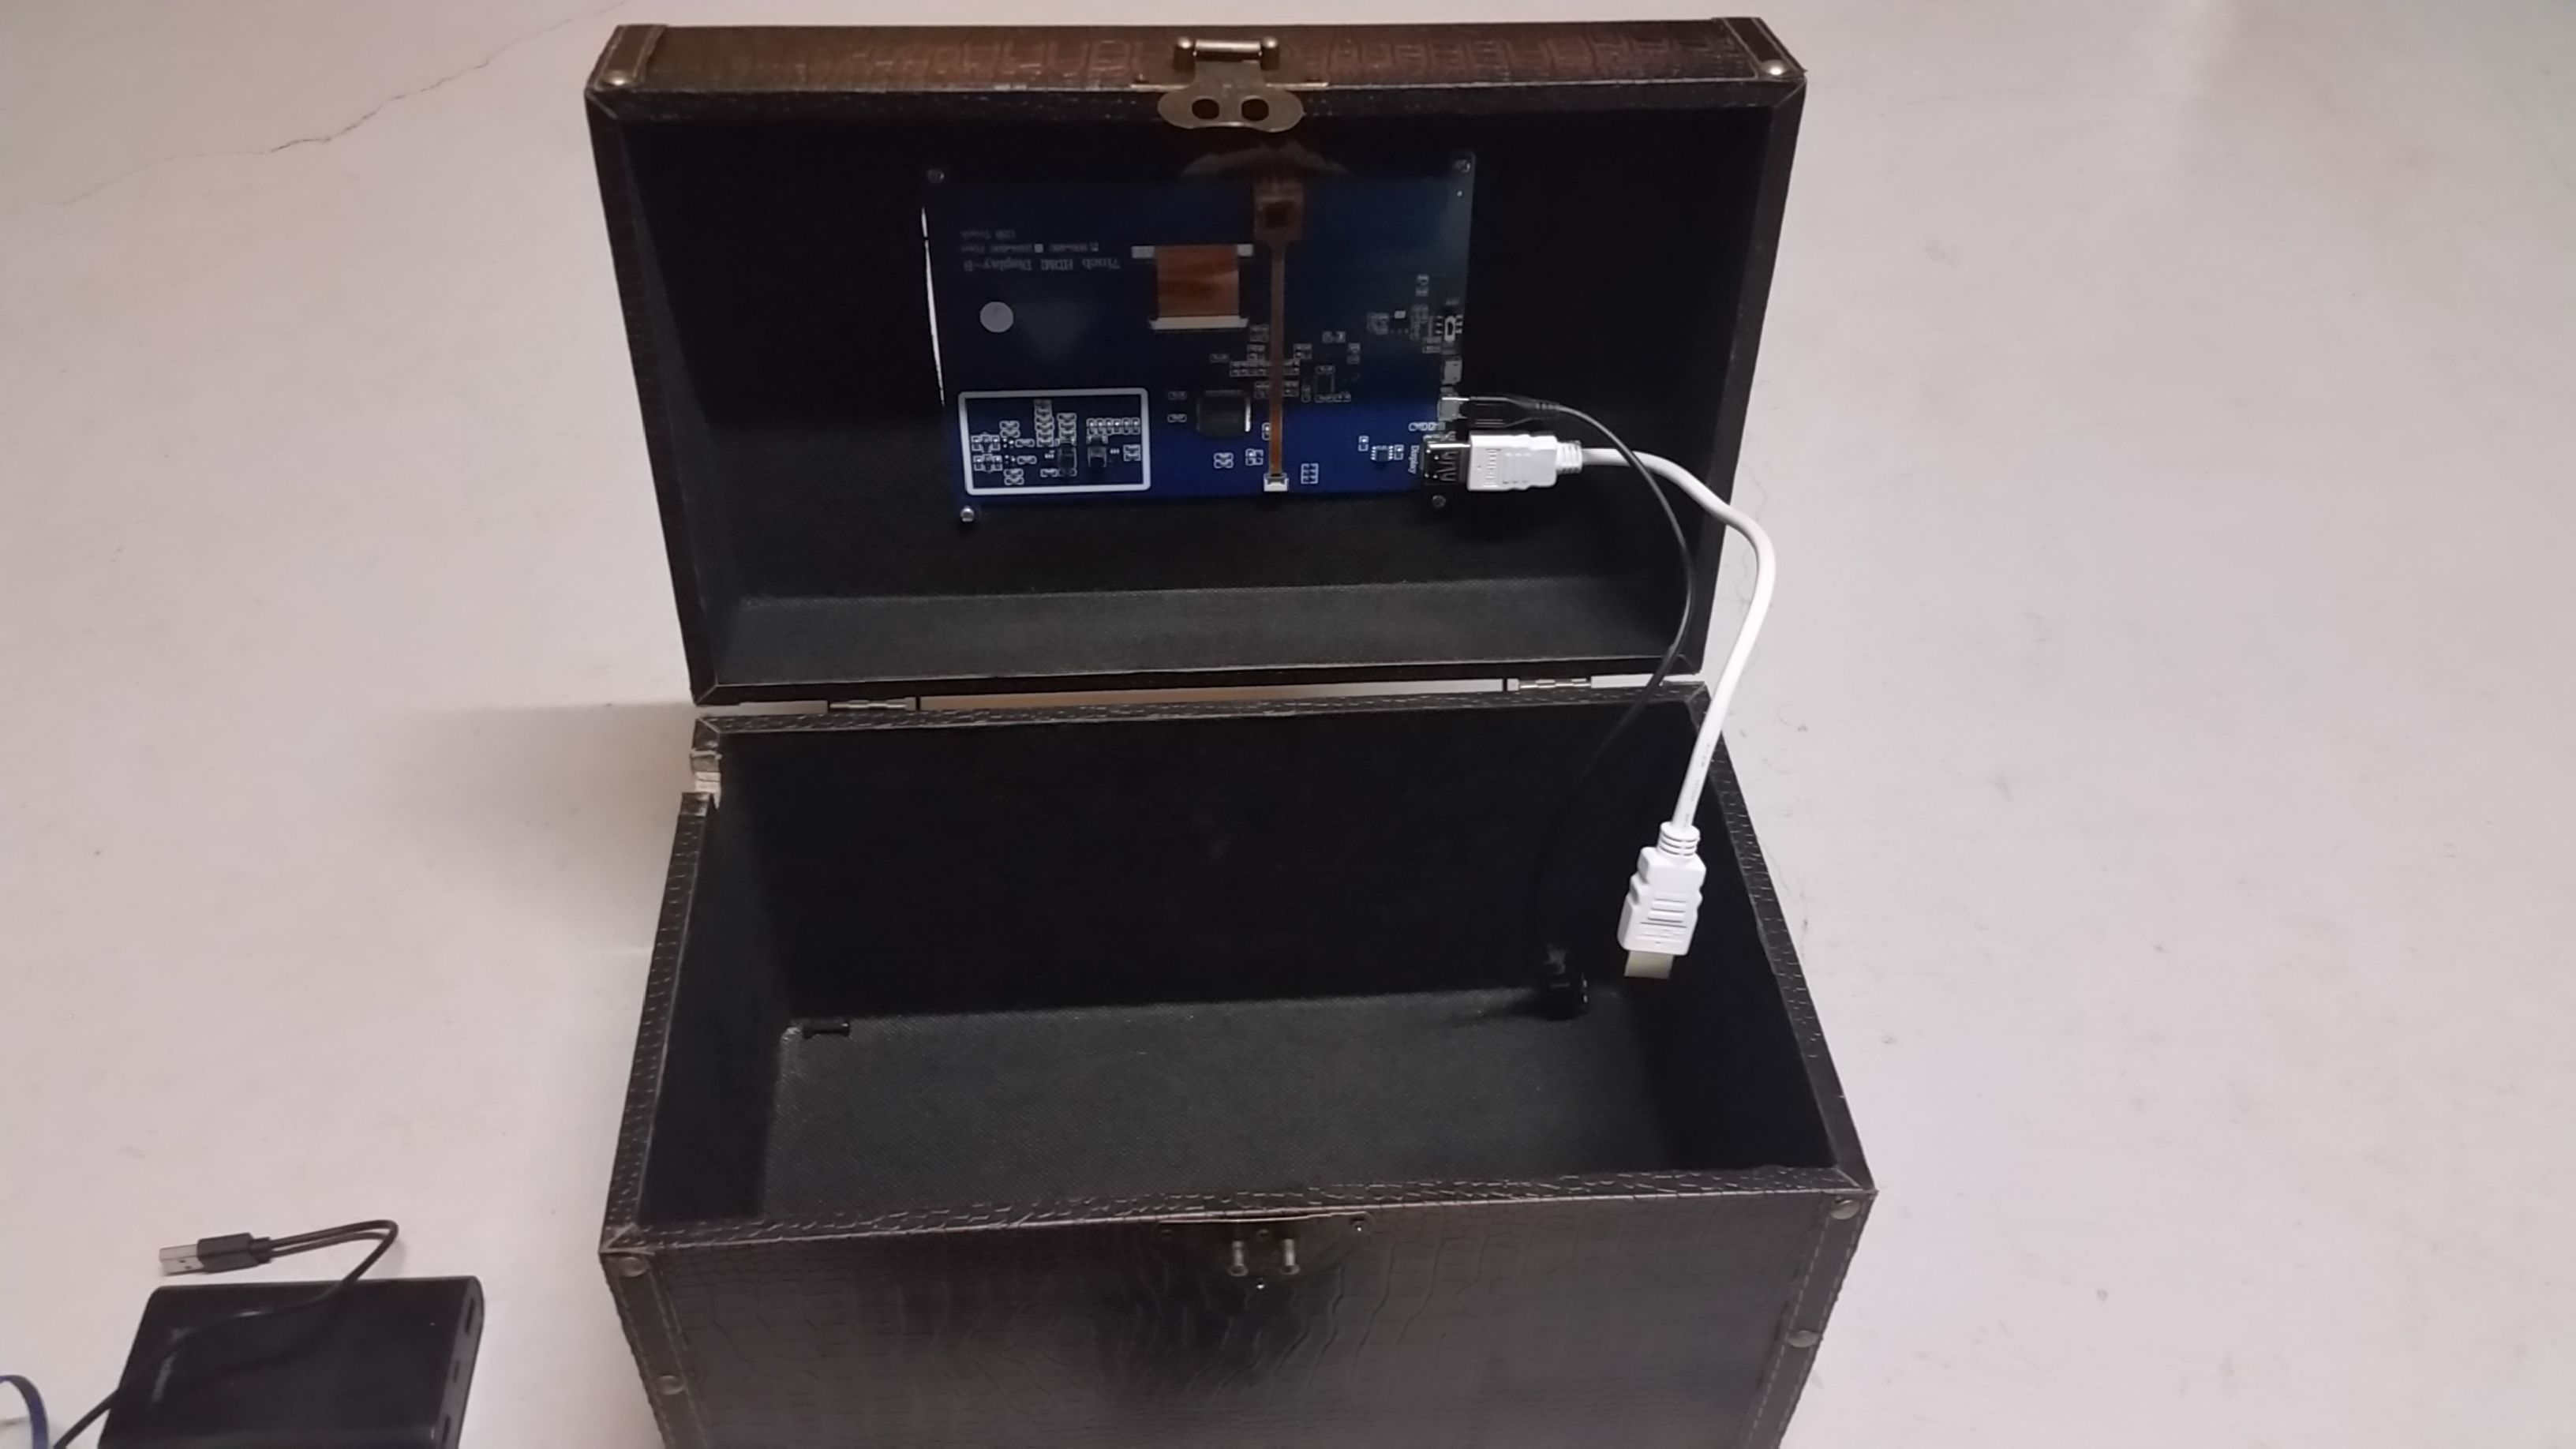
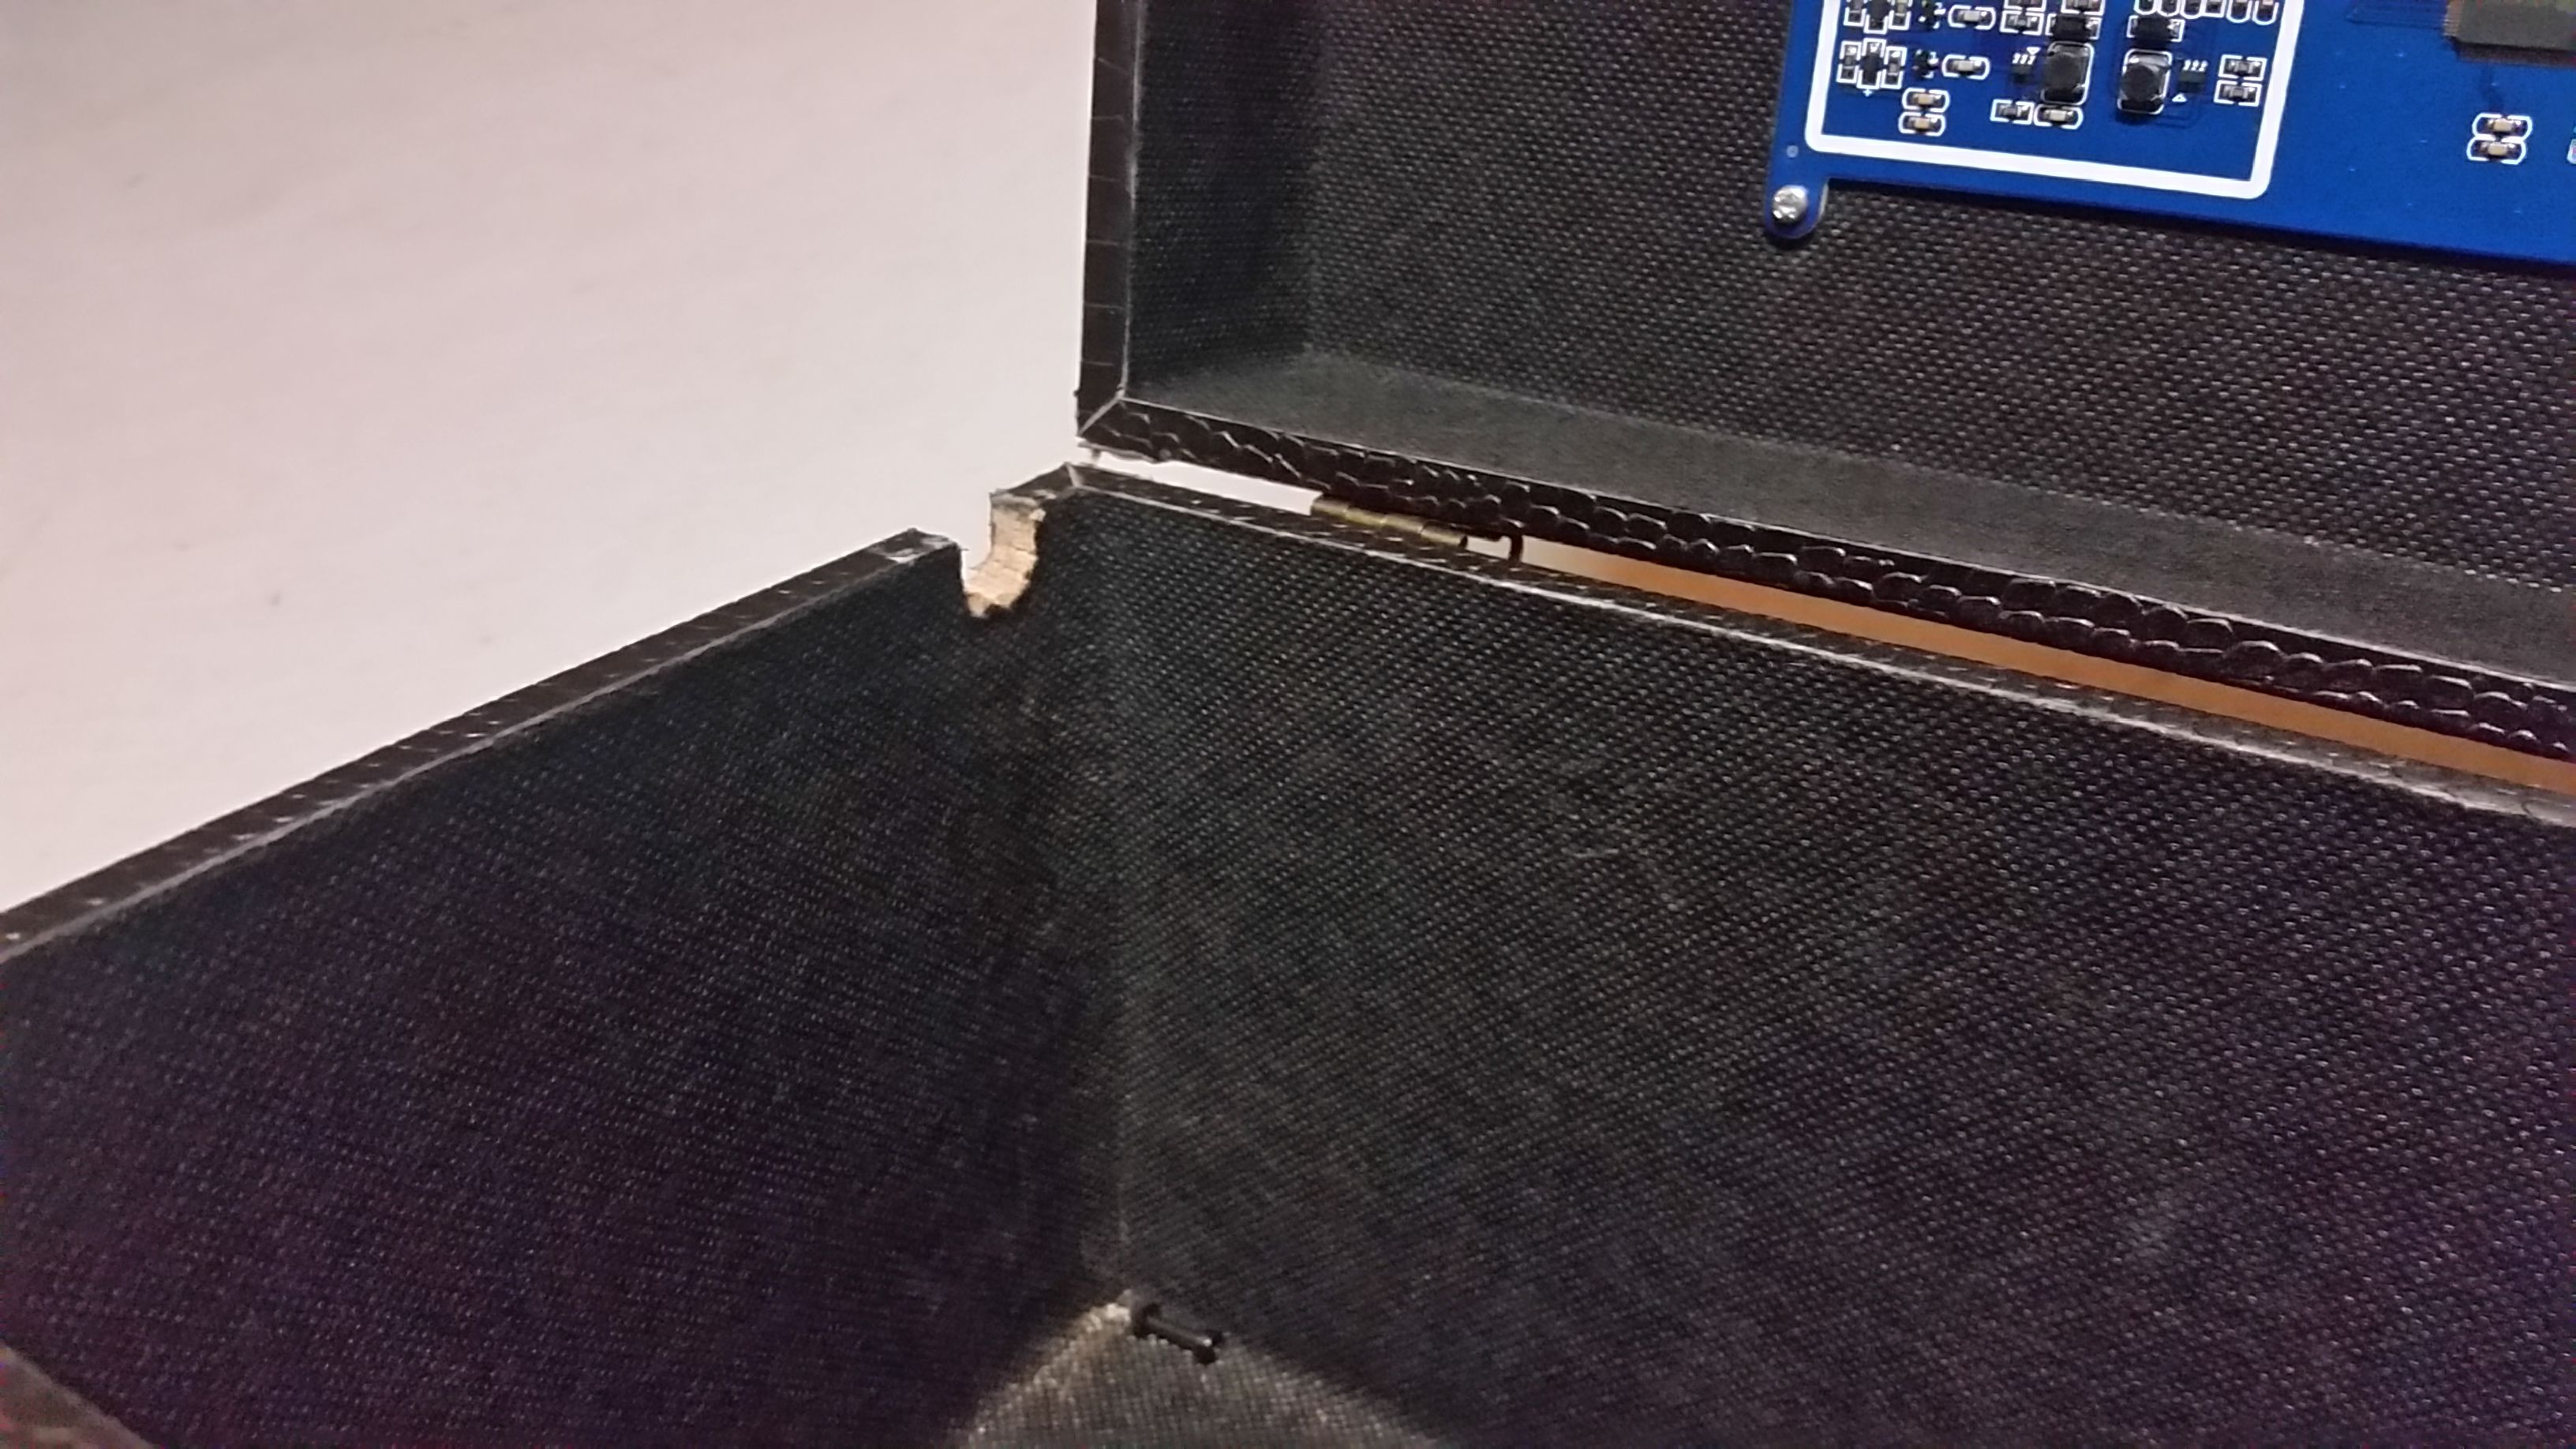
We made a small notch in the side for the cables to come out. We should have probably made it on the other side, ah well!
Next we assembled the Raspberry Pi along with the case that will keep it safe in its box. Ron handled this on his own, with a little bit of guidance. He mounted the heat-sinks onto the 3 chips to help keep them cool. It is good to use an alcohol swab to clean off the surface of the chip before applying the heat-sink.
Once the case was built up around the Raspberry Pi, we installed a small fan into the case which will help keep the Raspberry Pi cool. All of this came with the Raspberry Pi Case-Kit mentioned above.
The next step involves installing RaspbianOS onto your MicroSD card. There are many tutorials for this on the internet, and the instructions on the Raspberry Pi website are very easy to follow. You can also choose to purchase a MicroSD card with RaspianOS already installed onto it.
For pre-installed MicroSD cards you could try these, but I have never tried these myself:
- https://www.amazon.com/Preloaded-Card-Raspberry-Raspbian-wheezy/dp/B00AYH22WI
- https://thepihut.com/products/raspbian-preinstalled-sd-card
To install Raspbian OS yourself, I recommend downloading NOOBS from here:
Tip: NOOBS stands for New-Out-Of-Box-Software.
Once you have downloaded NOOBS, you can start installing it on the MicroSD card by following the instructions here:
If all went well, you should now have a MicroSD card with RaspbianOS installed on it!
Congratulations! If you have made it this far, you now have Minecraft Pi already installed as well! The only part left, is to plug the MicroSD card into the Raspberry Pi and connect the cables! NOOBS should have set the HDMI mode for you, so your screen should work, although the resolution and clarity might need to be configured. If so, follow the next step to configure your monitor.
Recommended: Connect the Raspberry Pi to any TV or Monitor with HDMI just to get the next step working. Also, don't forget to connect your mouse & keyboard!
Configuring the monitor:
- Reboot the Raspberry Pi,
- While it is starting up press the "SHIFT" button to enter the "Recovery Mode".
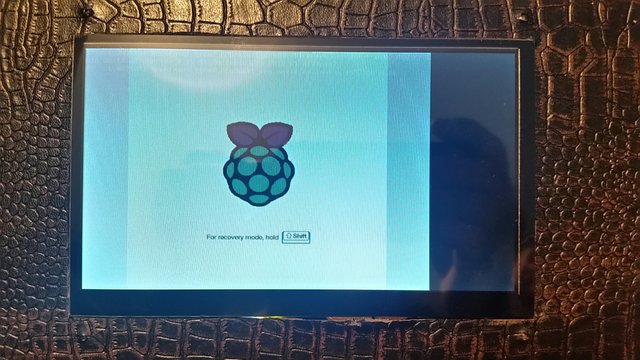
- Once loaded, you should see a screen like the following:
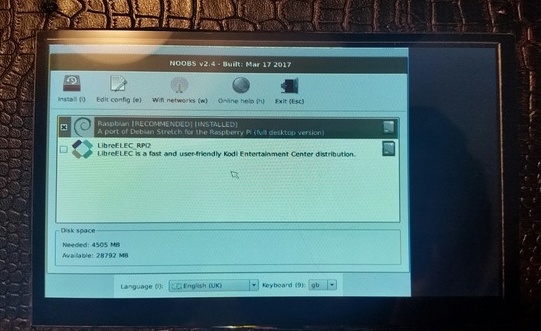
- Click the "Edit config" tab, scroll to the bottom and enter the following lines:
max_usb_current=1
hdmi_drive=1
hdmi_ignore_edid=0xa5000080
hdmi_group=2
hdmi_mode=87
hdmi_cvt=800 480 60 6 0 0 0
dtoverlay=w1-gpio
The screen should like something like this:
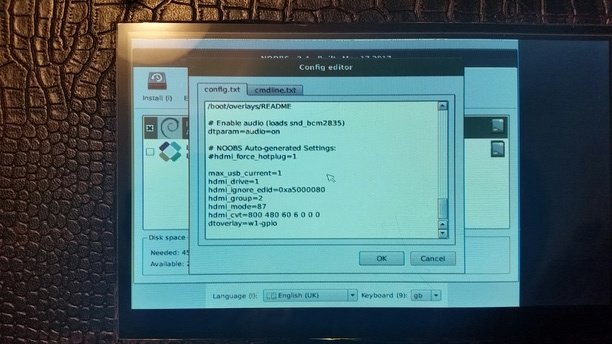
Click "Ok" and then "Exit" to reboot the Raspberry Pi. Your screen should now be configured correctly! If your screen is a different size, you may have to specify a different resolution with "hdmi_cvt" above.
NOTE: The monitor listed above is a Touch Screen monitor for which you will need to install the appropriate drivers onto the Raspberry Pi, and also have a separate cable to connect the Touch Interface hardware to the Raspberry Pi motherboard. For now, we have skipped the driver installation and configured the screen manually since we do not require touch screen support at this time. Later in this series we may explore adding Touch Screen Support to our Minecraft Treasure Box.
Okay, if all has been done correctly, we should be able to boot up the Raspberry Pi and have a clear display on the monitor.
Connect the Raspberry Pi to your Mini-Monitor that is attached to the box. Connect both the Raspberry Pi and the Monitor to a power supply. Turn on the Monitor, and turn on the Raspberry Pi.
Once RaspianOS has started, we will be presented with a familiar computer desktop. Raspbian is based on a distribution of Linux so it may look a little bit different if you are used to windows, but it is essentially the same to navigate.
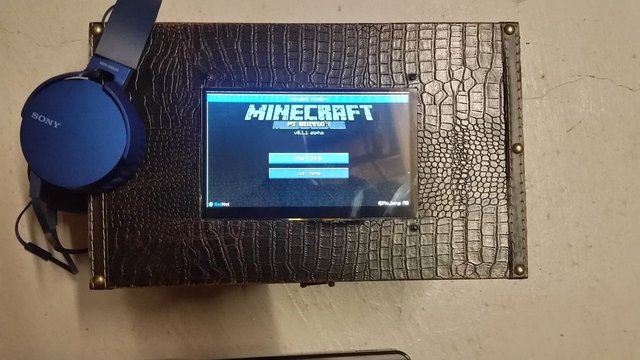
The last step is to test Minecraft Pi! At the top-left of the screen, there is a Raspberry Logo which is similar to the Windows Start menu. Under the menu "Games" you should have "Minecraft Pi". Click on it to start a new game of Minecraft!
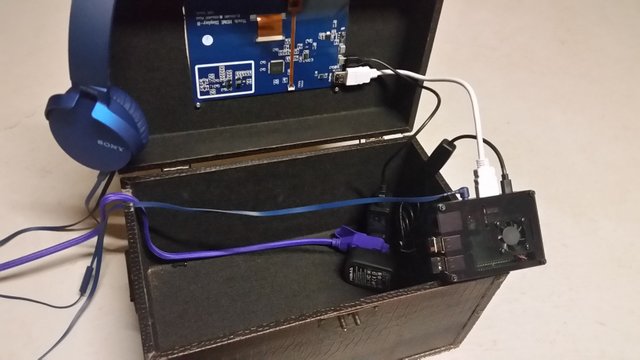
Congratulations! You should now have a working Minecraft Treasure Box!
With a wall power-cord:

With a portable power-pack:
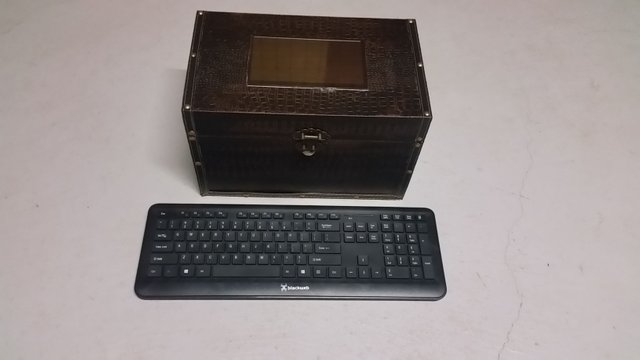
Closed and playable (may have to lean it against something, or make an attached stand for it):
.jpg)
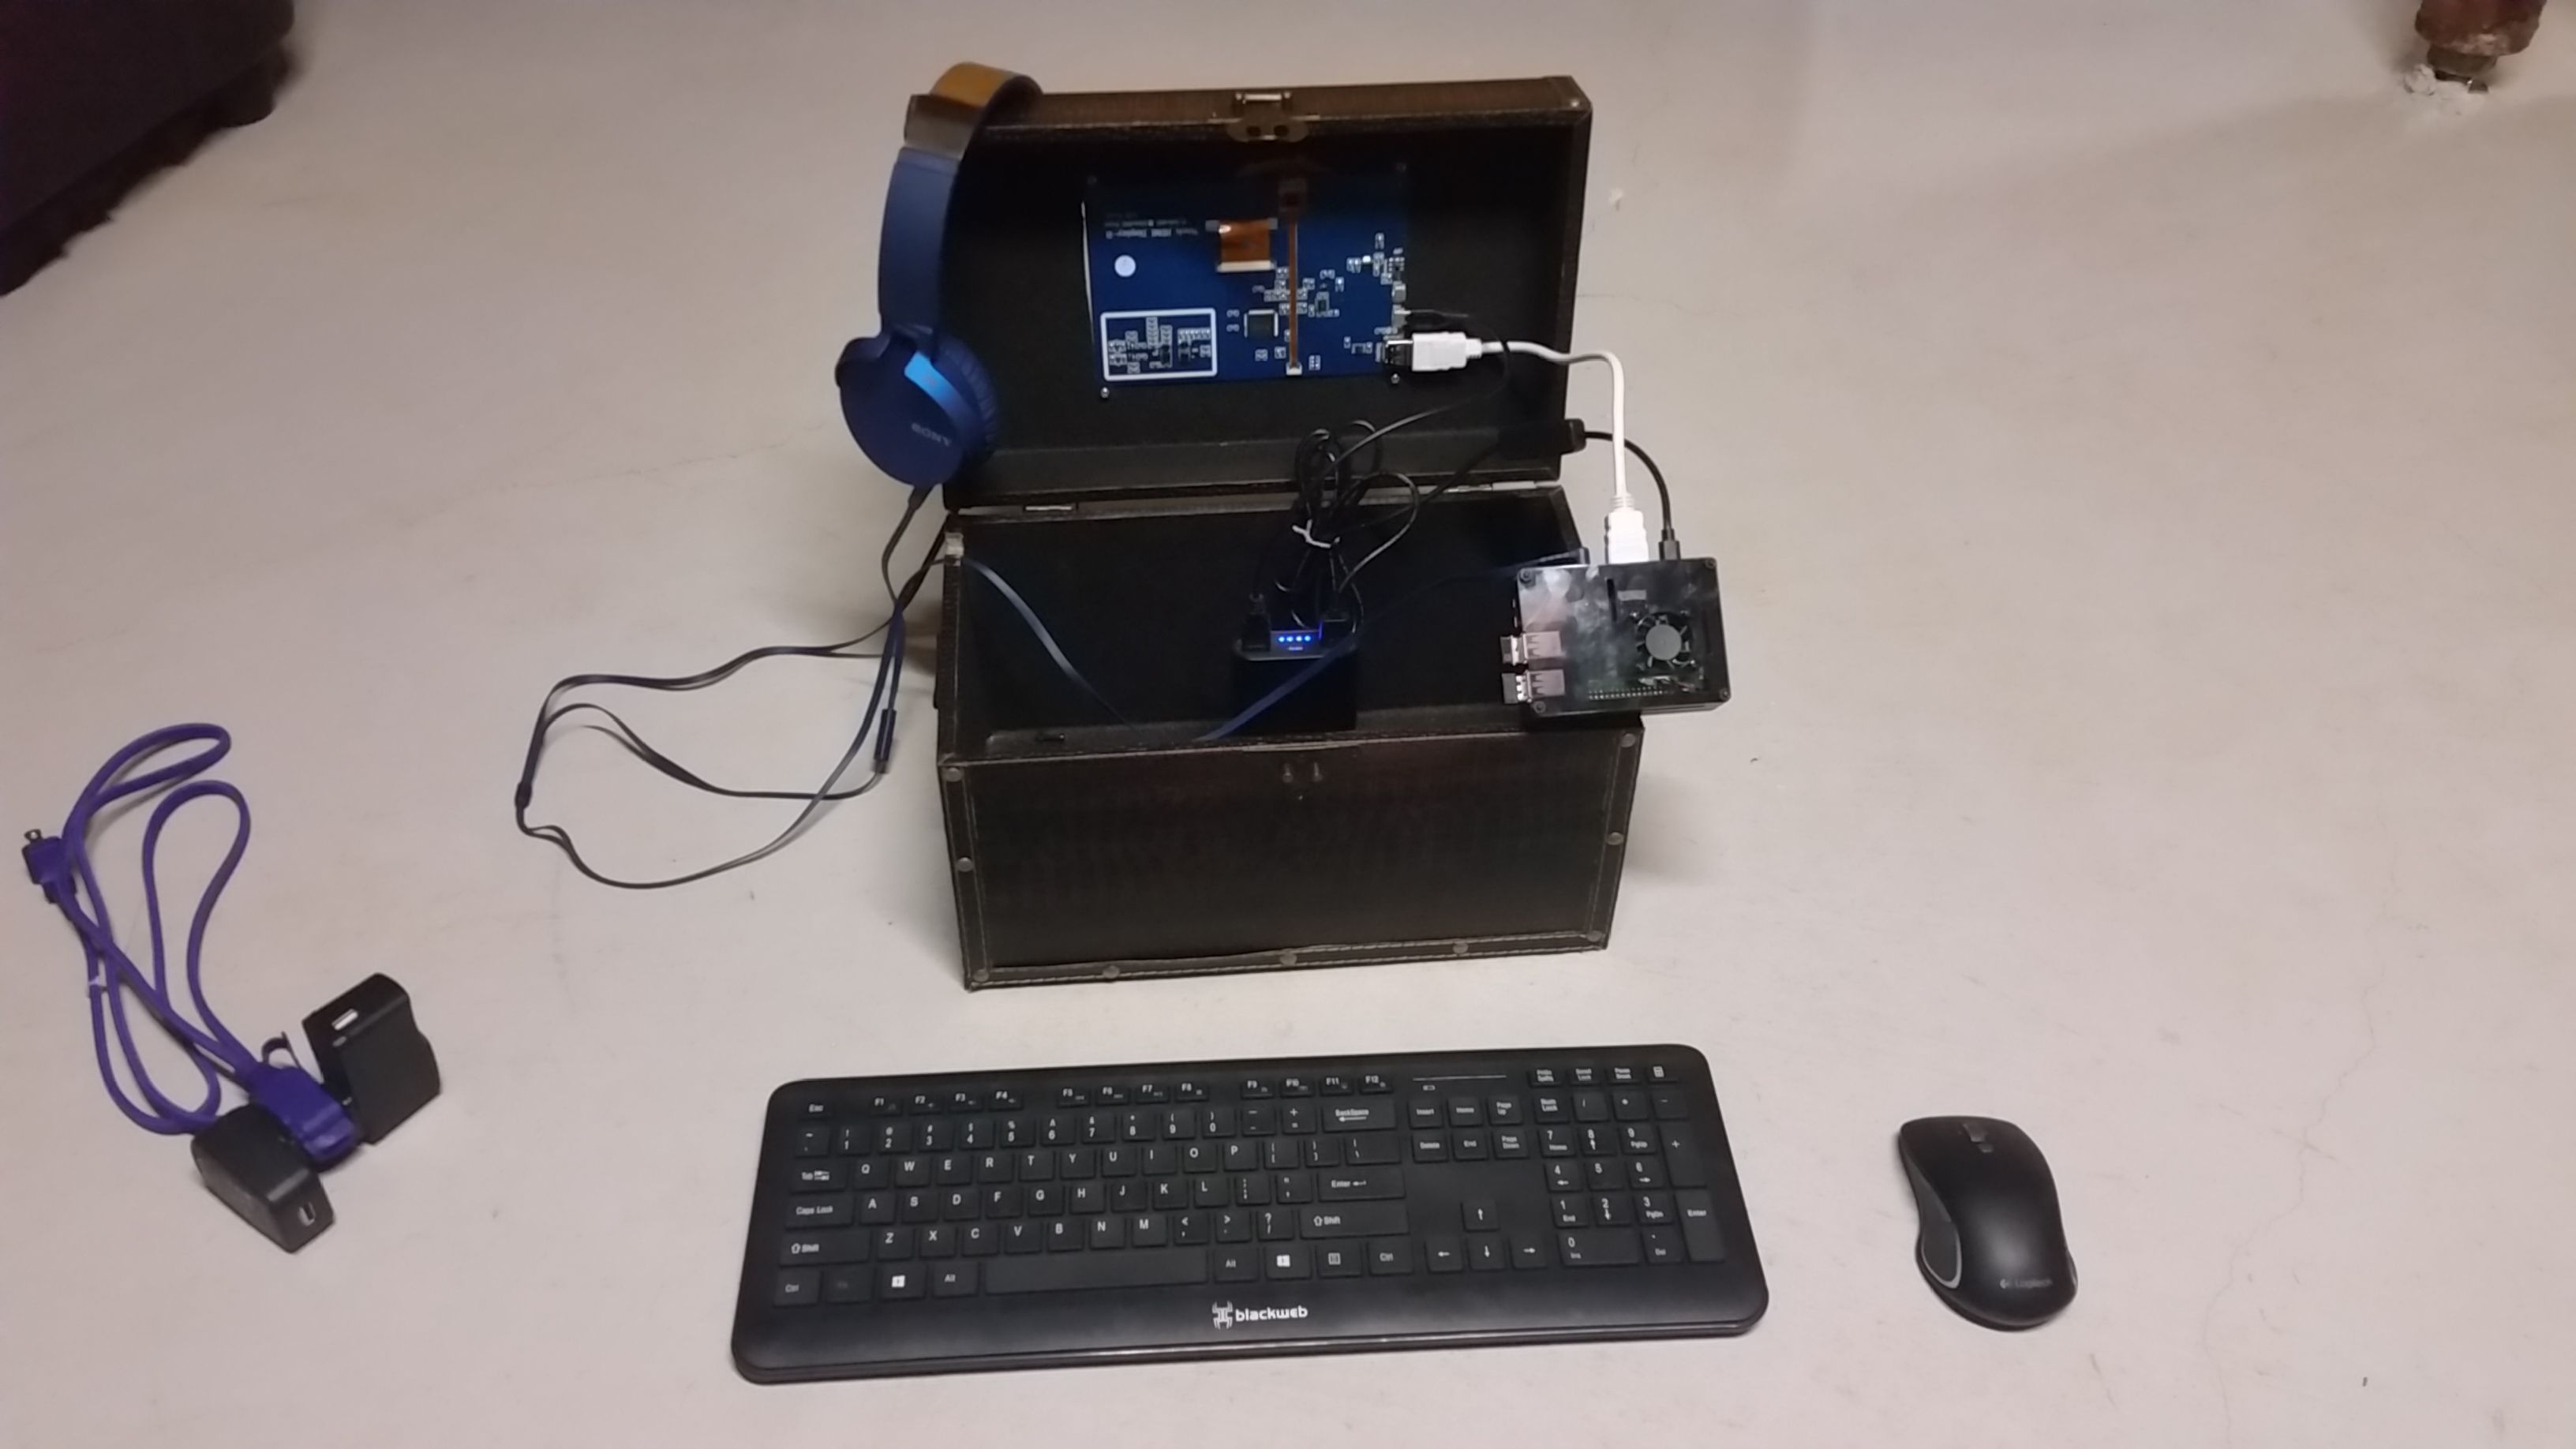
Packed up (we need to get a roll-up keyboard):
I hope you enjoy the project!
Please feel free to leave your feedback in the comments section!
I would also LOVE to hear your suggestions on different integrations!
Thanks!
Remember to watch for Part 2 of this series where we will connect a GPIO board and begin experimenting with hardware sensors!
Congratulations! This post has been upvoted by SteemMakers. We are a community based project that aims to support makers and DIYers on the blockchain in every way possible. Find out more about us on our website: www.steemmakers.com.
If you like our work, please consider upvoting this comment to support the growth of our community. Thank you.
Congratulations, this post was rewarded with a SteemGC Upvote!
Want to meet fellow Steemit gamers and earn upvotes yourself? Join the SteemGC Discord channel!
That seems like a very fun project you both are embarking on, and I would love to see its unfolding. Following you ;)
Thanks! Part 2 coming soon!!