Fixing up an old Magnifying Lamp with Junk ---> GOOGLY EYES<---
.jpg)
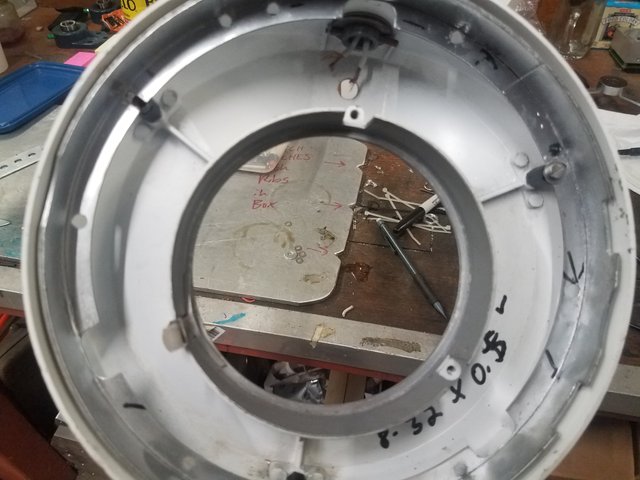
So I have had this old magnifying lamp laying around without a bulb. I looked through all my junk and lighting stuff saw that I could just cobble together some new lights for with it with some White SMD5050 LED strip. First thing I did was cut out some "Everbilt" pre punch metal strip to fit around the lens. I had this odd circular piece of metal that fit just inside the perimeter of the lamp, so figured I would attach them to it. Gave all the metal bits a nice paint job with some reflective Rustoleum, and proceeded to lap it all together.
Warning: Not the prettiest project! But I am going for utility, so quick but not compromise of integrity.
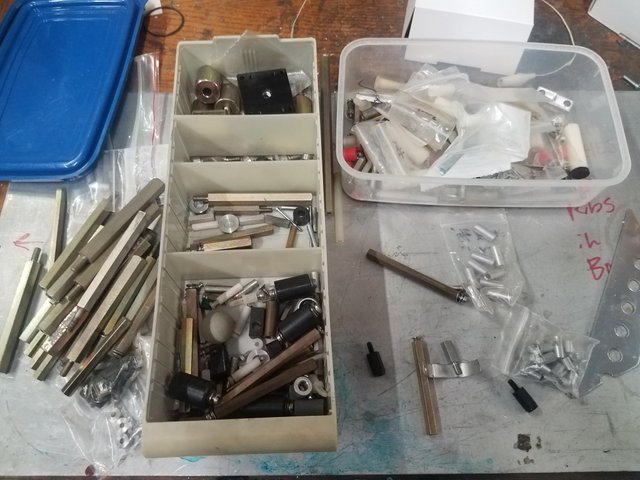
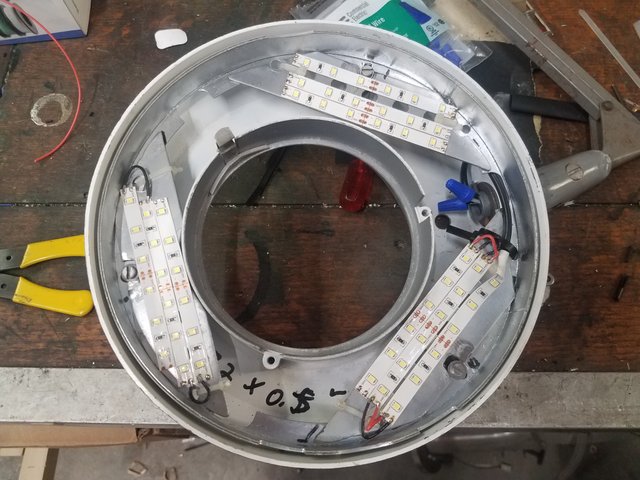
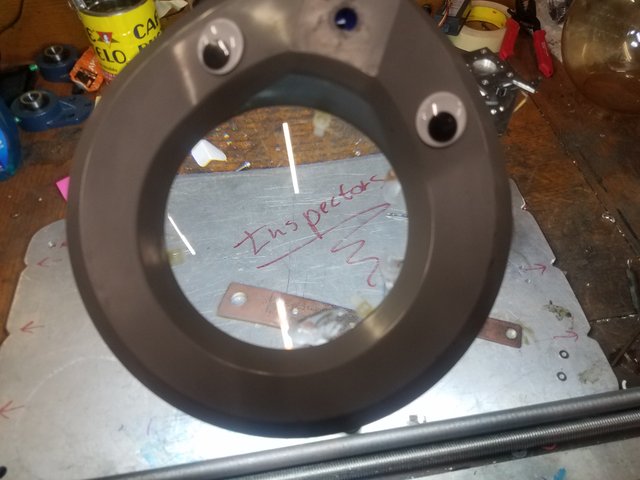
Next I dug through my nice collection of mostly salvaged standoffs and found 3x Black 8-32 x 0.5 Nylon posts that threaded right into the lamp. Following that I notched the steel ring with a hand grinder cut off wheel. Then mounted it to the stand offs.
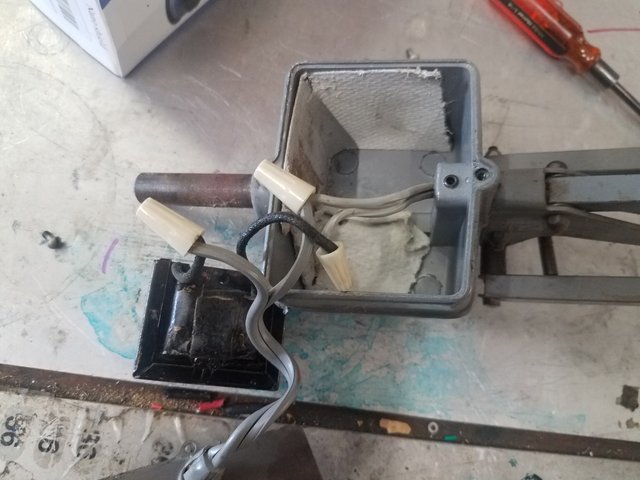
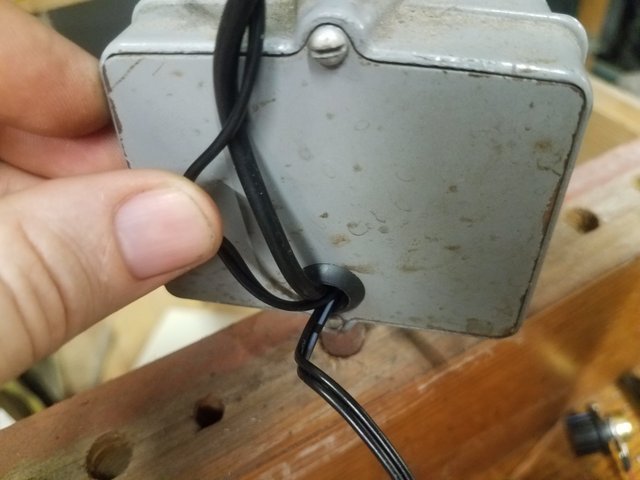
Then I gutted the box at the base where the transformer was and tapped into the existing wire that was already run through the lamp arm. The wire and insulation were still in nice shape, no cracks and flexible.
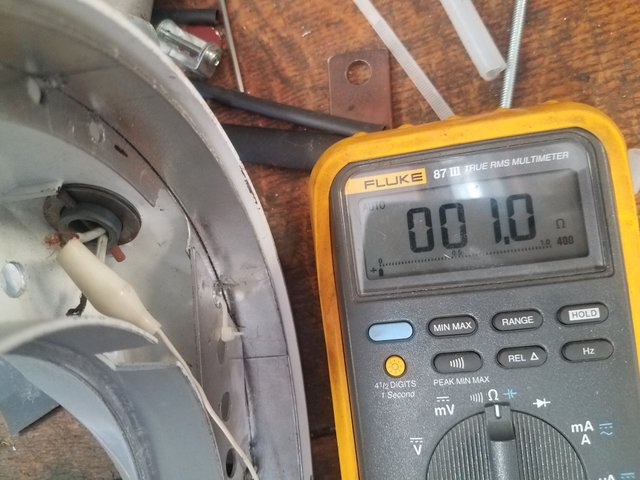
I used my DVM to make sure I connected the wires right, since the supply for the LEDs is DC and polarity matters. The display reads 1.0 Ohm, which is a measure of resistance. The internal resistance of the DVM is usually about 0.5 Ohms, so what you see here is basically no resistance. The other probe is not shown but is connected to the wire on the other side of the lamp. Just a quick easy to tell which wire is which, since they are both white.
I then secured the switch and dimmer up at the second joint up the lamp to a piece of 1/8" thick about 2" x 3" aluminum. The plate was secured by two strips of this sealant I use as an adhesive sometimes called LEXEL. It sticks very well to aluminum and steel, and a just about everything else except silicon. The zip ties are temporary.
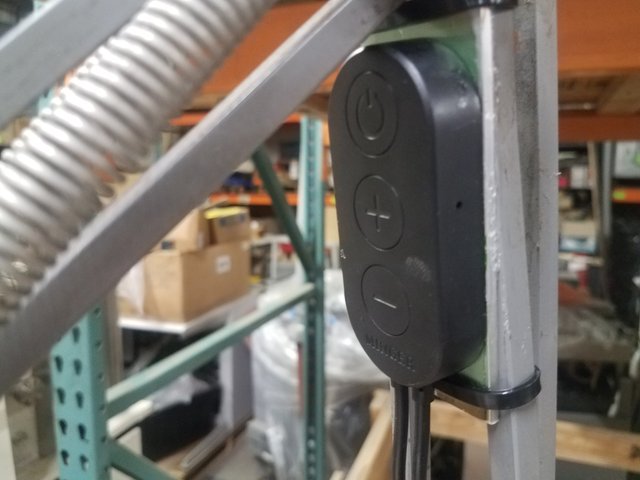
After that I ran the control wire into the junction box and bug nutted it to the existing wire that will go to the LEDs. The dimmer has another wire with a barrel plug that connects to the 12V wall wort supply. I just looped that wire into the junction box and zip tied it to the other wire, to prevent it from getting pulled out.
The thin metal stripps I just zip tied to the ring, taking advantage of the pre punched holes.
Next I cut 9x about 3" long sections of the LED strip. You can cut it with scissors where the little copper pads are, and they are usually marked. I stuck them all on as symmetrical as possible, then prepared some silicone housed 11 gauge wire by "tinning" them first. Basically applying solder in advance.
I did the same with the pads. Tinning makes soldering wires and things together easier, which leads to the next step of linking it all together and flipping it on!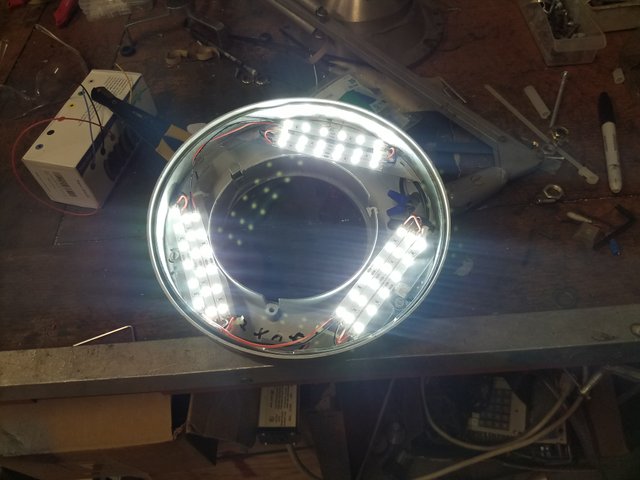
Last but not least I added some big ol googlys!!
Unfortunately my magnifier has a chip in the glass, but it works just fine anyways. I like to recycle and upcycle, so I reuse things when I can! Waste is disgusting!!! This whole project took me about 2 hours, which I say is time well spent.
This post has been voted on by the SteemSTEM curation team and voting trail. It is elligible for support from @curie.
If you appreciate the work we are doing, then consider supporting our witness stem.witness. Additional witness support to the curie witness would be appreciated as well.
For additional information please join us on the SteemSTEM discord and to get to know the rest of the community!
Please consider setting @steemstem as a beneficiary to your post to get a stronger support.
Please consider using the steemstem.io app to get a stronger support.
You are amazing with science stuff. Would you have any way of making silver molds?
I don't know. What do you use now? Might be a more economical alternative.
Posted using Partiko Android
I use graphite coated steel. Steel alone woukd also work.
So well spent to be honest and you made two in a row, that magnific magnifier will help you for years to come and you started to look at it with very funny different eyes, didn’t you?
Hugs
@googlybot would feel right at home in your workshop! Looks like a cozy place!
I usually use the diode-test setting of the DVM to check for continuity... don't even have to look at the screen and just wait for the beep!
Never even thought of that. Smart!
Posted using Partiko Android
This must be the first stem post with googly eyes :D
You know, I did not even think of tagging Steemstem, because I didn't think it was very technical.
Posted using Partiko Android
Congratulations @roguescientist84! You have completed the following achievement on the Steem blockchain and have been rewarded with new badge(s) :
You can view your badges on your Steem Board and compare to others on the Steem Ranking
If you no longer want to receive notifications, reply to this comment with the word
STOPTo support your work, I also upvoted your post!
Do not miss the last post from @steemitboard:
Hi, @roguescientist84!
You just got a 0.01% upvote from SteemPlus!
To get higher upvotes, earn more SteemPlus Points (SPP). On your Steemit wallet, check your SPP balance and click on "How to earn SPP?" to find out all the ways to earn.
If you're not using SteemPlus yet, please check our last posts in here to see the many ways in which SteemPlus can improve your Steem experience on Steemit and Busy.