Setup and use Raspberry Pi 3 in headless mode with raspbian lite
Hi, this is a problem which I have faced a lot because I don' have a external monitor. Every-time I install raspbian in my Raspberry Pi 3 board, after installing I need to connect the board to a HDMI monitor or TV for it's initial config and even to enable the serial console. I searched online for a soultion to this problem and found those but they were all scattered in bitds and pieces. So I decided to document the whole process for my refernce and also if can help others. (The process was document on DATE: 24-02-2019, linux : 4.14, OS: raspbian lite)
Things needed
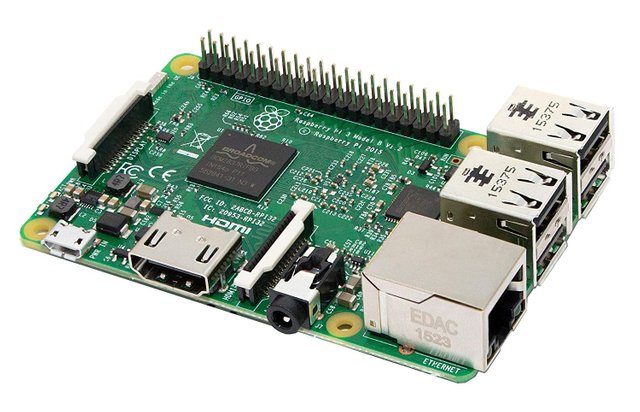
- Raspberry pi 3 board and power supply (obvious)
- PC (that's obvious too)
- Internet connection (else how will you download the image)
- USB to serial converter (to make life simple)
- Ethernet cable (optional)
Here comes the process,
Download from raspberry pi website.
Extract the image.
Insert SD card to your system
Flash it with zero ( I'm giving an for Linux, for windows figure it yourself)
Warning This command is very dangerous and your whole system might get erased so use it carefully.
“sudo dd if=/dev/zero of=/dev/sd[x] bs=1M count=100Now flash the SD card with the image downloaded.
eg: sudo dd if=[disk img] of=/dev/sd[x] bs=4M conv=fsyncYour card is flashed and ready to rock!!
NOTE: Raspberry pi by default can’t be accessed headless.To access headless raspberry pi after fresh OS install there are two Ethernet or Wifi
I will the hard way, to access via wifi. Figure out the ethernet way yourself.
Insert SD card to PC after flashing image
Go to “volume/boot” dir of SD card and create a wpa_supllicant file with your wifi
network credentials'wpa_supplicant' file sample
Insert these for raspbian strech
ctrl_interface=DIR=/var/run/wpa_supplicant GROUP=netdev
network={
ssid="YOUR_NETWORK_NAME"
psk="YOUR_PASSWORD"
key_mgmt=WPA-PSK
}
For raspbian jessie
network={
ssid="YOUR_NETWORK_NAME"
psk="YOUR_PASSWORD"
key_mgmt=WPA-PSK
}Create a blank blank file named “ssh”.
That's done for now.
Insert SD card, power up raspberry pi
Pi will automatically connect to your wifi network ( if you have followed the above steps properly).
Scan the IP of the pi using nmap tool (linux) using following commands (Linux systems ONLY)
a. Open terminal
b. sudo nmap -sn [ip range to scan]
c. Eg “sudo nmap -sn 192.168.1.0/24”ssh to rapberry pi after getting IP
a. Default username is “pi” and password is “raspberry”
b. “ssh pi@[IP]”That's it done.
Enjoy with the termnal.
To access raspberry pi using minicom or any terminal emulator, we need to enable it.
- A usb to serial converter is needed (I mentioned earlier)
- A terminal emulator software is needed like minicom
- ssh to the raspberry pi
- Type “sudo raspi-config”
- A menu comes up
- Select interfacing options and enable serial connection
- Reboot
- Connect GND, Tx, Rx to GPIO 6, 8, 10 of Raspberry pi 3 to the serial converter
- Open terminal in your host
- “sudo minicom -wD /dev/ttyUSB[x]”
- Baudrate for minicom 115200
- Done
Helpful information.
Posted using Partiko Android