Turning my Garage into a Workshop — Part 1: The Floor
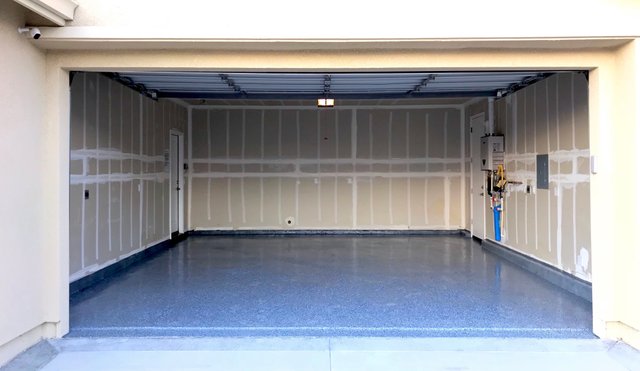
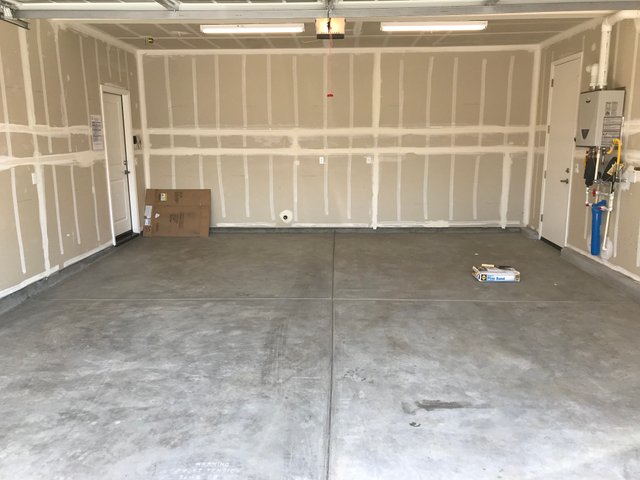
I've always wanted a modest workshop in my home—mainly for carpentry—and here is my chance. We recently bought our first house, in rural California. It's a new build and therefore has a new garage.
Before doing anything I knew I had to paint the floor. As with any project you care to imagine, this is a rabbit hole of labyrinthine proportions. Here's how I tackled it.
Research
Before I even knew about my garage I saw some discounted garage floor paint in Home Depot. It looked and sounded durable and attractive.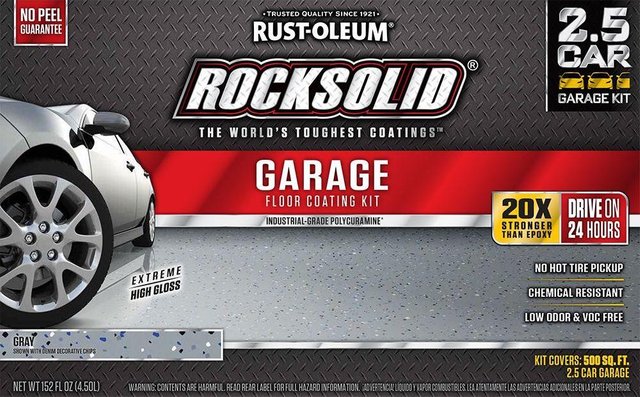
I thought, huh, 20x stronger than epoxy! How strong is epoxy? This sounds good in any case. It seemed quite expensive at around $200, but if you're going to a do a job you might as well do it properly.
I looked at epoxy coatings anyway. And I stumbled upon a website which is the closest I have found to a functioning Bible, albeit a Bible concerned exclusively about garage floors.
It's called AllGarageFloors.com and is run by a person called Shea who saw that the Internet has a dearth of information on this kind of thing, so set out to make a comprehensive guide. I still asked many questions, and found them answered by Shea in the comment sections within a few hours. Thank you, Shea!
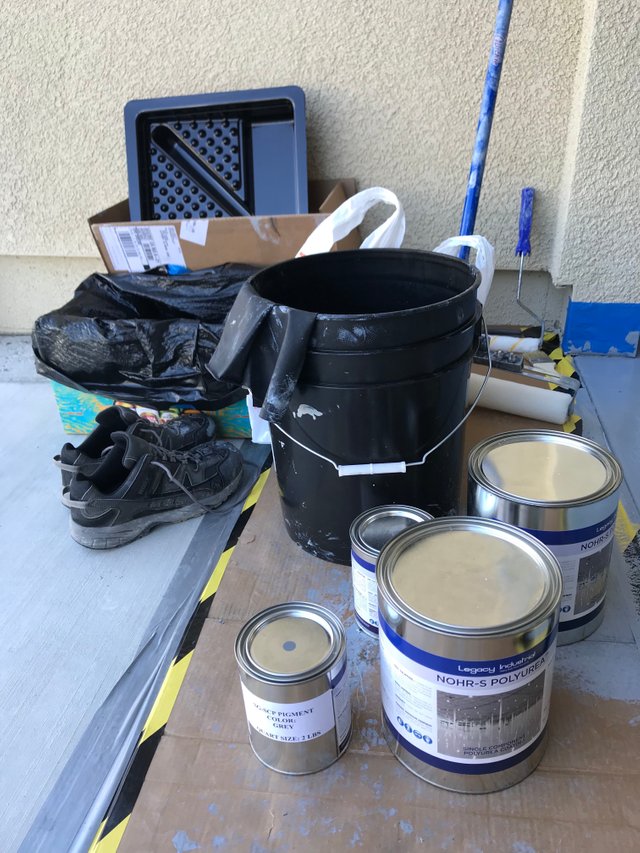
To summarise my specific needs: paint is well-marketed but not particularly durable (lasts a couple of years) and epoxy lasts longer (4-5 years) but crucially is not UV resistant—it will amber and crack in the strong sunlight received by my garage. So there was only one option: Nohr-S Polyurea by Legacy Industrial
Nohr-S is a more expensive than the other options, but applied properly it should last over ten years. It is also UV resistant—and everything else resistant—so I decided to go for it. I chose the full garage kit, including application accessories.
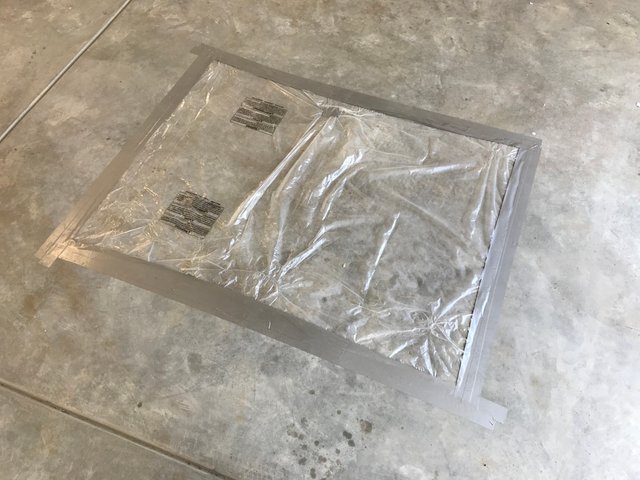
Moisture TestIt is imperative that no moisture from groundwater seeps through the surface, which could delaminate the coating. To test this, I duct taped a square of plastic to the floor for a few days. Thankfully it remained dry underneath so I could coat without worrying about specific, moisture-repelling primer. (The primer I was sent is epoxy so has some moisture resistance anyway.)
Filling the Joints
One optional step that I wanted was to fill my contraction joints. The floor was split into four slabs with a v-groove cross, so that if the concrete shrank while drying, any crack would be contained in these paths of least resistance.Shea gave great advice here, and another product from Legacy Industrial was on the cards. At this point you may wonder if this is just one big Legacy Industrial shakedown. And it may well have be, but I am nothing if not thorough and I spent countless hours researching alternatives. I ended up with Legacy's Xtreme Set 100 which should have the requisite flexibility to compliment the joints.
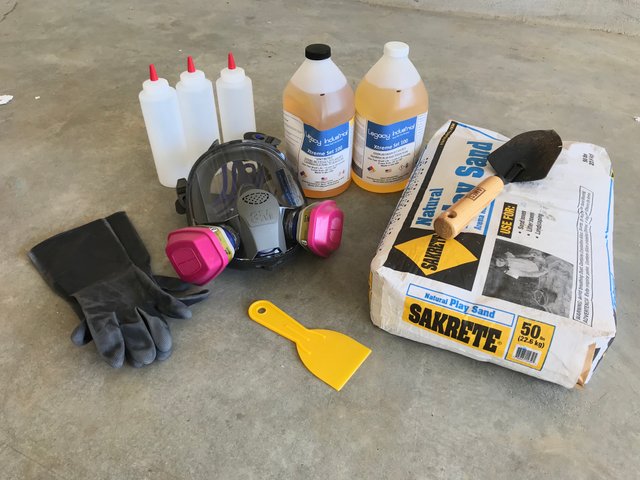
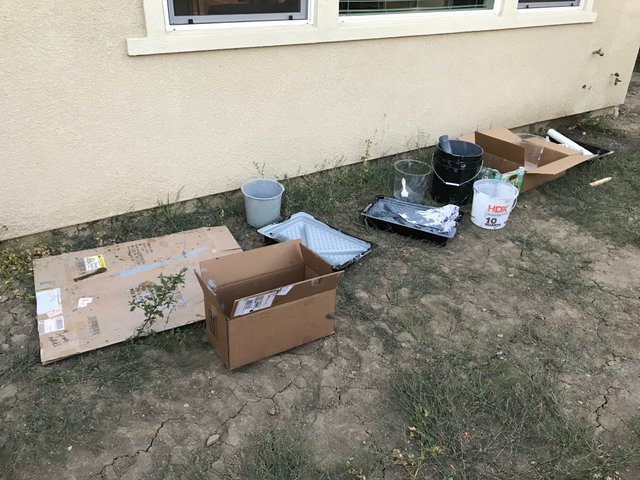
This is all the stuff I used. It's a 2-part mixture, and it cures in a matter of minutes. I knew this but still mixed too much in the first batch. It quickly cured in a molten mass in the applicator bottle!
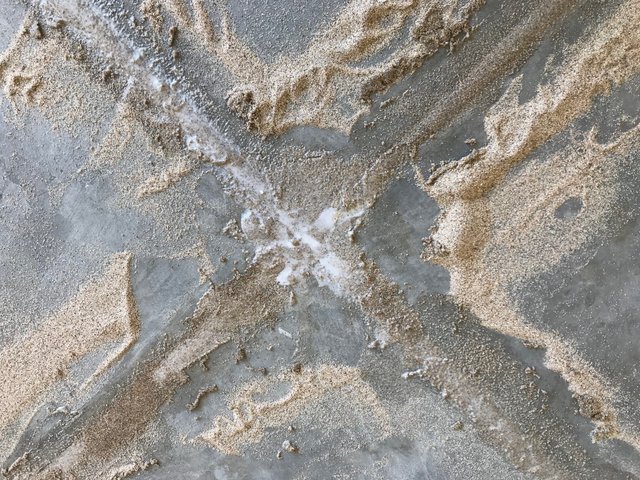
The deal is that you fill the joints with sand, saturate it with the solution, putty knife the excess, wait half an hour for it to cure, then grind everything flush.


ACID
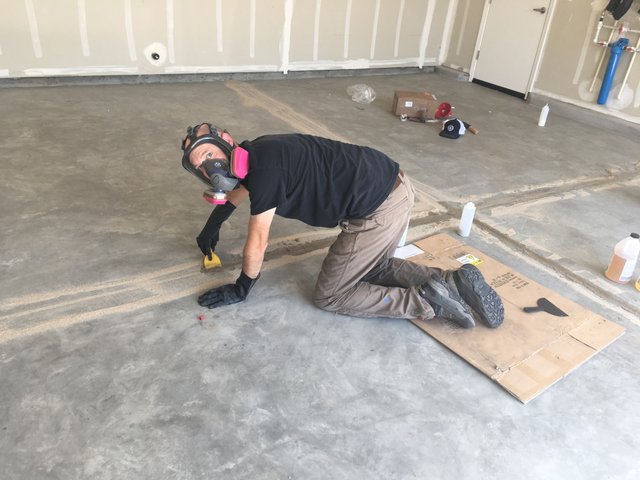
The next step was terrifying. Concrete needs to be extremely porous to accept any coating. Old floors may have previous coatings, oil, rust and all manner of moisture-blocking elements present. Even my new floor had a smooth surface which needed roughing up a little.There are two methods of preparing (or 'profiling') concrete. The first and best is grinding, which requires a lawnmower-sized machine and should be expected of a professional job. Grinding removes all contaminants and opens up the pores in one shot, but is expensive and dusty. I could have rented a grinder but had already spent a lot of money and my floor was in pretty good shape. So I went for the second method... acid etching...
I initially bought very cheap and aggressive muriatic acid (AKA hydrochloric acid) from Home Depot. This is highly dangerous and will eat most things including a person. I was scared. Shea advised me that phosphoric acid could be just as effective and a lot less dangerous. So I returned the former and bought the latter. Here were the things I used:
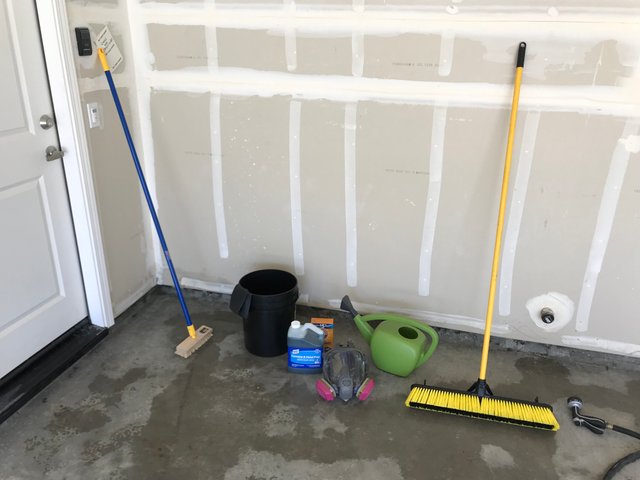
The plan here was:
- Sweep and rinse surface debris
- Prepare a bucket of pH neutralising solution (baking soda and water)
- Pour a little neutralising solution on the driveway to avoid etching past the threshold
- Mix water and acid 3:1 in a plastic watering can
- Sprinkle onto garage floor
- Use acid brush to work it into the surface
- Wait ten minutes then rinse with neutralising solution
- Rinse
- Rinse
- Rinse
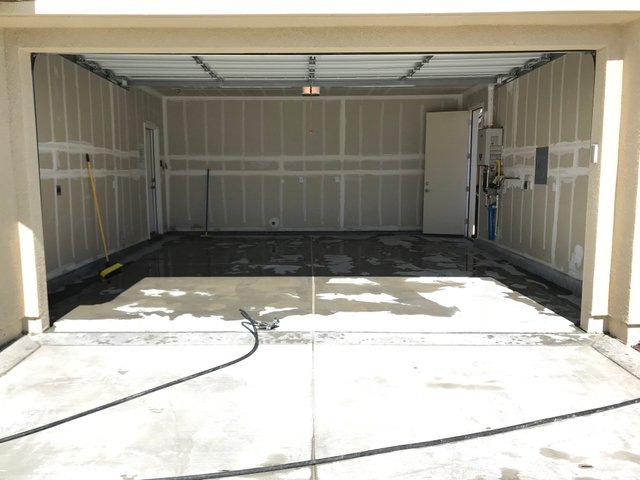
The last step took me a number of hours because I did not buy pH test strips, and had to be sure no acid remained. There was still a slight chalky residue but that would be dealt with by the primer.
Primer
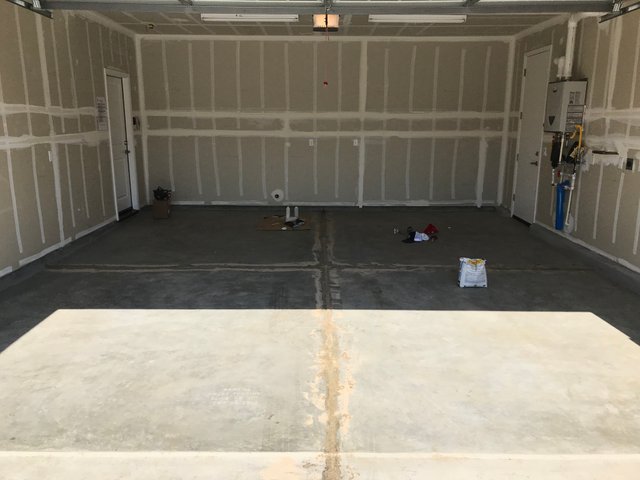
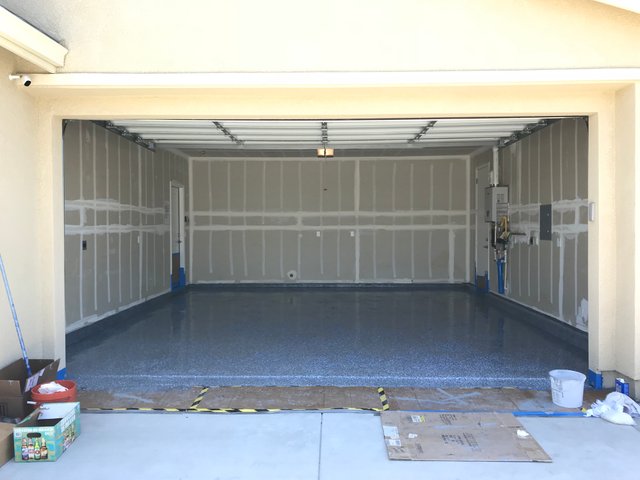
Finally it was time to paint the bastard. This had to be carefully coordinated to take into account drying time, avoidance of (searing) direct sunlight, and childcare duties. The primer needed 6–8 hours, so I waited until sunset—my house is west-facing—and left it to dry overnight.I was sure to mask off anything that might get hit, like the internal doors and garage door track. And I removed the garage door sensors from their clips and taped them to the wall. Most importantly, I taped a wide strip of cardboard to the threshold, which protected the driveway and gave me a work platform for when I reached the edge.
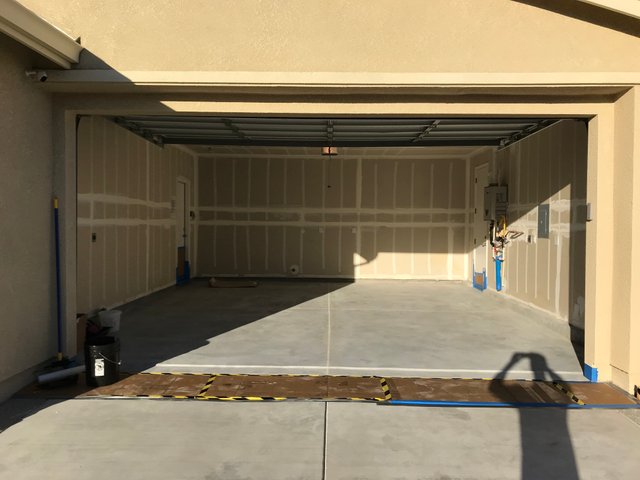
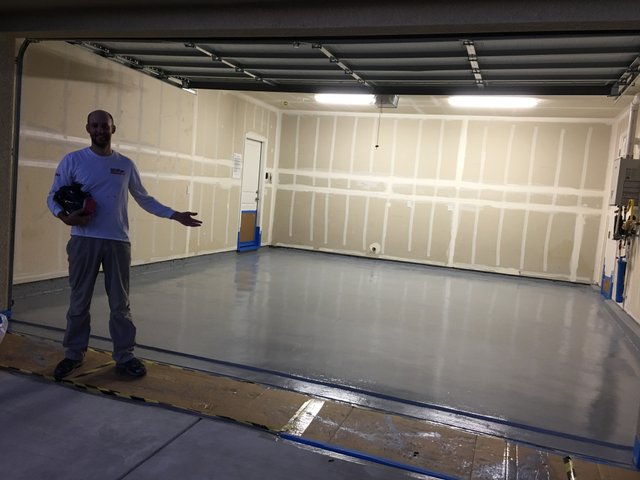
At this point a neighbour came over to compliment me on a job well done, thinking it was finished. Which was nice.
You can actually still see the contraction joints and I was worried that they would telegraph through the other coats. But it was shower and bed time.
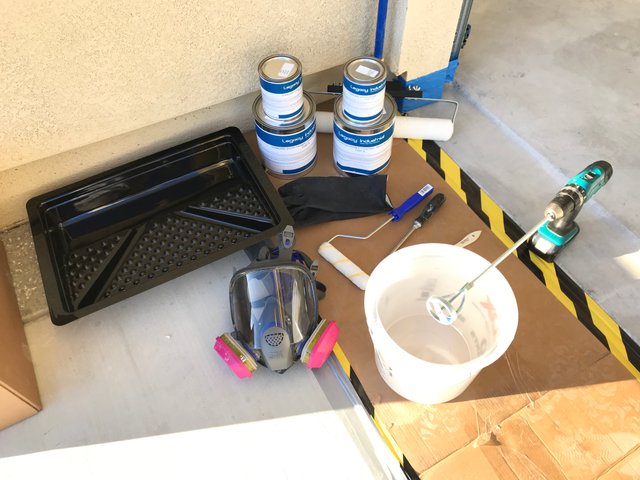
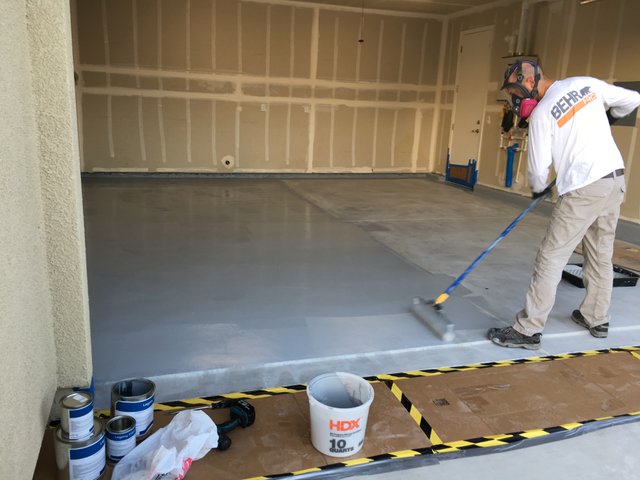
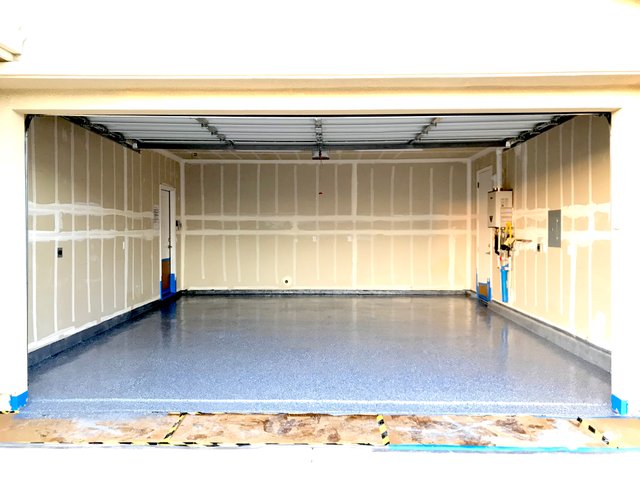
Pigment Coat
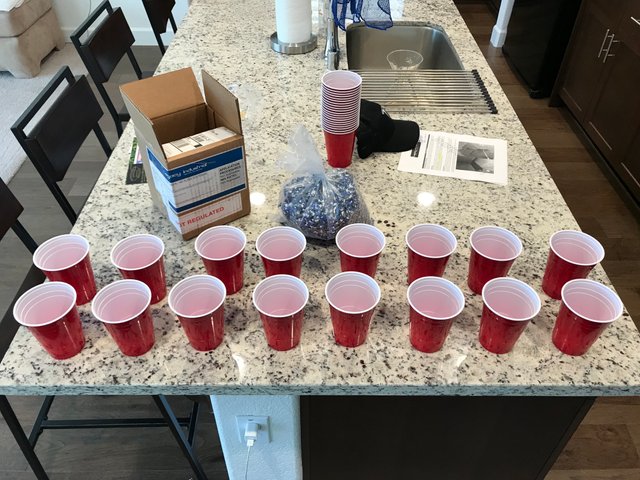
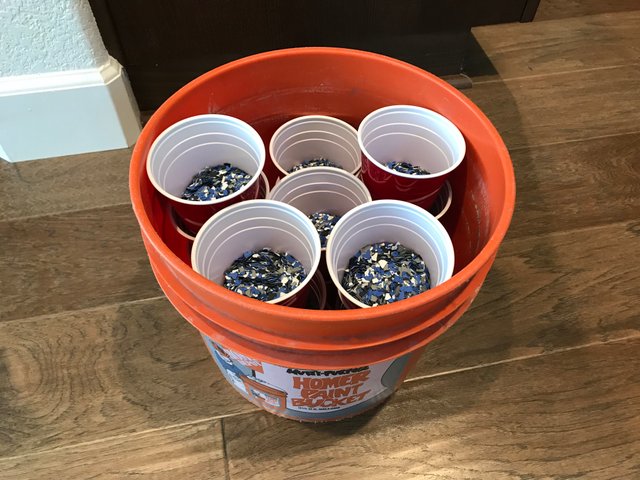
The sun hits my garage at 1:40pm, so I had to apply both the pigment coat and top coat before then. I also needed my wife's help to throw the plastic flakes onto the wet coating. These flakes hide imperfections, increase beauty, and help with grip. The Nohr-S cures within ten minutes so it was a definite two-person job.I had portioned the flakes into sixteen cups, to evenly distribute them and make sure we did not run out before the end. I considered a spare seventeenth cup but, no, it would be fine wouldn't it.
The tight timings meant that we had to start at 9am. We started at 10...
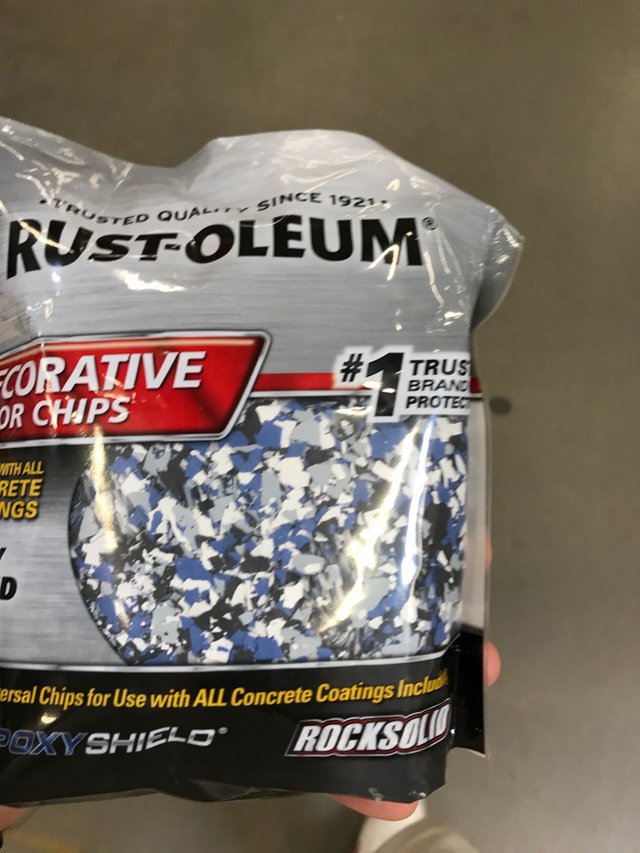
Now, you have to admit that this looks fine, but we did not get there without a potential disaster. A miscommunication between my wife and I meant that WE RAN OUT OF FLAKES! The front section was bare and awful.
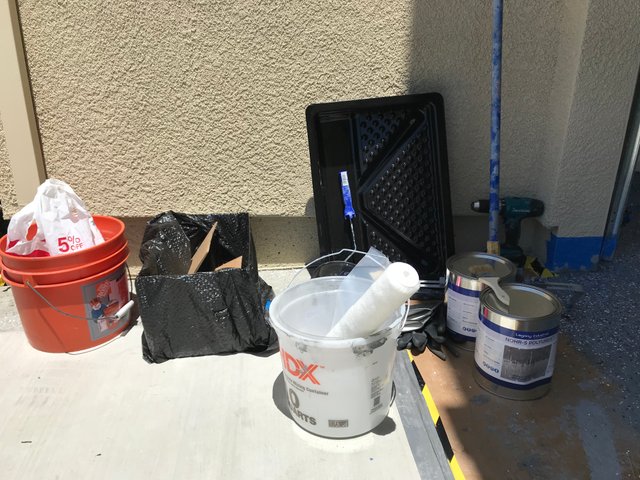
Luckily I had seen a similar bag of flakes in Home Depot, so I raced there to buy them. I took this poorly-framed photo as I ran to the checkout.
I had covered my roller and paint tray with a bin liner to stop it from drying out. The floor had cured enough to apply a little more paint and broadcast the new flakes. They matched perfectly!
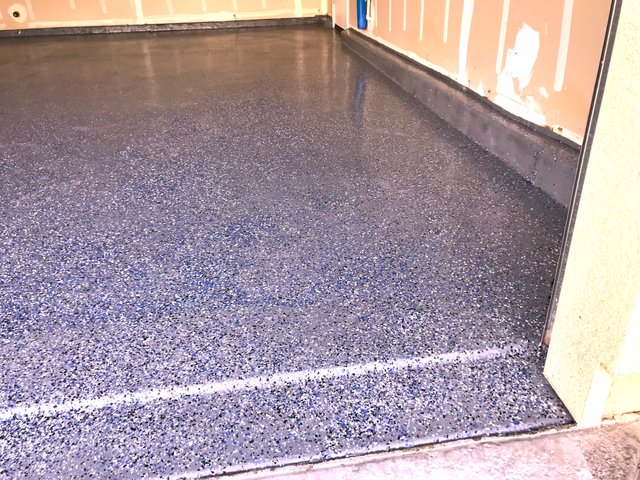
Clear Coat
To finish the job, the floor needed a top coat. This is to give extra durability and a nice appearance, to seal in the flakes, and to add optional grit for extra grip.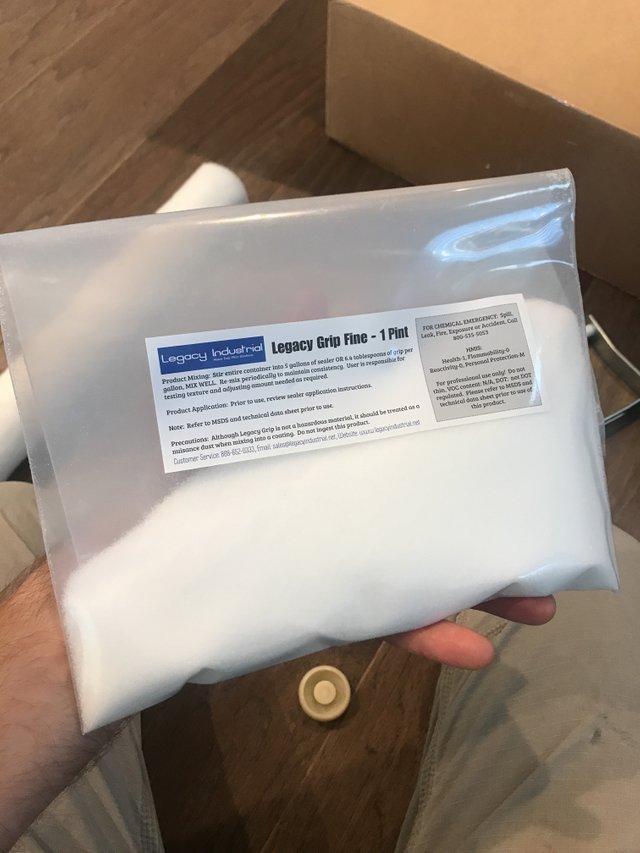
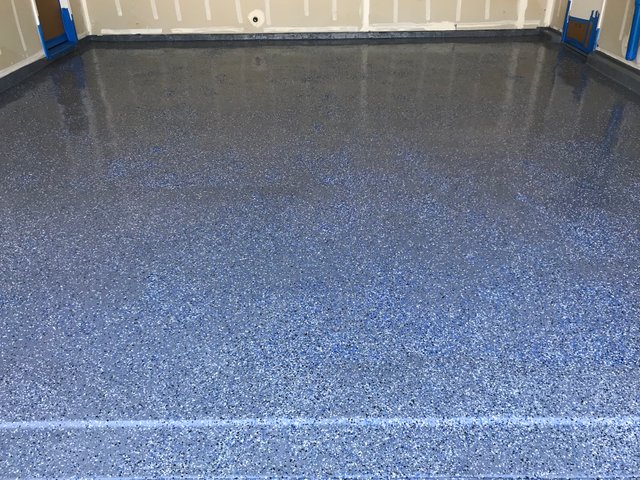
The sun was coming around fast. And while the initial paint was ready to recoat, the extra section was about an hour behind. I had to just get started and hope it would all cure by the time I got to the door...
I was between a rock and a hard place, but everything came together.
Notes and Thanks
The Nohr-S is highly noxious and toxic. Not only could I smell it through my Breaking Bad mask, but it also stank up our house to the point where a short lunch evacuation had to be triggered. It also slightly stank up the neighbours' home. Sorry.
I missed a spot with the clear coat. It was near-impossible to tell which bits I had already covered. I tried to be systematic but one patch is shinier with no grit and exposed flakes. It is a low-traffic area, so not imperative, but I might try to scuff it up (then 'wipe with denatured alcohol' according to Legacy) and re-coat locally. This is a little involved because the Nohr-S is very cured and resistant now. We shall see...
Thanks to Shea at AllGarageFloors.com for their kindness, expertise and patience
Thanks to my wife, nephew, friends and family for help and moral support
This part of the garage project cost just over US$1000
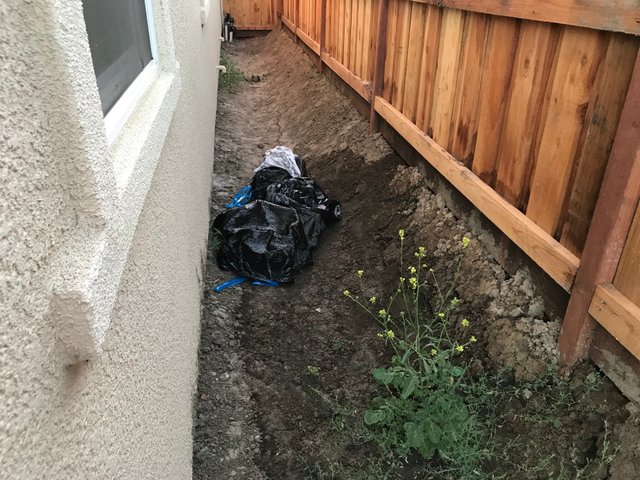
The amount of waste produced is astonishing and luckily I have access to a safe disposal method through work. I'm not sure how to dispose of this stuff otherwise, and information is hard to find online.
Thanks for reading! Part two soon: Painting the walls!
What are you trying to say?
I have attempted to draw a symbolic parallel between your garage and Steve Jobs' garage. The implication being that great things may emerge from your garage too.
An exciting prospect! Thank you for that analogy.
You did a very laborious job. This requires a lot of knowledge and love for your home. The floor in the garage turned out very nice. Good luck and patience in further repairs.
Thanks for the love, @eduards 😄
Pretty nice clean finish there awesome it look now great transformation of that place :D
Thanks @blazing! I just bought some paint 🎨
Great and amazing post @lenskonig. You have a lots of knowledge and I appreciate your work. Nice content and brilliant post.☺
Thanks for sharing this post.
Thanks! For the record, I learned most of the knowledge within the last two weeks!
Thanks! For the record,
I learned most of the knowledge
Within the last week!
- lenskonig
I'm a bot. I detect haiku.
Looks like a lot of hard work!
It was pretty grueling, yeah! Exhausting actually, given the speed I had to work, plus the heat, stress and fumes! All worth it though 🙂
Wow! such a wonderful photography D :) @lenskonig .looking very nice. I love your post. Thanks a lot for share this post.
Thank you for those compliments ☺️
@lenskonig You have received a 100% upvote from @nothankyou because this post did not use any bidbots and you have not used bidbots in the last 30 days!
Upvoting this comment will help keep this service running.
That looks fantastic! A job well done!
The race against the sun make me laugh, and I was relived to see you got it all done in time. I could only imagine the smell it must have made!
Can't wait to see the workshop you put together!
Thanks for reading and for your kindness :D
Your project is intriguing and I wish you all the best.
Join our Discord Channel to connect with us and nominate your own or somebody else's posts in our review channel.
Help us to reward you for making it ! Join our voting trail or delegate steem power to the community account.
Your post is also presented on the community website www.steemmakers.com where you can find other selected content.
If you like our work, please consider upvoting this comment to support the growth of our community. Thank you.
Looks amazing. Great!
Is this type of garage for one car?
Because it seems huge.
Thanks! Part two dropping this week, hopefully.
It’s a two-car garage, yeah but slightly deeper (22’ deep x 20’ wide).