😎 How I mounted my Playstation on the wall! Pictures of the process inside 👍
Playstation 4 Wall Mount
Picture source
A short story on how I got to make my own wall mount for my Playstation console.
I bought a new Playstation about 6 months ago, I wanted to stop playing games on PC and go full console peasant. On PC most of the games were full of hackers and I was raging too much over them.
A new "brick" on my desk that takes space (space that even if it was free, it was occupied with something stupid anyway. but hey I wanted that space), so I looked on the internet for different mounts/stands, there was almost nothing that fits my needs. A desk stand looks ok but if by any mistake I push it down from my desk the console will probably be dead after, a wall mount was at a decent price but being from far away it would take 2 weeks+ to be shipped and I wanted to mount it next weekend. So I went shopping and mounted it in my own style.
After looking through the store for a while I found a few things that could easily fix my needs.
I bought:
4 x Metal Joints
4 x Screws
4 x Wall Dowels
1 x Black Paint
Everything was set and ready to start the mount process, I looked up the console sizes on the internet, did some math, and started to twist the metal joints to fit exactly inside the console cooling spaces. (This won't affect the cooling process because the joints are pretty small). Once I was done with the twist process, I painted them black to go well with the black console.
The messy paint operation
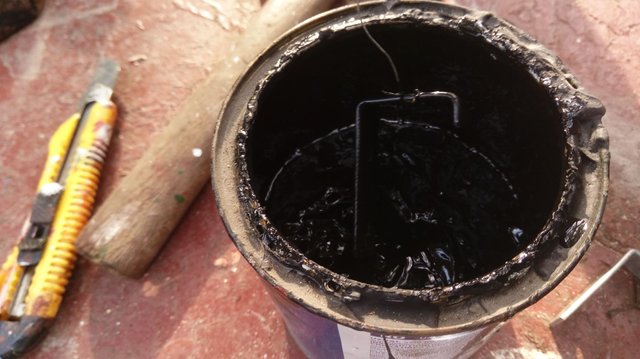
For the painting process I used a small wire to hang the joints to it and slowly put them inside the paint to get that uniform paint on it, with a brush it would have probably looked much worse, I could have bought them black but once you start twisting them the paint will scratch down.
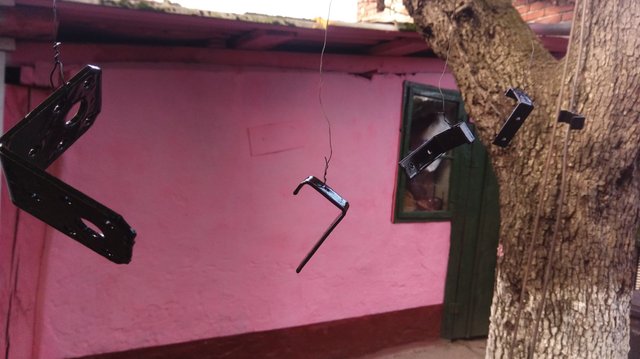
The Metal Joints hanged to dry
The Metal Joints after the painting operation
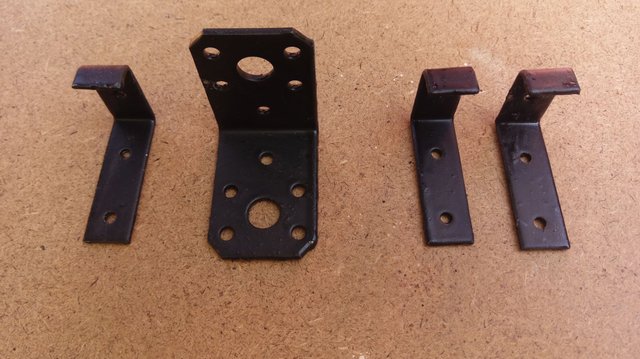
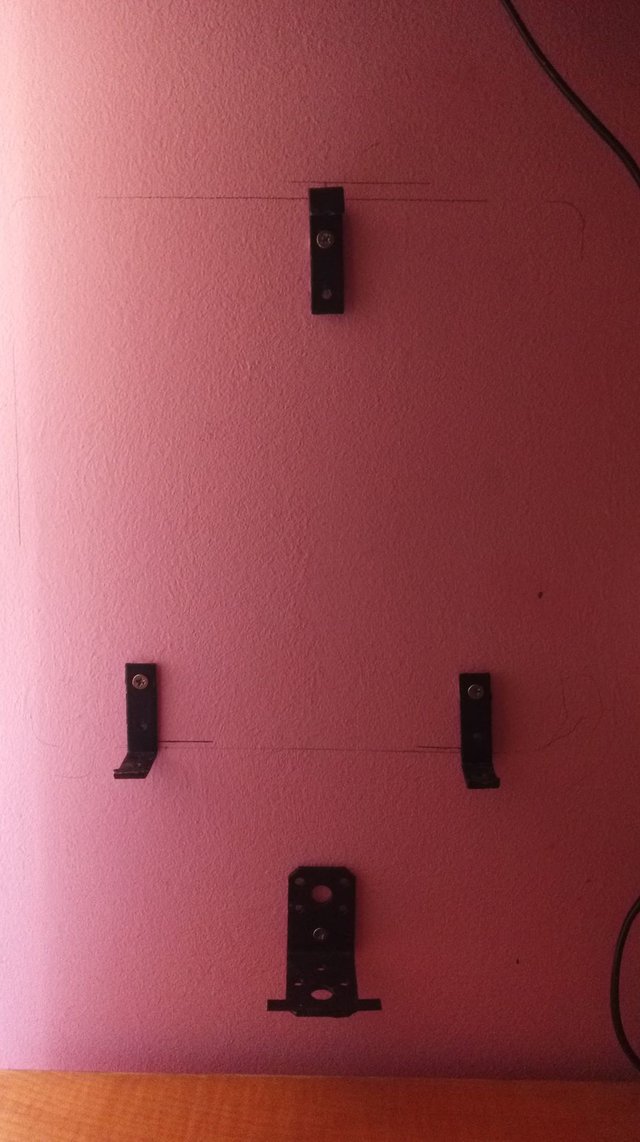
My next step was to draw some lines on the wall based on the console's size and see where to place each joint so the console will stay fixed, in the end I decided to go with 1 joint at the top and 2 at the bottom so the console will have more stability, the last big joint was for the gamepad and placed under the console. To be sure the gamepad won't slide down I added a small rubber at the end of the joint with some glue under it.
Metal Joint with rubber for the Gamepad
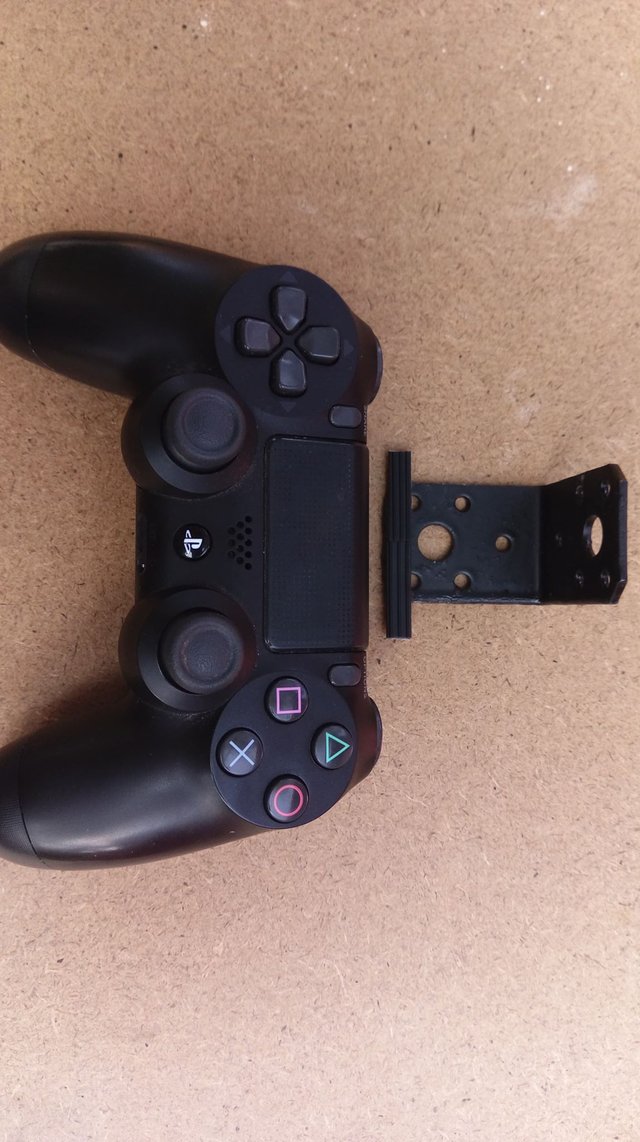
The Metal Joints placed on the wall before adding the console
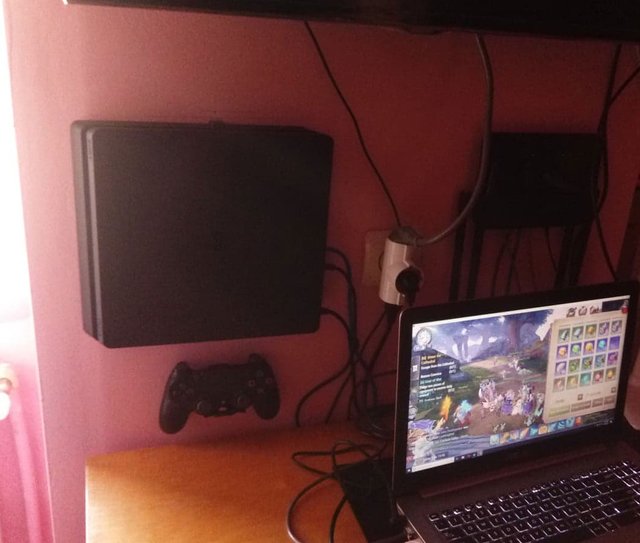
Now that everything was done and well placed it was time to slide in the console, hook up the cables and see if it still works 😄. Below you'll see the final result, sorry for the bad image quality the phone used for pics is not that great and I did not check the pictures exactly after doing each step, to see how they looked like. The final mount looks better then expected I really like the way it looks.
Final result!
If I was able to do it, I am 100% sure anyone can do it, it doesn't take that much time, it's easy, this could probably work for other consoles aswell or even other objects, the only thing that takes a little more time is the painting process where you need to wait for the paint to dry, but you can always get fast dry paint to shorten the time.
Hopefully this helps someone in need, sorry again for the low quality images and for the english mistakes made in this post.
P.S: I know I need to fix all the cables, thats the next thing on my list, the cable management operation.
This post has received a 7.5 % upvote from @boomerang.
Your post had been curated by the @buildawhale team and mentioned here:
https://steemit.com/curation/@buildawhale/buildawhale-curation-digest-10-03-18
Keep up the good work and original content, everyone appreciates it!
there is a possibility of PS5 coming at the end of 2019
Let's hope it's a little bit later, end of 2020 at least :)