💡 The most simple guide of how to install both Random Beacon and ECDSA Keep Network nodes on one VPS 🛠 🖥
This guide will be about how to install both Keep Network nodes, Random Beacon and ECDSA on one virtual server without manual editing configuration files on your computer.
So... Go...
List of tools you need
- You favorite VPS provider: Hetzner, Contabo, Google Cloud Platform, Vultr, Digital Ocean, etc. I'm using Vultr and completely satisfied with its services.
- Infura, GETH, or your own ETH node for better connection to Ethereum blockchain. I will use Infura service, it is completely covering my requests number and is very simple in use.
- Chrome browser and Metamask extension installed.
- iTerm for MacOS or Putty for Windows, I'm using iTerm on Mac.
- Min 20 Ropsten ETHs and 300k test KEEP tokens.
Technical characteristics of the VPS we're going to create
- OS Ubuntu 18.04 LTS
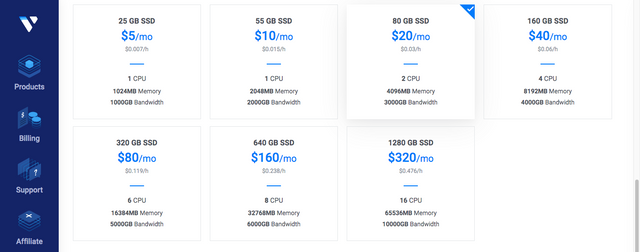
- 2 vCPU
- 4 Gb RAM
- 80 GB SSD
- location on your own discretion.
Step 1
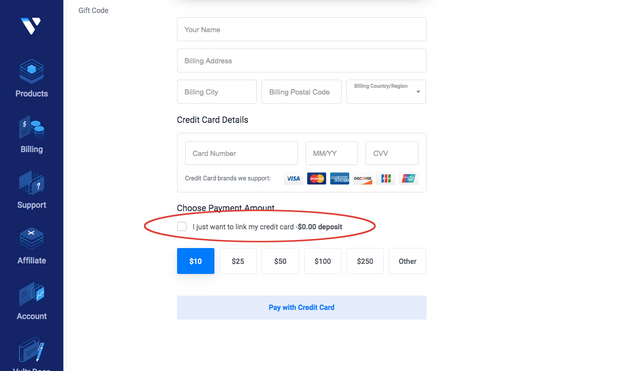
Go to the Vultr.com, register an account and link your credit card by filling the required fields. You will get a $100 voucher for 30 days if you're a new user of Vultr service. So you can just click the "I just want to link my credit card - $0.00 deposit" button.
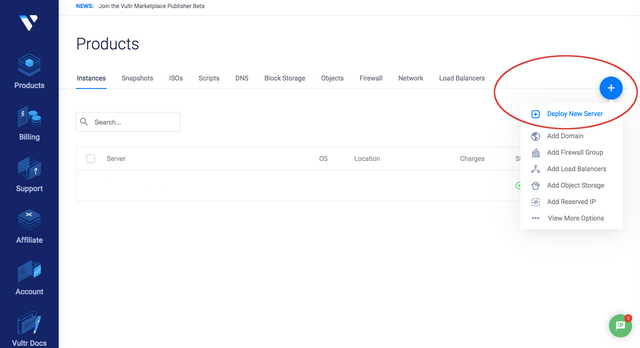
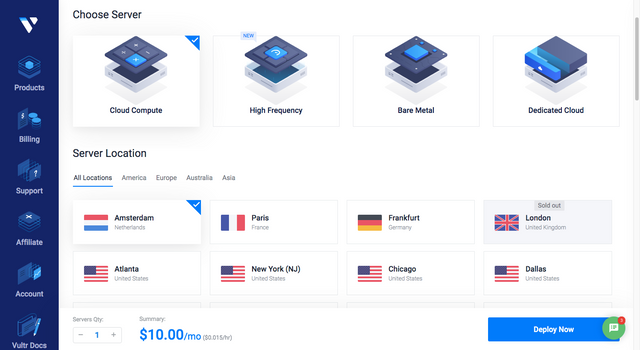
When it's ready go to the "Products" tab and press the "+" and "Deploy a new server" button after.
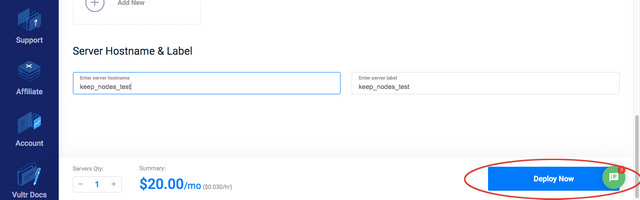
Deploying a server with the characteristics mentioned above, giving it a name, and clicking the "Deploy now" button.
Waiting a bit while it's being installed. It doesn't take a lot of time.

And now we have a deployed VPS ready for use.
Step 2
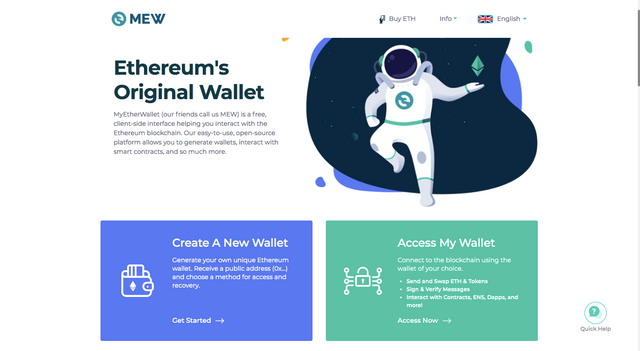
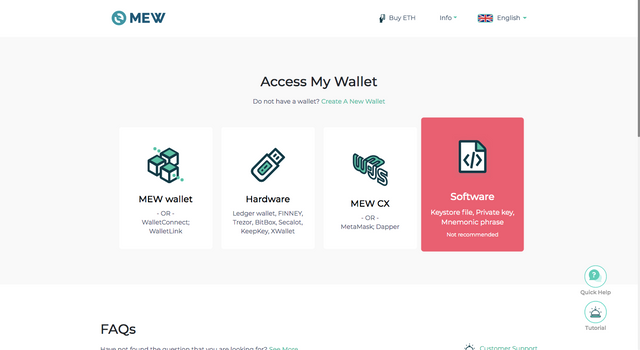
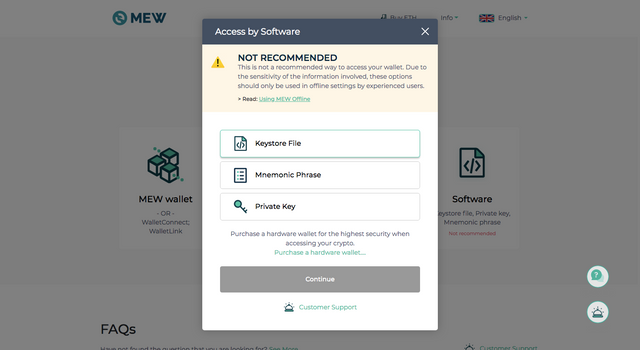
Getting a new ETH wallet.
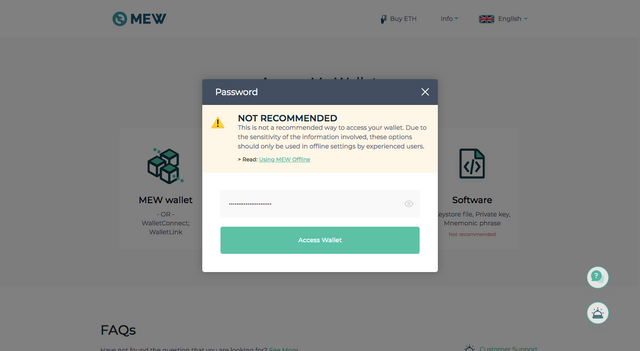
Go to myetherwallet.com and create a new address using keystore file creation method.
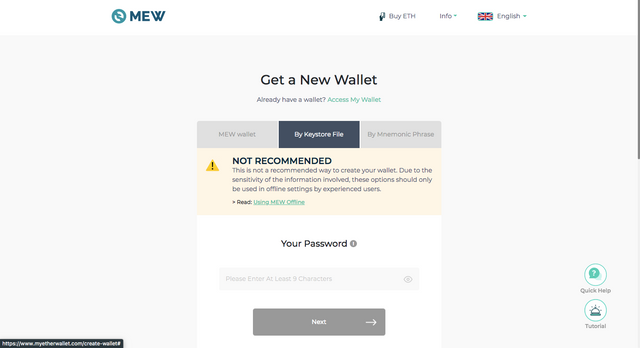
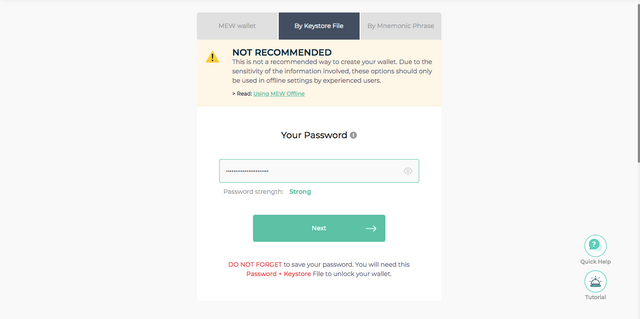
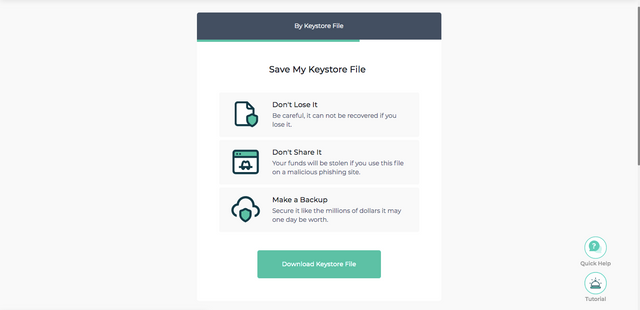
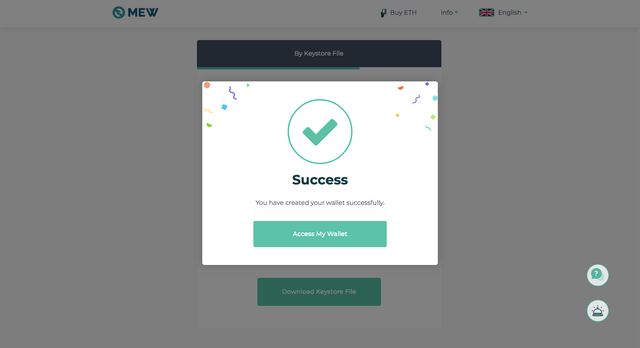
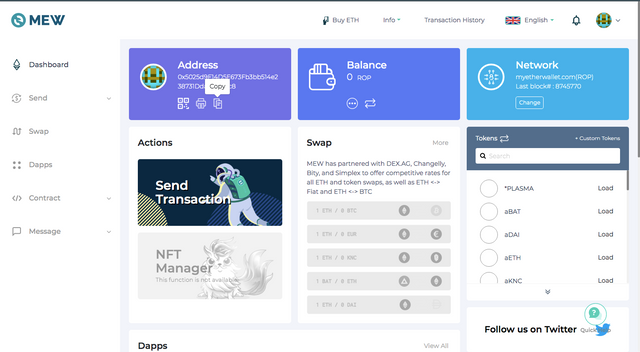
After you've created your wallet and downloaded a keystore file you can access the wallet using it and entering the password to get your public address that we will use after.
Step 3
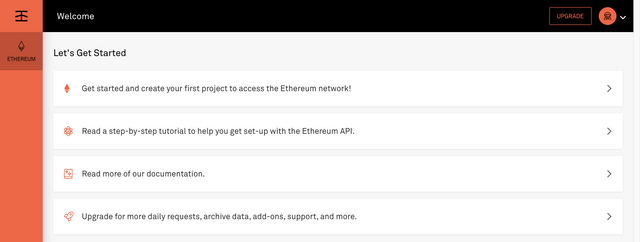
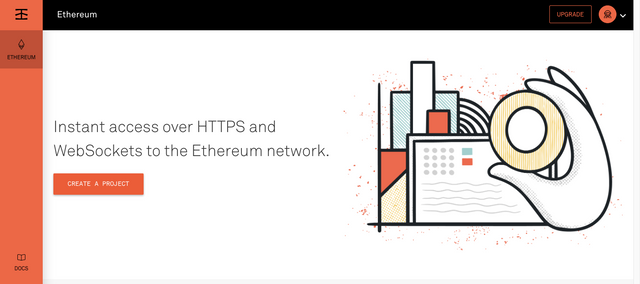
Getting an Infura account.
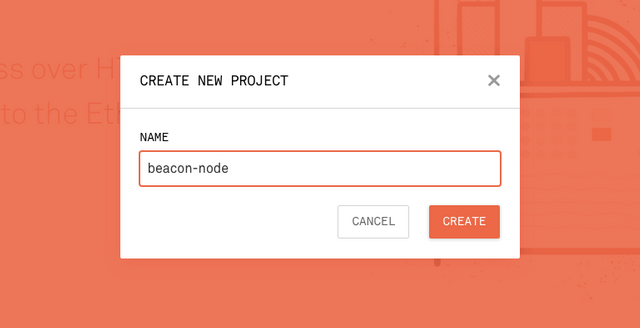
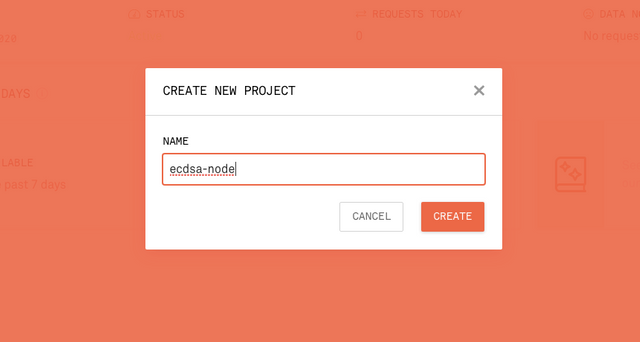
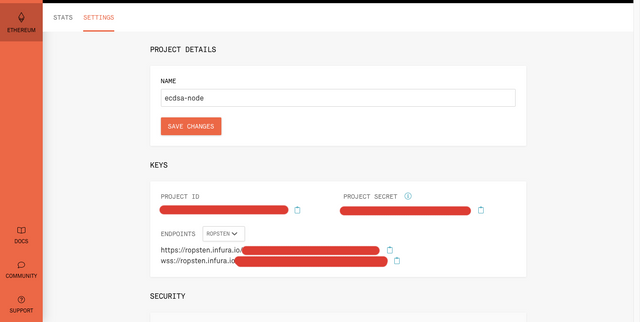
Go to Infura.io, click "Ethereum" and create two separate projects for each of our nodes there. Every time changing "endpoints" to "Ropsten" and saving the "Project ID" for each of the nodes, we will use it further.
Don't forget to click "Save changes" each time.
![]()
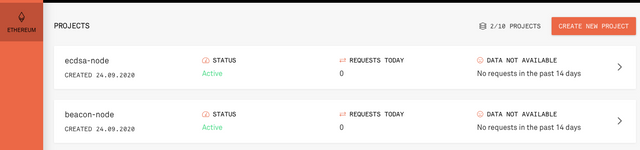
Ok, cool. Now we have two working projects for our nodes on Infura and ready to go to the next step.
Step 4
Getting testnet KEEP tokens from the faucet.
Remember the wallet we created above? It's time to use it.
Go to the faucet address:
https://us-central1-keep-test-f3e0.cloudfunctions.net/keep-faucet-ropsten?account=
and paste your public key right after the "=" in the address bar in your browser.
It must be looking like below:

And in a result you will see this:

And as you remember we also need Ropsten ETH, so go and get them from the next faucets:
https://faucet.ropsten.be/
https://faucet.dimensions.network/ (5 ETH : 1 x per day)
https://teth.bitaps.com/
https://faucet.metamask.io/
https://faucet.kyber.network/ - sign in via github
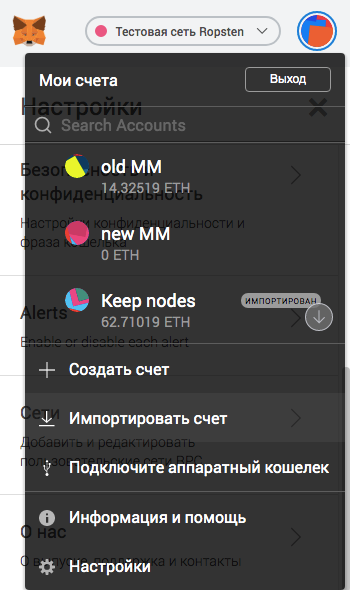
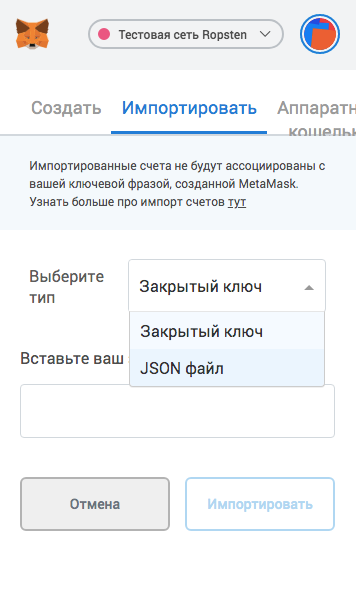
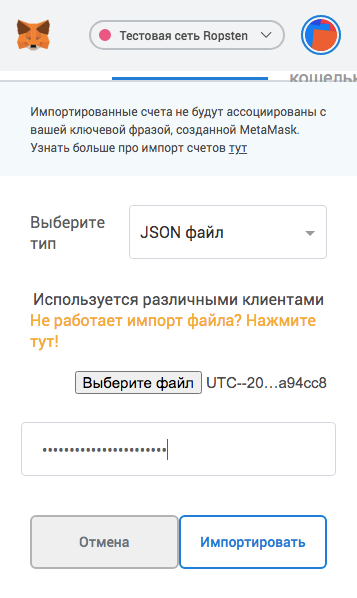
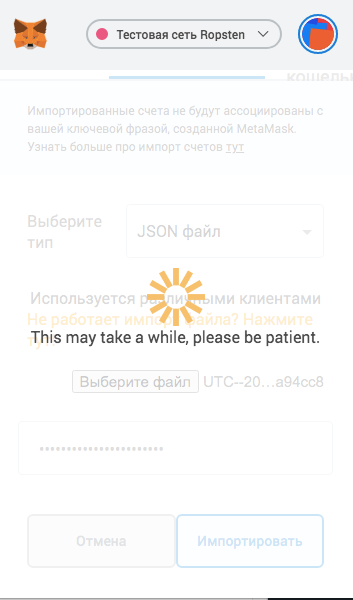
We also need to import this new wallet into the Metamask extension to be able to use it further. It's a simple step, just press onto the user image, then "Import account", chose "by JSON file", find it on your computer and upload to the extension along with entering your wallet password.
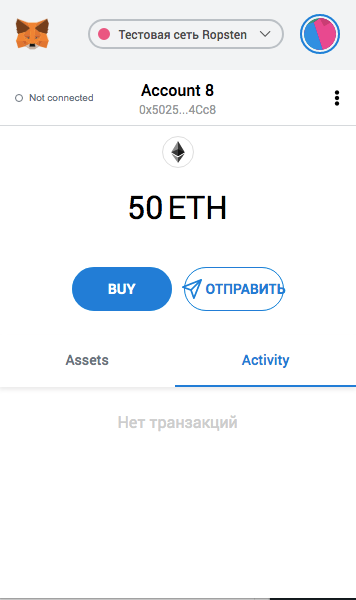
Ok, we're now good to go to the Keep Dashboard and delegate tokens.
Step 5
Delegating KEEP tokens and authorizing contracts in the dashboard.
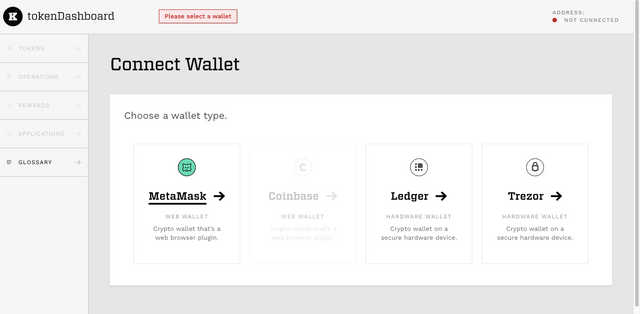
Go to: dashboard.test.keep.network, log-in with Metamask, and wait for the full loading of the page.
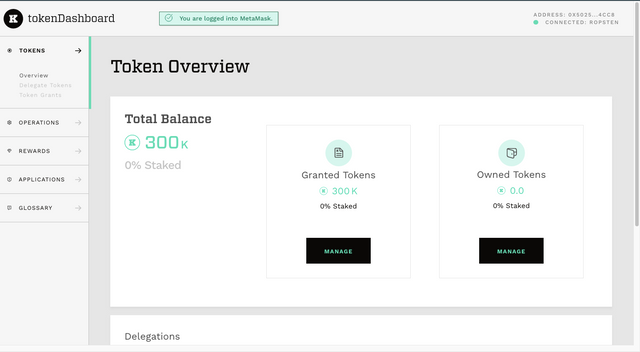
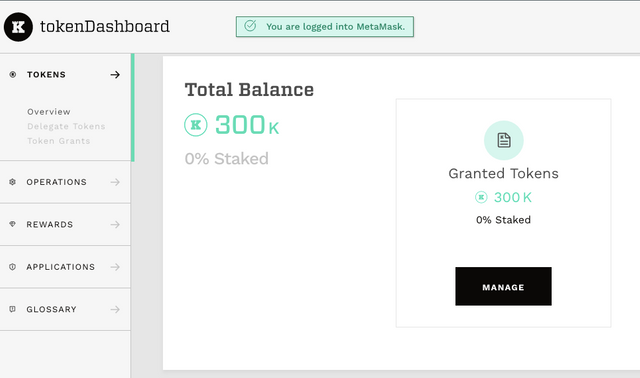
Press the "Manage" button in the "Granted tokens" tab and fill the required fields: "Token Amount" enter 300000, and paste your ETH address three time to the lines "Authorizer Address", "Operator Address", "Beneficiary Address", and press "Delegate stake" after that.
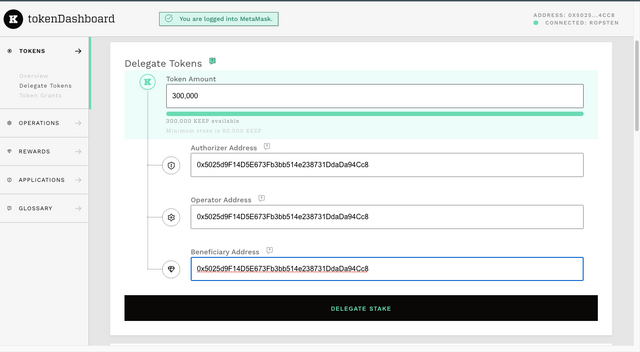
Type "DELEGATE" to confirm the operation.
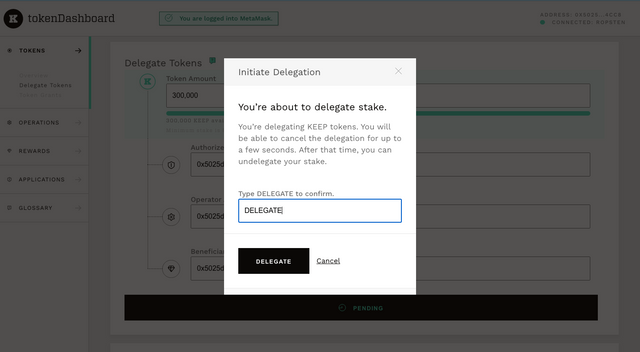
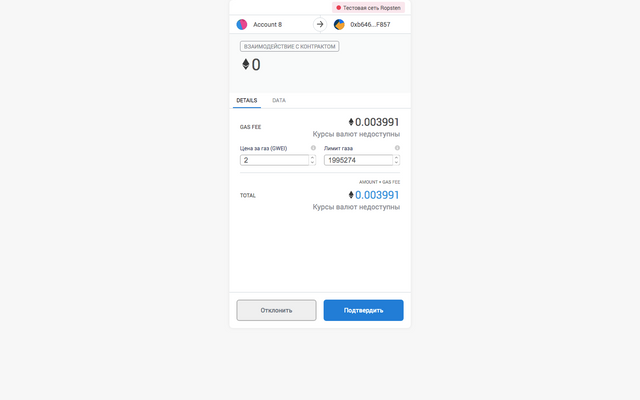
Sign the trasaction in Metamask.
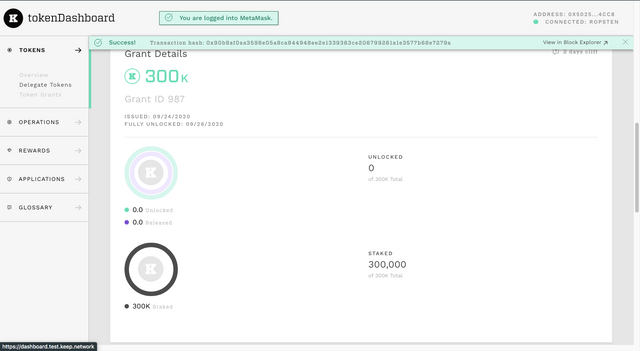
And it's ready, you can see your stake info after the transaction confirmed.
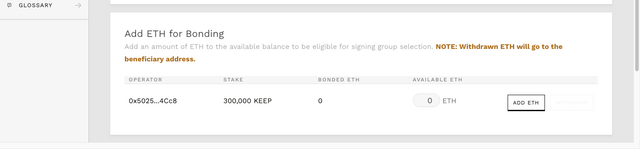
Now go the "Application" tab and press "Manage" at the tBTC column.
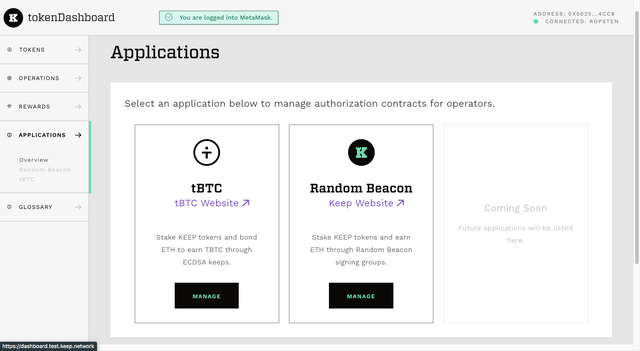
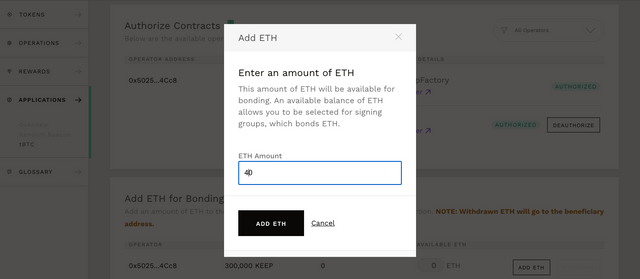
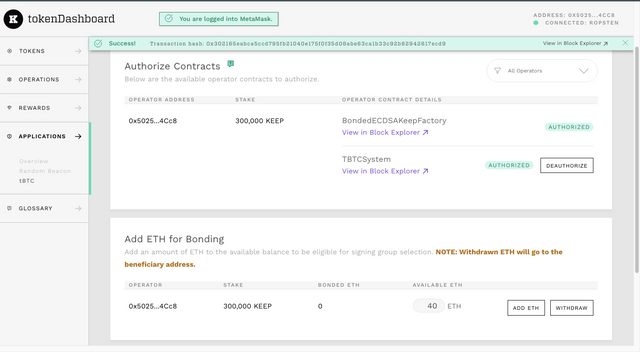
Here we need to authorize two contracts and add our ETH to the bond. Every time signing the transaction in Metamask and waiting for the confirmation.

If everything was done correctly your dashboard must be looking like below:
Now we need to authorize the Random Beacon contract. Go to the "Random Beacon" tab and press "authorize", also signing a transaction in Metamask and waiting for the confirmation.
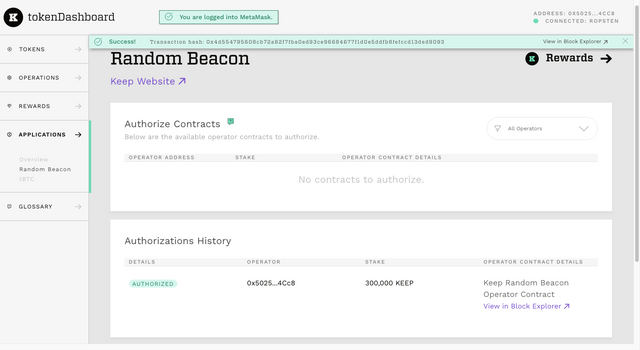
Awesome, we did everything correctly and can move further, to the most interesting and important step.
Step 6
Configuring and launching the nodes on the server.
Open the terminal on the VPS provider website if it available or launch your local one. I'll use iTerm on my Mac.
Get your connection credentials on the clicking onto the created earlier virtual server.
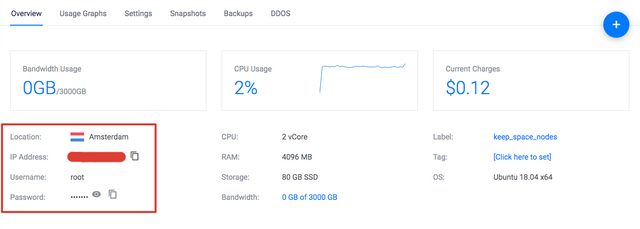
We need to get an IP address, username and password.
Now switch to the iTerm and enter command:
ssh root@(your_Vultr_IP_address) and press "Enter"
then copy and paste <your password> and click "Enter" again.
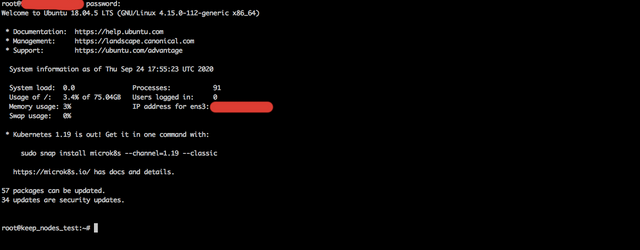
If everything done correctly you're now logged into the server.
Now we need to setup Ubuntu and get the latest versions of packages on the server by entering this command:
sudo apt update && sudo apt upgrade -y
If you see something cool is happening it means you're a tech god now :) Just wait till it finished.
Install the git package:
yes | sudo apt install git
Then install docker:
sudo apt install docker.io curl -y
and activate it:
sudo systemctl start docker
sudo systemctl enable docker
After we need to open ports: 22, 3919 and 3920, and activate the Firewall:
sudo ufw allow 22 && sudo ufw allow 3919 && sudo ufw allow 3920 && yes | sudo ufw enable
check the status:
sudo ufw status
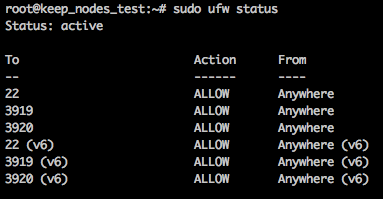
looks good, going further, to the node launching itself.
Cloning the github repository with all folders and configs to the server using the command:
git clone https://github.com/icohigh/keep-nodes.git
Now we need to change data in configuration files to ours.
echo 'YOUR ETH ADDRESS' >> $HOME/keep-nodes/data/eth-address.txt
where 'YOUR ETH ADDRESS' must be changet on our ETH address we created and imported to the Metamask above. Must be looking like below:

echo 'YOUR PASSWORD' >> $HOME/keep-nodes/data/eth-address-pass.txt
here we need to change 'YOUR PASSWORD' to the password of our ETH address.
echo 'CONTENT OF FILE UTC--2020-08-24T16-27-57' >> $HOME/keep-nodes/data/keep_wallet.json
in this comman we need to replace 'CONTENT OF FILE UTC--2020-08-24T16-27-57' with the data from our JSON wallet file. Open it with any text editor and copy the content from there. Make sure you didn't lose any symbol and enter a full comman into iTerm.
Further we need write-up the data of our password and server IP to the .profile file by entering the commands:
echo 'export ETH_PASSWORD=$(cat $HOME/keep-nodes/data/eth-address-pass.txt)' >> $HOME/.profile
echo 'export SERVER_IP=$(curl ifconfig.co)' >> $HOME/.profile
No need to change anything here.
Now we need to add our Infura ID to the config.
Paste the beacon-node and ECDSA-node projects ID's instead of "YOUR_INFURA_ID_BEACON_NODE" and "YOUR_INFURA_ID_ECDSA_NODE" respectively.
grep -rl INFURA_BEACON_ID $HOME/keep-nodes/beacon/config* | xargs perl -p -i -e 's/INFURA_BEACON_ID/YOUR_INFURA_ID_BEACON_NODE/g'
grep -rl INFURA_ECDSA_ID $HOME/keep-nodes/ecdsa/config* | xargs perl -p -i -e 's/INFURA_ECDSA_ID/YOUR_INFURA_ID_ECDSA_NODE/g'
export ETH_PASSWORD=$(cat $HOME/keep-nodes/data/eth-address-pass.txt)
Heh, now we finally are good to start the launching of the nodes, so let's do this.
Launching the Bacon node. Type next commands one-by-one and press "Enter" after each of them.
sudo docker run -d \
--entrypoint /usr/local/bin/keep-client \
--restart always \
--volume $HOME/keep-nodes/data:/mnt/data \
--volume $HOME/keep-nodes/beacon/config:/mnt/beacon/config \
--volume $HOME/keep-nodes/beacon/persistence:/mnt/beacon/persistence \
--env KEEP_ETHEREUM_PASSWORD=$ETH_PASSWORD \
--env LOG_LEVEL=debug \
--name keep-client \
-p 3919:3919 \
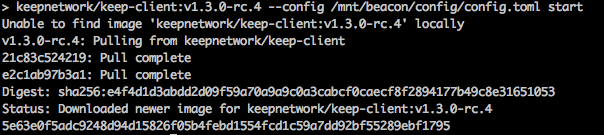
keepnetwork/keep-client:v1.3.0-rc.4 --config /mnt/beacon/config/config.toml start
If everything is right you'll see the next:
Launching the ECDSA node. Type next commands one-by-one and press "Enter" after each of them.
sudo docker run -d \
--entrypoint /usr/local/bin/keep-ecdsa \
--restart always \
--volume $HOME/keep-nodes/data:/mnt/data \
--volume $HOME/keep-nodes/ecdsa/config:/mnt/ecdsa/config \
--volume $HOME/keep-nodes/ecdsa/persistence:/mnt/ecdsa/persistence \
--env KEEP_ETHEREUM_PASSWORD=$ETH_PASSWORD \
--env LOG_LEVEL=debug \
--name keep-ecdsa \
-p 3920:3919 \
keepnetwork/keep-ecdsa-client:v1.2.0-rc.5 --config /mnt/ecdsa/config/config.toml start
And if everything is right you'll see next:

Aaaaaand that's all, both Random Beacon and ECDSA Keep Network nodes were installed and work smoothly. To be sure you can check the logs using next commands:
sudo docker logs keep-client -f --since 1m
sudo docker logs keep-ecdsa -f --since 1m
Or just view the connected peers:
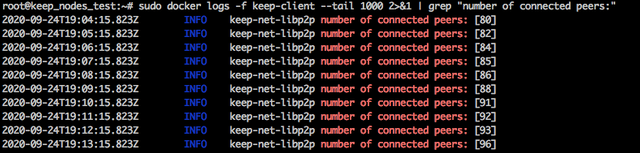
sudo docker logs -f keep-client --tail 1000 2>&1 | grep "number of connected peers:" for beacon node,
and
sudo docker logs -f keep-ecdsa --tail 1000 2>&1 | grep "number of connected peers:" for ecdsa node.
If you see any "connected peers" then your node is running well. For instance, if I'm checking now it for my beacon node it shows me this:
And for ecdsa node this:

To check running docker containers enter this command:
docker ps
And you'll see next:

To stop and remove containers these ones:
sudo docker stop keep-client && sudo docker rm keep-client
sudo docker stop keep-ecdsa && sudo docker rm keep-ecdsa
And now, that's all. We successfully gone through the whole nodes installation process, from the very beginning till the very end, and we did it correctly from the first trying, hmmm... not bad.
Now it's time to check the official links and join the Discord channel to learn more about the Keep and tBTC.
Keep Network website, tBTC website, tBTC dApp, tBTC Yellow Paper, Keep Network GitHub, Messari transparency page, Keep Blog, Staking documentation, tBTC mainnet contract on Etherscan, KEEP on CoinGecko, Twitter, Telegram, Reddit, Discord.
And of course, if you have any questions or suggestions I'm waiting for it in Discord, my username is: alterkahn#1033