Investment casting. Redoing a millennia old production process.
Having finished my ukulute I am now spending most of my spare time playing it.
I have (more or less) taught myself 3 tunes (or rather simple chord-progressions). "Me and Bobby McGee" by Kris kristoffersen made famous by Janis Joplin,
"Jolene" by Dolly Parton
and "I need you" by Eurythmics.
I am currently trying to teach myself the theme from the 1986 arcade game Bubble Bobble
thats gonna drive my family crazy I am sure :-)
however since I now have some time on my hands I have also started experimenting with metal casting again.
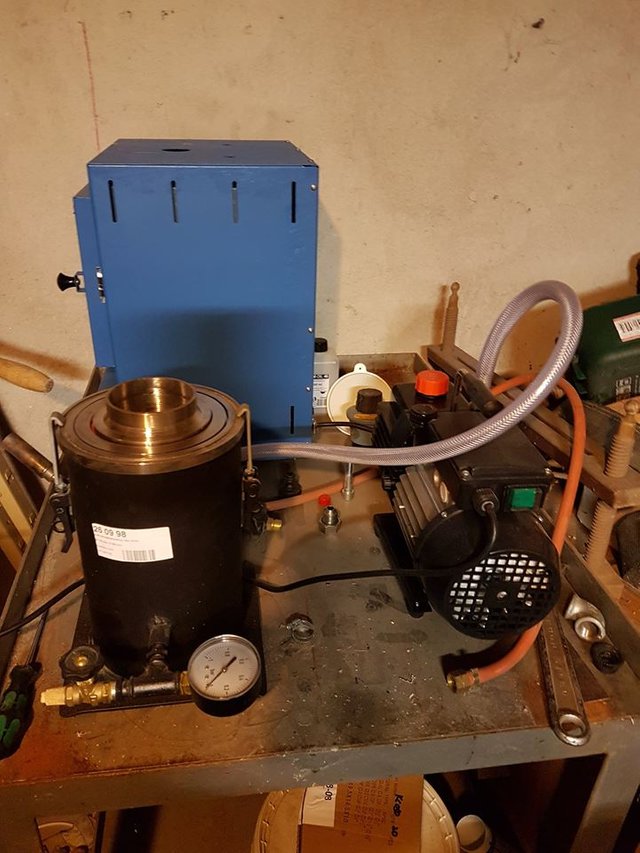
Almost a year ago, when my one man company had some surplus money to spend, I bought a vacuum pump some casting equipment and an oven for investment casting. It has been sitting idle in my workshop, while I spent my time on other projects , all the time working up the courage to try it out. I have helped with investment casting back in the day when i was a goldsmith apprentice, but I have never done it by myself.
Casting , even in the simplest setup, is a complicated and error prone process. when doing real investment casting it is even more so.
I will now try to explain the process to you all.
First some background. Metal casting has been around since at least the bronzeage. thats actually how it got its name. The most common primitive casting process is Cire perdu (which means lost-wax in french) and incidentally it is also the most common modern casting method - at least for complicated objects. the idea is that a wax object is covered in some substance that can withstand heat (clay or plaster). When the clay is dry, the mold is heated and the wax runs out leaving a hollow cavity. Then molten metal is poured into the cavity and the clay mold is broken.
essentially all modern investment casting is similar.
For me the journey starts with a model. The things I have made in Blender and printed on my 3d printer are obvious candidates and for this particular test I used some dragon shaped end-stops for a chain that I needed for a project I will probably post about later.
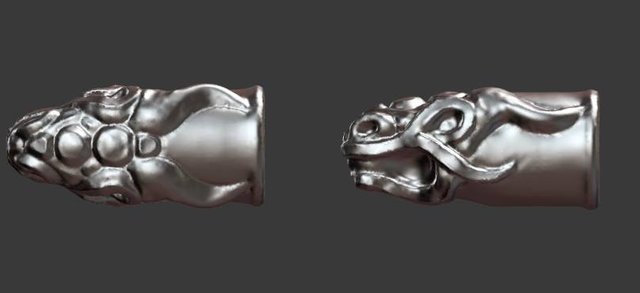
first I modeled them in blender then i printed them on my resin printer. Then comes the first tricky part. to get them in wax i need a reusable rubber mold. these molds are ususally made using vulcanising, i.e. by heating rubber under pressure while the object you want to copy lies inside. The probelm here is that the prints are essentially a plastic and plastics are normally not very heat resistant. luckily I am not the only one who wants to do this , so in recent times new vulcanising rubbers have surfaces that require less heat and less time. I have bought a batch of rubber tht needs "only" 96 degrees centigradde for app. 9 minutes per layer (a mold is usually made up of 2-4 layers) and my initial tests have shown that my prints can survive this comparatively unscathed. when they come out of the mold they are birttle and ruined but as long as they hold their shape within the mold I get a perfect wax copy.
Then I make as many wax copies as I need. I have a wax-pressure-cooker in which I heat some wax and then it can be injected into the mold by pressing the mold unto a tab on the side of the cooker.
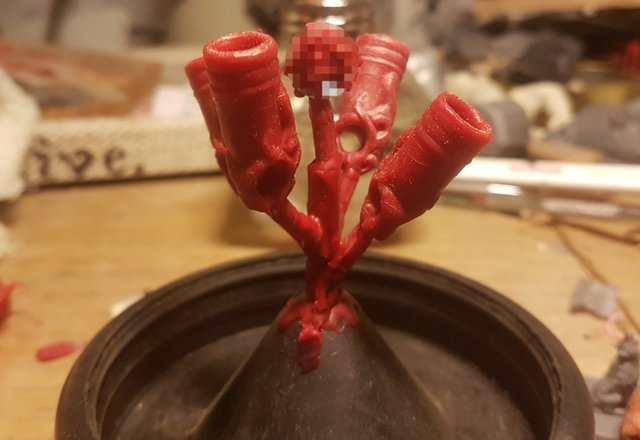
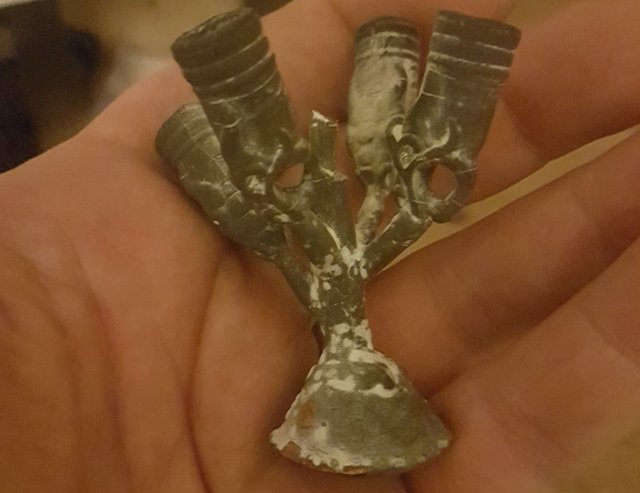
In this case I made four, these are then put on a "tree" ready for covering in plaster. a stainless steel tube is placed around the tree, making a hull for the mold. (the pixelated part is because i did a casting that i am not allowed to show you)
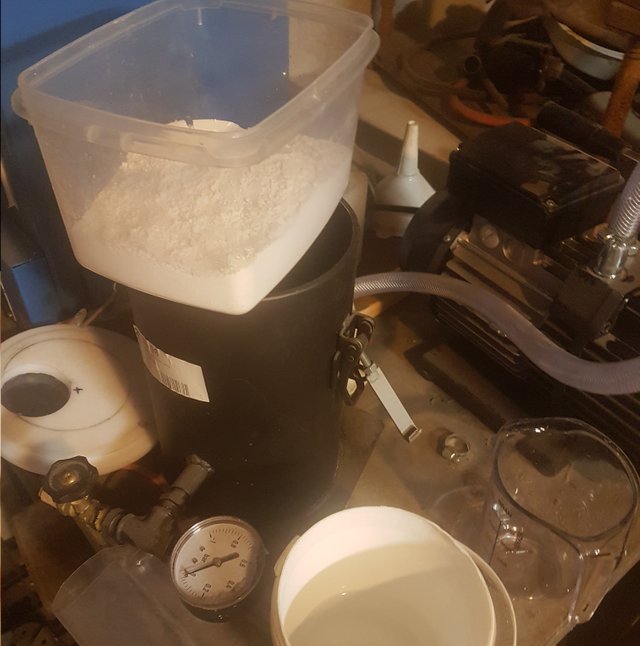
One of the key dangers of casting in plaster is air bubbles in the plaster. To avoid this, it is a good idea to use vacuum to evacuate the air from the still liquid plaster. the usual workflow is as follows: mix water and plaster, vacuum the mix for 1-2 minutes pour the mold, vacuum the mold - again. Leave to dry.
The next problem is getting the wax out. Its not called cire perdue for nothing. The plaster mold can withstand a lot of heat, while the wax melts at around 80 degrees centigrade and evaporates(or burns) at around 5-700. It is not that easy though. There are some very real risks of cracking or burning, so the heat should be very carefully ramped up in steps. I have bought a programmable oven for that (yes its an expensive hobby/line of work) it can be programmed to go from one temp to another at a set amount of degrees per minute and then hold that temp for a given amount of time. There are instructions for how to do this and I have just followed these. Later when I get more experience, I will probably tweak it a bit to suit my needs, but for now I just follow the recipe.
it takes around 8 hours for the full cycle to finish so I had to find a day where I had no other plans (that is actually one of the main reasons I haven't done this before, it is quite hard for me to find a full day with no other plans) i started the oven early in the morning and was ready to cast late afternoon.
Then finally the actual casting!
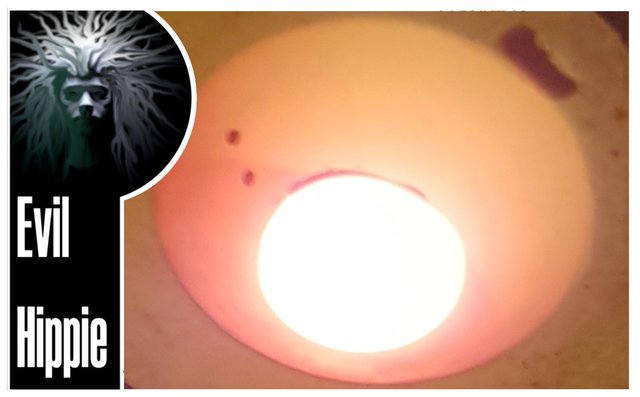
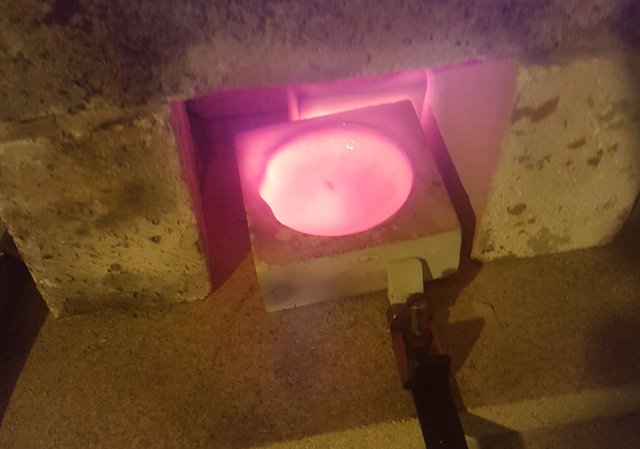
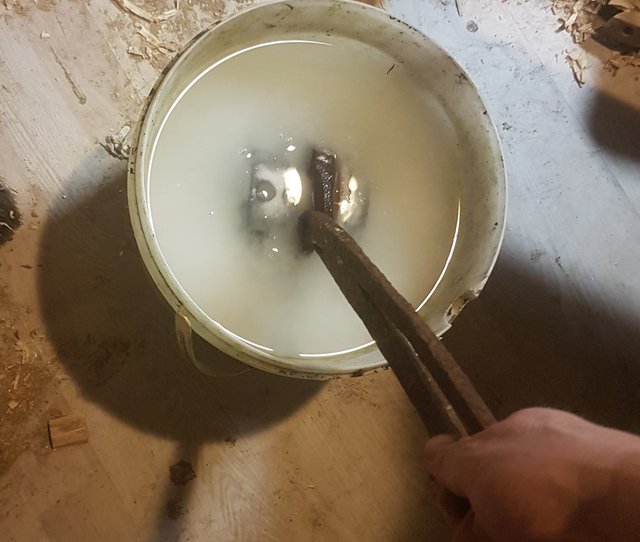
to find out how much silver should be melted you weigh the wax and multiply by 10, then add app 30 grams for whats called "the king" which is the small puddle of metal that sits on top of the mold when the metal has been poured. This is added to a crucible(a bowl made of heat resistant ceramics) and then heated to app 1000 degrees. I dont have a thermometer to measure the temperature but I know how to recognize the right temp. by the colour. when the silver turns from yellow hot to white hot, it gets a greenish tint and that's when it should be poured. (the image shown is a bit misleading since I had to take the photo after the pour so this crucible is actually empty)
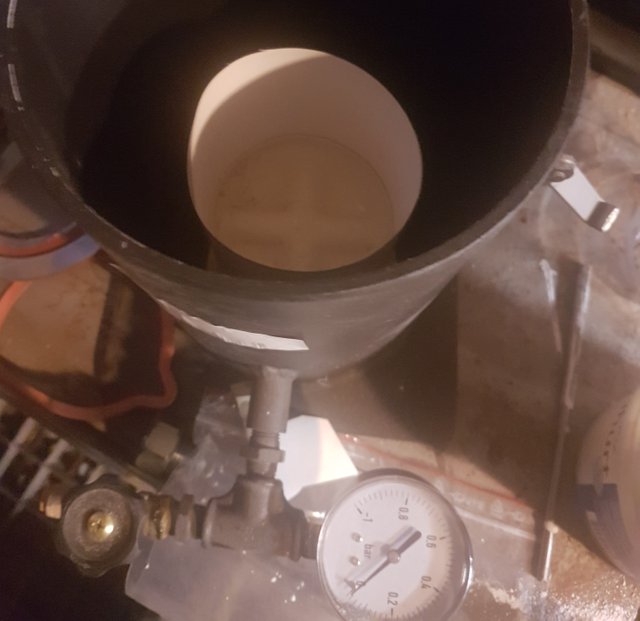
Before the pour, the mold is removed from the oven. It is now app. 420 degrees hot. I place it in a vacuum cylinder so that there is suction from beneath. This will help with getting the trapped air out of the mold, thus giving better details and reducing the risk of the hot metal exploding in my face. This entire process is fairly nervewracking since it is timecritical and involves VERY hot metal. Also it has the potential to ruin a full days work if just one of the steps has been done wrong.
for this particular pour everything went really well and everything came out nice. The last stage is quenching the still hot mold in water. The plaster is dissolved rather violently at contact with the cold water and the silver is revealed.
All details was preserved and the surfaces were all nice. they are blackish in the beginning but thats only only they have soaked in some sulphuric acid for a while.
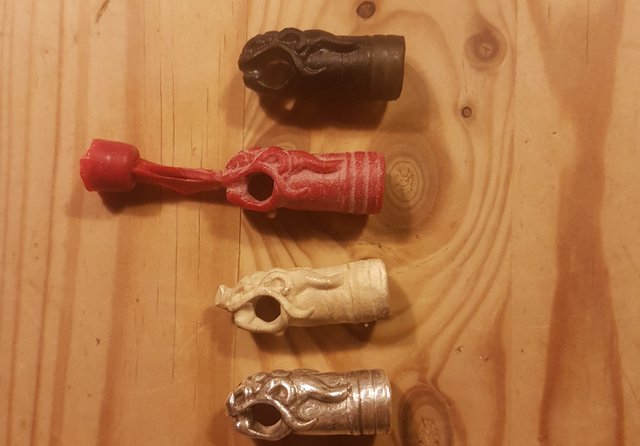
Here are all the different stages from print to finished casting. from top to bottom it is : Printed plastic, wax model, silver casting before initial polish, silver after initial polish. There is much more work to do before it is nice and shiny, but you get the idea.
This is all for now. In a later post I will show the finished jewelry piece.
until then

Im EvilHippie, a compulsive creative and jack o' trades. If you want to know more about me, check out my introduction post here
If you like what you see, feel free to upvote, follow and resteem
or you can check out my accounts on these sites:
This is so cool @evilhippie I've always wanted to try casting things. I've even got to the point of getting some plasticine mold stuff that you can use to shape around your creation to make things from (Not as high tech as this more go to Michaels for craft supplies varitey) but I made a few silver pieces with a mold once, but it was pushing in plasticSilver Clay, it was fun but a lot of work.
I have also made several "lowtech" casting experiments. including using something similar to what you mention there. I used hot plastic melted in our oven pushed into molds made from milliput
we want a silver Phil!!
do not worry if you are a platinum supporter of the upcoming crowdfunding campaign for Phillfromgchq I am sure we can fix that. I am pretty sure it will have to be smaller than the one in pla, for anyone to be able to afford it though
Awesome post! You show the steps really well.
If you can melt silver, then you probably can cast copper or brass as well if you needed to for some project.
A few years ago, I was working on a setup for doing sand casting with aluminum, but I never got the melter built. Aluminum is pretty easy to melt compared to most other metals.
Thanks! yes copper and brass is definitely possible. I have done some bronze sand castings for some of my sword fittings. bronze is essentially a brass alloy. I havent played with aluminium yet, but the melting point is way lower than silver or bronze. You can even melt it using a steel crucible ( also known as an old cooking pot)
Hello!
This post has been manually curated, resteemed
and gifted with some virtually delicious cake
from the @helpiecake curation team!
Much love to you from all of us at @helpie!
Keep up the great work!
Very nice work! Can you do steel as well?
And that programmable oven could probably also be used for reflow soldering. Couldn't help thinking that.
to be fair I have not tried but I think my gas burner would have a hard time getting hot enough for even melting the steel much less get it to casting temp. I guess I will have to try it at some point.
regarding the reflow soldering - yes i suppose it could. it should be fairly precise in its temperature, but its fairly small so it would only be for stuff thats smaller than the app 20X18 cm of the oven
Congratulations @evilhippie! You have completed the following achievement on the Steem blockchain and have been rewarded with new badge(s) :
You can view your badges on your Steem Board and compare to others on the Steem Ranking
If you no longer want to receive notifications, reply to this comment with the word
STOPDo not miss the last post from @steemitboard:
Vote for @Steemitboard as a witness to get one more award and increased upvotes!