Hydroponic greenhouse #1
Hey,

In this one I'm gonna talk about building my greenhouse. I'm not very good at documenting things I do so I didn't take pictures every step of the way, but if you've got any questions, please ask them and I will tell you how I've done something and why.
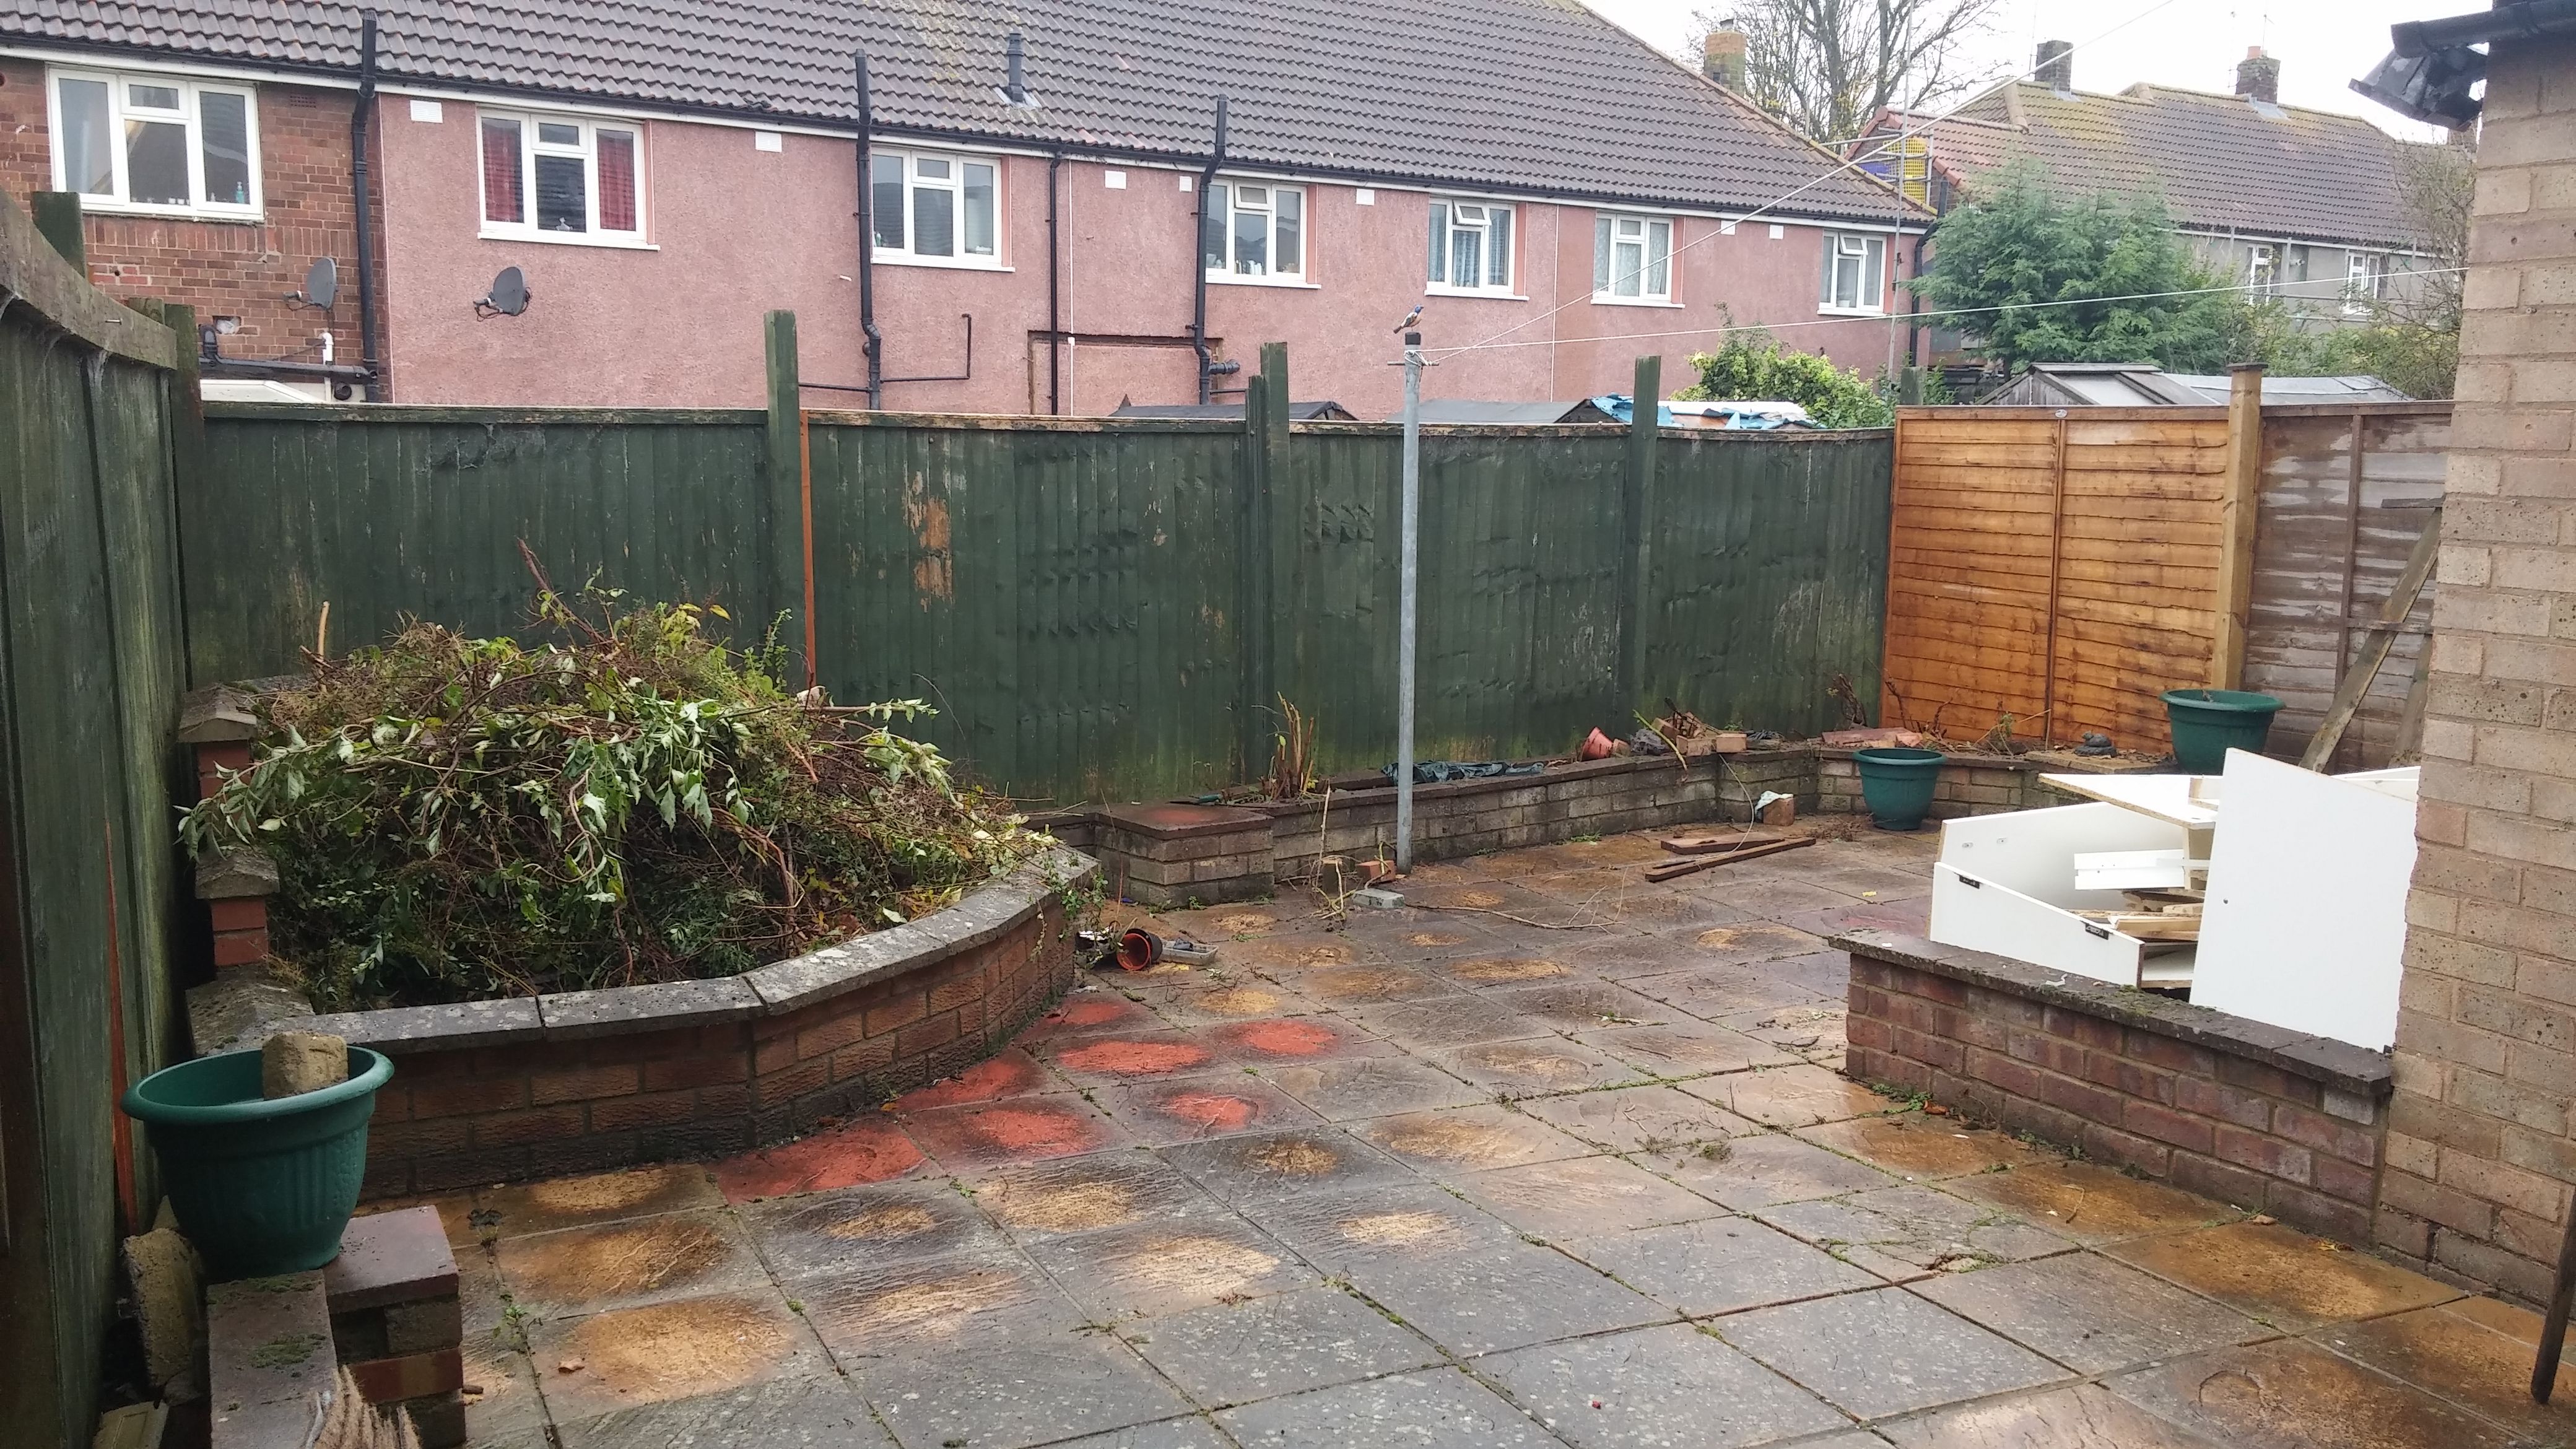
First let me show you how our garden used to look when we moved in. It had a small brick border wall around, the one at the far side of the pic was a narrow grow bed. All those bricks had to go and I'll tell you now, it wasn't a particularly nice job smashing through all of them and carrying them away, but hey, they`re gone now.
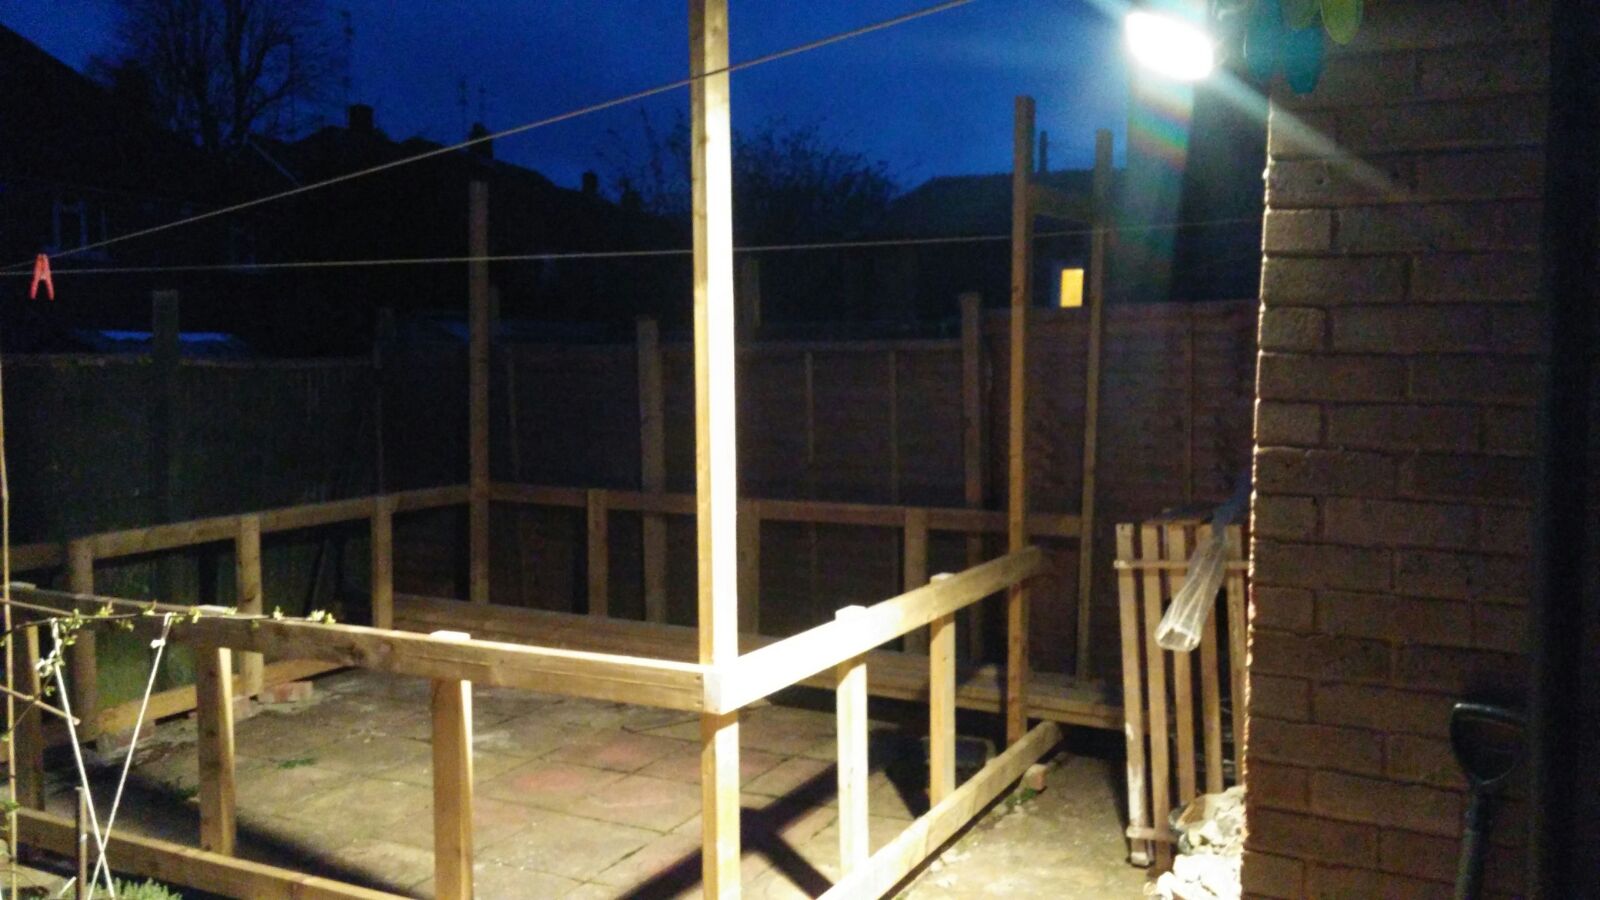
The main frame is build from wooden beams 4.5cm thick and 9cm wide (2x4s). The base is 3.1m wide and 3.4m long. The height is just shy of 2.5m in order to avoid needing a planning permission.
I started with the base rectangle and worked my way up. Everything is joined with 7cm screws except for the corner joints where I went for 13cm screws.

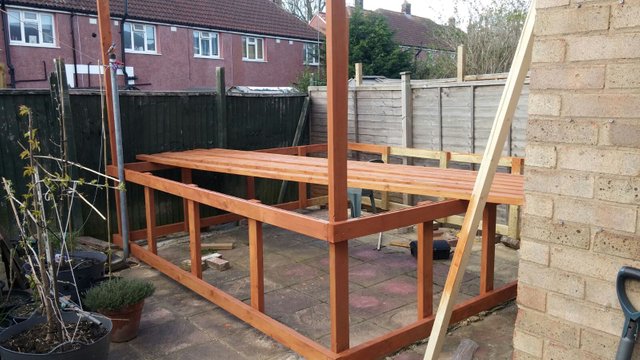
By the end of the first day I had the main frame finished.
The next day I started staining the wood, I figured it's easier to do it at that stage as opposed to later.
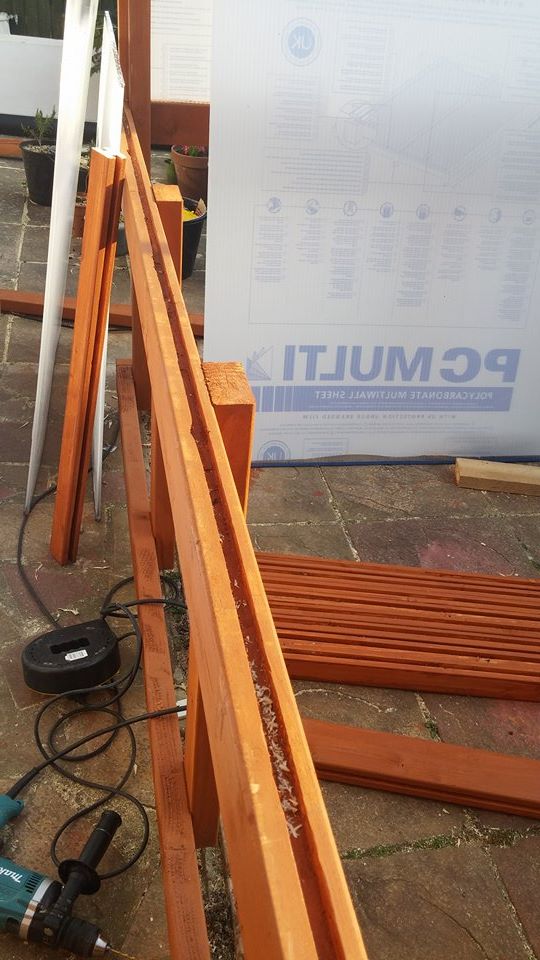
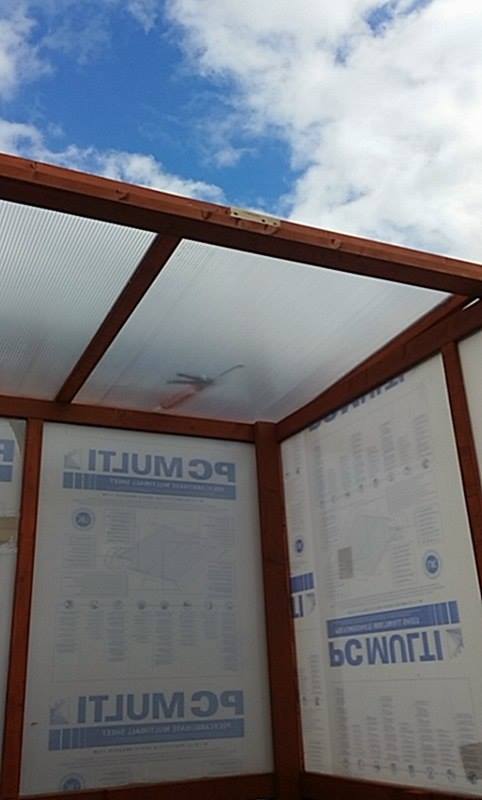
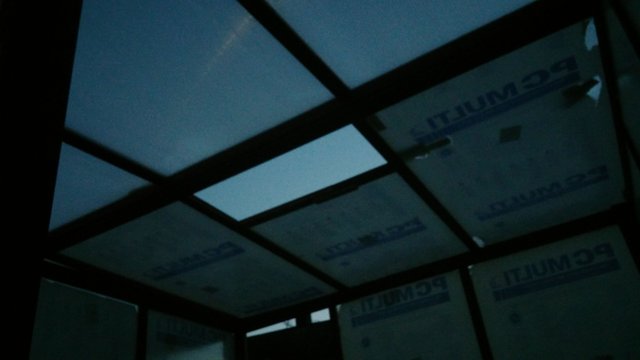
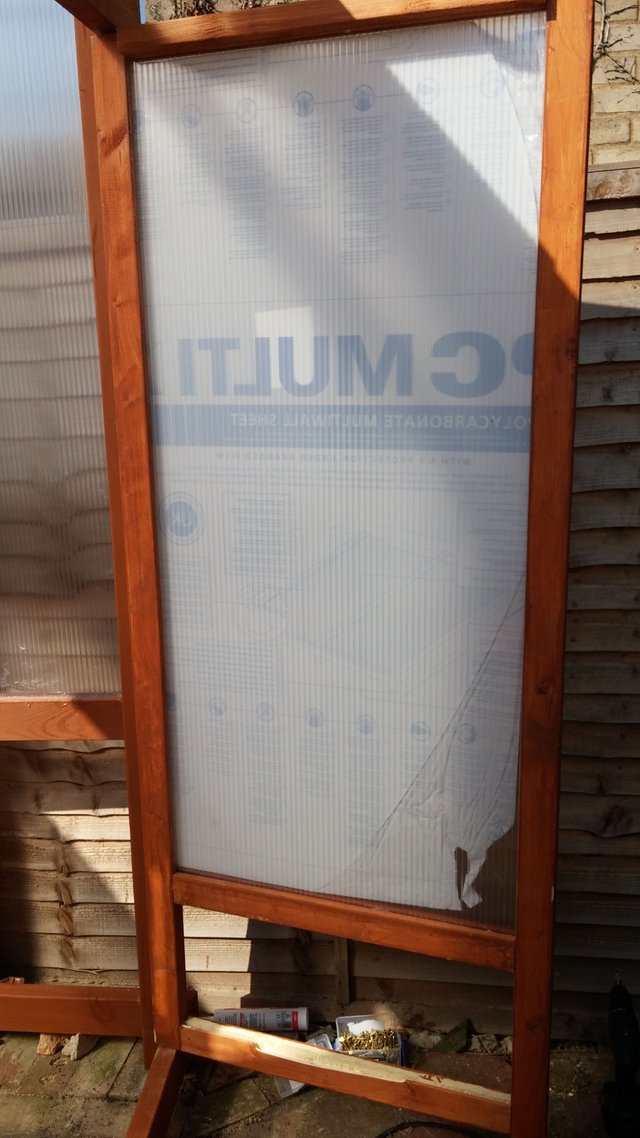
After trawling google and youtube I came to the conclusion that in my circumstances the best solution for windows/roof would be polycarbonate sheets. I went for double layered, 10mm thick ones; they're really strong, way safer than glass, UV shielded and have good transparency levels; they're also better than glass at keeping heat in. Their height is 1.5m. There were some better options as well but those were out of my budget.
As I ordered the panels I realised I would need all the fittings for them as well and unfortunately the fittings would have cost me pretty much as much as the panels so I needed a different solution.
I decided for buying a router and cutting channels into the wood so that the panels can slide in. On the ground you can see the wooden posts that I used to join the panels to one another. They're smaller wooden beams 3.5cm by 6 cm and I cut a channel for the panels on each side resulting in a H shaped beam that can accept panels on both sides. I dropped a line of silicon in the channels before putting the panels in to seal everything up.
Then I started raising the walls. I used clamps to hold the top beam in place and slowly lowering it as I was putting in each side panel.
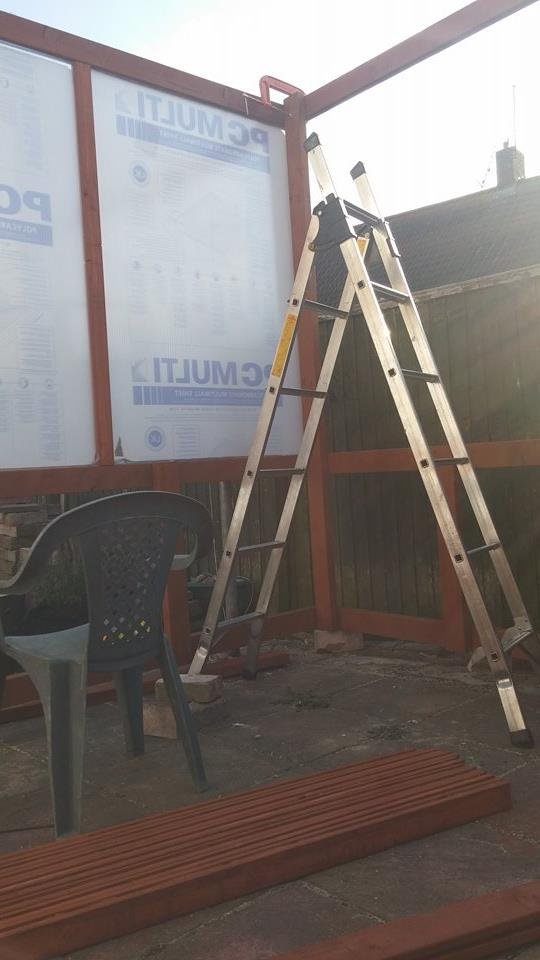
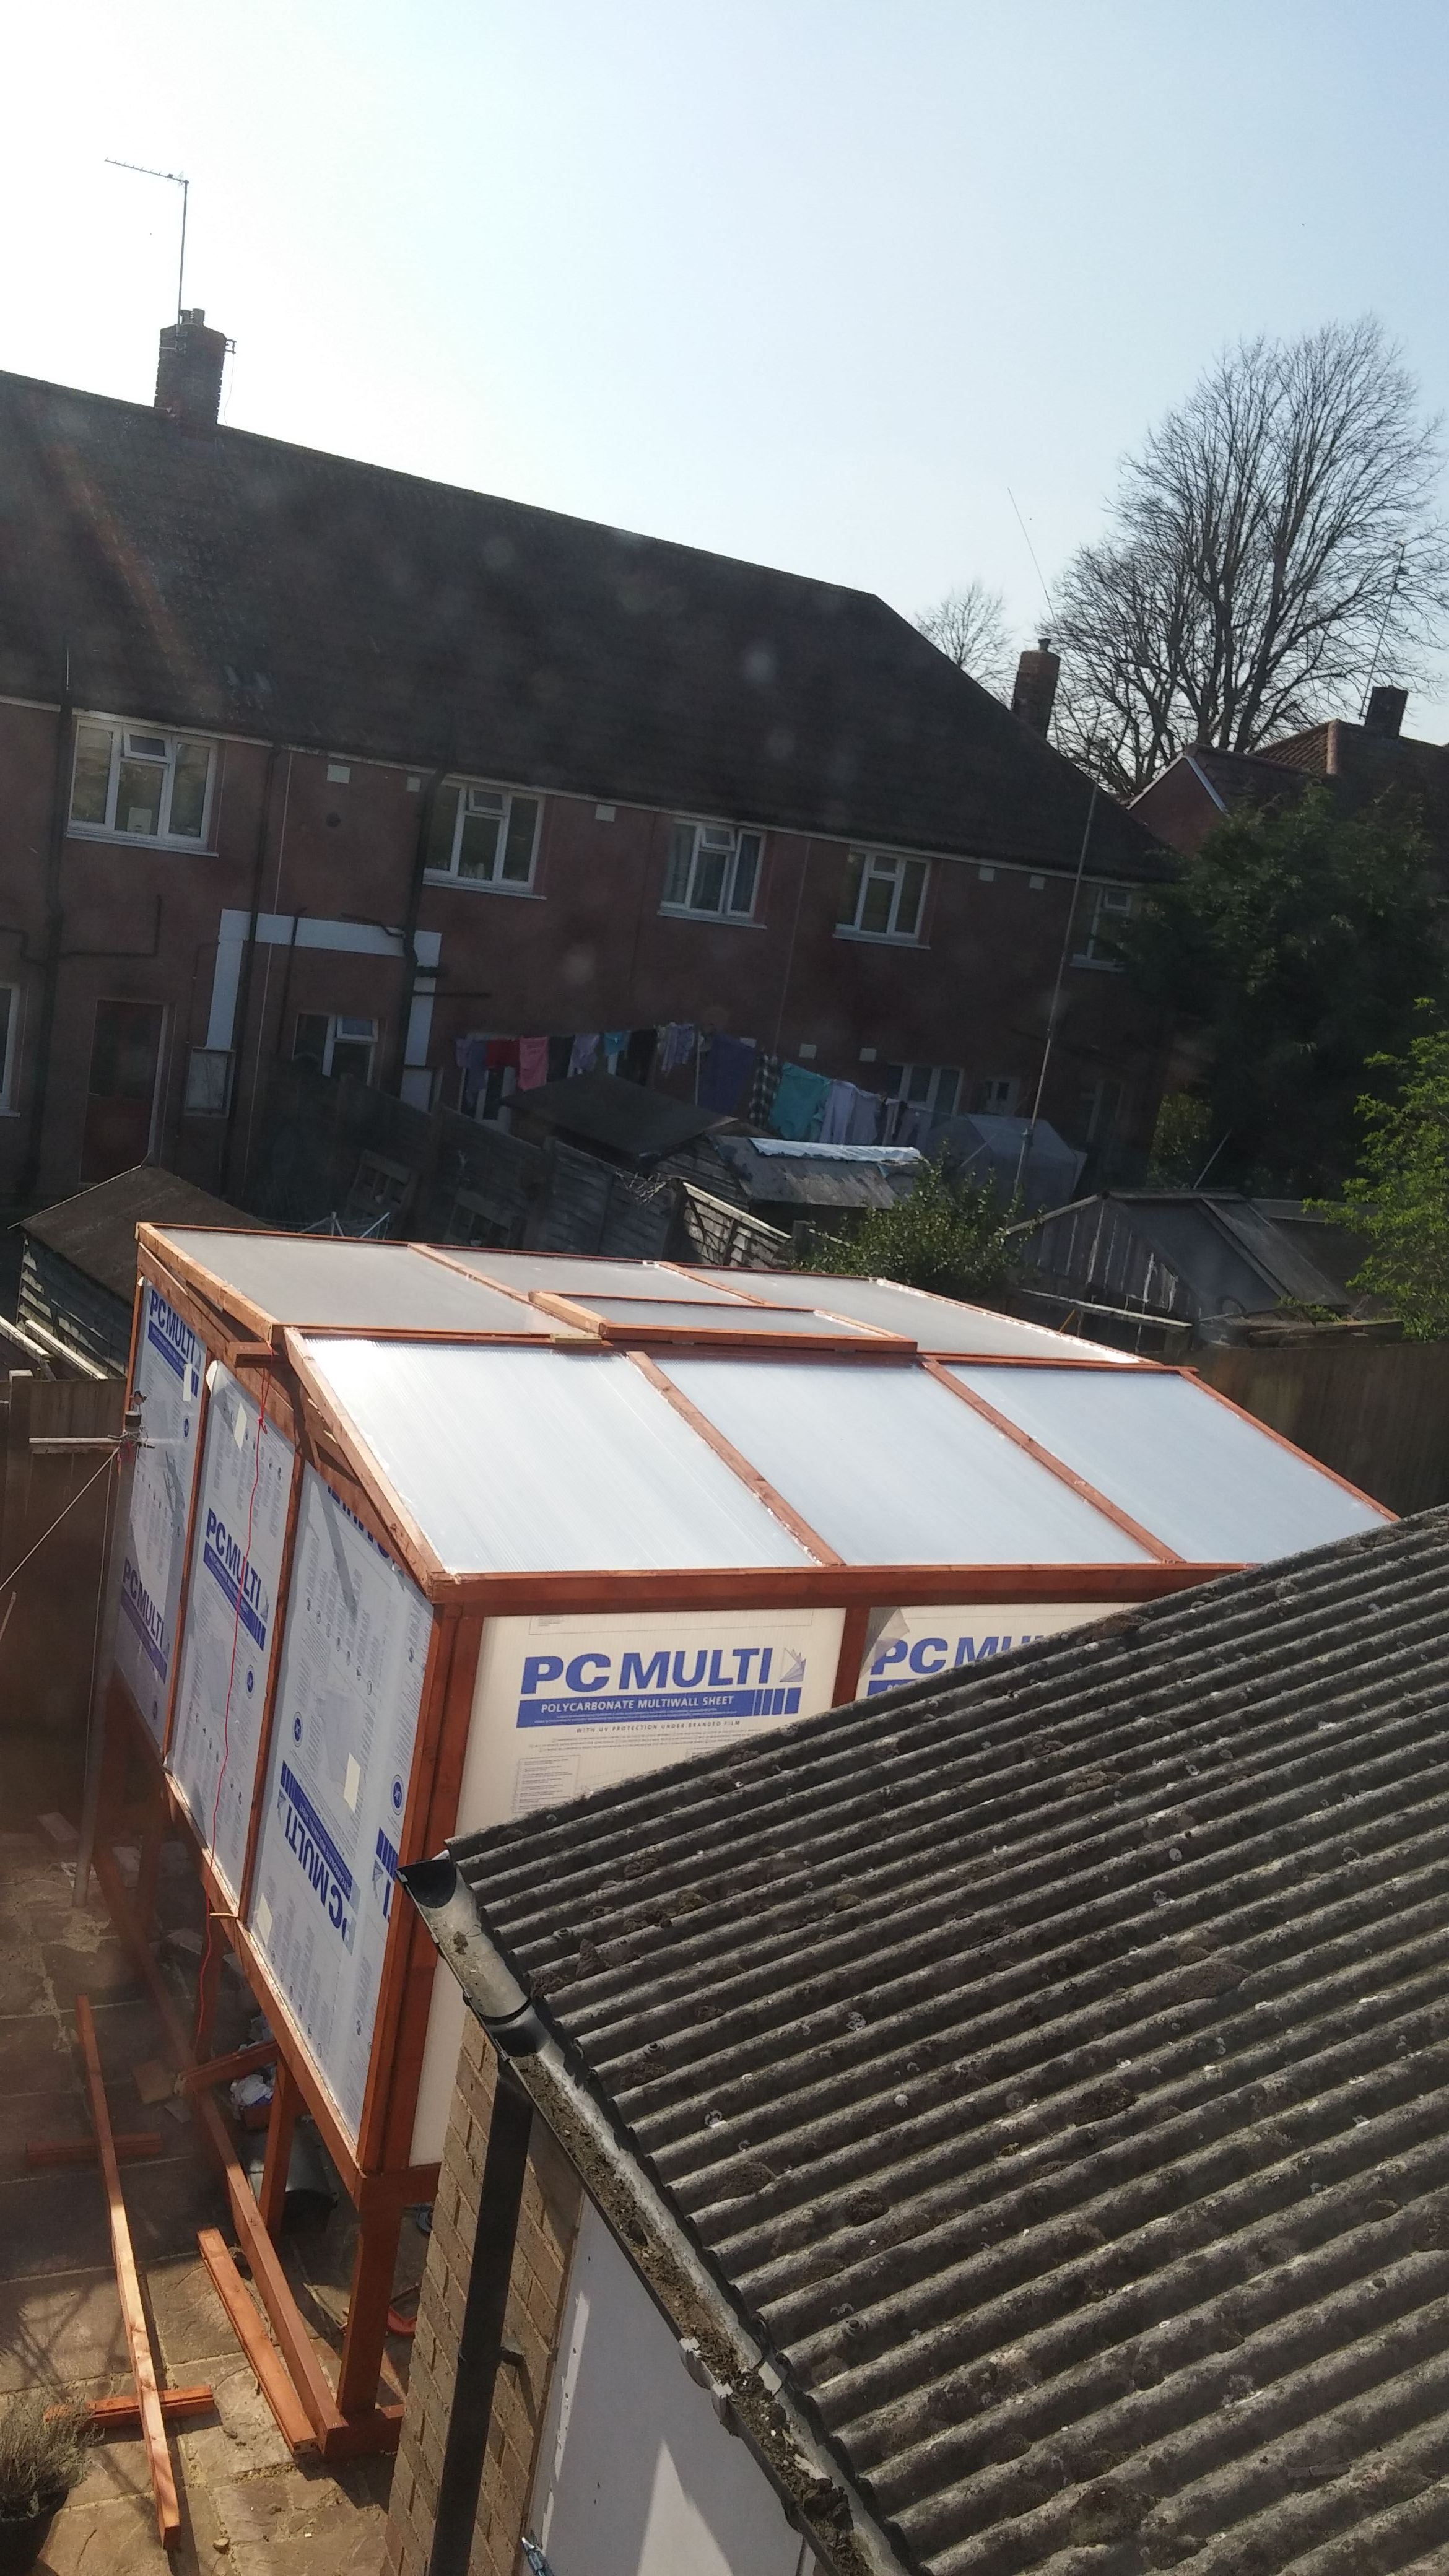
After finishing the sides, of course it was time for the roof. I have to admit that by this point, I ran out of plans. I had no idea what I was going to do about the roof. I couldn't build a proper ridged roof because I was almost at max height, so I've pretty much copied one of the longer sides and pushed it all on top of the frame. I measured the base to get the dimensions I would need for the roof and when I put the first half up I realised my top side warped and there was up to a 15cm difference between the ground and top measurements but fortunately they fit-ish(mostly because I was too lazy to cut the polycarbonate panels down to the measured dimension so it had a bit of give either side).
The other half went up as well, I allowed for a window.
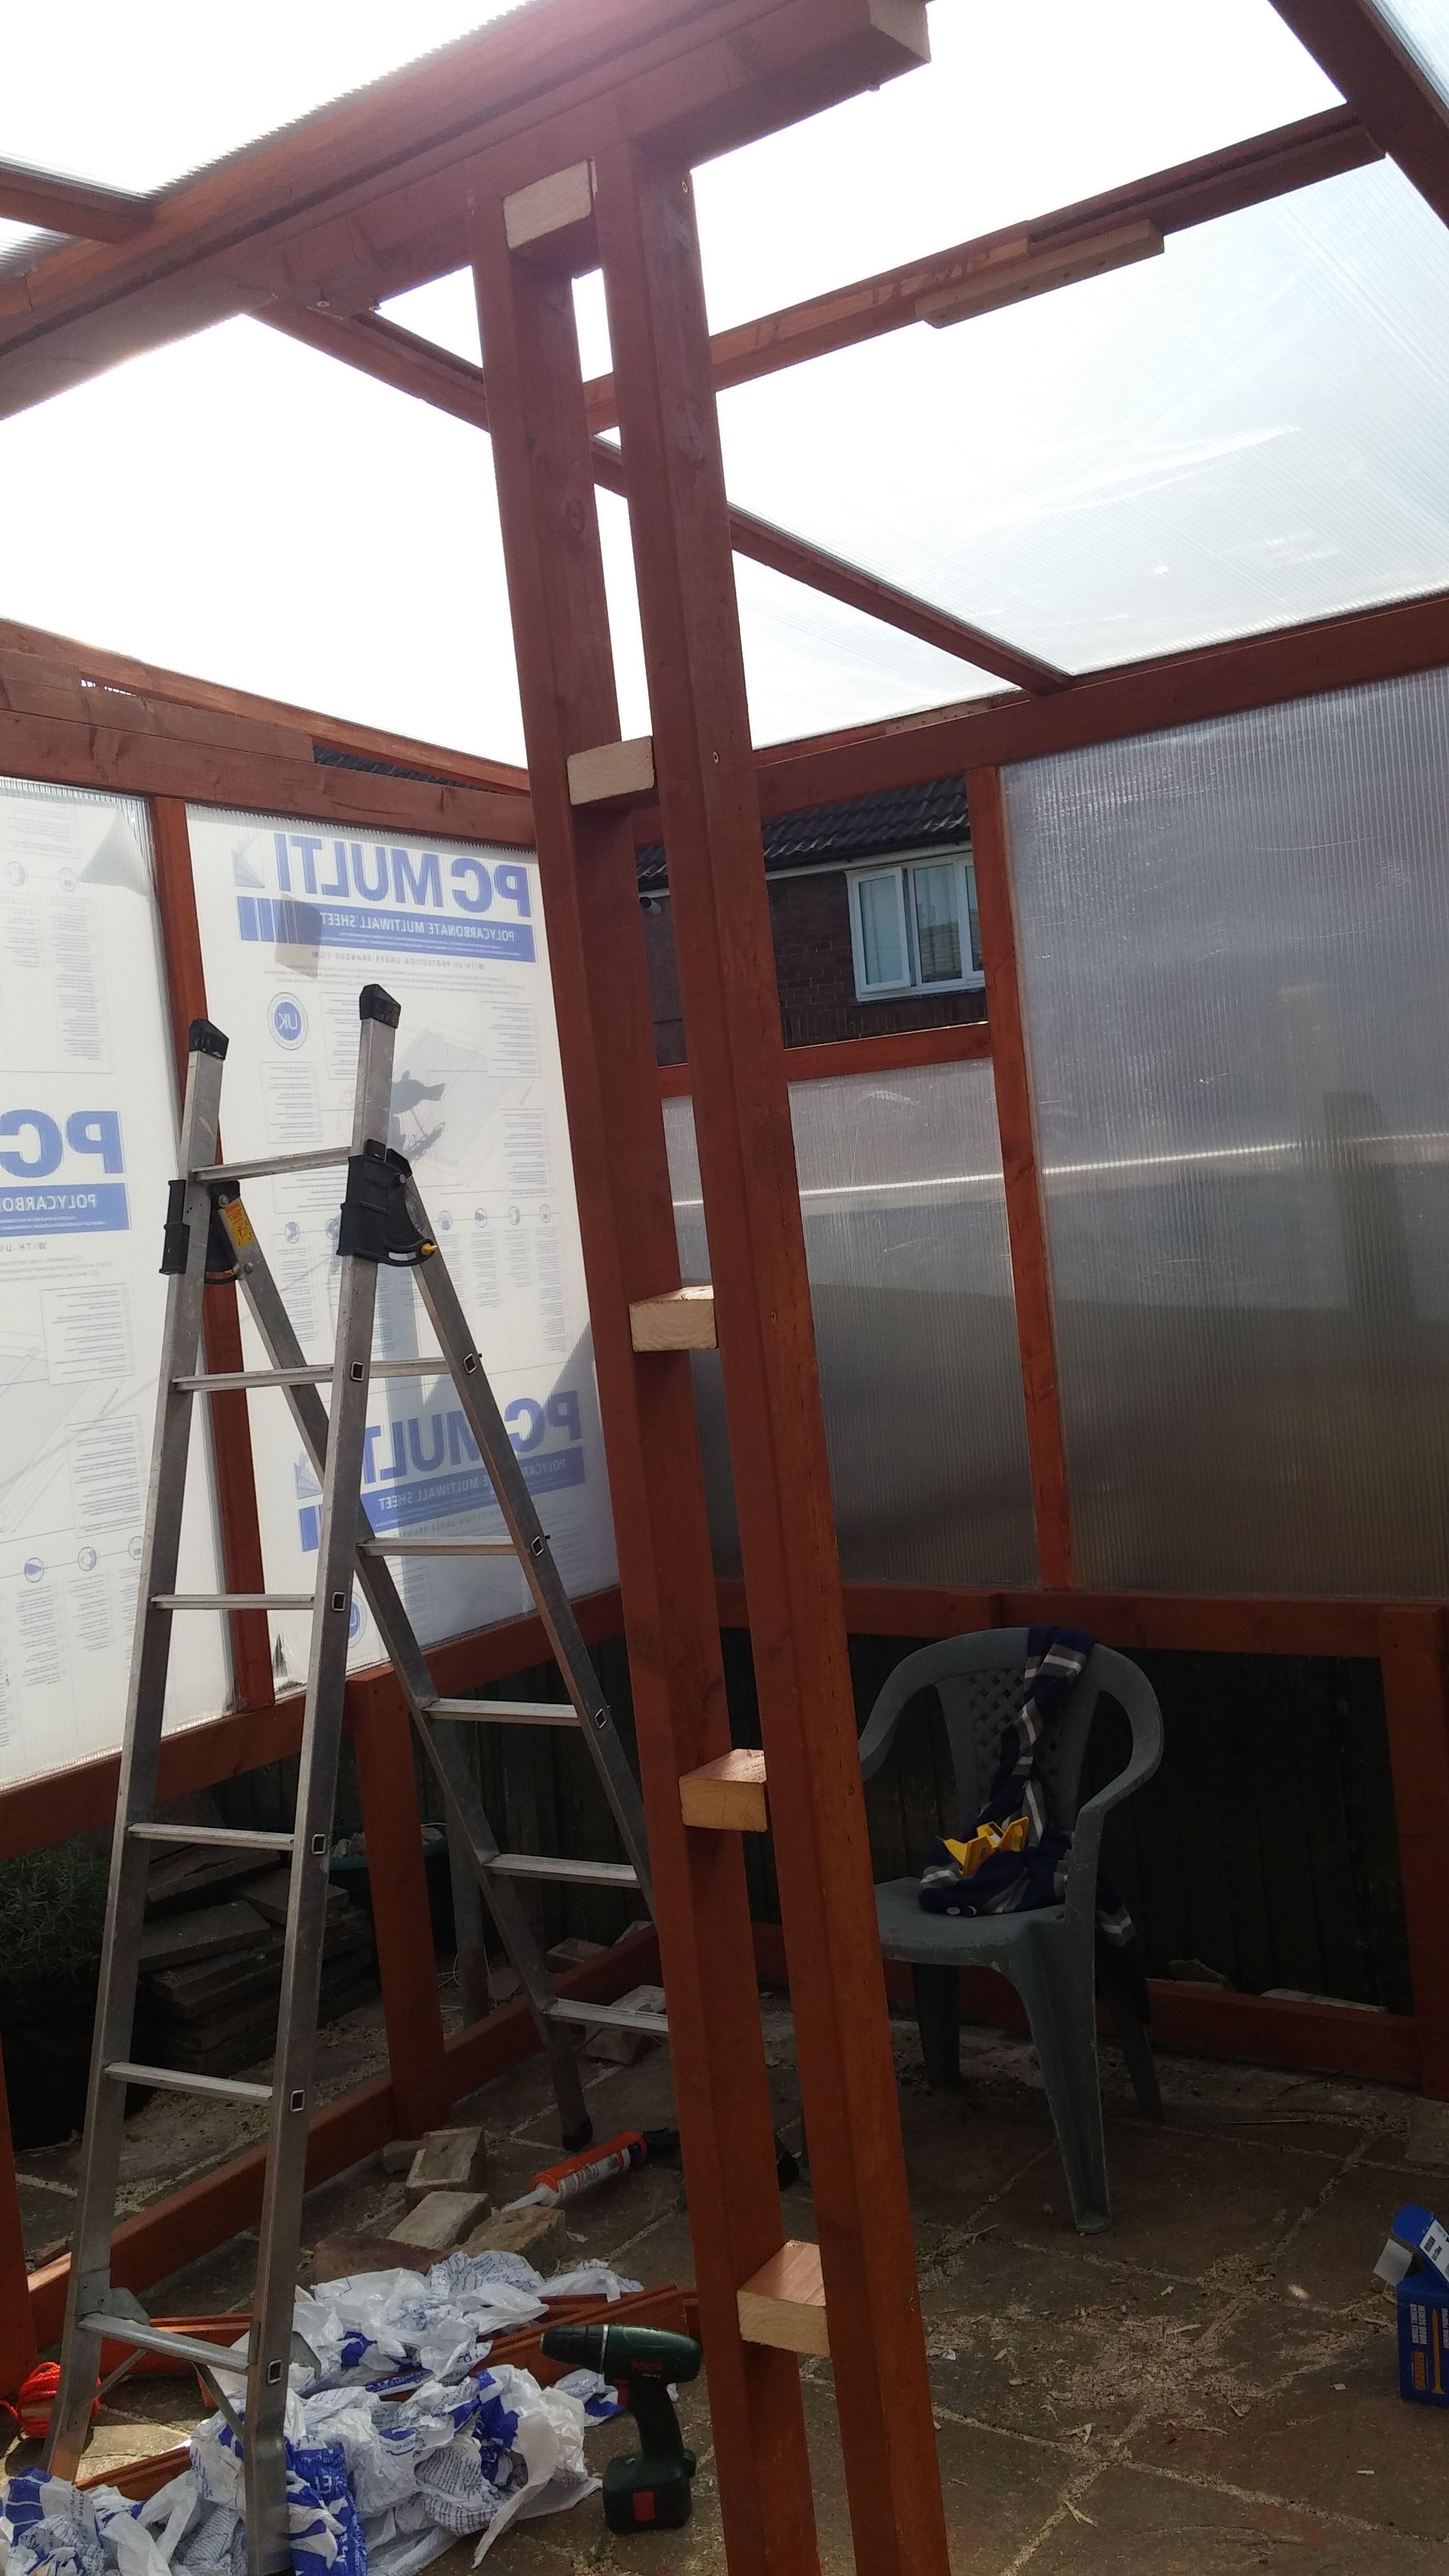
At that point I realised the roof would not be strong enough to support itself on its own so I built a central pillar to take the weight.
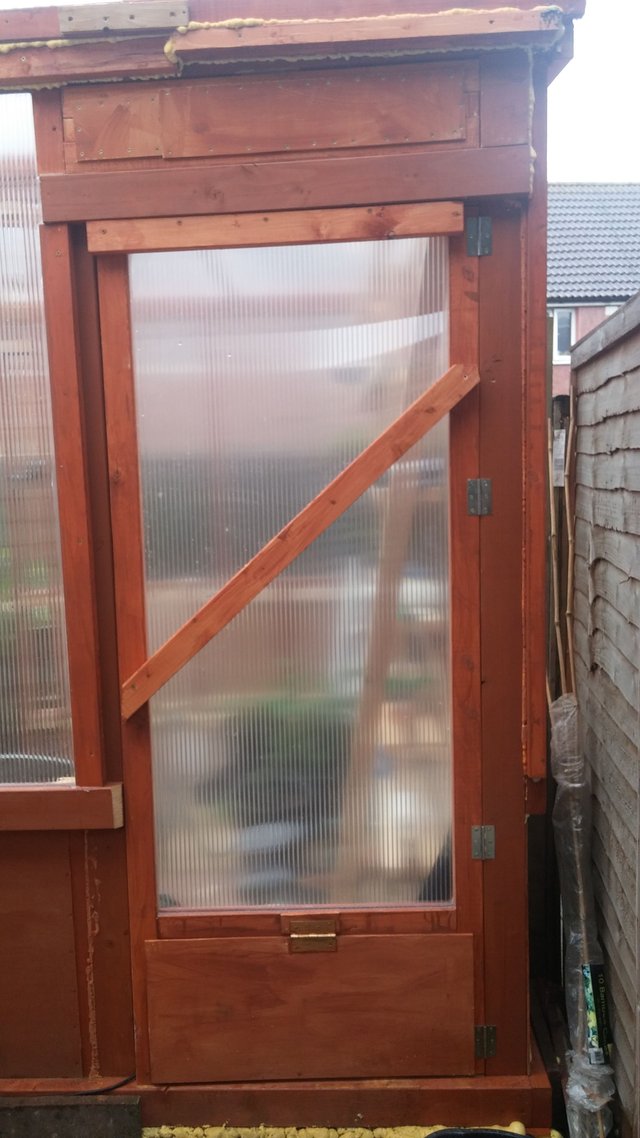
The door went up, just a simple hinged construction; I did put 4 hinges because I did not trust myself to get the measurements perfect to get away with just 2. Since then I reinforced the door with some diagonal and horizontal bracing.
Here's a view from above.
I then put the plywood panels on the outside. I've used expanding foam to fill the space under the base; I then added panels on the inside of the greenhouse and filled the space between the two layers with the plastic covering and buble wrap the poluycarbonate panels came wrapped in, and some more expanding foam just for good measure.

Finished the top and side windows. 
I then covered the bottom part of the door with a hinged panel and made a removable panel for the part above the door, both for ventilation.
And lastly I filled in all the little gaps I could find with expanding foam and silicone.
That's about it with the building process.
Thanks for following along!
Really good! Nice space for plants.
Thanks! I've got my set up running now, have about 20 toms in there, will make a post about the inside tomorrow at some point.
I dig it. You might dig our Walipini ( links on my page). We are going to change the top for something more like how your structure is built. Thanks for giving me a few ideas.
Glad it helped with some ideas! Thanks man! I like your build (and the lambs, heh), I would have gone for a half buried structure as well if it would have been possible. Is that some piping on the ground and on the right side of your Walipini? Is that for geothermal heating/cooling or am I seeing something else? followed.
Nothing that cool, just drainage. We do have a 660 gallon heat sink. Works awesome for starting seeds.
That green wall is really cool. Great job on your setup and it's obvious that heat sink works pretty damn well!
Yup, saved us a fortune on heating cost. Also keeps the Walipini from getting so hot during the day. As it takes the spike out of the warm up part of the day.
Excellent post with pictures. Thanks!
You're welcome. Glad you enjoyed it; I'm gonna post about the inside later on. Beautiful tulips by the way!
thats a brilliant idea , going to follow this
Glad you're liking it! Thank you!