How To Paint Step By Step
How To Paint
Painting is a medium in which many people can express their emotions and thoughts. You do not need any previous experience, and if you've ever been to an art class, even if you're just "finger painting" in elementary school, you already know painting. Sharpen your skills by starting Step 1 below or search for further help by looking at the sections listed above.
Part 1 Of 5 : Selecting Medium
##### 1. Consider Your Goals.
What type of painting or artistry do you want to create? Do you need a lot of time to work on one project, or do you want to complete some parts in one setting? Do you have a large and well-ventilated work area, or a small area that might lead to evaporation? How much money do you want to spend on equipment? These are some things you should consider before committing to a type of paint.
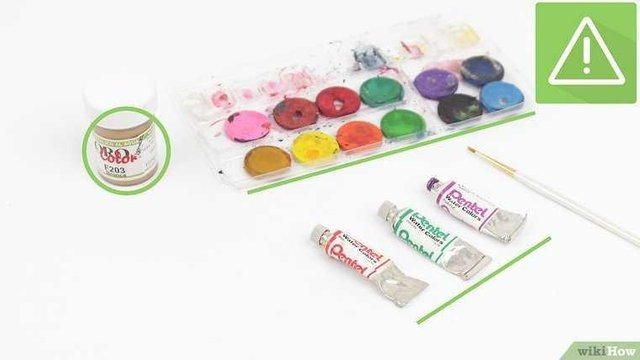
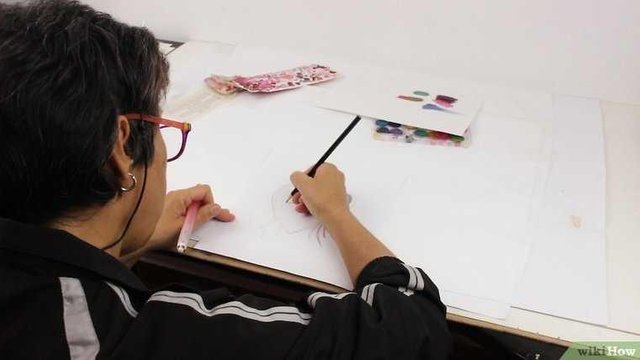
2. Try Watercolor.
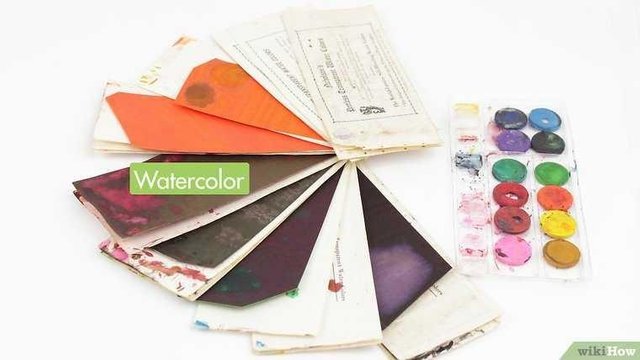
Watercolors are available in several boxes or color pipes. When used without water, the results are thick and blurry, and can not color large areas. When used with a combination of water, this paint will become thinner and transparent.
Watercolors are used on certain paper made for watercolors; any piece of old paper will not produce a good painting. This paint does not produce a thick color, but produces a beautiful effect of a thin layer of light and translucent.
A set of watercolors can usually be purchased from $ 20 ($ 200) and can be over $ 100 (Rp 1,000,000). For a good quality beginner paint, you should buy a $ 50- $ 80 (Rp.500,000-Rp.800.000) to get started.
Since watercolors can only be used on special paper that will not contract and curl when touched by water, there is limited choice for materials that can be used as "blank canvas," unlike acrylic and oil paint.
3. Consider Using Acrylic Paint.
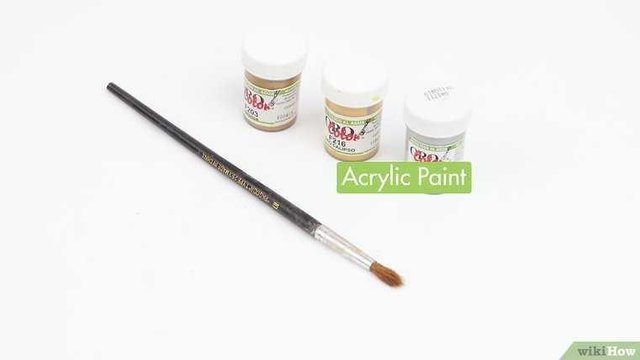
Acrylic paints are another water-based option with a fast and non-volatile drying process. This is an excellent choice for anyone who wants to finish one painting in one day. Thick layers of paint can be stacked for beautiful 3D effects, and because they are soluble in water, they can be removed from a surface or washed out of cloth. The drawback is that the paint dries quickly, blending colors and mixing the wet paint techniques can be difficult.
▪️The way the application and overall appearance of acrylic paint is most similar to oil paint.
▪️Acrylic paints are usually less expensive than oil paints, and do not require much extra material. However, this paint is more intuitive in doing coatings and techniques than watercolors.
▪️Oil paint is more toxic than acrylic paint, because acrylic paint does not remove steam or requires a lot of ventilation. If you work in a small space or have a pet or a child around, acrylic paints are a safer option than oil paint.
4. Try To Use Oil Paint.
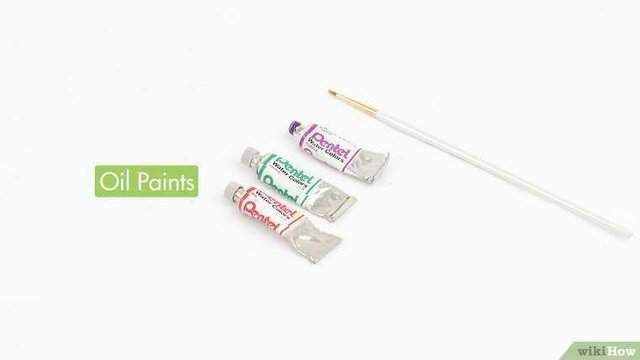
This paint is the most sophisticated option, old oil paint is dry and thick, and can be used with many special techniques. This paint takes about 3 months to dry out perfectly, making it the best choice for someone who needs or wants a long time to finish a painting. The drawback is, this paint is toxic and requires a lot of ventilation when used.
▪️Oil paint is the most expensive option of all three paints, and requires some additional equipment including mineral alcohol and gel.
▪️Oil paint produces the brightest color among the three paints, and will dry permanently on the mixed color.
5. Buy Quality Paints.
When you have decided which type of paint you want to use, you must choose which brand you will use. As a novice painter, you definitely want to buy the cheapest brand. However, you will save a lot of time and money (later on) by purchasing quality supplies. The resulting color will be better with quality paint, and this means you only need to scratch once, where with cheap paint you need to scratch 2-3 times. You will eventually spend a cheap (and more often frustrating) paint pipe than the more expensive paint pipe.
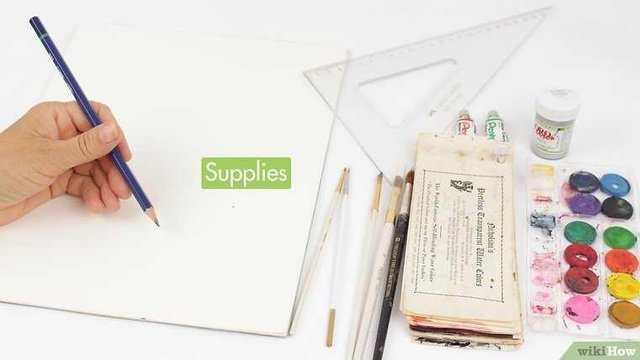
Part 2 Of 5 : Getting More Painting Tools
1. Choose Your Brush.
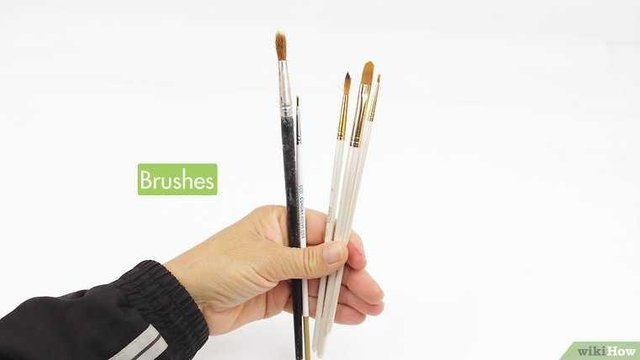
There are two main things you should consider when choosing a brush: fur shape, and feather material. Feathers are available in 3 shapes: round (with sharp edges cylindrical), flat, and filbert (a pointed pointed flat brush). The fur can be made of sable (synthetic leather), synthetic, synthetic mixture, sea urchin or squirrel.
▪️For watercolors, the best brush to use is a sable or squirrel feather, with a rounded end.
▪️The best brush used for acrylic paint is a synthetic or synthetic blend with a flat tip.
▪️For oil paints, the best choice is synthetic mixture and sea urchins with tip of filbert.
2. Buy Your Canvas.
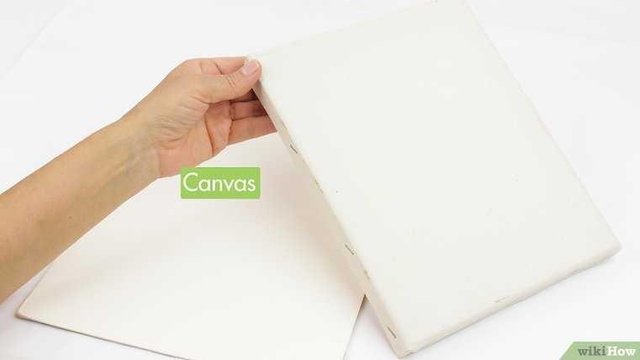
"Stretched canvas" (ready-made canvas made of cloth pulled back and taped with staples / iron / iron) is the best choice, because it is cheaper and all three types of paint can be used. However, thicker drawing paper, canvas boards, and watercolor paper are good choices as well. Oil and acrylic paints can be used on most smooth surfaces, including wood and plastic. Watercolors can only be used on special paper and canvas or cloth.
▪️Do not use plain paper or other thin paper to paint, because the paint is too heavy and wet to cause it to curve and bend.
▪️If you intend to paint on wood or plastic surfaces, you should provide a base paint first to paint attached.
3. Prepare Your Other Equipment.
In addition to the main equipment, you will need a pallet, bottle / container containing water (2 just enough), and a rag, an old T-shirt or apron to wear. Other special equipment needed for oil paint, but not needed for watercolor or acrylic. "Gesso" is also very useful; this is a basic paint that can prepare any surface (including canvas and paper) to produce the best painting.
▪️Not always required for most paintings, but much desirable, an easel that can be used to support your painting. Otherwise, any flat and stable surface can be used for painting.
Part 3 Of 5 : Mixing Colors
1. Recognize The Color Wheel.
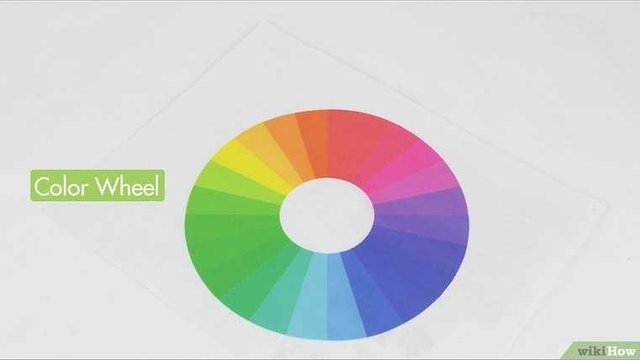
The color wheel is a color map, showing how to create a new color. There are 3 sets of colors: primary, sekunderm and tertiary. The primary colors consist of: red, blue, and yellow. This is the color available directly from the pipe; this color can not be made by mixing other colors. However, secondary colors (purple, green, and orange) can be made using a primary color. Tertiary colors are between primary and secondary on the color wheel (for example, bluish green or peach).
Red + Yellow = Orange
Yellow + Blue = Green
Red + Blue = Purple
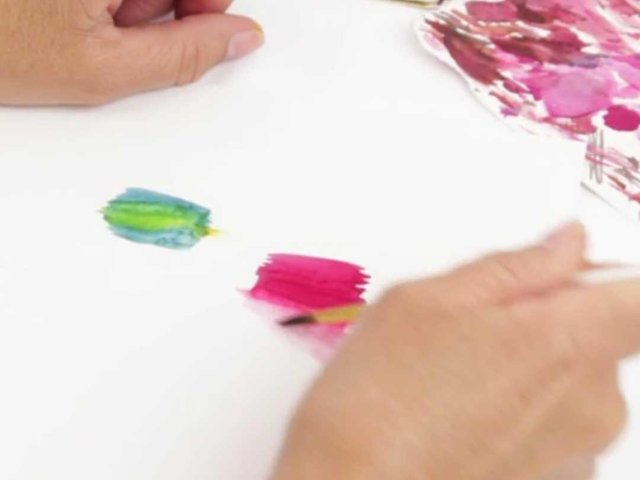
2. Blend Your Colors.
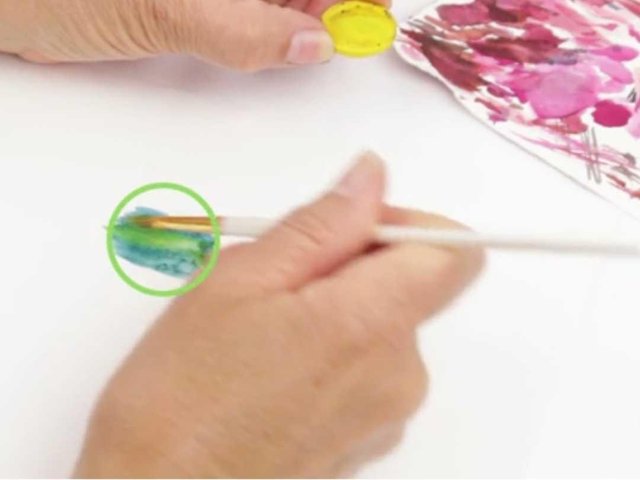
Don't paint a painting using only color directly from the pipe. Blend your colors to create new variations; mix the two primary colors in the same amount for the right color, or add the number of one color over the other. For example, making a purple color with a blue color that exceeds the red color will produce a bluish indigo color, on the other hand if mixing more red color you will produce a dark maroon color.
3. Create A Different "Color Tinge".
Adding a little white color to any color will make it more luminous, creating a tinge of color. Most of the color of the bottle is very thick and bright, and can be made as pastel colors by adding a white color.
It's harder to add white to a color, so add a little color to the white paint first. You will not need to use a lot of paint to create a tinge of color this way.
4. Mix Some "Dark Shades".
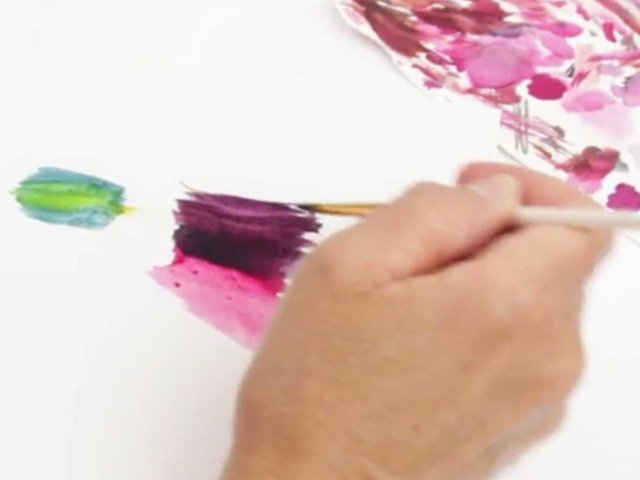
Contrary to the tinge of color, dark shades are obtained when you mix any color with black. This makes the color darker, for example, turning red to burgundy, or blue to navy blue. It's easier to dab a bit of black paint into your color paint (instead of adding color paint to your black paint) to create your shade. In this case, the less the better - always start with the least amount of paint possible to avoid making different colors drastically with the first experiment.
5. Create A Different "Color Layer".
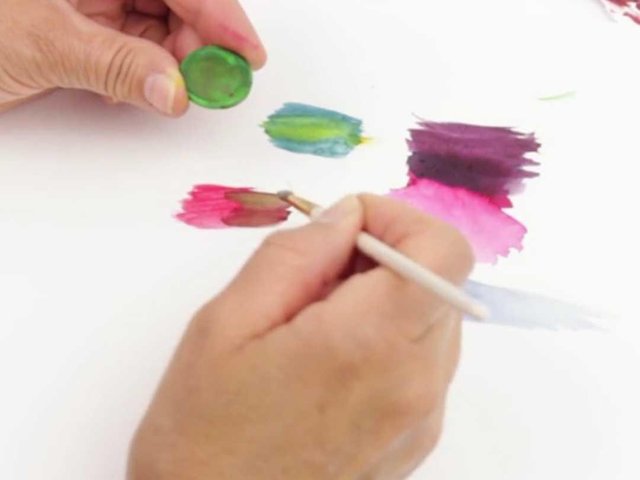
If a color is too bright for you, mix the opposite color to fade it. Doing this will change your hue (the base color) into a color layer; which means you are diminishing the color layer. For example, the opposite of red is green, yellow is violet, and blue is orange.
Part 4 Of 5 : Studying Painting Elements
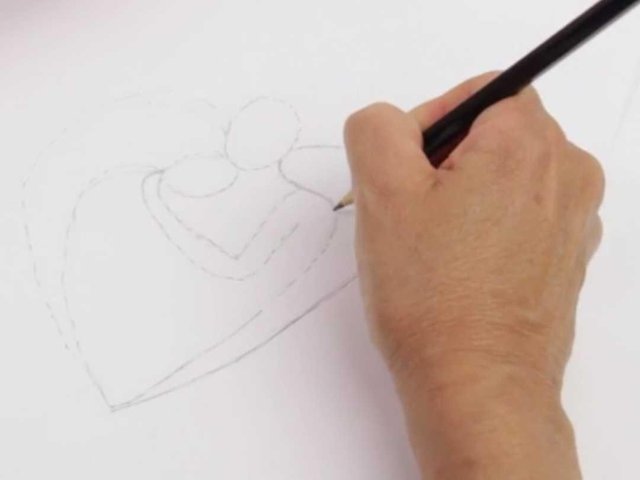
1. Recognize The Usefulness Of The Line.
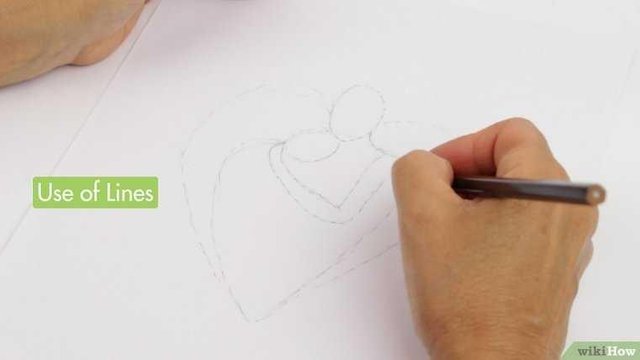
The most basic line used is the contour line; this is a line drawn to form an object. Some painters use contour lines to surround their subject, where others use splashes to show the shape. Decide whether you want to use a line that looks clear (like contour lines) in your painting or not.
2. Learn How To Create A Shape.
Each paintable object is the result of some combined shapes. The biggest problem faced by novice painters is to try to see a subject as a single form, rather than superimposing many forms. Instead of focusing on draining the lines that form a single figure, consider as several different shapes to combine.
4. Use Your Space Effectively.
Since you work on a flat surface, you must create an illusion of distance through space usage. To have a flat surface, make sure all the objects are the same size and distance from each other. To create depth, seal some shapes and make the farther object smaller, where objects close to the observer should be larger.
5. Learn How To Create A Texture.

In order for visible objects to be touched in your painting, you must create the illusion of texture. The texture is made by using different brush strokes and moving the paint in different ways on the canvas. Short and quick brush strokes will produce a feather-like texture, where the flowing brush strokes will make the object look softer and longer. You can also coat the paint on the canvas to produce texture.
6. Make Gestures With Your Paint.
The movement is a continuation of texture, but on a larger scale. The movement is made when a texture pattern is repeated many times on the entire canvas. Not all paintings require movement, but if you want to create a realistic painting, movement is a very important element to combine.
7. Look At Your Overall Composition.
The layout of your painting, the location of objects and figures, is called composition. To produce an interesting composition, the figure must be placed in such a way that the observer's eye surrounds the entire painting. Avoid putting a figure in the middle of your painting, as this is the most basic composition. Make an interesting painting by putting a figure on one intersection, or by adding an interesting object in the background.
Part 5 Of 5 : Creating Your Paintings
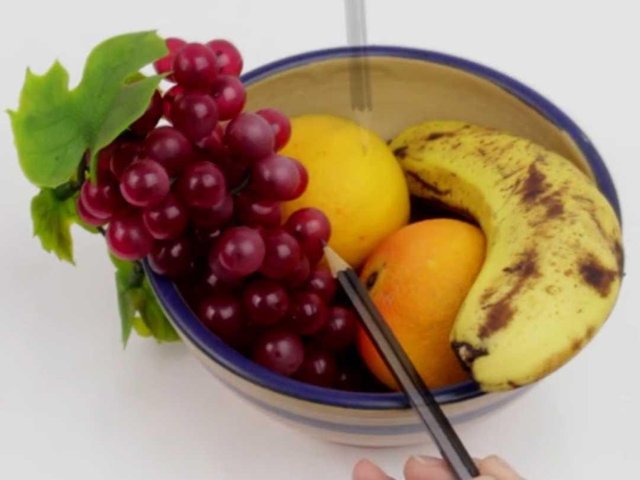
1. Select A Subject.

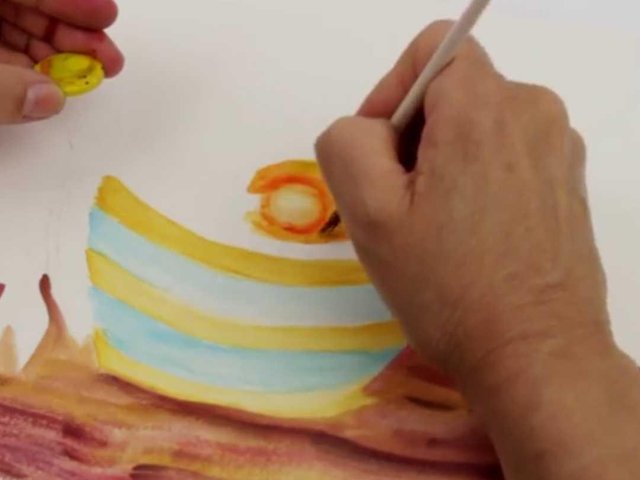
The most important decision in making your painting is to determine the subject of your focus. For most budding painters, it's easiest to choose a (flat) image and paint a copy of the image instead of selecting a 3-D object. To get started, find an image with basic lines and shapes, without too much color, and easy to try your painting skills. Subjects of beginner painting generally include:
▪️A bowl of fruit
▪️Flower vase
▪️A stack of books
2. Make A Sketch.
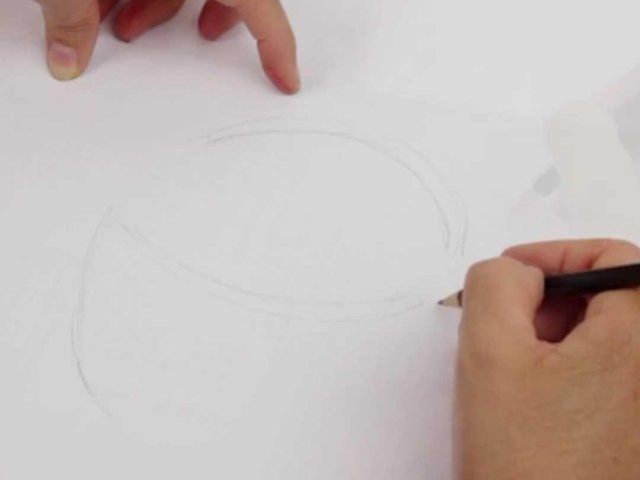
Although this is a must, it helps painters draw rough figures of their figures on canvas before painting them. Use a thin graphite pencil to sketch shapes and figures on your canvas. You will paint on it, but having a thin outline will help you paint in the right area.
3. Look For The Lighting Source.
The colors you mix and the paint layout on your canvas will depend on one main thing, your light source. Look at your subject, and specify the brightest and darkest areas. Combine your paint with that in mind, creating multiple shades and tints from one particular color to blend colors effectively if needed.
4. Begin To Paint The Background.
When painting, it's best to work from back to front. This will help you superimpose things and create distance perceptions. Paint one color at a time, superimpose colors while you work. Your background should be painted first, then you can add a closer object afterwards.
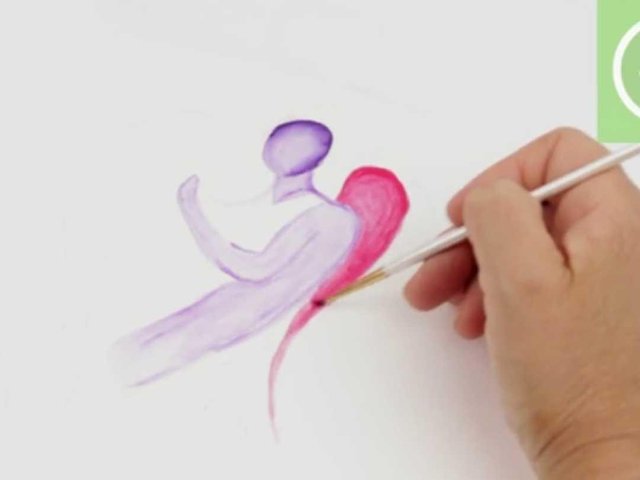
5. Enter Your Subject.
When you're happy with your background, you can add objects and shapes. Work with a coat of paint, similar to the way you paint a background. Your subject is the center of attention for your painting, so it's important that you use your time by focusing on combining all the elements of art with it. Analysis of all perspectives, and focus on creating a form rather than the whole figure. [12]
If you have difficulty in accurately painting, turn your painting upside down. Painting it from different angles will force your eyes to see accurately constructing figures, instead of the symbols and shapes created in your mind.
Start with the brightest color, then use a dark color. It's harder to overlay dark colors than bright colors, so start with white and pastel before starting colors and other shades.
6. Enter Details.
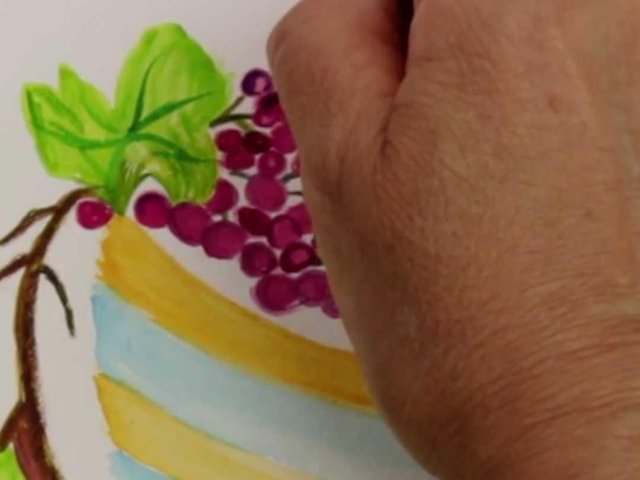
As you begin to finish your painting, add the details you want to the background and figure. This includes adding textures with your brushes, bubbles, or small figures as layers. It's time you used your time and focused on the last touch.
7. Clean Up.
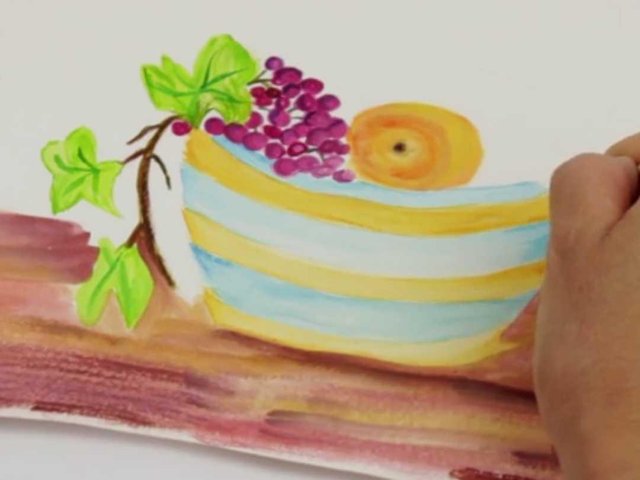
After finishing the last details, your painting is done! Tidy up mistakes on your painting, sign on the tip, and clean your painting gear. It's important to clean your paintbrush carefully to keep it in good shape and can be used for your next painting. Keep the remaining paint in the box, and place your art gear in place.
Tips
Making skin tone is not difficult, but if you just mix orange with white to mada peach color, it will look flat and unrealistic. Pay attention to your skin. The visible veins make it different. For bright skin tones, give a little touch of green, for dark skin tones, give a little touch of blue.
If you do not have an idea to paint, dip your brush in different colors then scratch on your canvas, you will be surprised at what you create, there may be passion buried unnoticed.
Take a look at some examples of classical paintings, such as the works of Pablo Picasso, Johannes, Vermeer, Vincent Van Gogh, Salvador Dali, Frida Kahlo, Jackson Pollock, Edvard Munch, and Pierre-Auguste Renoir. They will give you different styles of painting.
Try to make friends with other painters. In some art schools or art community programs, they will have an open studio session where artists can use the room to do the same. Talk to other artists about the methods and styles they choose, observing the work of others can give you ideas you can do.
Watch movies about art, such as:
"Girl with a Pearl Earring, which depicts the art of Vermeer. Some scenes show color theory and painting methods.
Frida, about the life and art of Frida Kahlo, which provides a special example of illustration and expression vision, as well as painting techniques.
Visit the nearby art museum. If there is no museum, visit the art department at the university and the nearest school to see if anything is shown. Several well-known urban galleries have an online tour and high resolution photography of their paintings.
Warning
Do not give up too soon. Painting is a time-consuming and time-consuming hobby, and it can take from half an hour to months to complete a work. Remember, most artwork looks bad until it's done. If you are unhappy with her performance, give her time and continue working on it. While working on a color paint for too long can make it wet, a new layer on acrylic painting can fix, hide, and embellish the layers underneath.
Things You Need
▪️Paint, Can Be Watercolor Or Acrylic.
▪️The basic ingredients suitable for your medium : watercolor - watercolor paper. Acrylic - stretch of canvas, canvas board, acrylic paper or even masonite.
▪️Brush in various sizes and made from synthetic fiber.
▪️A cup of water.
▪️Reference subject (model, photo, image, etc.)
▪️Palette.
▪️Pencils and erasers for sketching (optional).
▪️Sketchbook to collect ideas (optional).
▪️Backrest (optional)...


upvote for me please? https://steemit.com/news/@bible.com/2sysip