HOW TO DESIGN MY PROPOSED STEEMCOURT LOGO USING COREL DRAW APP

Hello steemians, here is my first well detailed tutorial on logo design
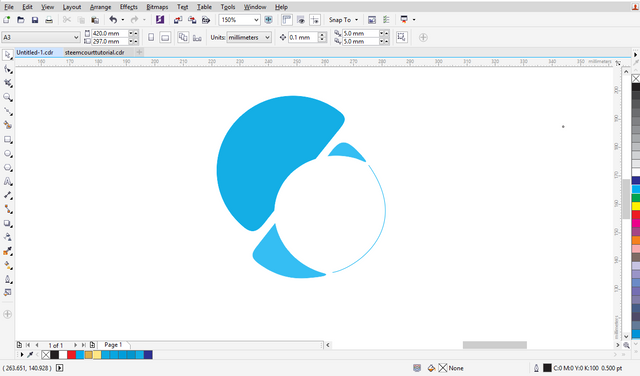
After folllowing this tutorial carefully your finished work would look like this
Let's begin
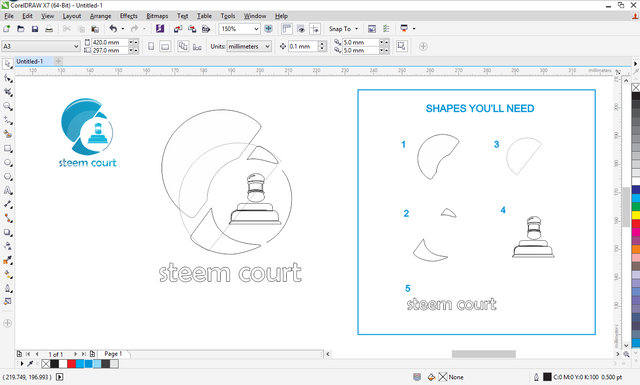
STEP 1
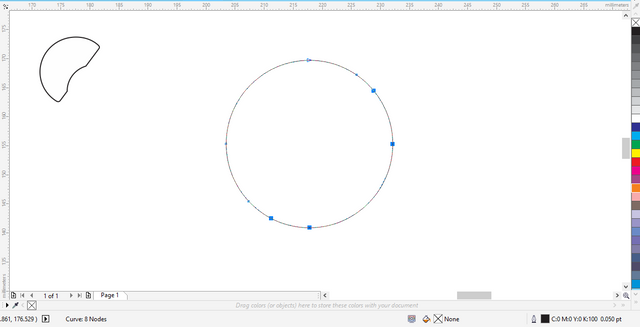
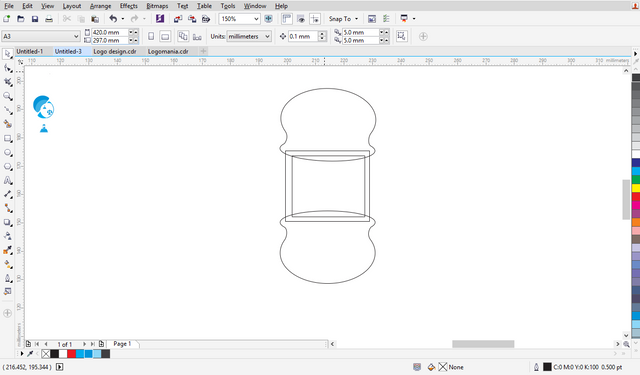
For shape 1 draw a circle with the Ellipse tool
To draw: Click the ellipse tool navigate to the work space left-click and hold and draw to your desired size
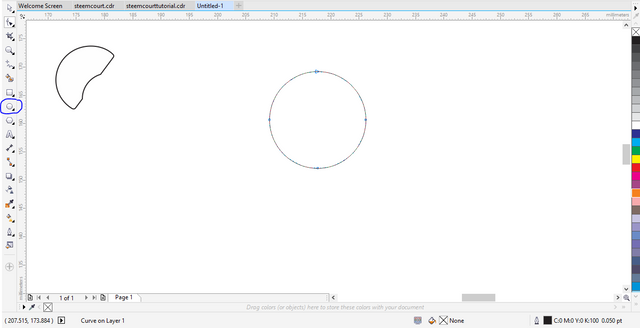
Note that before the circle can be manipulated into different shapes it needs to be converted to shape this can be done by selecting the shape by using the pick tool and pressing CTRL + Q
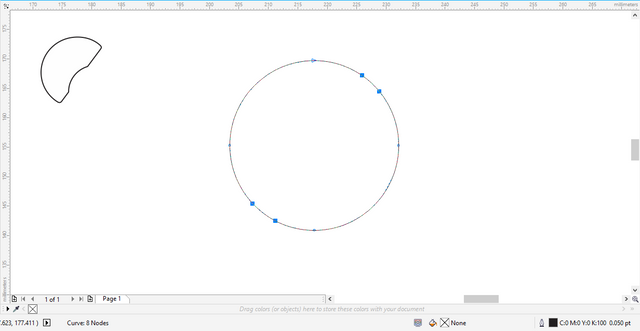
STEP 2
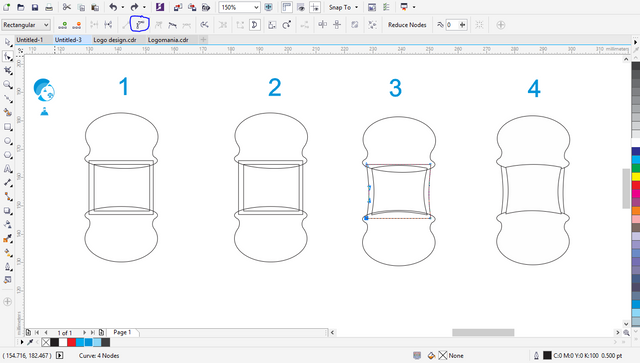
Create two four nodes as shown in the sample below
To create node: Double click any point of the the circumference
STEP 3
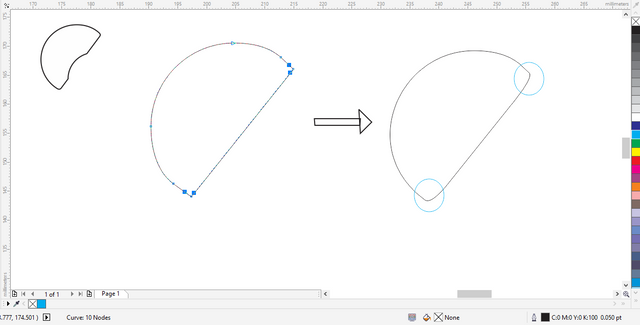
Now the select the nodes as shown below the right-click and press To Line
STEP 4
Looking from the bottom right corner delete the first two nodes, afterwards highlight the remaining nodes then right-click and press convert to curves.
Now adjust the nodes at the edges to make them a little bit round
STEP 5
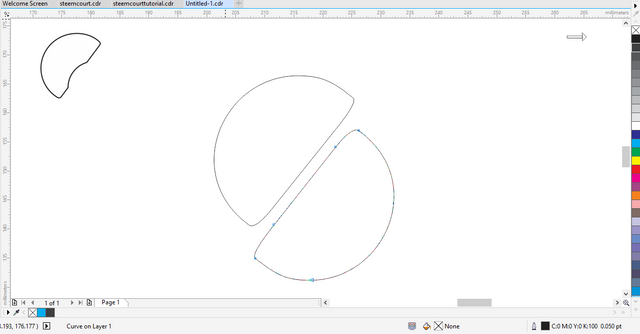
Using the pick tool select the shape and rotate it as shown below
STEP 6
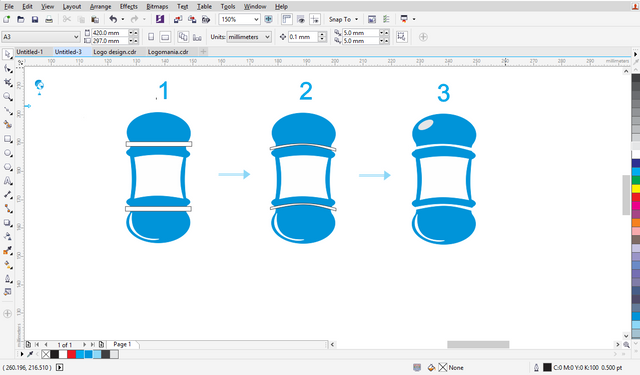
Now select the two semi-circles by holding the SHIFT key, then press CTRL + L to combine them thus making them one (a single object)
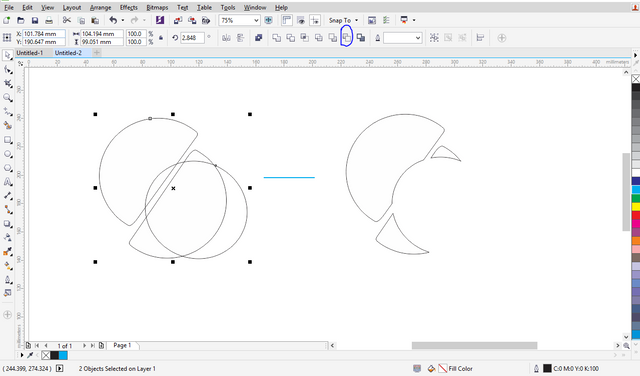
Create a sphere as shown, place it on top of the semi-cirlces.
Now select both the sphere and the shape and press the circled icon
STEP 7
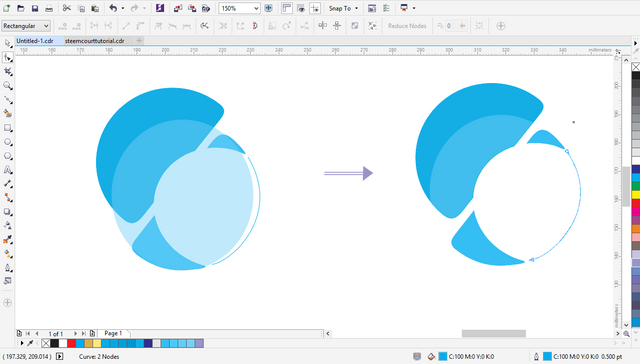
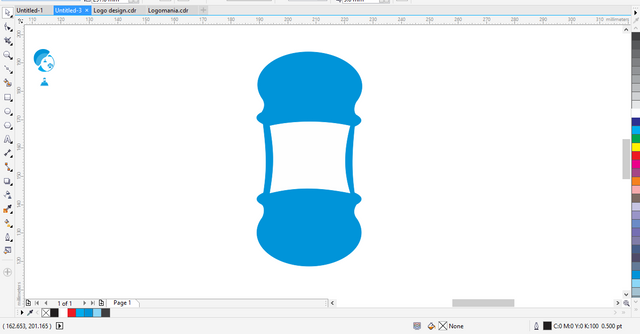
Create another circle and apply the same colour you used for the previous shape, then use the transparency tool to increase the transparency

STEP 8
Now put the circle on the shape and select Effects then goto powerclip and click Place inside (Effects/Powerclip/Place inside), after this choose the shape you want to place the circle in
STEP 9
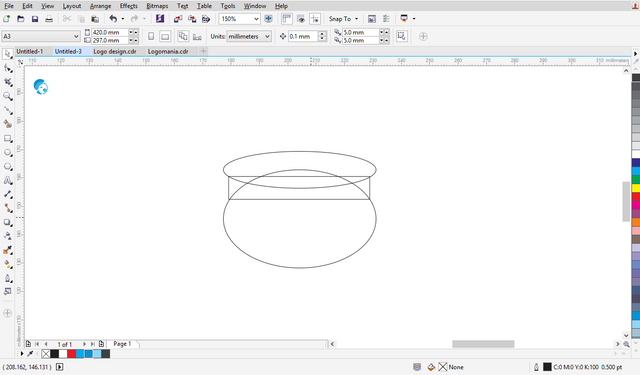
For the Gavel
Create two spheres using the Ellipse tool and a rectangle using the Rectangle tool
Arrange the three shapes as it is shown below
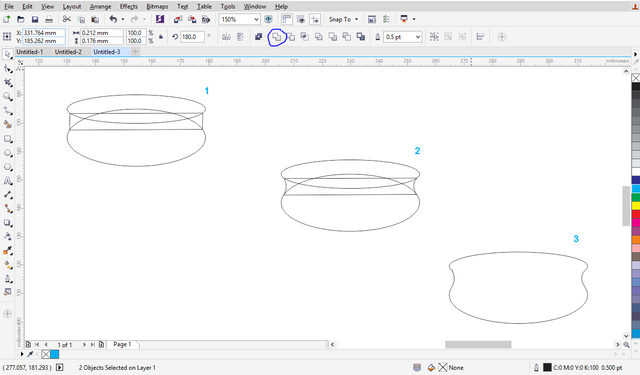
STEP 10
Highlight all the shapes and press CTRL + Q to make the shapes editable
Highlight the all the nodes of the rectangle and right-click then press To curven then adjust them to make a curve .
Then select all the shapes and press weld(the circles icon shown above)
After that, duplicate the shape and rotate the it up side down. Then create two squares one inside the other (i.e one should be smaller and placed inside the bigger one)
STEP 11
Now select the smaller square and press CTRL + Q then right-click and press To curve then adjust the nodes to give it and inner curve
STEP 12
Create two circles and place them as shown. Then select the two circles by pressing the SHIFT key, afterwards click the icon circled as shown in the sample below

STEP 13
Place the resulting shape on the lower part of the gavel.
Create two rectangles and place them like below then curve the nodes and change their outline color and fill color to white
To change outline color select the shape and right-click the color
To change fill color select the shape and left-click the desired color
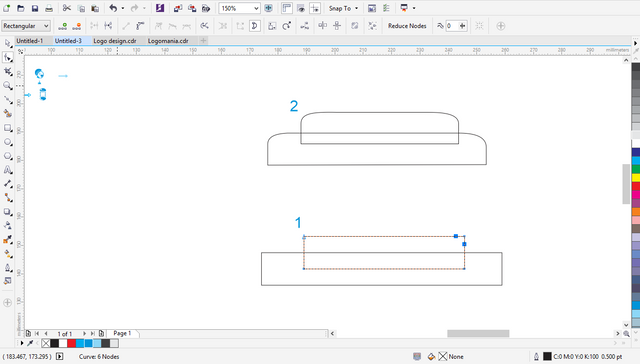
STEP 14
Now draw two rectangles and position them like the sample below, then make curve thee edges but first convert the two rectangles to curves, you can do this bu selecting the two shapes and pressing CTRL +Q.
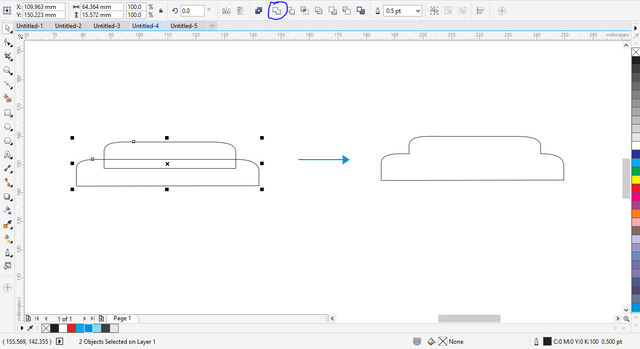
STEP 15
Now combine the outline of the two shapes, to do this select the two shapes and click merge (the circled icon shown in the sample below)
STEP 16
Now draw a rectangle as below and change the fill colour and the outline colour to white
To change the outline colour, select the shape and right click the colour you want in the colour palette
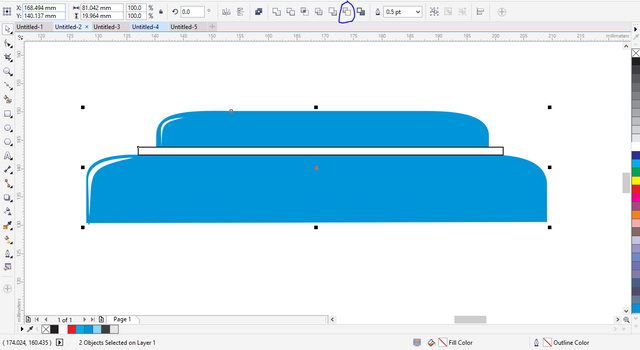

STEP 17
For the last part just draw a rectangle, convert it to curves, curve the two top edges then apply colours.
Now place the gavel as shown in the last image

After following all these steps your finished work should look like this
@bible.com
Nice tutorials @gracehills.
#bigwaves
Thanks a lot for coming around @Hornblende
Bigwaves has always been supportive too.
I'm grateful.