Microcosmic Greens Urban Farm: The First “Big” Flat of Kale Micros, and the importance of “Bottom Watering” Method
10x20” flats are a standard in the microgreen growing world, but they’ve scared me a lot...like what if I mess up the seeding in some way or the soil mix and mess up the whole damn thing and other such sundries going through my head. Also, this means I’m going to have a TON of these on hand pretty soon.
For kale seeds, to plant in a 10x20” flat, it is recommended that you use about 1oz of seeds (I’ve been getting really into measuring my seeds lately), and spread them evenly throughout the tray.
Since I’ve been working exclusively with reclaimed containers, the largest “flat” I’ve planted was probably about half the size and made from a water jug that I cut in half after The Scientist used it to make some delicious homebrewed beer.
I was really scared about the kale, because I wasn’t sure if they were going to need a heat mat, and while my radiator heat mat has been working well in addition to the heating pad, neither are 20 inches long, so I knew I wasn’t going to be able to evenly heat the seedlings, even with timed turning, because I’ve found that the temperature differences in the placement still end up having an effect on the plants when they’ve half on/half off the source of heat, so I’d definitely do not recommend doing that, even if you’ve the time and schedule to allow that kind of attention if you plan on growing these at home.
Anyway, one day a couple of weeks ago, The Scientist came home with two 10x20” flats with drain trays, and I was ecstatic. I was also scared.
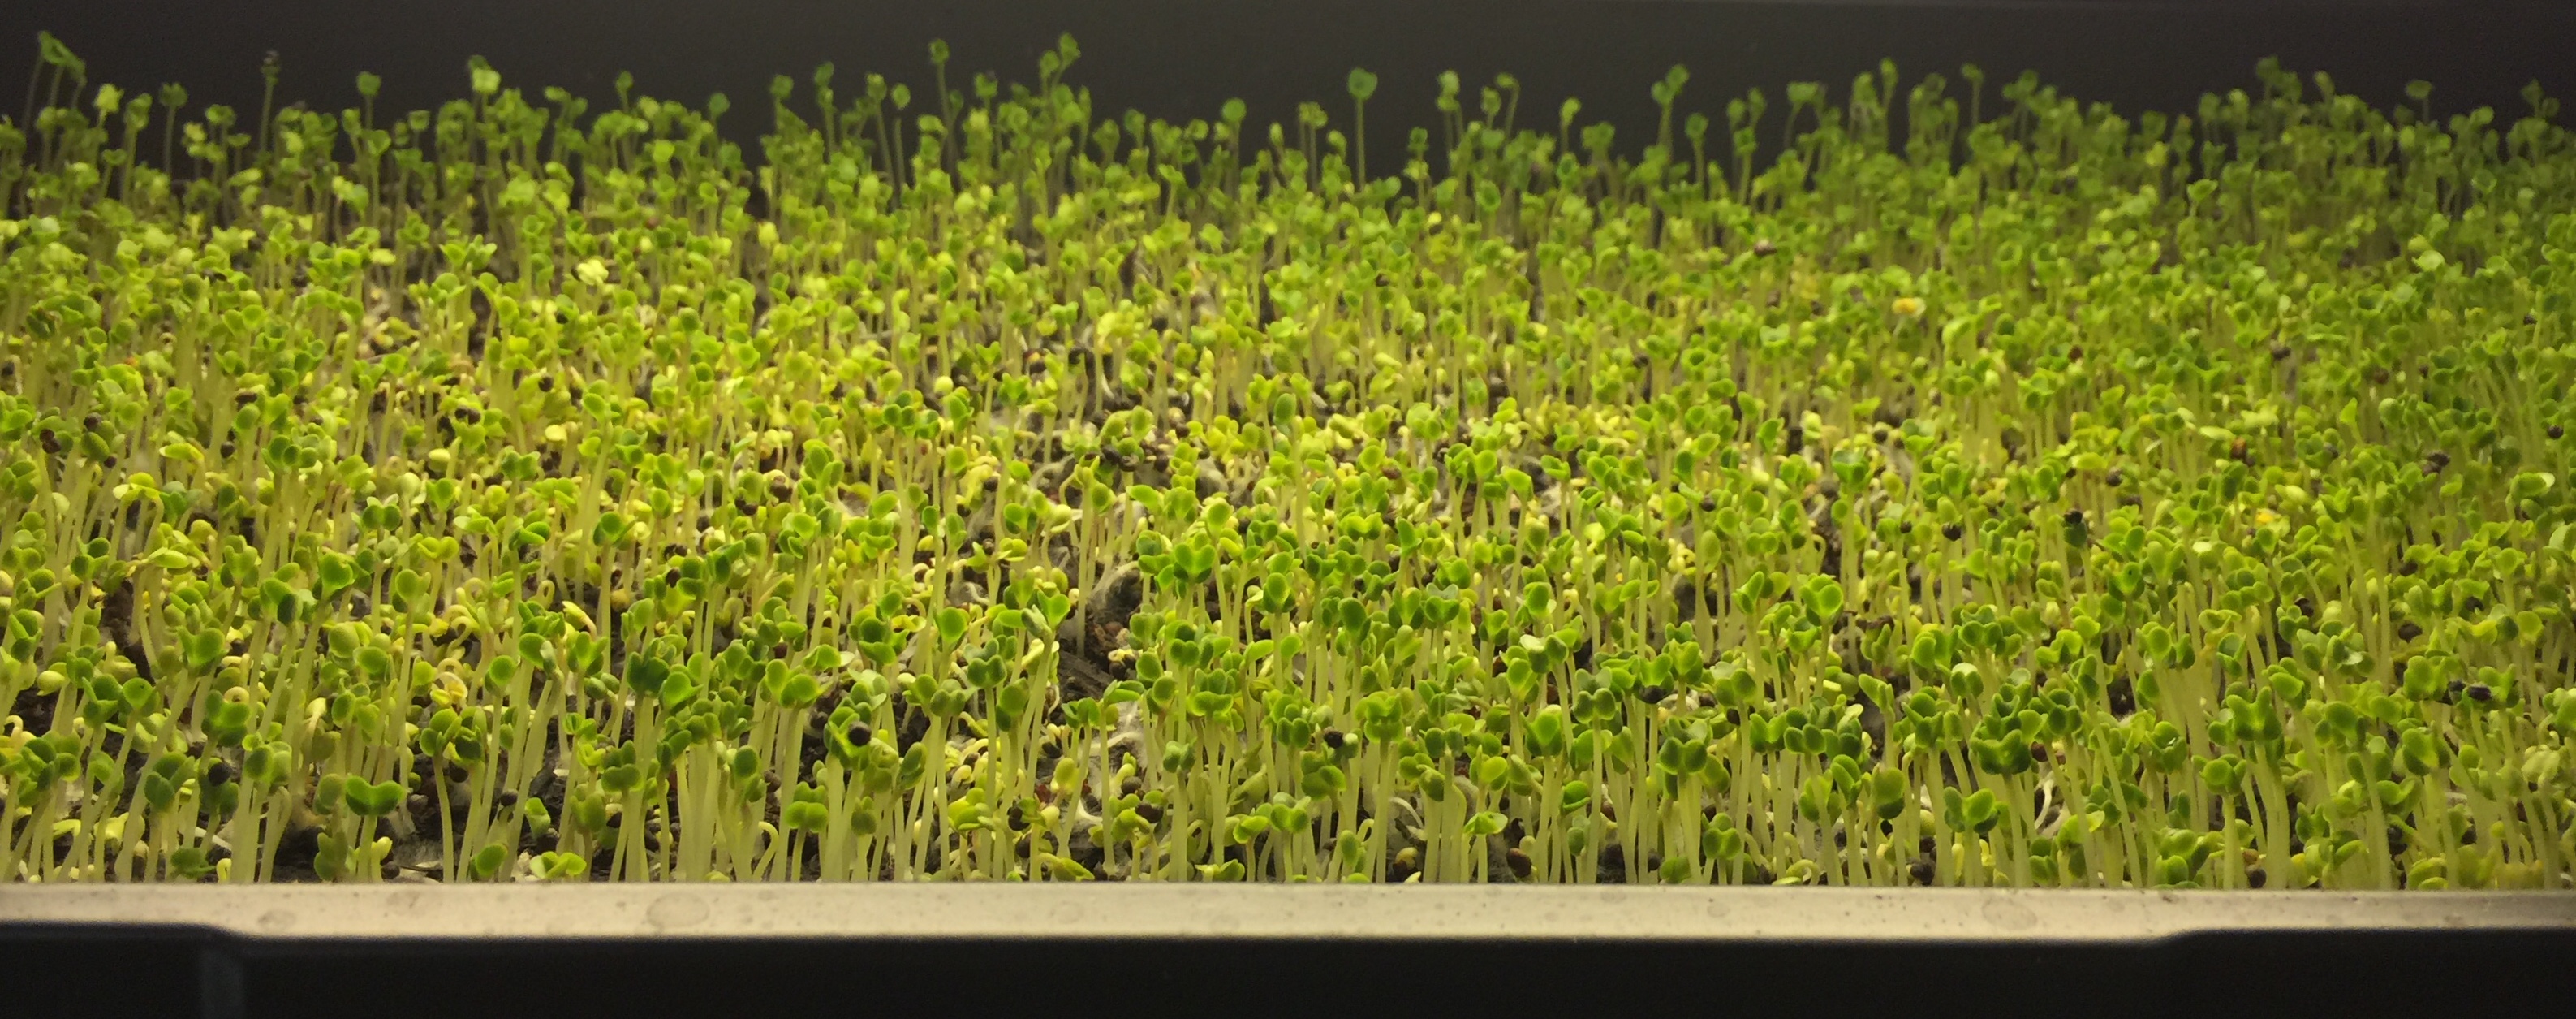
Finally, I laid them out...I tried turning them on the radiator keeping the soil at a consistent heat of about 74 degrees for a while, but next time, I won’t. The turning to even out the temp wasn’t worth it. It didn’t pop up as quickly as my smaller flats of kale do on the heat
Anyway, after I moved it to the dark and room temperature, they almost immediately sprouted.

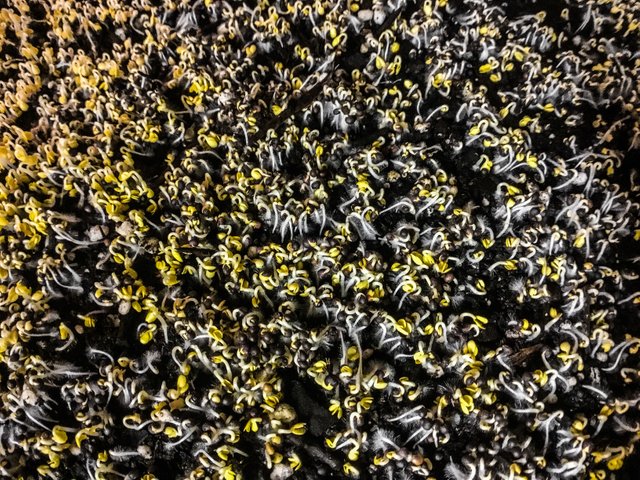
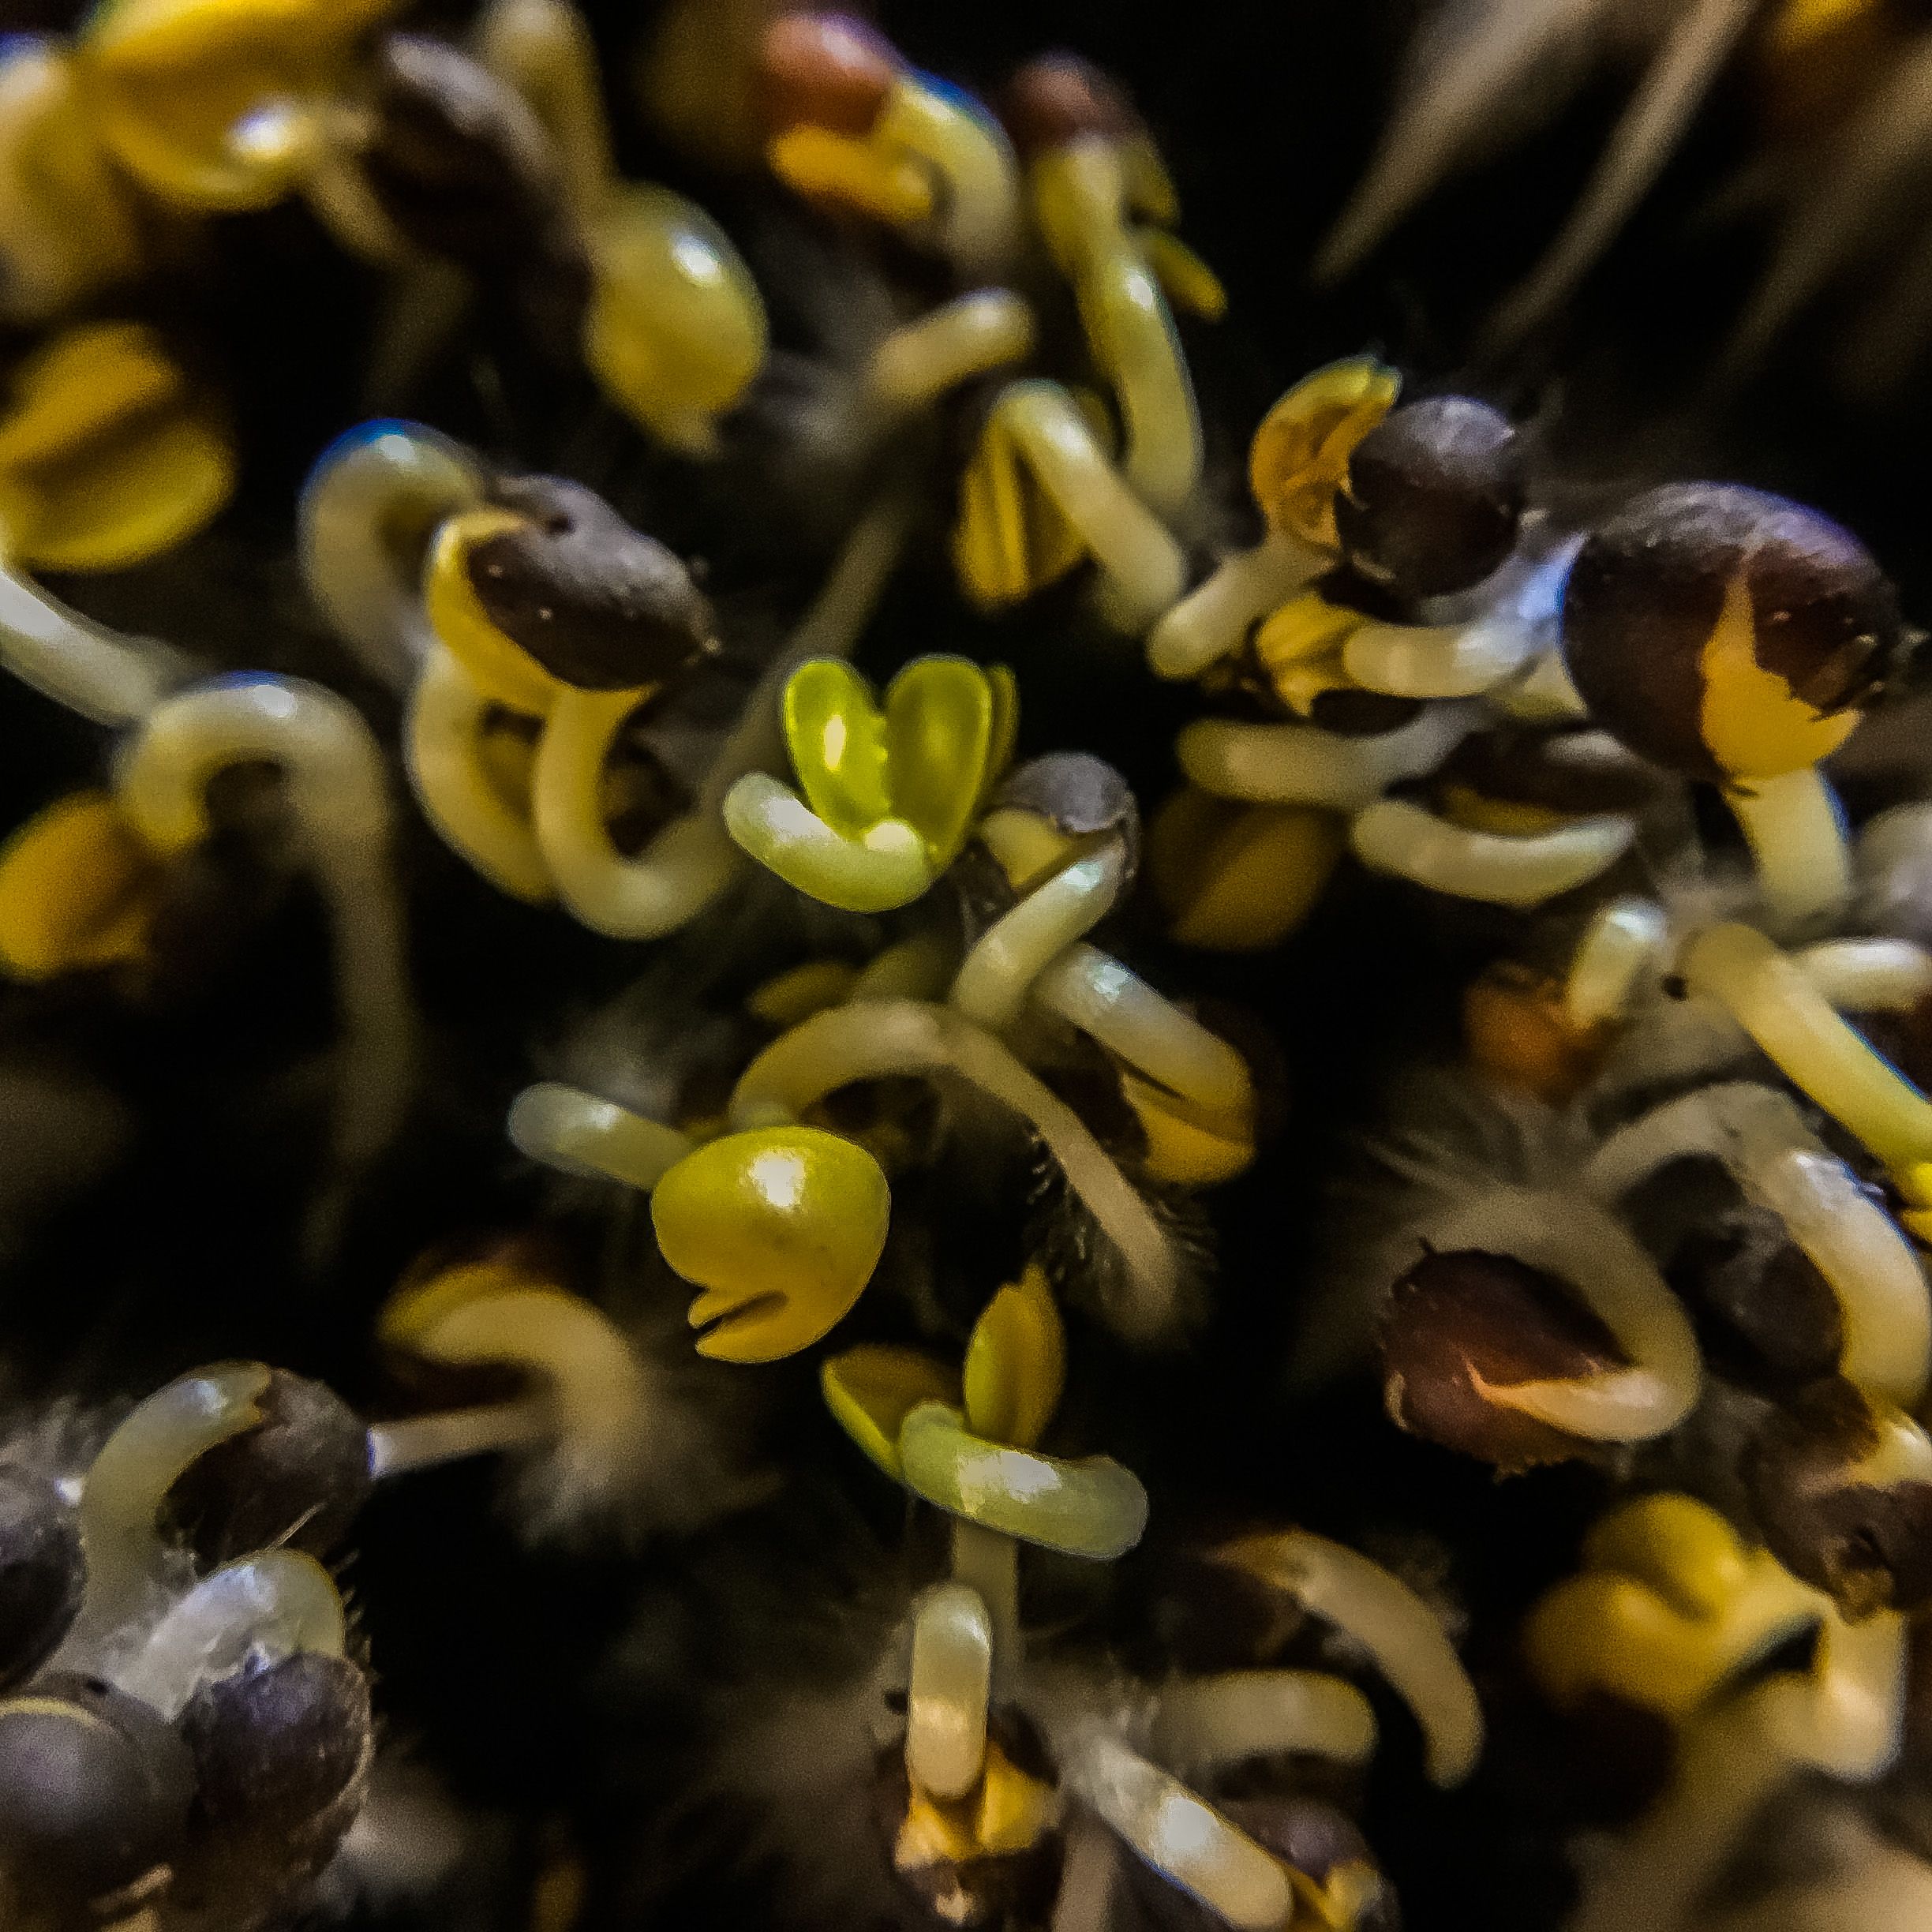
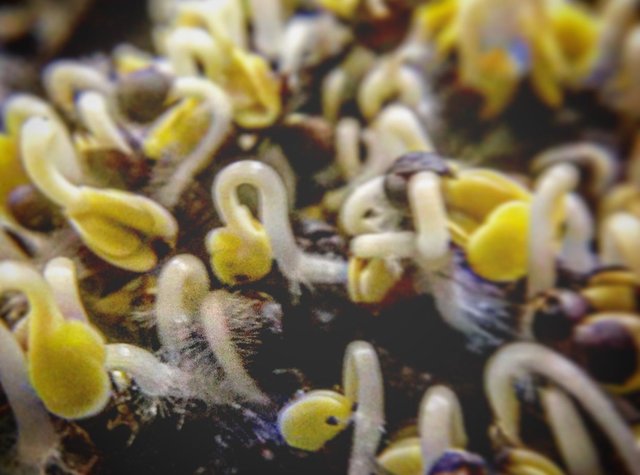
I was so excited. Here are another couple of photos, including one macro shot of the grounded sprouts and their tiny adorable root hairs.
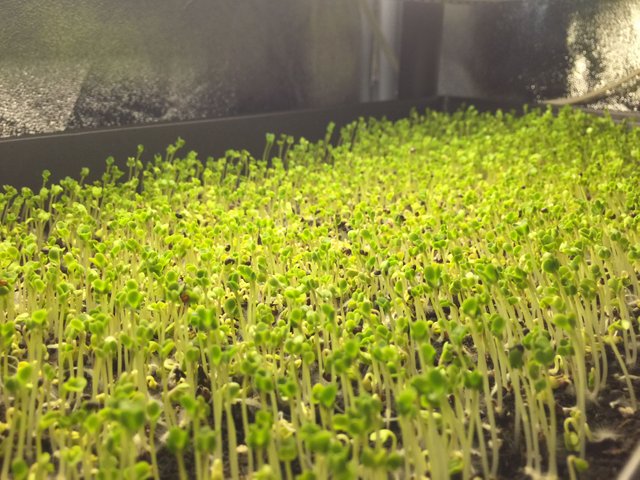
I left them in the dark for a few more hours and then put them under the light. I have them placed in the top shelf of the grow tent under the dual light bar which was previously in my garage...and the results are shocking, honestly. I love watching these dudes grow.
My only complaint about these particular flats is that they are not super solid. They were purchased for me as a much-appreciated gift from a local hardware and home store, so I don’t really care that they’re a little weak, however, it does make the bottom watering process a difficult one. In holding the flat, one needs to make sure not to cramp the roots or move things around too much. I think I will use my other seed-level top watering regimen for one more day next time before I pull them out of the tent just to help build up that kale resilience. They’re already pretty resilient, I just want to make sure they stay that way. It’s all about creating the highest quality product with the greatest amount of care.
They’ve grown so well under the whiter (as opposed to the more yellow) flourescent light and they look great. After I bottom watered them carefully this morning, here’s what they look like now:

BOTTOM WATERING
With microgreens, the key to keeping the roots from being damaged since they’re literally being grown from on top on the ground, the process of “bottom watering” is suggested for most if not all microgreens.
Helpful tip: Pea shoots can feasibly be grown in smaller containers (9 per clamshell takeout container half, for example) with only delicate top watering, but you also run a higher risk of actually molding the pea itself and having to pull it completely from your crop as I’ve found they don’t recover as well from a diluted hydrogen peroxide solution.
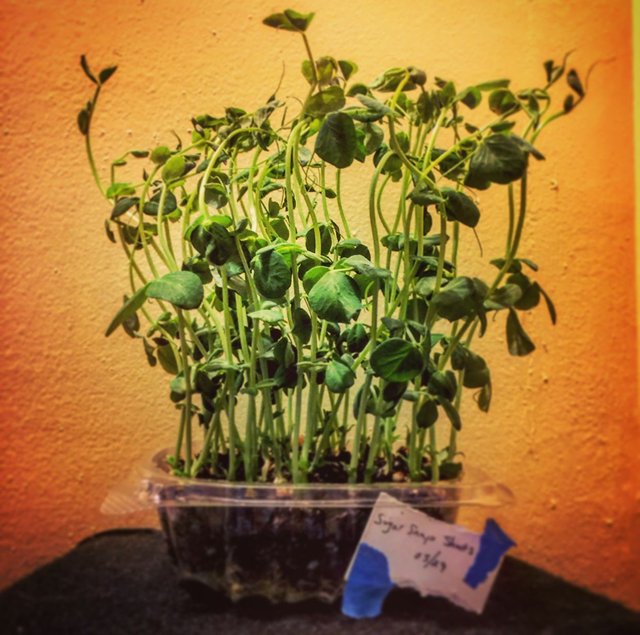
I did not bottom water my first batch of pea shoots, and I’m not sure if I was just lucky or what, but they’ve turned out well.
These Lil Marvel Pea shoots have also only been top-watered. They do not grow as high before they are ready for harvest (I’m experimenting with the height of these, but I’ve noticed little-to-no difference in top and bottom watering the Lil Marvels, and since they grow faster than the Sugar Snaps, for example, top watering for a shorter period runs a lower risk of molding your peas, which you want you avoid at all costs, and I’ve been fortunate to avoid it by and large, which can be difficult in a tented situation.
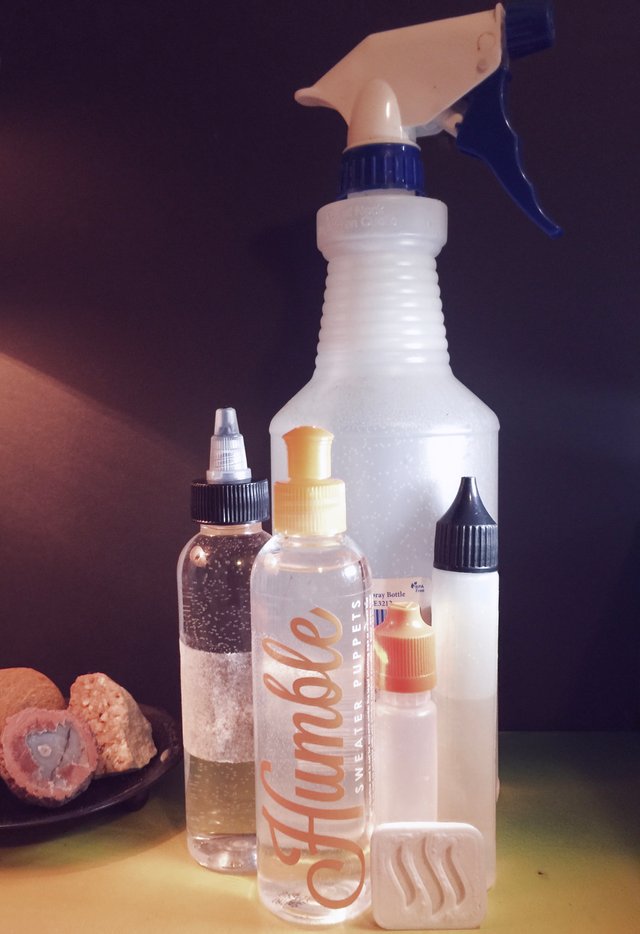
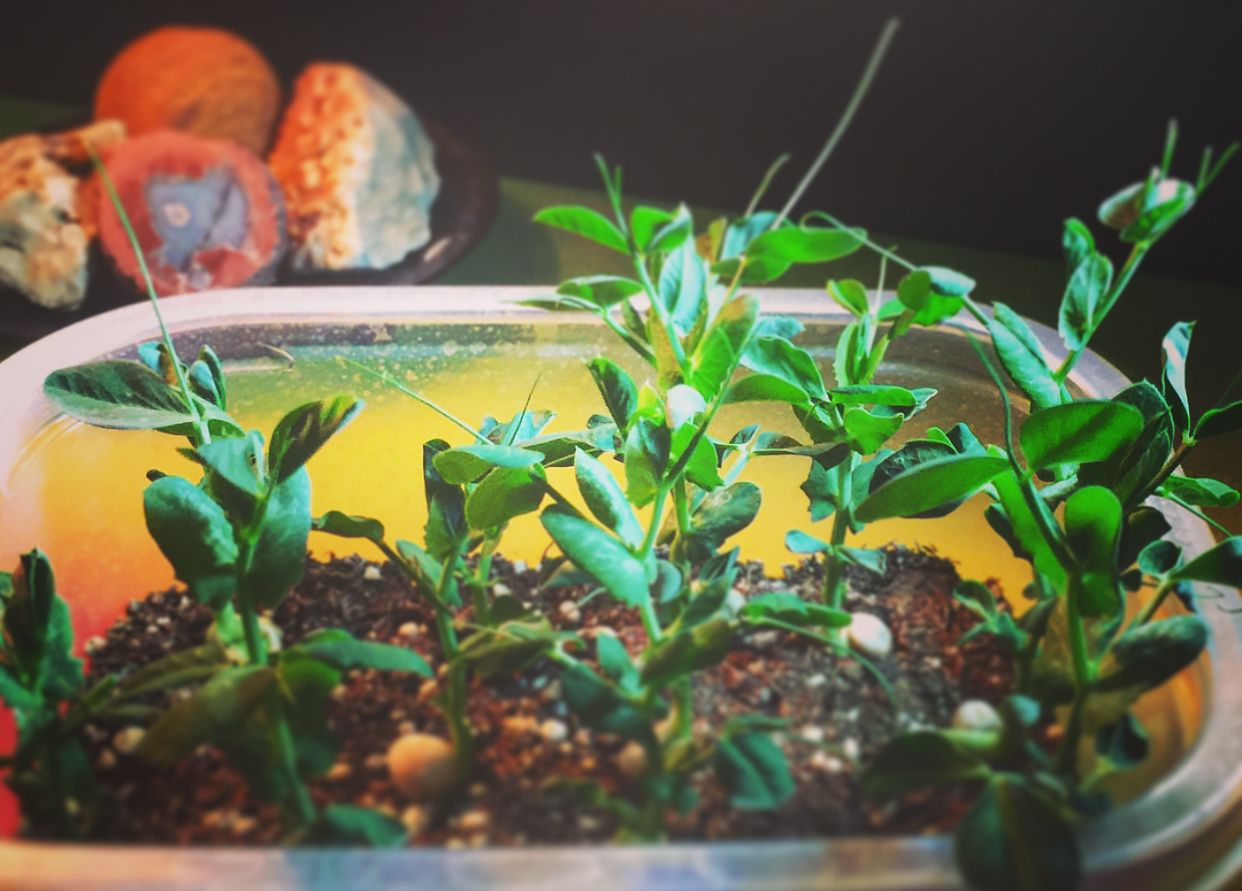
This is what I have for top watering. Of course a soft mister, as well as a few santised vape juice bottles which have little fine tips which allow me to get to the seeds below the fine roots. Too much heavy water on top of these will make them fail.
Another helpful tip: if you are reclaiming planters for your microgreens, make sure the holes you punch in the bottom of the containers (I do it by hand with a common nail.) so that the watering is even when you place it in the watering tray. I also like clear containers, so you can actually see rather than just feel how much water is in there. I’m having good luck with a 1/4” bottom water in about an 1 1/2” max of soil. If that ratio changes, I’ll let you know. And if you have any great tips that work for you, please let me know!
I hope you enjoyed this look at the farm. I’ll have a harvest update for you either later today or tomorrow, and I’m also working on some great food photography of these greens in action for you to see just how beautiful they are not only for your body, but also aesthetically.
Tending and harvesting these microgreens has truly become a meditative experience for me. One I’ve needed, and one I’ve been looking for.
Good vibes appreciated. Love to you all. <3

COMMUNITY IS THE NEW MONEY

Community Forums


I am surprised. Beautiful idea of gardening. Well done. You are taking care of your plants properly. Thanks for sharing.
Thank you so much for the kind words and for finding value in it. It is very important for me to care for these plants especially as they are food and a wonderful gift of nature to us. Again, thank you for stopping by, and for the wonderful comment. I hope you’ll continue to find enjoyment on my blog.
Your progress is awesome! You rock! I bet they taste sooo good. Cheers again to all the tips <3