Lesson 1:How To Erase Colour Using Pixellab || By Ronindboss


Introduction
Good day dear steemians, my name is Ronin and I want to share my knowledge of graphics design to people that are willing to learn. This post is for those that wants to become graphics designer but couldn't afford a standard PC for it. So this is another alternative to use your smartphone to create some designs to your taste. This is my first ever graphicsSkillshare in this community and I hope I'll be able to make more post to benefit people that are willing to learn and expend their knowledge.
In this class today, I'll be teaching you all how to remove any colour from images using an app called Pixellab. So before I begin make sure to download the Pixellab app from your various app store.

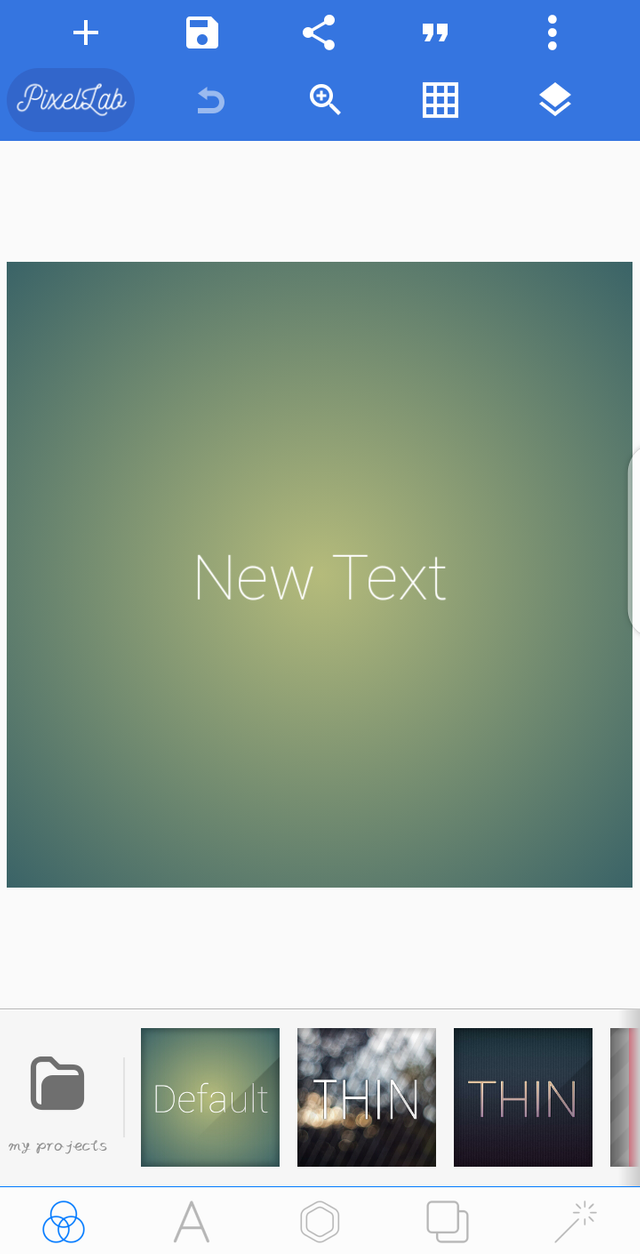
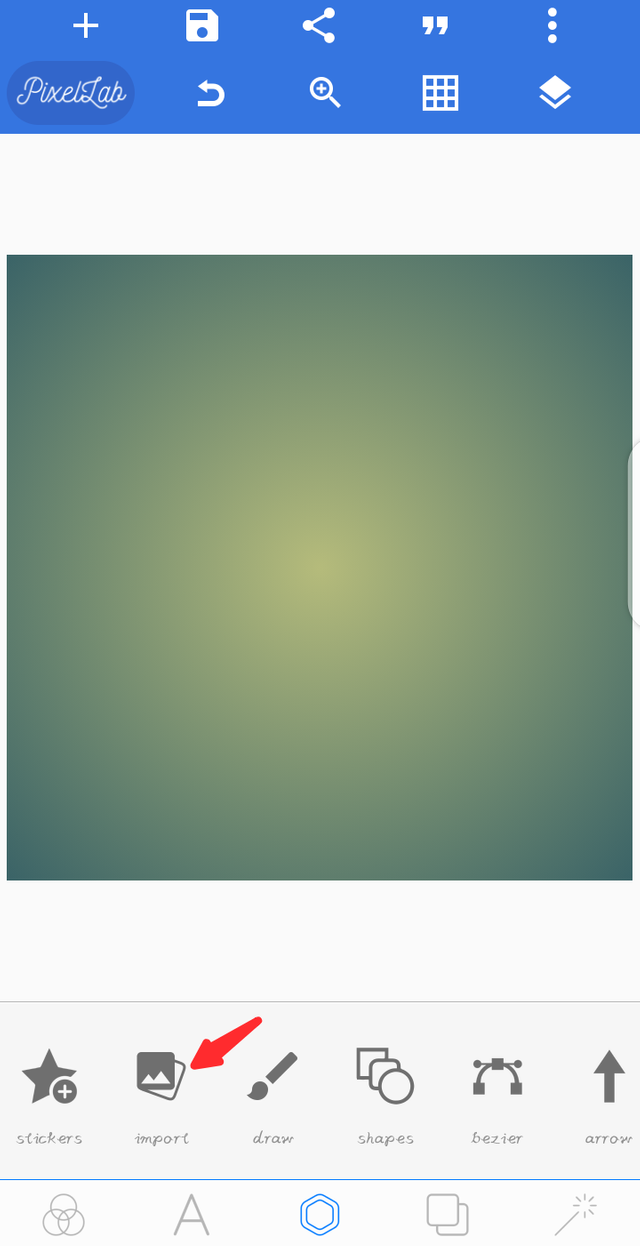
After you have downloaded the app, open it and give the app permission to read storage if asked, then you'll come to the homepage of the app which is shown below..
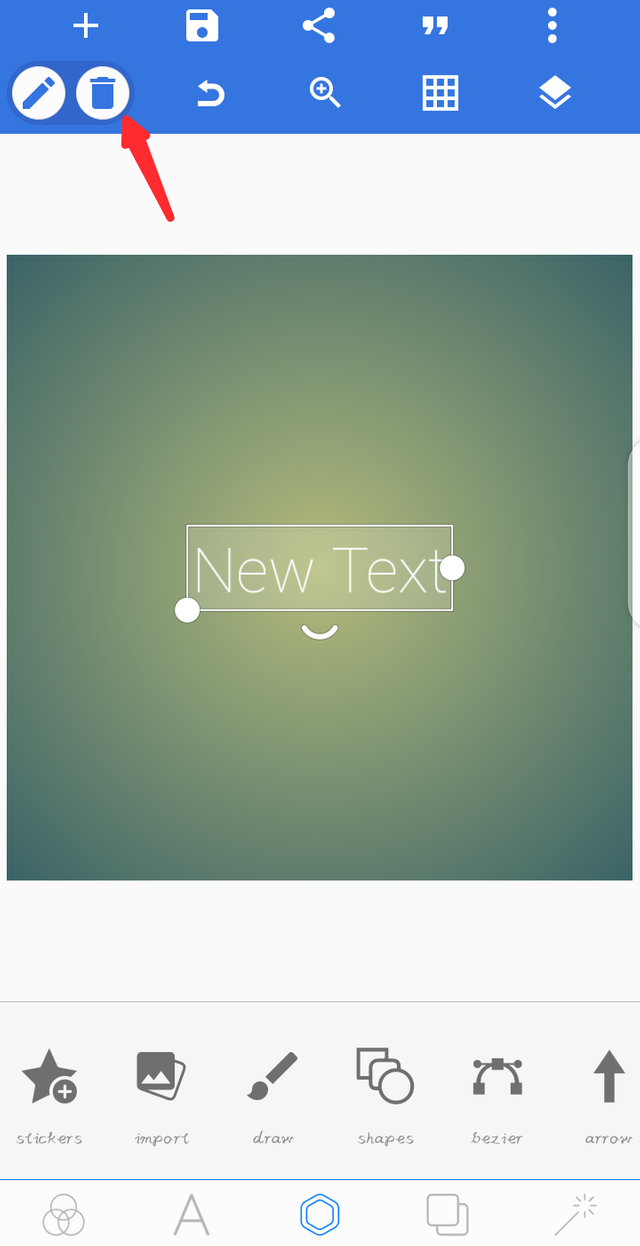
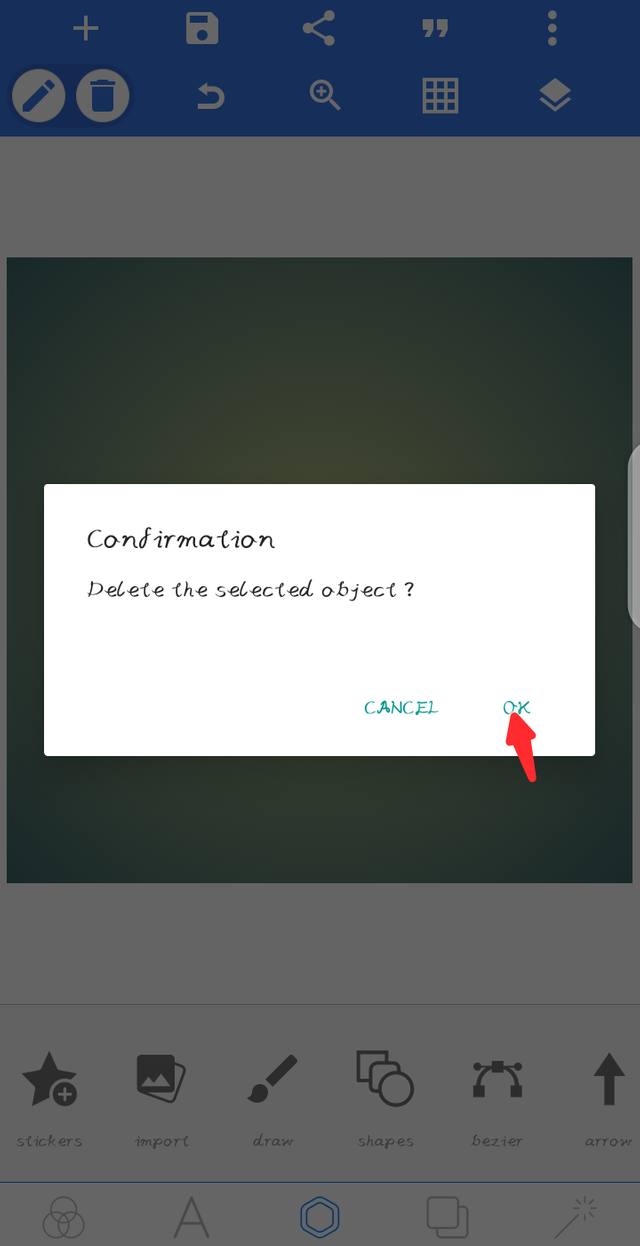
Before you import your image, you'll have to delete that Text writing, click on it then to your upper left section you'll see a Waste bin icon, click that and confirm to delete it. Here's some screenshot for better understanding.
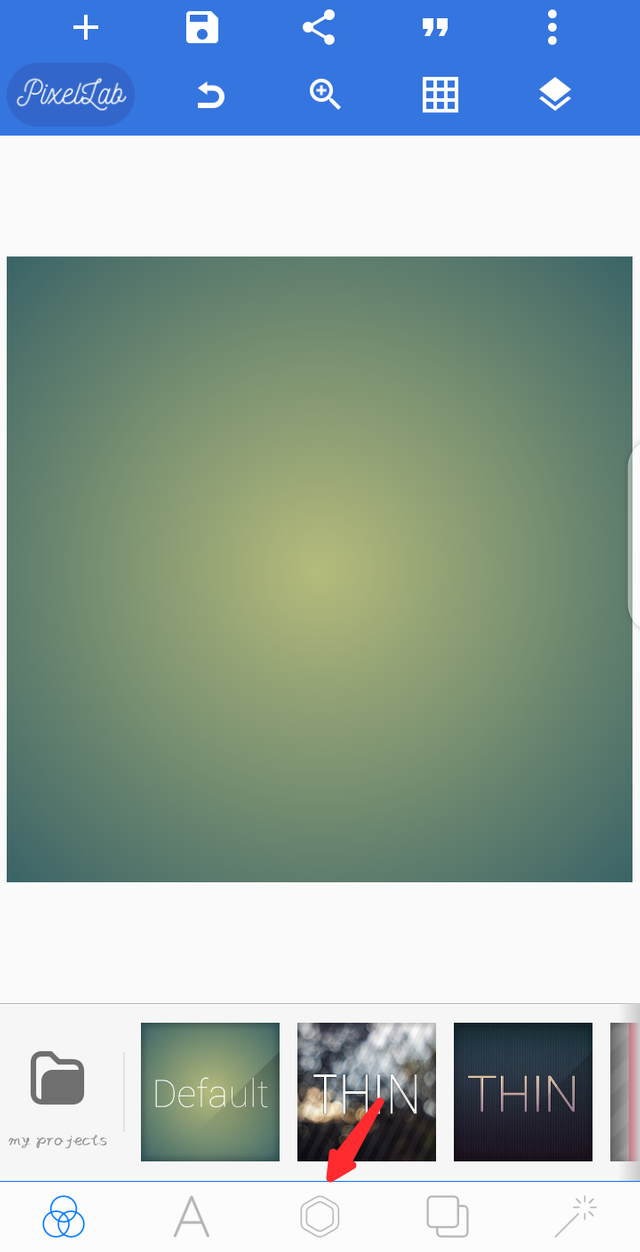
After you must have deleted it, you'll see a blank page like this.

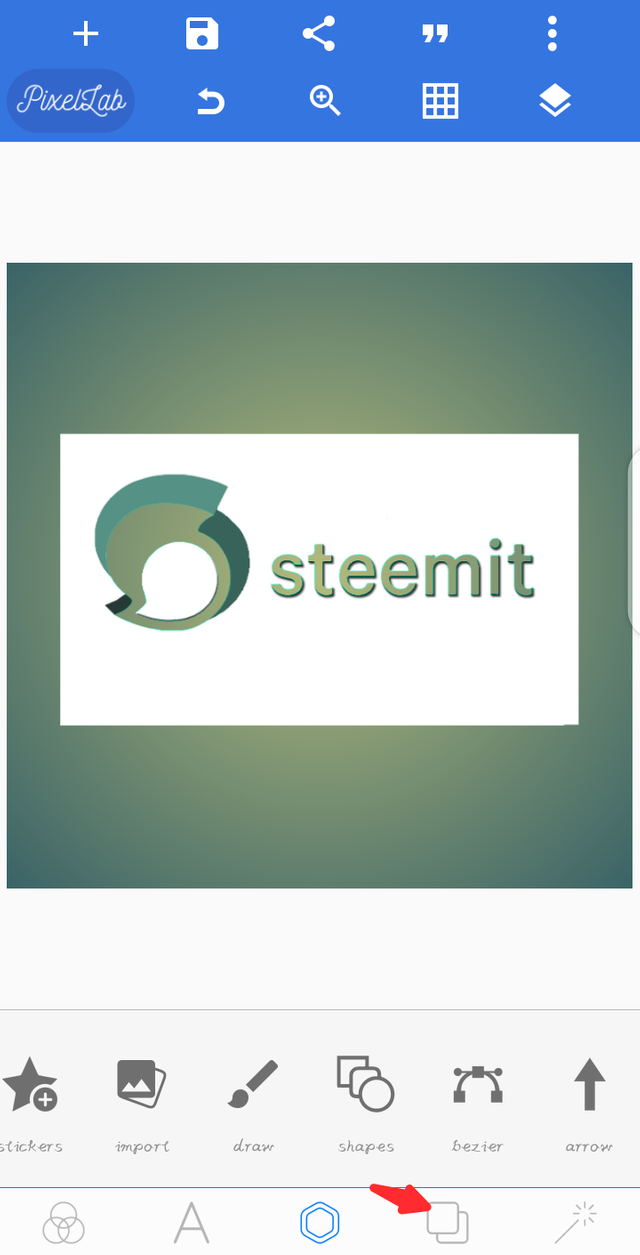
Now to import your image, tap the hexagonal icon on the middle bottom of the screen, then Click on the import icon, after clicking it, it'll take you to your gallery and you select the image you wish to choose.
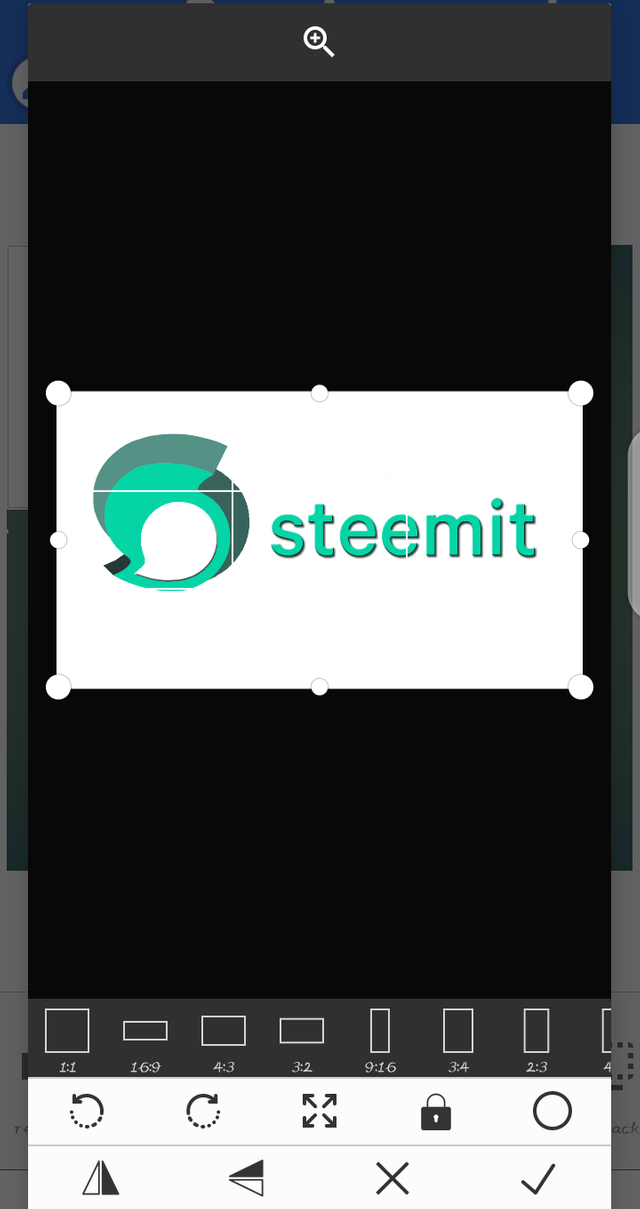
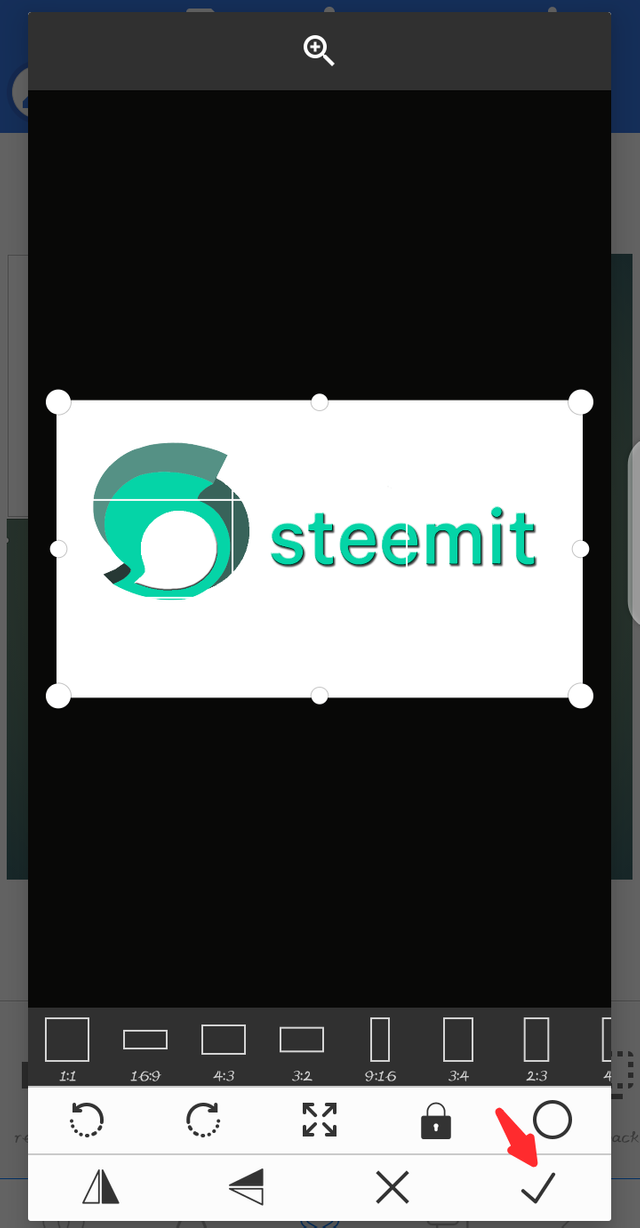
I'll be using this steemit logo and I'll be erasing the green colour.

Once you have find the image you wish to edit, after importing it, it'll take you to this section where you'll be ask to crop the image you just imported, if you don't want to crop it then simply click the Mark icon in the bottom right side like this...
Your image will then appear on the homepage like this.
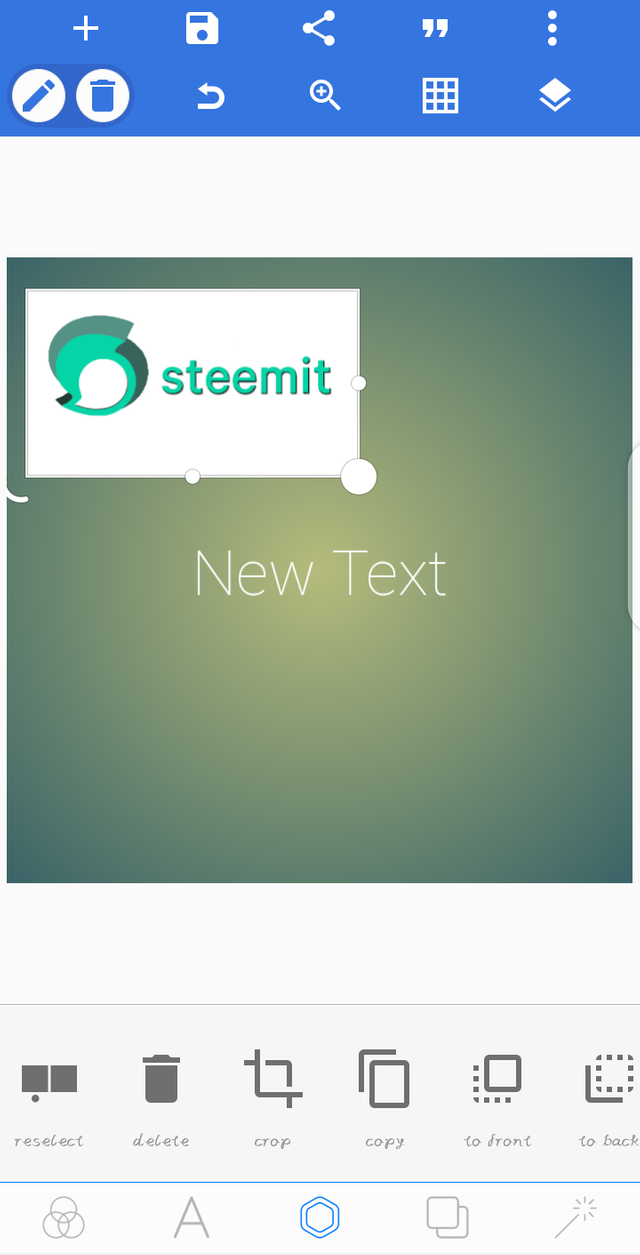
You can choose to resize the image by expanding it like this...
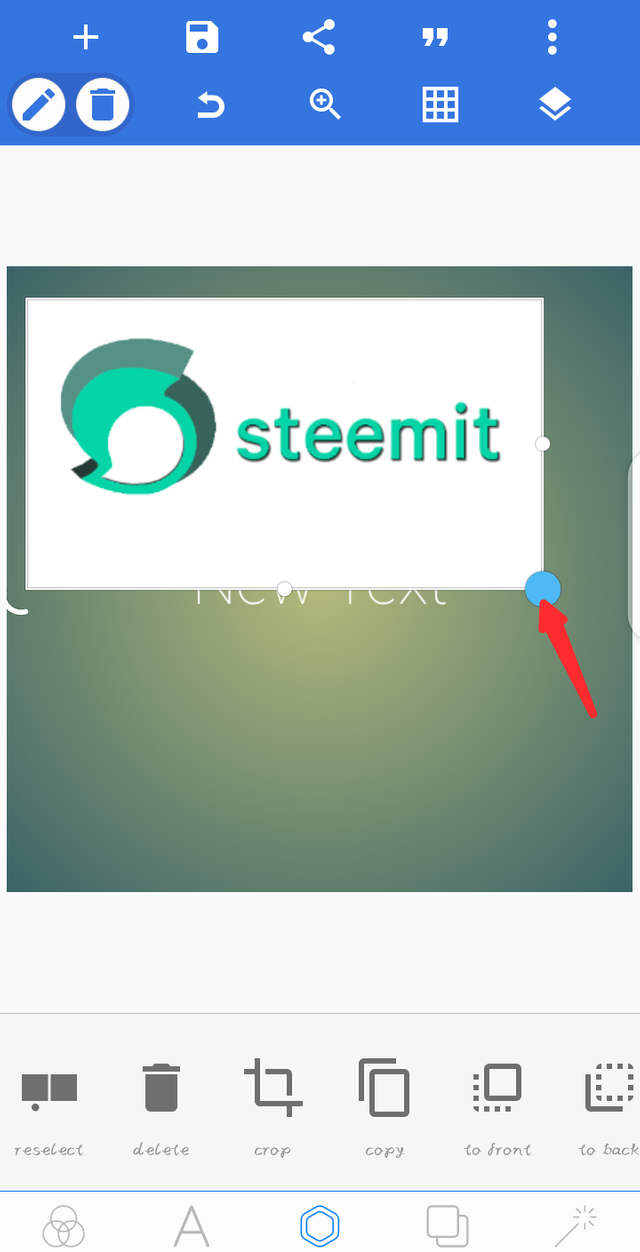
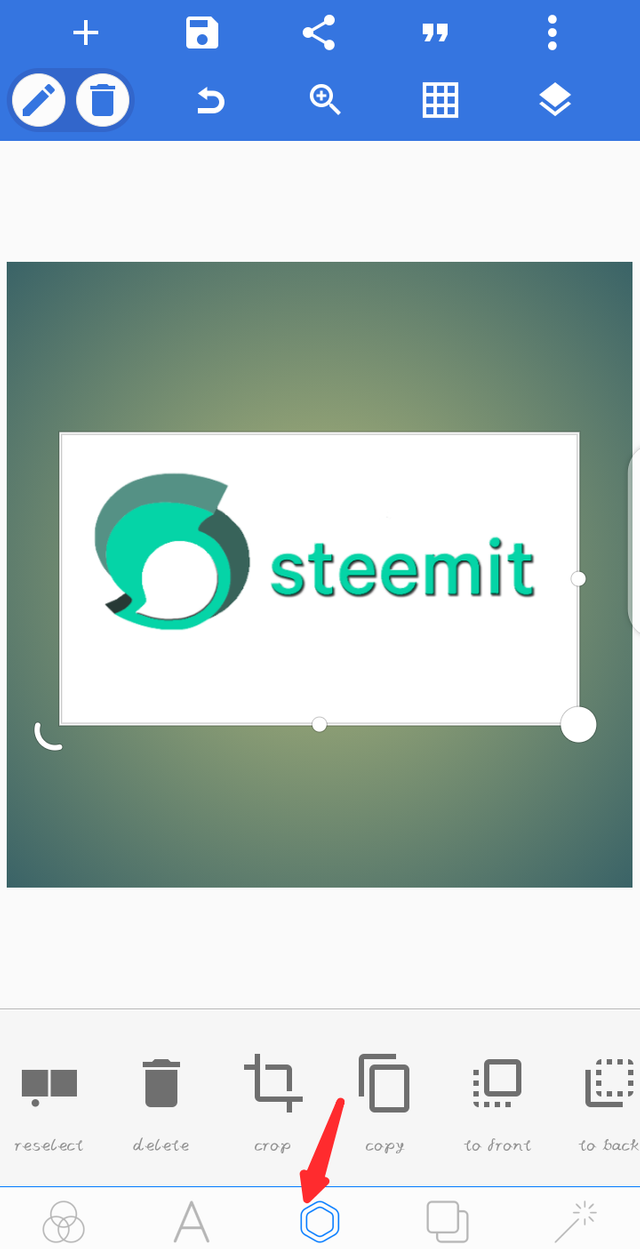
After your done with resizing it and placing it at your desired location, to erase the colour, you'll tap on the image so that it'll get highlighted then tap on that hexagonal icon at the bottom.
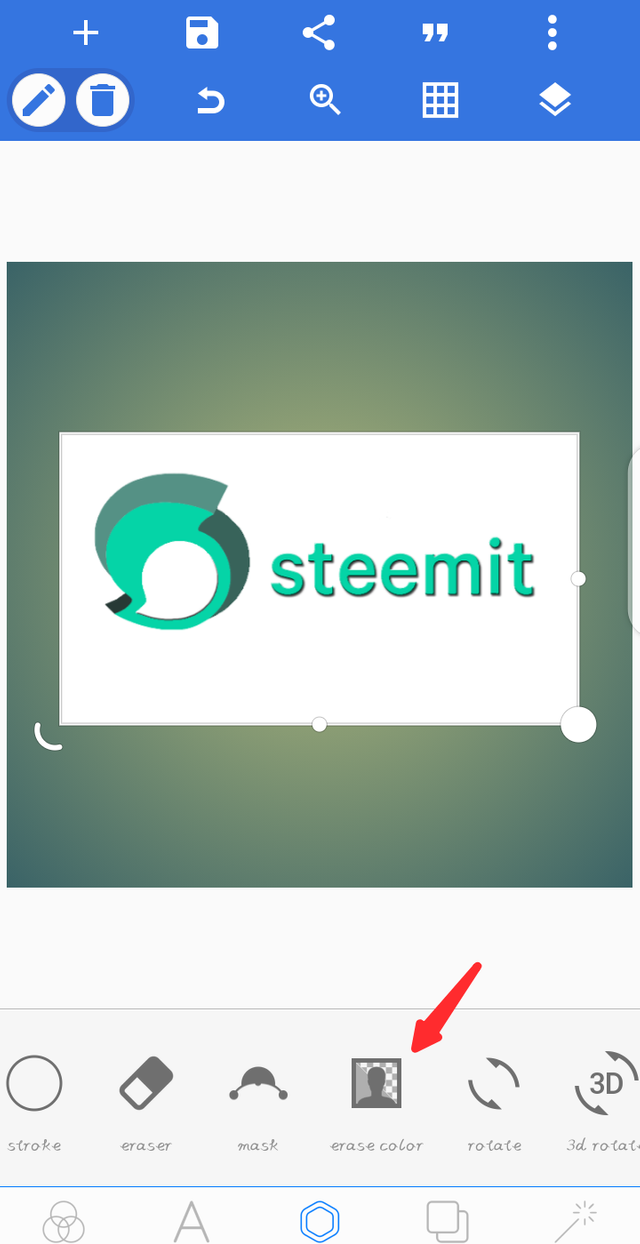
After clicking on the hexagonal icon, you have to scroll those options above the hexagonal icon to the left so that the erase colour option will be displayed then click on it.
After clicking on it, you'll see a switch to enable the eraser tool, click on it.
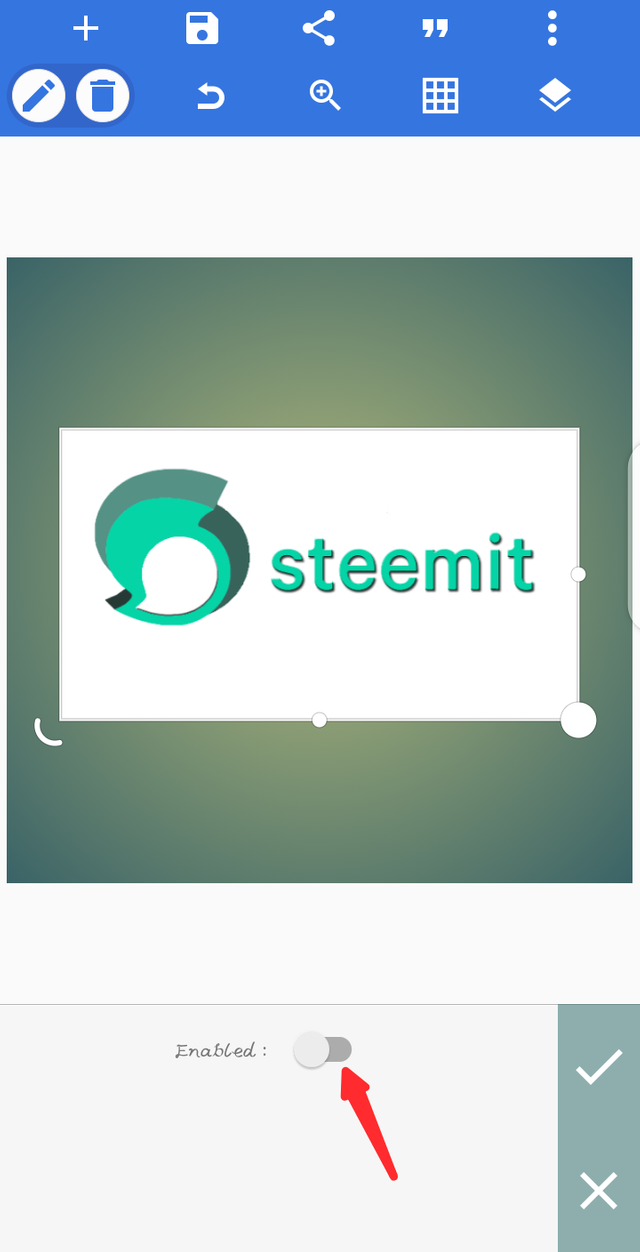
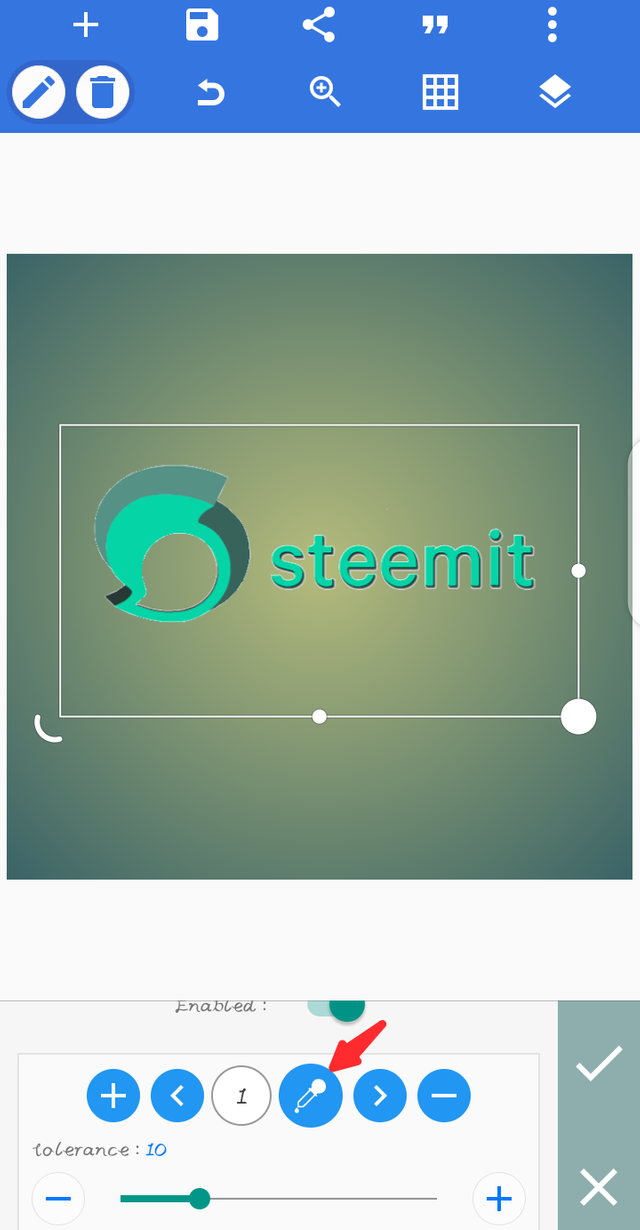
When you click the option, the eraser tool automatically erase any white colour in your image, to stop it from erasing the white colour, you'll click on this colour picker icon like this...
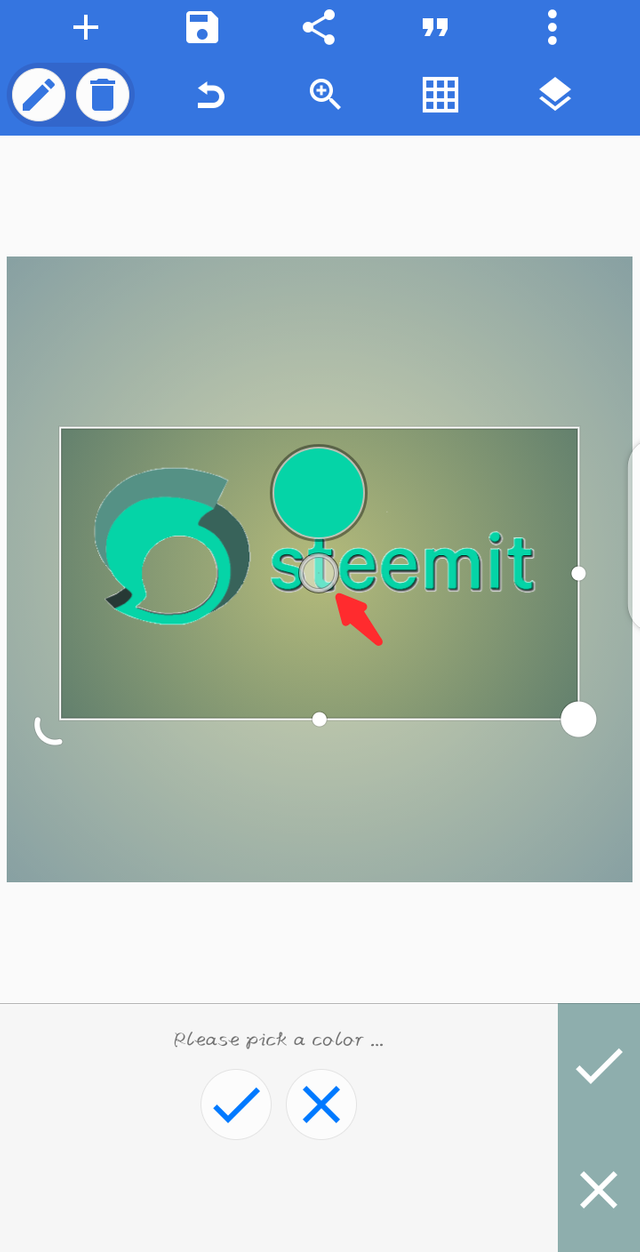
After clicking, it'll take you to this page, then you'll use this cursor selecter to choose the colour you wish to erase.
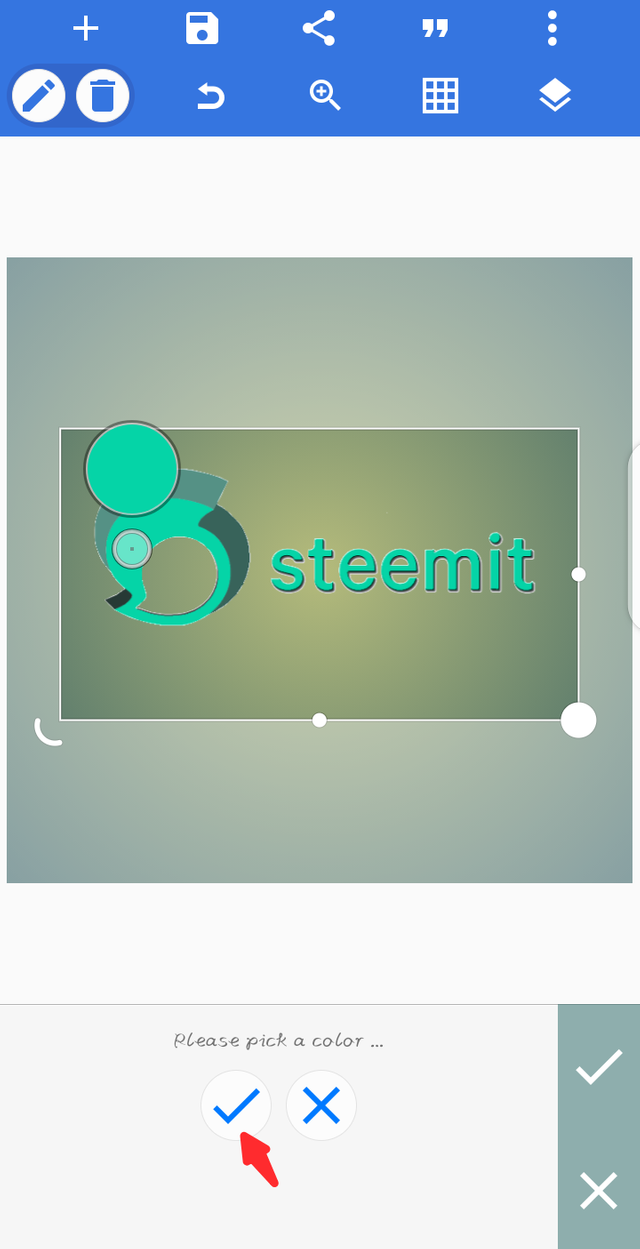
When you have choosen the colour you want to erase, then click on the mark button and your good to go.
After clicking on it, you'll notice that the white colour is back and the other colour you chose to erase is gone.

Click on the mark button to finish your erasure.
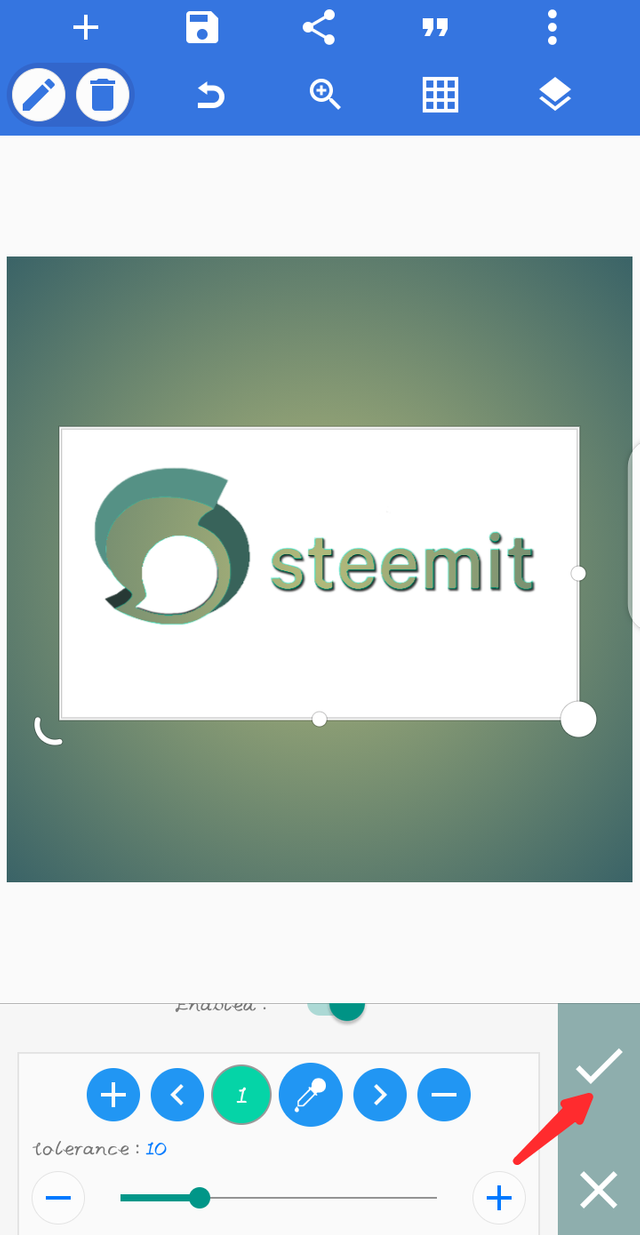
This is what it'll look Like...

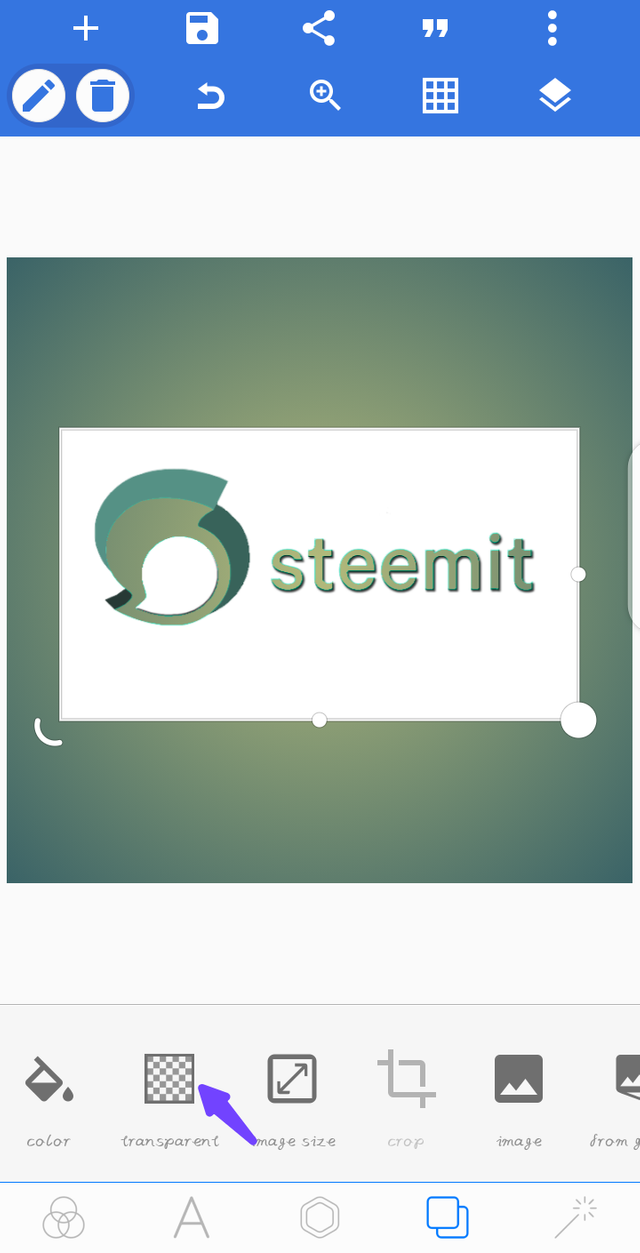
Before we save our new image, we have to remove the background colour and make it transparent, so as to allow the erased colour to blend with what ever colour we want it to. So we'll click on this double square icon and it'll take us to the background options.
To make the background transparent, we click the transparent option.
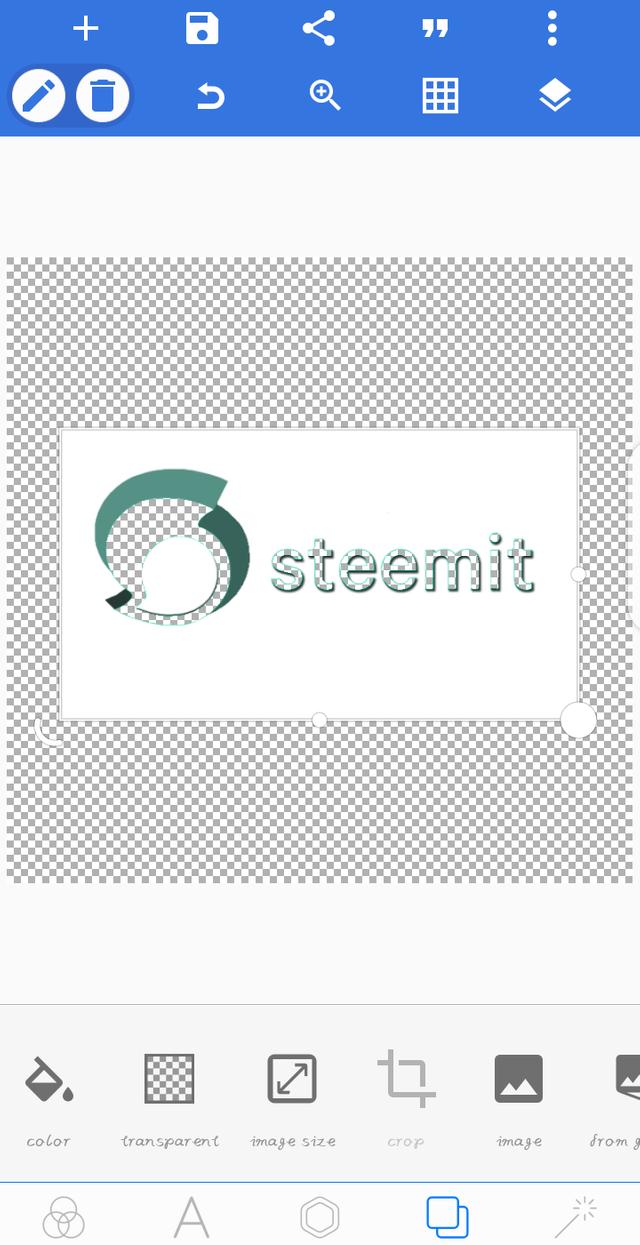
Now the background is transparent and we have to save our image.
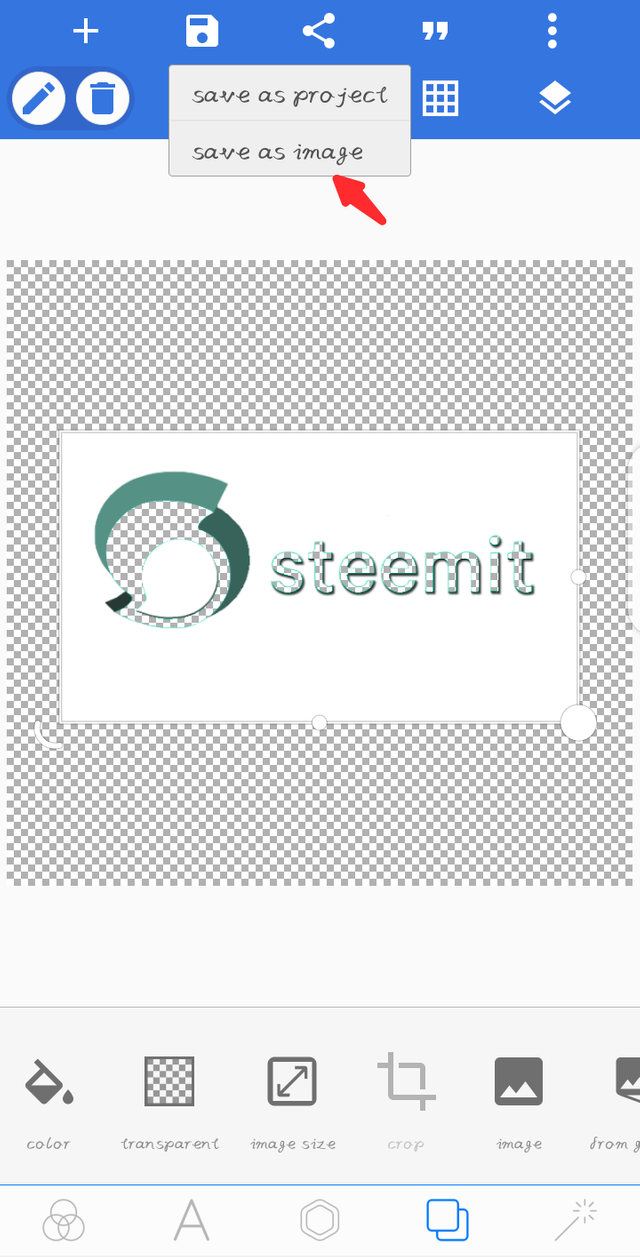
To save the new image, you'll click on icon on the top left and then click save as image.
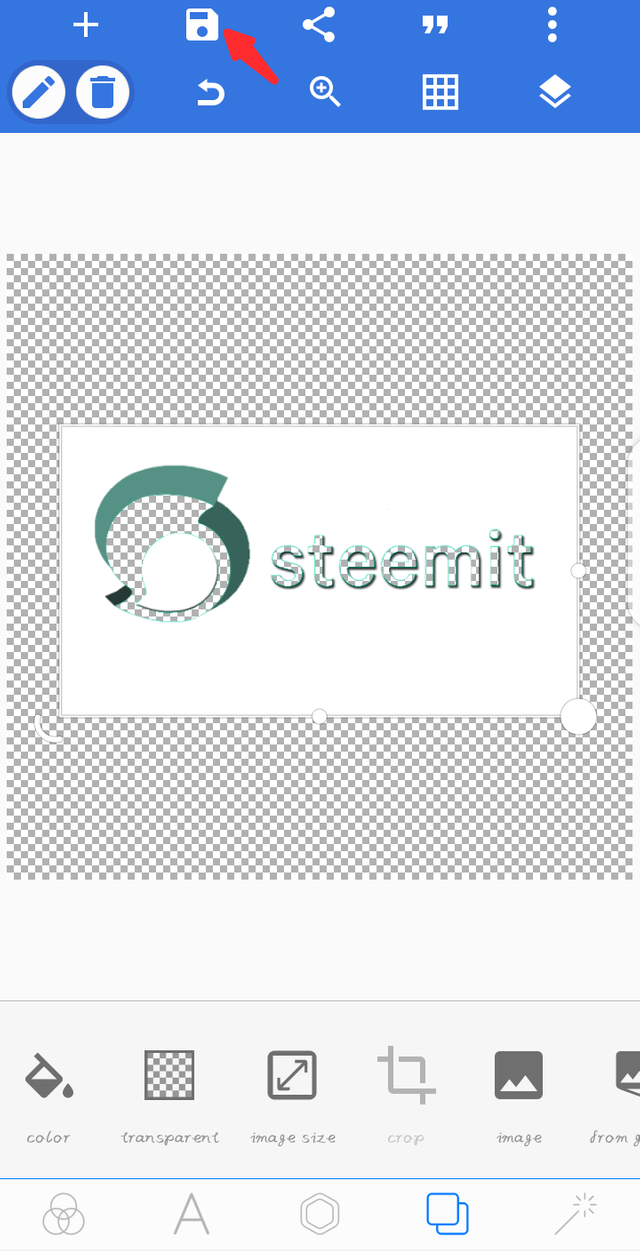
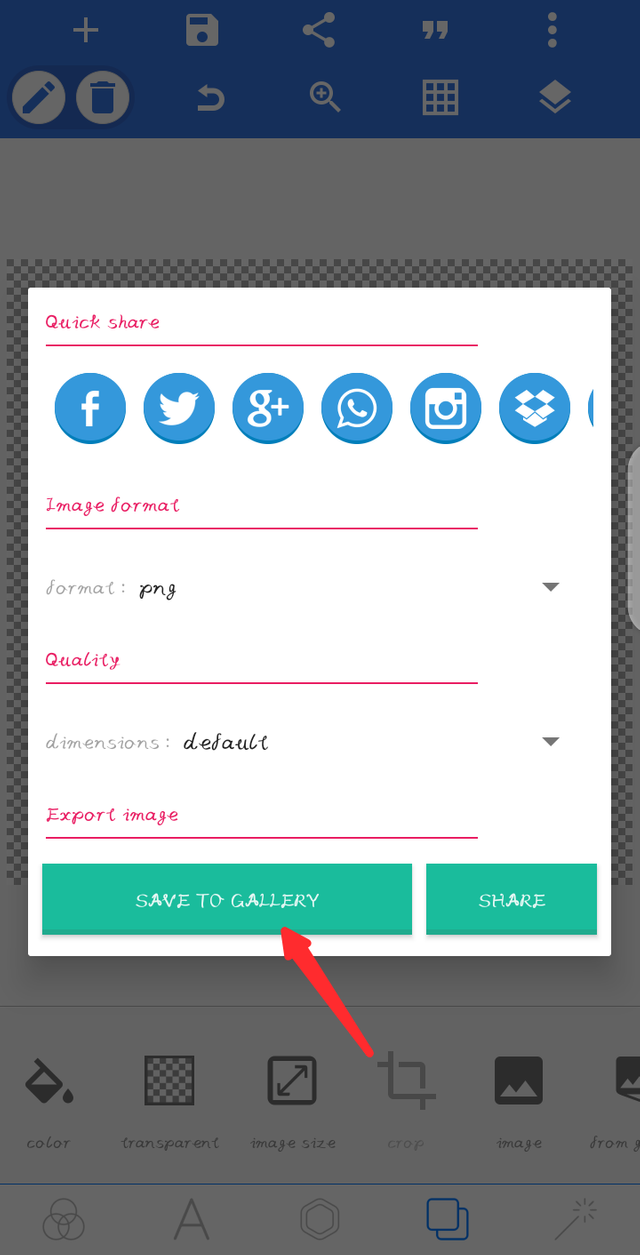
Then you'll see some options after clicking it, leave it as it is then click on save to gallery and your image is saved.
This is how our new image will look like..

If you wish to remove multiple colours, just repeat the same procedure.
Conclusion
I've enjoyed writing this Tutorial down but I wish we were able to post video as it'll be a lot easier and understandable to listen and watch than to read but writing isn't that bad at all. I look forward to posting again in this community.
Here is my achievement 1 for any verification if needed.
Thank you for sharing on Steem Skillshare, a great post!
#club5050 checked - the tag was used correctly
Thanks
Congratulations, your nice post has been upvoted by the steem.skillshare curation trail!
If you wish to join as well our trail and support our community, other users, and earn the curation reward, please check out this post:
steem.skillshare curation trail post
I'm already In the trail
Wow! At least I learnt something new today!
Thanks for sharing this Wonderful knowledge with us
I'm Glad you learned something new ☺️.